
Are you considering adding a pergola to your outdoor space but unsure whether to opt for a budget-friendly option or invest in higher-quality materials and expert craftsmanship? When it comes to outdoor structures like pergolas, it's important to weigh the benefits and drawbacks of both options. While a budget-friendly option may seem attractive upfront, investing in a high-quality pergola can provide long-term benefits such as increased durability, better resistance to outdoor elements, and a longer lifespan overall. To help you make an informed decision, we've put together a comparison of two different pergola projects: one completed on a budget using lower-quality materials, and one that utilized high-end materials and expert craftsmanship.
Let’s start with the budget pergola.
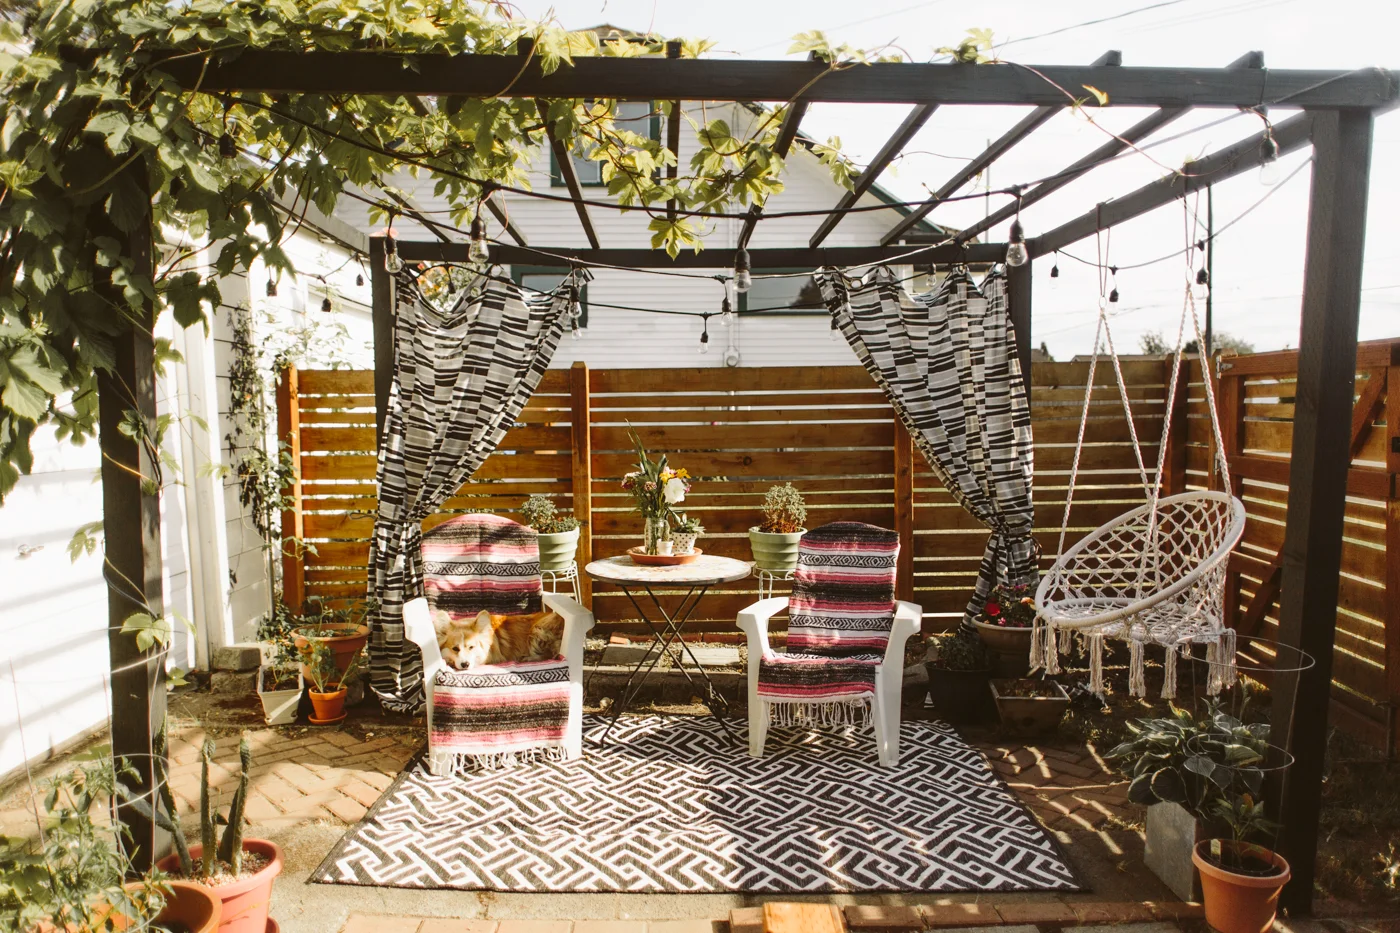
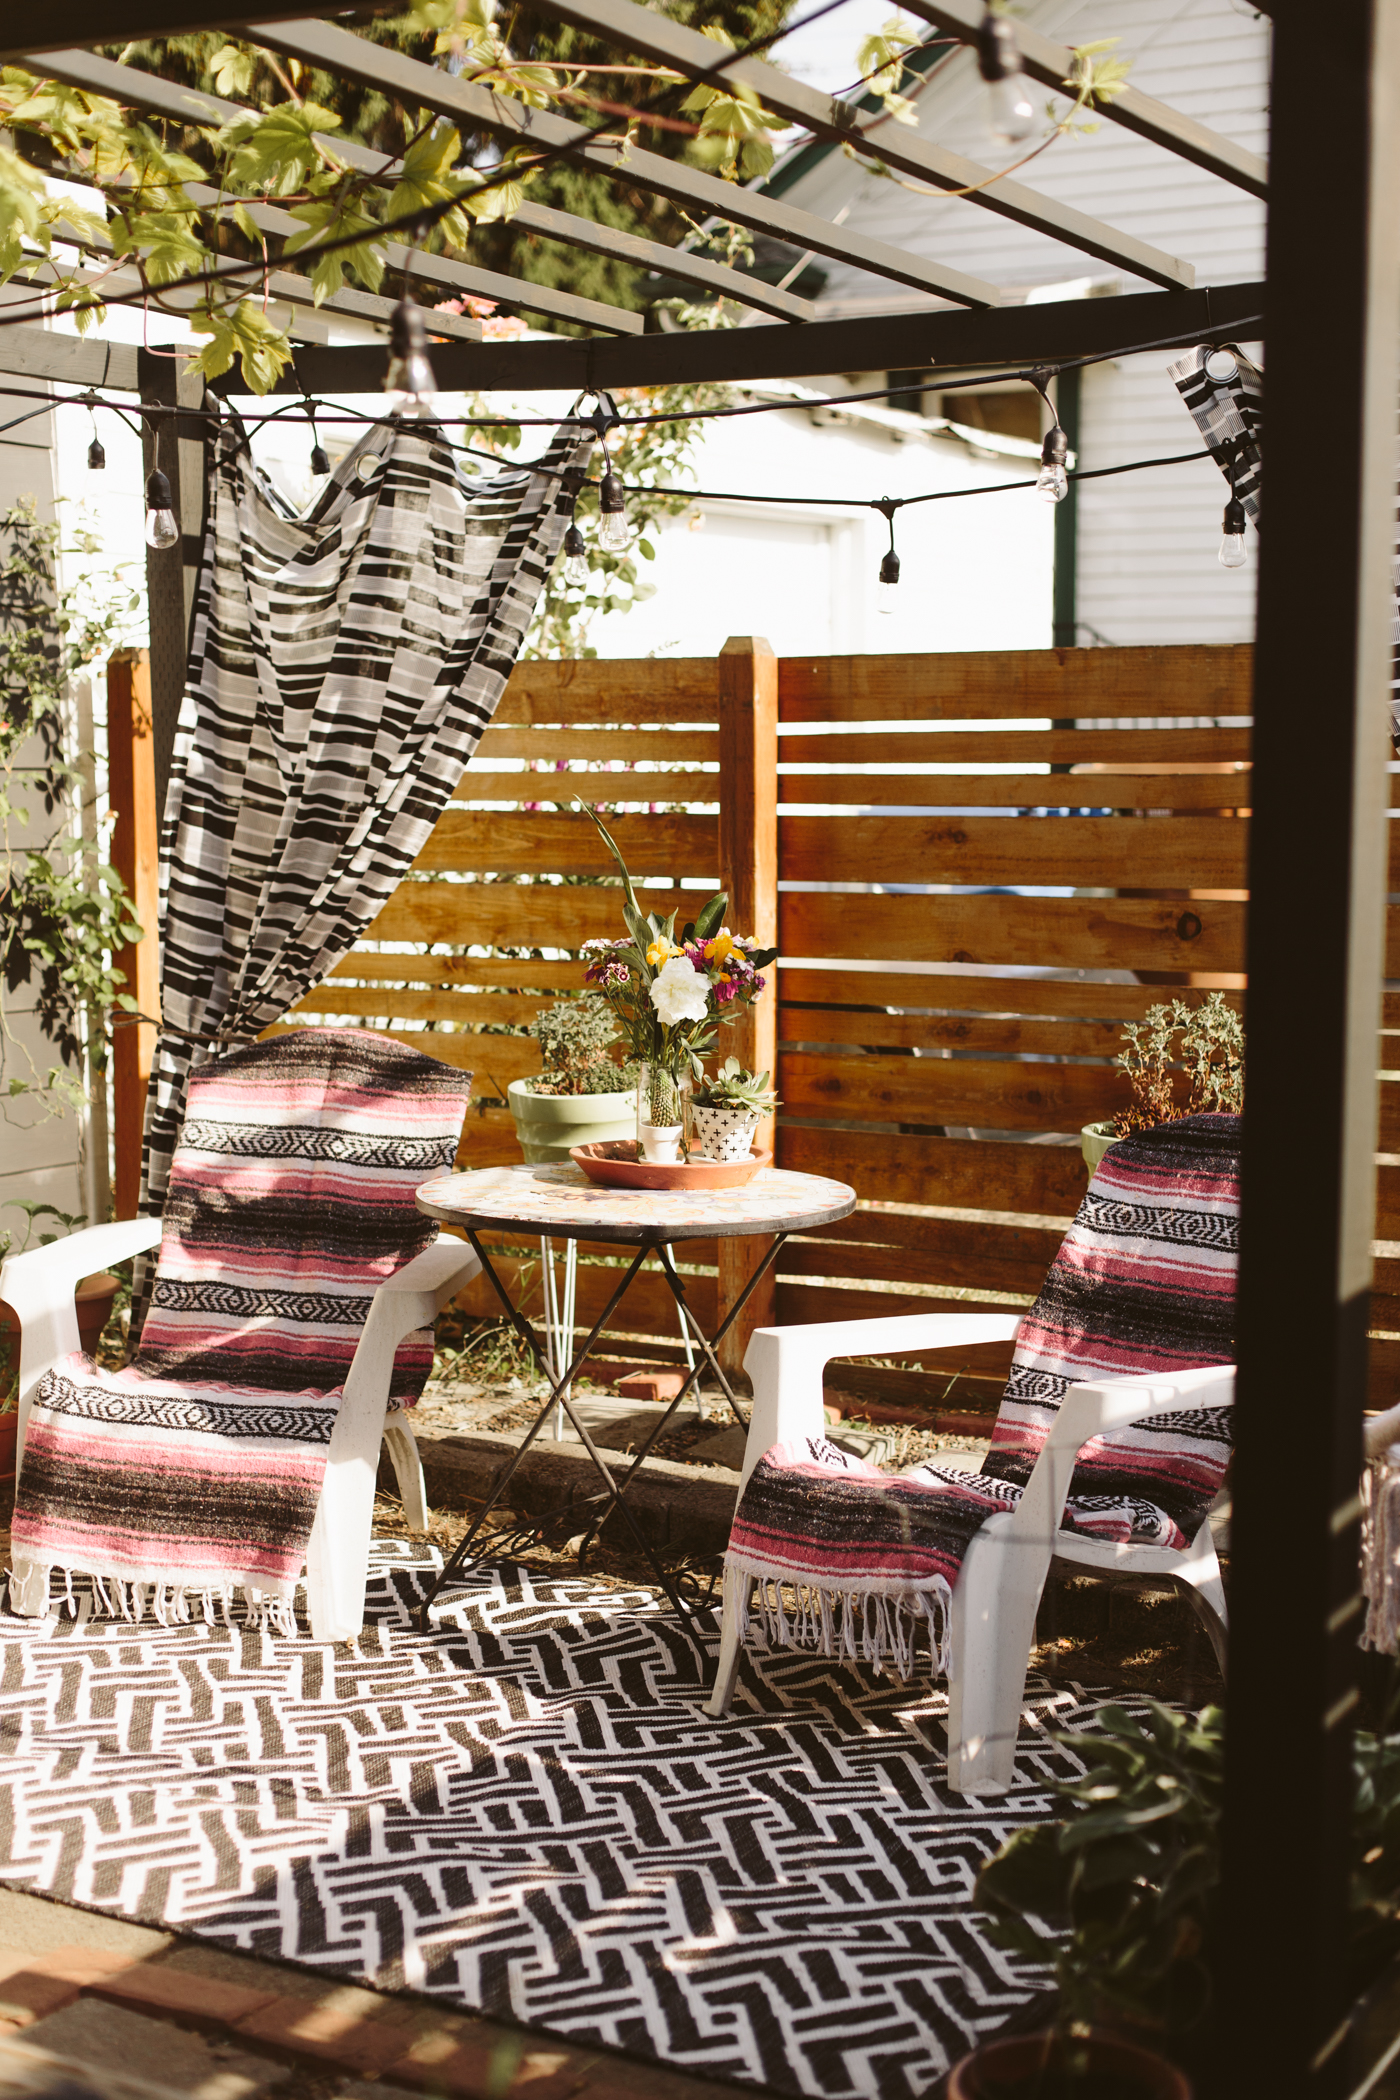
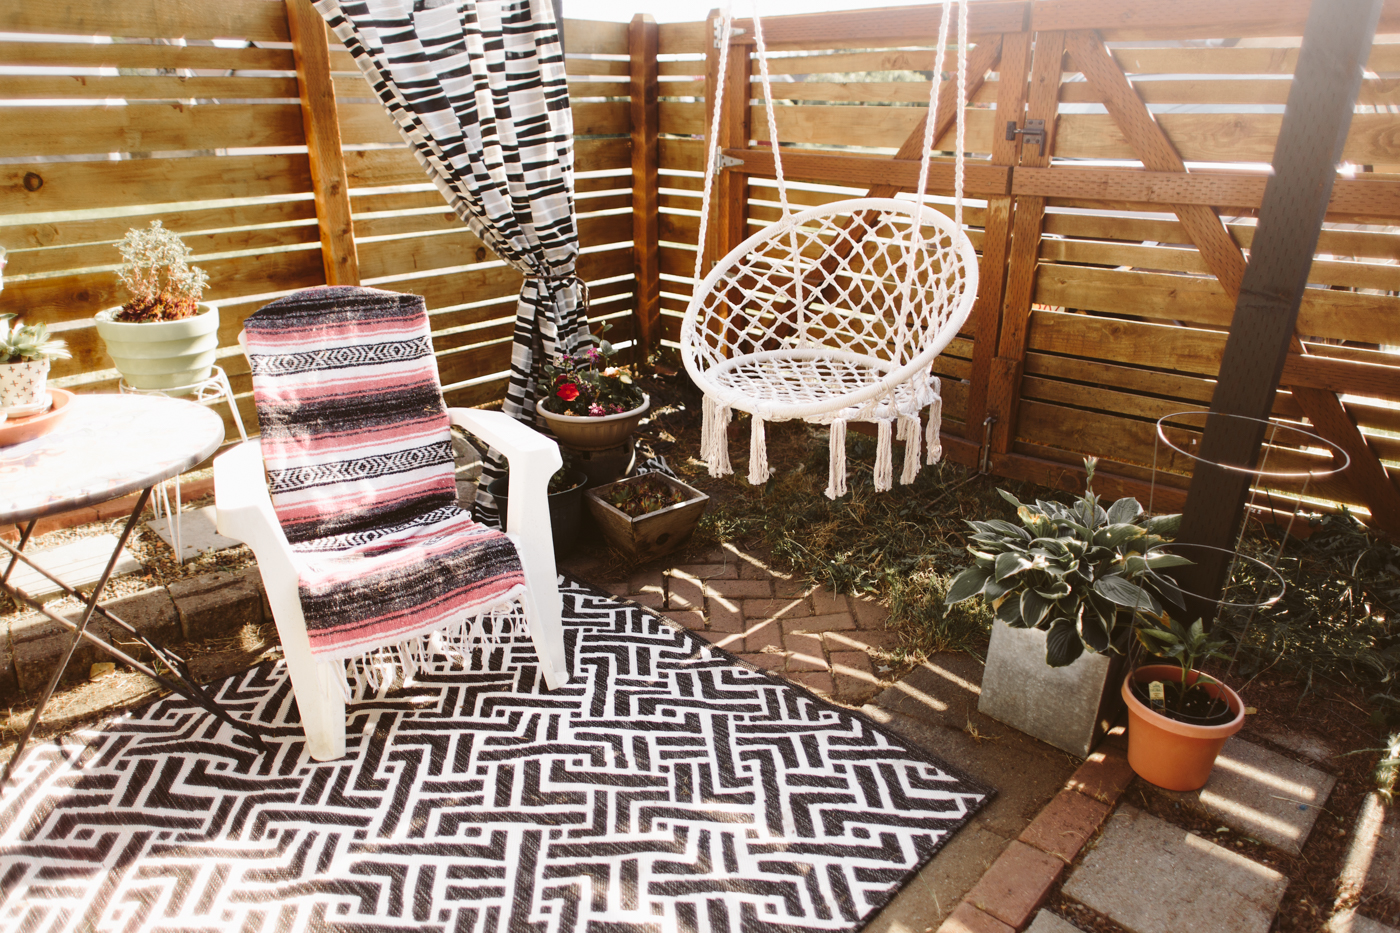
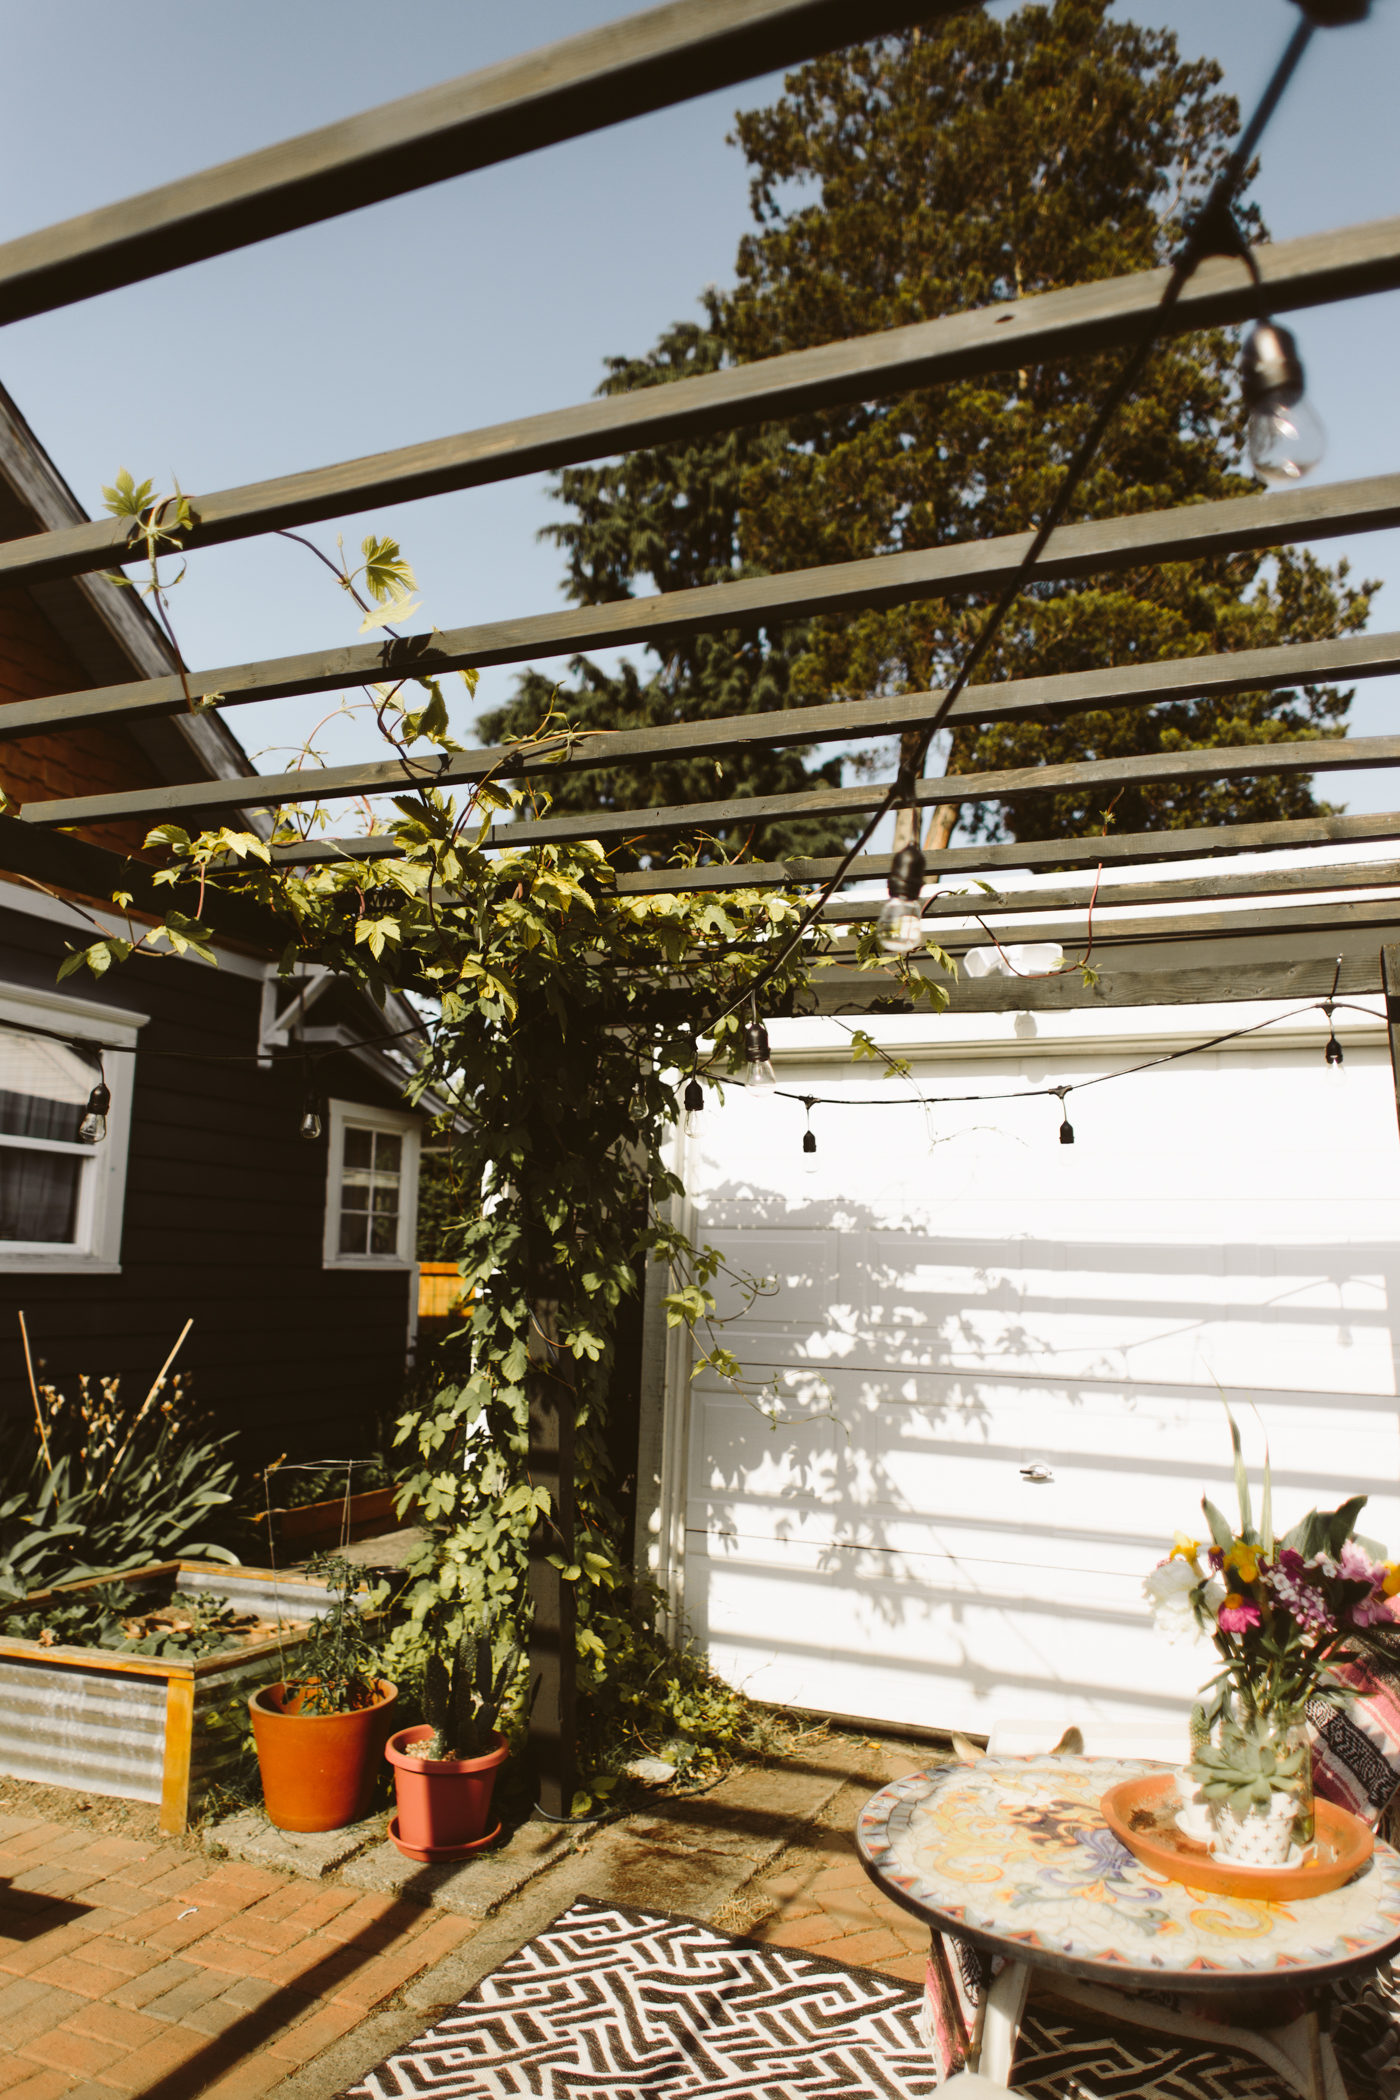
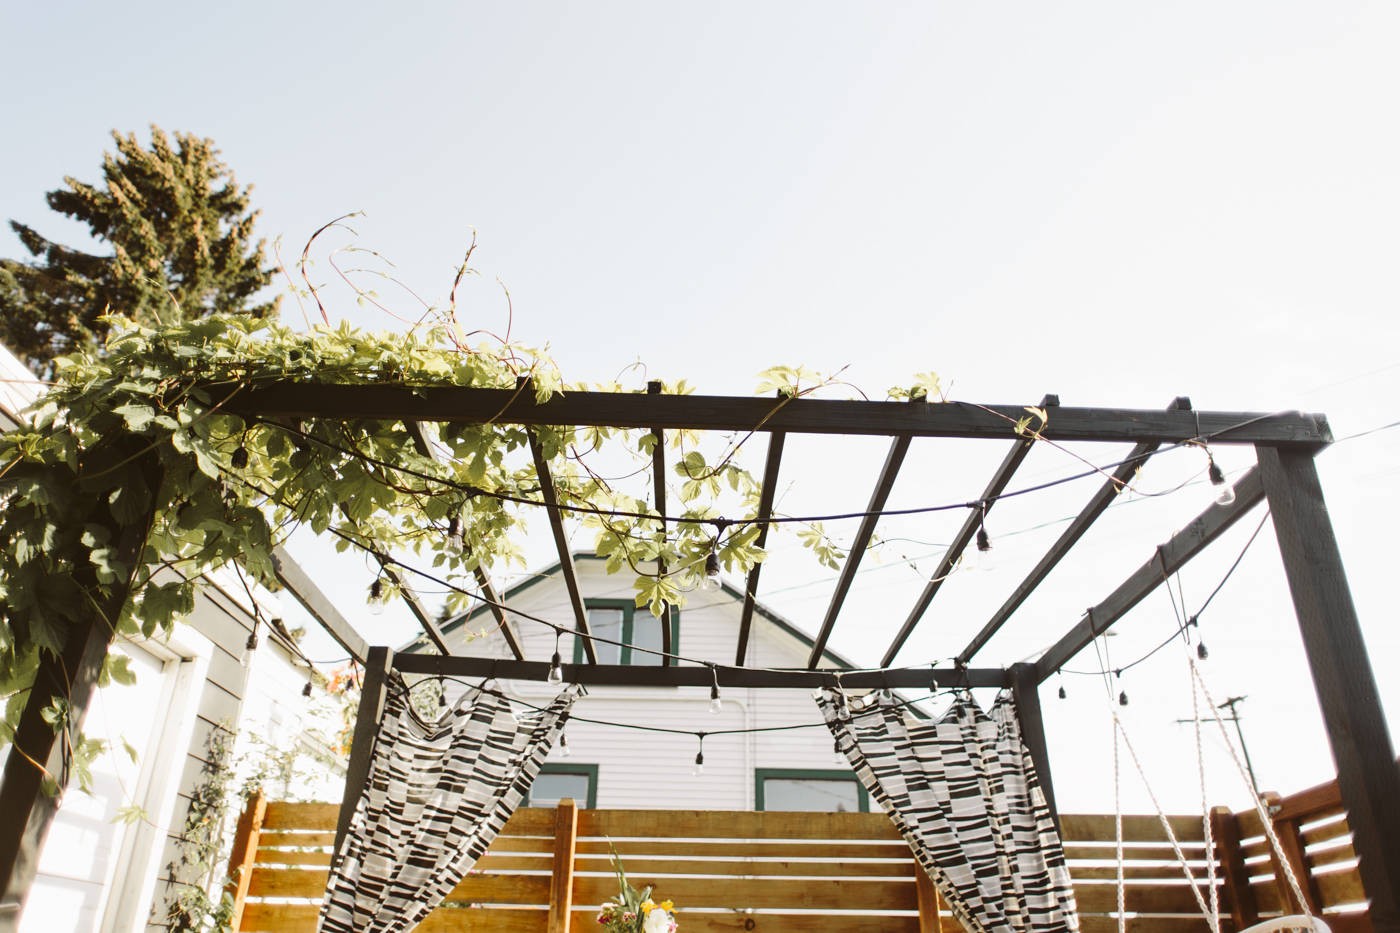
Several years ago I spotted a modern black pergola at Target. It was metal, and had a really simple silhouette that I loved. I believe it was around $400-500, which at the time was out of my budget (they no longer sell that one, but this one is similar). So one weekend I decided to build one myself that had a similar feel to it, and I did it for around $100. You can see that project here.
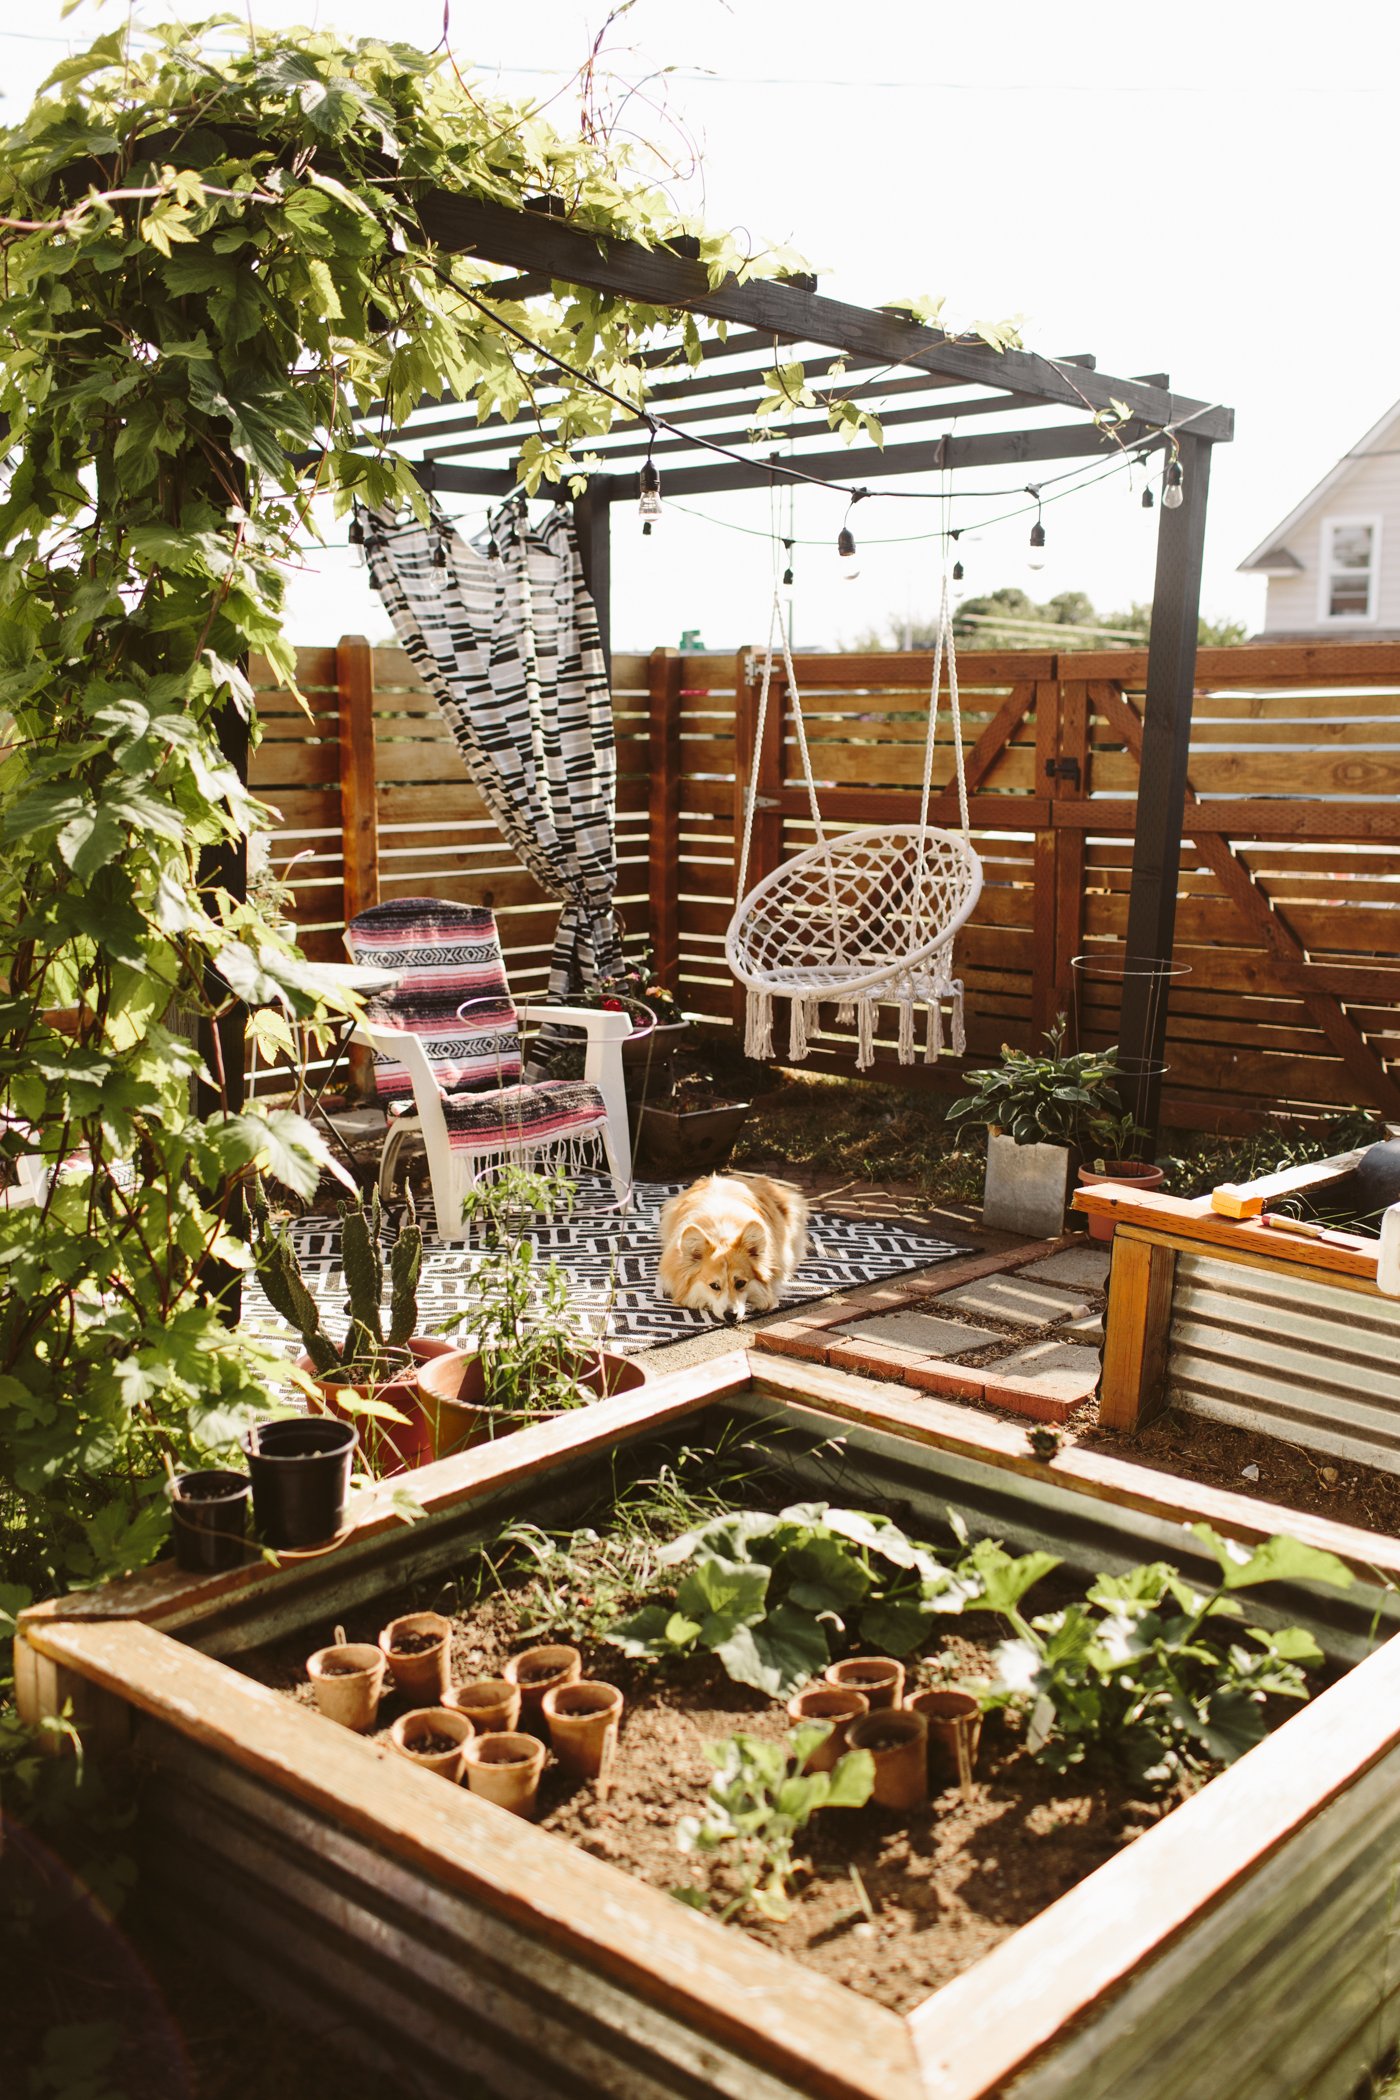
It actually ended up being a pretty great dupe of the Target version, and I made it using 4x4, 2x4, and 2x2 lumber, painted black. It was the perfect little pergola for our hops to climb on and I believe we had this pergola for about 3 years before we sold the house.
Pros:
— It was super affordable. I used cheap pine (instead of outdoor treated lumber or cedar), and paint I already had on hand.
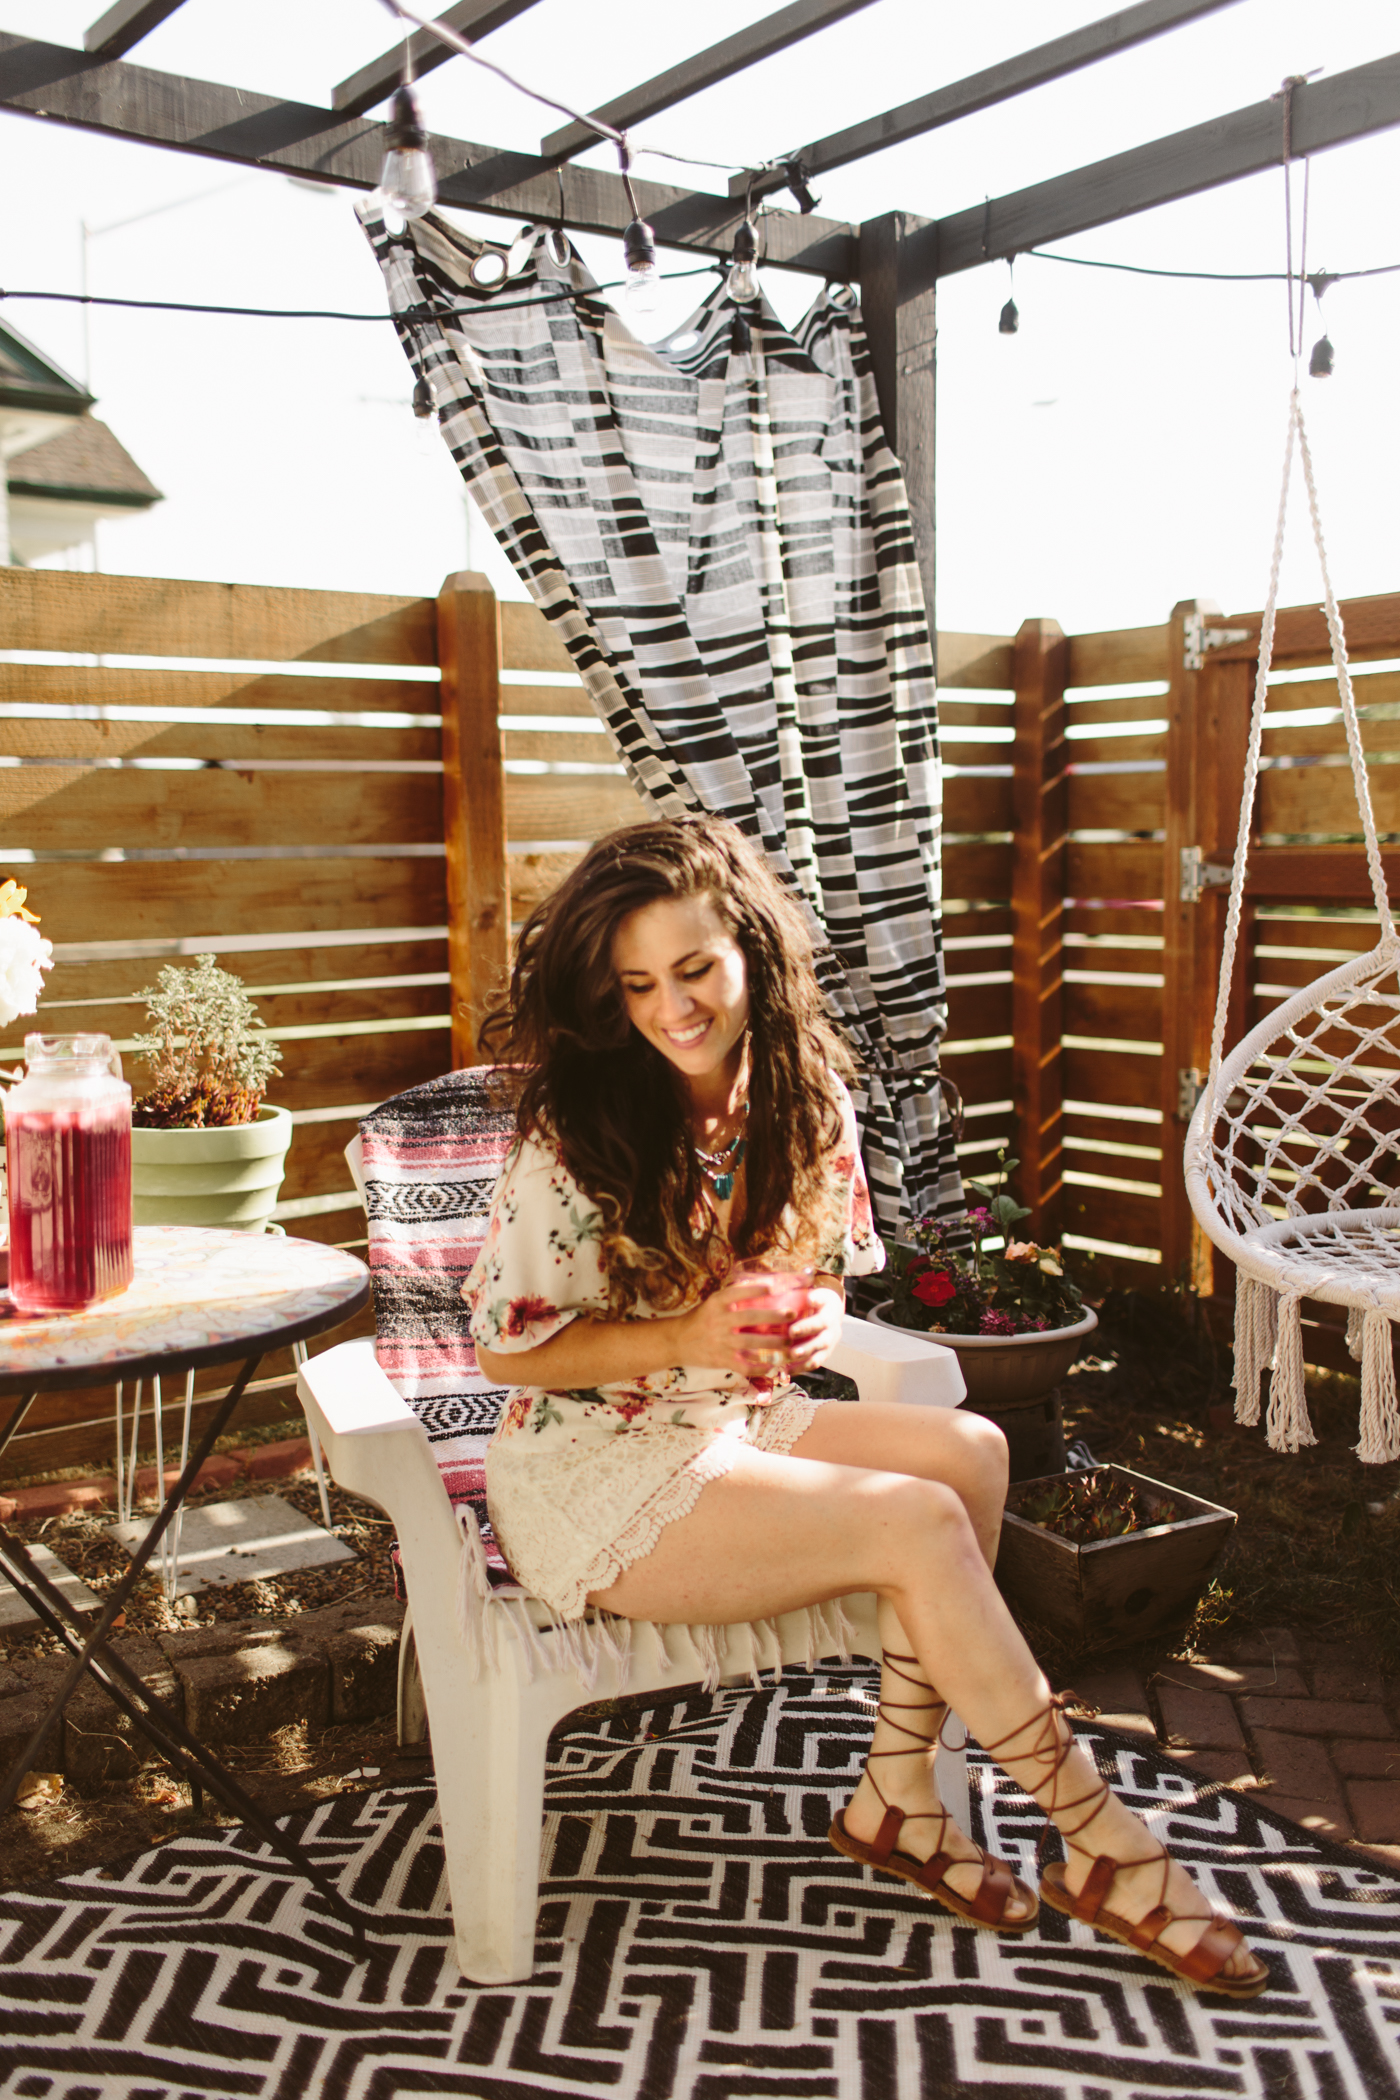
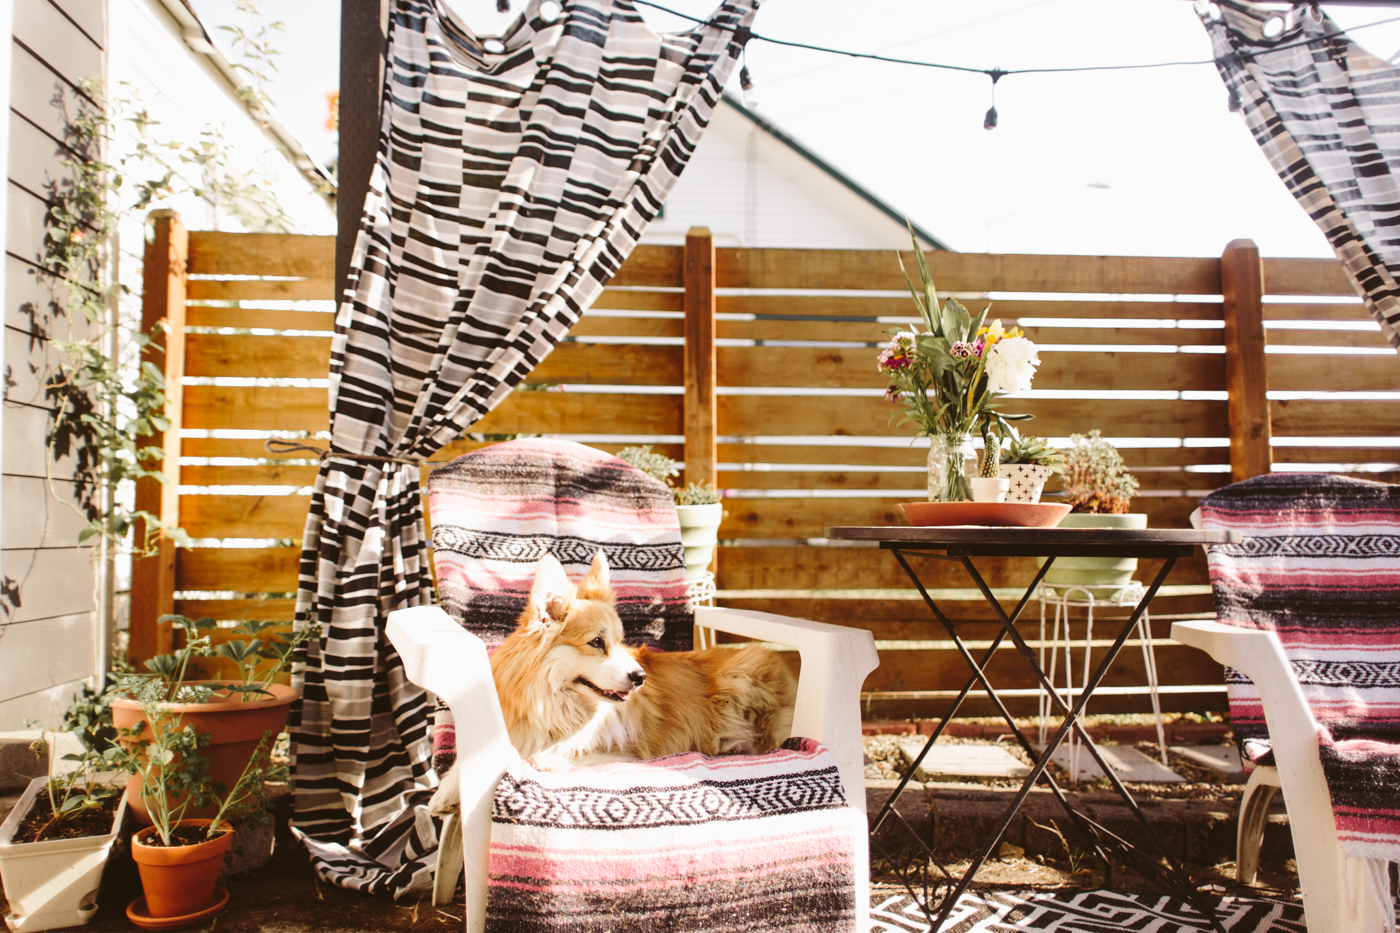
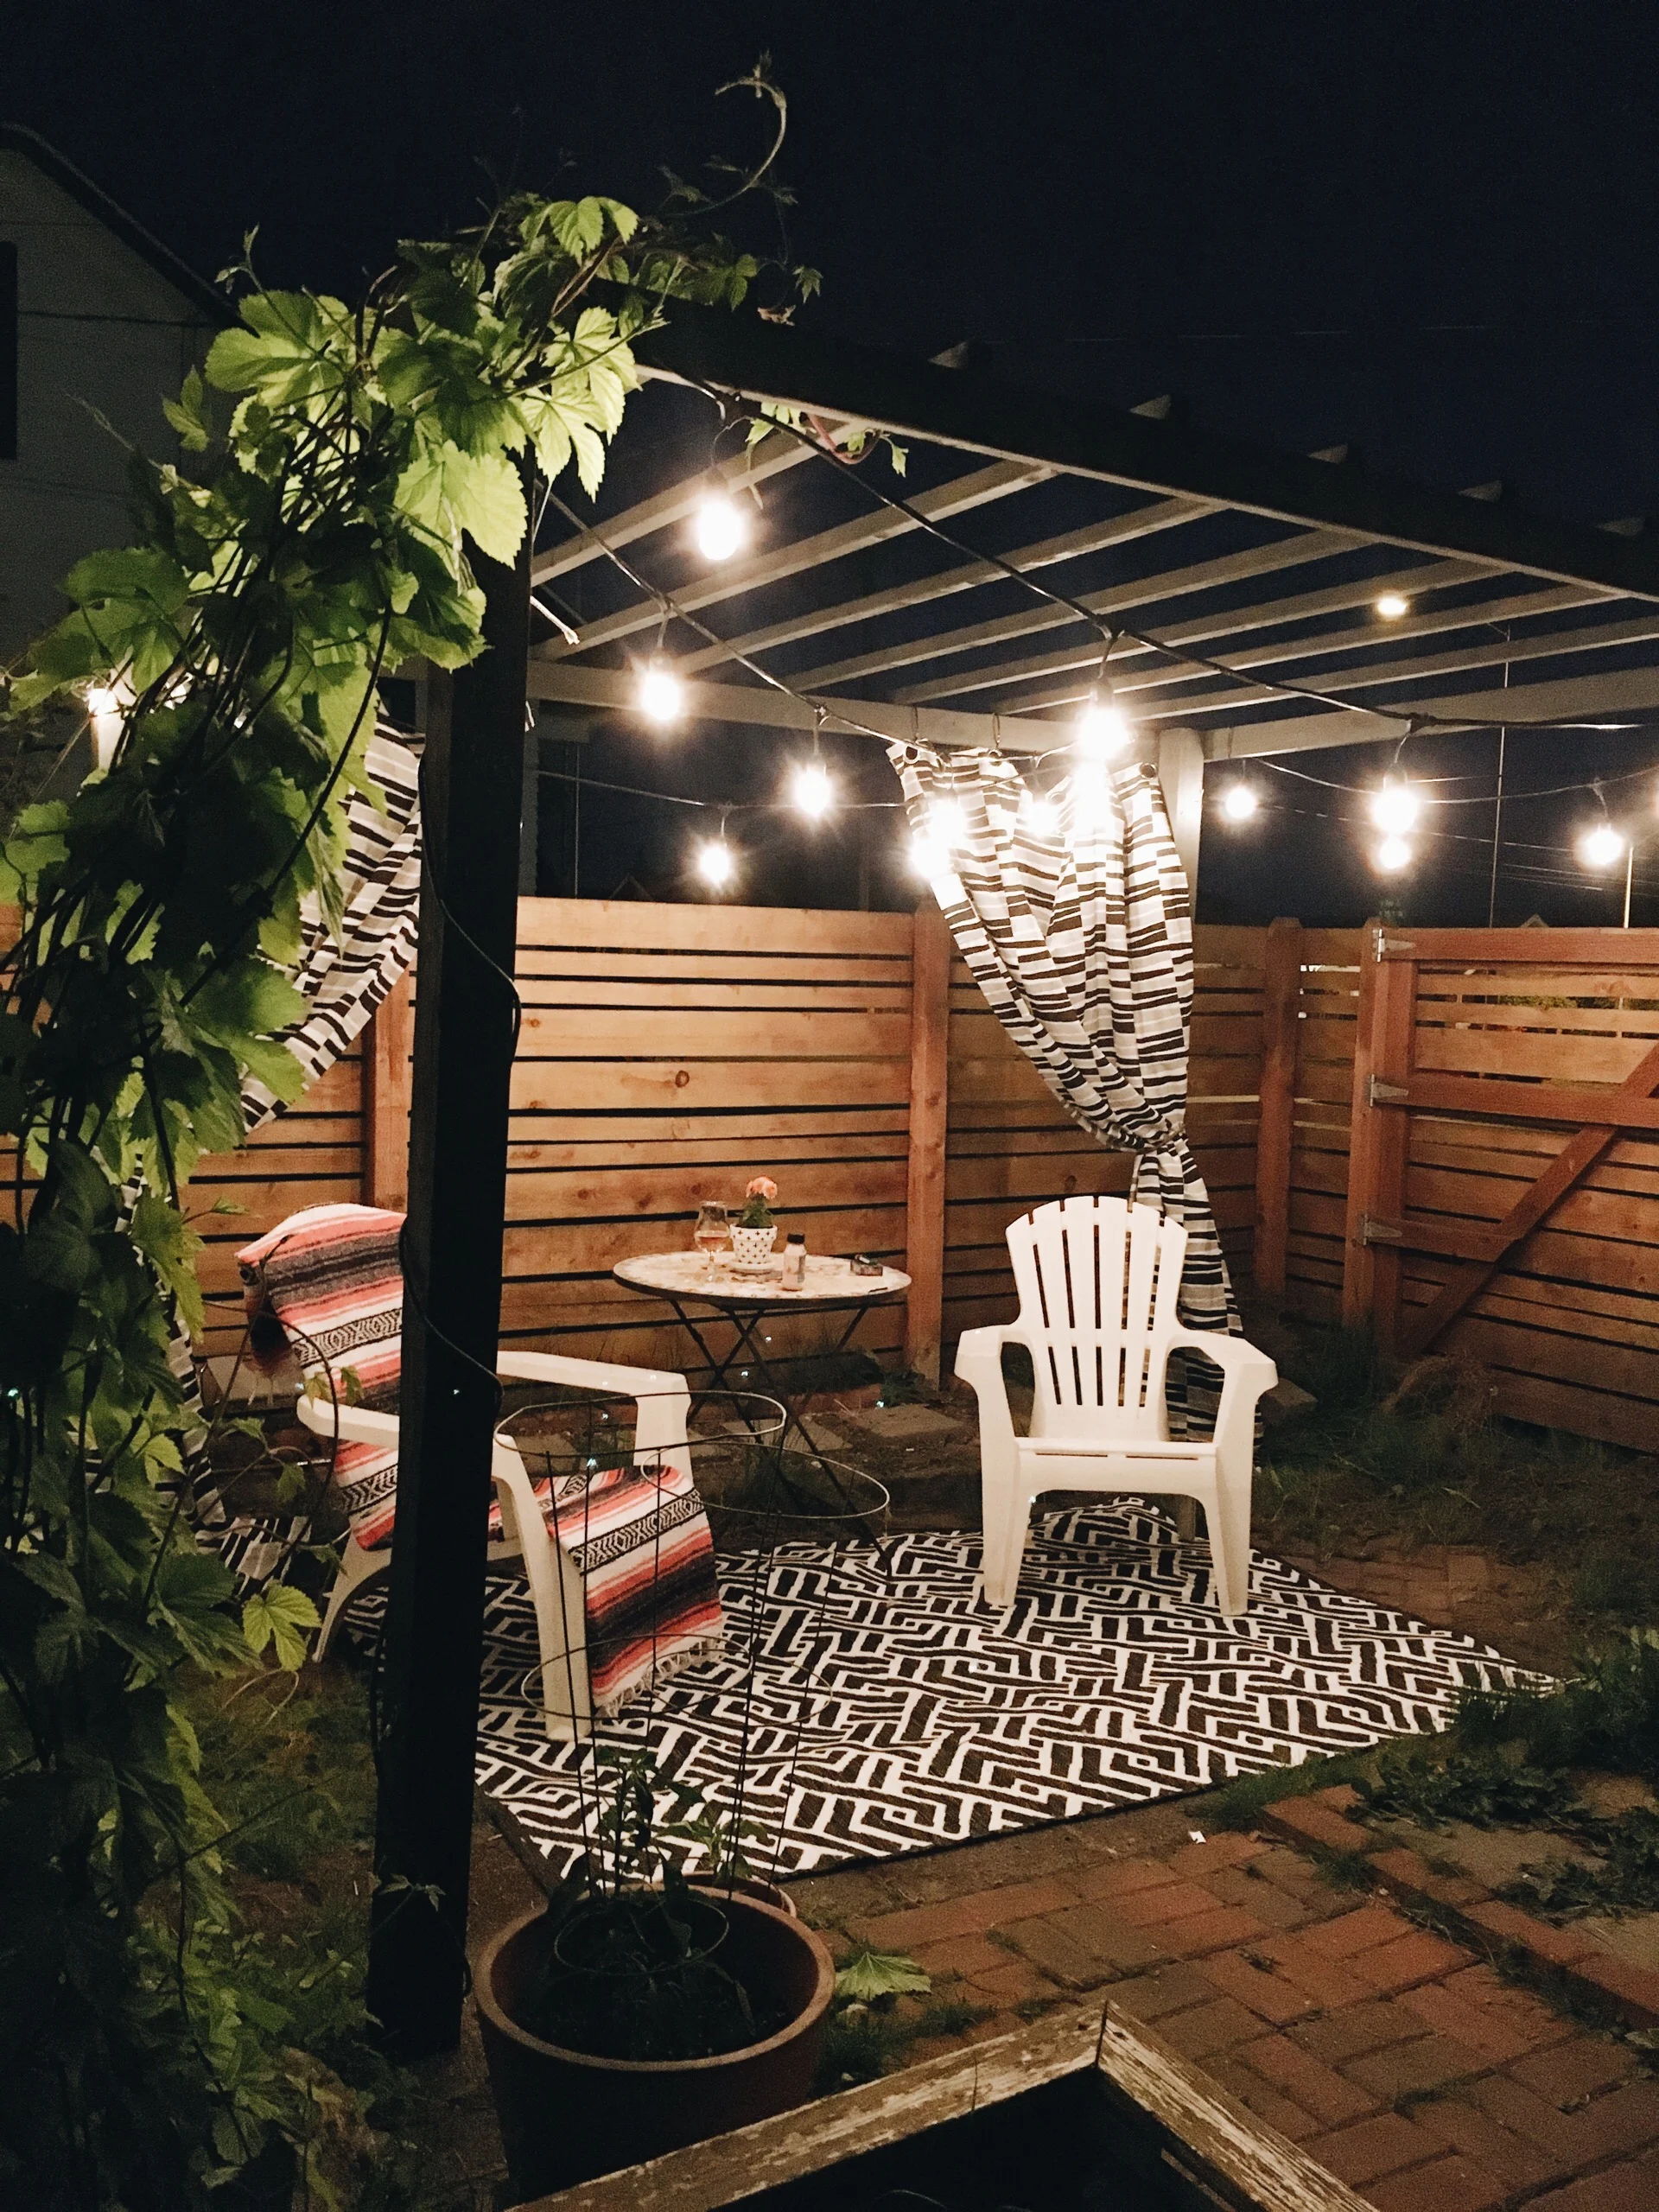
— It was the perfect place for our hops to climb, which made perfect shade in the summertime.
— It had the style I was wanting.
— It was easy and quick to build.
Cons:
— After a while it wasn’t very sturdy. I didn’t anchor it to the ground because it was sitting on concrete (and because I didn’t want it permanent), and it didn’t have any angle bracing in the corners. After a couple years we added some angle bracing in the corners to shore it up.
— Because it wasn’t made with outdoor lumber it might not have lasted for many years due to rot (especially because of how wet the winters are here in the pnw).
Despite the cons, I really liked this pergola. It was extremely affordable to build, and brought us tons of enjoyment for the few years we had it. We didn’t have the budget for something more expensive, so rather than not having a pergola at all, we had one that was a little chintzy, quality-wise, but it was all we needed. Had we stayed at this house for longer, I probably would have eventually replaced it or rebuilt it to something more high quality that would last a long time. (Also, it should be noted that this was built prior to the price hikes on lumber in 2020, so it might be over $100 to build at this time).

The investment pergola:
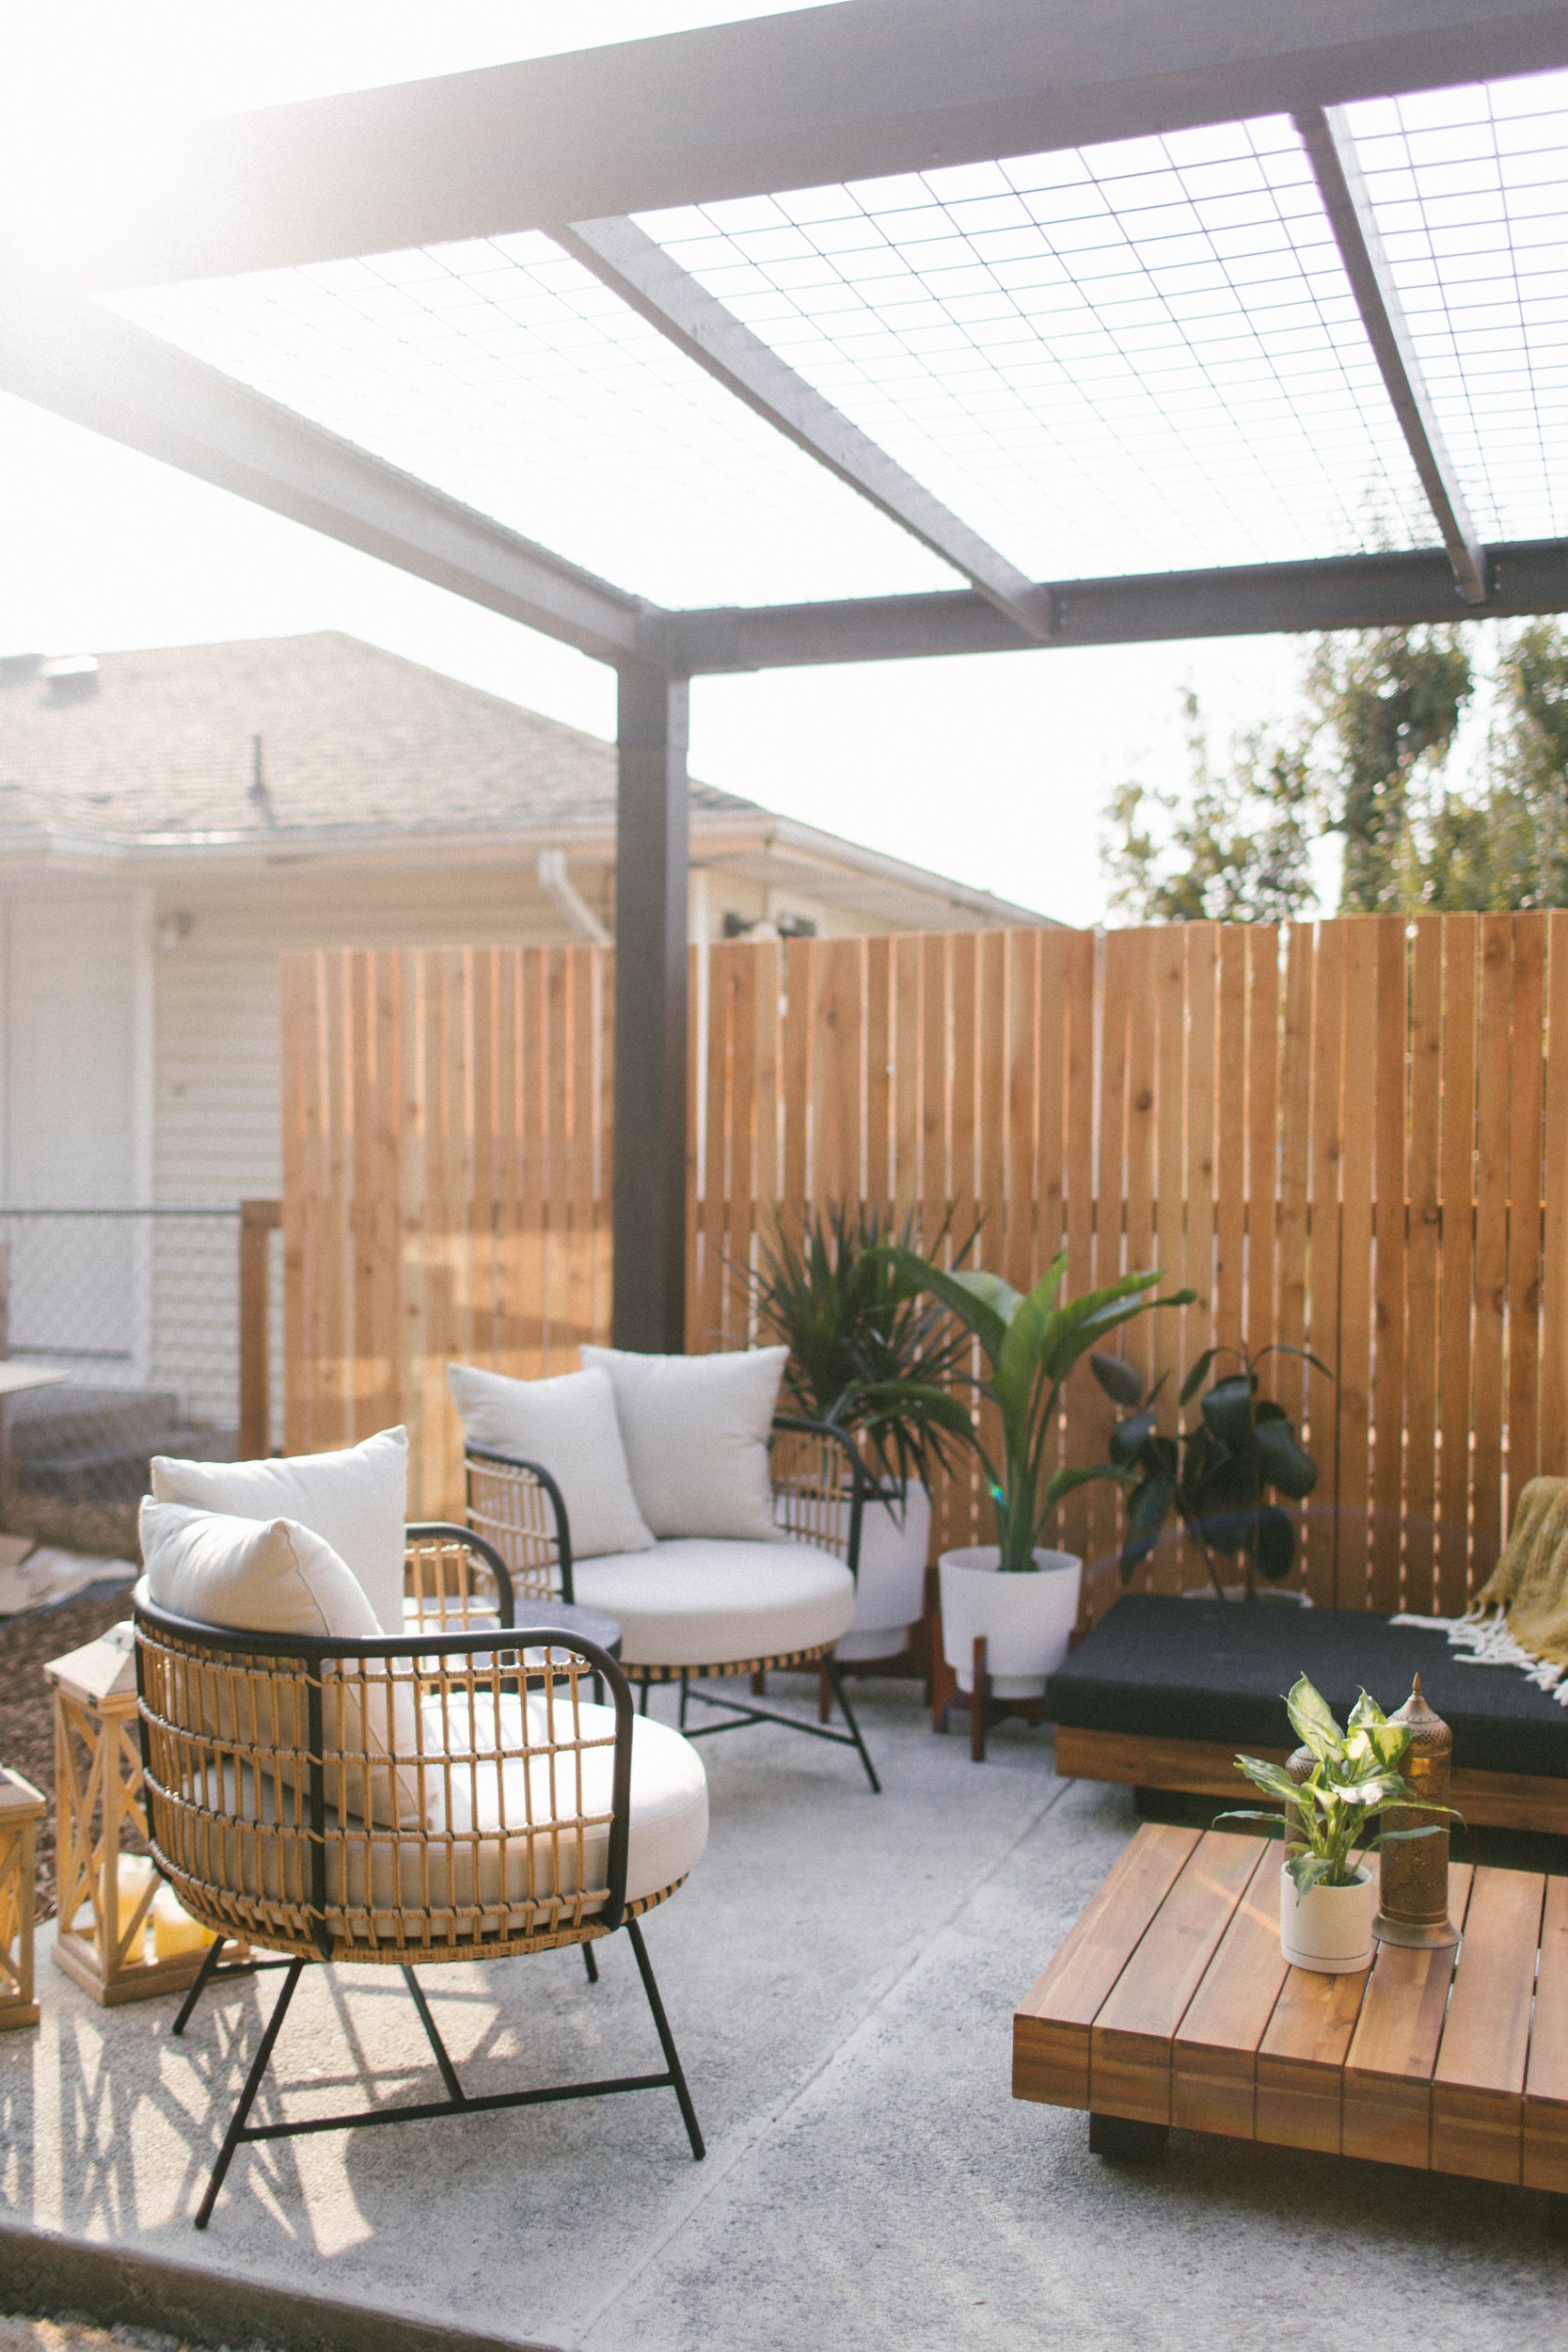
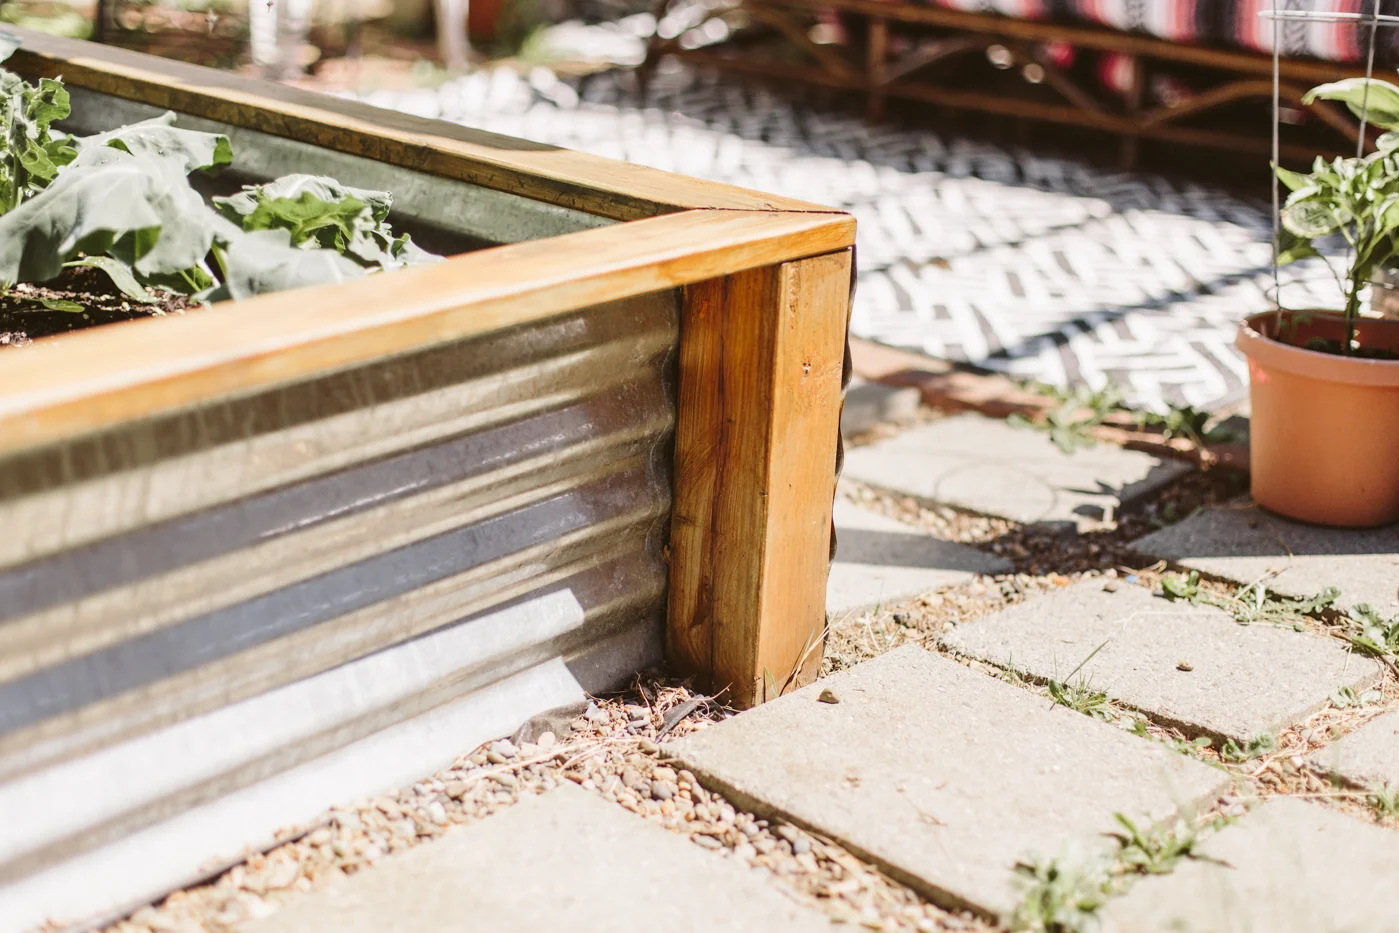
This pergola was part of an entire patio build project, so I knew I wanted something that was high quality, sturdy, and would last. Because the budget pergola was built in front of our garage door, I didn’t want it to be permanent in case we ever needed to drive a car into the garage (we didn’t use it for a car, but just in case). This pergola wasn’t going to be going anywhere that it might need to move, so I felt comfortable installing something super permanent.

This pergola, with all the components we used, totals about $3500. Because I worked with LINX on this project as a sponsored campaign they provided the materials, so I made sure to price things out online so I could know the full cost of this pergola. This number includes all the brackets (the corner brackets, and the base brackets that attach it to the patio), the metal grate on the roof, and the 6x6 timbers. LINX makes their own hollow engineered timbers, which I used in this pergola (they’re nice because they are lighter weight and you can hide any electrical cords inside the hollow core if you’re doing any sort of lighting). These timbers are definitely more expensive than standard 6x6 lumber, so you could also cut costs there as well.
Pros:
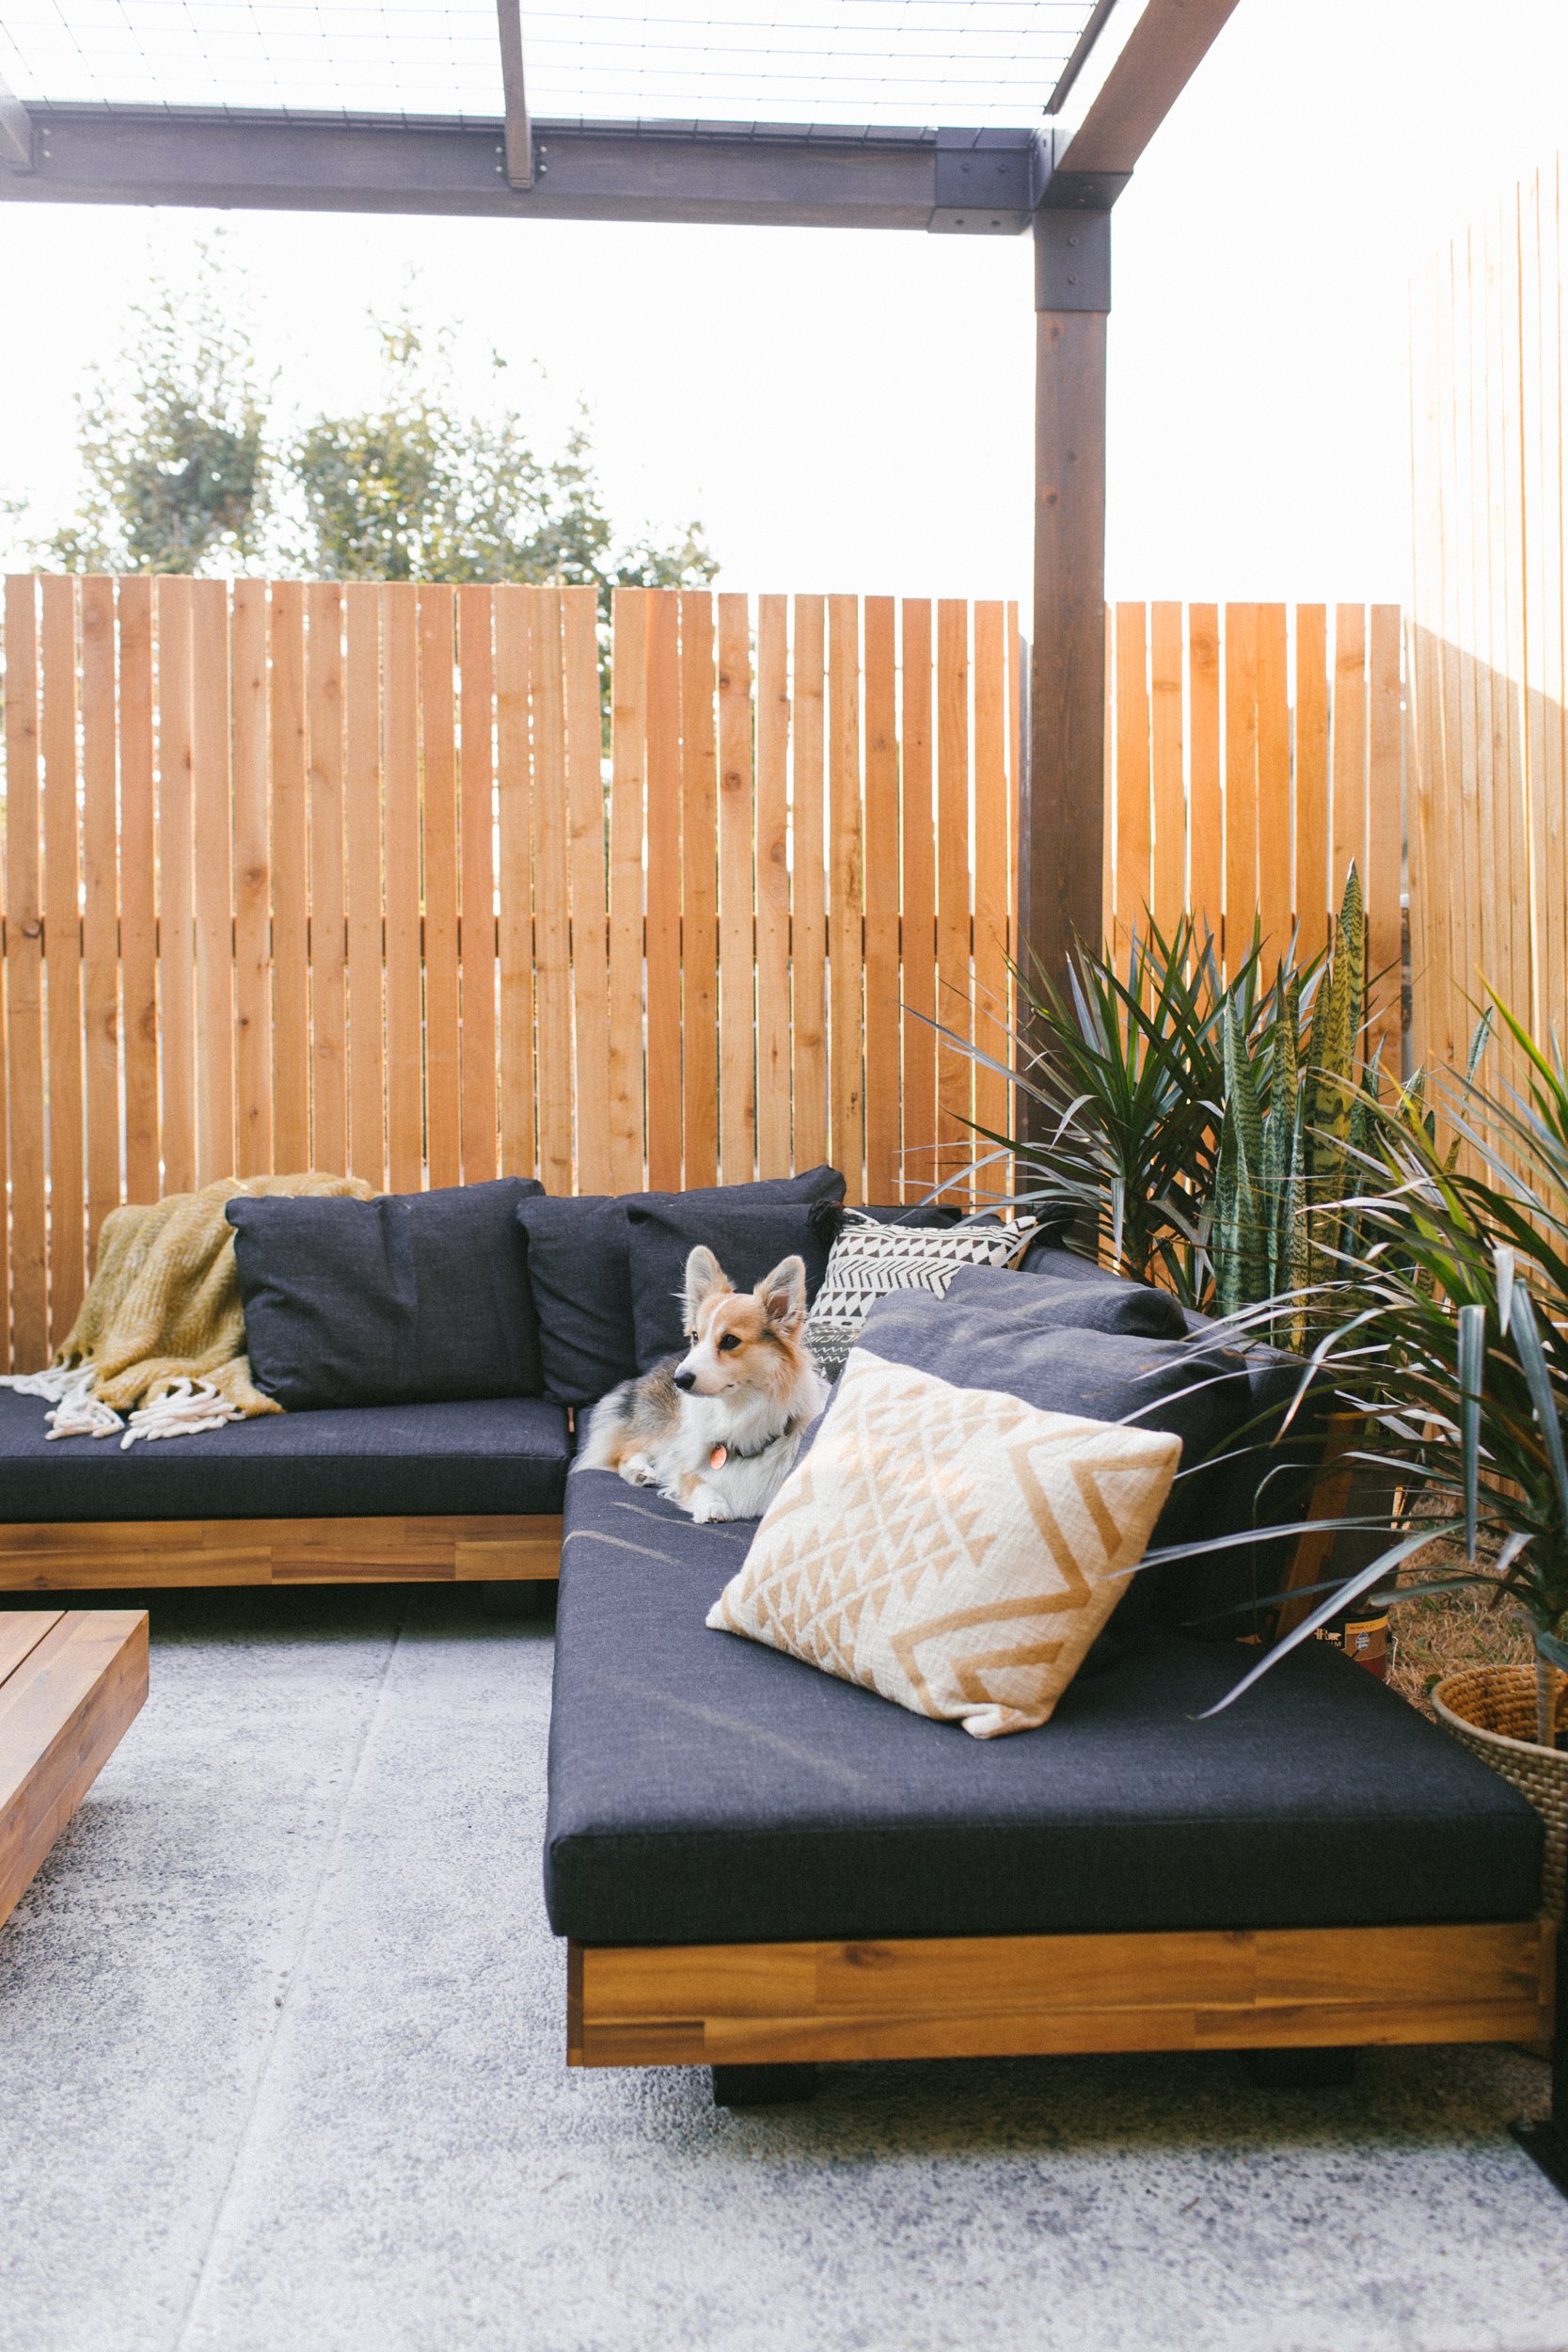
— This thing is solid. It’s definitely going to last decades.
— It has the style I want (again— modern), but there are also a ton of different ways to utilize the LINX bracket system to create a totally custom pergola.
— Even though the timbers are engineered, they’re still real wood (unlike something like Trex decking, which isn’t) so I could stain them the color I wanted.
— I designed the custom roof to be the perfect place for hops to climb because I loved how the hops climbed on our old pergola so much (LINX also has shade sails that work perfectly with their brackets, if you’re wanting a shade situation)
Cons:
— Way more expensive than $100 (we built ours with 6x6 lumber/brackets, which are more expensive. LINX also has 4x4 brackets and STIX timbers that cost a bit less).
— Not as easy or quick to build. Because this was made with 6x6 timbers, it was much heavier, and we needed about 4 people to put it up, whereas I was able to build and put up the cheaper pergola entirely by myself.

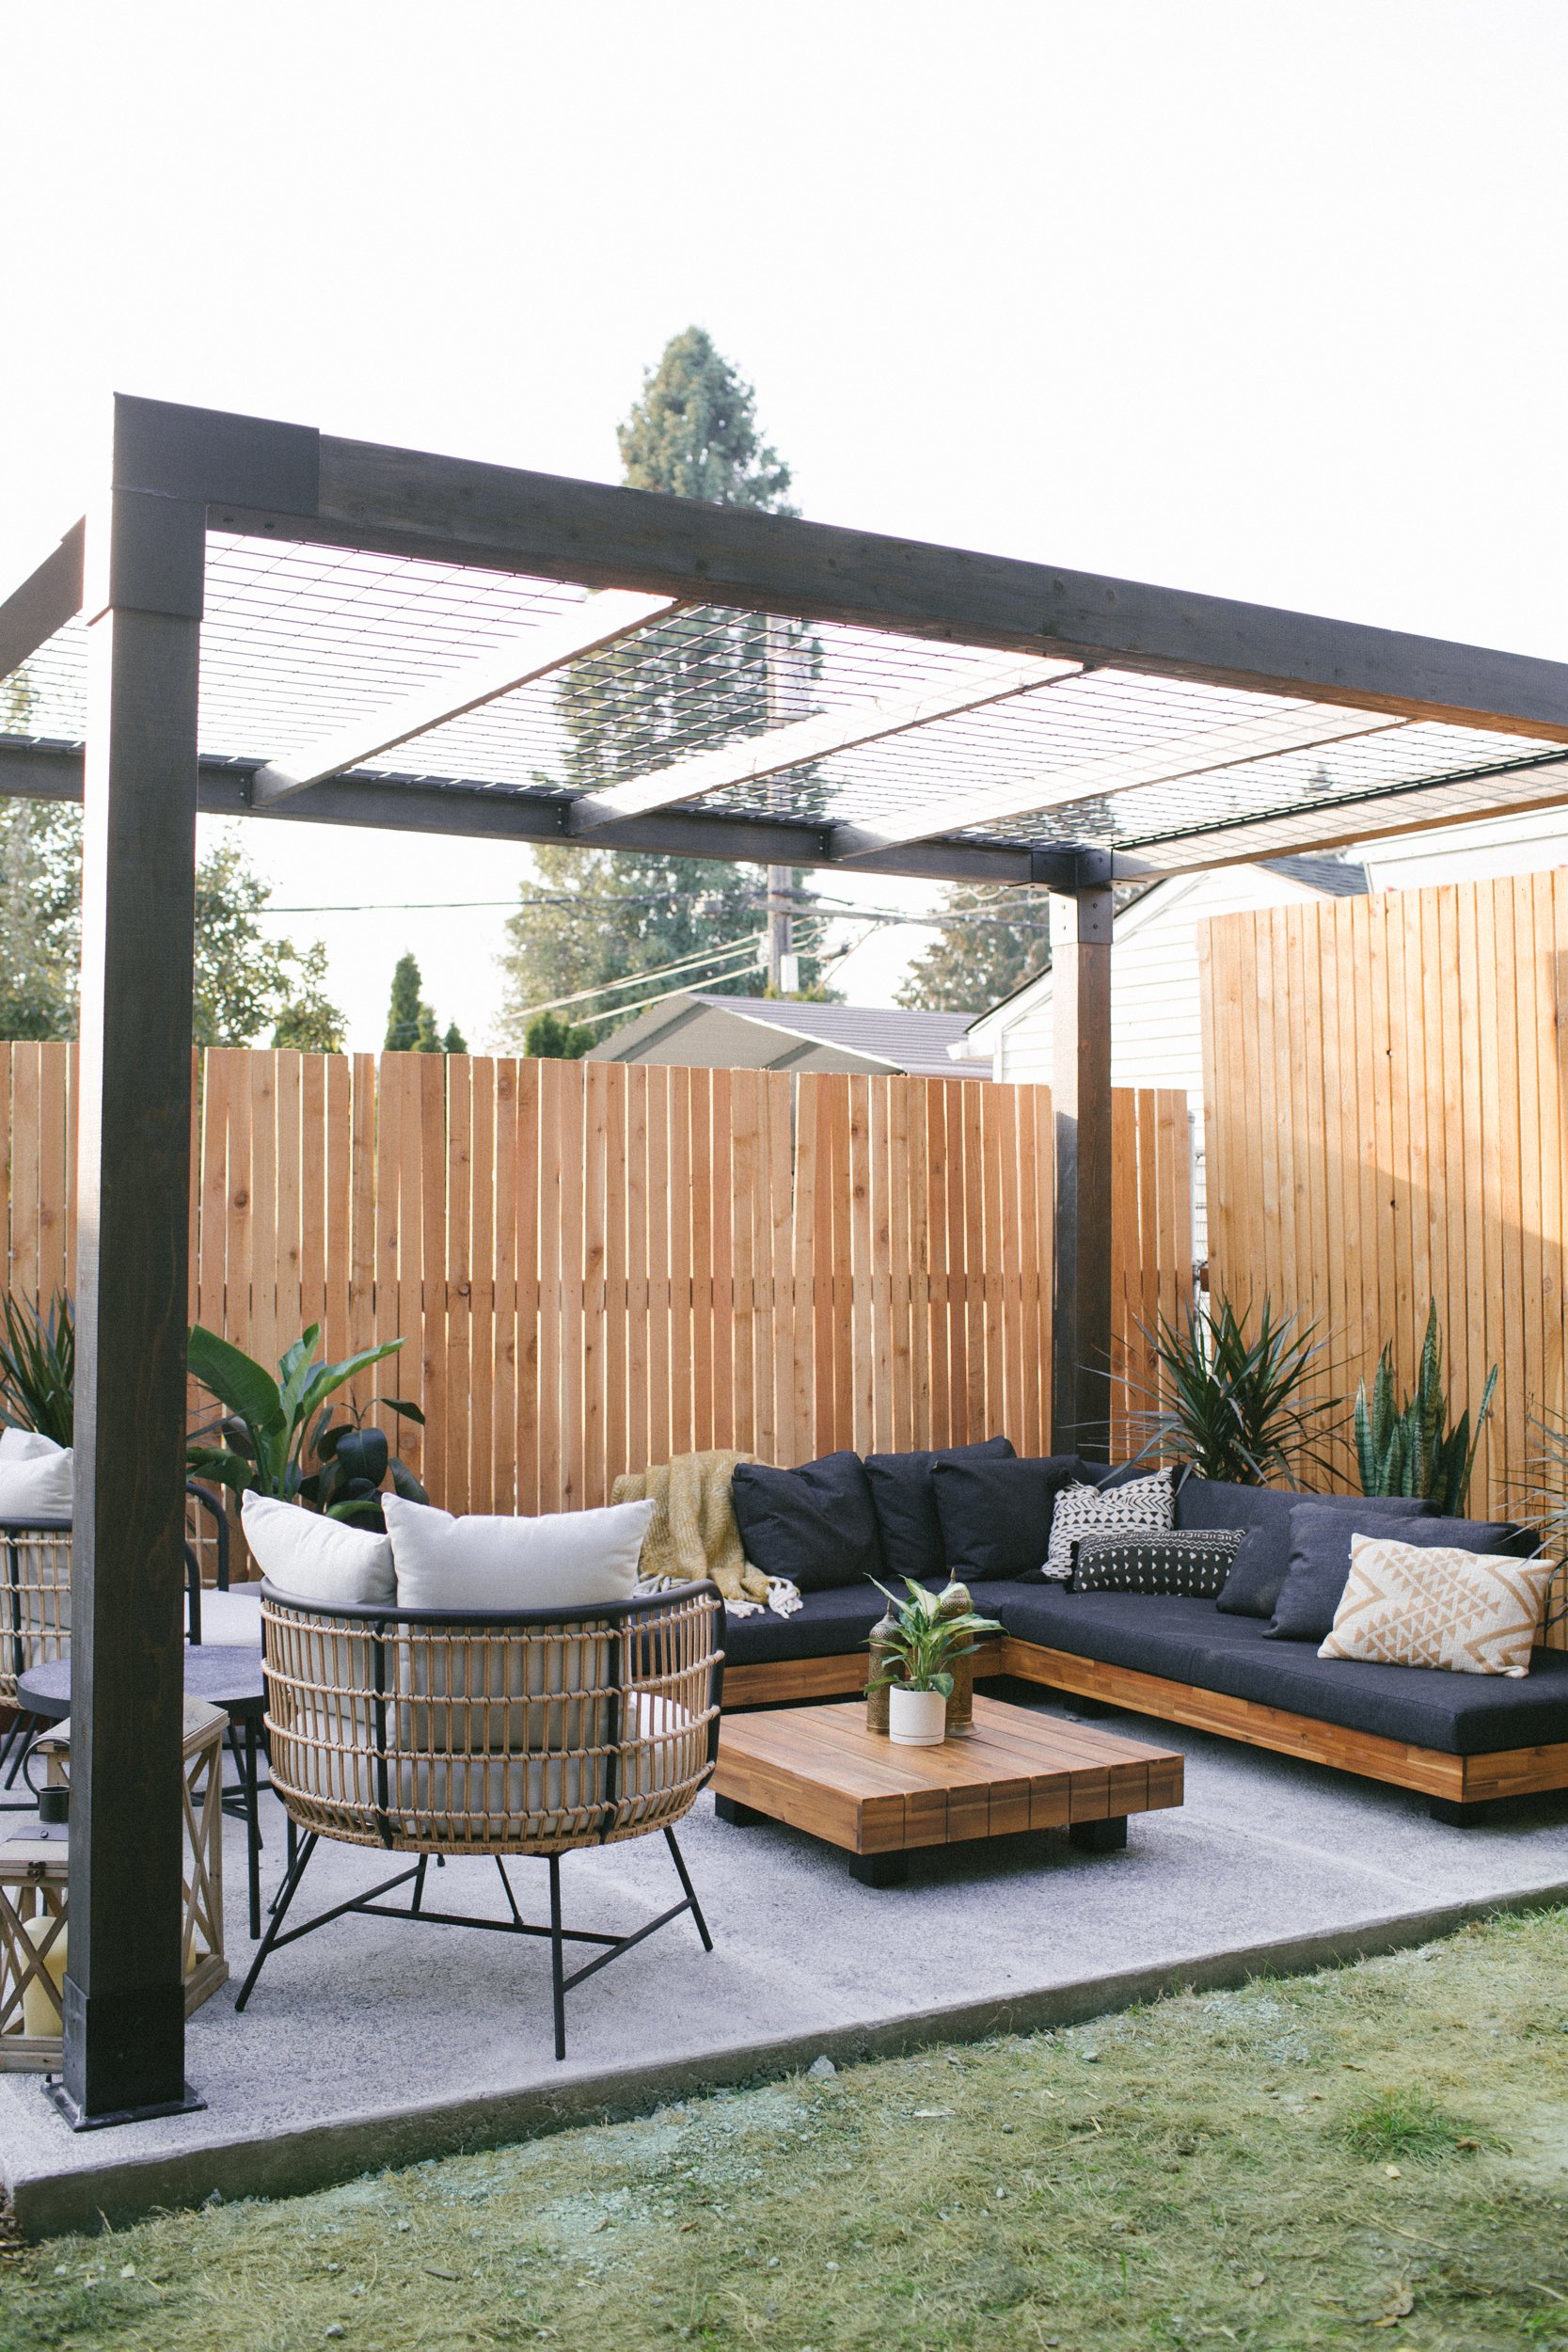
I love both of these pergolas for different reasons, and I don’t think one is better than the other because each one has their place. Not everything has to always be the highest, best quality. It’s okay to do things in a more affordable way, especially if you go into it knowing that it’s not going to last forever. Our cheap pergola worked amazing for us, and the fancier LINX pergola is perfect in its own way as well. Most importantly, do what works for your life, your space, and your finances.
Now, obviously, there’s a pretty big gap between $100 and $3500 and there are plenty of pergola options out there in between that price range.

10x12ft Pergola — $1422

12x12ft Pergola — $599

10x12 ft Pergola — $2048

10x12 ft Pergola — $1633

10x12ft Pergola — $630
I hope that gives you a few more options within some different budgets for pergolas. I haven’t used any of the ones I linked above so I can’t speak to their quality, but they all have a similar modern look, which is what I was going for with both of my pergolas. I can’t wait to get outside this summer and enjoy our new patio and pergola, and I hope this helps you figure out your pergola patio situation this summer too!


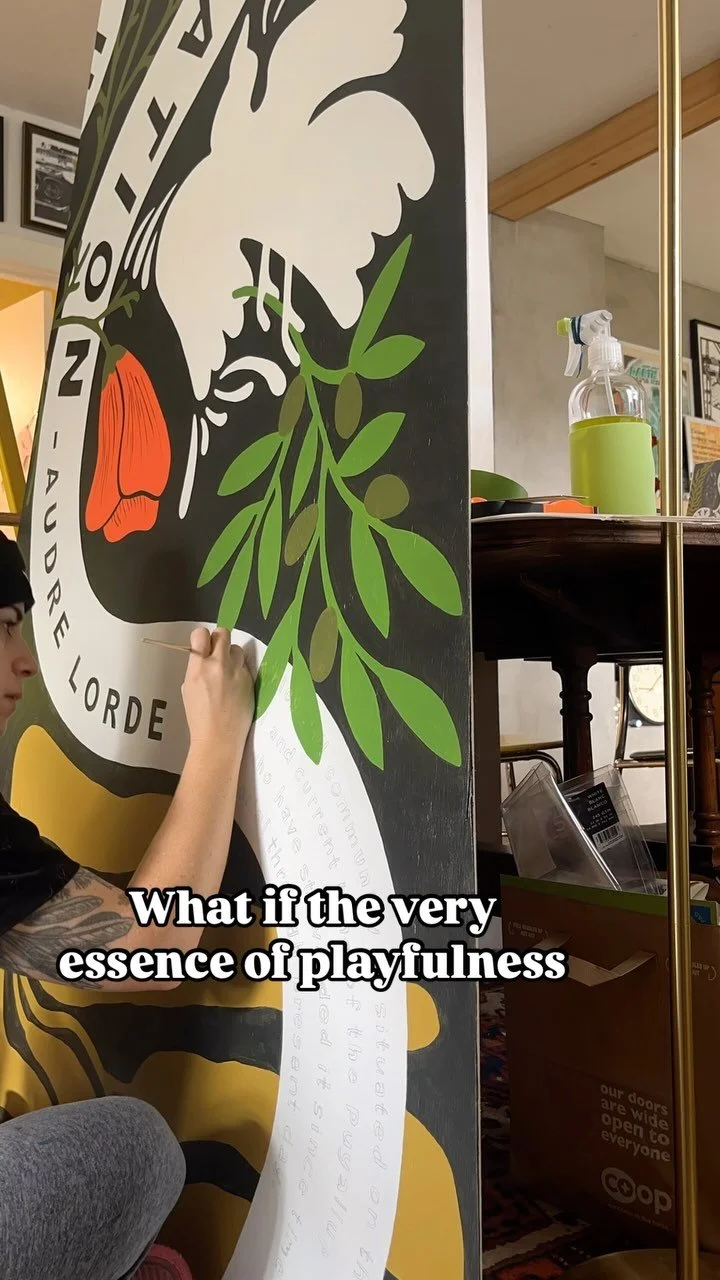

![This print feels even more relevant today. We all joke about the dumpster fire of [insert year here], but the important message of this image to me is that *we persist* through the horrors. We stand, we fight— maybe for ourselves, maybe for oth](https://images.squarespace-cdn.com/content/v1/574dddd6d51cd4bc35c1609a/1730935170369-03GPKQ5NF73VAE65RHO6/image-asset.jpeg)


