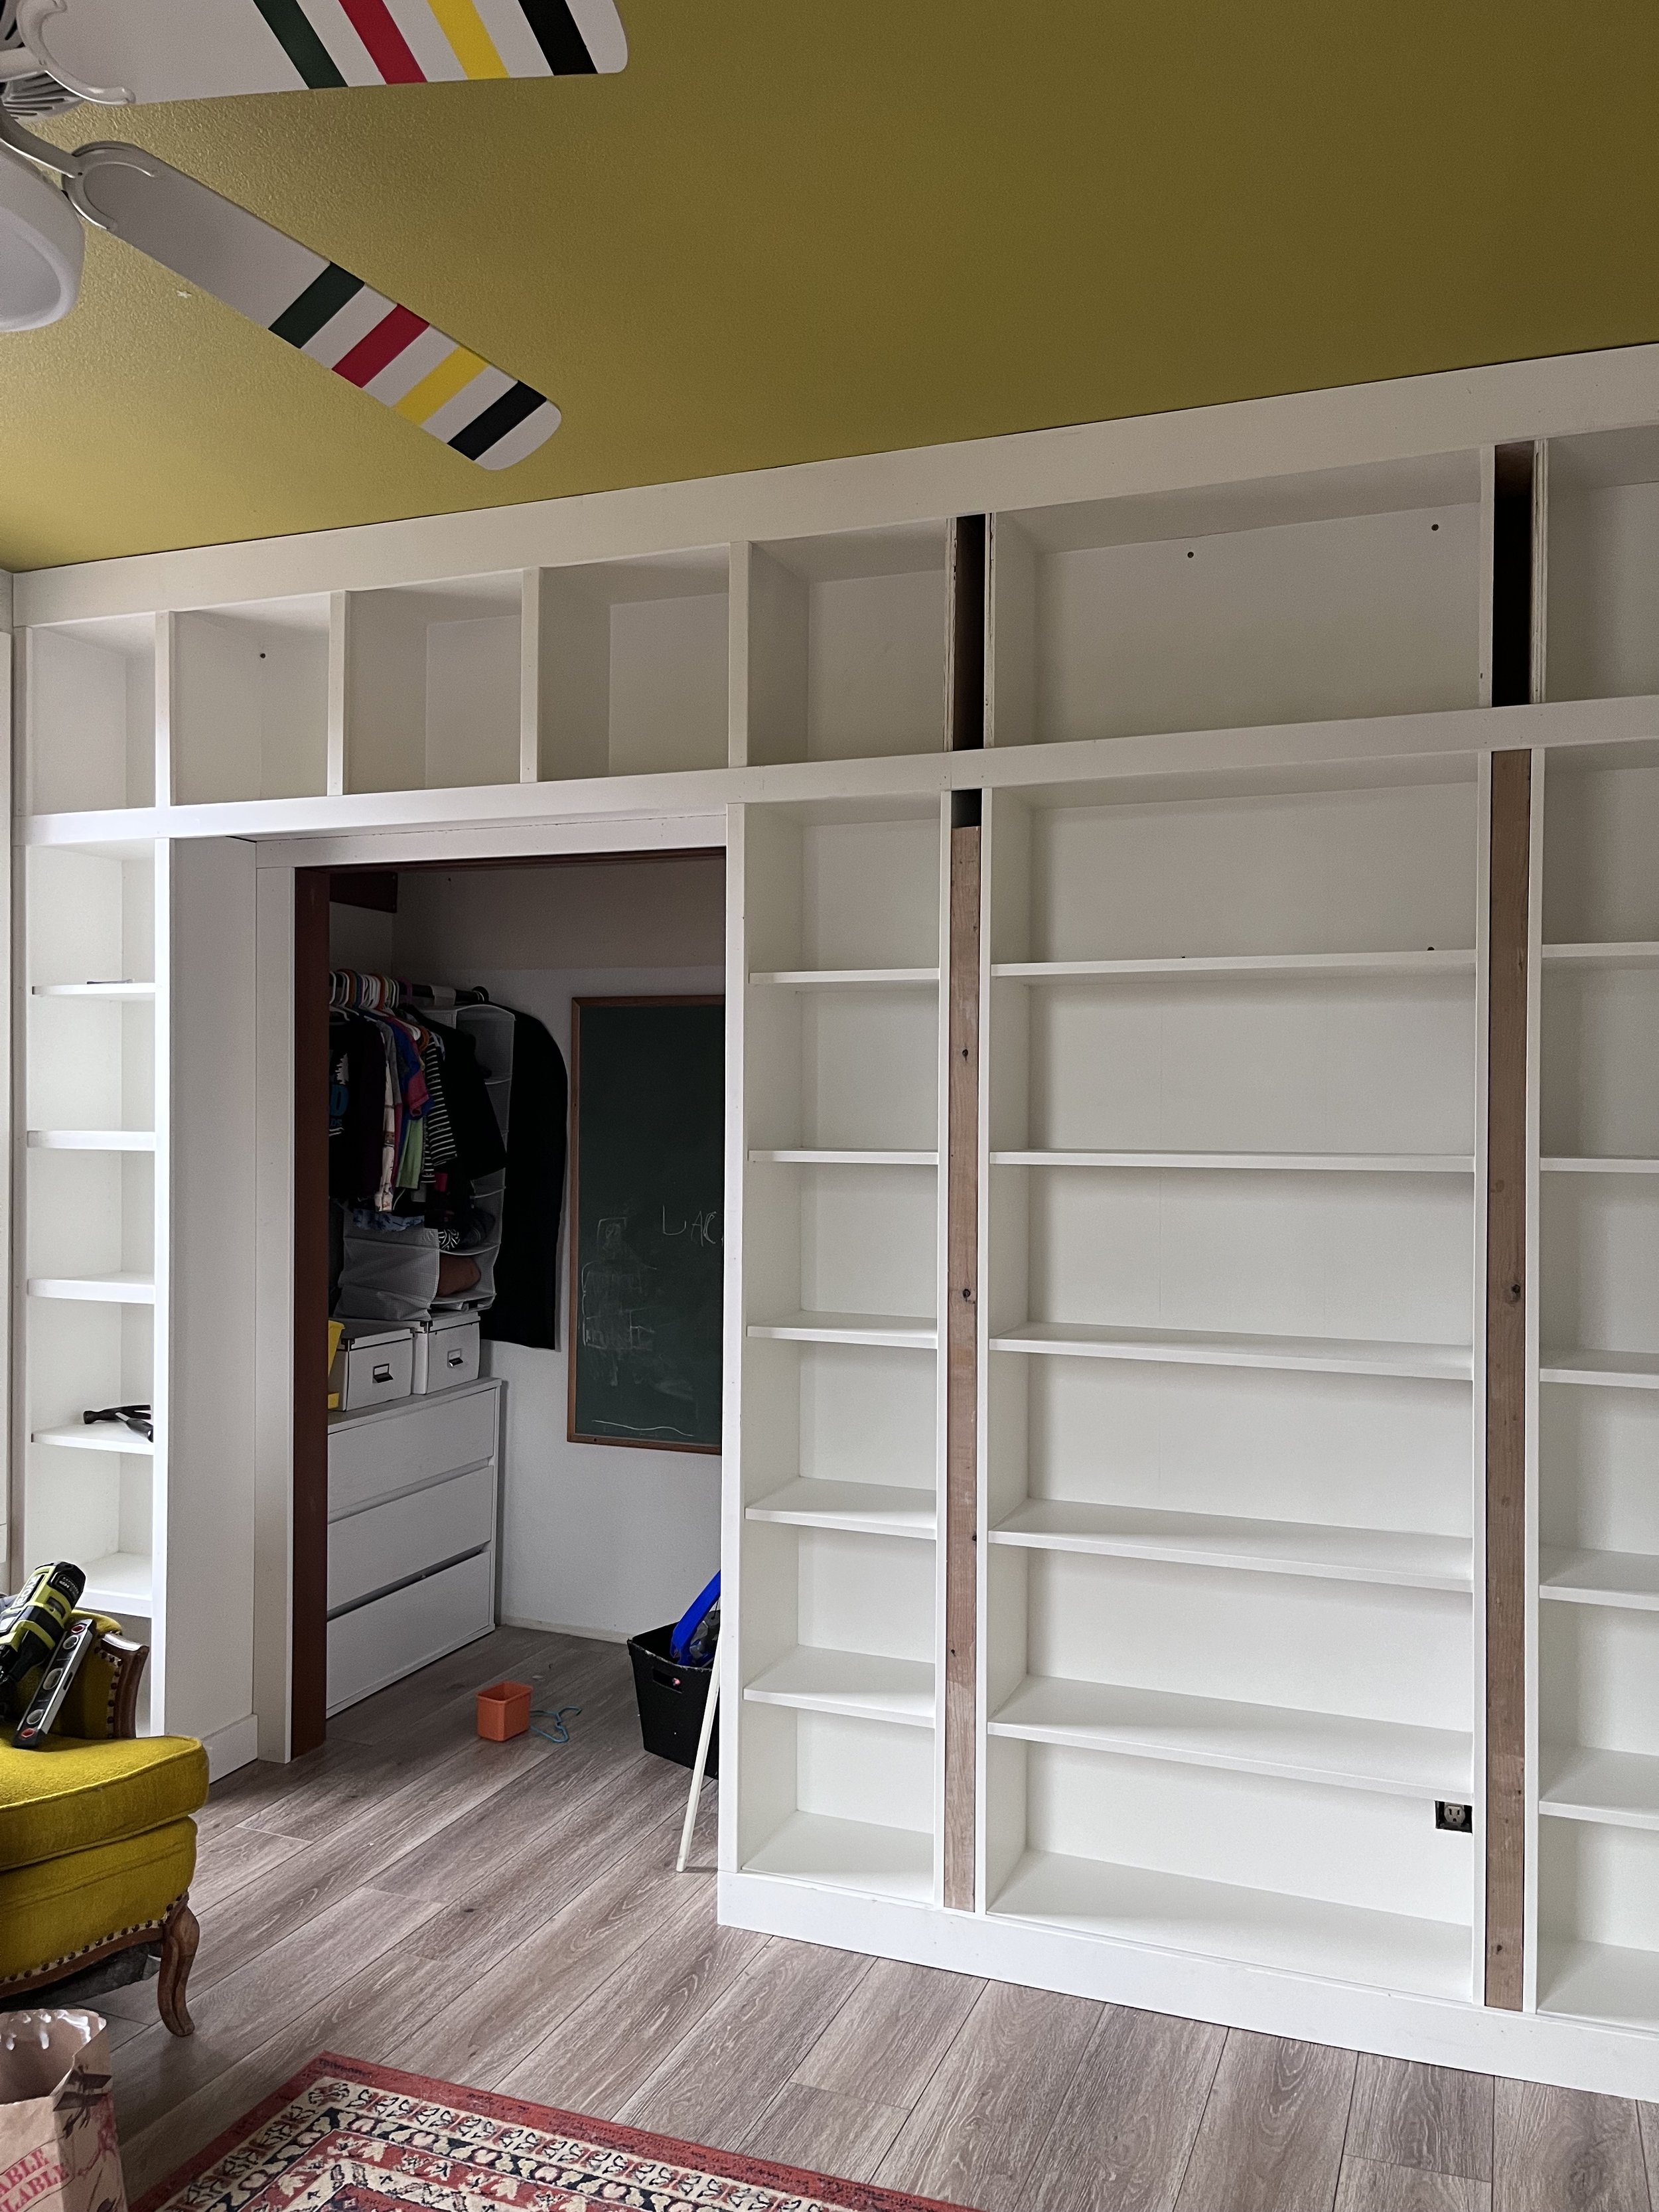
Jack’s library wall is done! This Ikea hack built-in bookshelf was such a fun project to tackle. This build was partially created from Ikea Billy bookcases. The top section of cubbies that spans the entire wall is custom built from scratch, and the shelves below that are the Billy bookcases. Everything was custom trimmed out and secured to the wall to be fully built-in and permanent!
This wall was originally space that was really unusable. You could put a dresser or bookshelves in the wider section of wall, but it’s also behind the swing of the door, so no seating or bed could be against that wall. I had an Ikea Kallax shelf there for a few years, holding Jack’s books, games, and toys, but as he’s started reading more and getting more into board games, I quickly ran out of space on that shelf. Transforming the wall into a floor-to-ceiling bookcase felt like the perfect way to add so much storage and functionality to this room.
Project Cost Breakdown
Plywood for top shelves: $119.50
Ikea Billy Bookcases (3x 16in wide and 1x 32in): $236.00
White Paint + Paint Brush: $64.98
Primer, Wood Filler, Caulk: $103.87
Trim (various sizes): $180.53
Coral Curtains (used an old existing Ikea curtain rod): $40.26
Project total: $745.14
This total doesn’t include the tools used to complete this project, which I already had. It also doesn’t include fasteners like screws or brad nails, which I also already had on hand. The tools I used to complete this project were:
Circular Saw
Drill + Impact Driver
Table Saw
Pocket Hole Jig
Brad Nailer
Corner Clamps


For this project, I decided to use Ikea Billy bookcases for the bottom section of shelves, then custom build the top section that spans the entire wall, going over the closet doorway.
I began by building the Ikea Billy bookcases. I needed to install all the shelves so I could fill all the bracket holes on the insides with wood filler. This really makes them feel seamless and built-in without all the little holes. Once the wood filler was dry I could take these outside and sand them to smooth out the wood filler and scuff up the laminate finish to prep for primer. I sanded with 220 using my sheet sander, then pulled them into the garage to spray with primer.
Using my Graco X7 paint sprayer I sprayed Zinsser B-I-N primer, which is a shellac based primer that sticks super well to finishes like the laminate Ikea furniture finish. Make sure to wear a respirator mask when spraying it, this stuff is pretty nasty but it works great. I put two coats of primer on.
To install the Ikea bookcases, I needed to measure where my studs were and then I added 1/2in scraps of plywood to the wall where the studs were because the way the back of these bookshelves is constructed leaves about a 1/2in gap between the back panel and the wall, which you can see in the video below
I screwed through the back of the bookshelves, the plywood scrap and into the studs to secure these to the wall, then I got to work building the top section of the library from scratch.
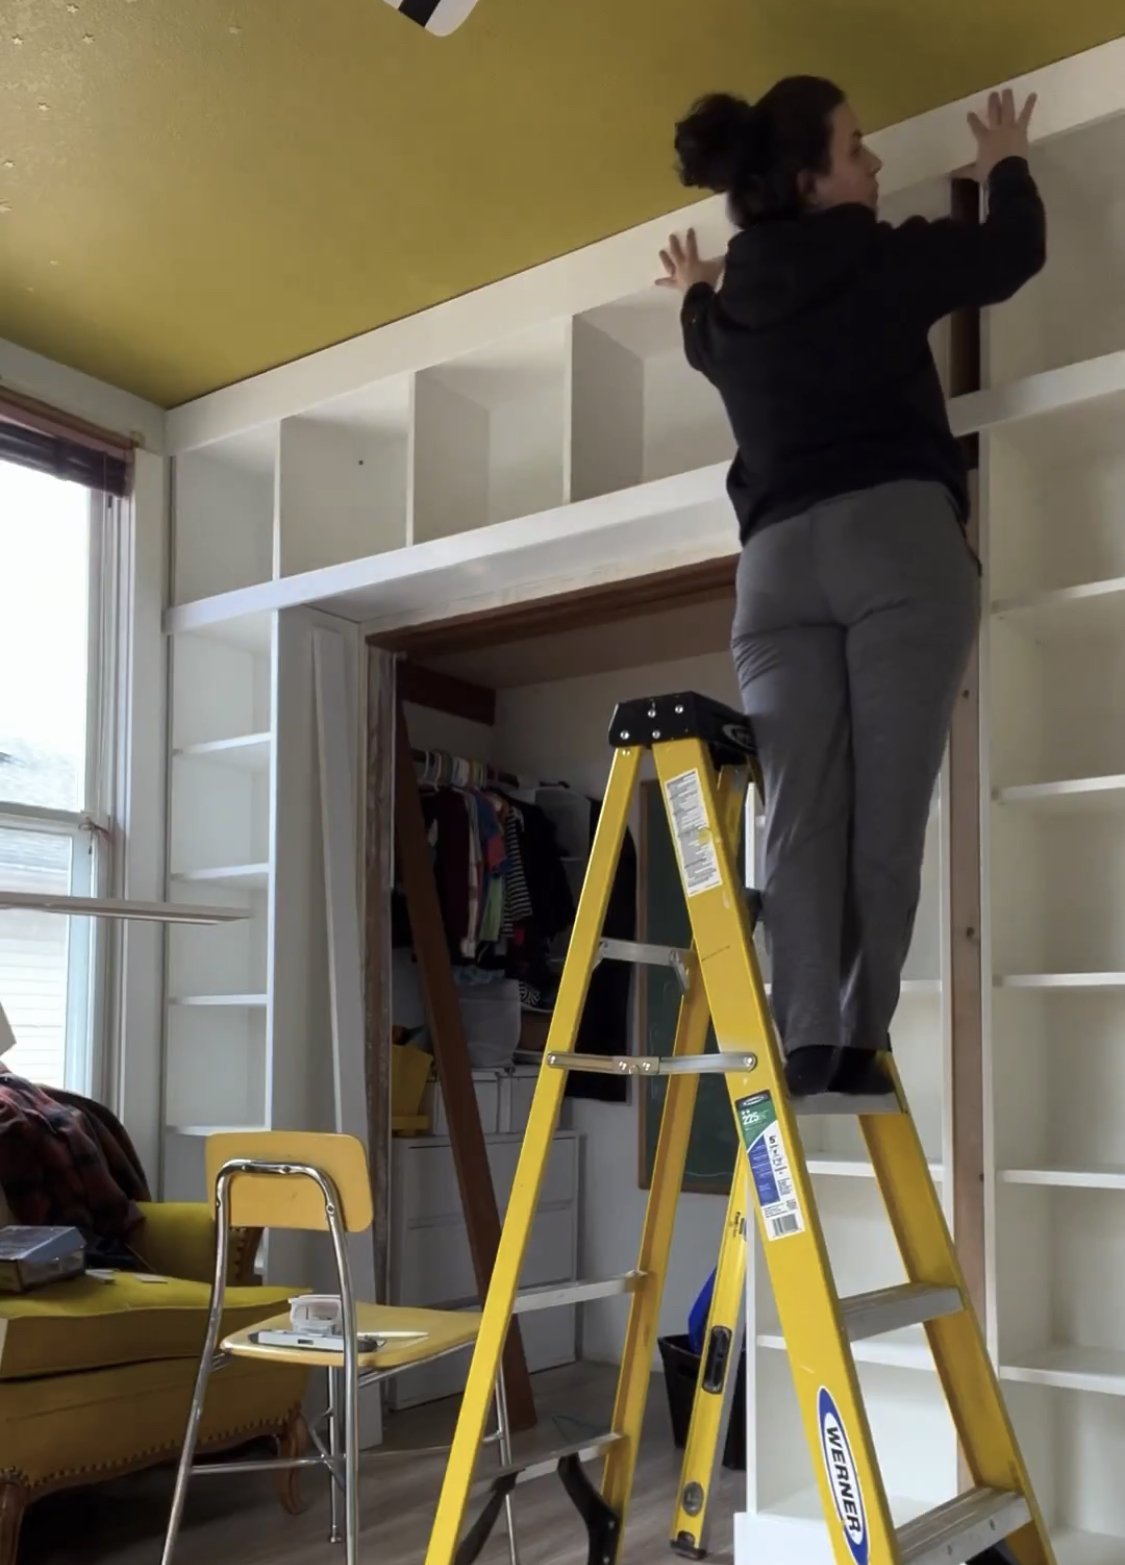
I built this section in two pieces, one piece that spanned over the closet doorway and sat atop the two 16” billy bookcases that flank that doorway, and then a second one that sat atop the 32” bookcase and the 16” bookcase in the corner of the room. I used cabinet grade plywood to build these, which was about $55/sheet at Home Depot, and then used hardboard for the back wall.
I mapped out the measurements for all the side panels and inside vertical separators and input those into cutlistoptimizer.com to get an efficient plan for how to utilize my plywood to avoid waste, this was super helpful when it came time to cut every piece.
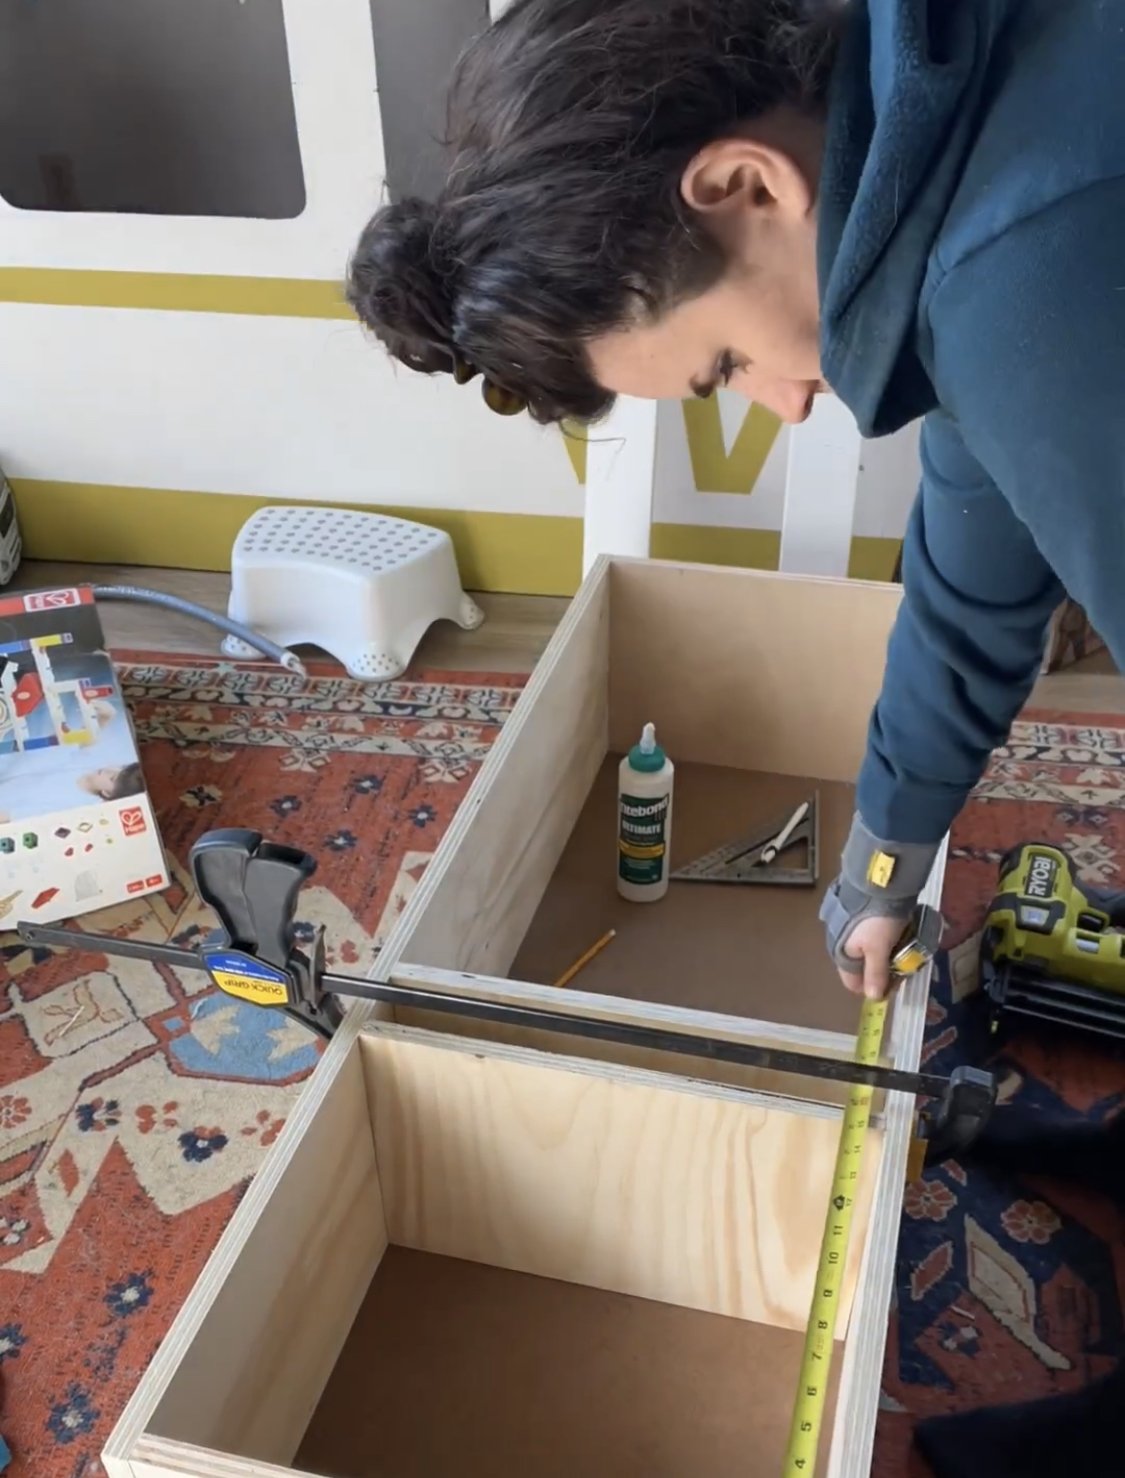
To assemble these upper boxes, I used my Kreg pocket hole jig and drilled two pocket holes on the top and bottom of the vertical sides of the box, and then used corner clamps to hold everything together nice and square while I screwed the sides on to the bottom of the box. Then I flipped it over to attach the top, again using pocket screws.
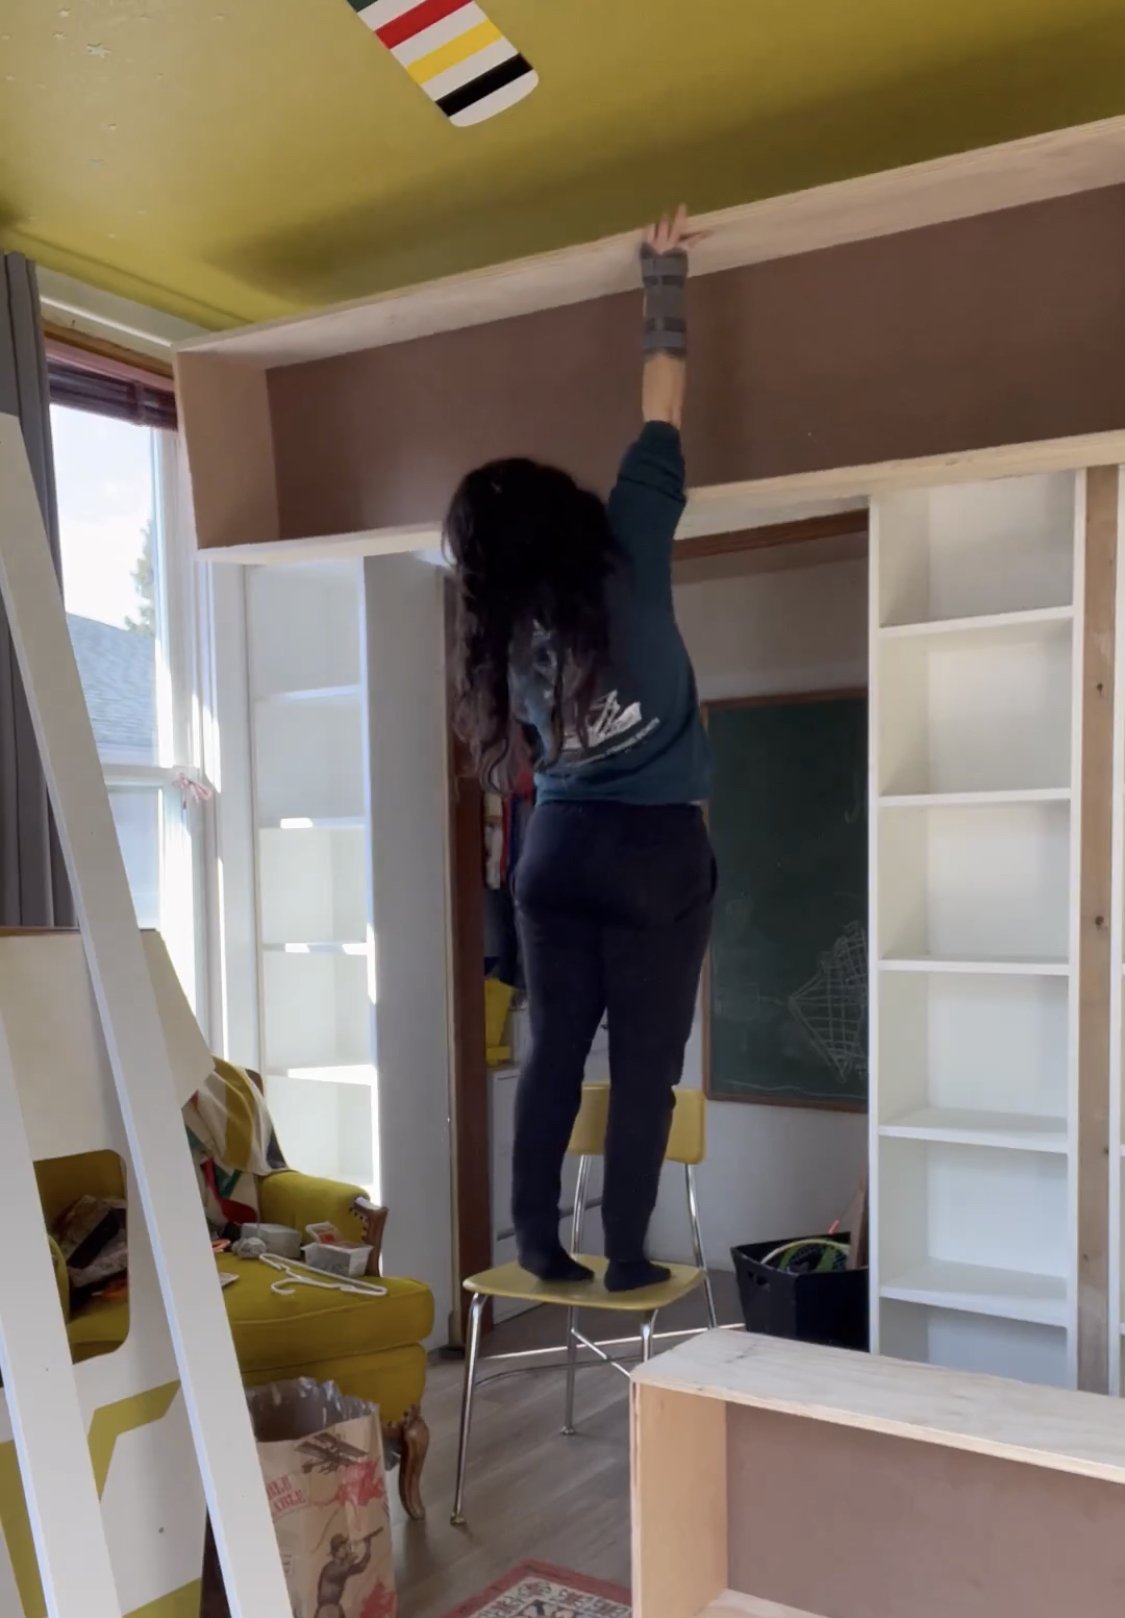
To cut the hardboard for the back, I just laid the boxes on the hardboard, traced around their perimeter, and then cut out those rectangles. Those got nailed on to the back of the boxes, then we pulled the boxes inside to temporarily install them on the top of the billy bookcases so I could mark where all the vertical dividers would go in those boxes. I wanted all the dividers to match up perfectly with the sides of the Ikea shelves so things looked seamless from bottom to top.
With those measurements taken, I then brought those boxes back down to the ground and installed the verticals using wood glue and brad nails. The final thing the custom boxes needed was a couple coats of primer, so they went back out to the garage for spraying.
Finally they could be installed permanently, again— screwing them to the studs (these didn’t need that extra plywood because they didn’t have a gap between the back panel and the wall).
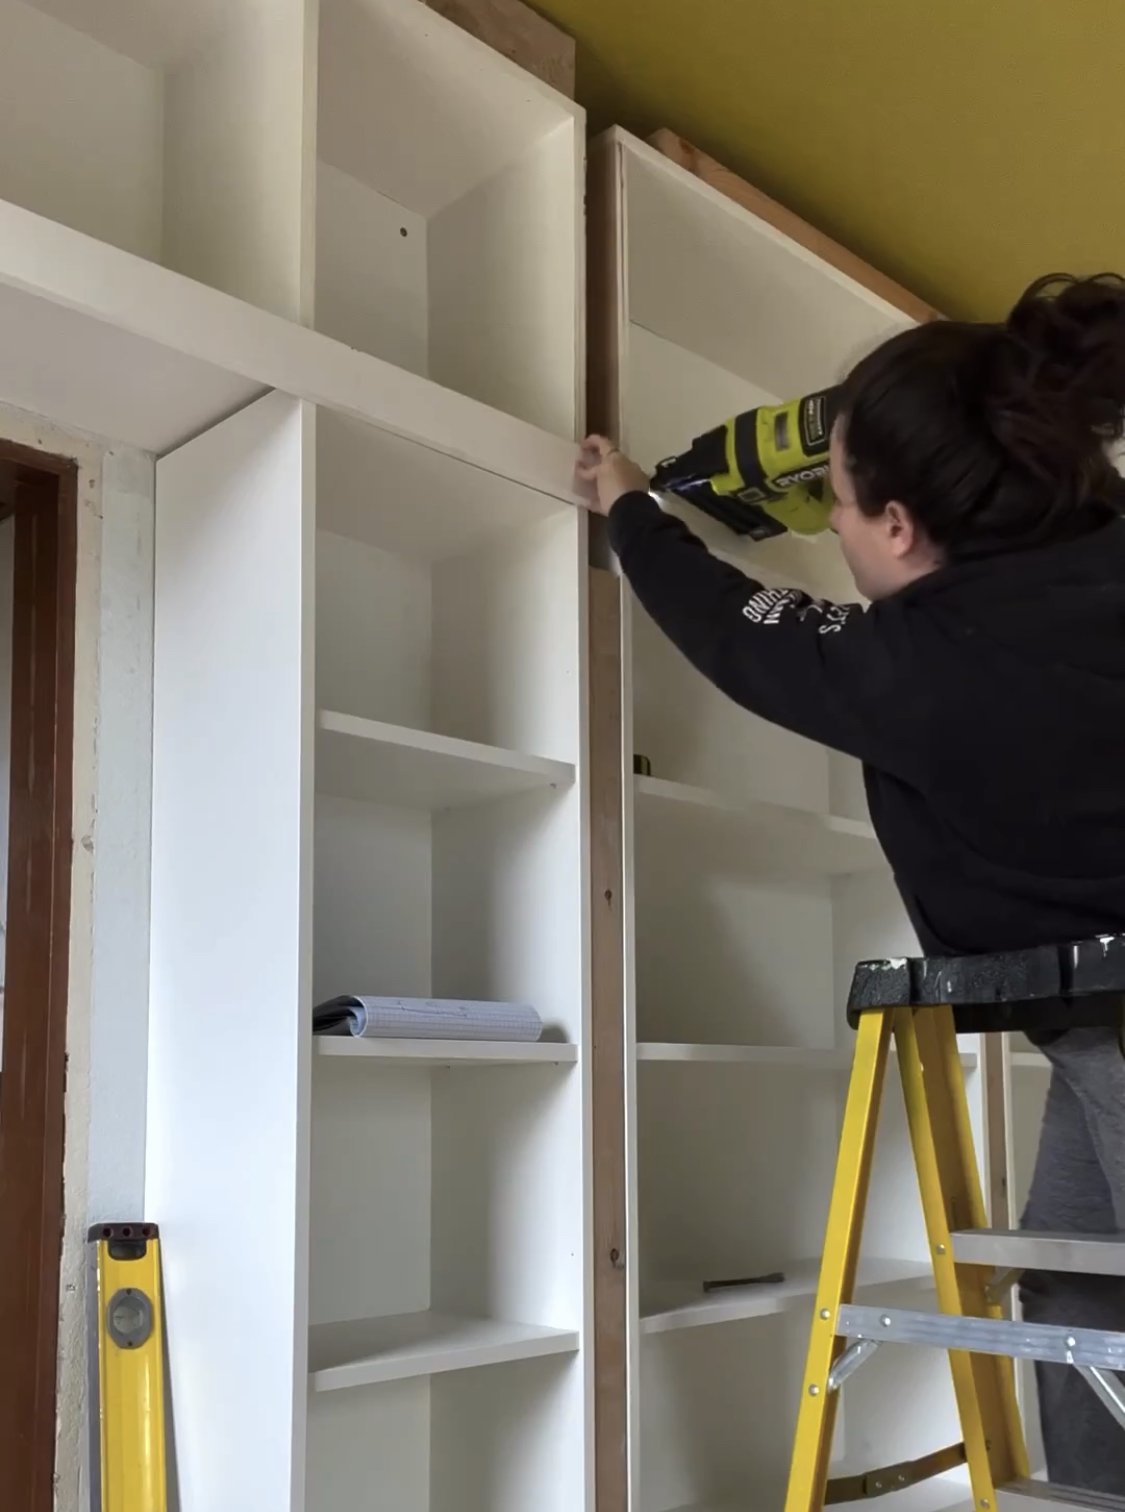
Now I’m able to start installing trim and this is where things get really fun because it starts to feel really built in and finished. I had a couple wider vertical sections, and then a wider crown piece and a 2in horizontal that spanned the full wall, but for the most part the fronts of the bookshelf all got 1.5in wide trim: verticals as well as the horizontal shelf fronts. I used by brad nailer to install all of these, making sure to nail in at opposing diagonals for added security.
All the nail holes got filled with wood filler, and all the seams and joints got caulk, then it was time for paint!
I used Behr’s Scuff Defense paint in Satin finish with the color Bit of Sugar, which is a really nice bright white. Two coats later and I was done! I chose to brush and roll the paint on, rather than have to mask off the whole room and drag my big ol paint sprayer into the house. It took a little longer, but I’m happy with how smooth the finish ended up.
Can you believe this is the same room, just a few short years ago? (Okay maybe not short years. We did have a whole pandemic between 2018 and now— it’s actually felt like an eternity since we bought this house).
I’m super proud of how this room has transformed and TBH I think Jack’s room might be my favorite room in the entire house. It’s so bright and happy and fun. It feels really special.




![This print feels even more relevant today. We all joke about the dumpster fire of [insert year here], but the important message of this image to me is that *we persist* through the horrors. We stand, we fight— maybe for ourselves, maybe for oth](https://images.squarespace-cdn.com/content/v1/574dddd6d51cd4bc35c1609a/1730935170369-03GPKQ5NF73VAE65RHO6/image-asset.jpeg)


