

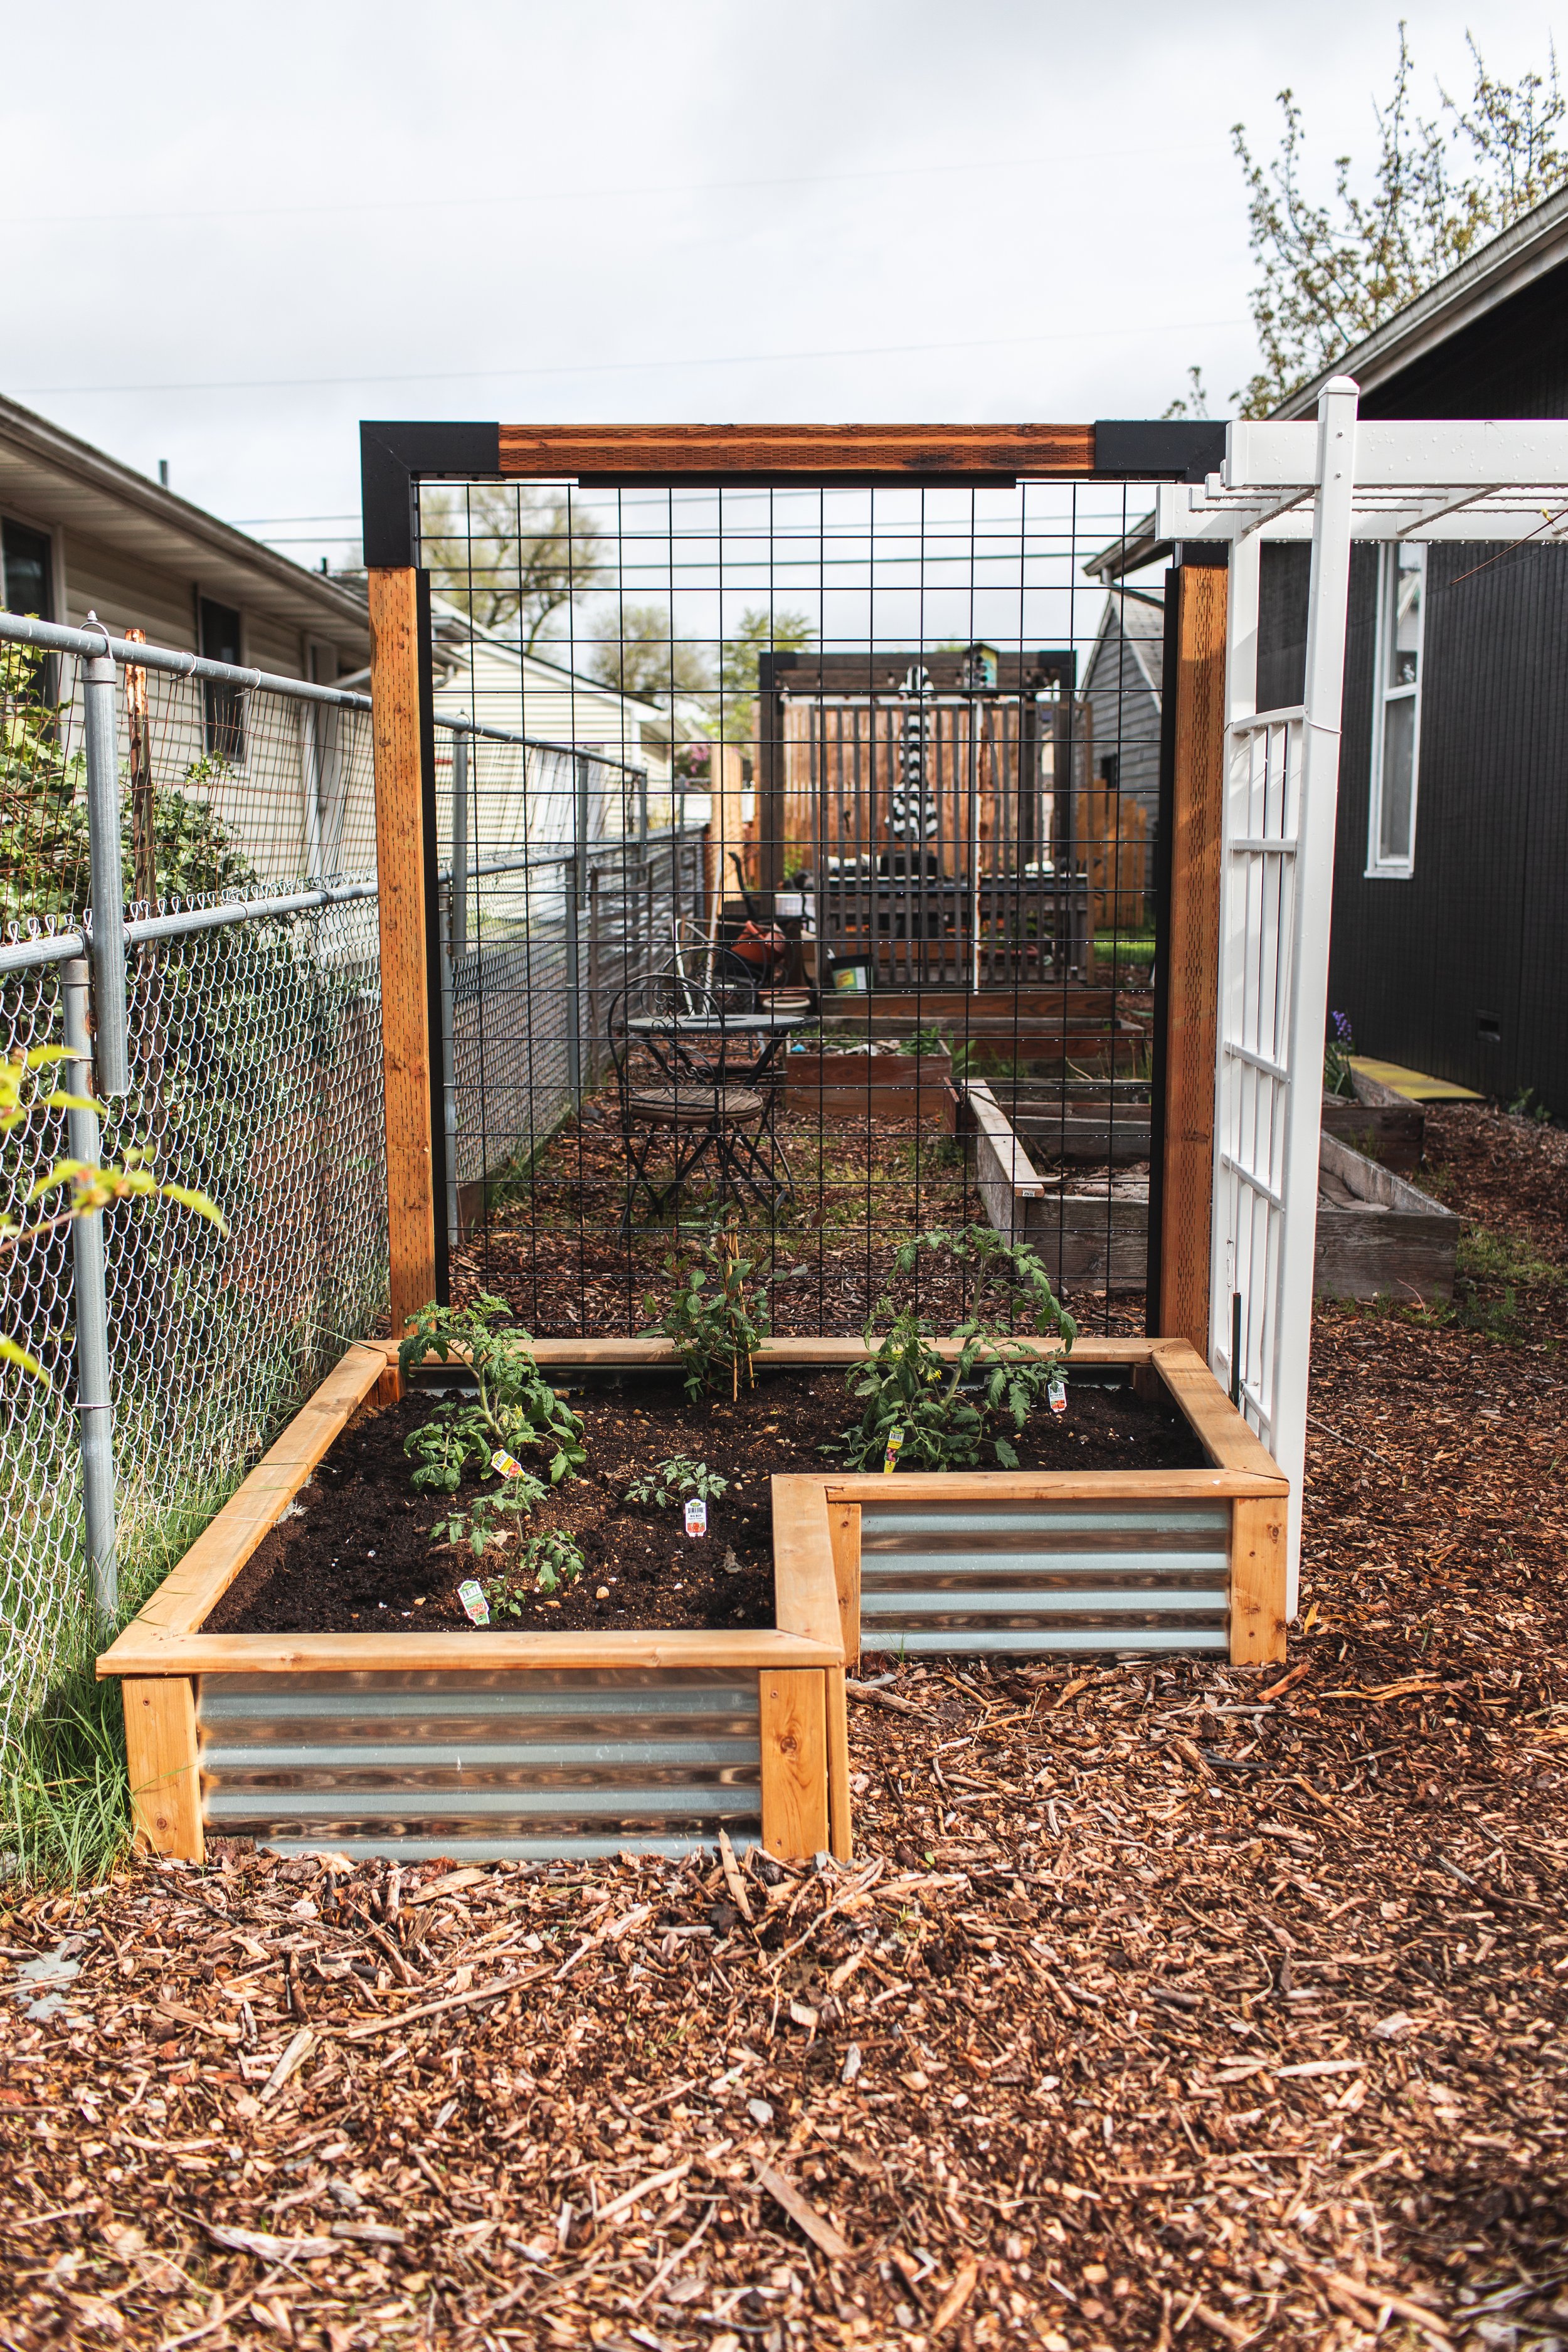
Over the past three years, I’ve slowly built and added on to our garden, and now that the essential layout and garden beds are done, I’m moving on to fleshing it out with elements that help define the space and give it a cozier feel. When we bought this house, it really just felt like the house was dropped onto a totally empty lot with no landscaping to speak of, so adding in things that help the house feel integrated with the land and neighborhood has been part of our long-term exterior goals.
I’ve spent a couple years building raised beds for our vegetable/pollinator garden, but last year when I built the patio and pergola area in the back of our house, I realized that you could see all the way to that area from the front, so I wanted to create a little more privacy, with something for climbing plants to vine on. While I was walking the aisles of Home Depot, I saw a garden bed trellis made with Wild Hog fence panels and I knew that would be the perfect solution, since we already had garden beds right where I wanted trellis to go.
I’d built the pergola last year using LINX brackets and Wild Hog fence panels, so I was familiar with and loved those products already, so using them to create this trellis situation seemed like the perfect fit.
What you’ll need:
Materials (per 3.5 x 6.5 ft trellis):
2- 10ft 4x4 treated lumber
1- 8 ft 4x4 treated lumber
1- 36x72in Wild Hog Panel
1- 6ft Wild Hog Tracks kit
2- 4x4 LINX L-Fit Brackets
4- 3in Exterior Wood Screws
Gravel or Concrete for setting posts
Tools:
Circular Saw
Impact Driver/Drill
Angle Grinder
Tape Measure
Speed Square


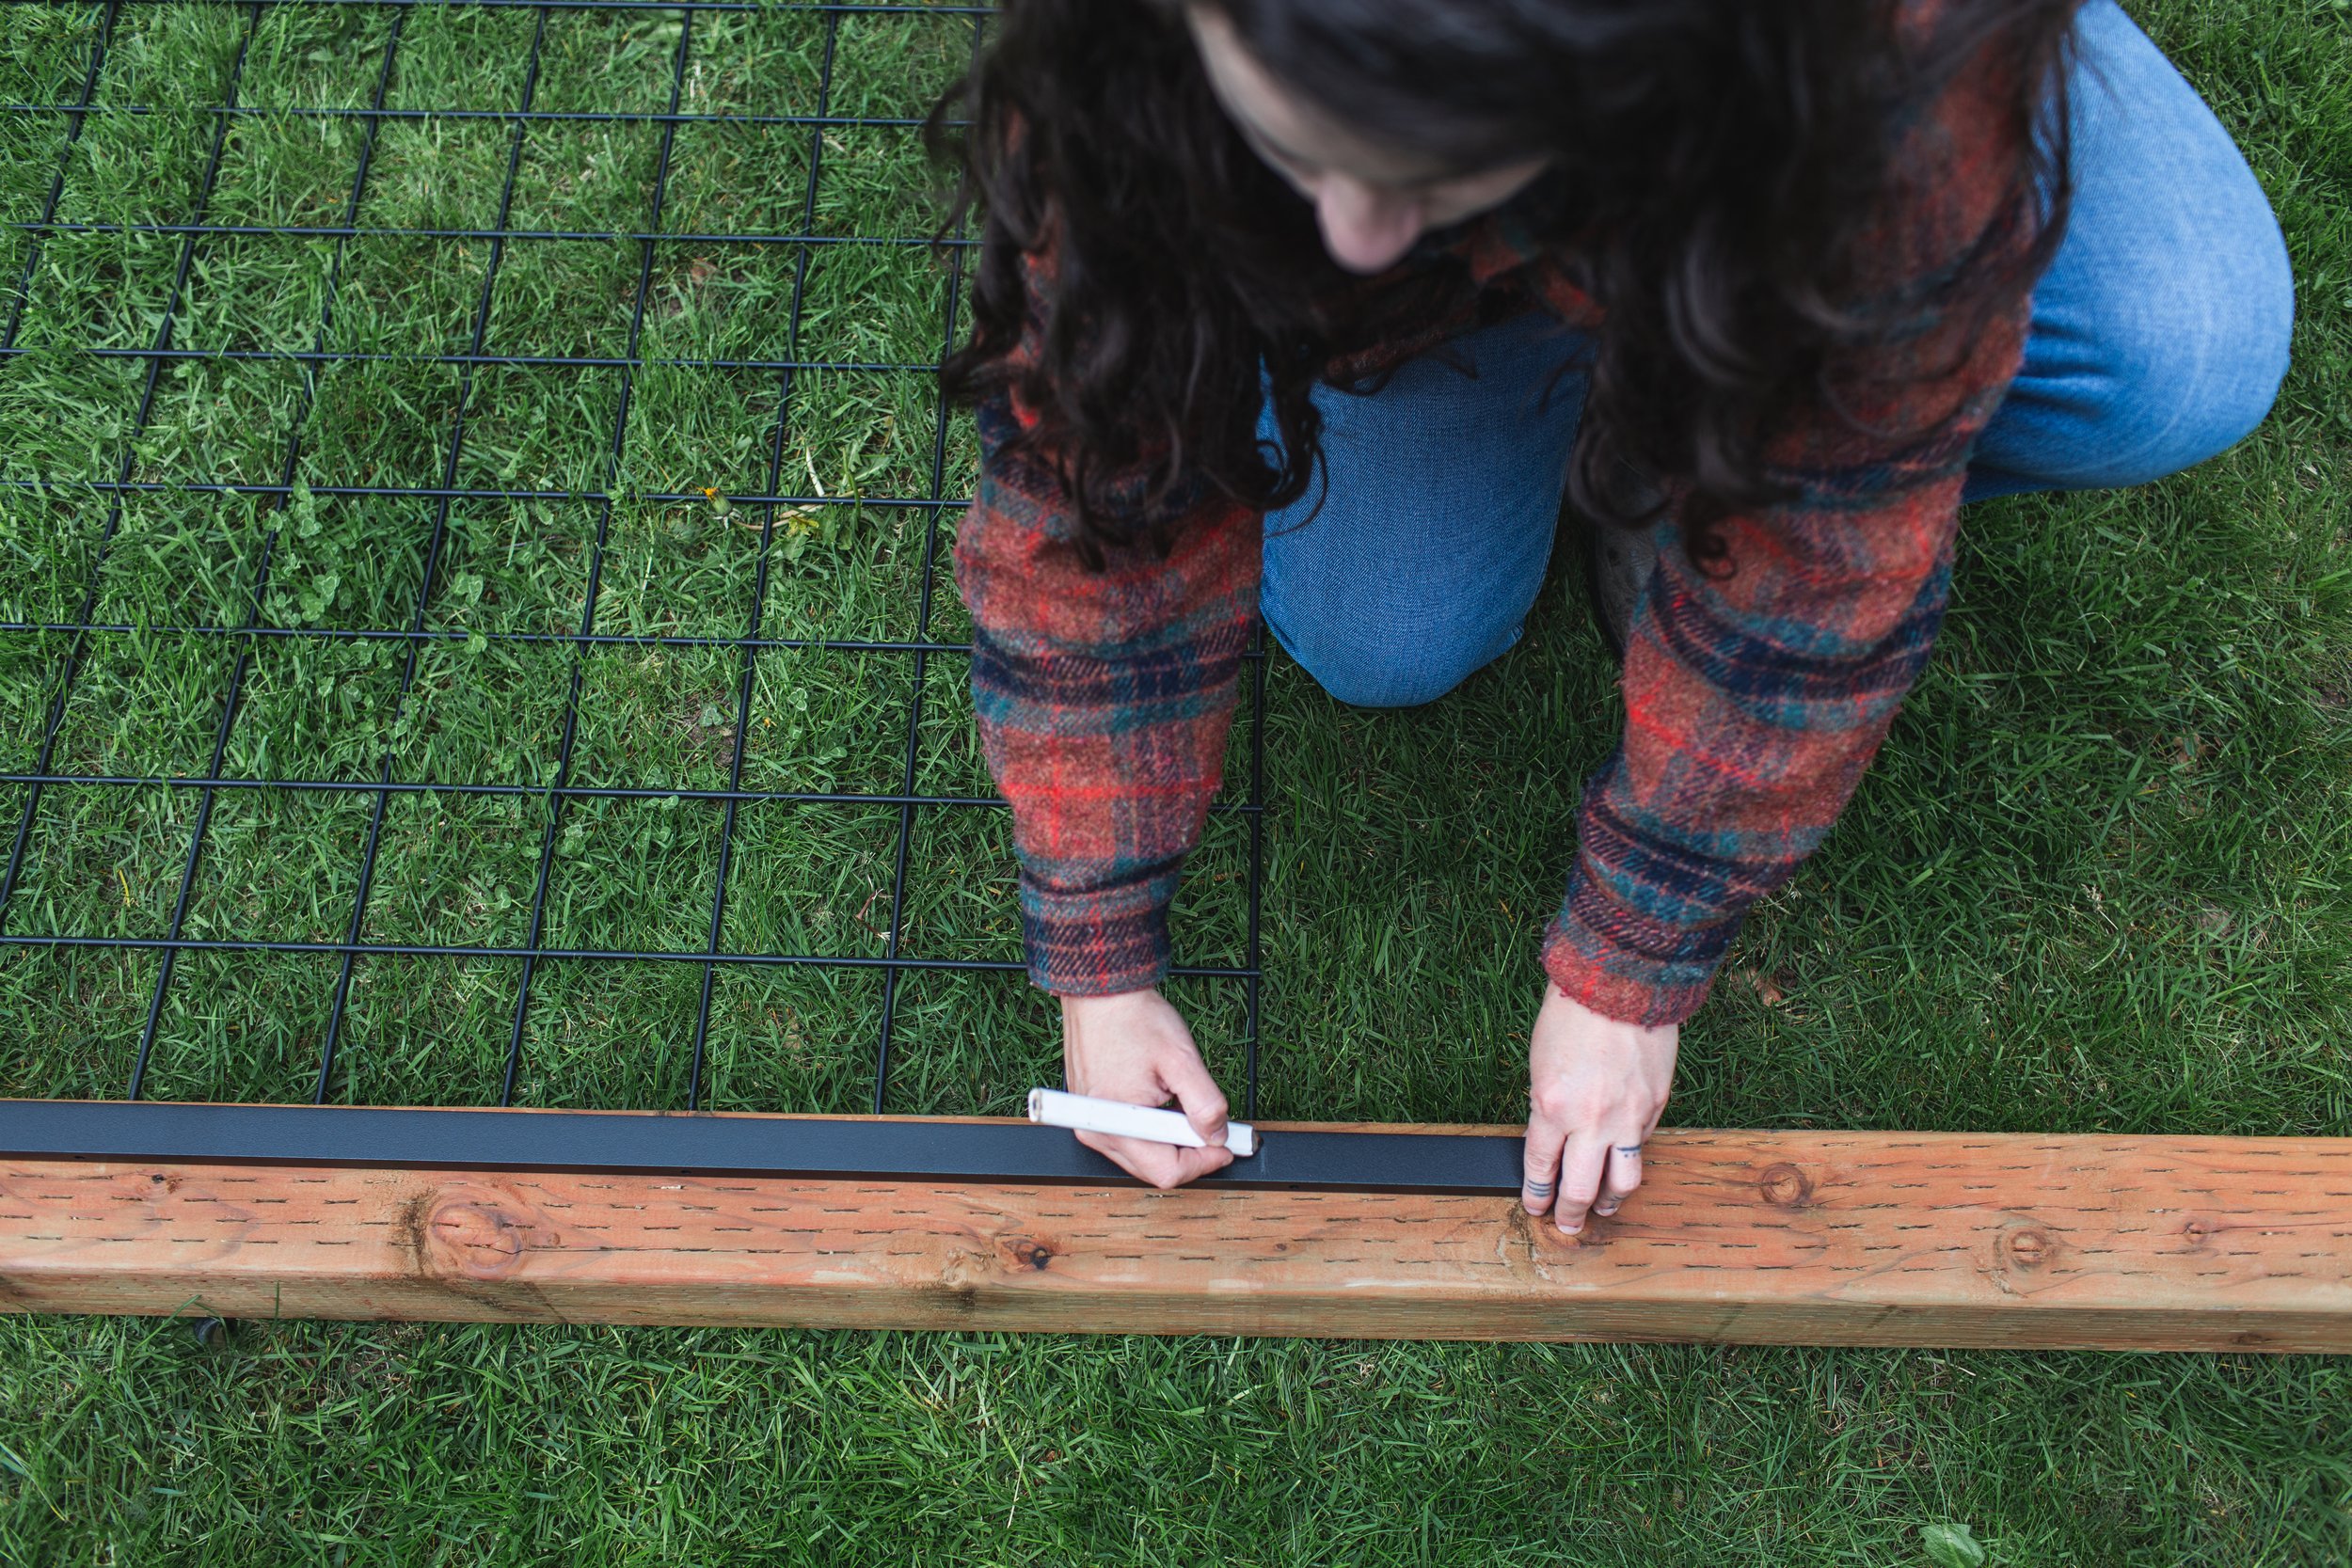
Start by inserting one of the 10ft 4x4s into the first LINX L-Fit brackets. Make sure the 4x4 goes all the way in, so that when you look inside from the other side, you see it fully inserted. Then slide in the 8ft (for the 36in wide panel, or 6ft for the 60in wide panel) 4x4, so that its inserted fully and touches the 10ft 4x4 you’ve already inserted.
Lay your Wild Hog panel in the middle where it will eventually go, with about a 1/4 - 1/2 in gap on all sides. Mark the width of that top 4x4 using your speed square, remove from the bracket, and cut on your mark.


3. Insert the other 10ft 4x4 to the second LINX bracket, then reinsert the top 4x4 you just cut, then secure the brackets using the screws provided with the LINX brackets.


4. Open your Hog Track kit, you’ll have two 3ft tracks and two 6ft tracks. If you’re building a trellis using 36in wide Wild Hog Panel, you’ll need to cut the 3ft track to fit between the LINX Brackets (you won’t need to do this for the wider trellis using the 60in panel). You’ll also need to cut the excess off the bottom of the 6ft tracks to fit between the bottom of the LINX bracket and the bottom of the panel.
5. Cut the tracks using your angle grinder, then spray the cut end with black spray paint.


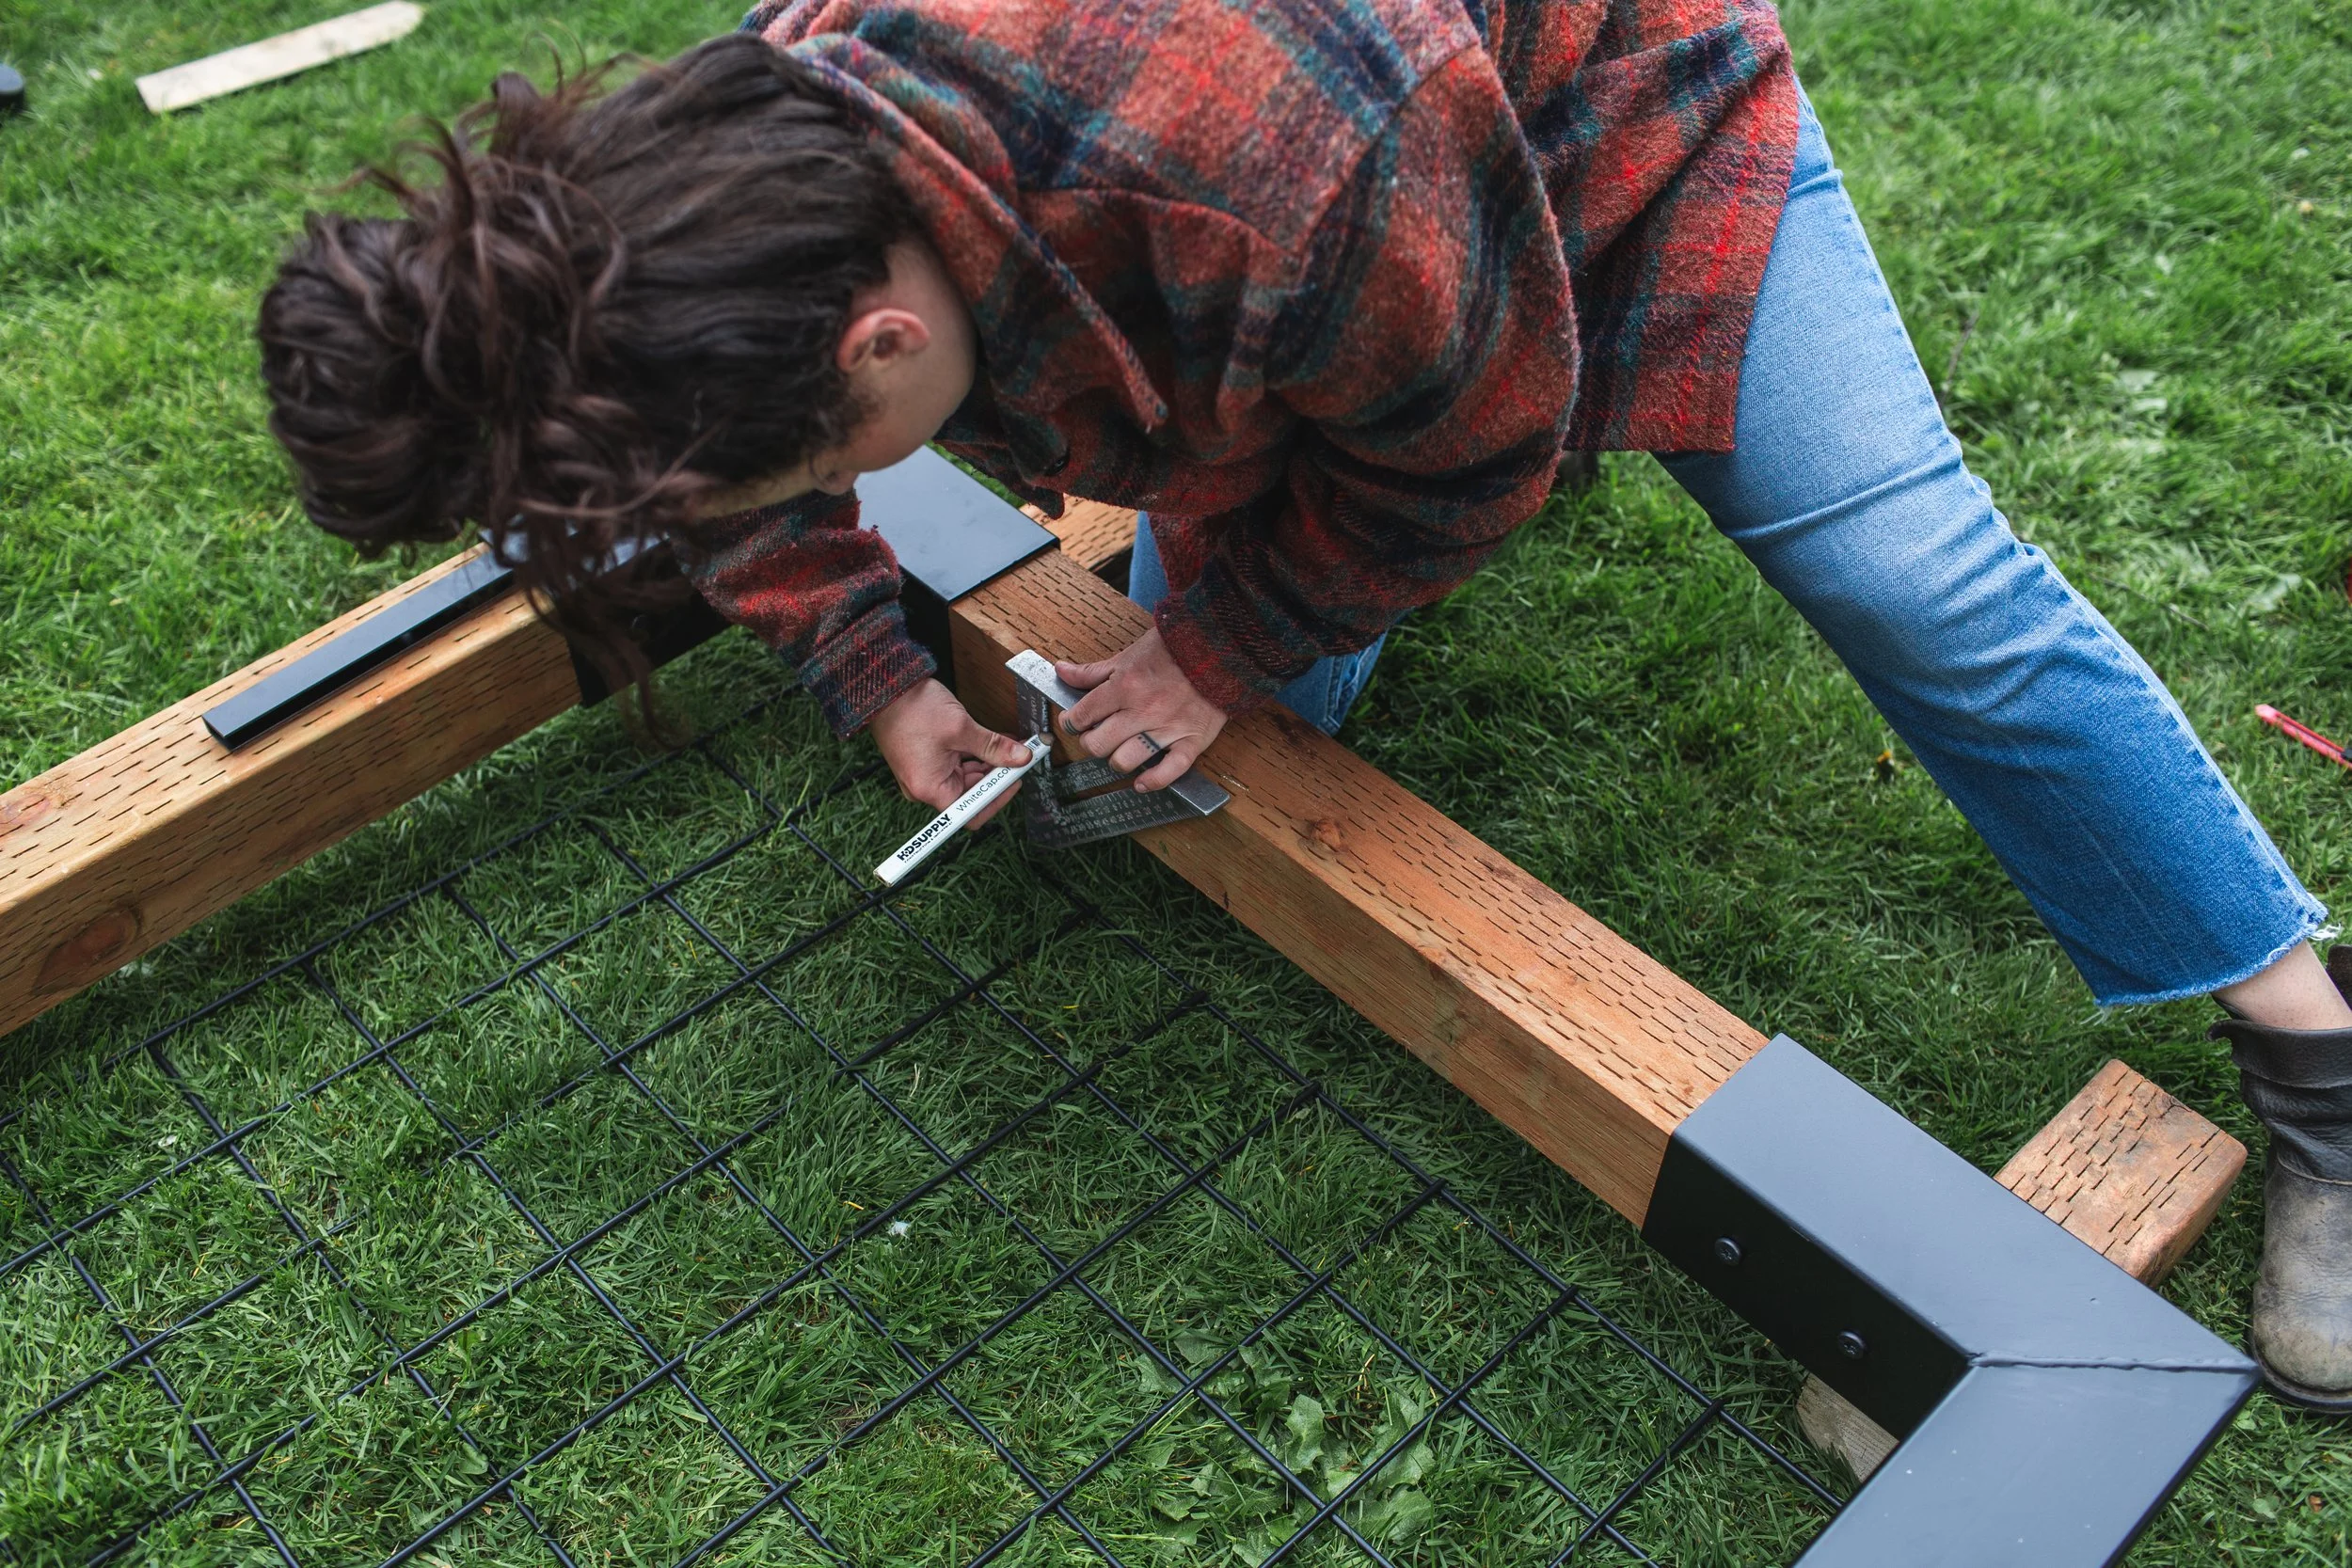
6. Mark the center of all of your 4x4s at 1 3/4in, this is where you’ll install the hog tracks. I used my speed square, holding my pencil at 1 3/4 and sliding the base of the square along the edge of the 4x4.
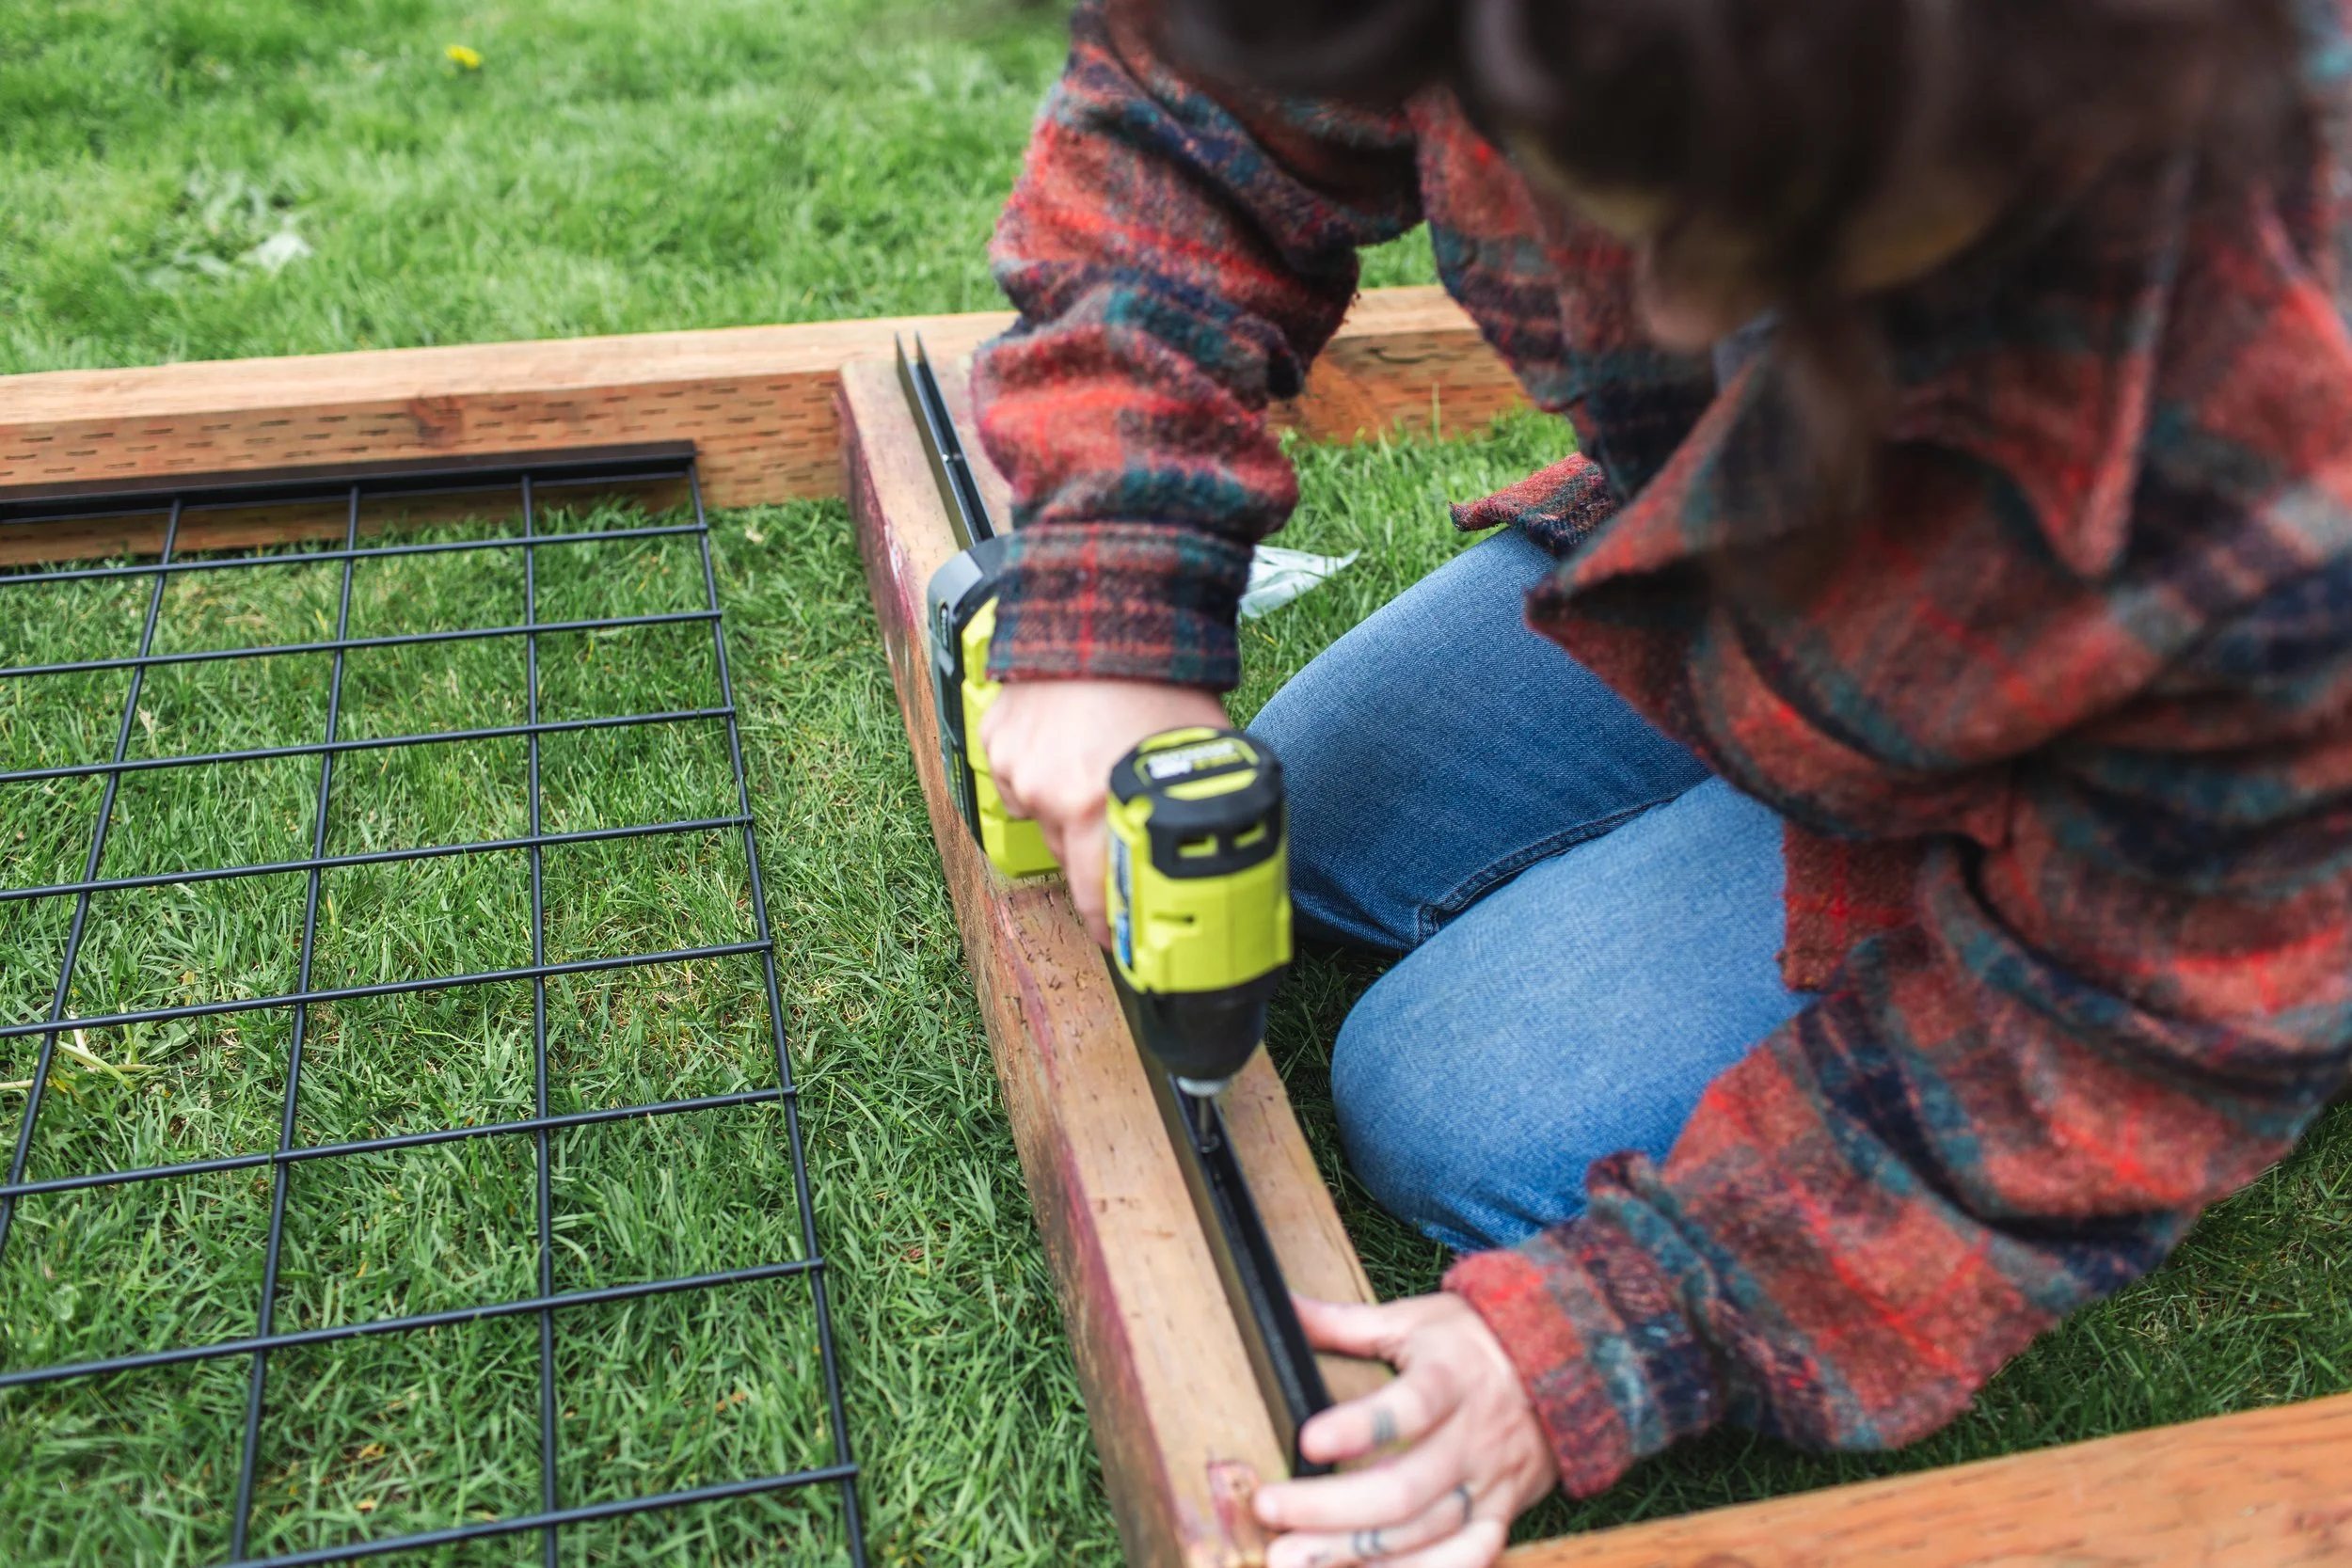
7. Using the provided screws, attach the Hog Tracks along this line.

Repeat this process for each side.


8. With the three sides installed, slide your panel in all the way. Once the panel is in, you can build and install the bottom piece.

9. Measure the inner width between the upright 4x4s and cut your final section of 4x4 to fit. If you’re making a trellis using the 36in panel, you’ll need to cut about 1in off your final 3ft Hog Track, so it will fit between the vertical Hog Tracks on either side. Again, mark the center of the 4x4, and install that Hog Track. You can then slide this up so the panel slips inside that bottom track.
10. Secure this bottom piece by toenailing in using 3in exterior screws.


11. At the location where you’re going to install your trellis, measure and mark where the posts will go. Using a post hole digger, dig a hole about 38-42in deep.
12. Place about an inch or so of gravel in the base of the hole, then (with a friend— these trellises are heavy!) slide the trellis posts into the holes.


13. You can secure this trellis either using quick-setting concrete, or I simply filled in around the posts using gravel. Since my garden plan is constantly in flux, I wanted to make sure I had the option to move these in the future if my plans change, and gravel keeps them secure without making them 100% permanent.


If you’re also wanting to build some of these corrugated metal raised beds, they’re one of my favorite budget-friendly and (IMHO) cool-looking garden beds. You can find my tutorial for those here!
Our existing arbor that you can see is a Home Depot find, I’m not finding the exact model but you can see a very similar one here.


![This print feels even more relevant today. We all joke about the dumpster fire of [insert year here], but the important message of this image to me is that *we persist* through the horrors. We stand, we fight— maybe for ourselves, maybe for oth](https://images.squarespace-cdn.com/content/v1/574dddd6d51cd4bc35c1609a/1730935170369-03GPKQ5NF73VAE65RHO6/image-asset.jpeg)

