

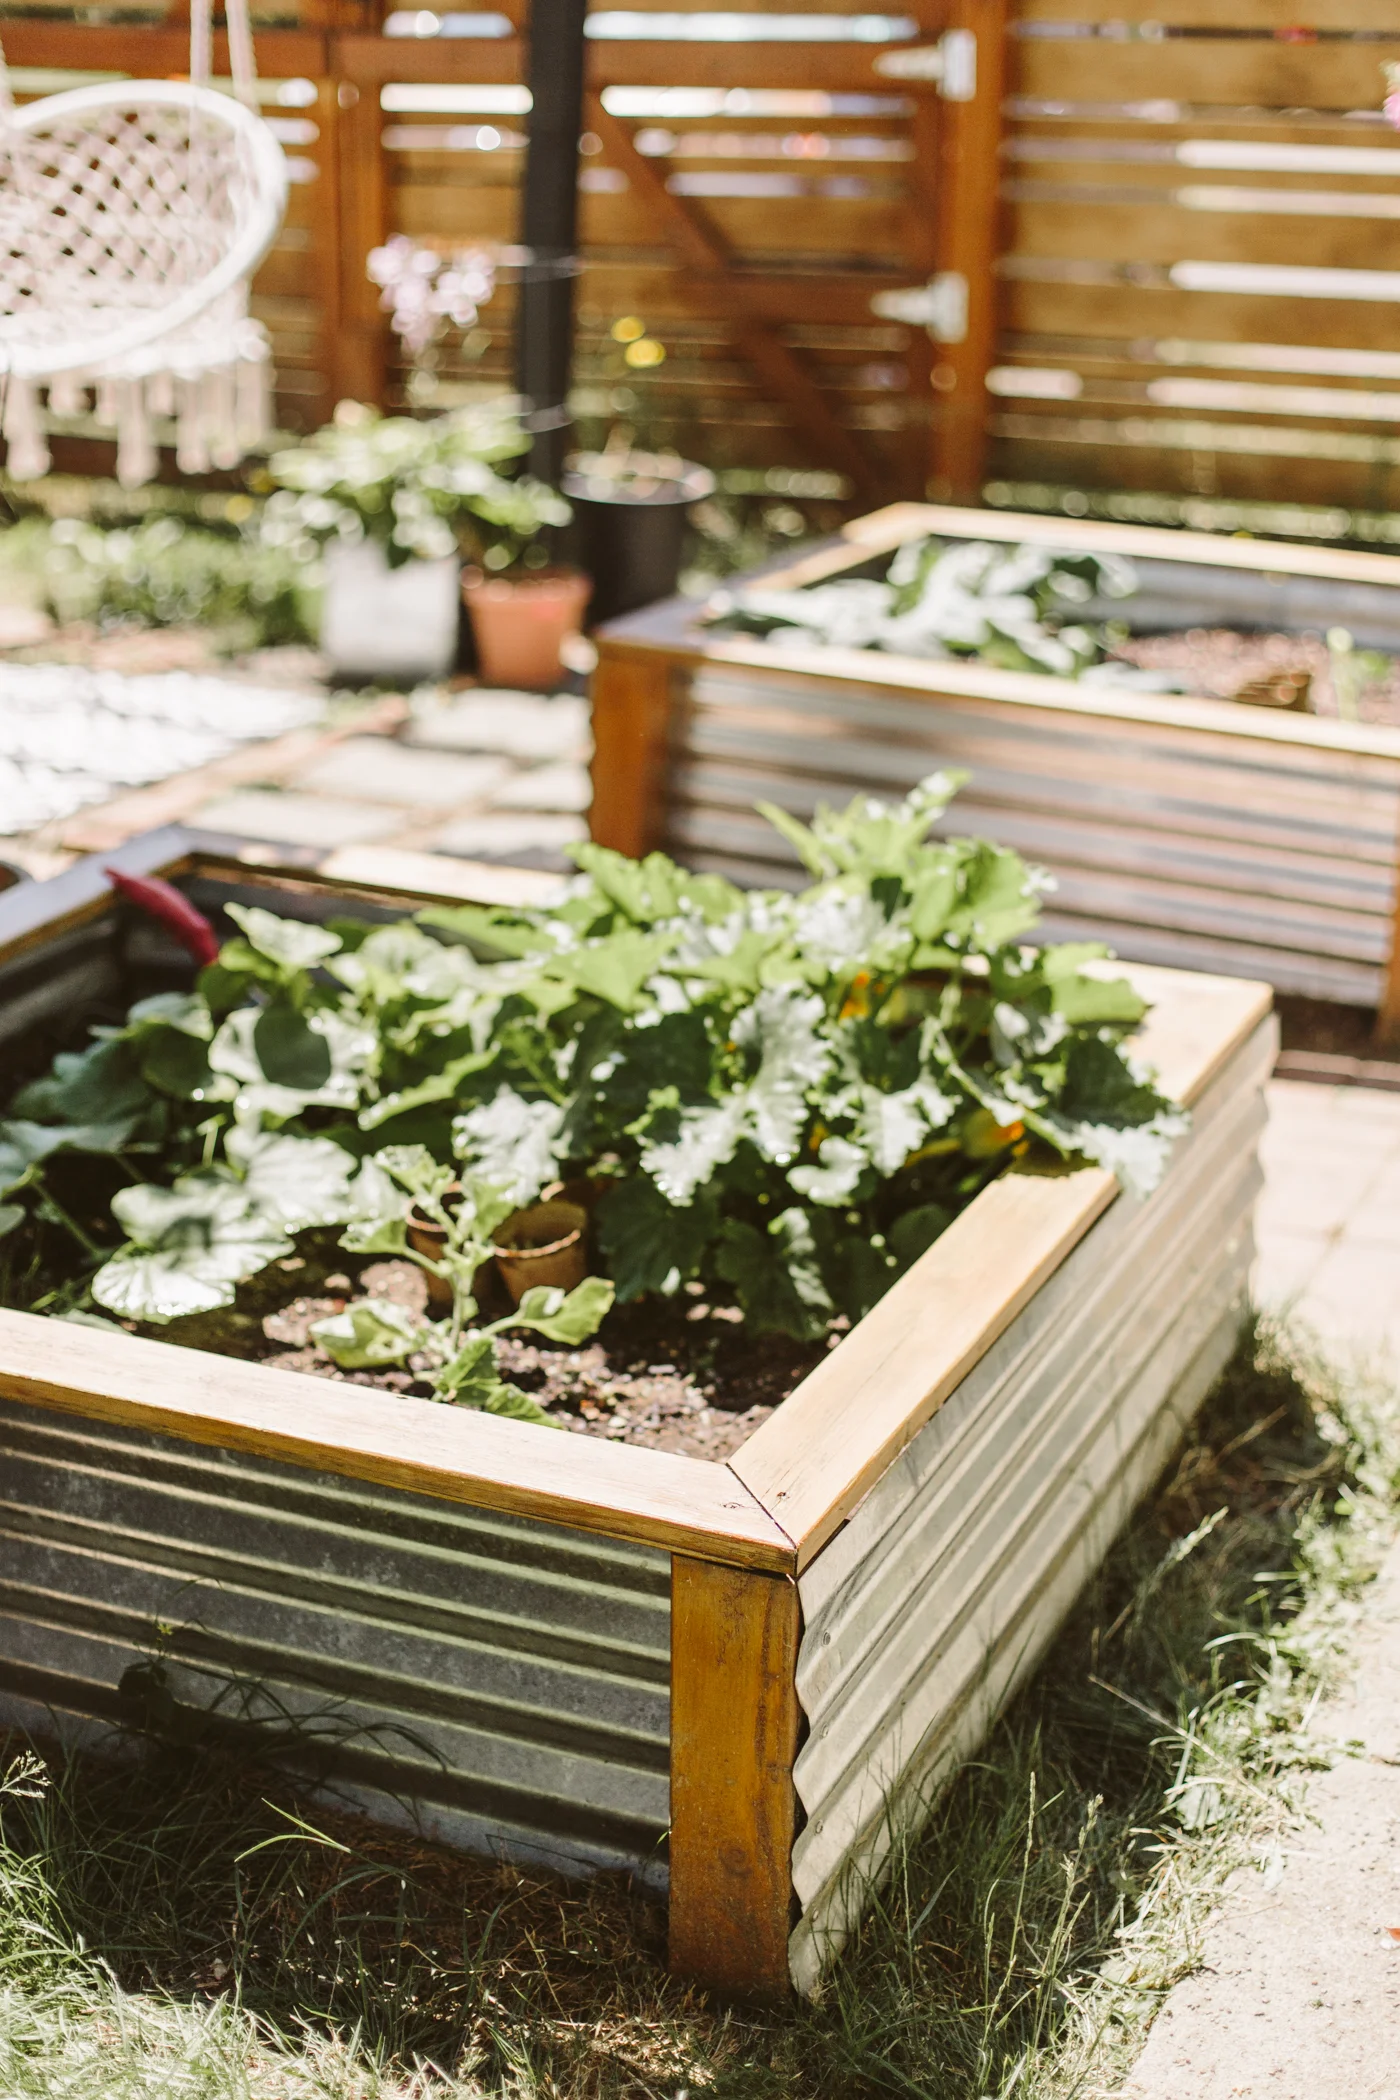
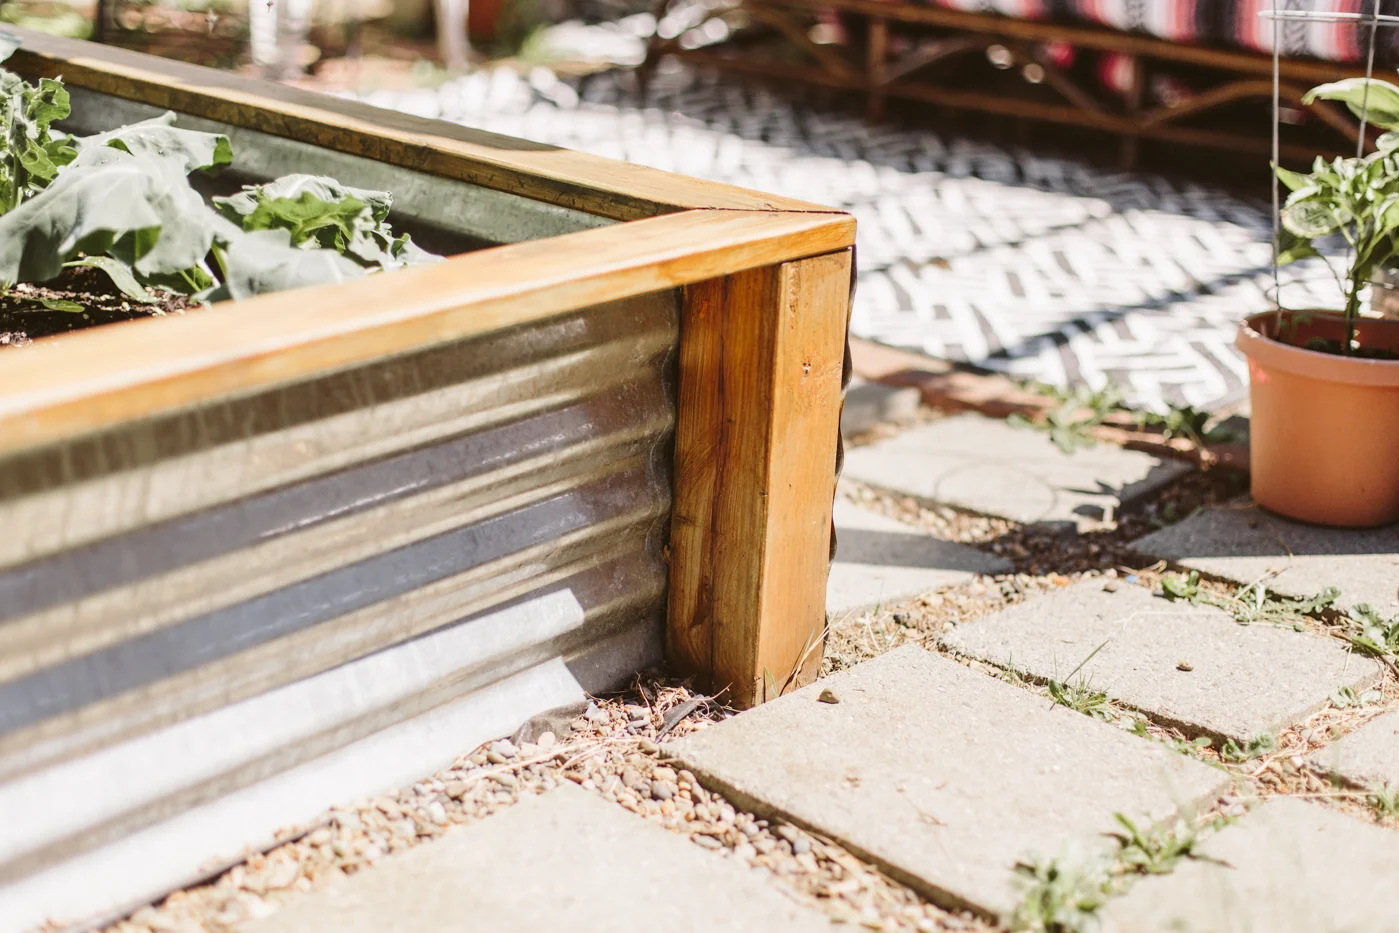
I made these galvanized corrugated metal raised beds a few years ago and always intended on doing a DIY tutorial for them and never got around to it until now! I'm actually kind of glad because I was able to see how they held up over the years. They've held up beautifully! The only part that needed some TLC was the top trim, which needed to be re-stained after years of being pelted with rain for months on end during our wet winters here in the PNW. So today I sanded those down and put a new coat of stain on and they look nice and (almost) new.
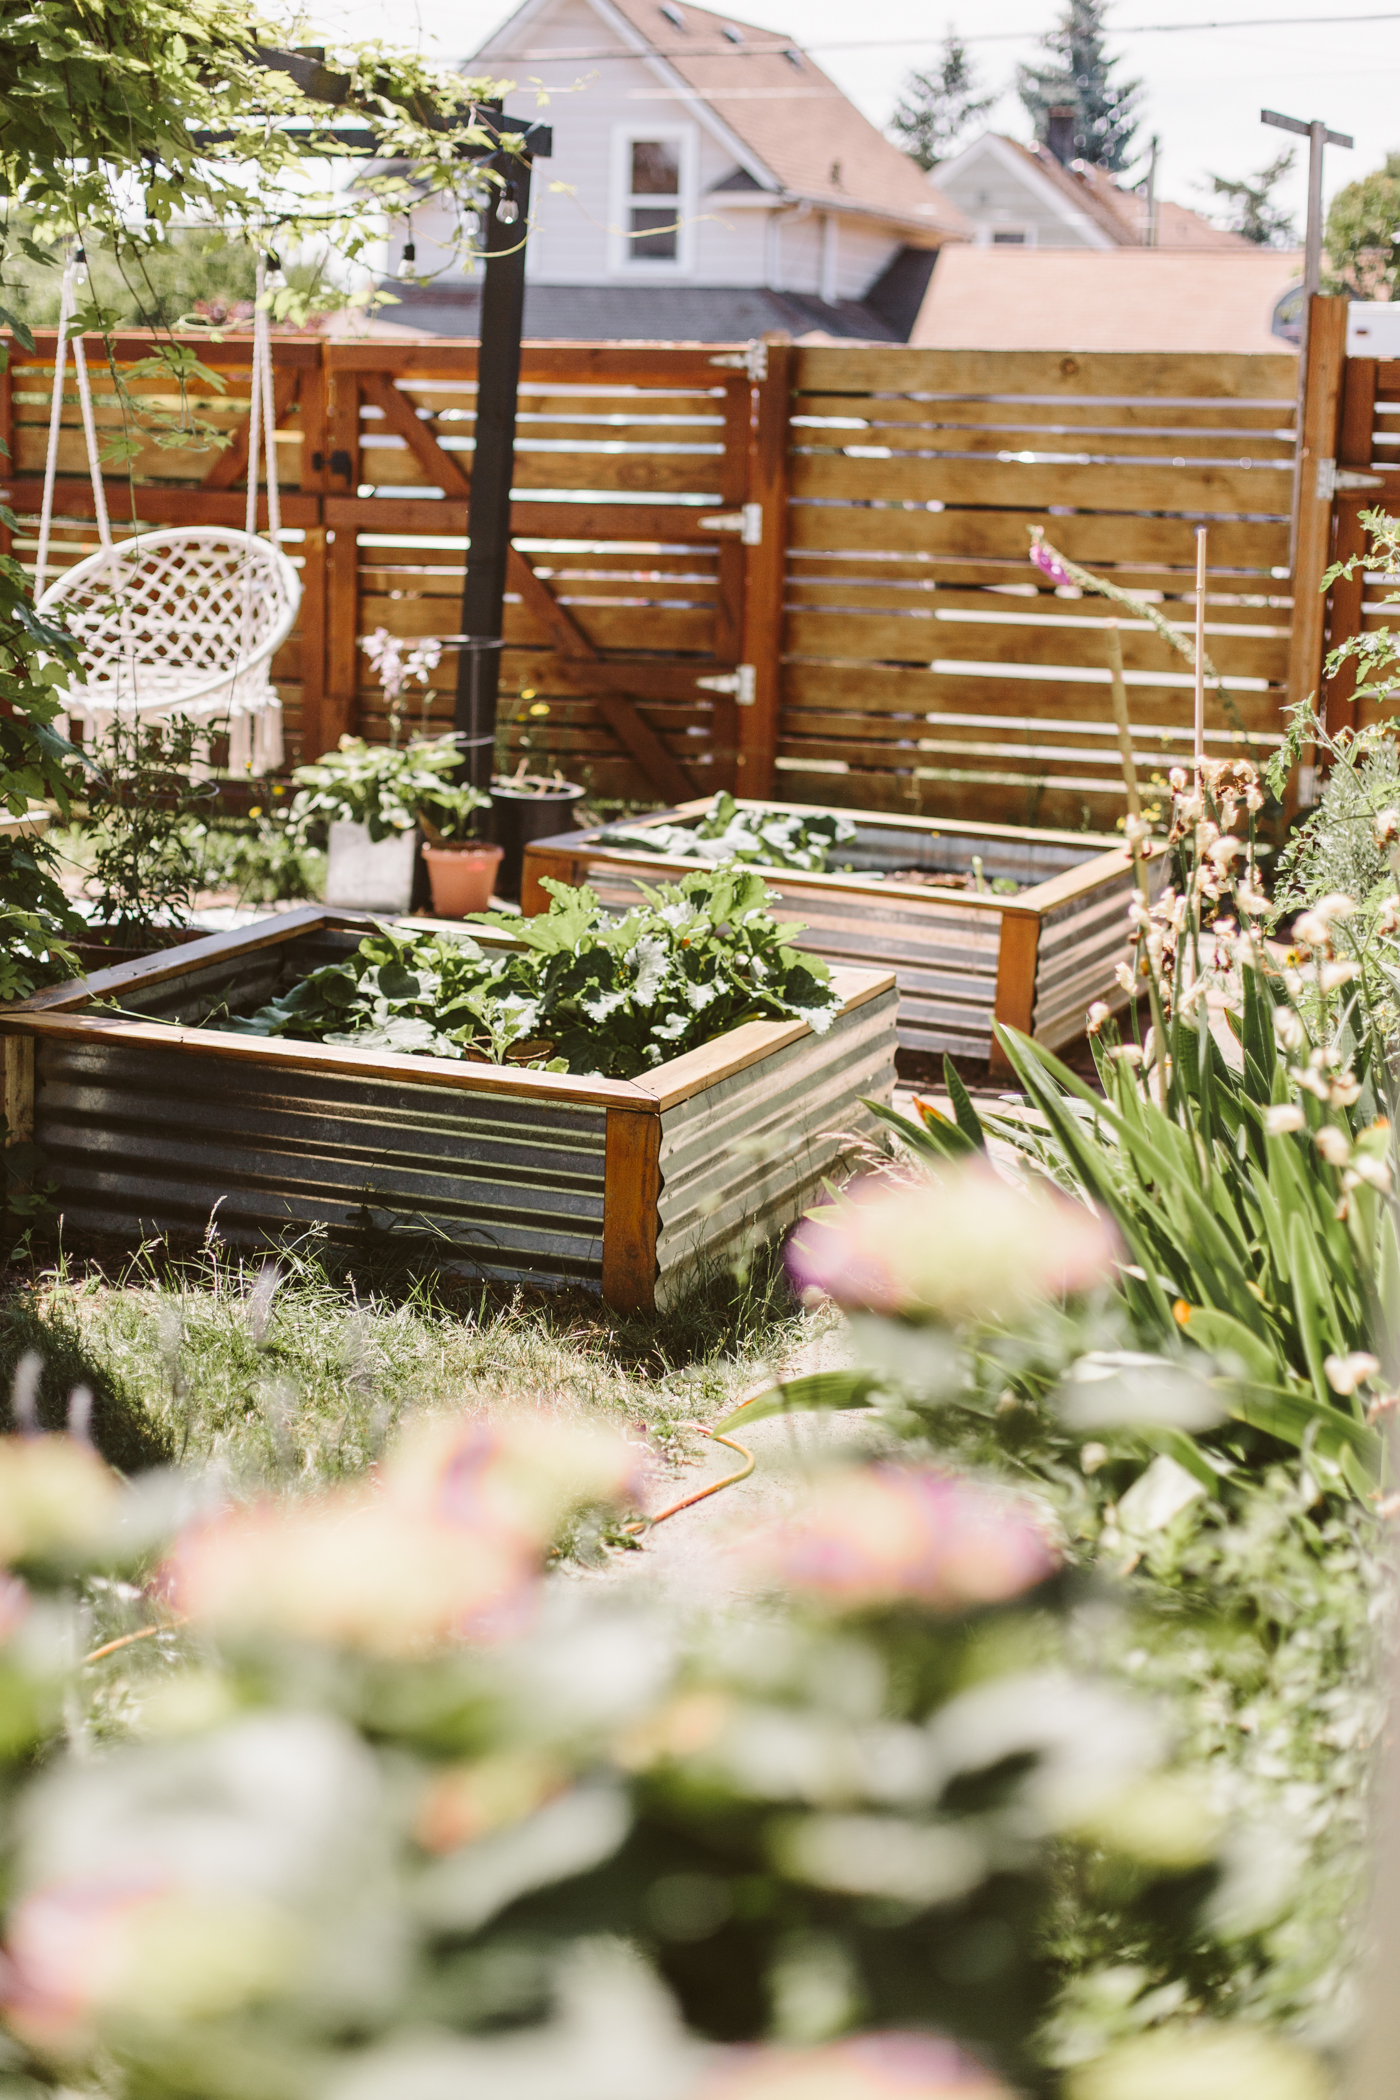
These beds are seriously one of my favorite DIYs that we did in our yard, they were pretty easy to build and I like the way they add a little bit of industrial vibes. I'm not usually a fan of corrugated metal, it can get too kitschy and shabby chic, but these are pretty low-profile and to me they don't read as either of those aesthetics.
What you'll need to make one 4ft x 4ft raised bed:
(adjust quantities sizes depending on the size of the beds you're making)
1- 8ft 4x4
2- 8ft galvanized corrugated metal sheets
2- 8ft 1x4's
16- 1 in screws with small washers (to attach the metal to the 4x4s)
8- 1.5 in wood screws (to attach the top trim to the 4x4s)
Skill Saw
Metal cutting skill saw blade (to cut the corrugated metal)

01/ Cut the 4x4 into four 15 inch long pieces to make the "legs" of your raised bed.

02/ Chop the two corrugated metal pieces in half to create four 4 ft pieces. Then cut each piece down to be 15 in wide-- the height of your raised beds.
03/ Attach one of your four metal pieces to two of the 4x4s to create the first side of the raised bed. Do this again to create the opposite side. Use the screws with washers and place the screws in the dips of the corrugated metal- I used 4 screws for each 4x4.
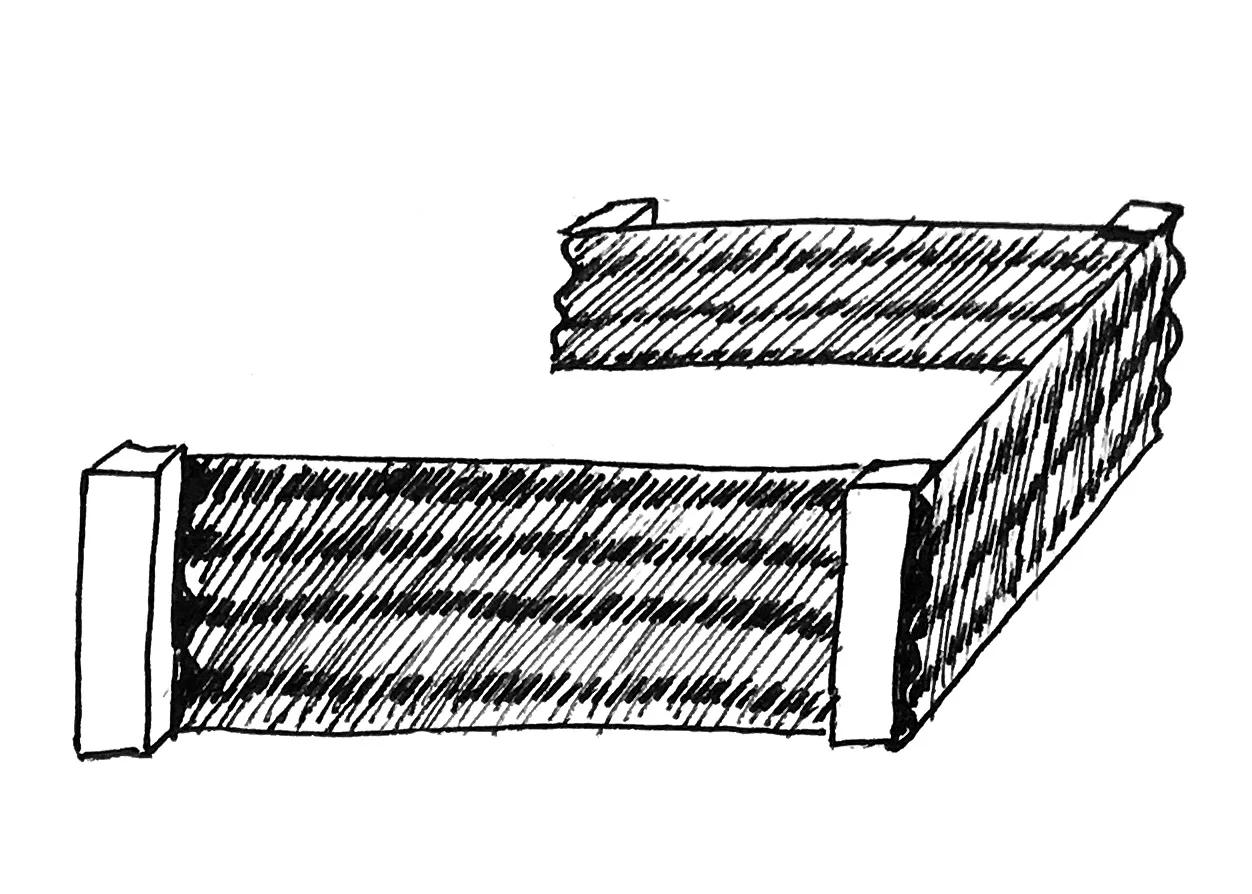
04/ Now you'll start putting the sides together. Place the two sides you've just made so they stand up (they should be able to stand up on their own, but if not, have someone help hold them), and have the metal sides facing each other. Take another piece of the corrugated metal that you pre-cut and place it against the 4x4 to create the third side of your bed. Screw it to the 4x4s with your screws + washers.
Two of the sides will have the metal "inside" the 4x4s and two will have the metal on the outside.
Do this again to attach the final side of the bed.
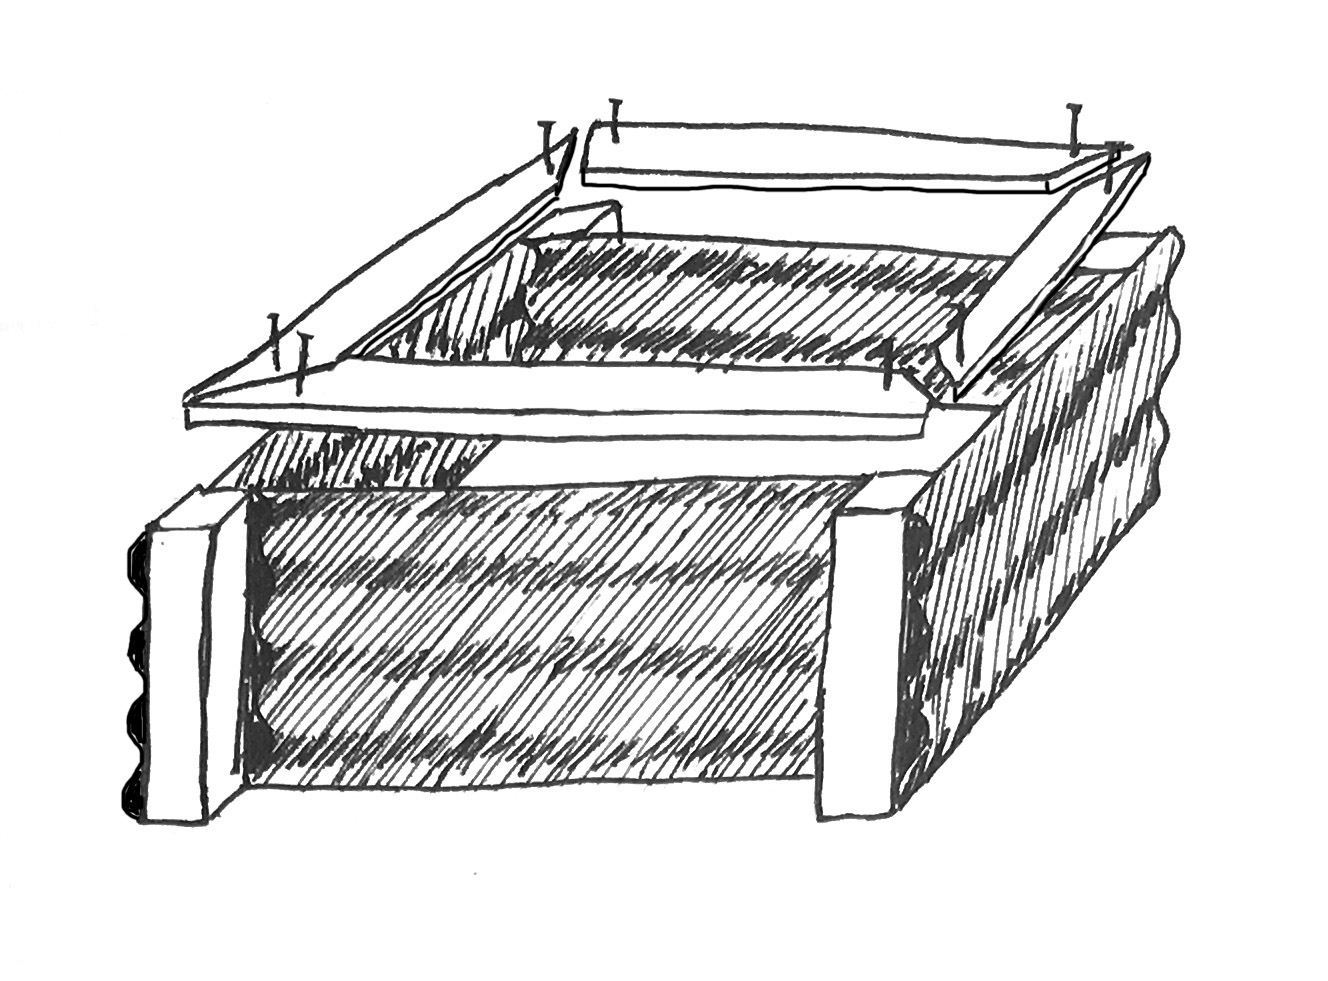
05/ Cut the 1x4s into four 4ft pieces, then cut a 45º angle on every end so that they fit together to create 90º corners. Place these flat on top the 4x4's and screw them into the top of the 4x4s.
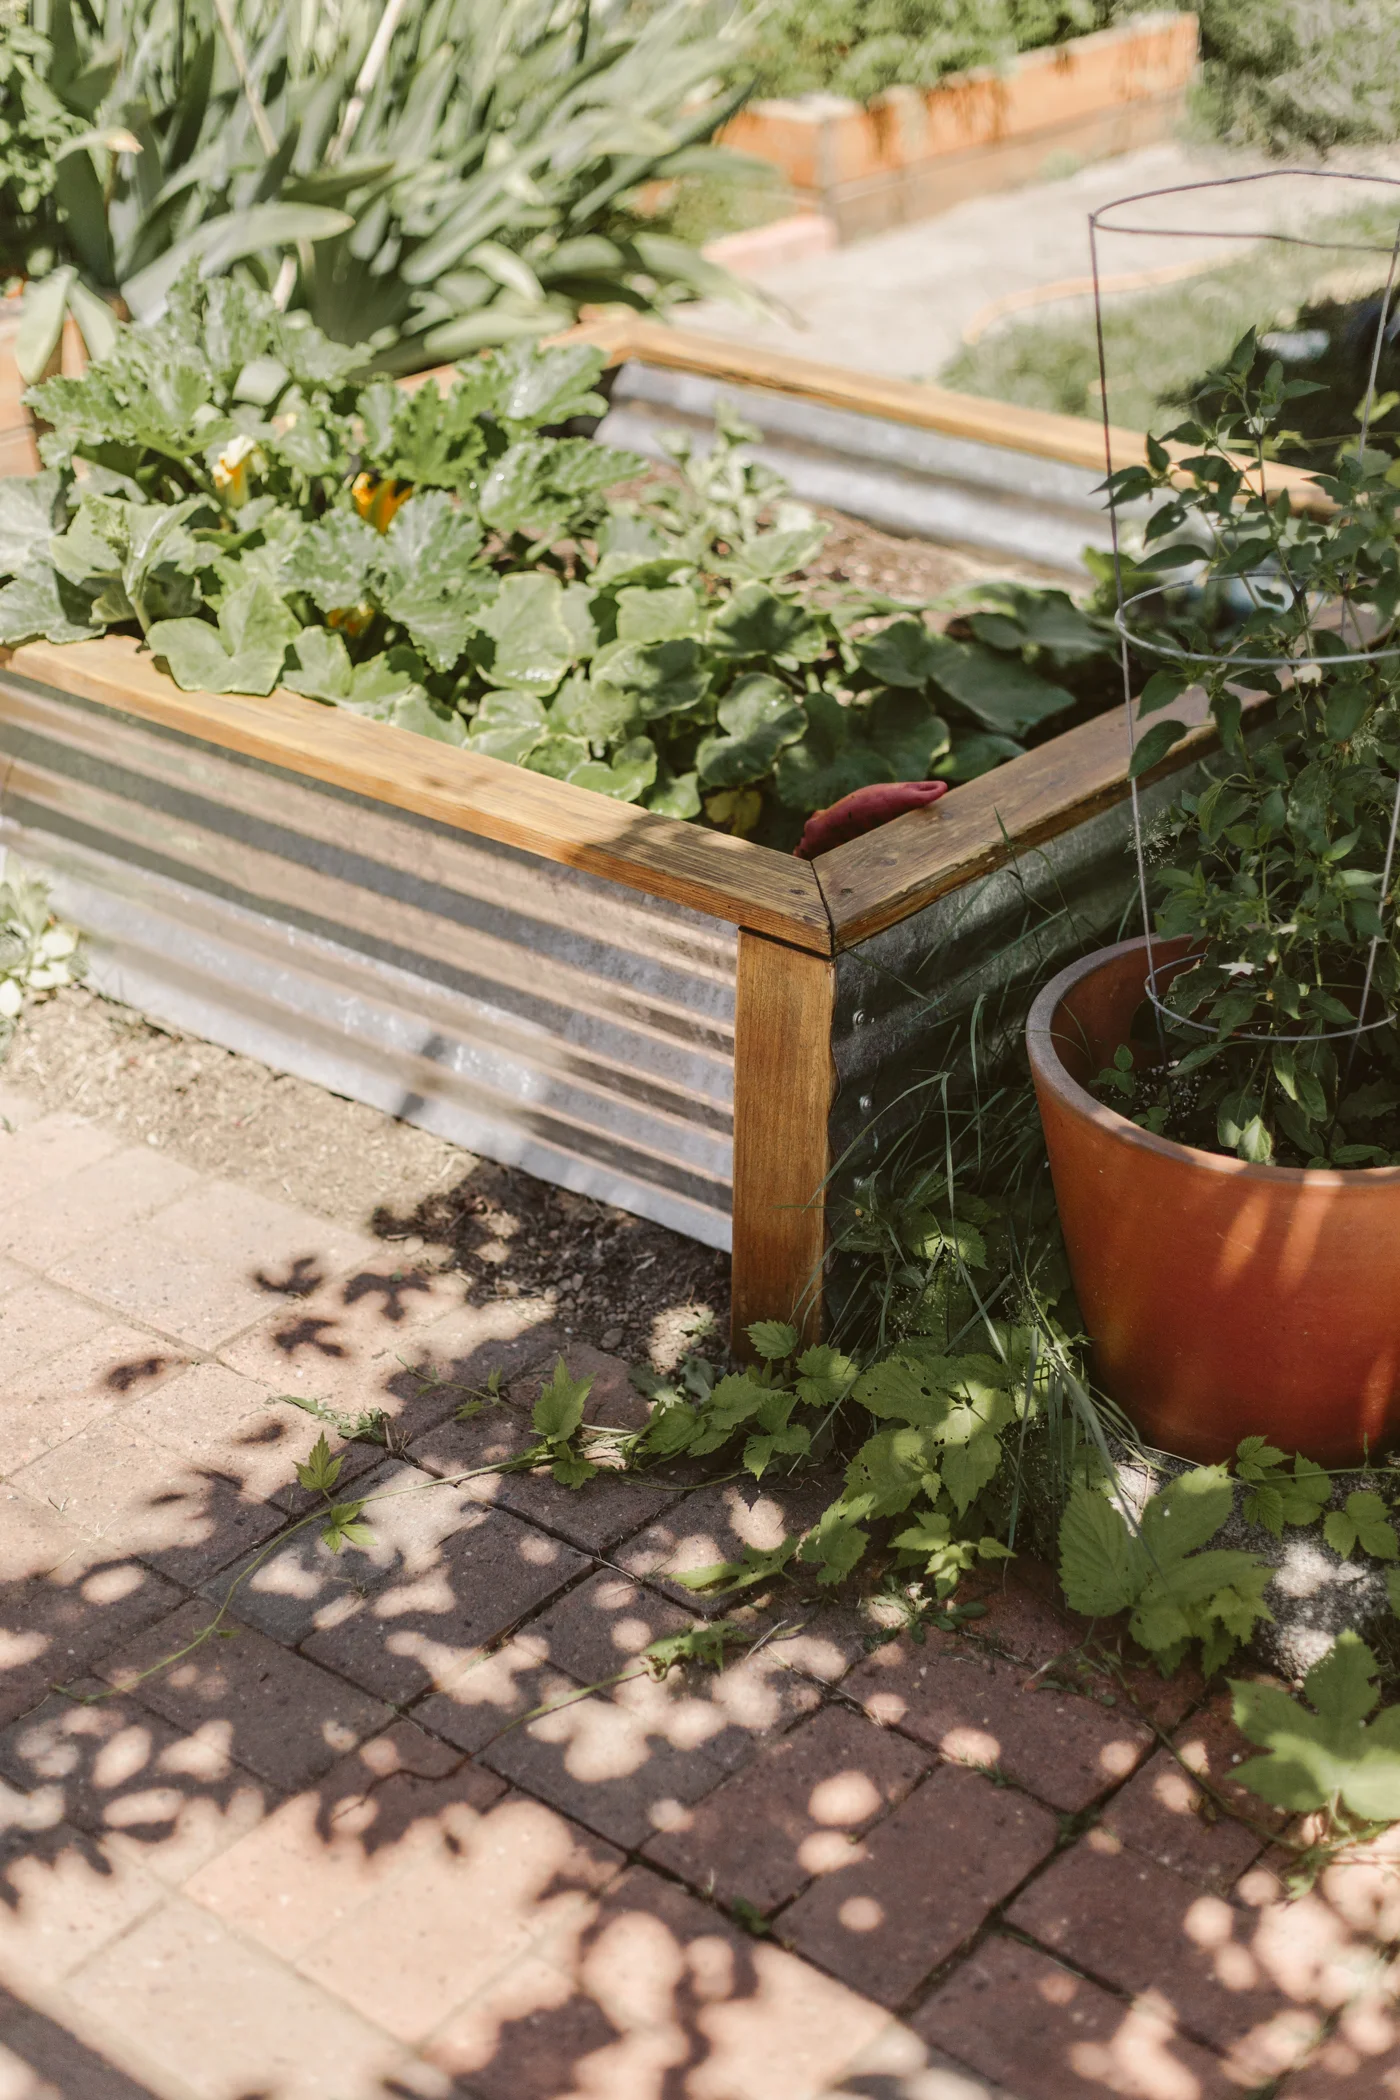
06/ optional, but I recommend staining the wood to protect it from the elements. We built our beds about 4 years ago and I just now had to sand and re-stain the top trim because it'd been worn down by all the rain we get in the winters.
The metal is still perfect and hasn't rusted at all! These beds are super affordable and can be made in an afternoon!
If you're worried about the beds moving (mine haven't at all) and want to anchor them a little, you can make the 4x4's a little longer than the bottom of the corrugated metal and dig those down into the ground, or just dig the whole thing, sides and all, into the ground a few inches.


![This print feels even more relevant today. We all joke about the dumpster fire of [insert year here], but the important message of this image to me is that *we persist* through the horrors. We stand, we fight— maybe for ourselves, maybe for oth](https://images.squarespace-cdn.com/content/v1/574dddd6d51cd4bc35c1609a/1730935170369-03GPKQ5NF73VAE65RHO6/image-asset.jpeg)


