What is a "Blessingway," you might be asking? A blessingway is kind of like a baby shower for the new mama. In our culture there's a lot of importance and pomp and circumstance given to a new baby. Which is fair enough, a new human is exciting and should be celebrated! But in all the hullaballoo about the baby, the fact that this other new creature is also being birthed-- the mother-- is forgotten and ignored. We just expect women to shift into this new, completely life-altering role, as if it was like changing a pair of underwear.
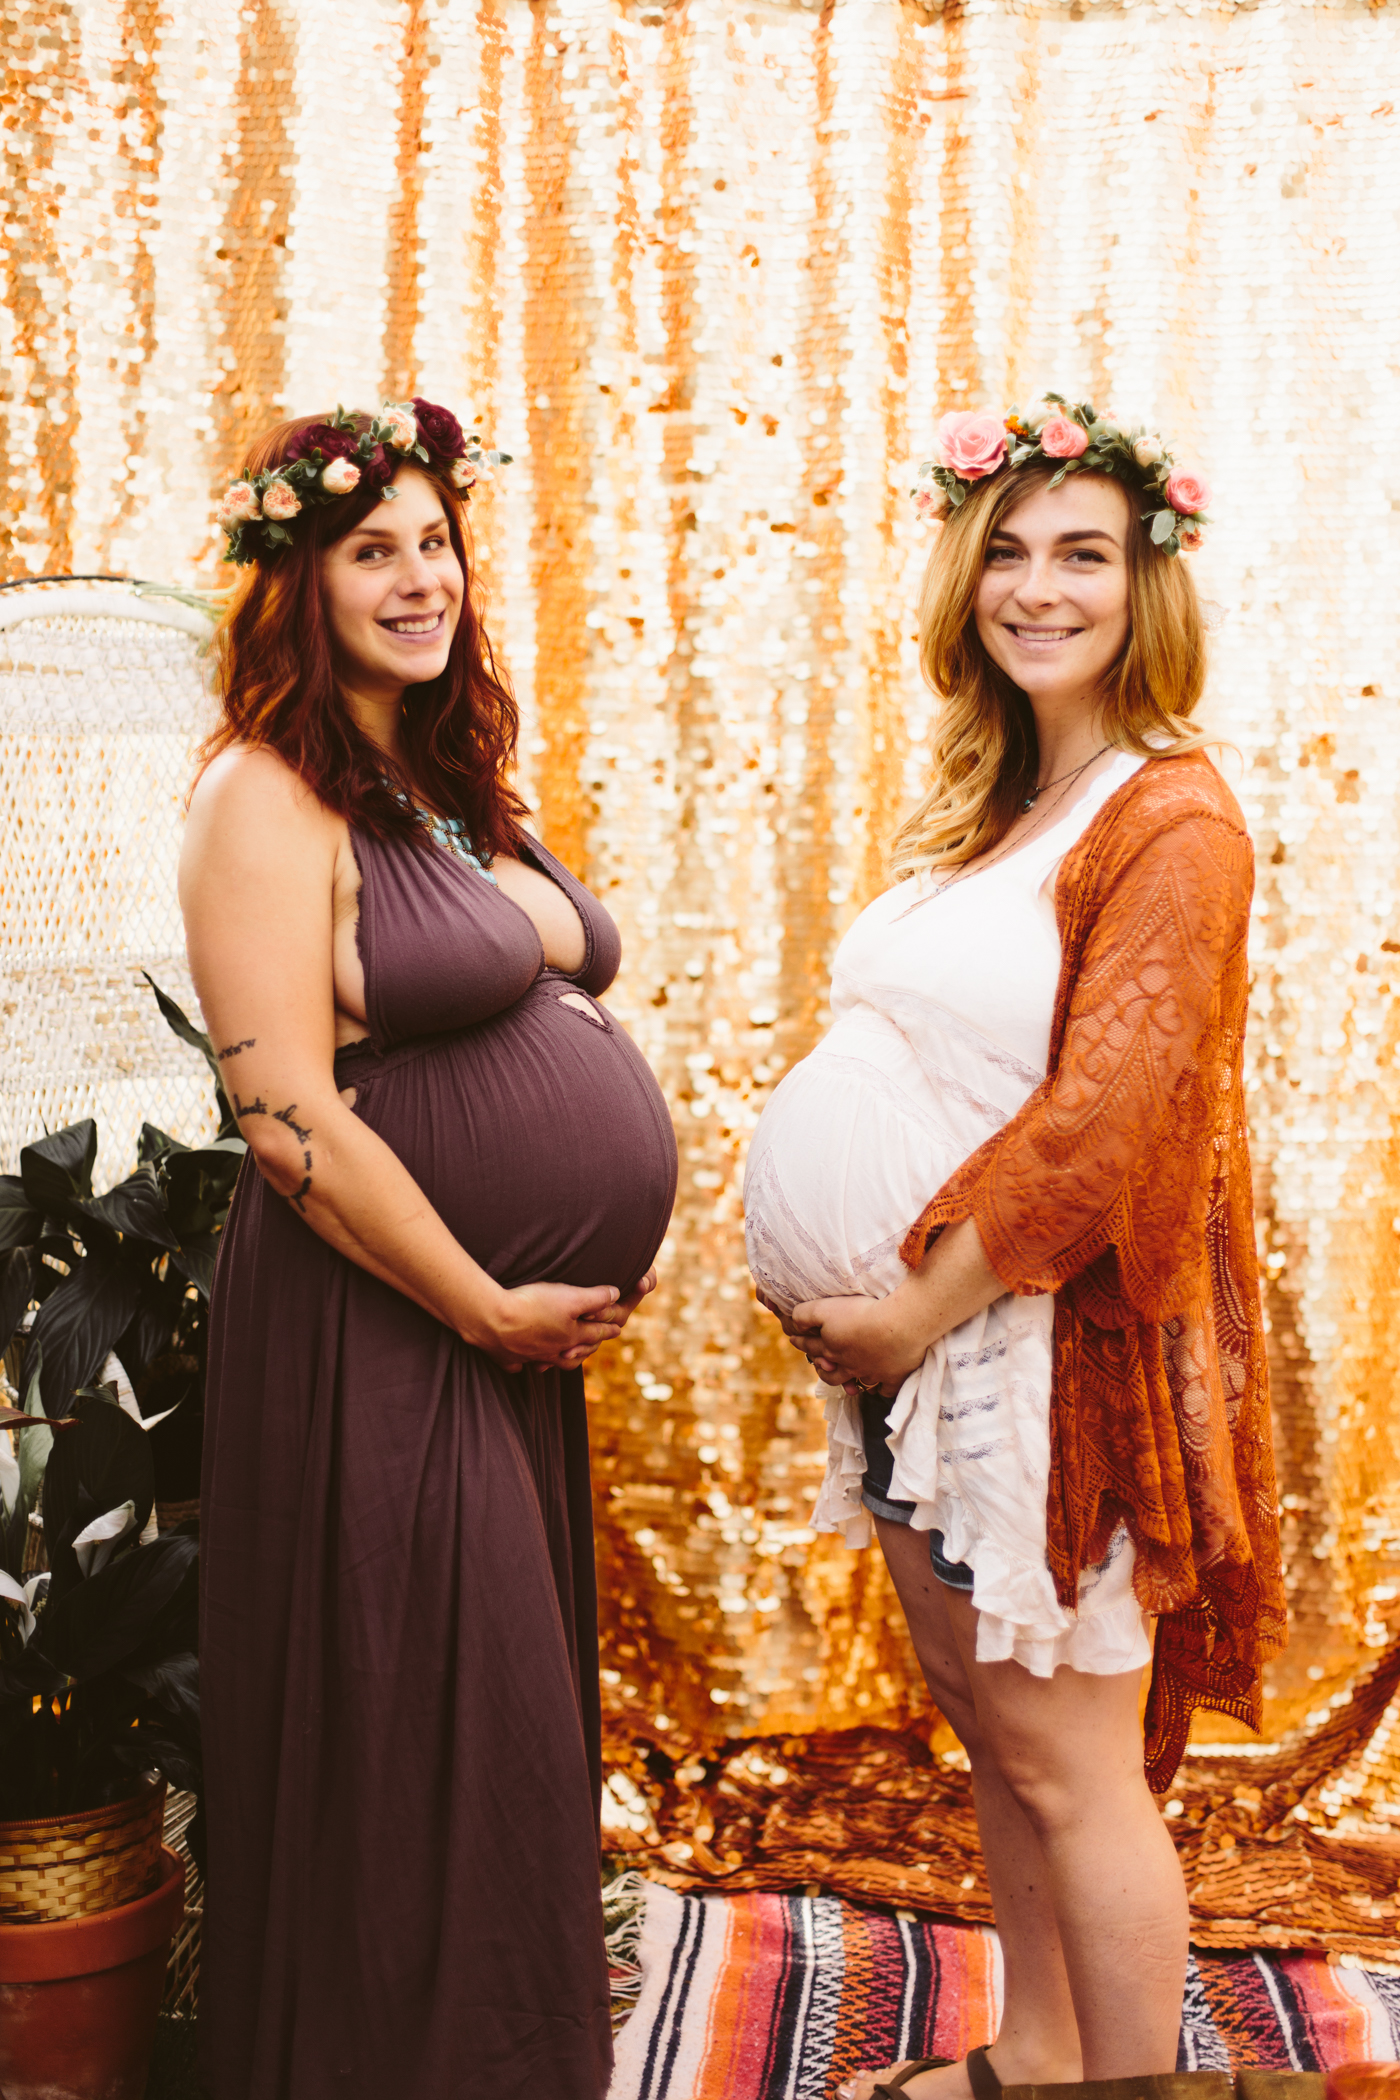
But it's not. It IS life altering. It IS important and deserving of creating a sacred celebration for. Mothers deserve honoring, just as much as a new baby. And that's what a blessingway is-- a celebration and honoring of the woman making the huge transformation from regular human to mother human. I was given a blessingway by my best friends when I was 36 weeks pregnant and it was so lovely, so I wanted to do the same for them, now that they are both in their final month of pregnancy!
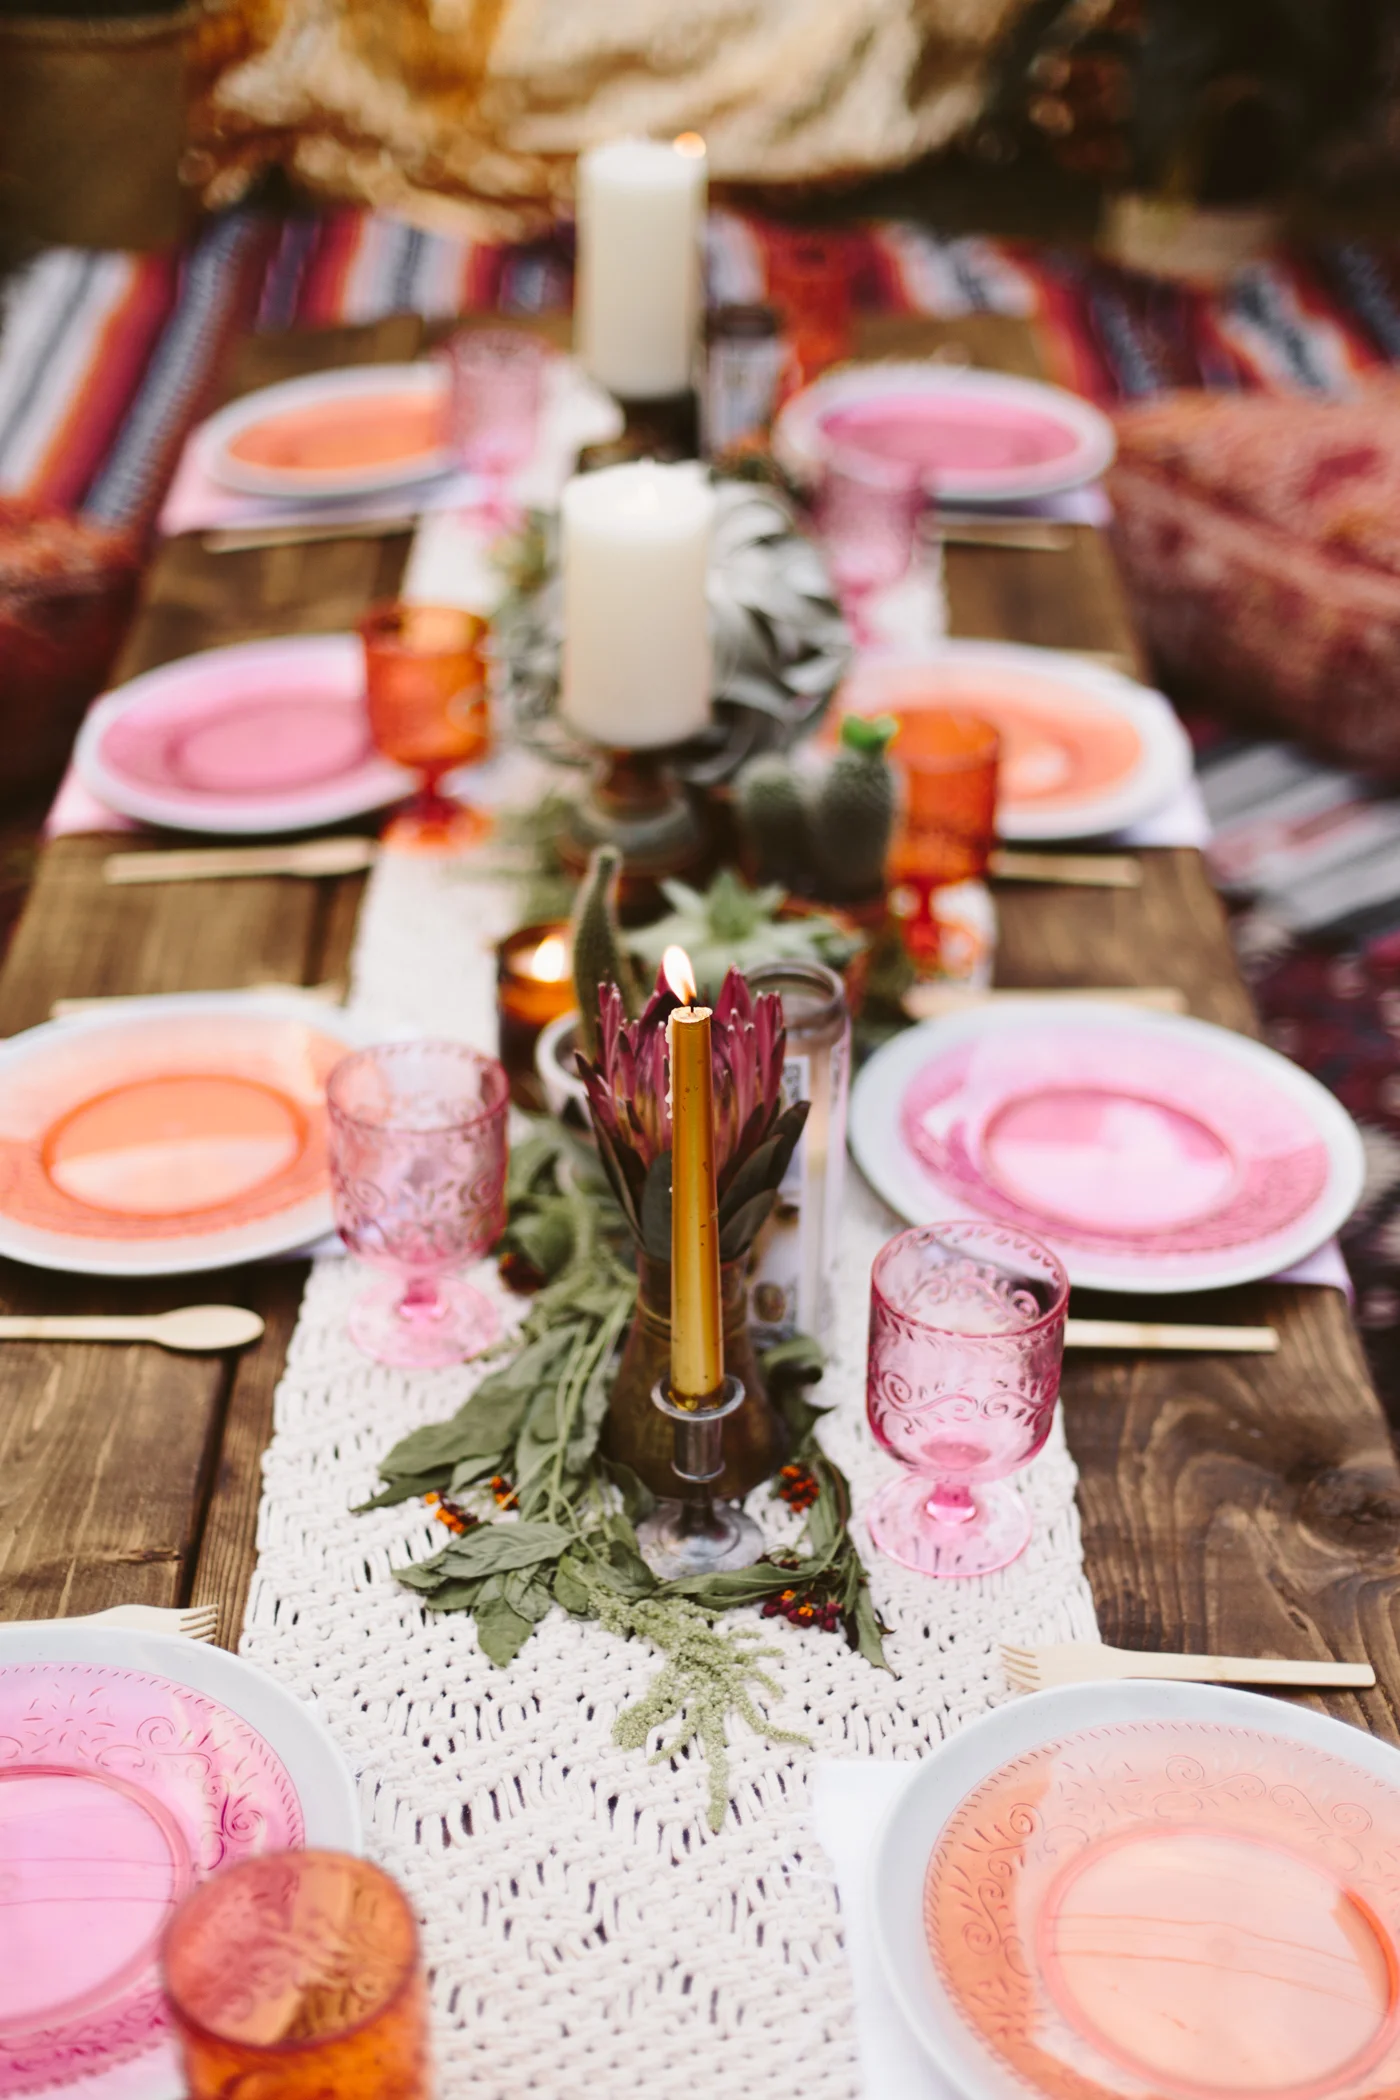
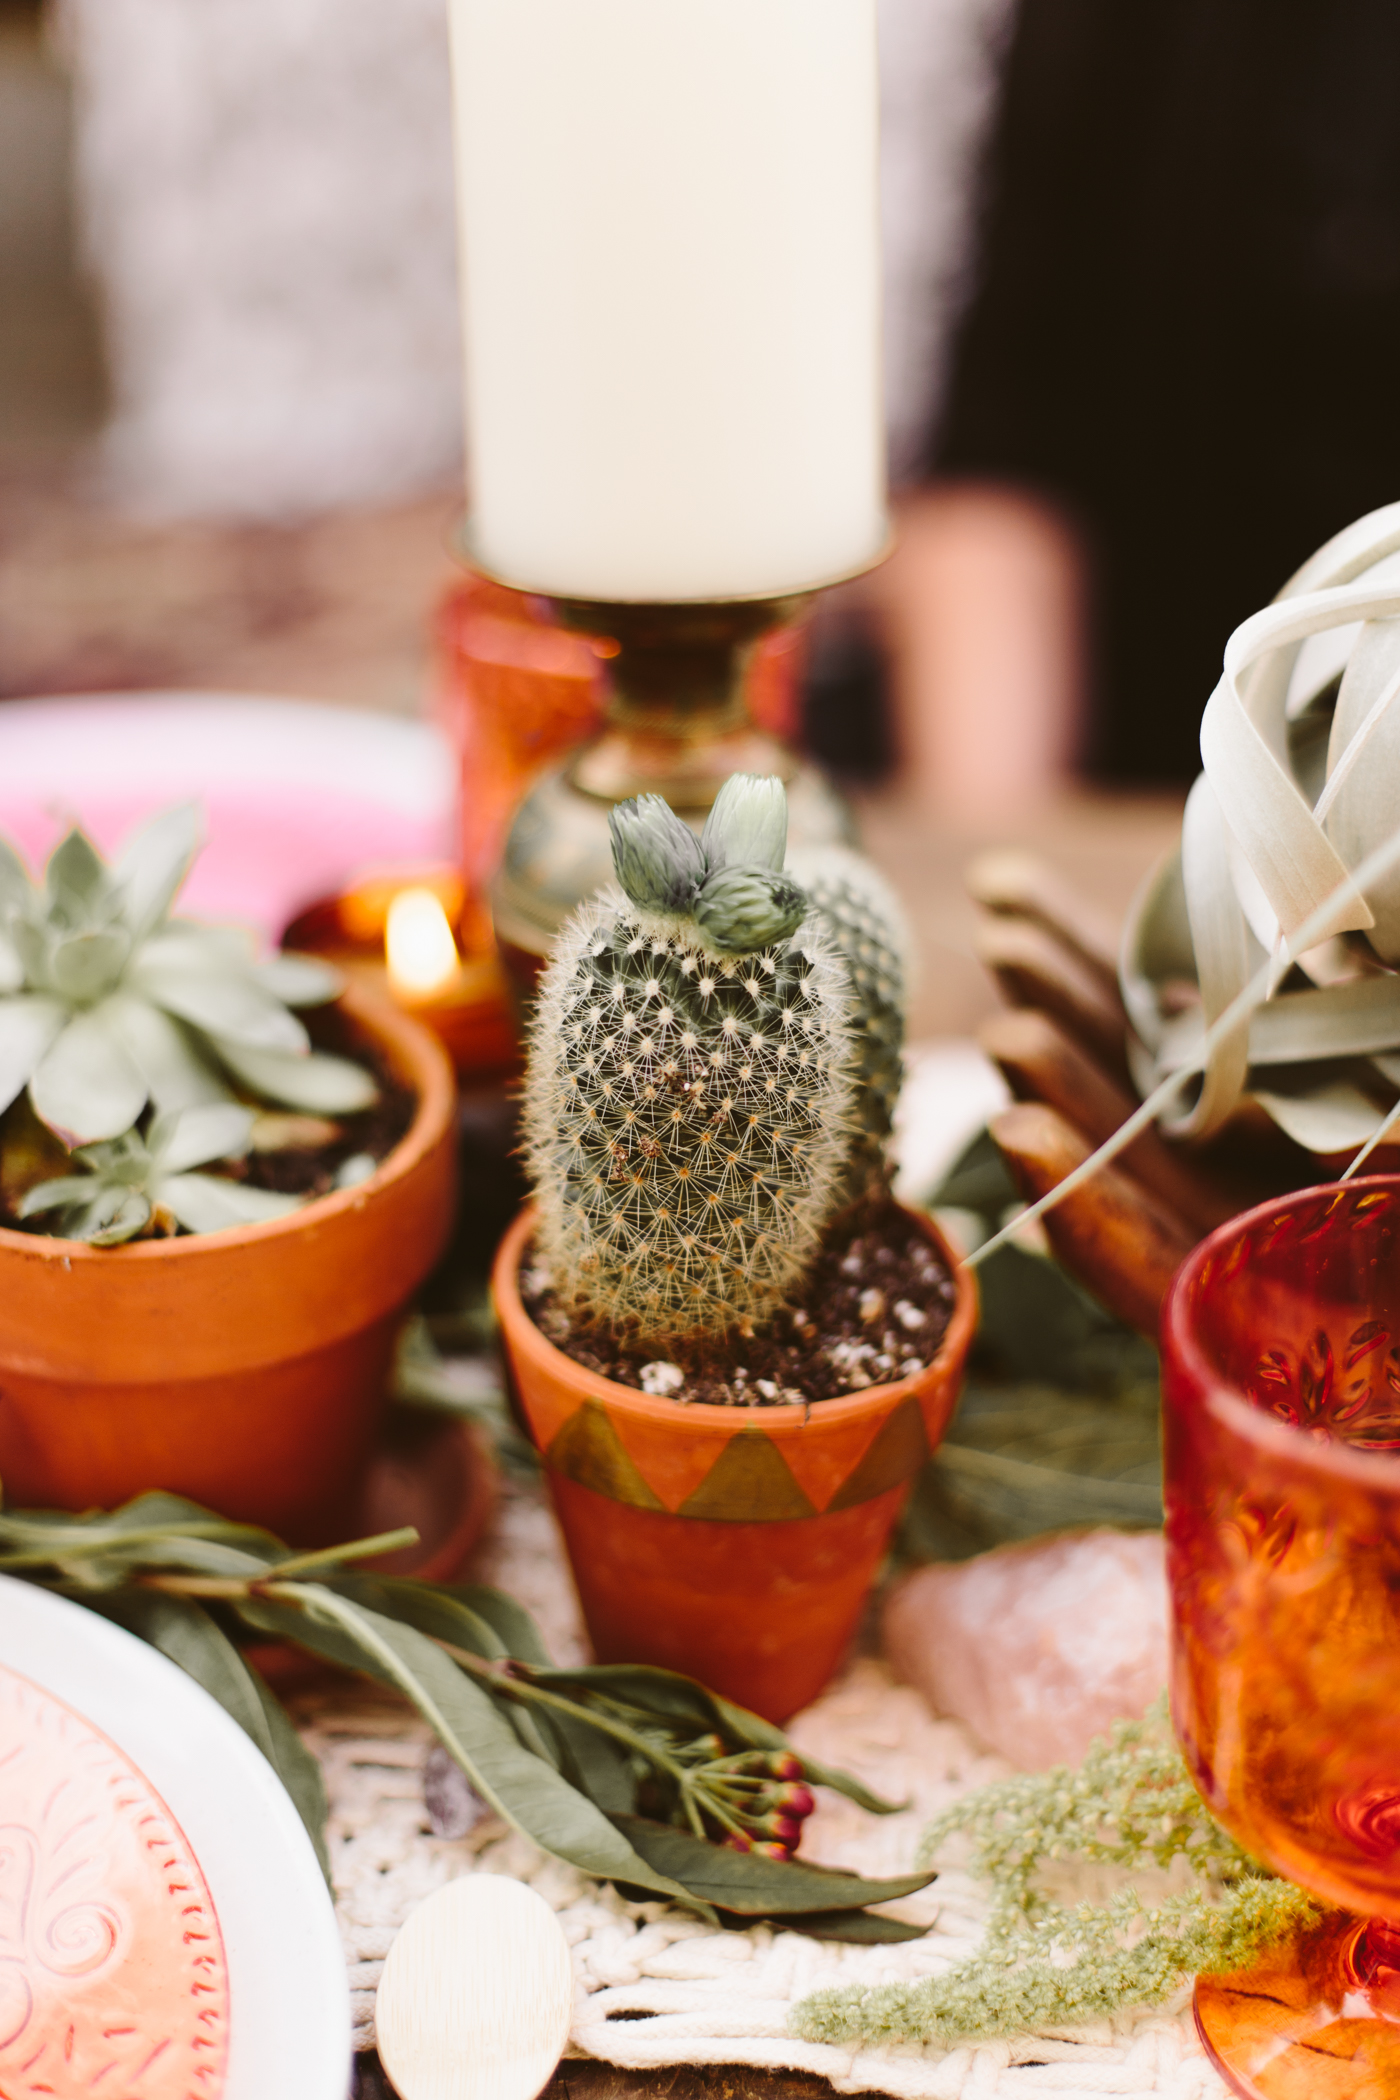
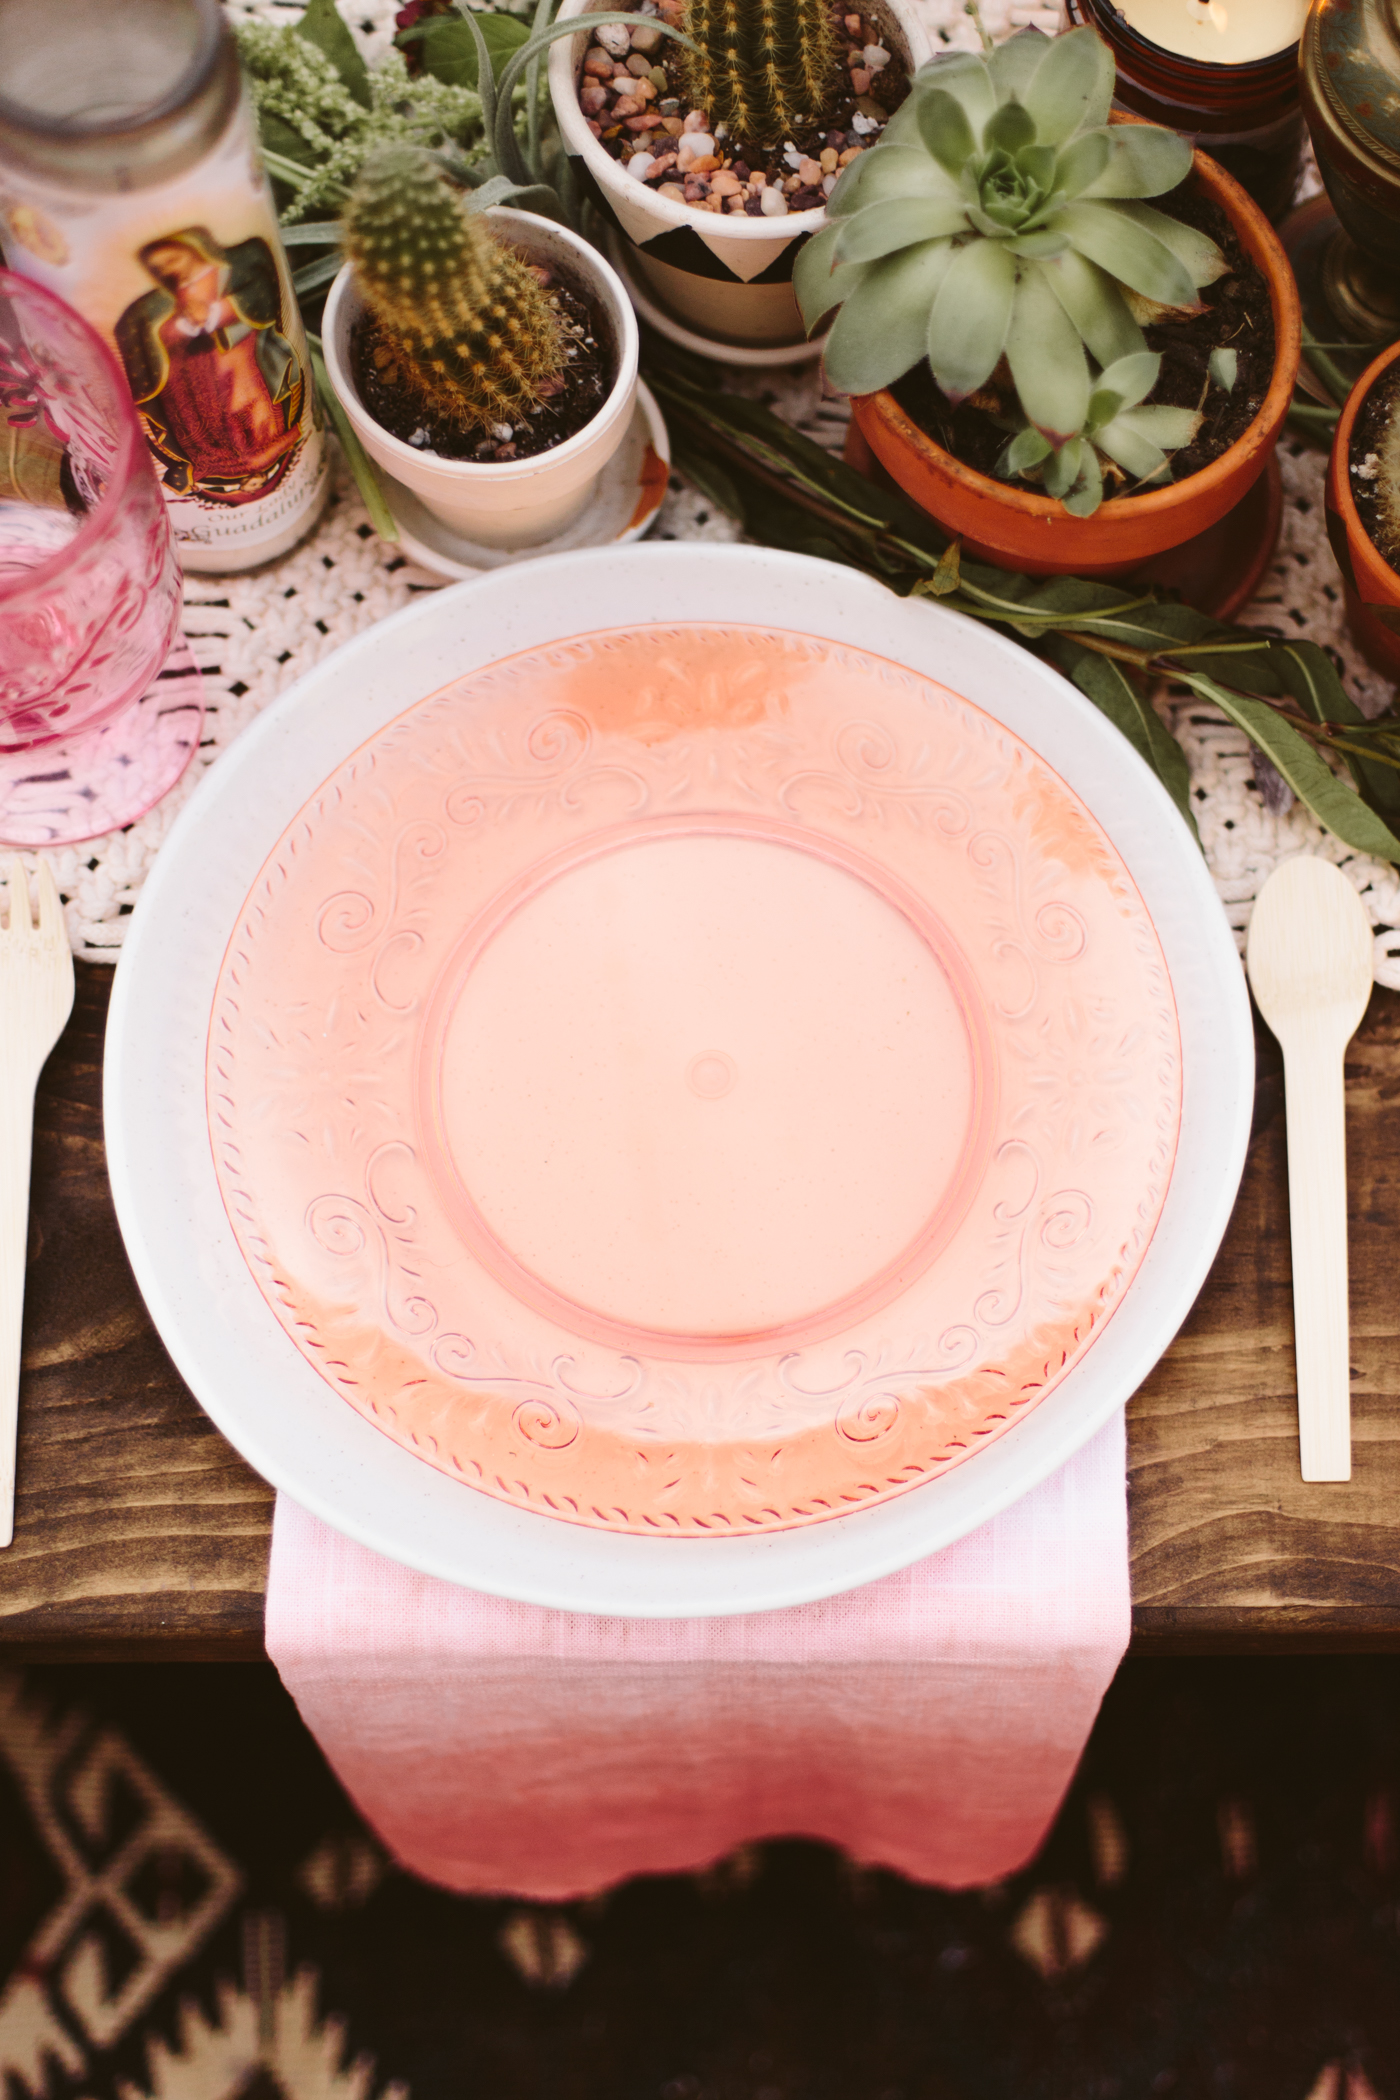
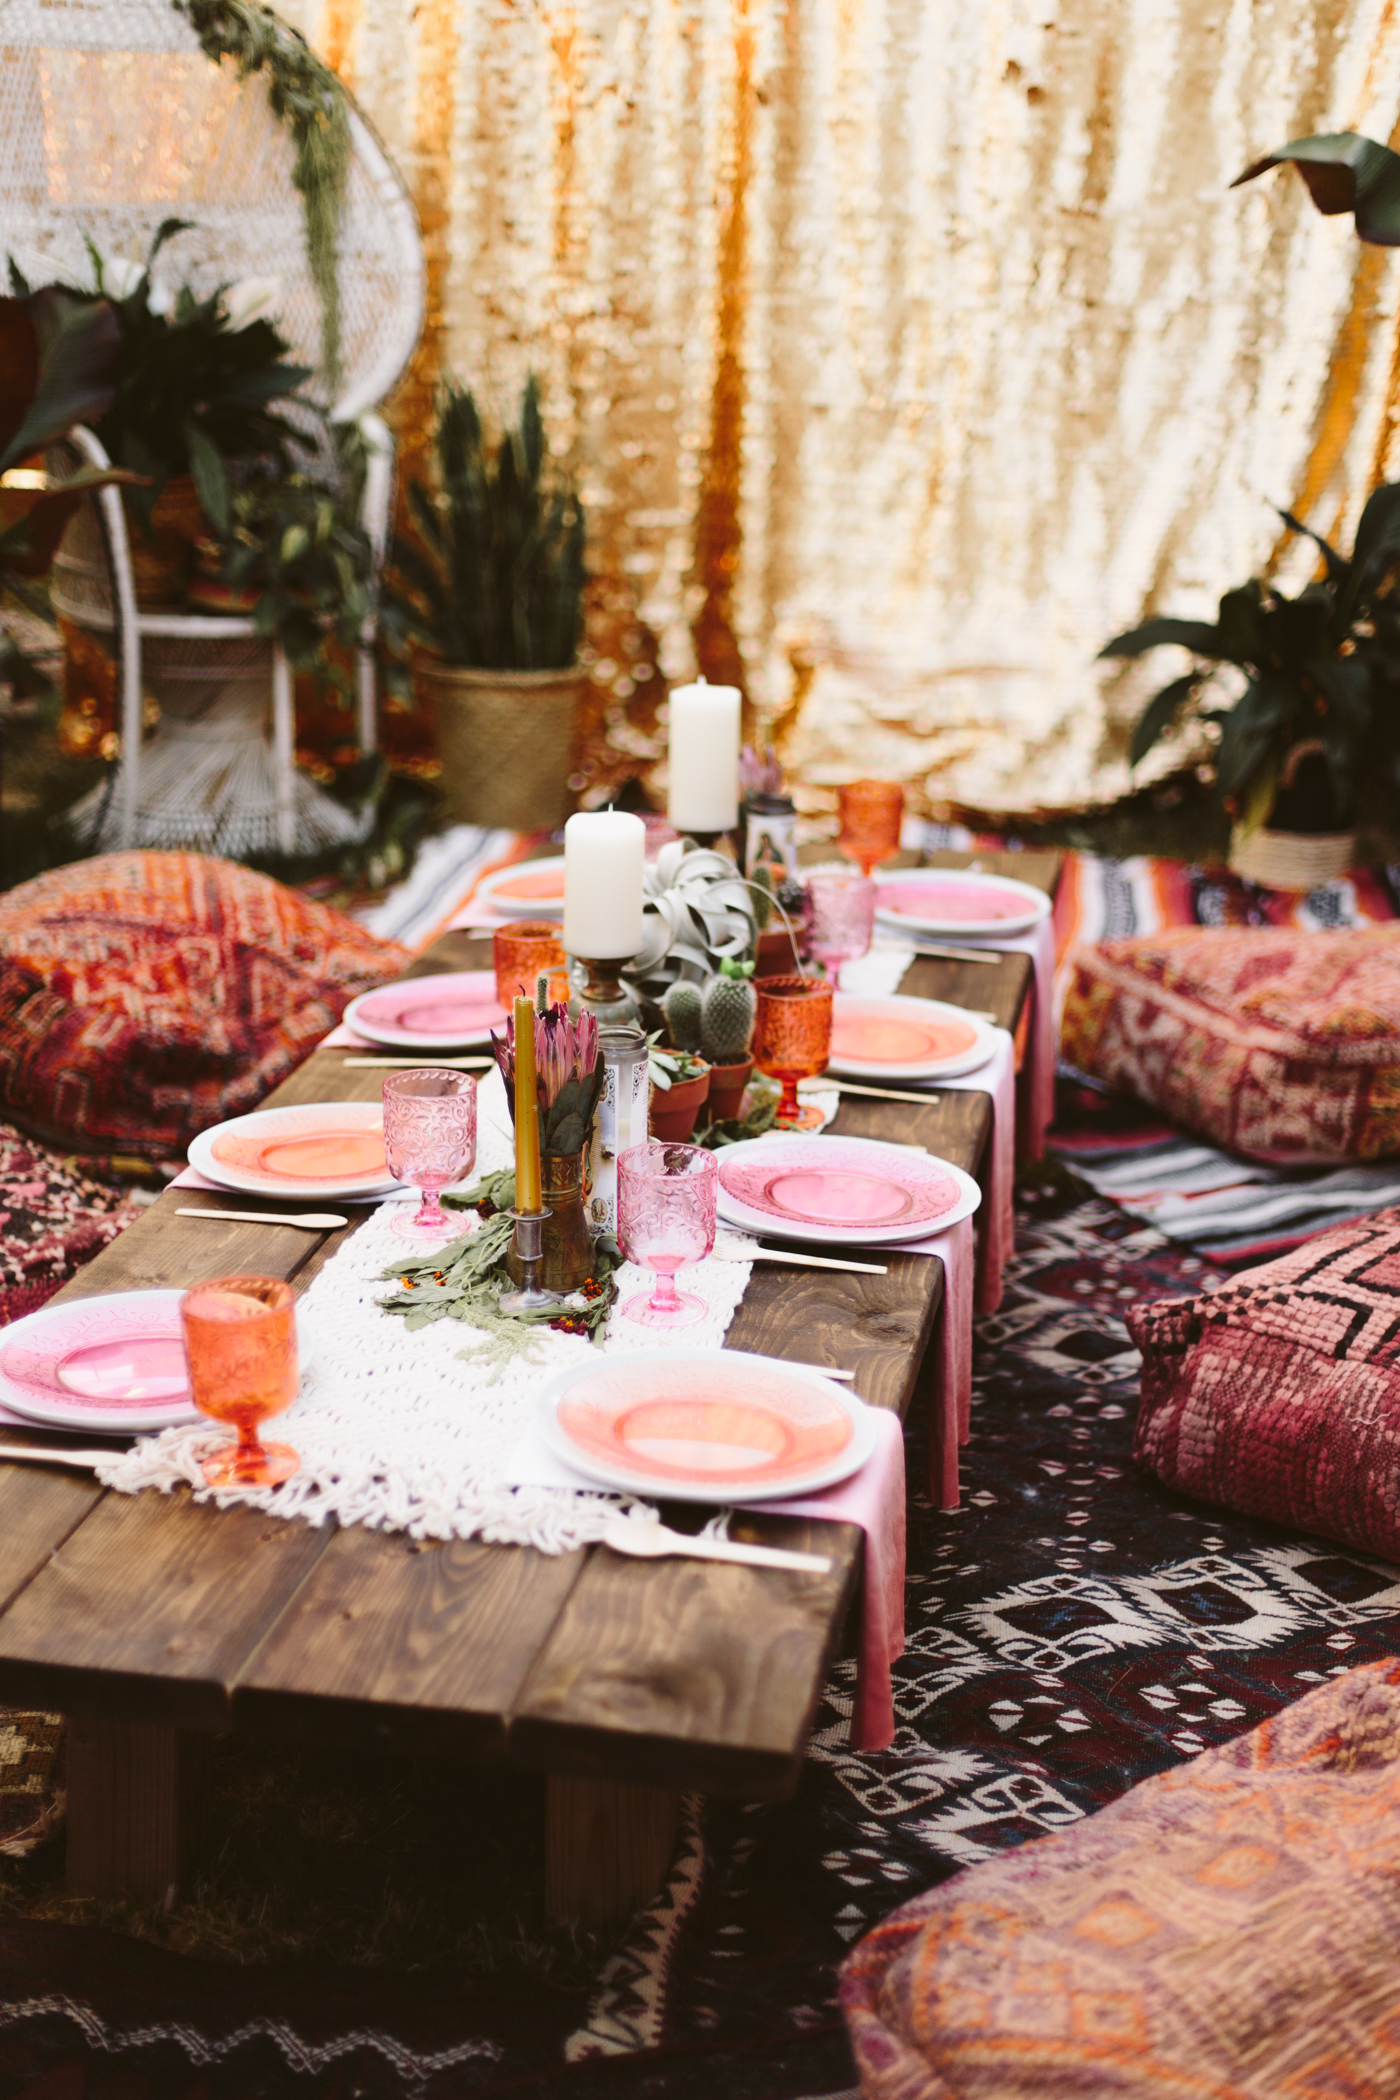
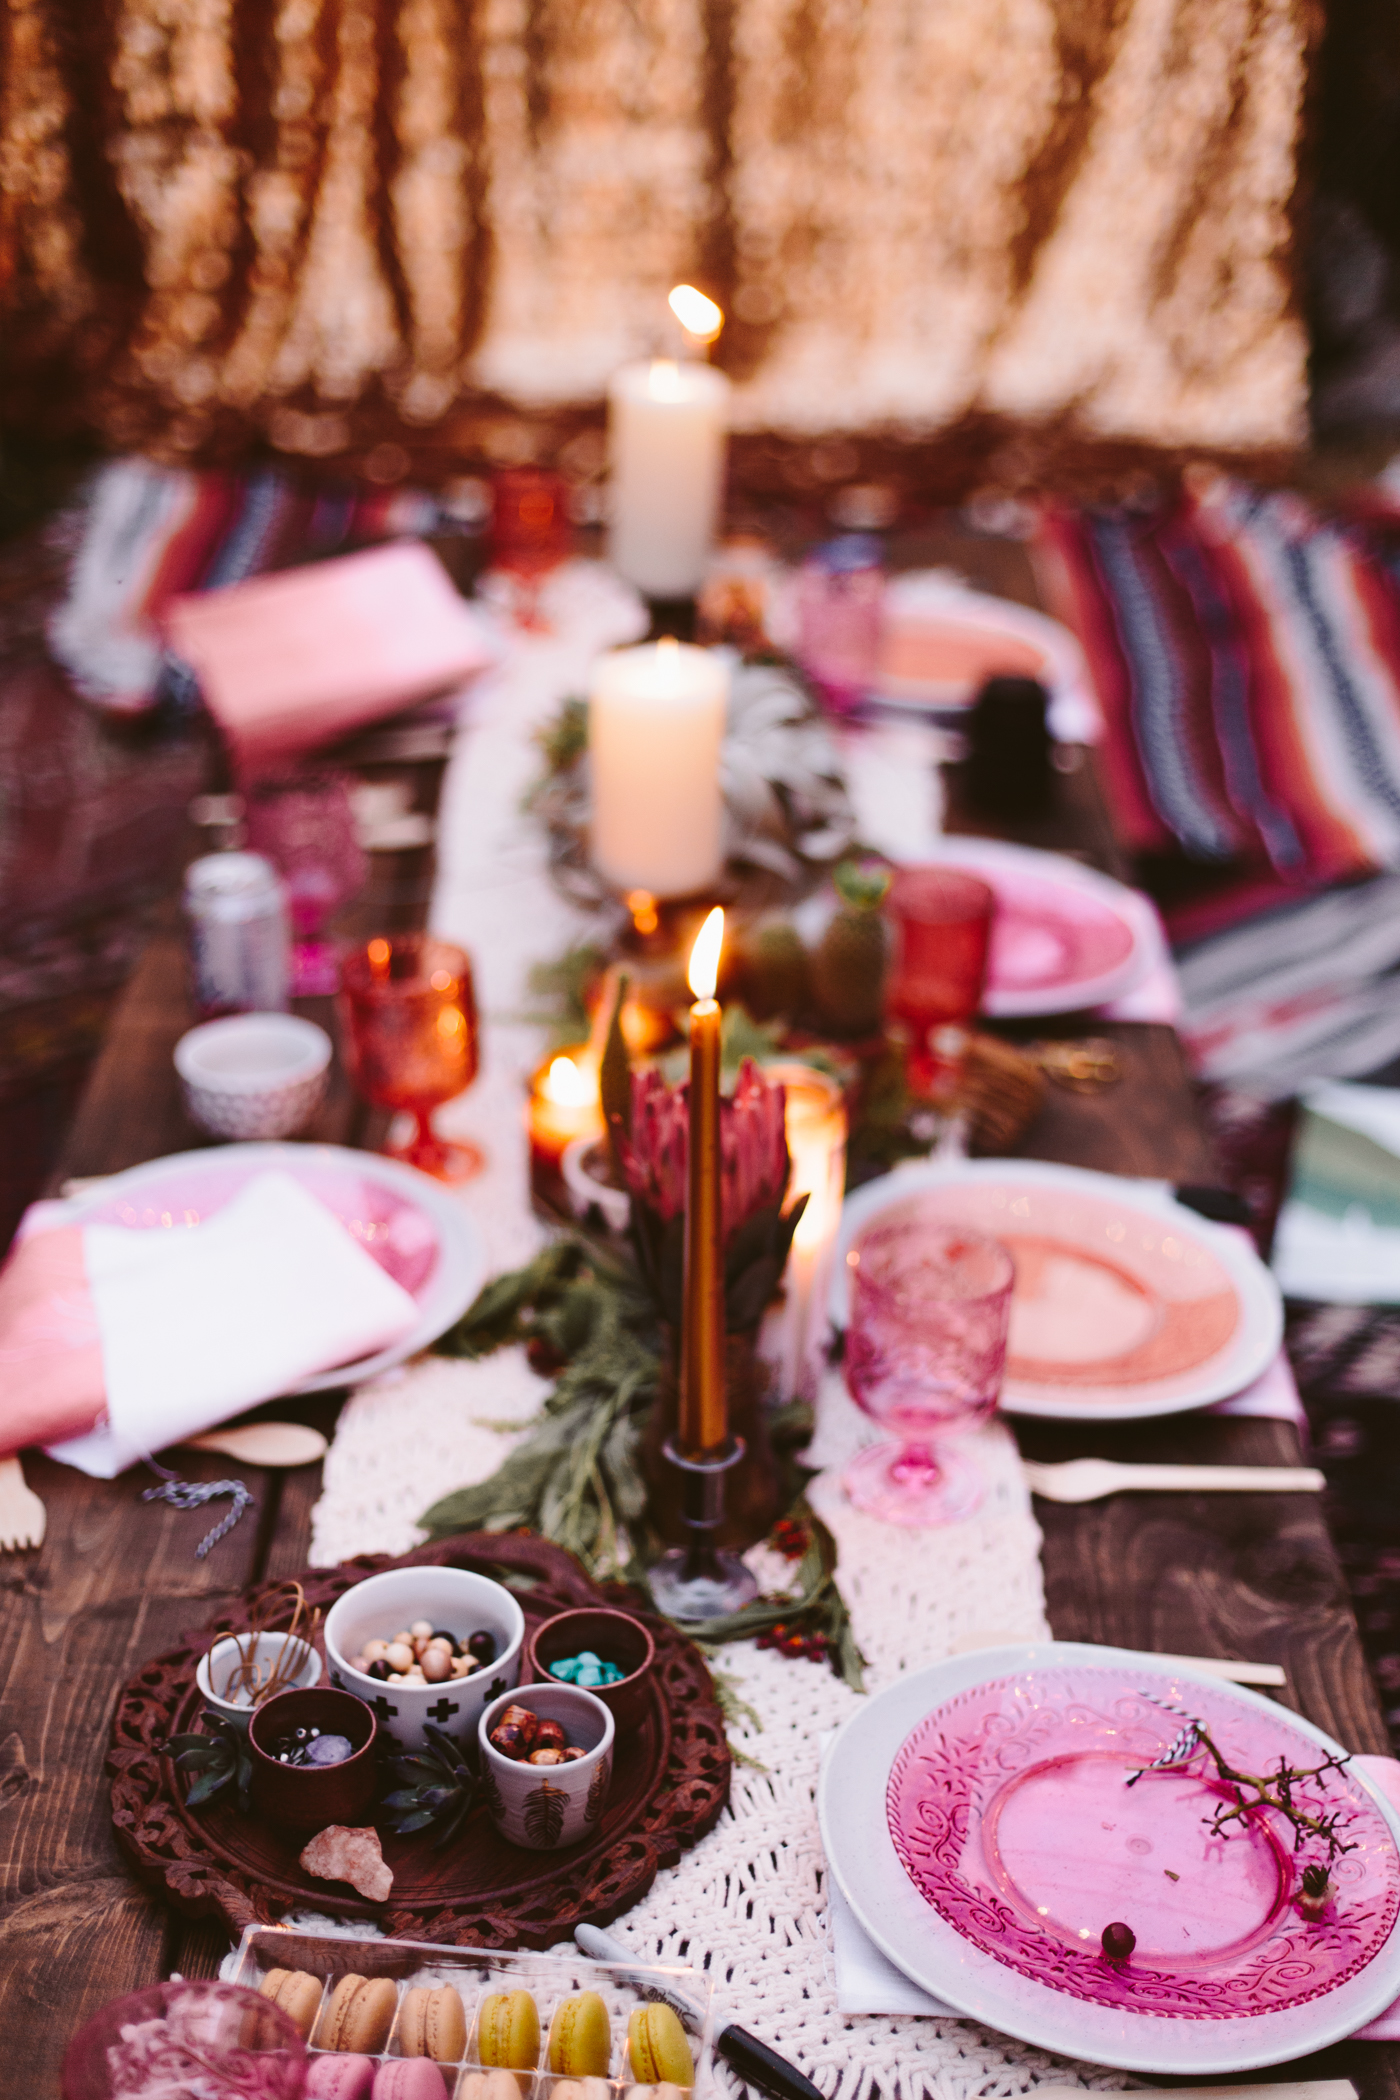
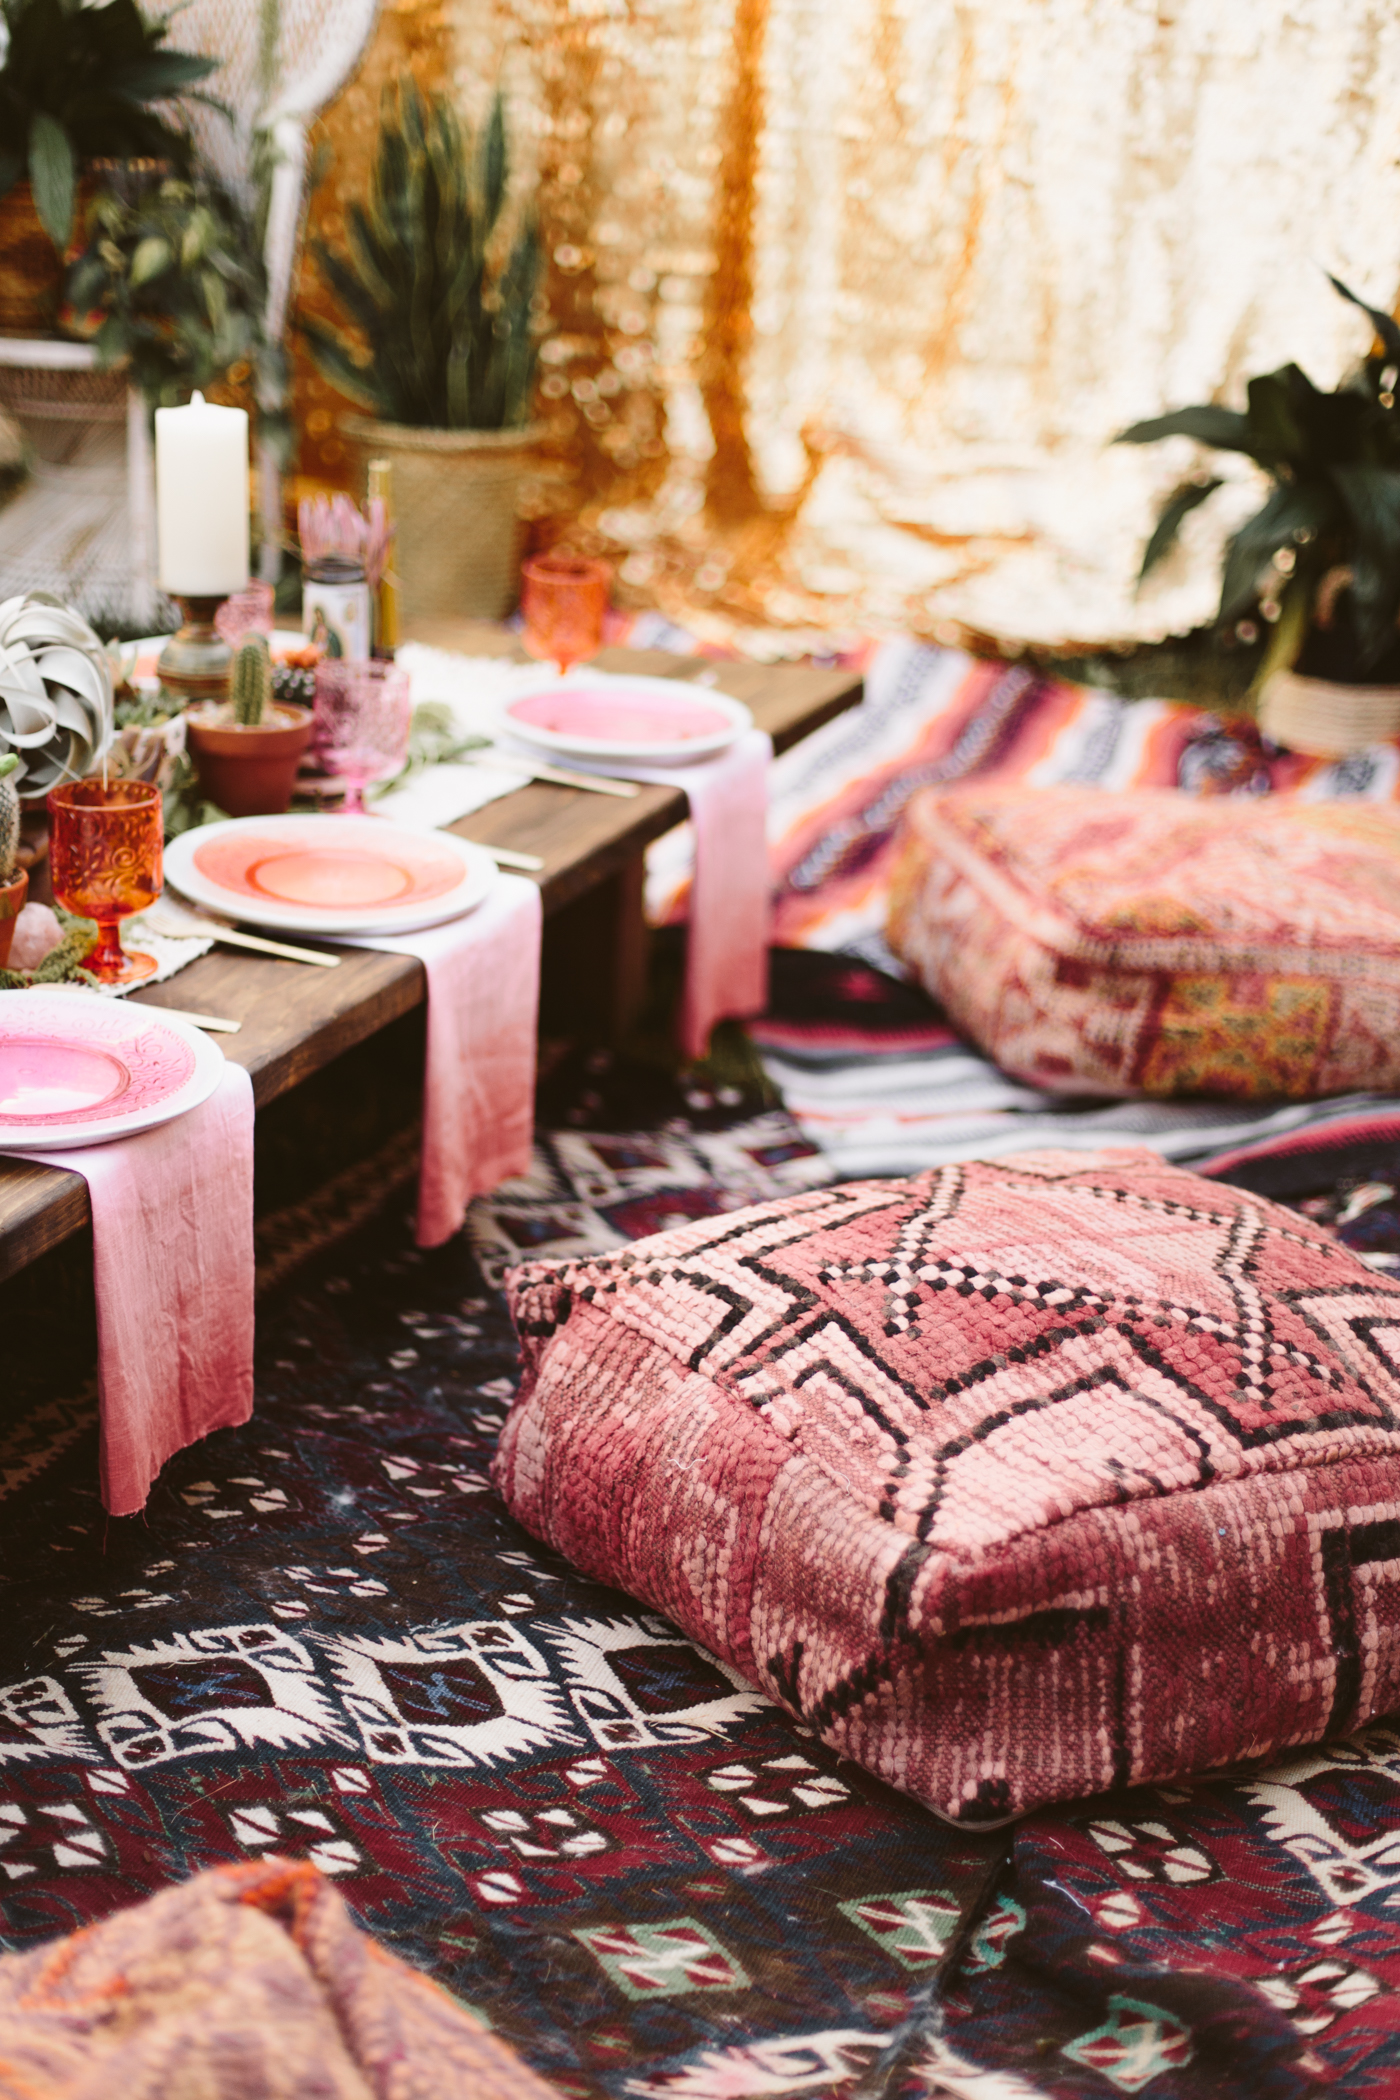
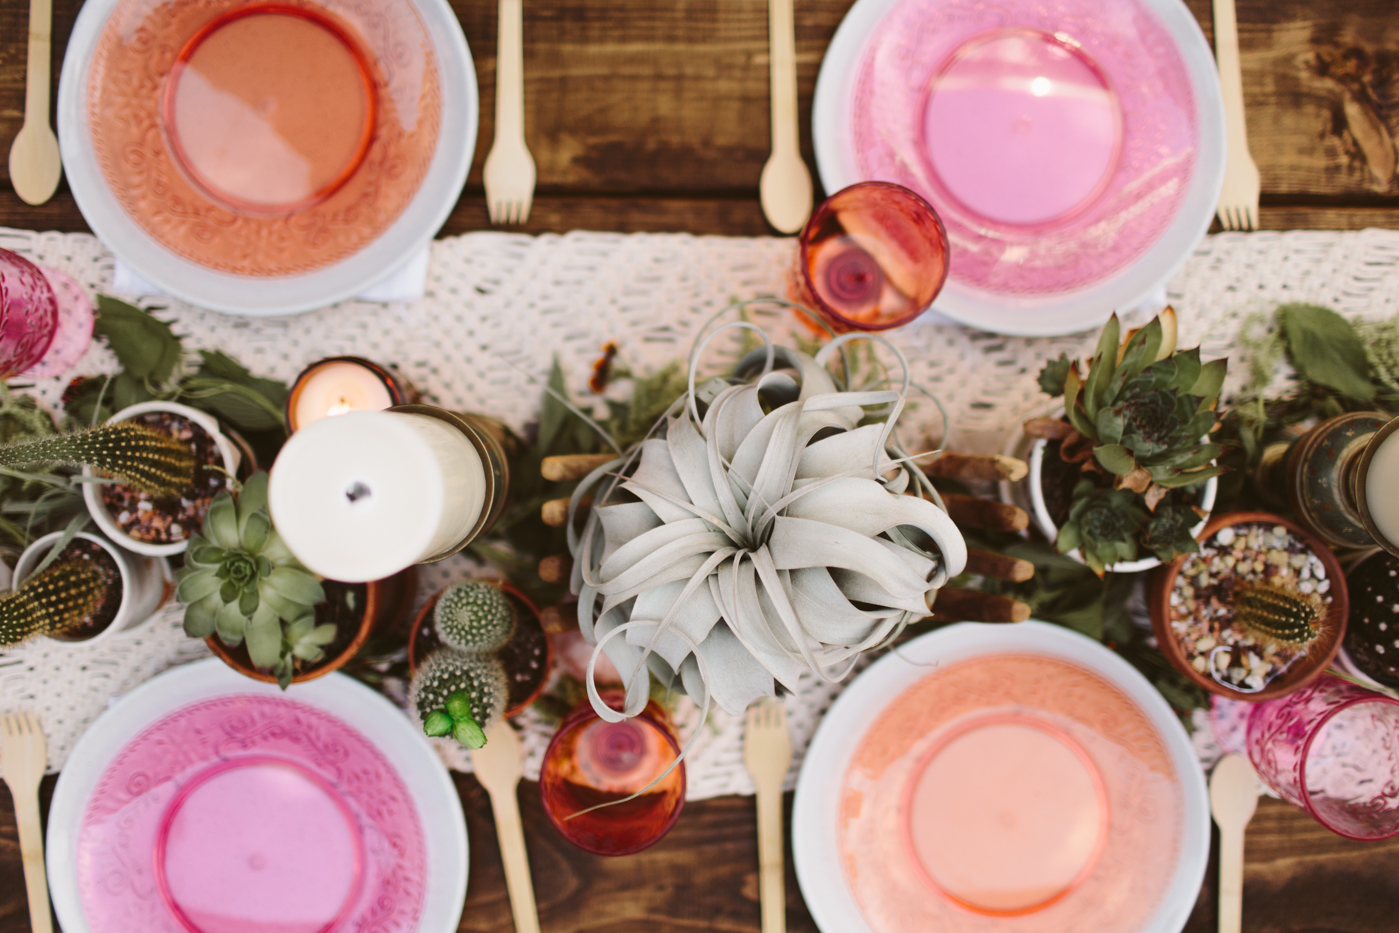
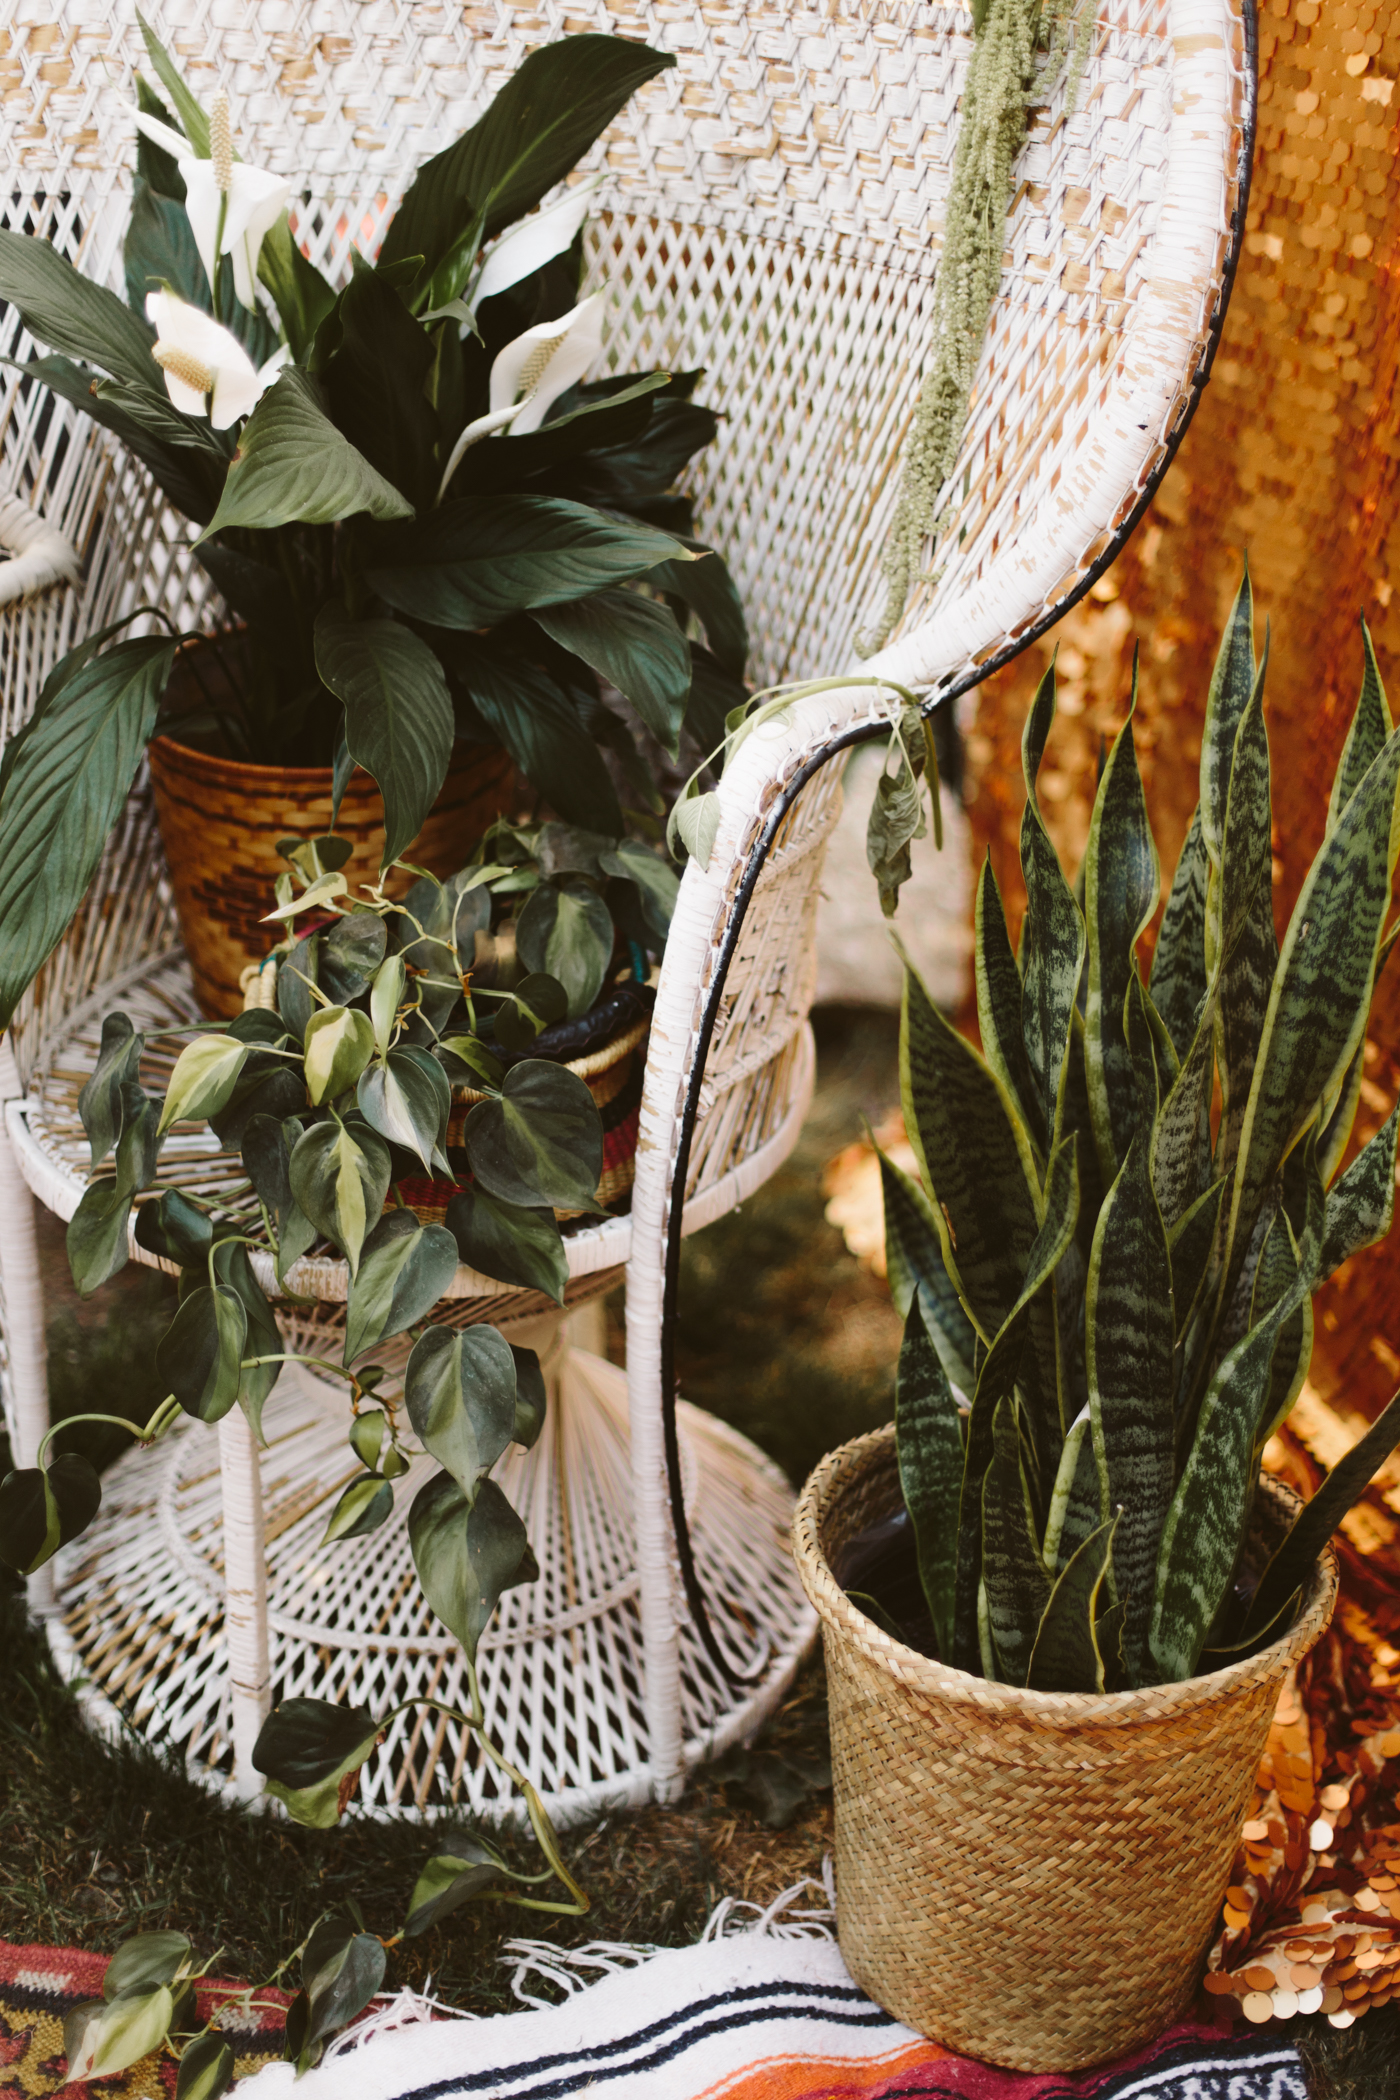
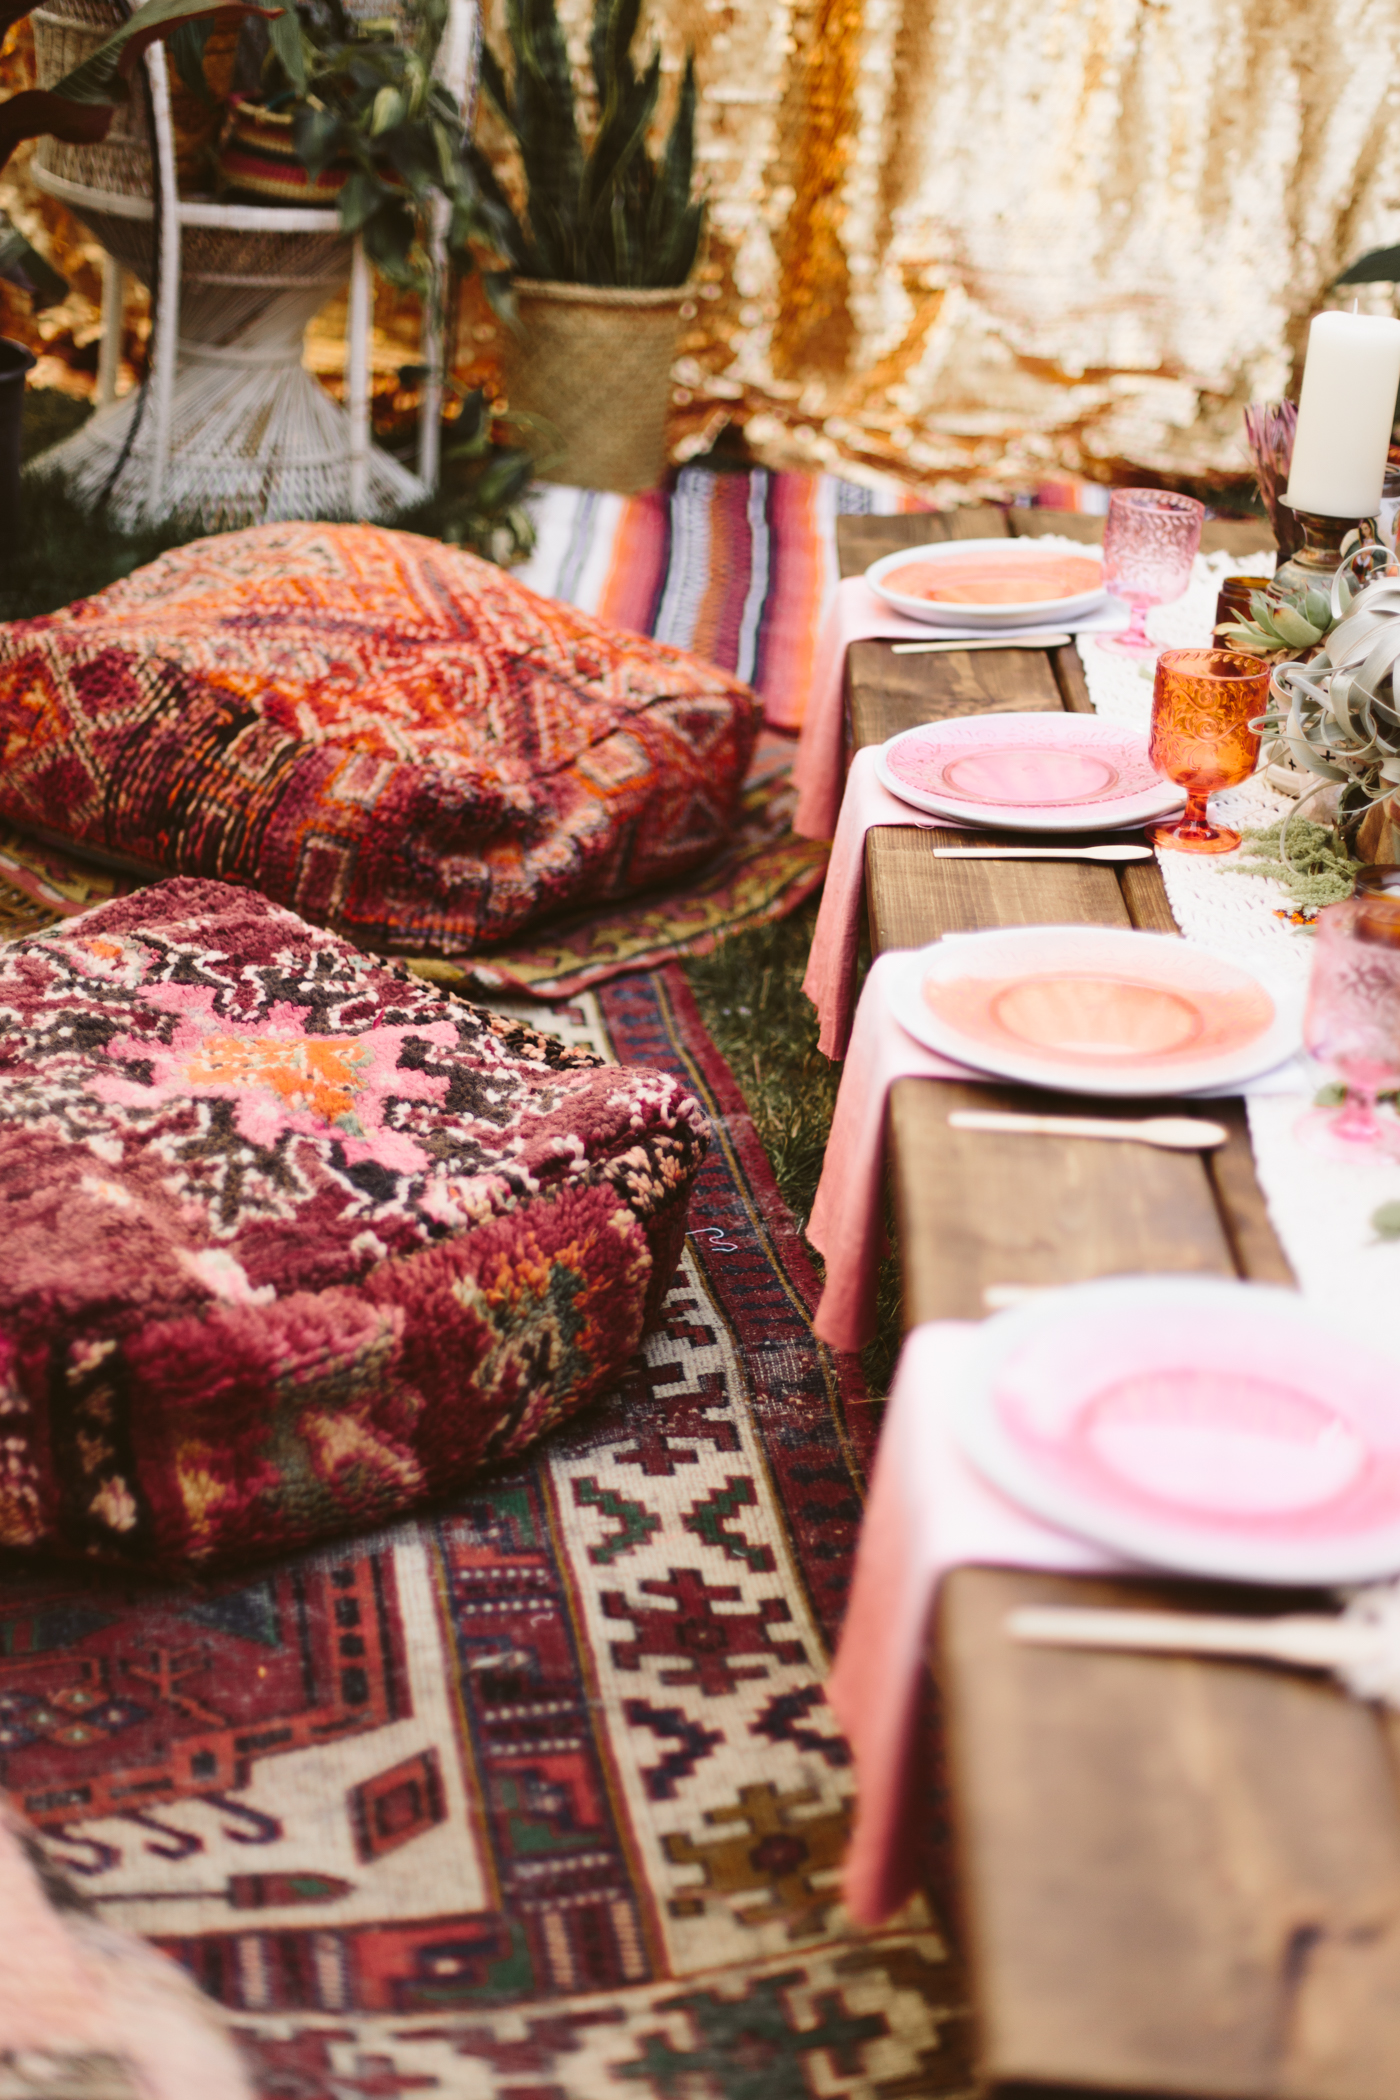
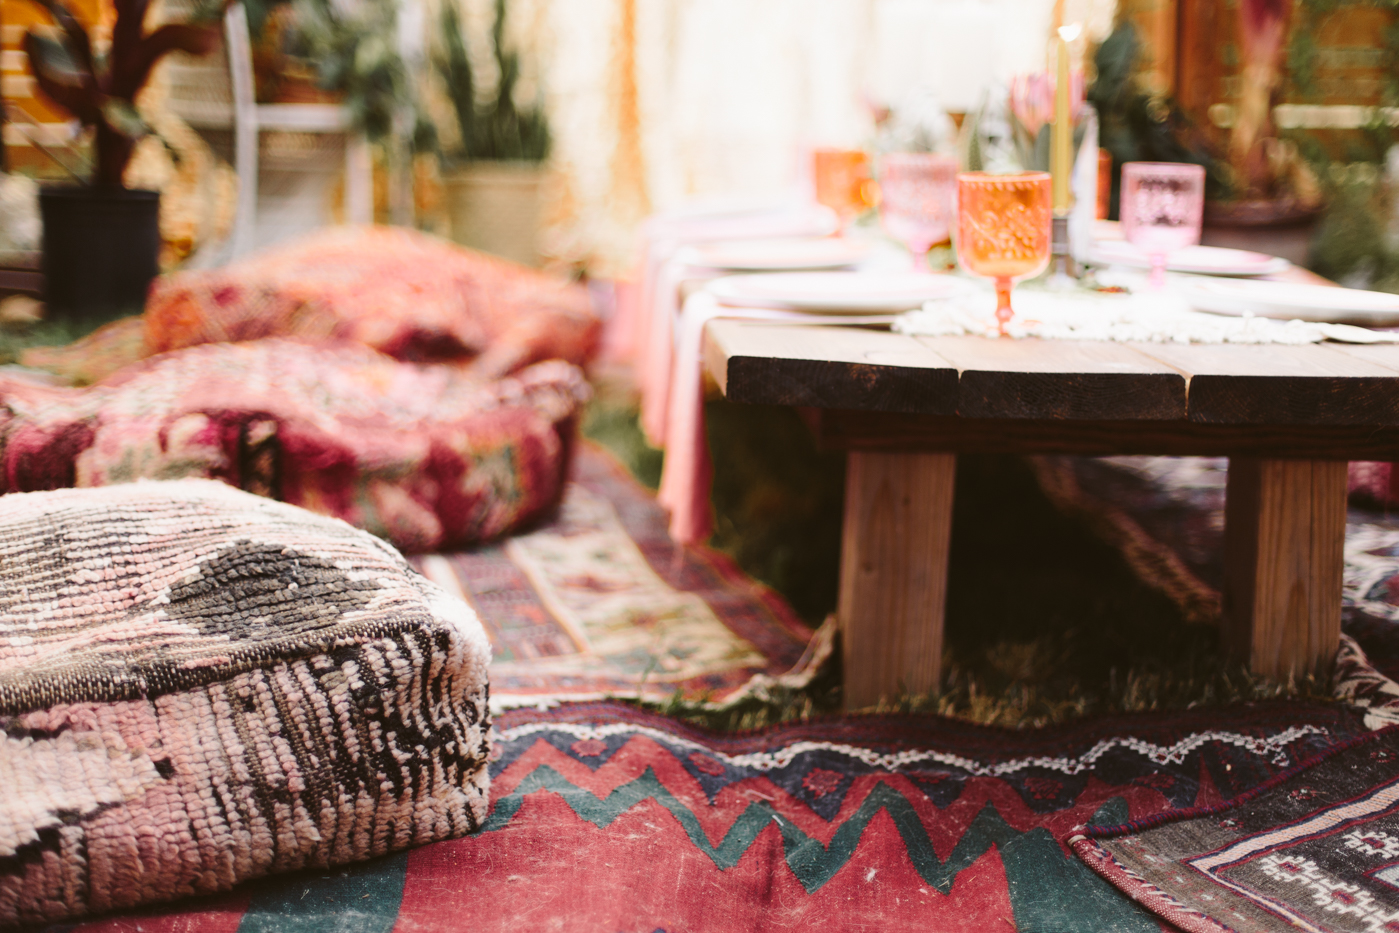
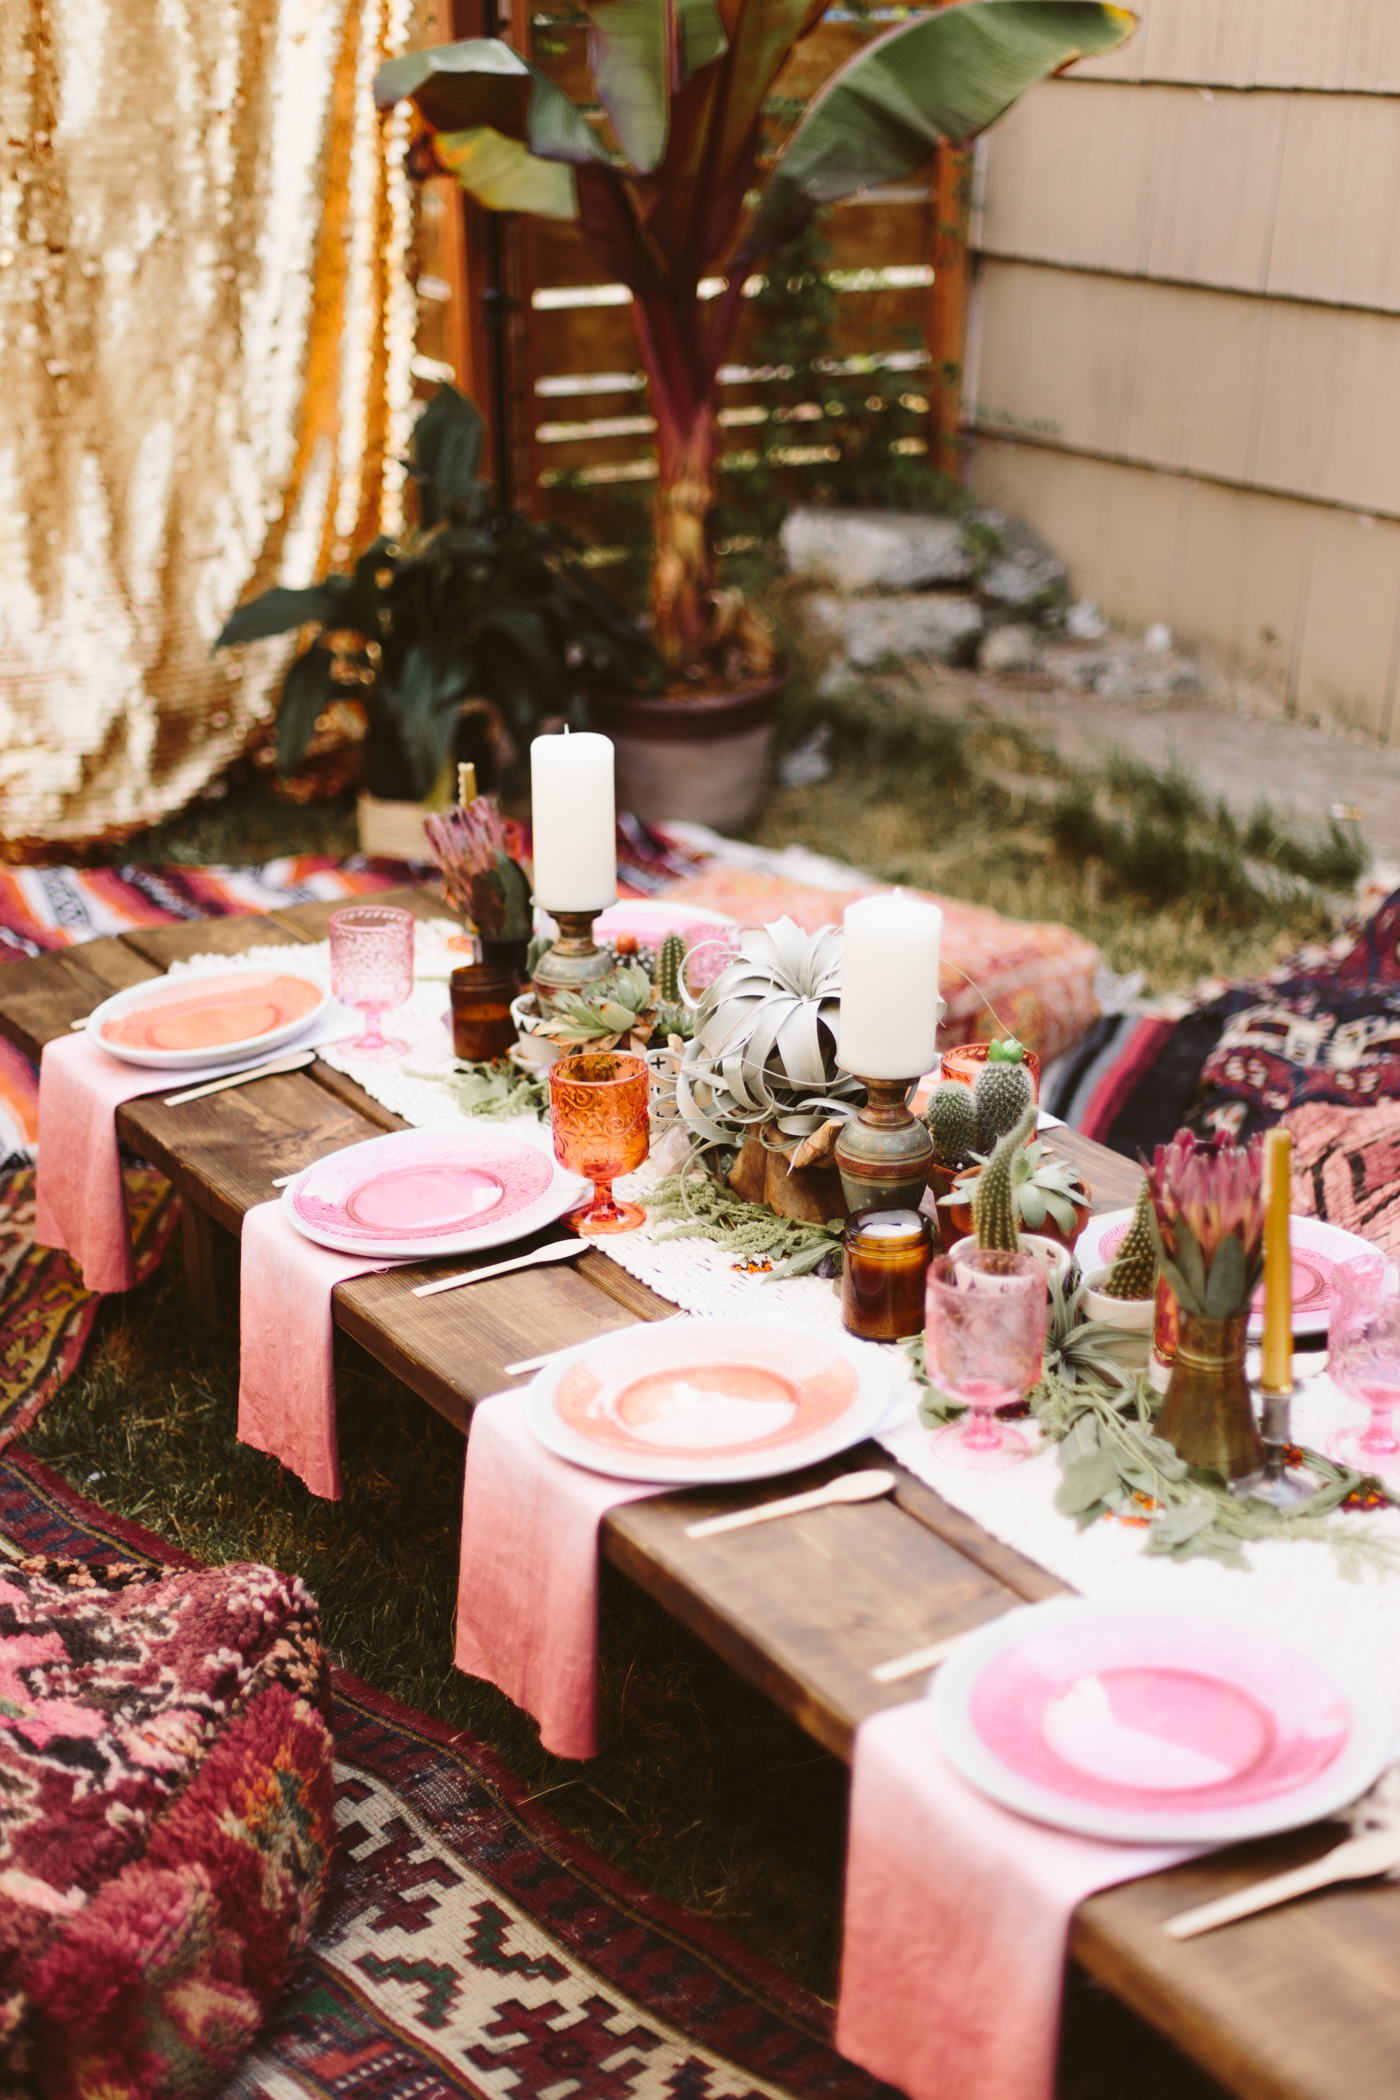
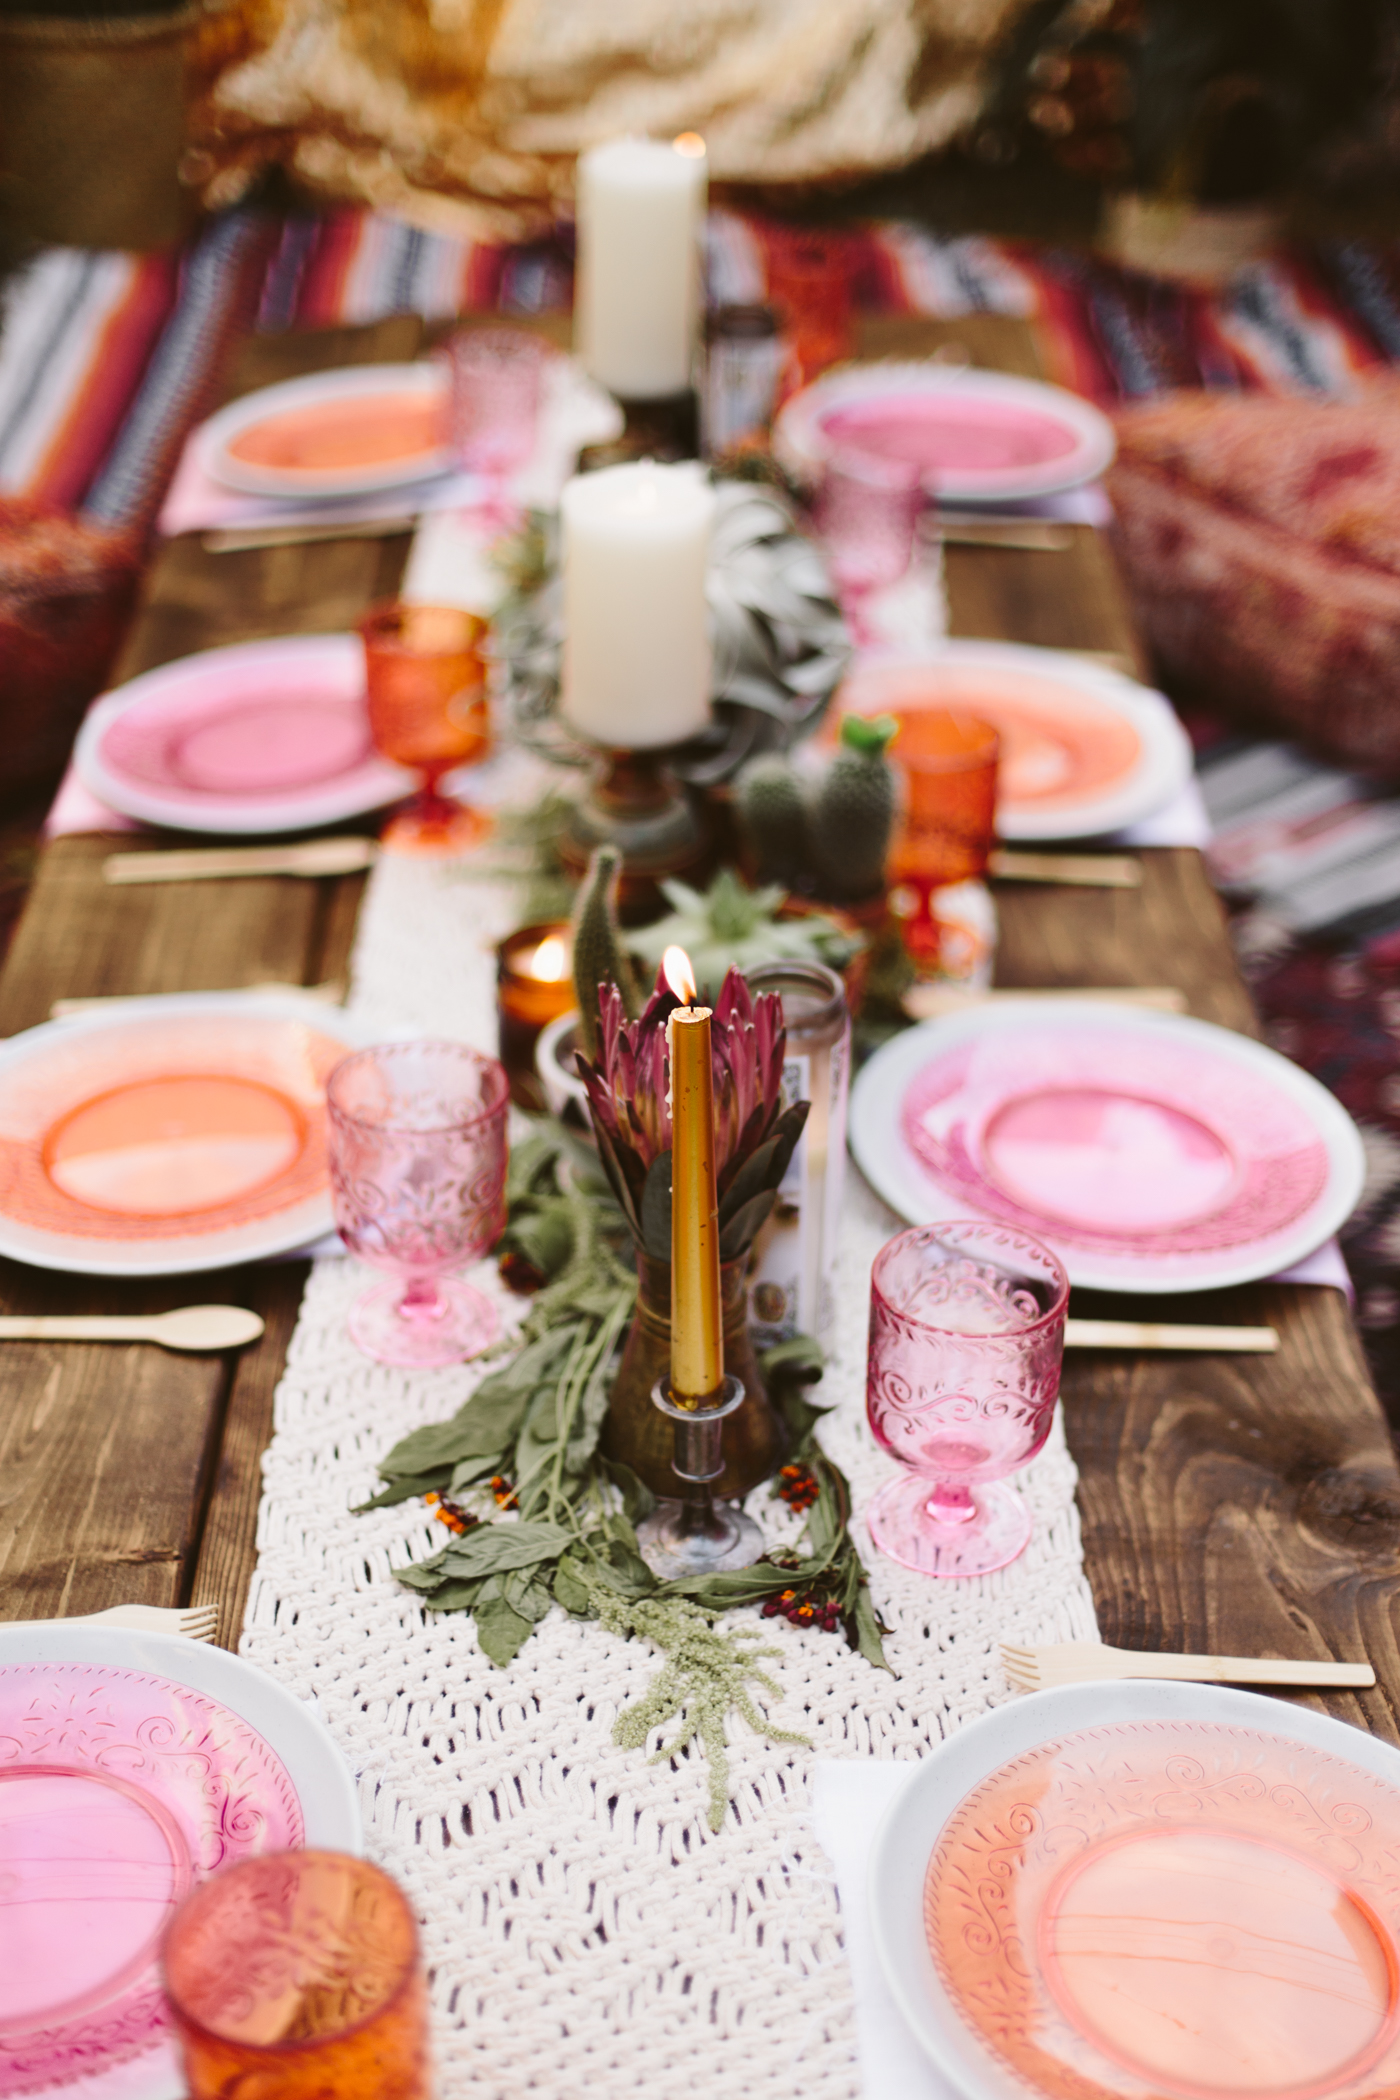
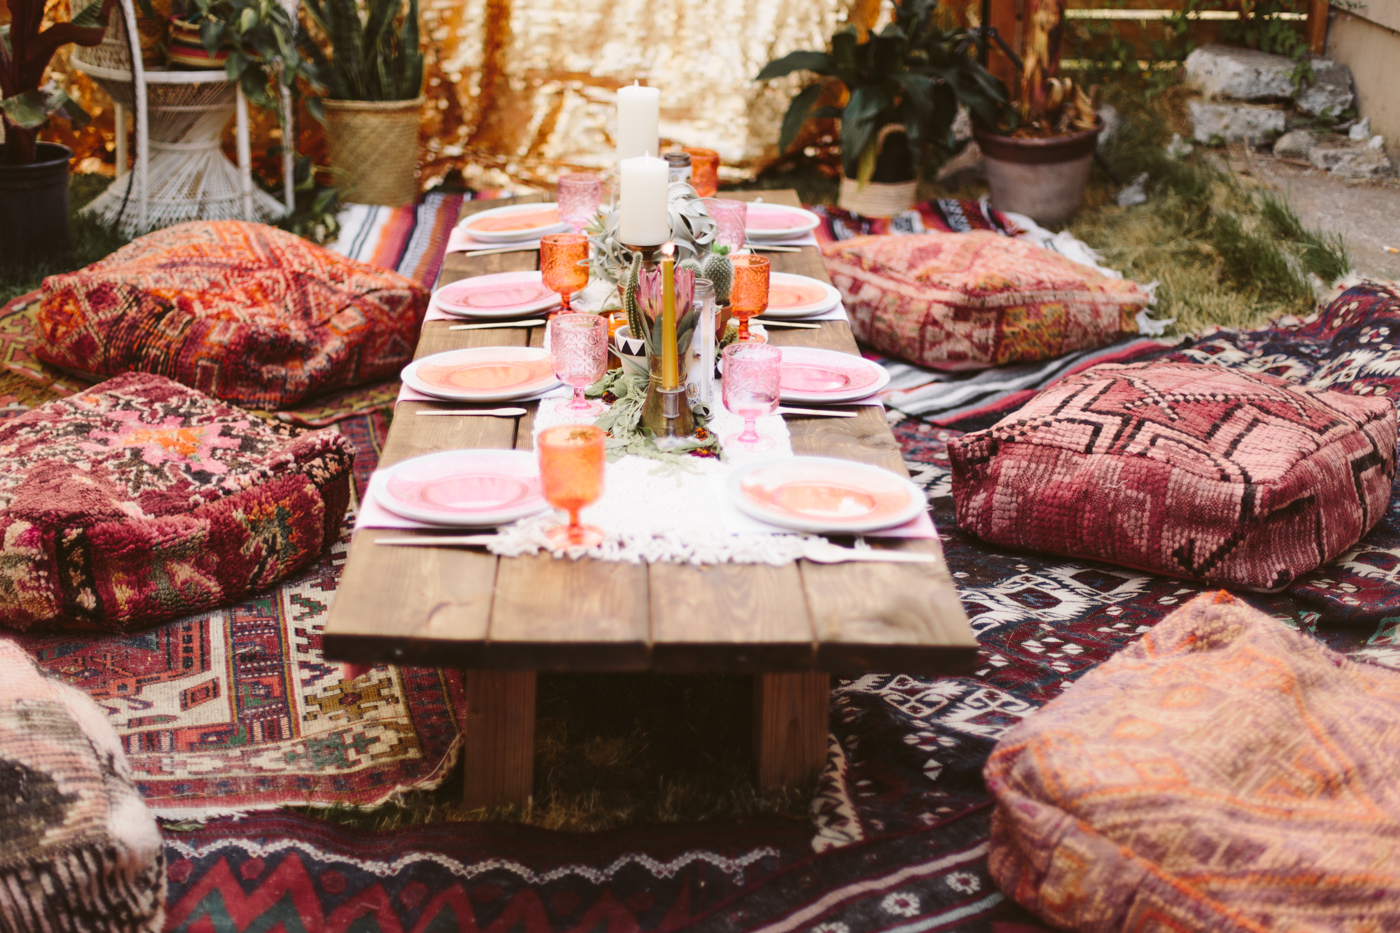
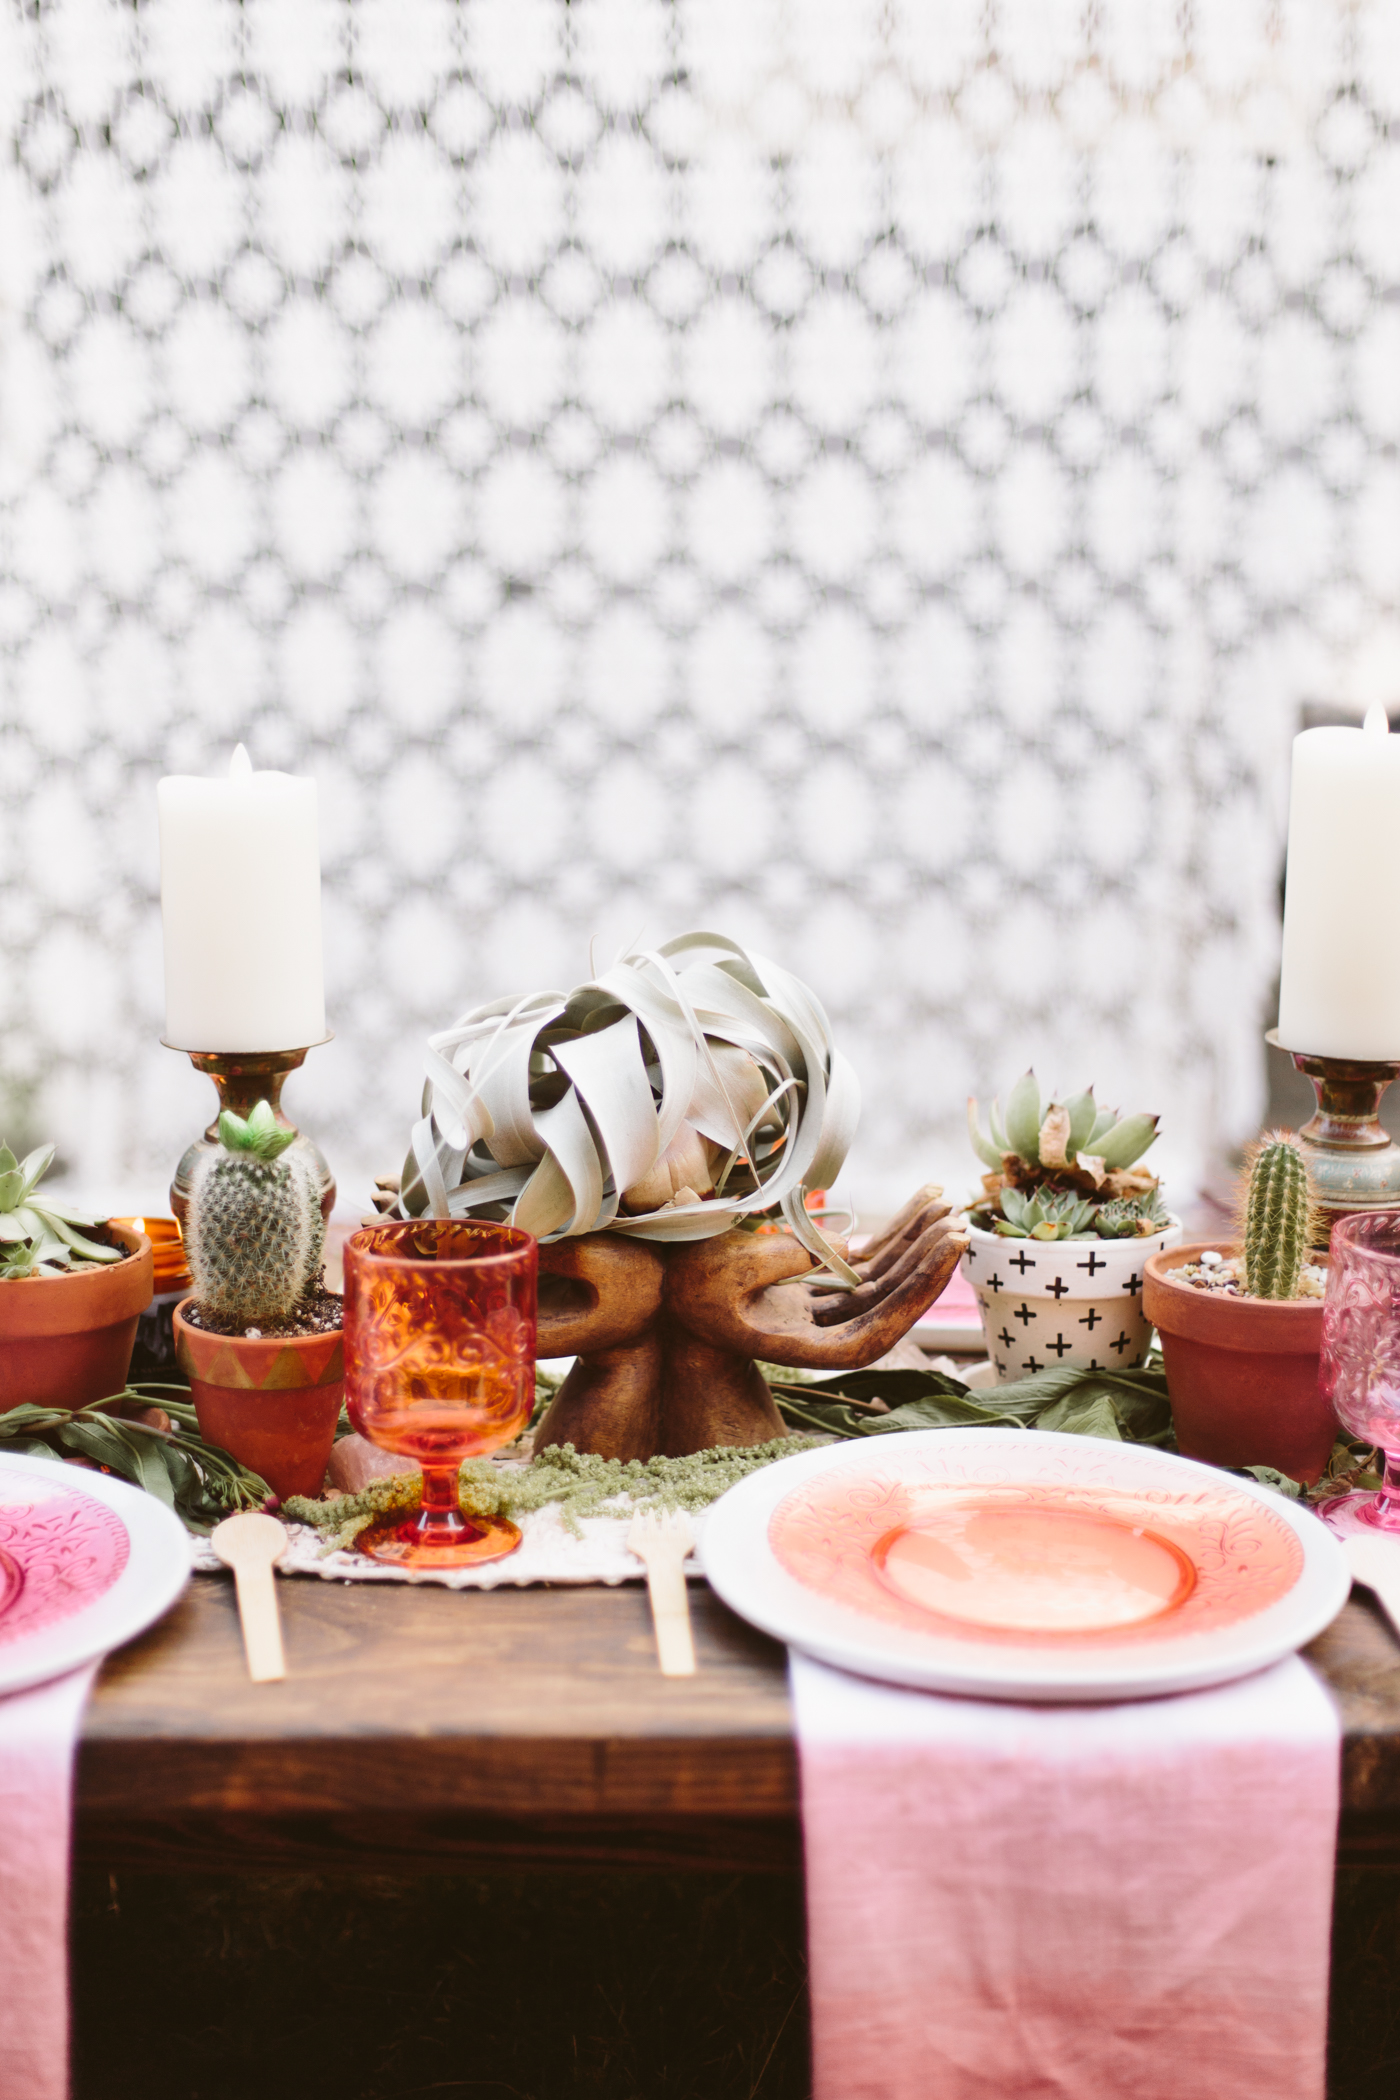
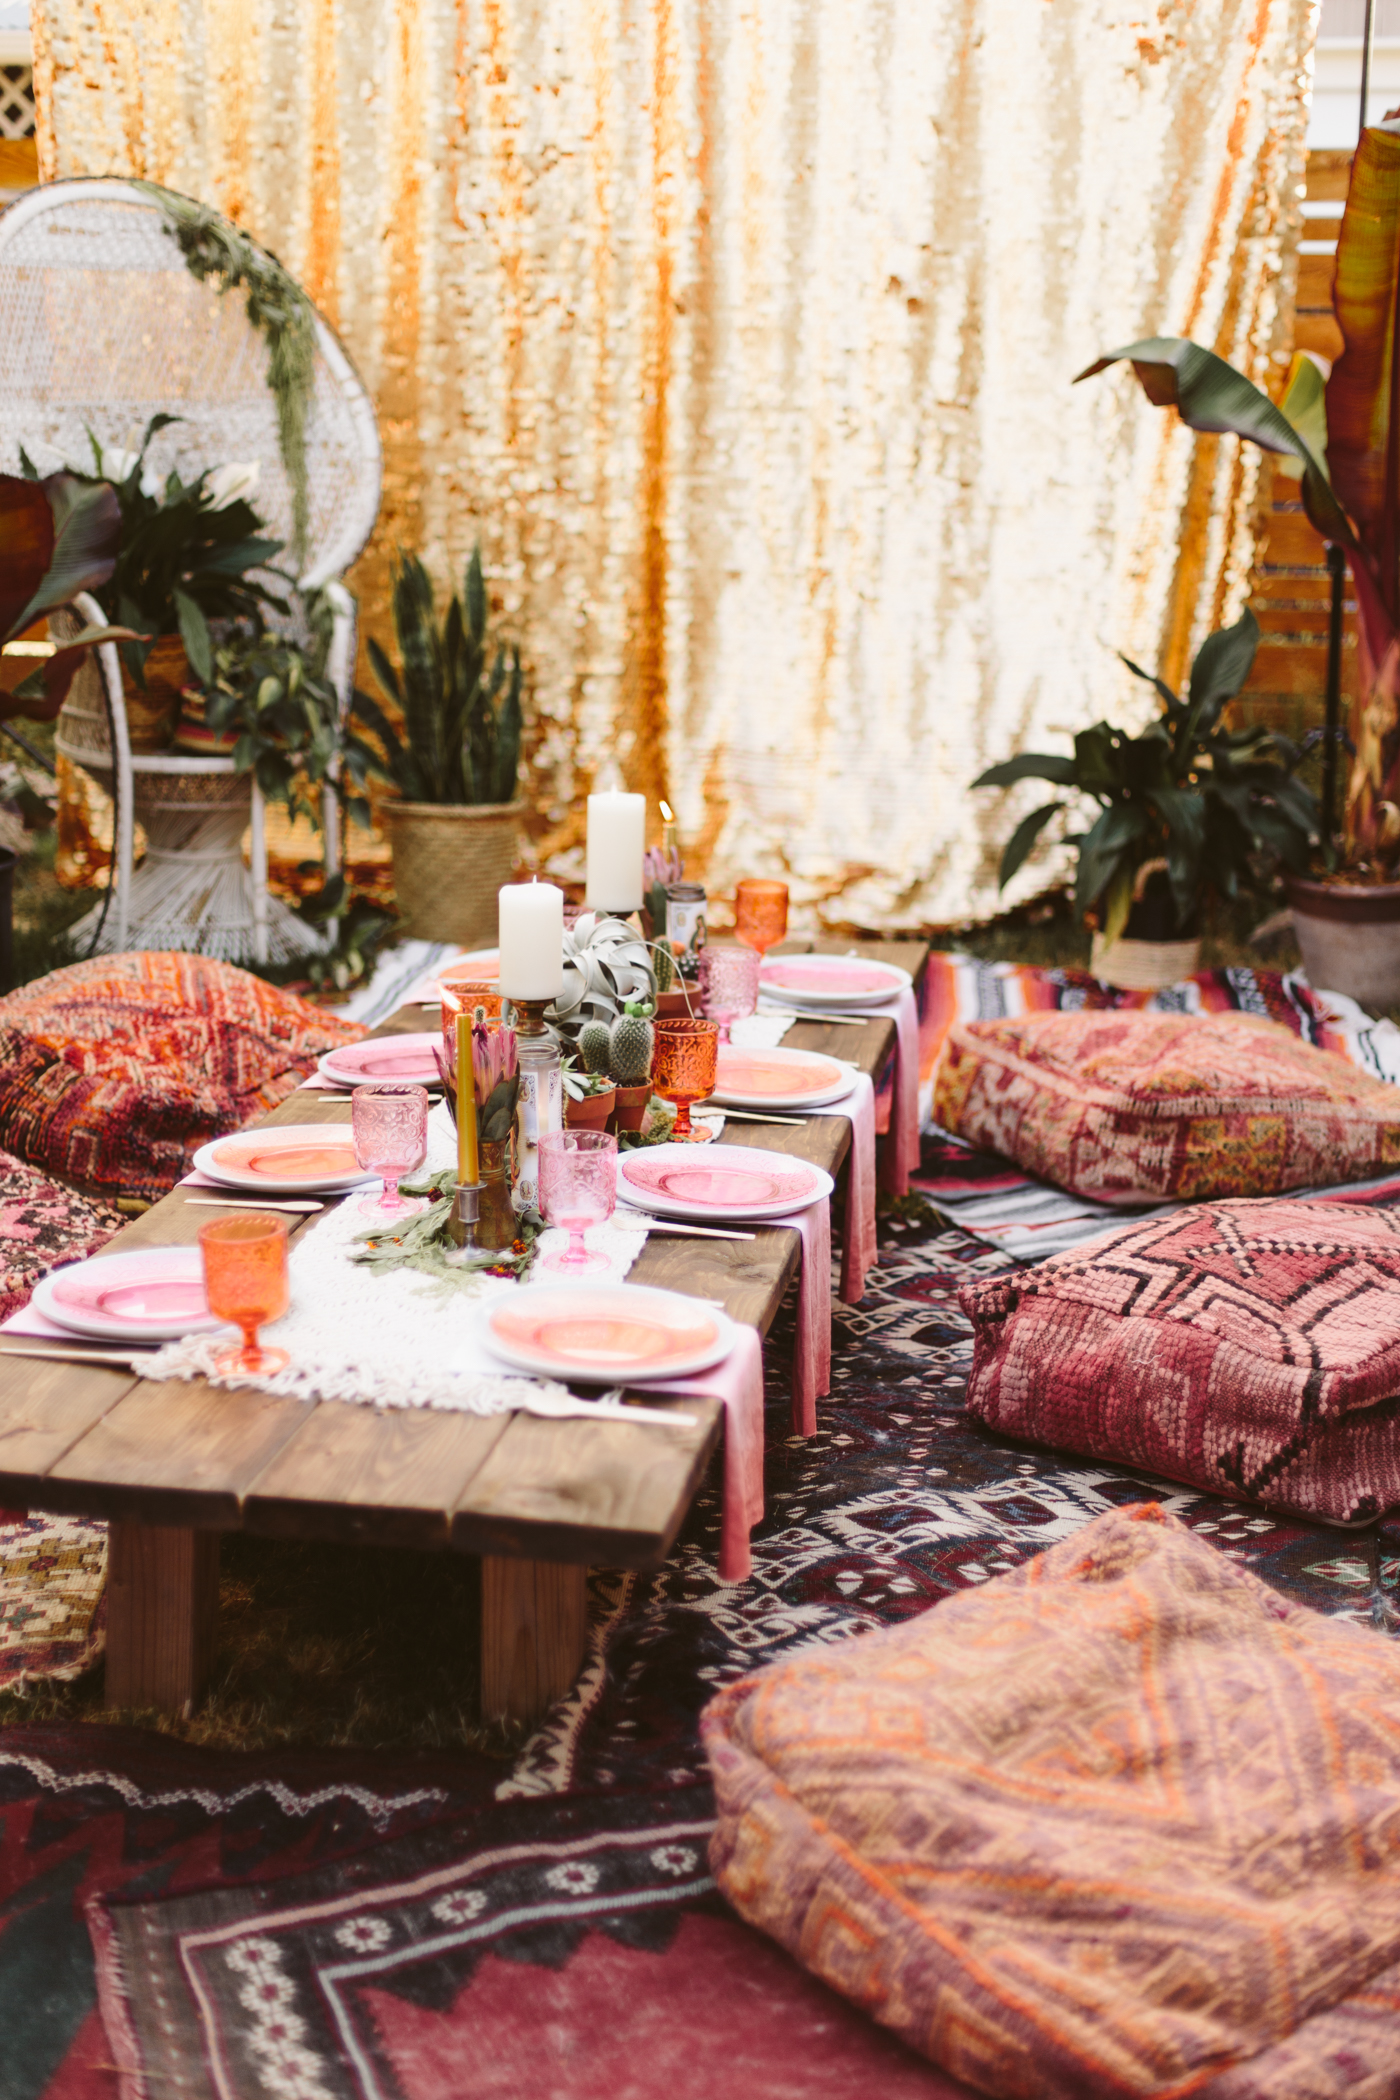
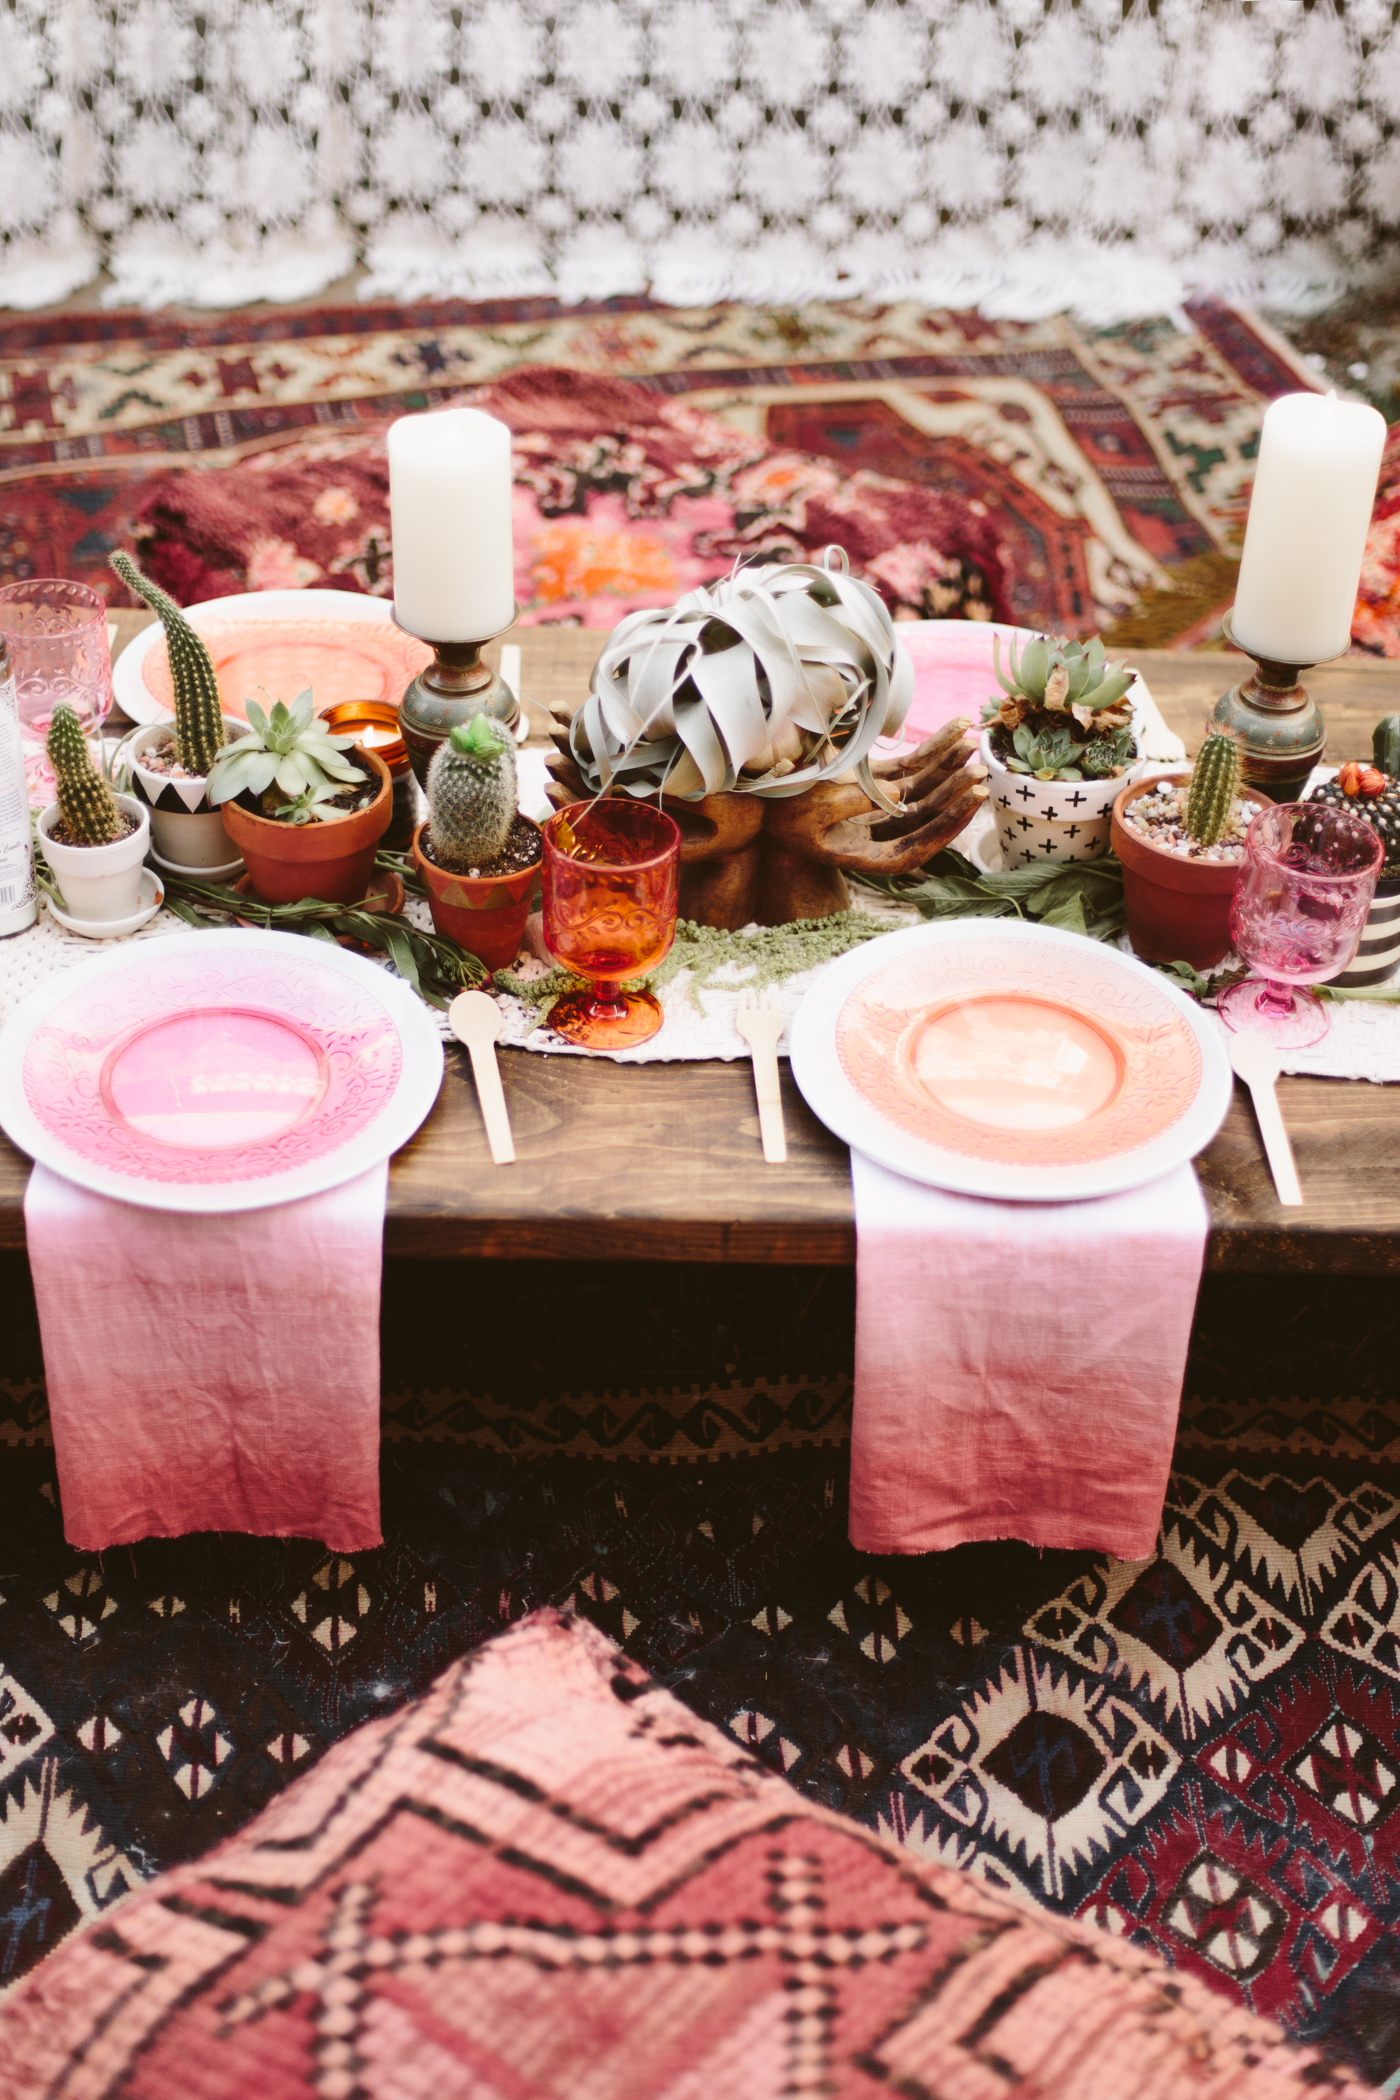
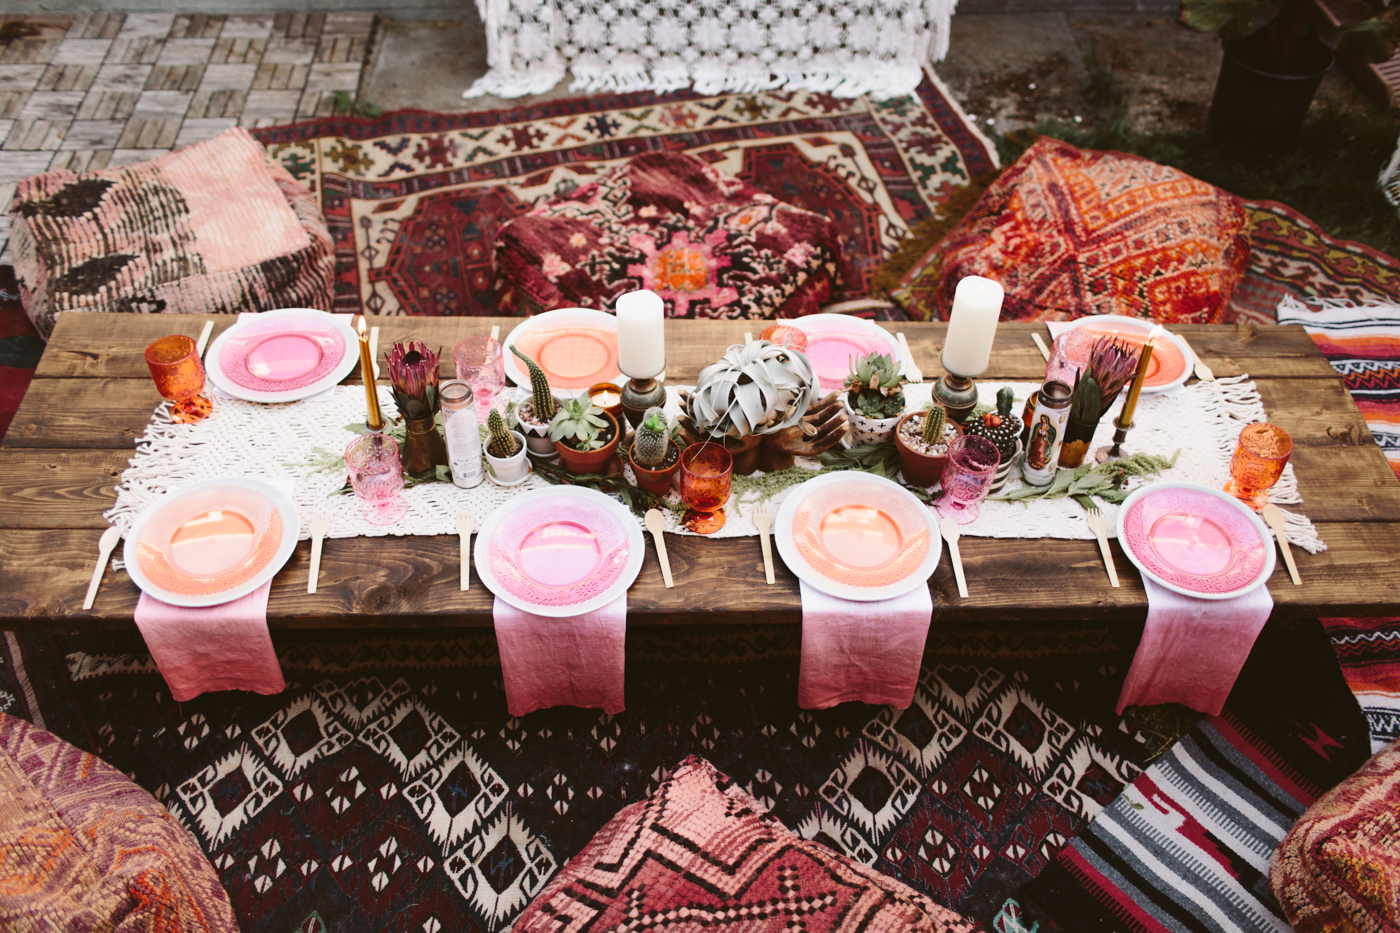
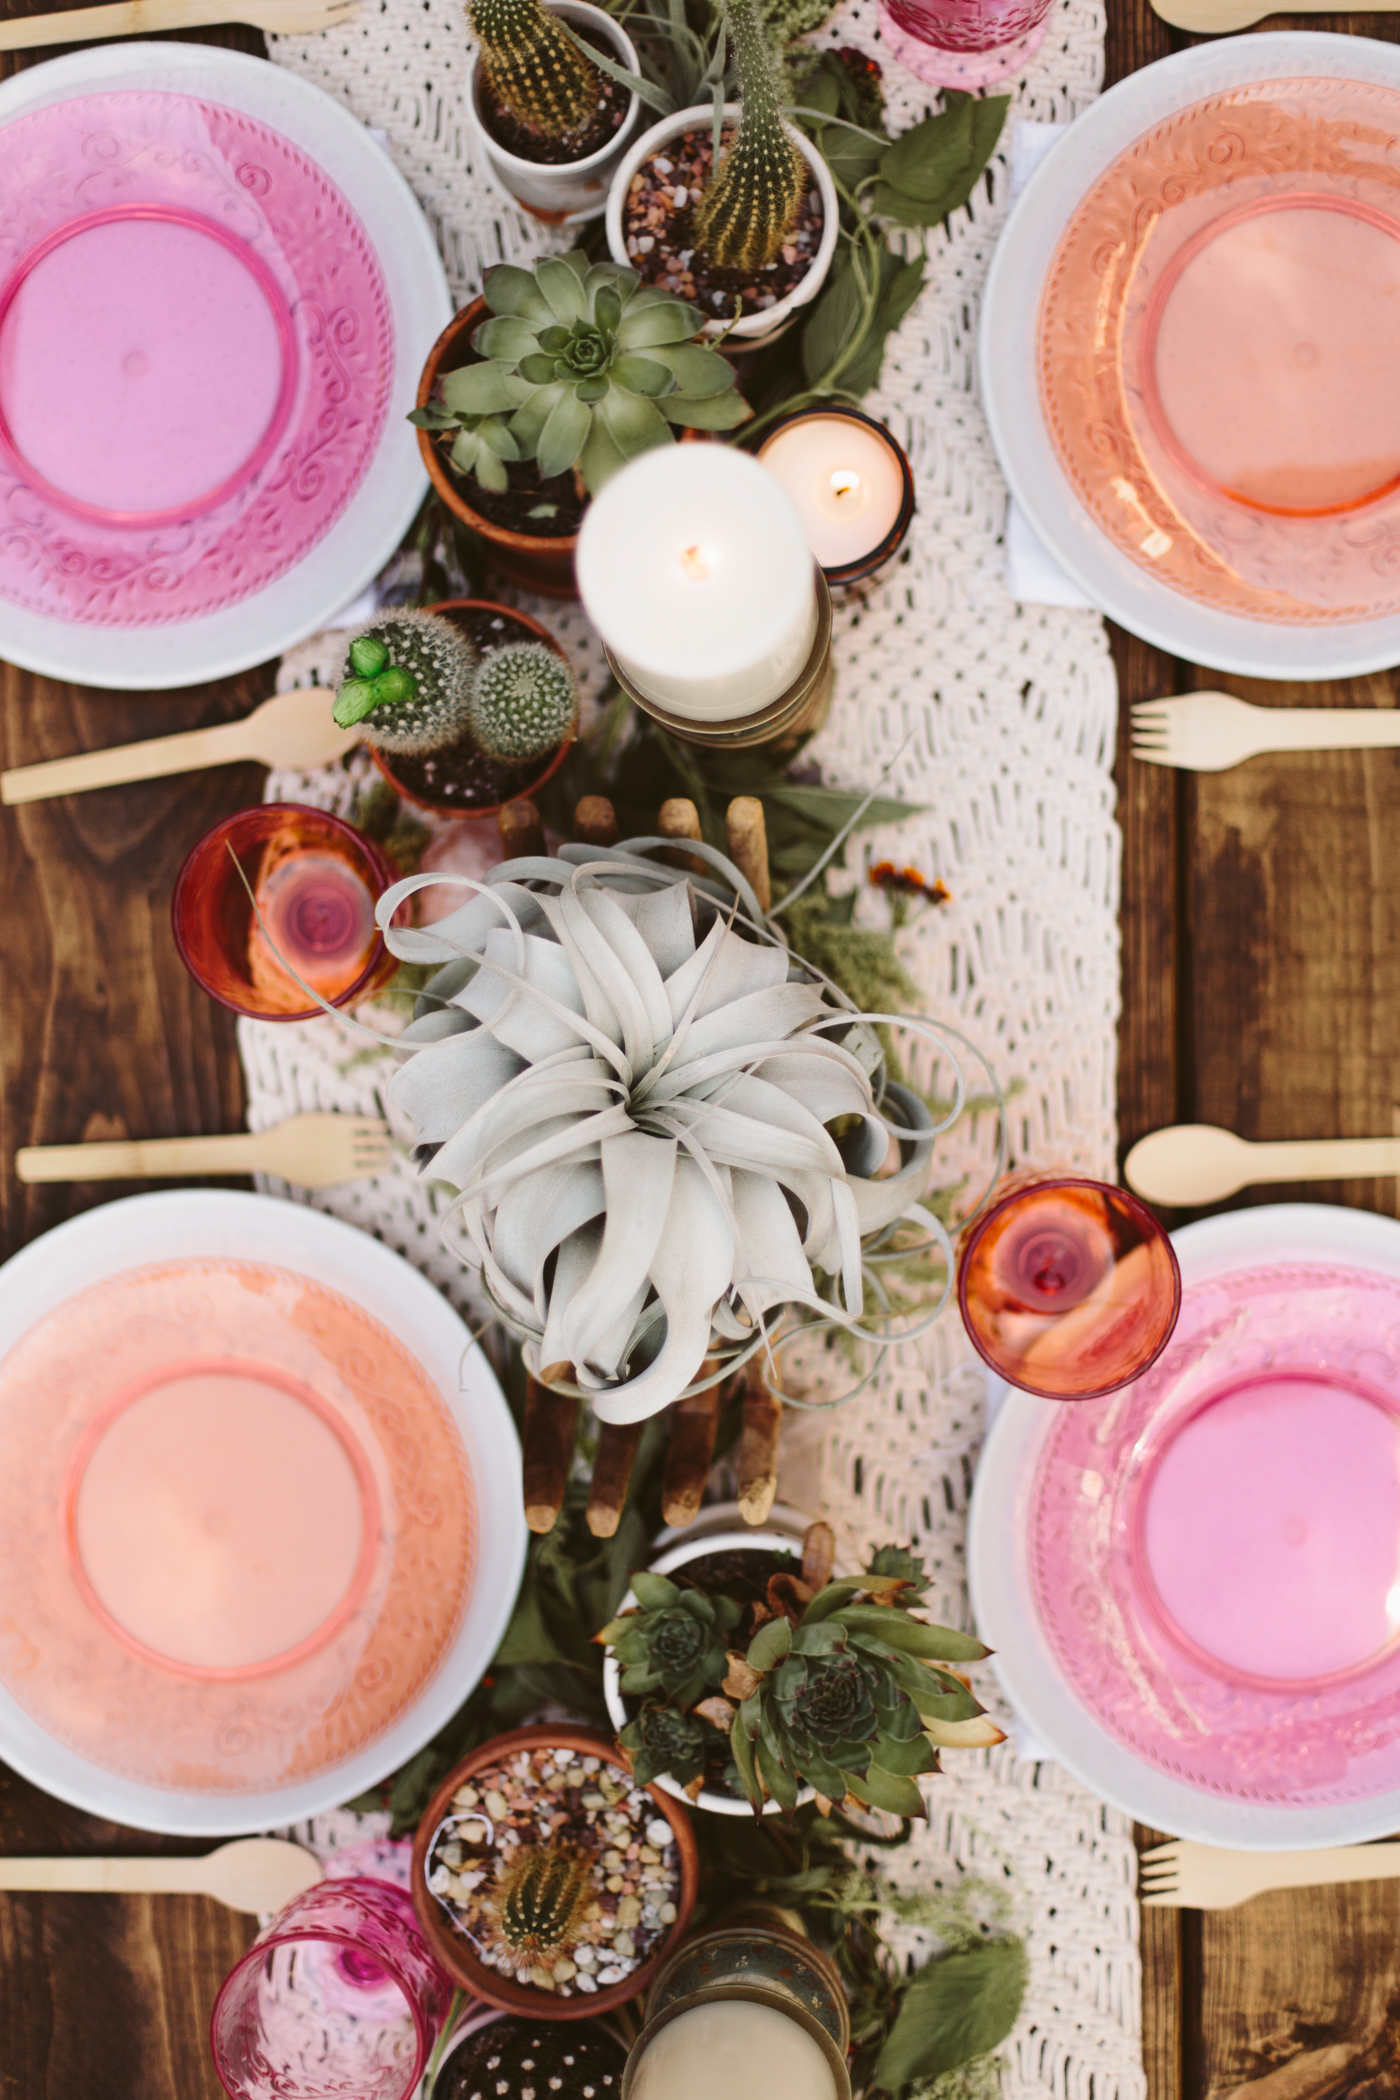
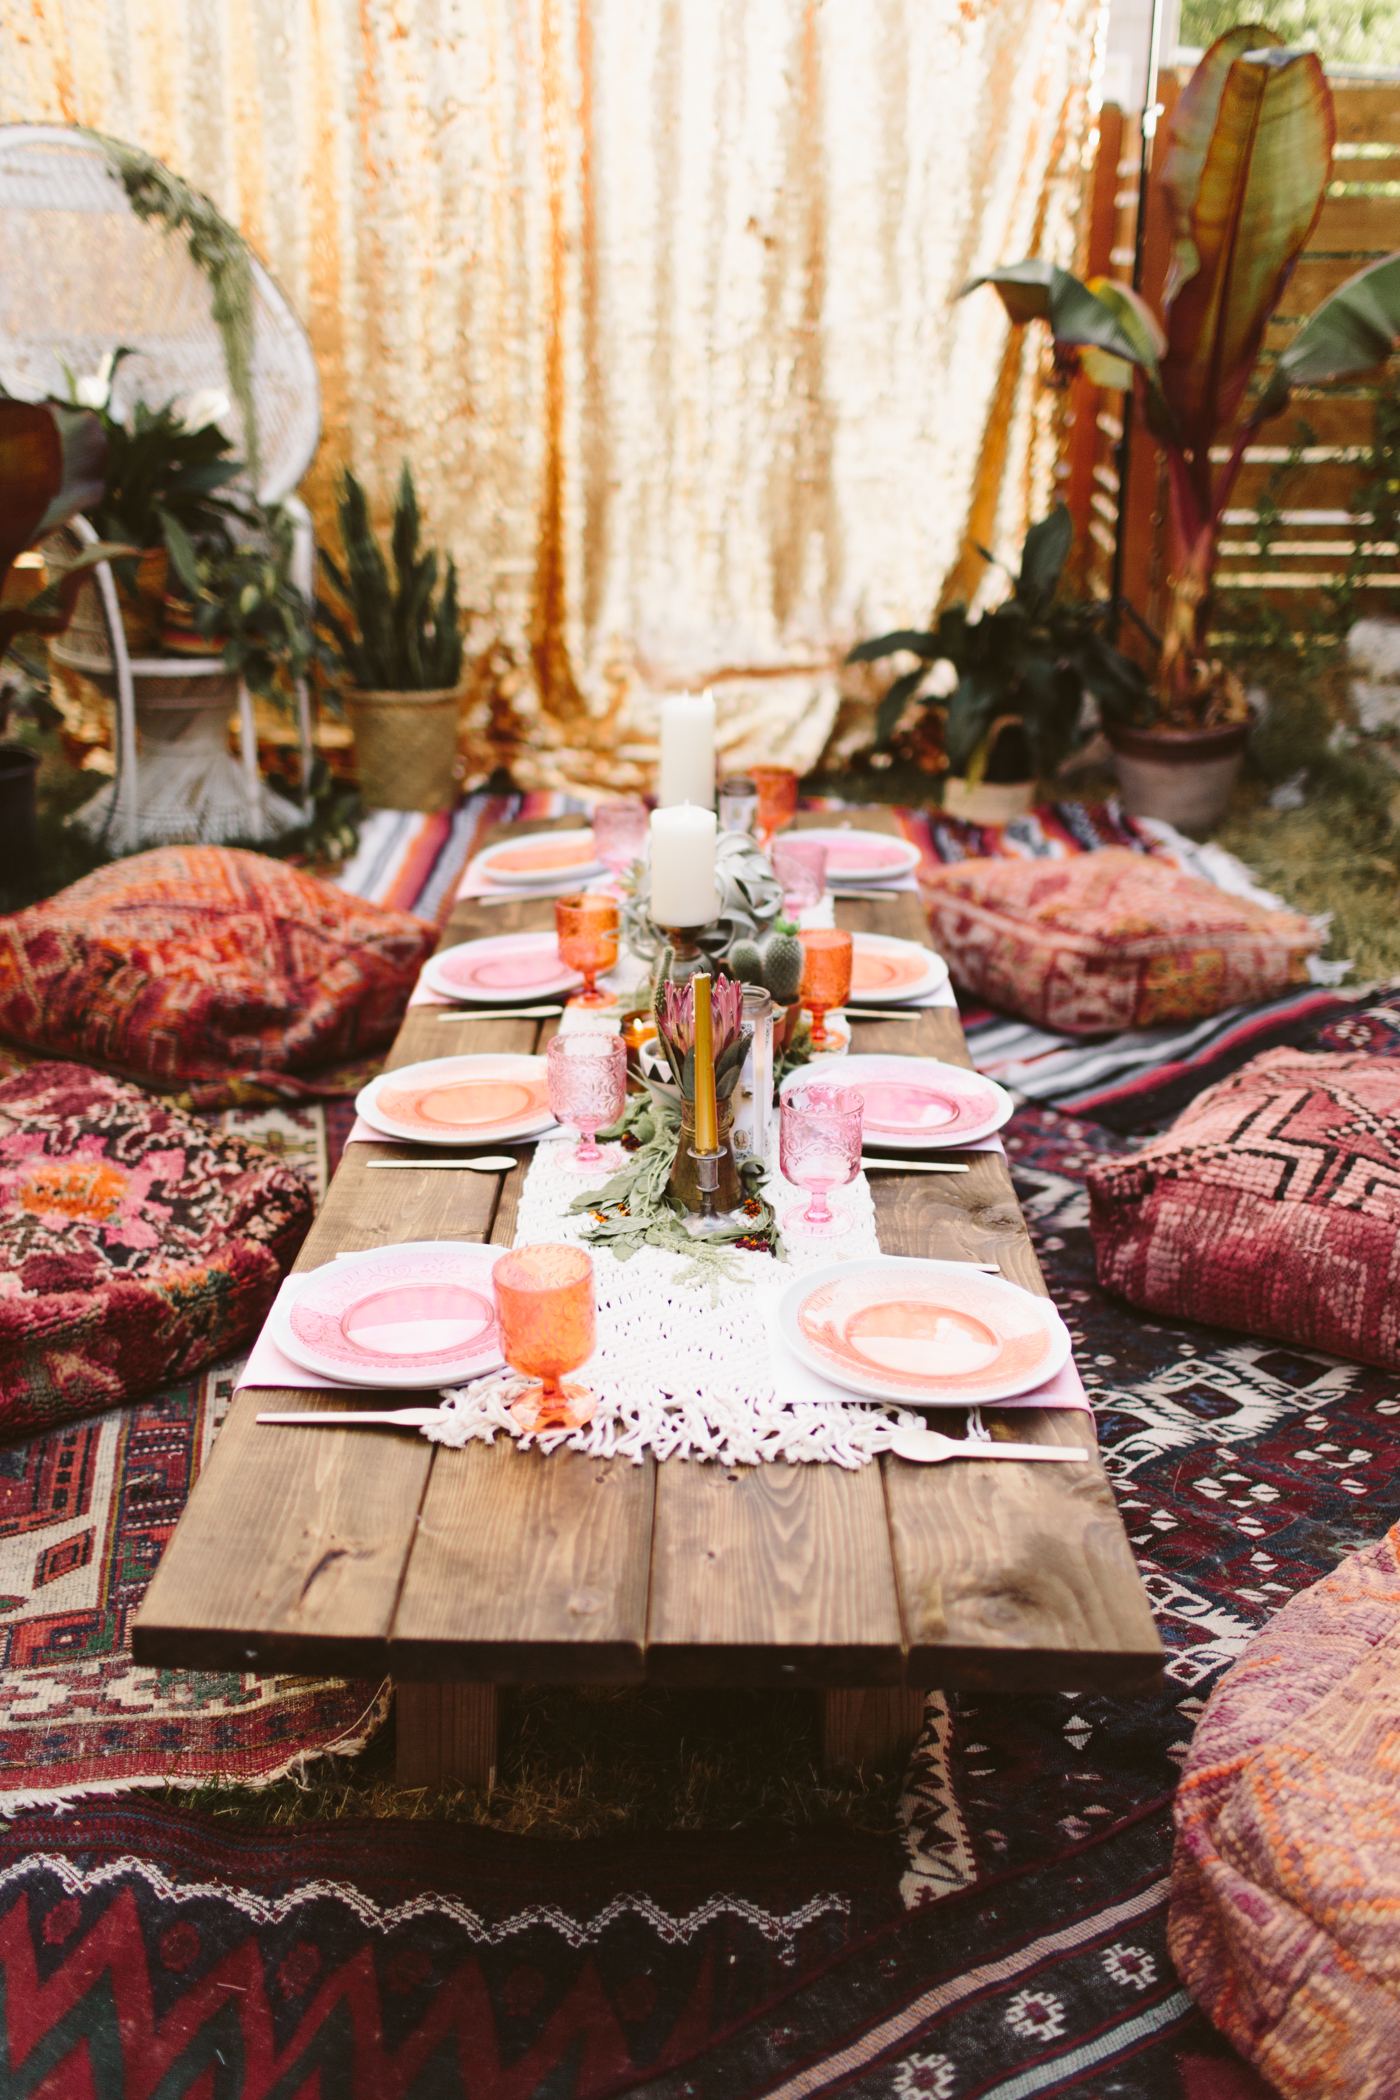
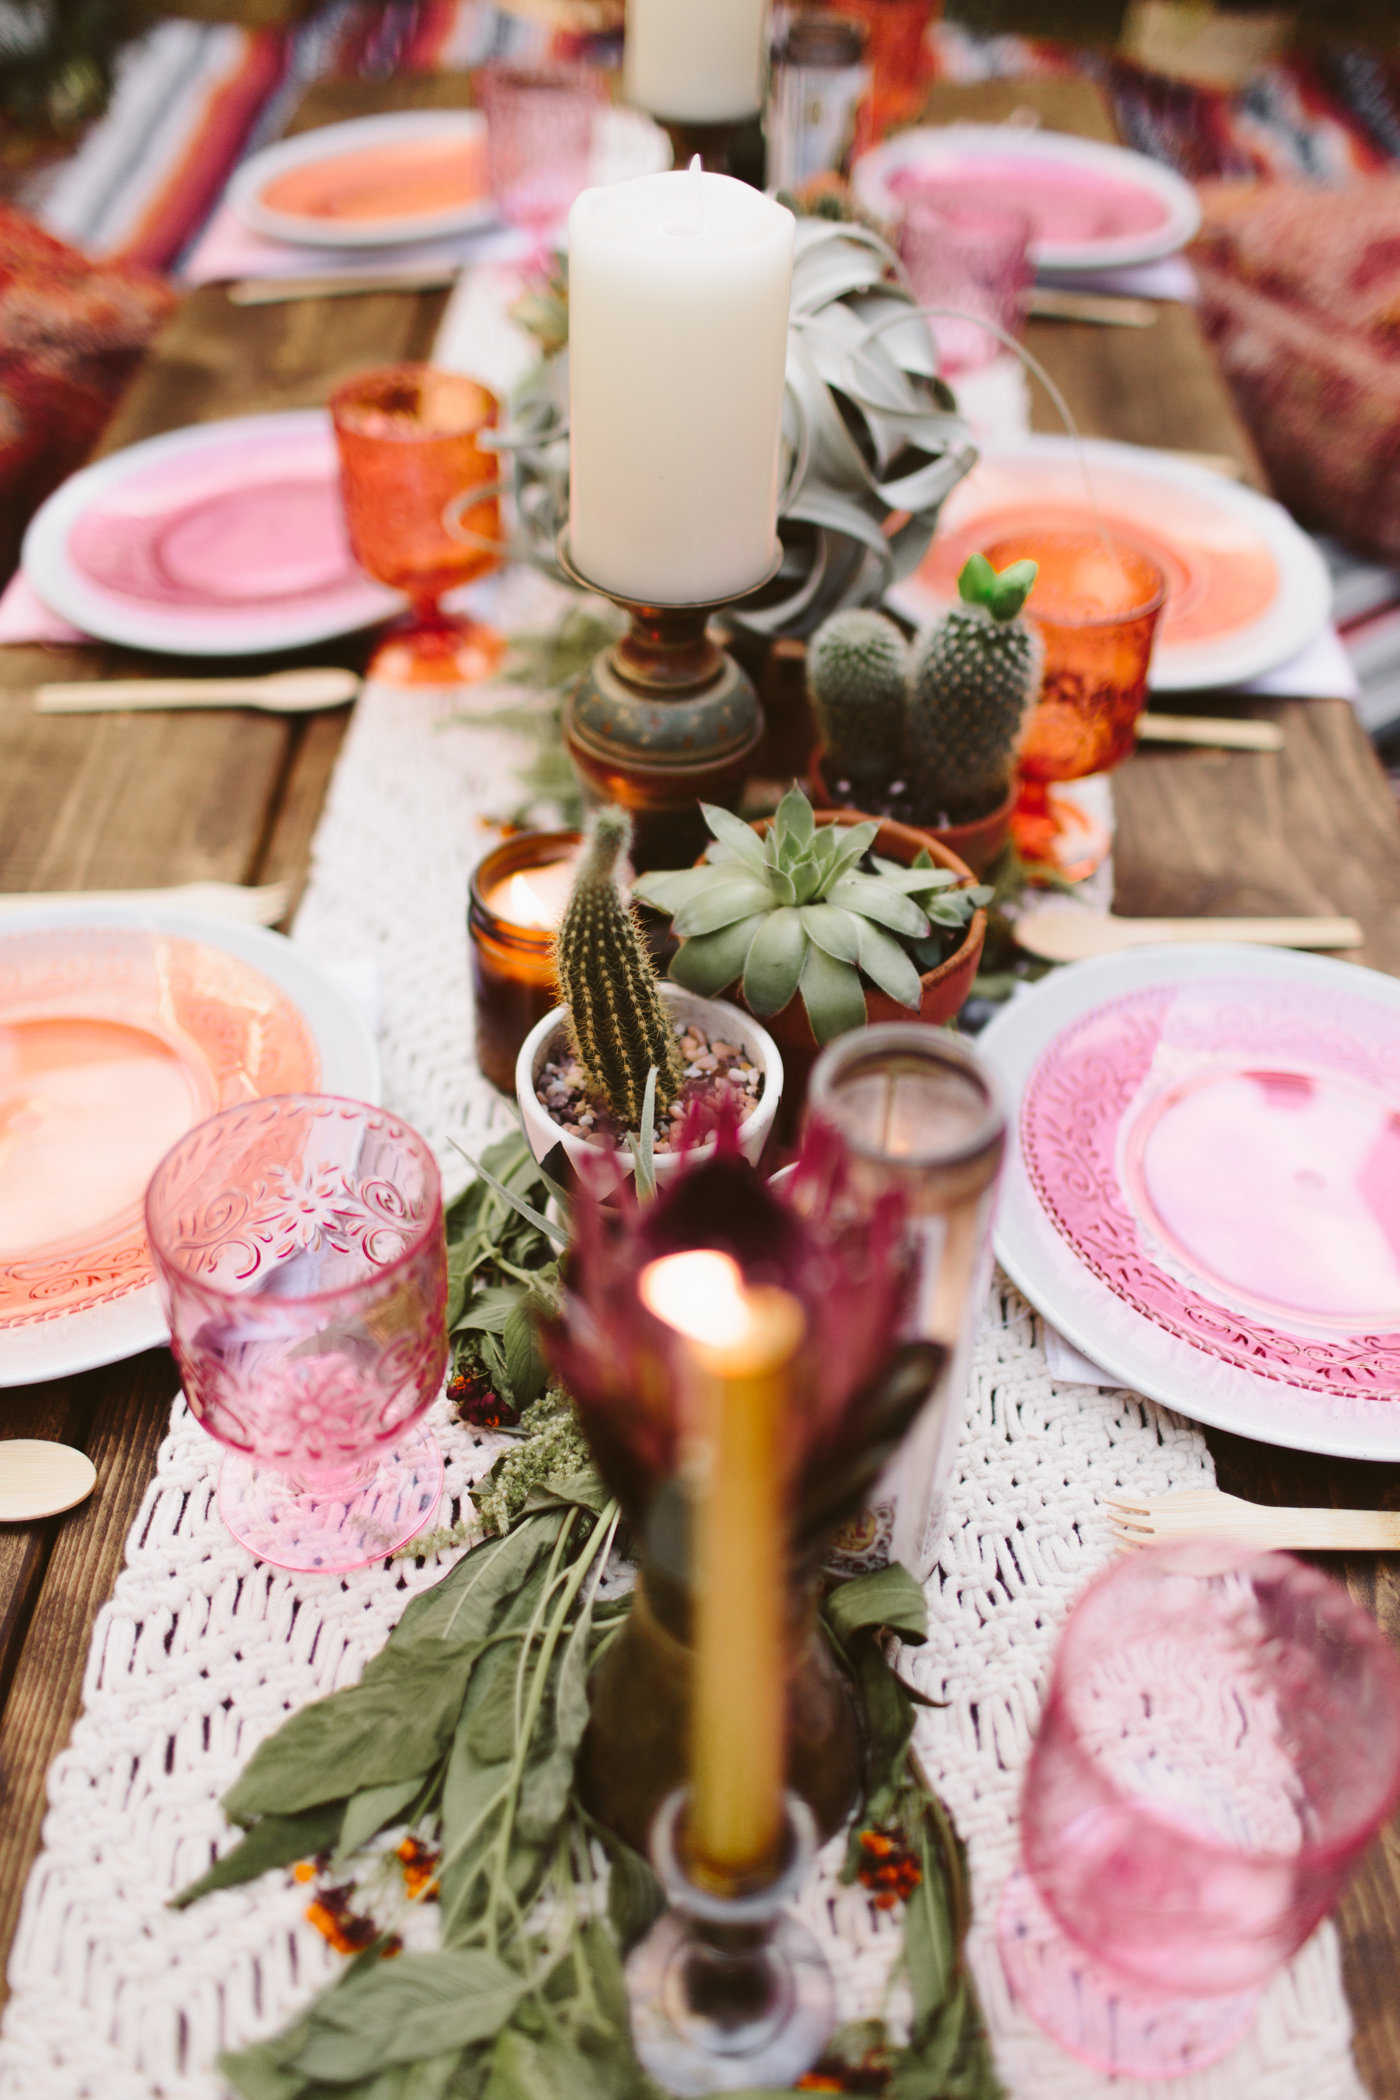
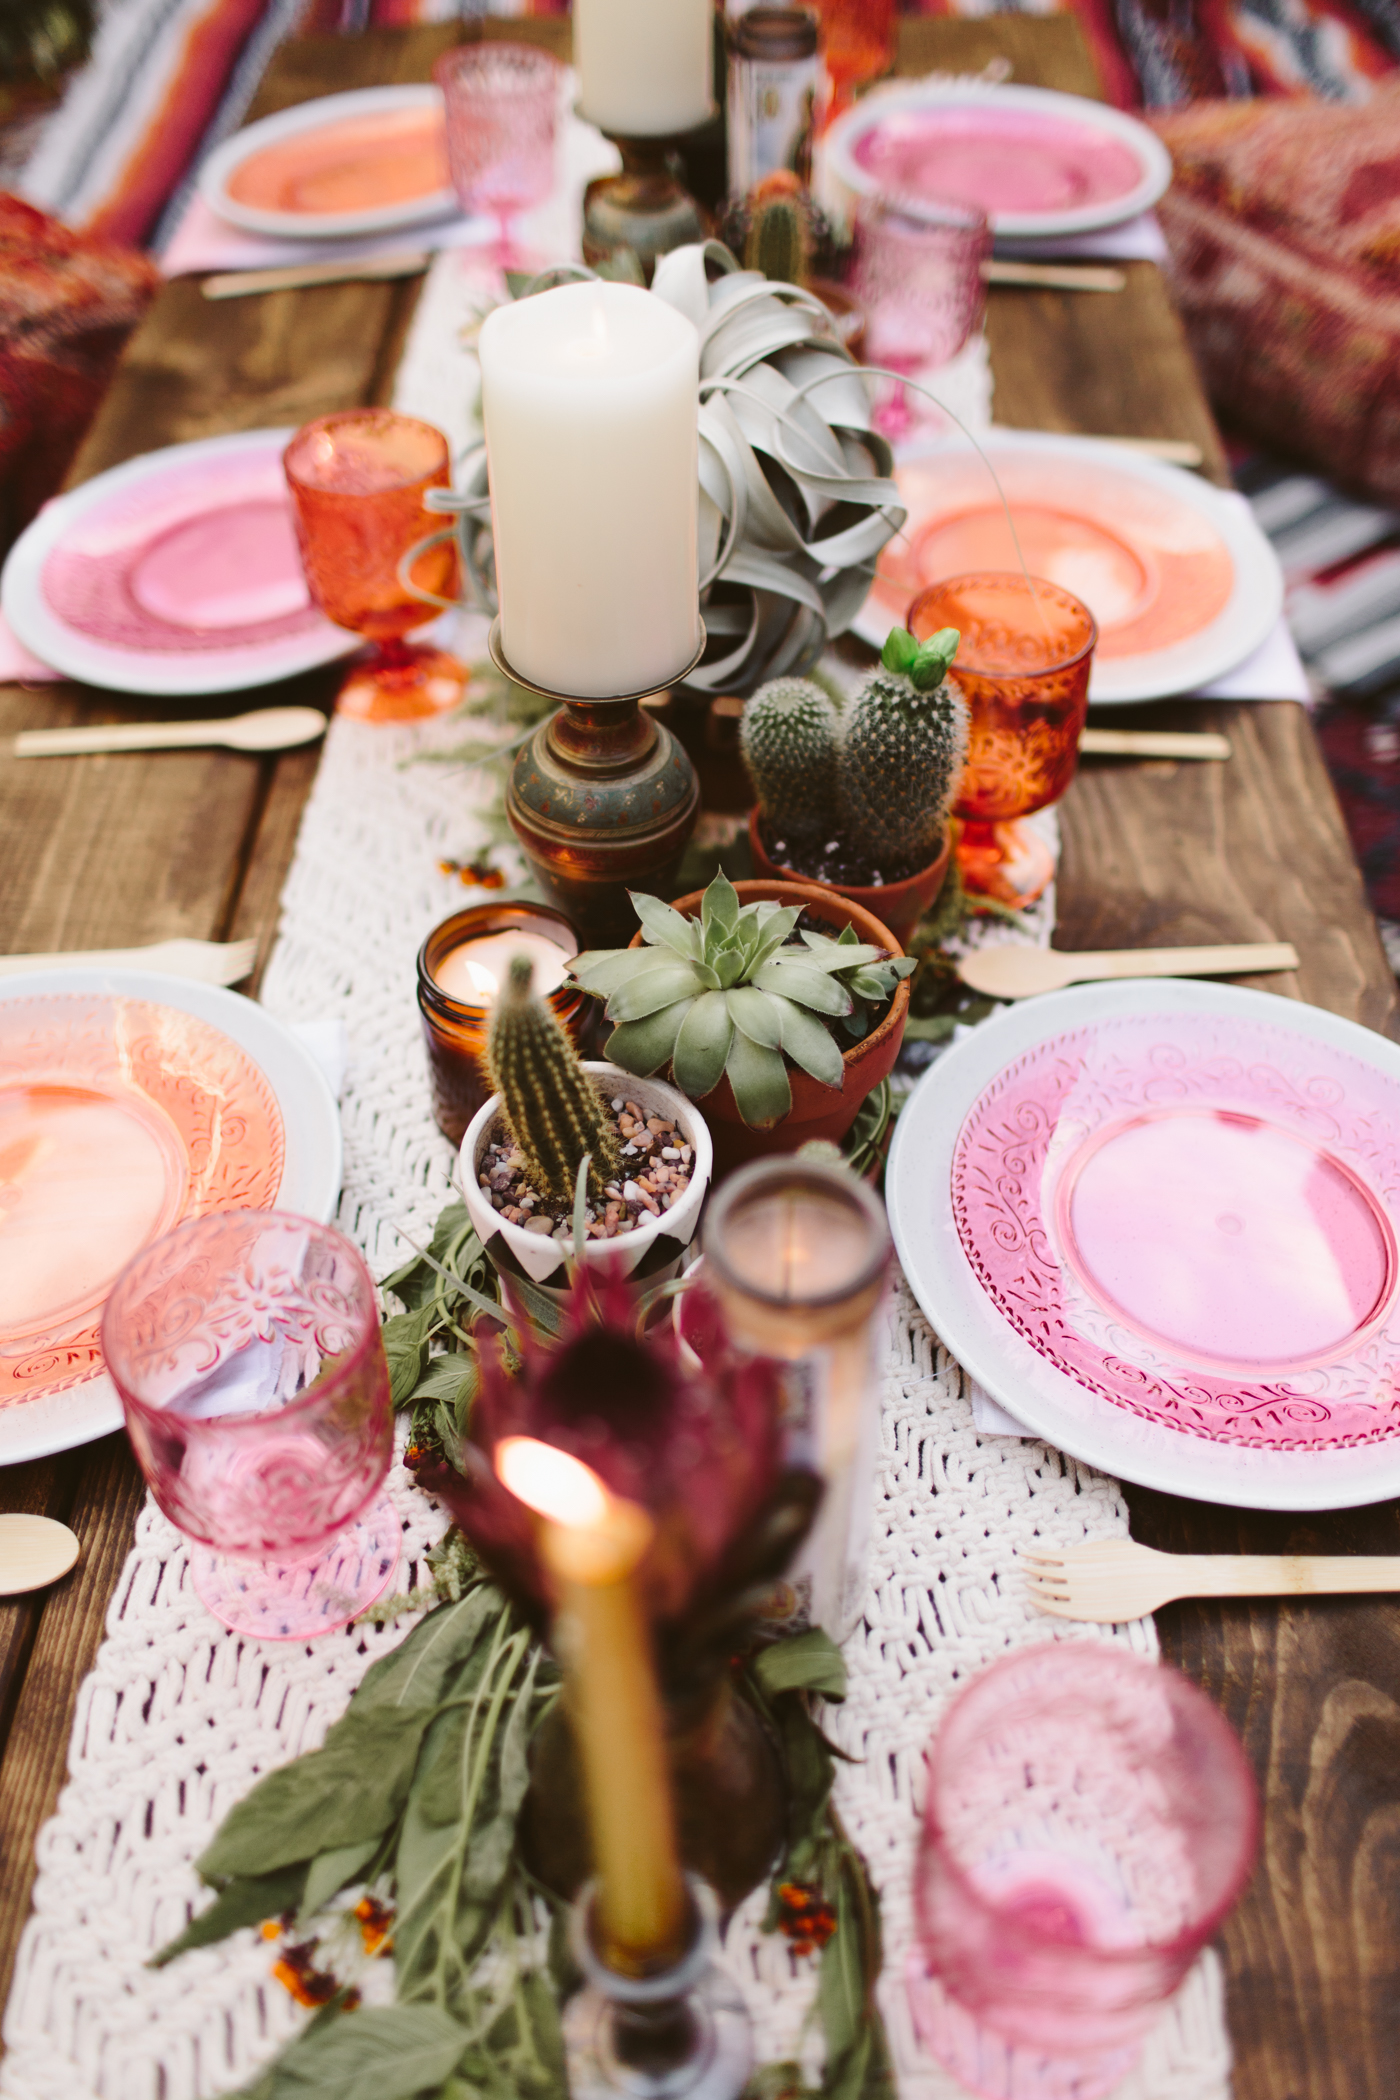
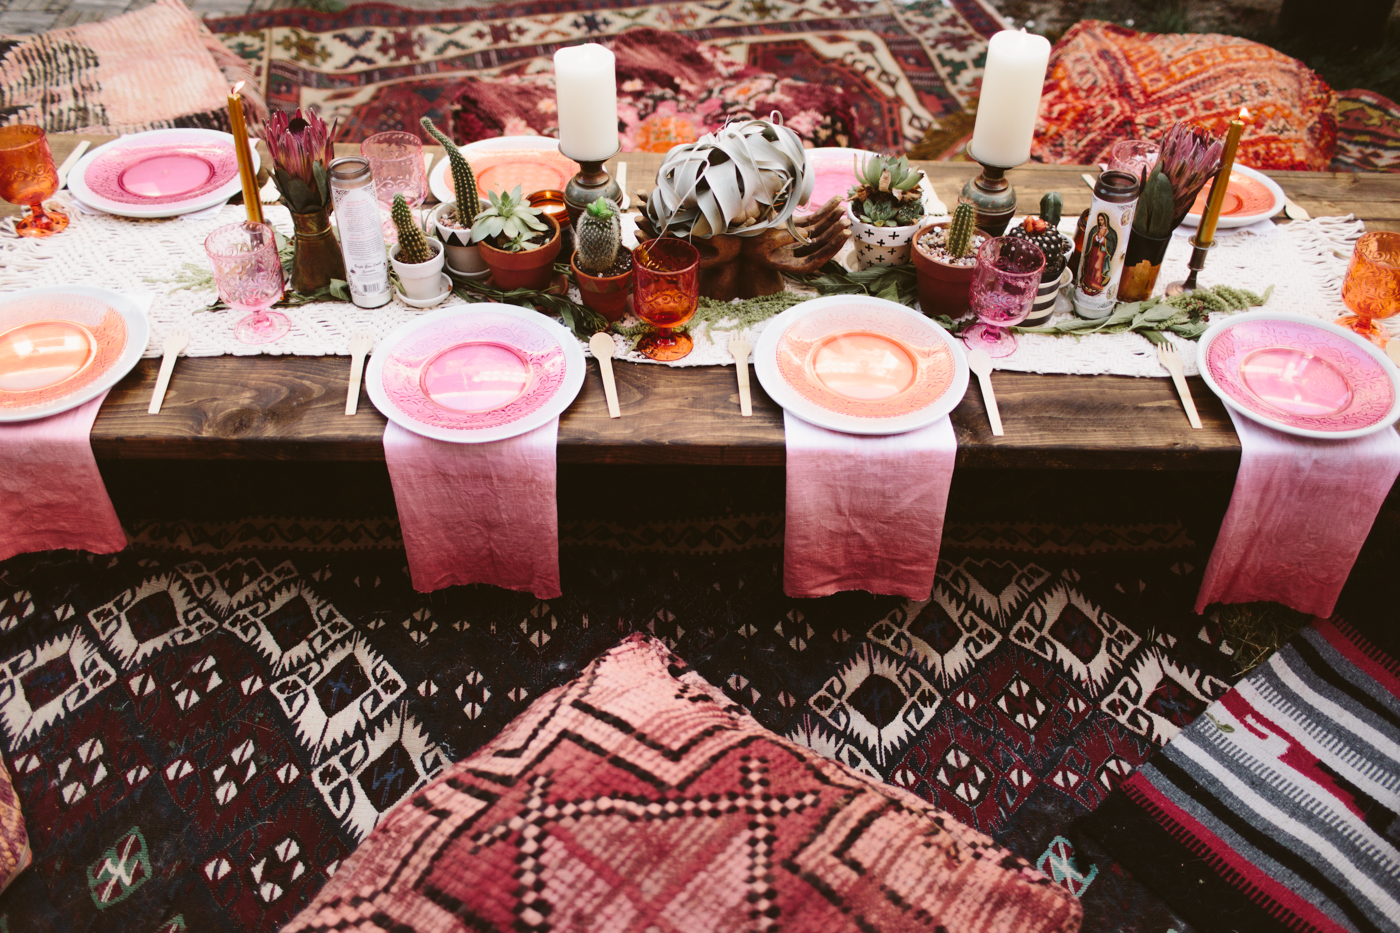
I'll pop the sources for everything I can link to down at the bottom of this post if you're wanting to throw a similarly styled party! A lot of the stuff is either DIY or craigslist/thrifted, so some things I won't be able to link, but hopefully you can find something similar!
So what does one do at a blessingway? Want to throw one for your pregnant mama friend? Here are some ideas for blessingway activities! I'm not into the hokey activities that often accompany a baby shower, and thankfully blessingway activities are much more beautiful and simple. Obviously you can come up with your own way to celebrate the new mother, but if you're looking for somewhere to start, here are some great things to incorporate:
Labor Bracelets
Get a long piece of string/twine. Long enough to go around everyone's wrists in a circle. Have everyone stand in a circle, and then pass the string around to everyone, wrapping the string around each wrist once or twice. With everyone connected, have each person give the mother an affirmation or blessing, then cut the string between each person and have them tie it into a bracelet. The bracelet stays on until the new mama goes into labor and then you cut it off!
Mother affirmation bead necklace
You can either have each person bring a bead to the blessingway, or have some beads ready if you don't want to make people procure a single bead. Each person adds a bead to the new mama's empty necklace string/cord and as she adds it, gives an affirmation for labor or motherhood. The mama can wear this or bring it to her labor so she can remember the affirmations as she's laboring.
Foot soak
Get a little tub big enough for the mama to put her feet in, put hot water in and some epsom salt and/or essential oils (make sure they are safe for a pregnant woman). You can also get some oil and rub her feet after she's done soaking
Belly Henna
I had this done at my blessingway and it was so fun! If you're decent at henna, you can get some henna and do a henna belly mandala design yourself, or find a local henna artist and have her do a gorgeous belly henna!
Flower crowns
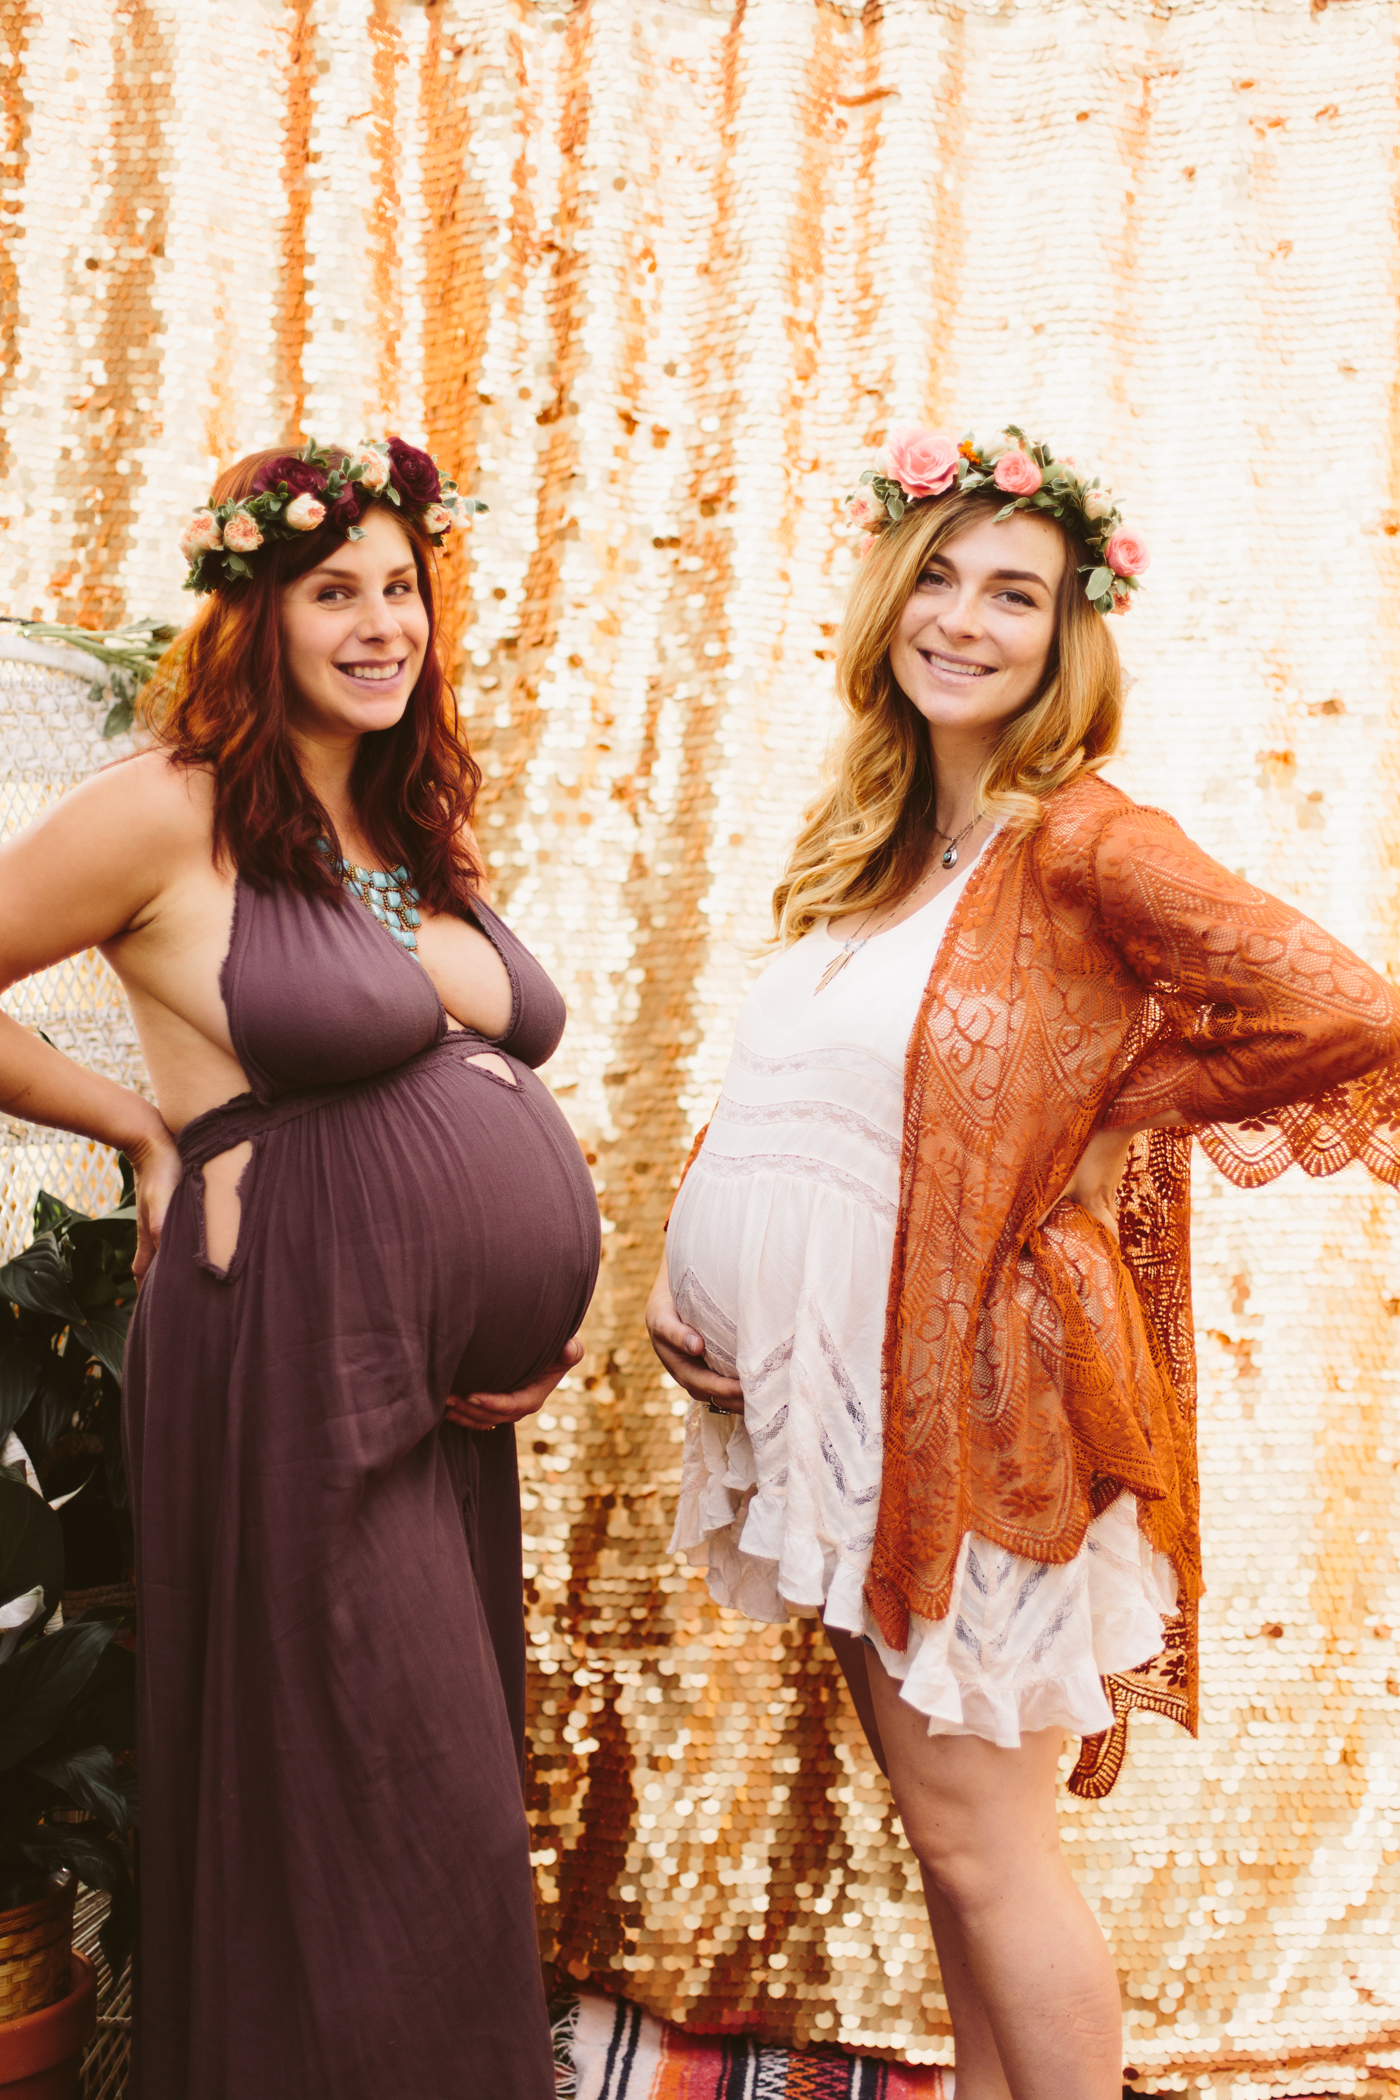
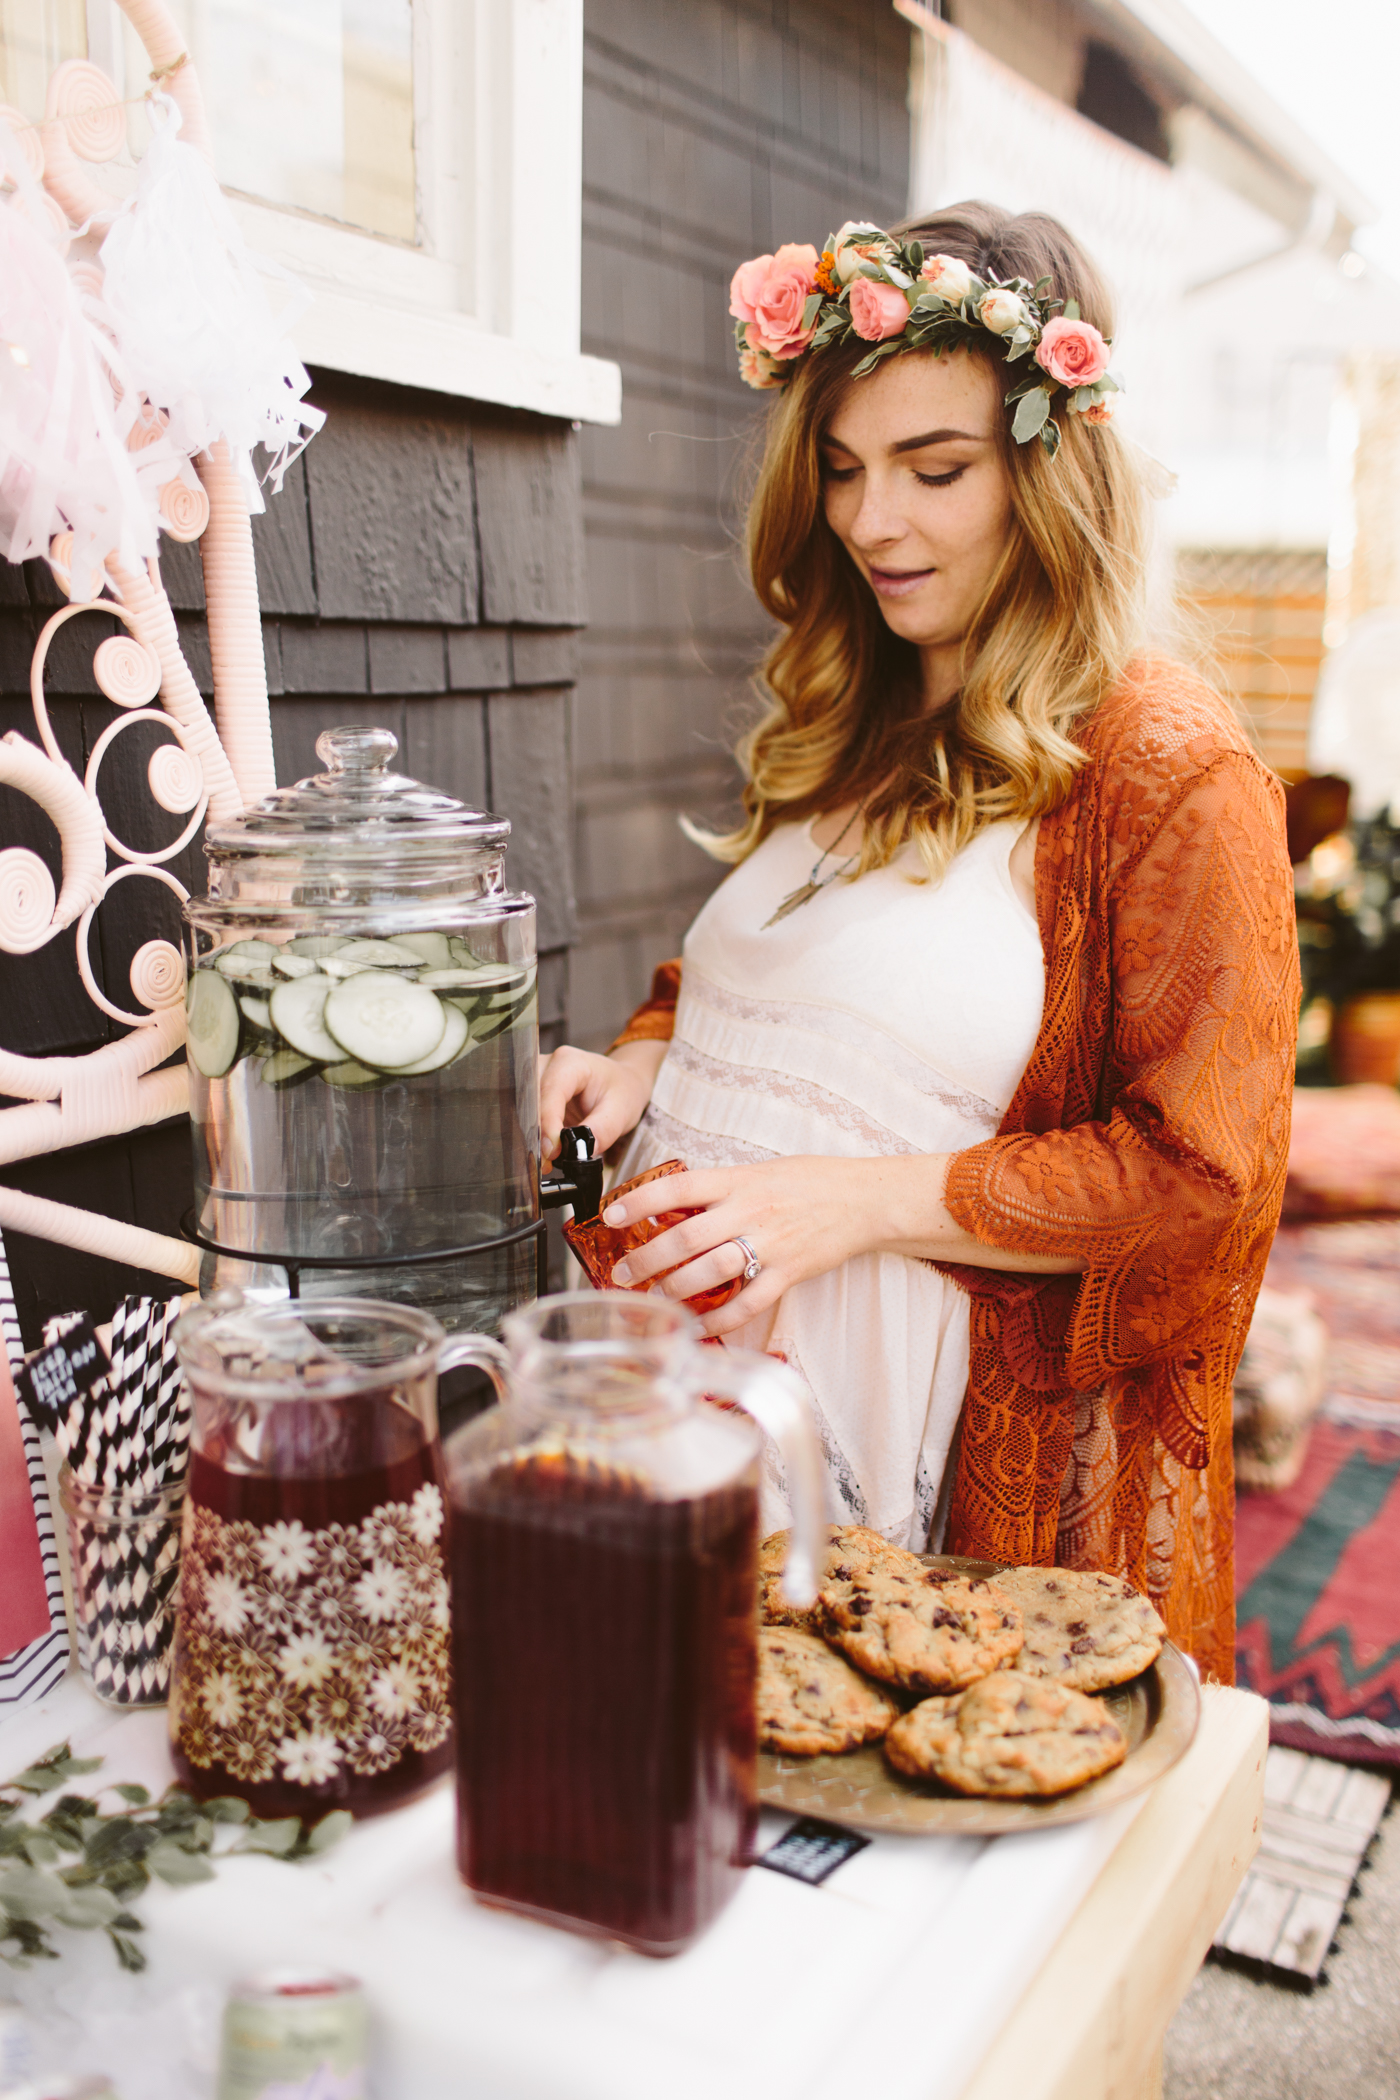
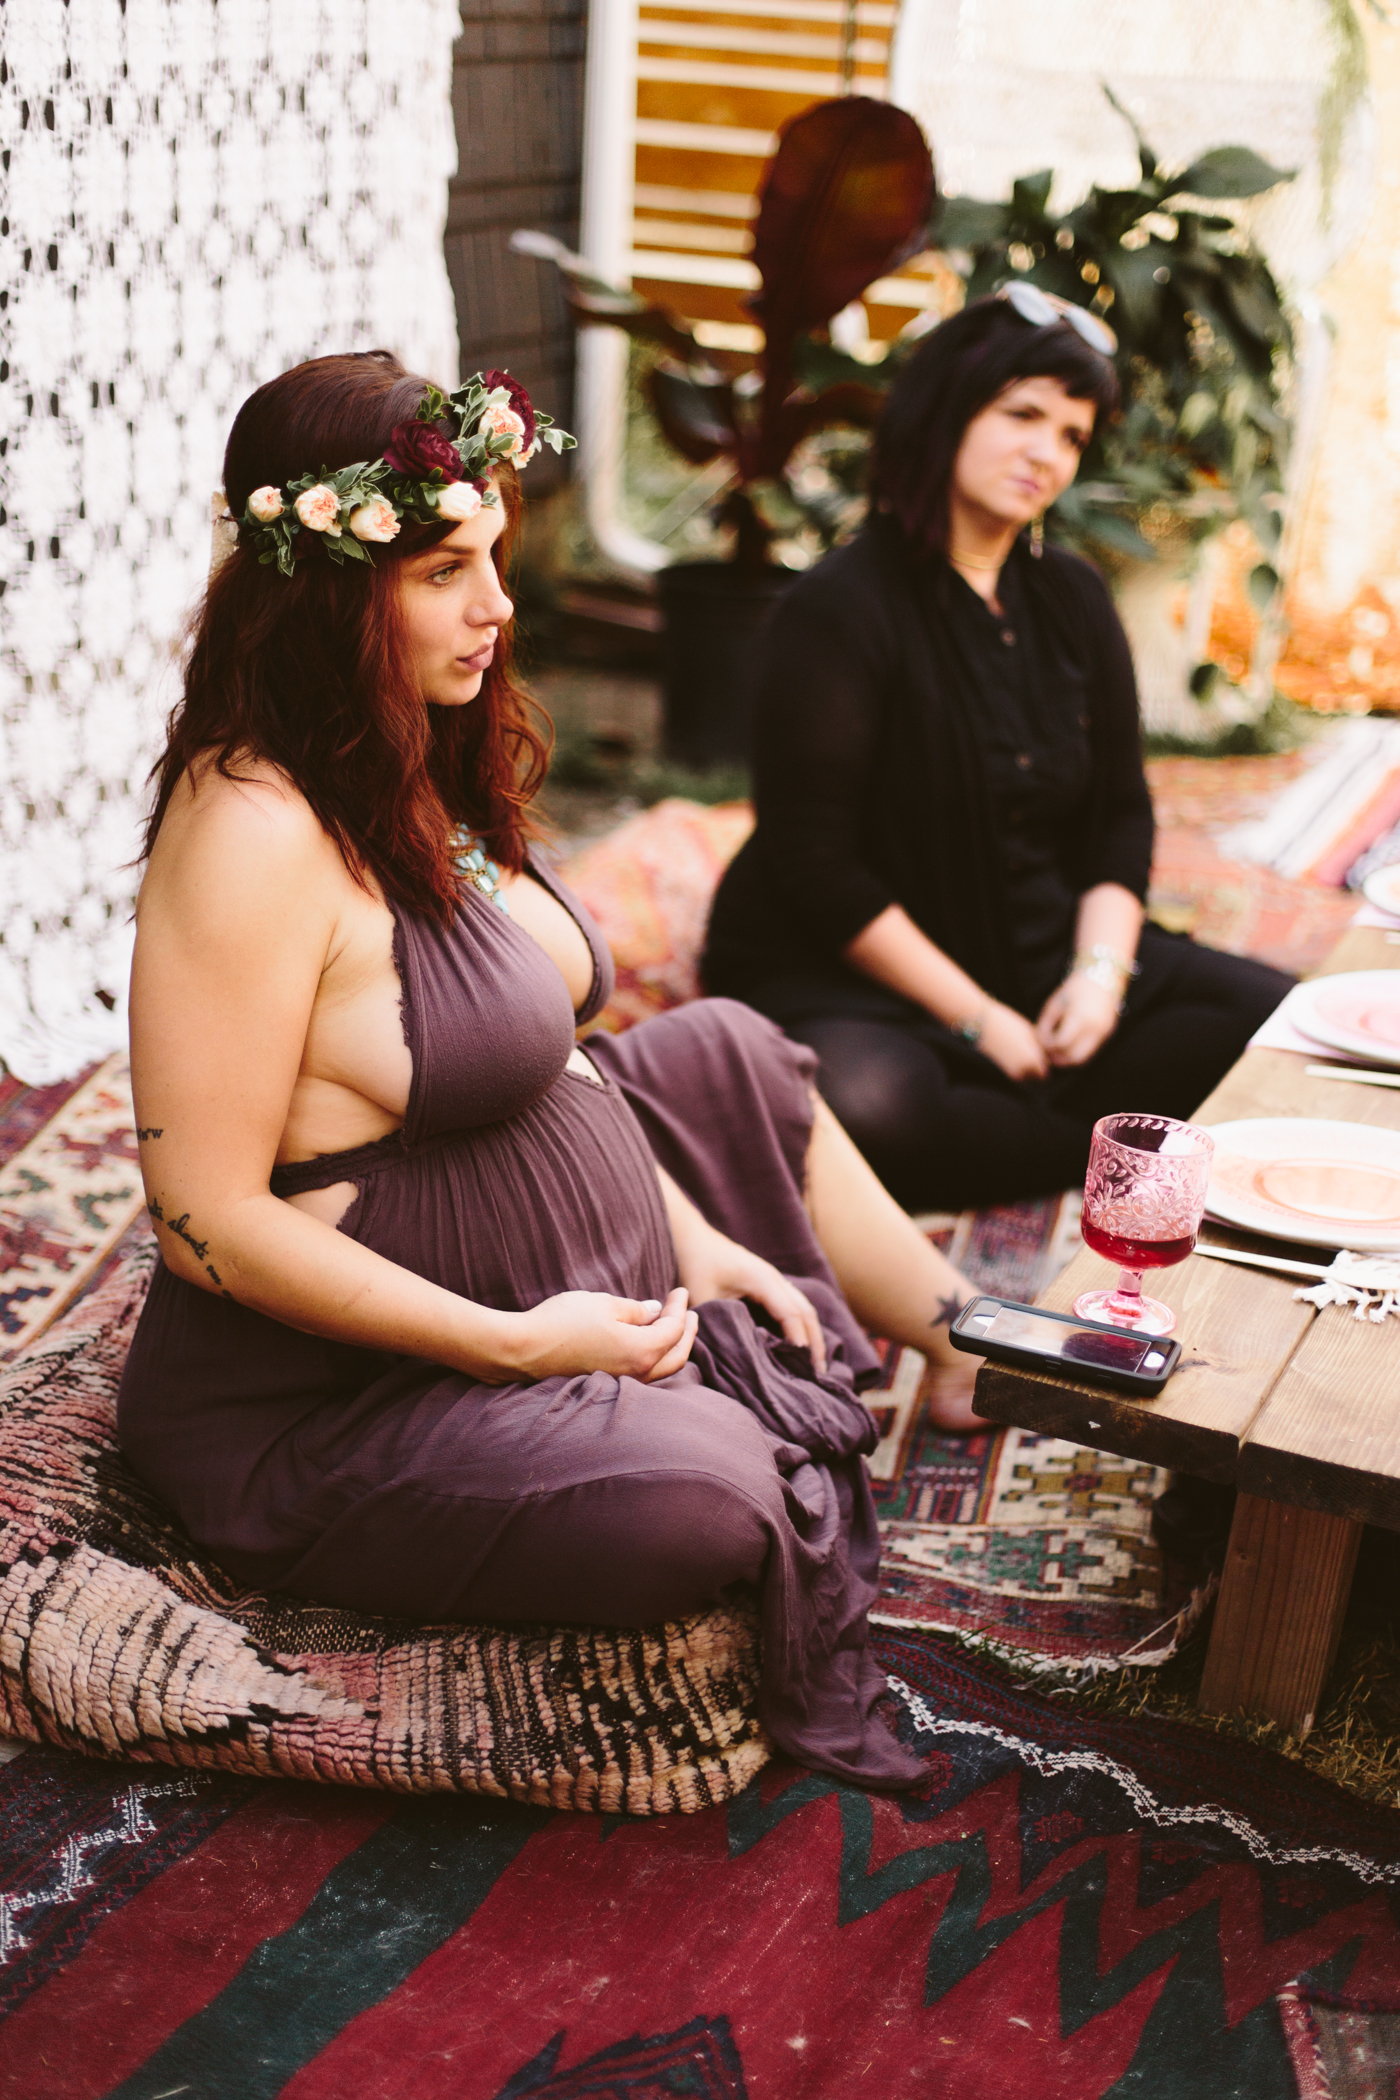
This one is just for fun, but I love flower crowns. At my blessingway they just got a bunch of flowers and the stuff to make flower crowns and we all made one. For the blessingway I just threw I decided to just make two custom flower crowns for the two new mamas so they felt special and like mother goddesses. I've got a faux flower crown tutorial you can use, it works the exact same for real flowers.
Labor affirmation prayer flags
This is something I tried to do at my own baby shower actually, but it just didn't quite pan out. You can create some square blank prayer flags using just fabric, rope, and hem tape (you can use my bunting tutorial, this is exactly how I made the flags for the blessingway I just threw-- it's no sew!). I just created white, blank flags, and we all went around writing labor affirmations on them, so they can hang the flags in their labor/birthing space and look at it while laboring. Labor affirmation examples are: Your body was made for this, Your body knows how to do this, Breathe, I am choosing love not fear, each wave has a purpose, open open open, my body opens easily and naturally, my breath surrounds my baby and opens the way out, I trust my intuition.
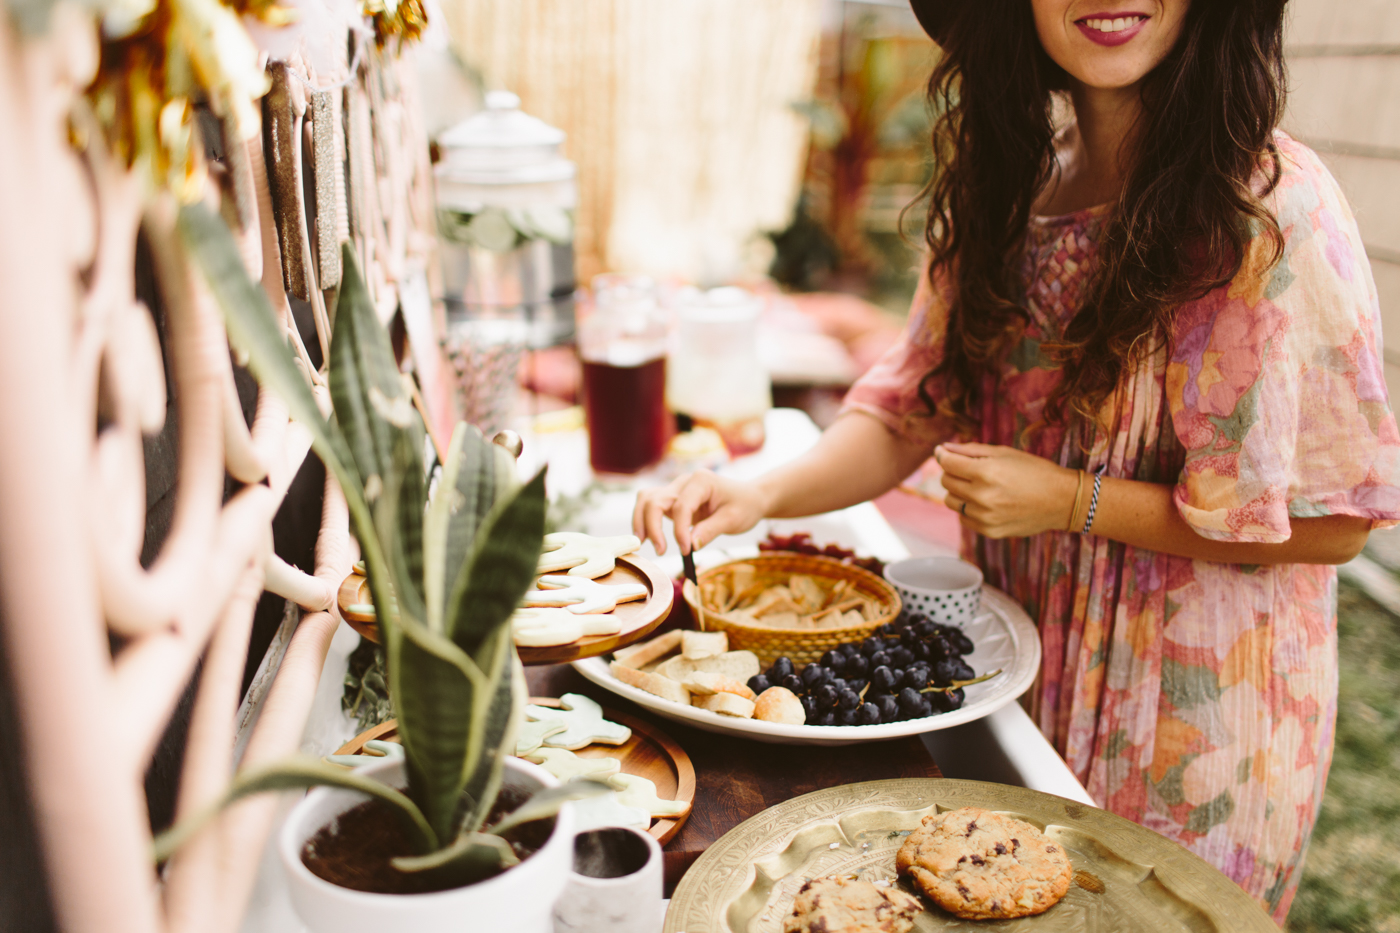
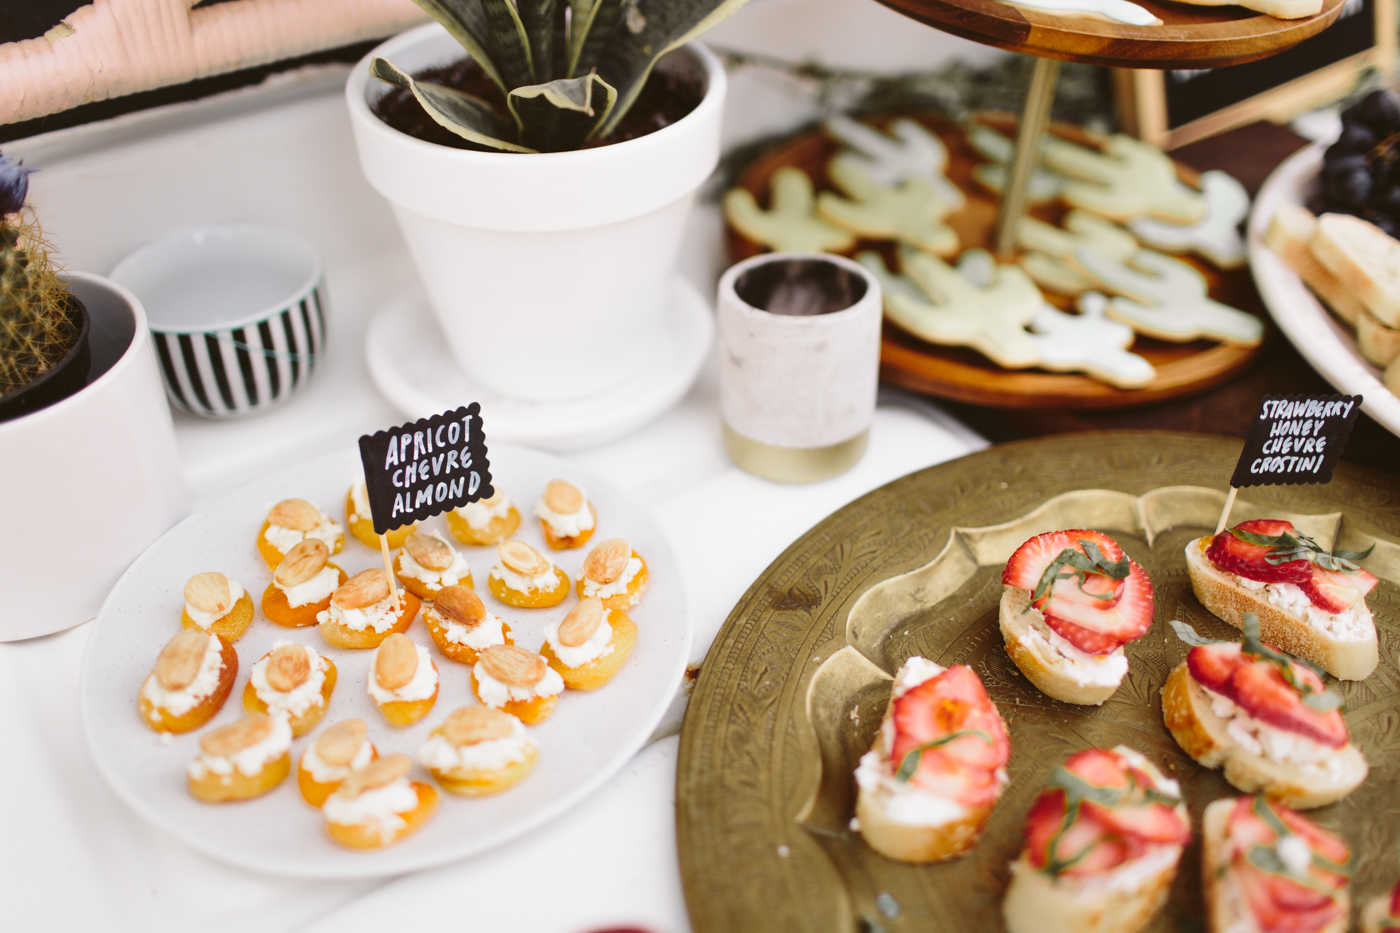
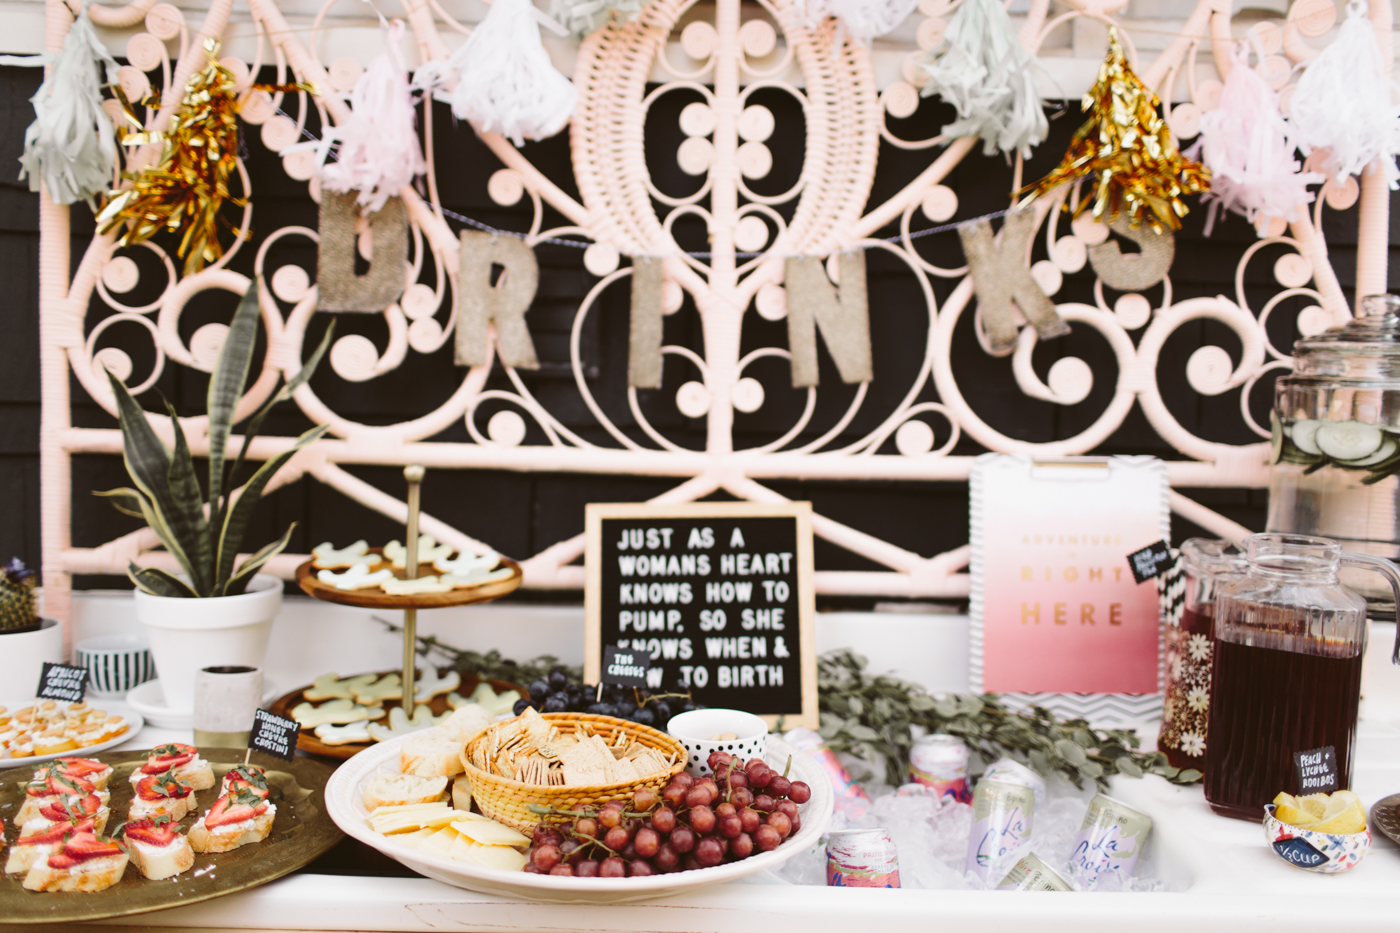
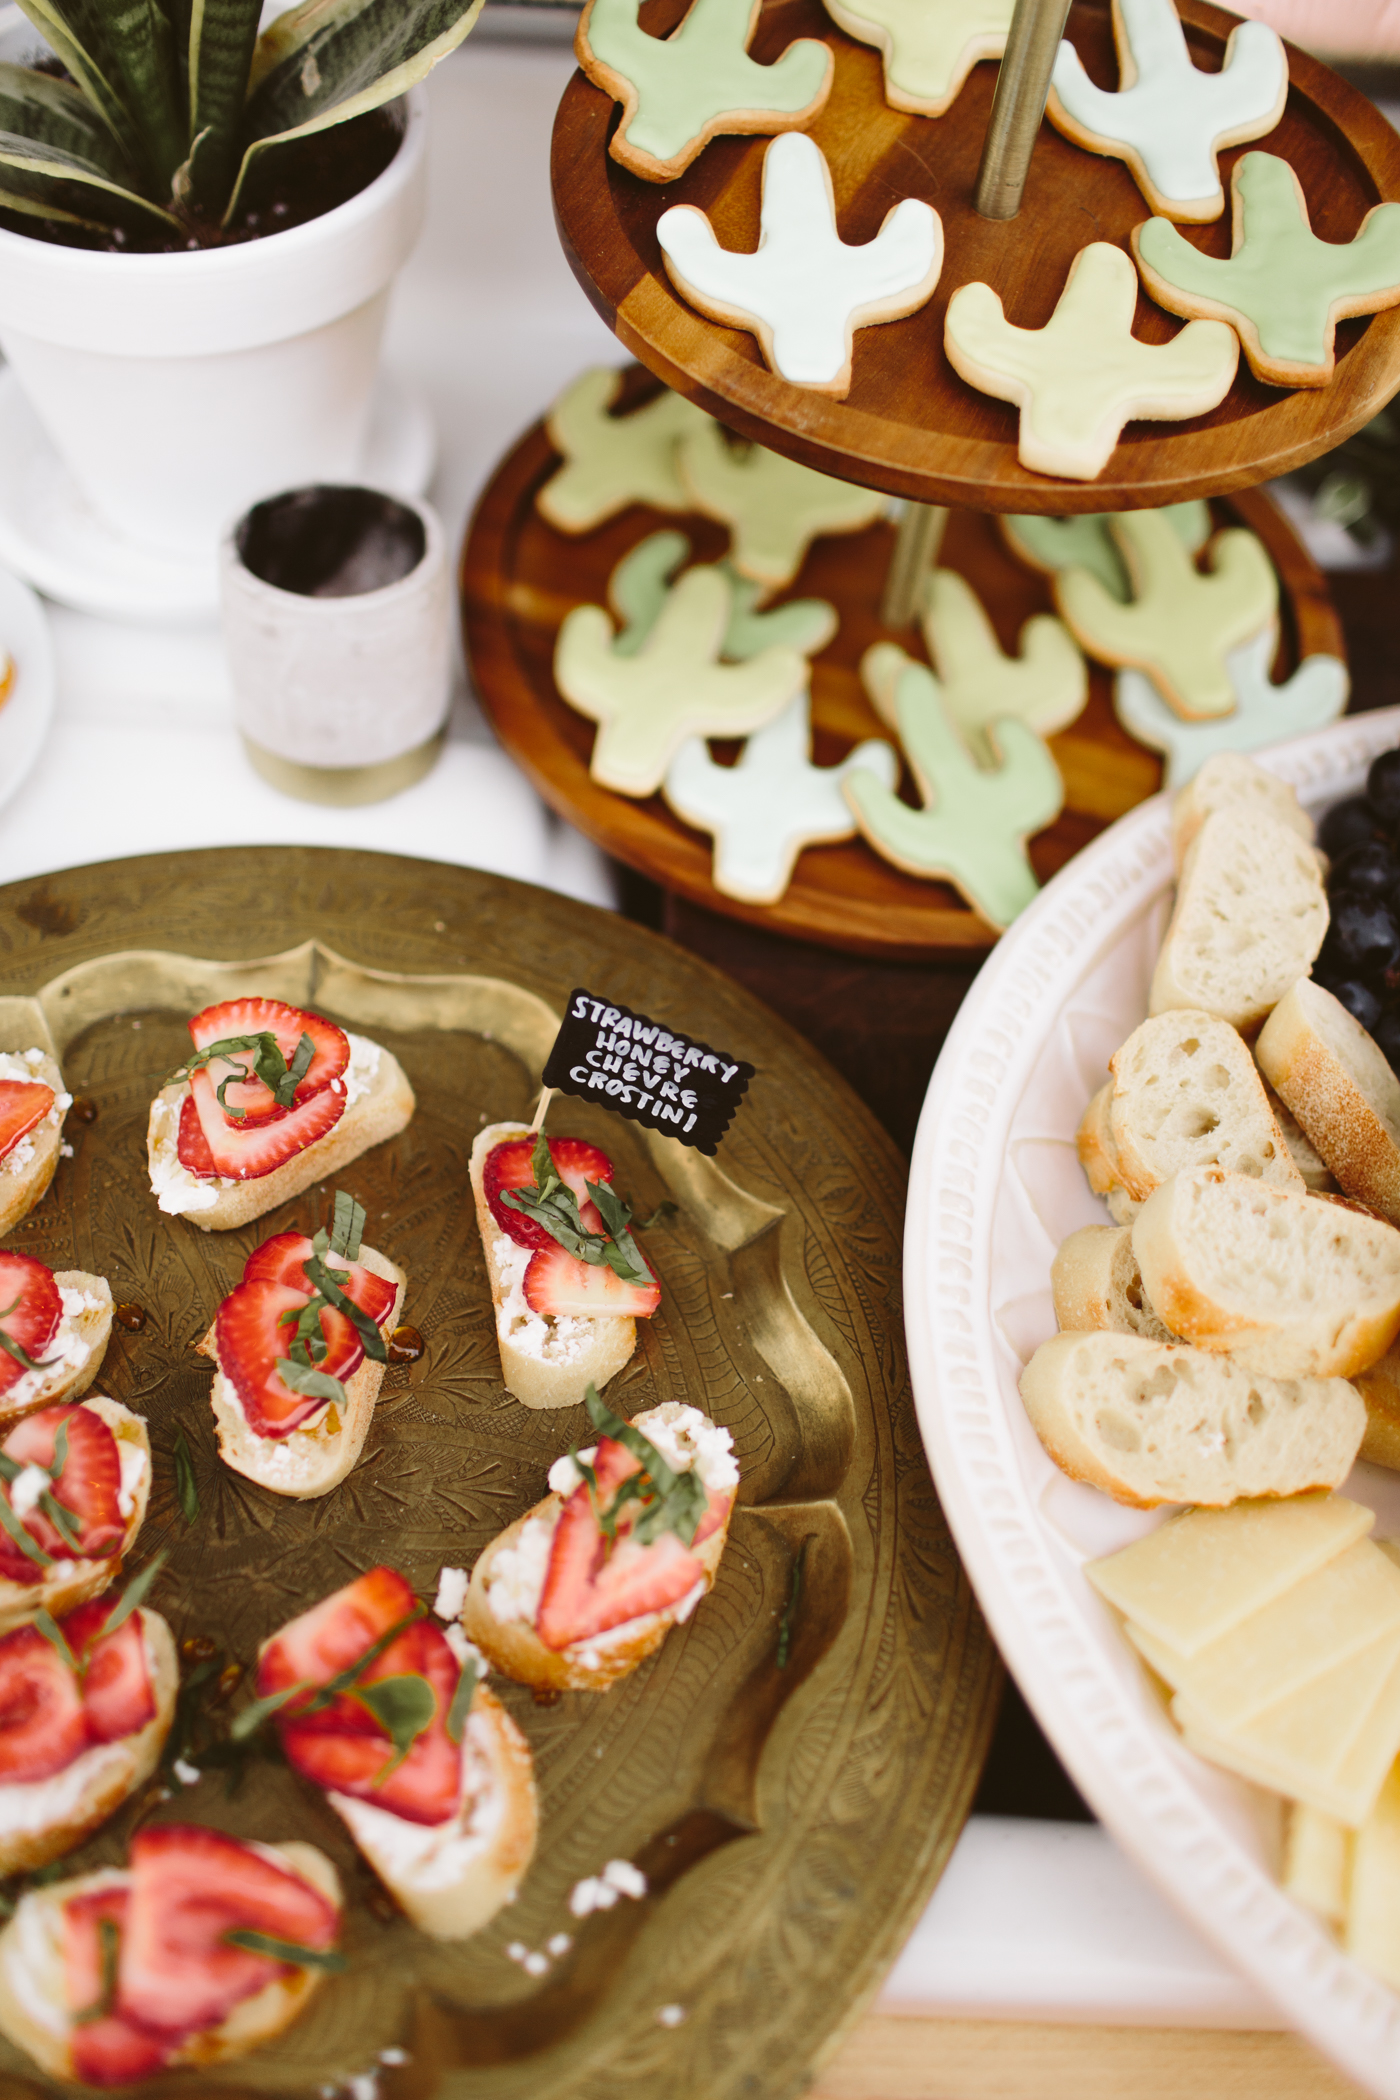
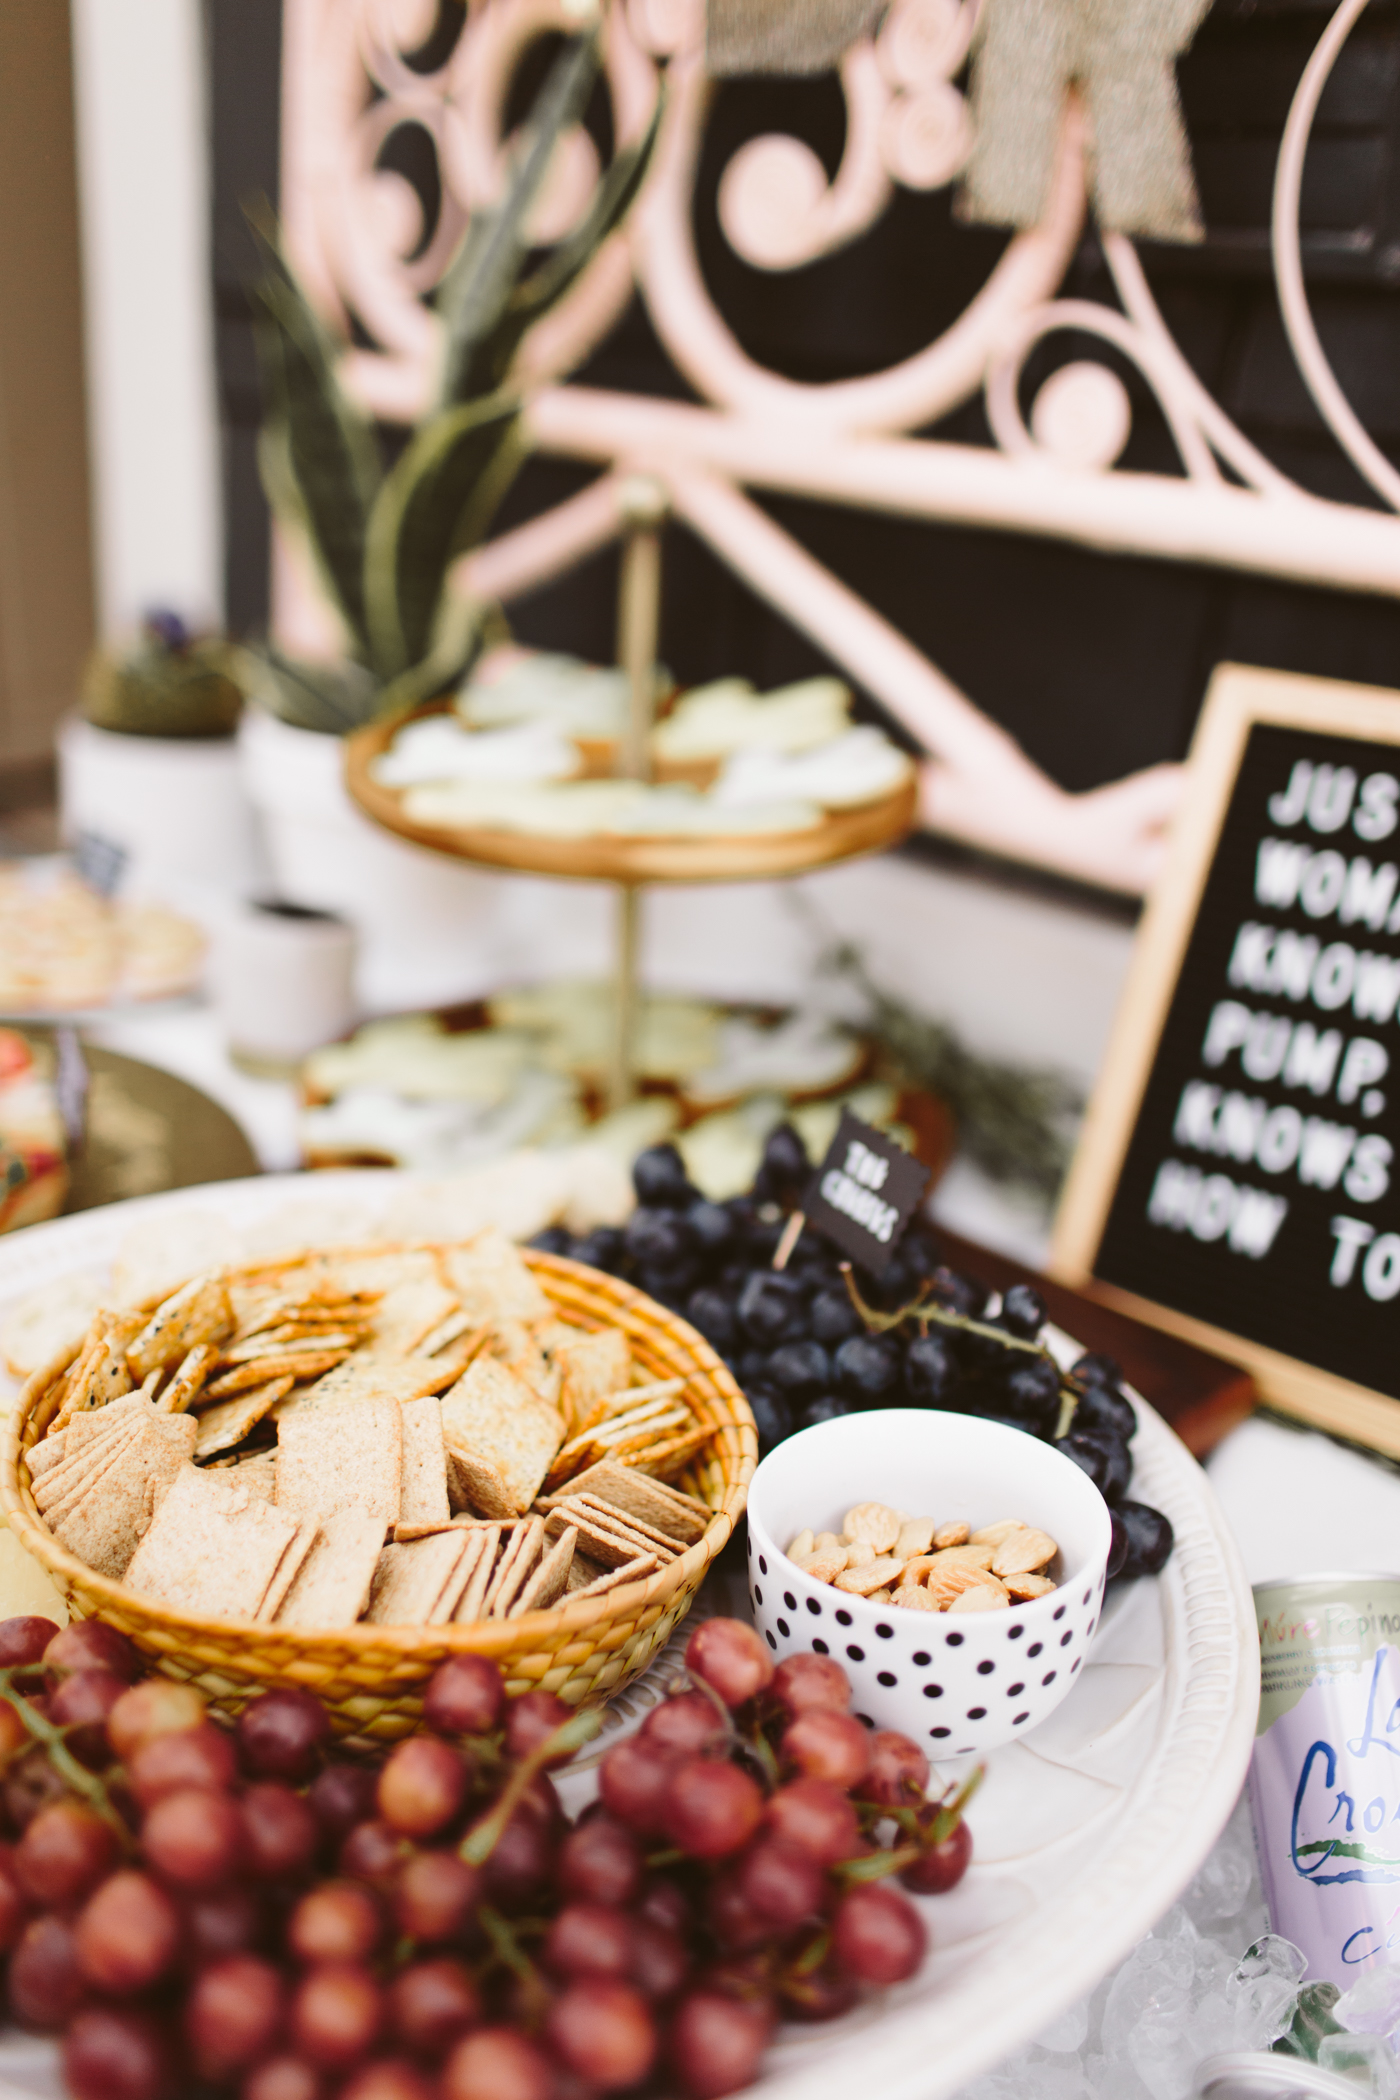
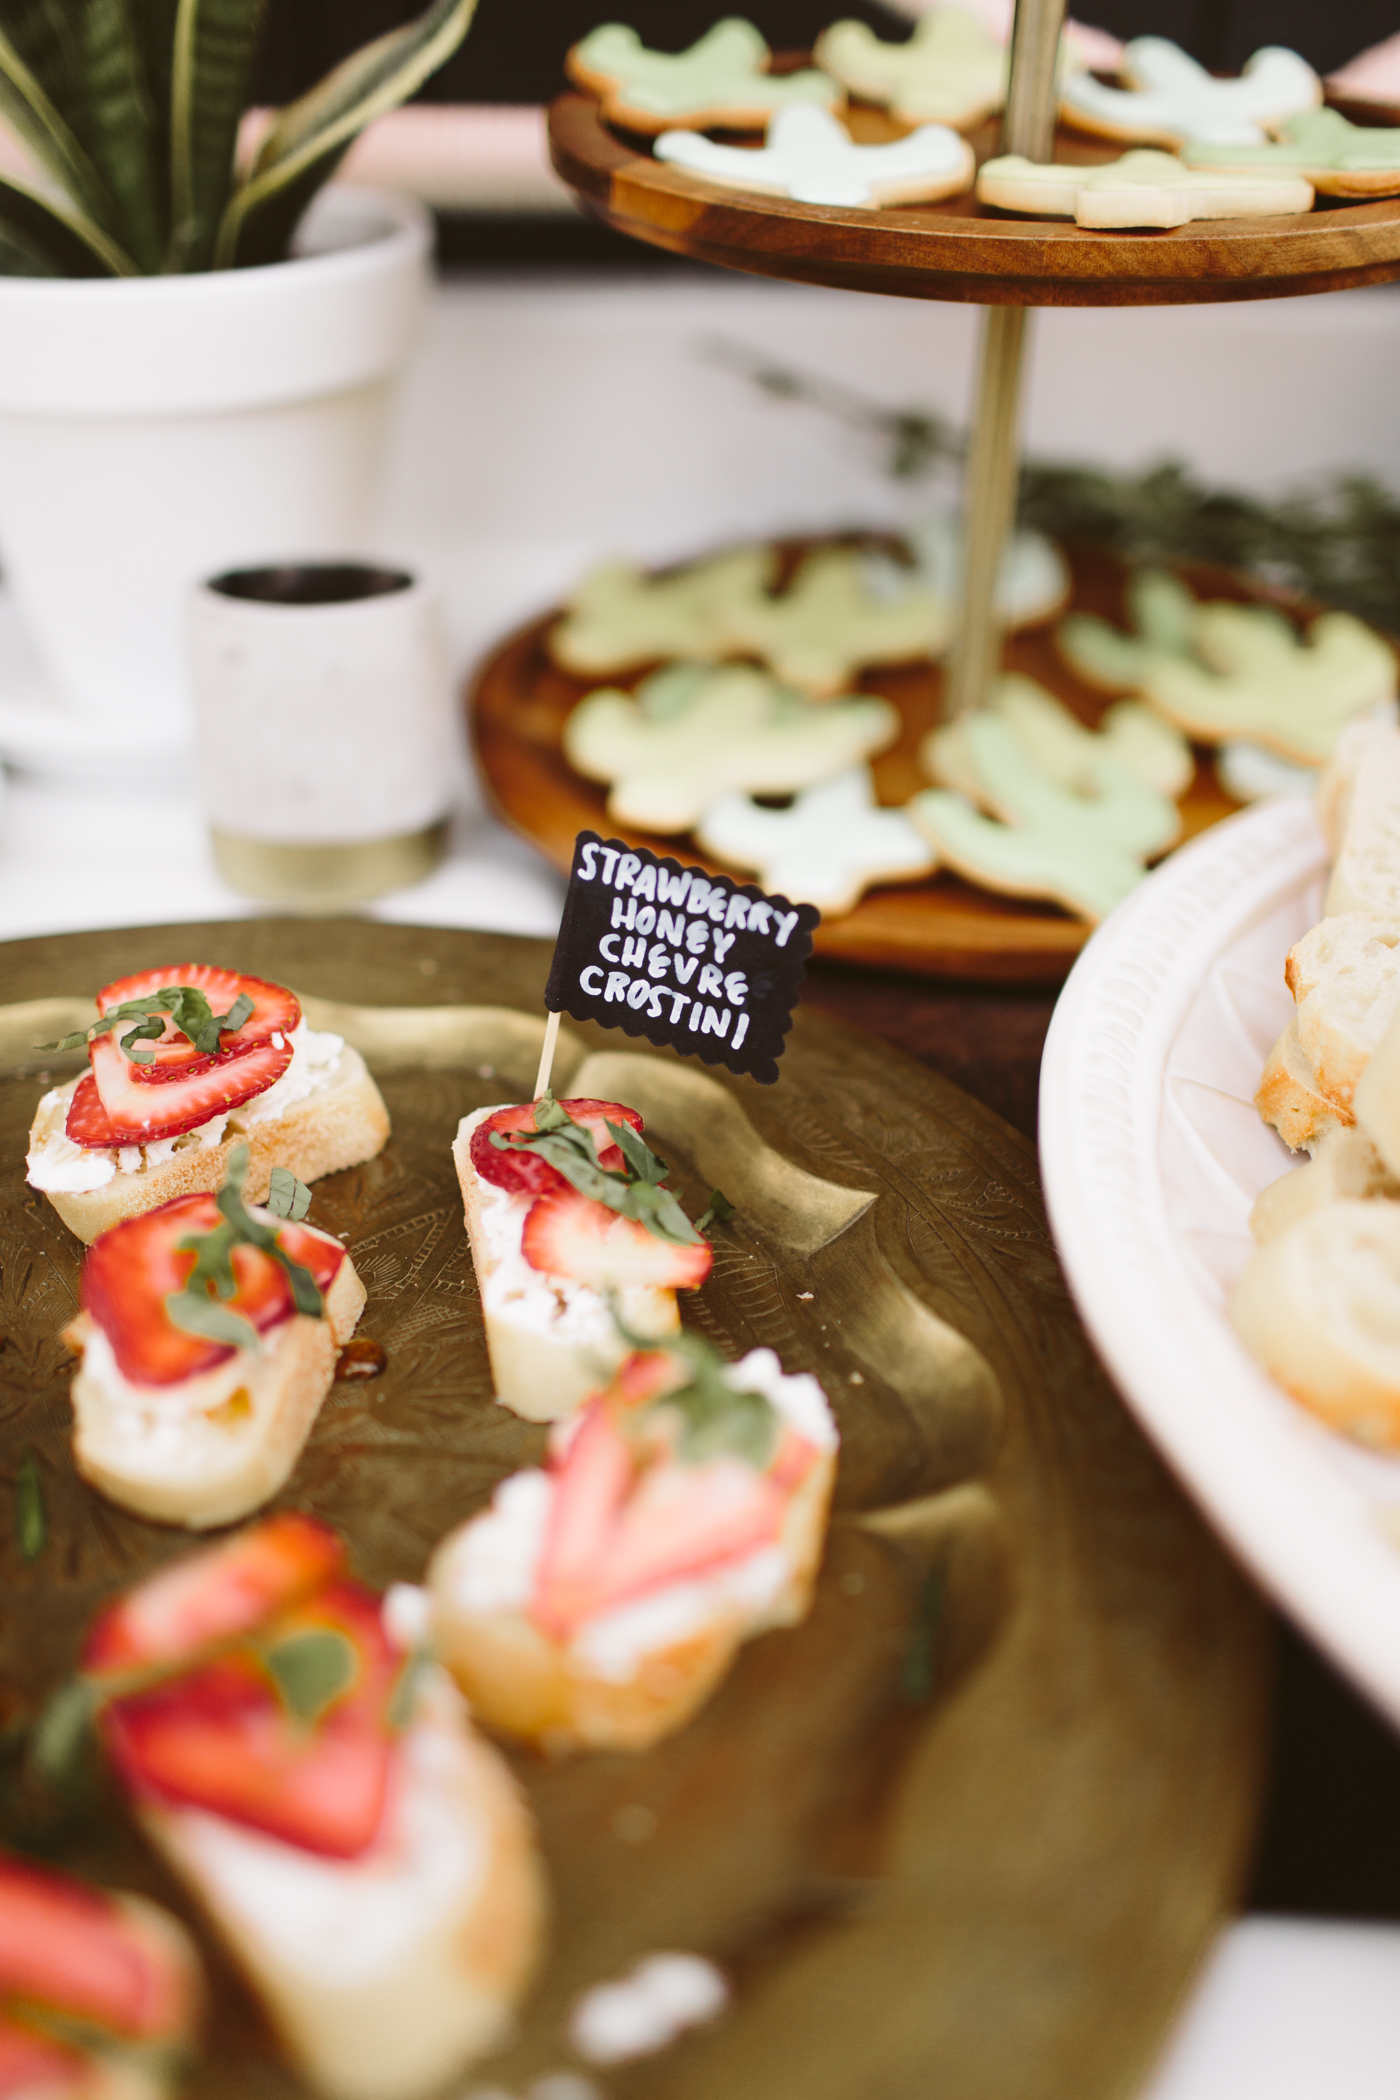
Oh, and make tasty snacks because everyone loves tasty food. And hopefully your pregnant buddy has enough room in her torso still to eat lots of tasty things.
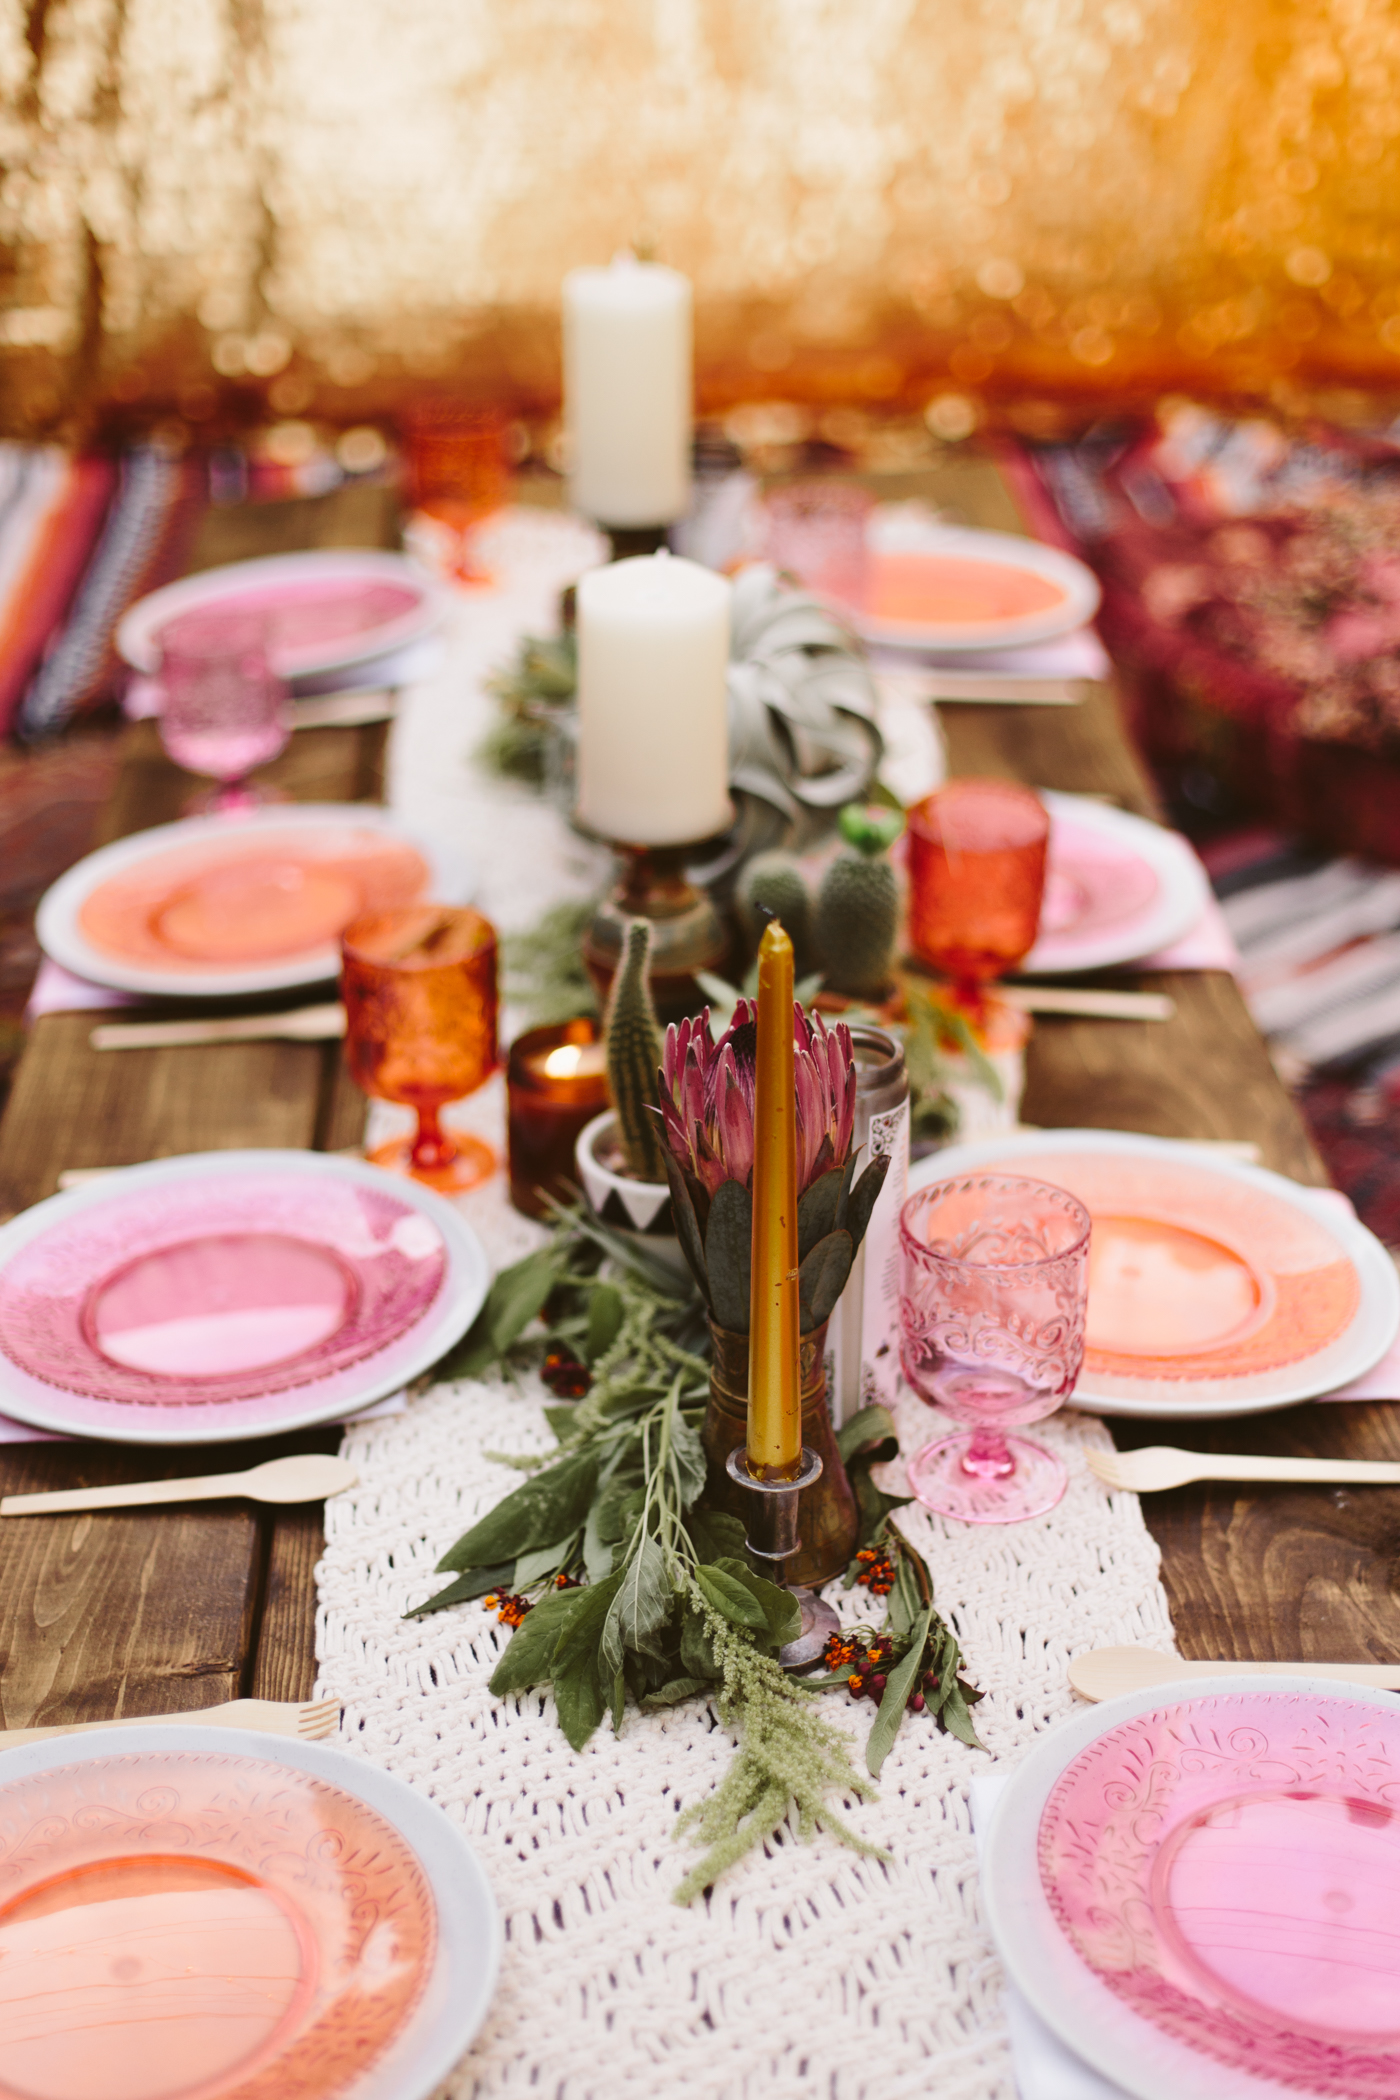
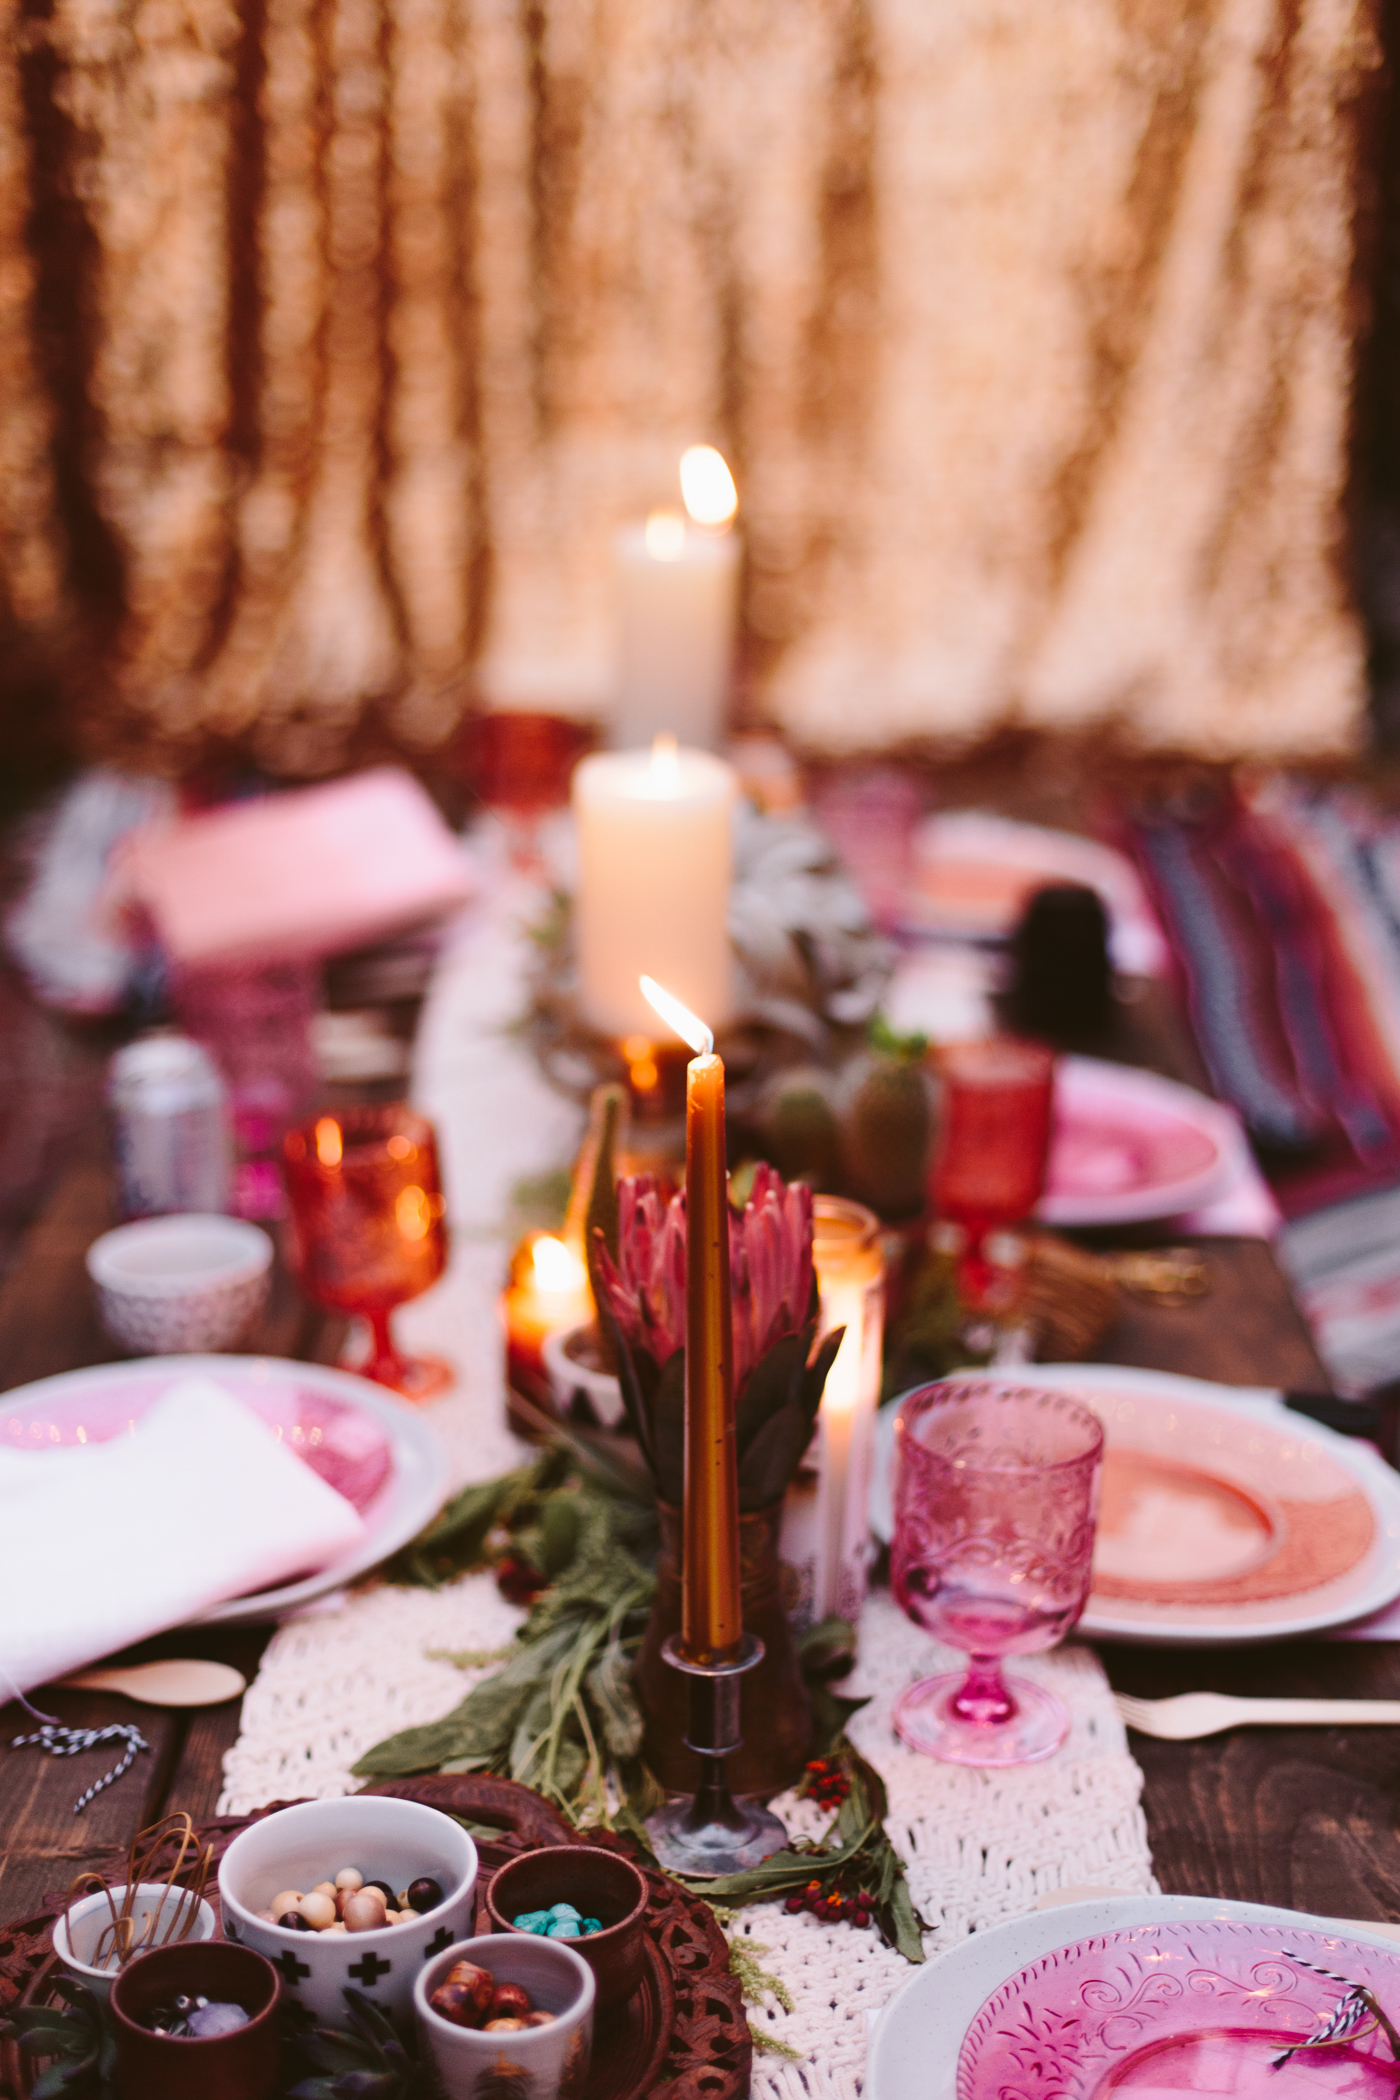
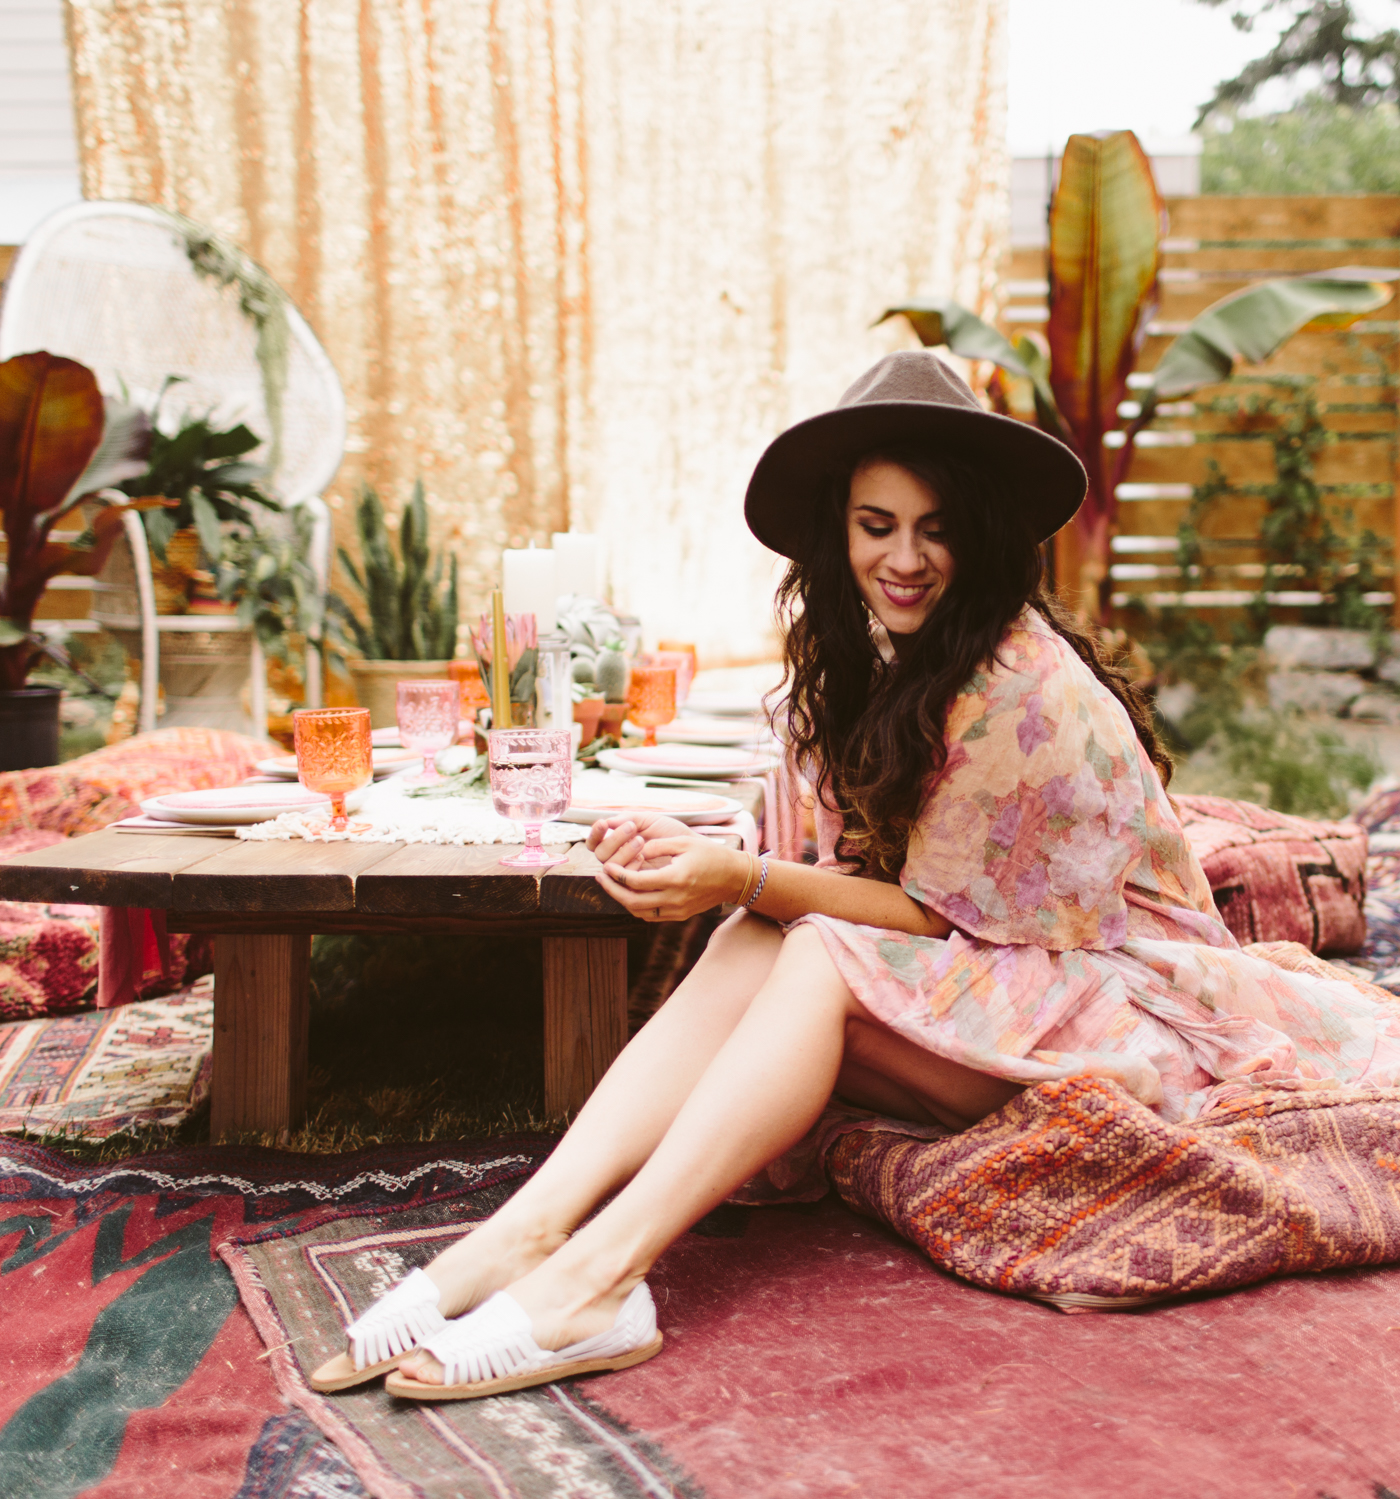
Macrame Table Runner : World Market | Colorful plates + cups : Michaels | White plates : Crate + Barrel | Poufs : D+K Renewal | Wooden Flatware : Amazon | Gold Sequin Backdrop (similar) : Drop it Modern | Table : DIY | Peacock Chair (similar) : Facebook Marketplace | Dip Dye Ombre Napkins (similar, similar) : DIY | Rugs : Craigslist
Outfits:
Kristina's Dress: Free People
Amy's Top: Free People
My dress : Thrifted | my shoes : c/o Modcloth | My hat (similar) : Forever 21








![This print feels even more relevant today. We all joke about the dumpster fire of [insert year here], but the important message of this image to me is that *we persist* through the horrors. We stand, we fight— maybe for ourselves, maybe for oth](https://images.squarespace-cdn.com/content/v1/574dddd6d51cd4bc35c1609a/1730935170369-03GPKQ5NF73VAE65RHO6/image-asset.jpeg)


