Interior Design

Project House #1

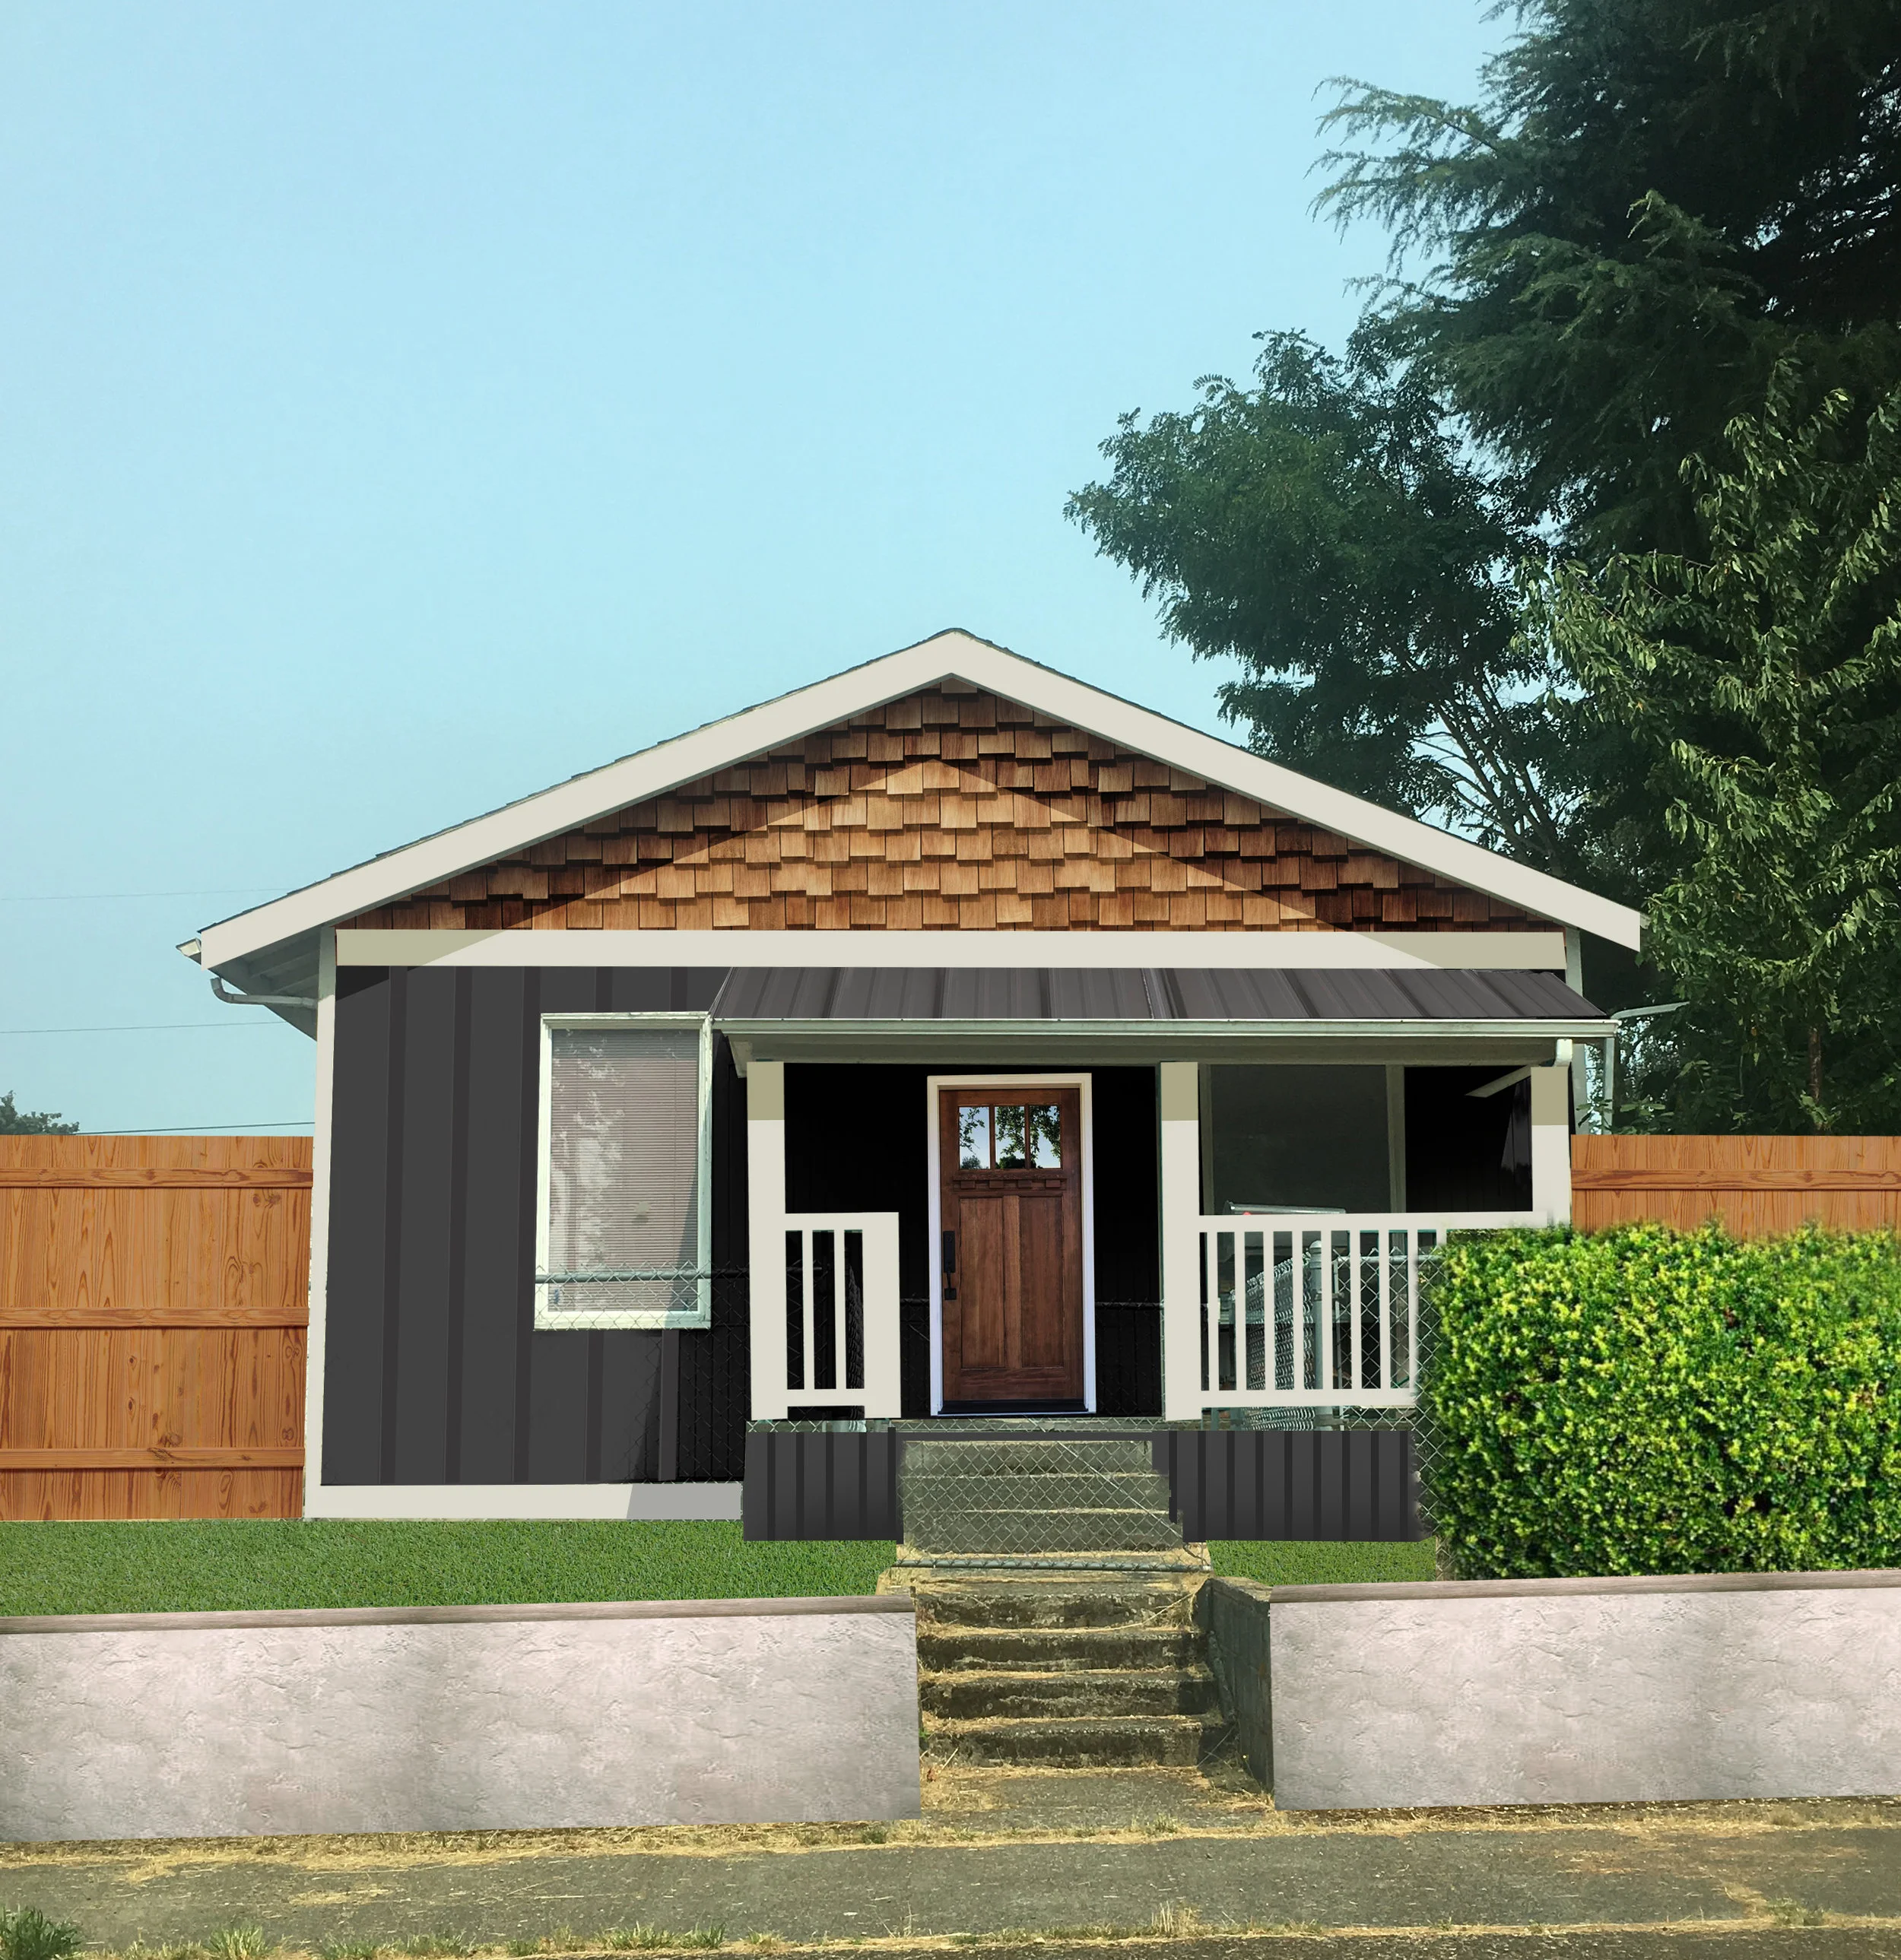
Tacoma Home Renovation

I'm so excited to share the big news that we just closed on our first flip house!  This has been a long time coming, something I've been planning for over a year and have been thinking about for several years.  After Jack was born I really felt like I needed to reclaim myself and in early 2018 I decided that this year I needed to give birth to something creative for myself.  I vowed that in 2018 I would flip at least ONE house.  I've been trying to get a house since January and have been learning the ins and outs of house flipping and real estate investing, and I still feel like I've only seen the tip of the iceberg with all this stuff, but I also know that I learn by doing so this will be a big learning process.

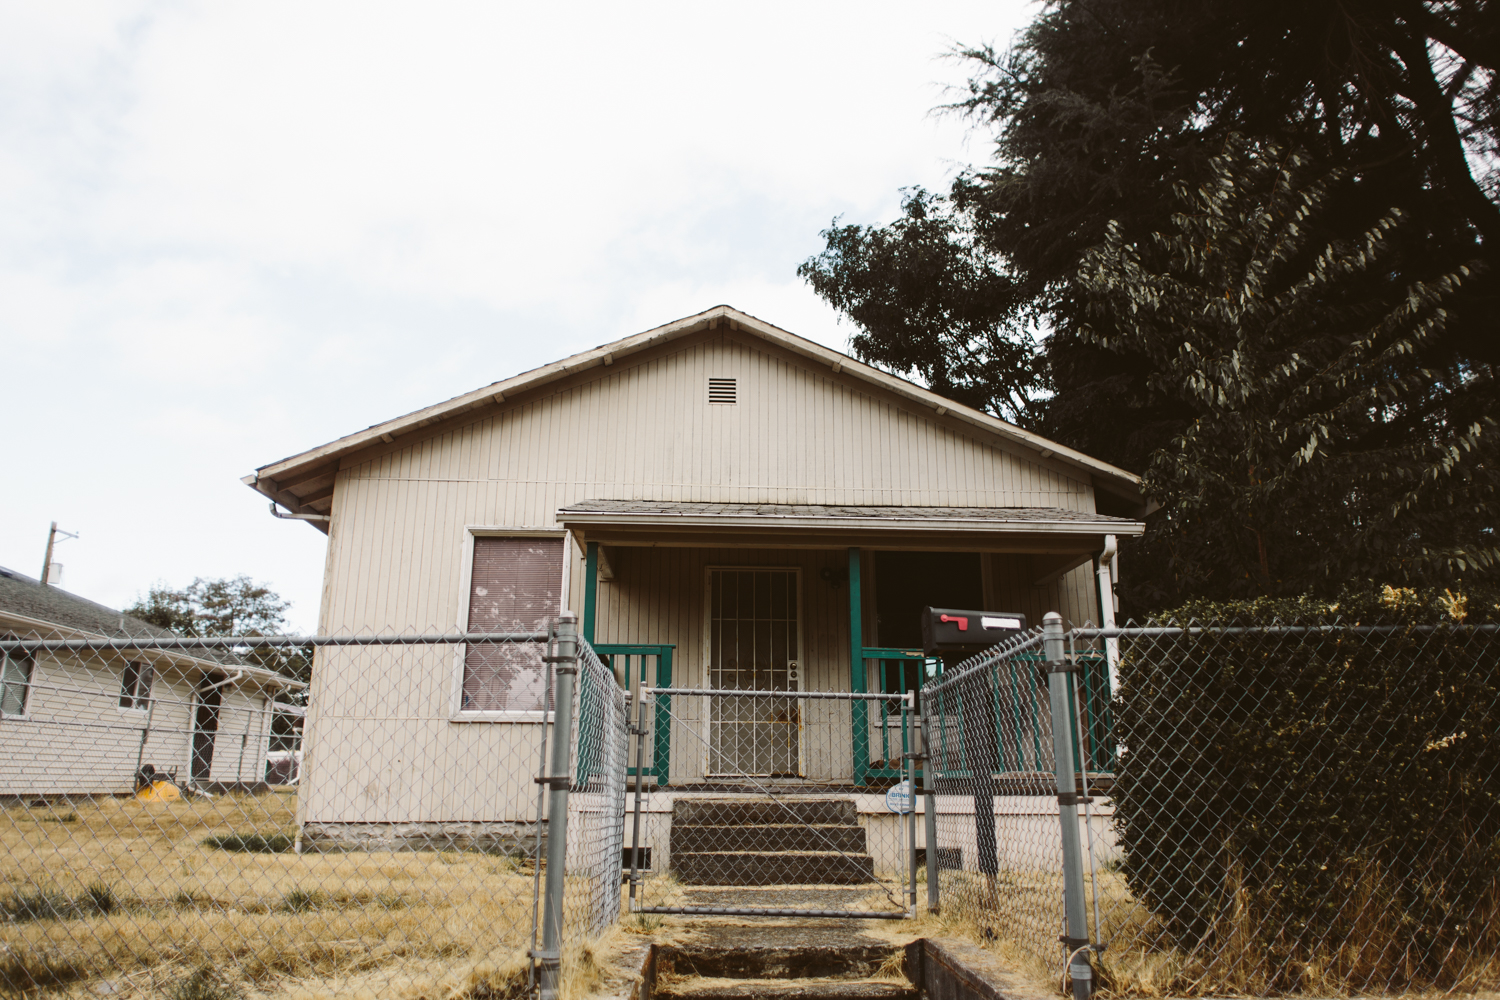
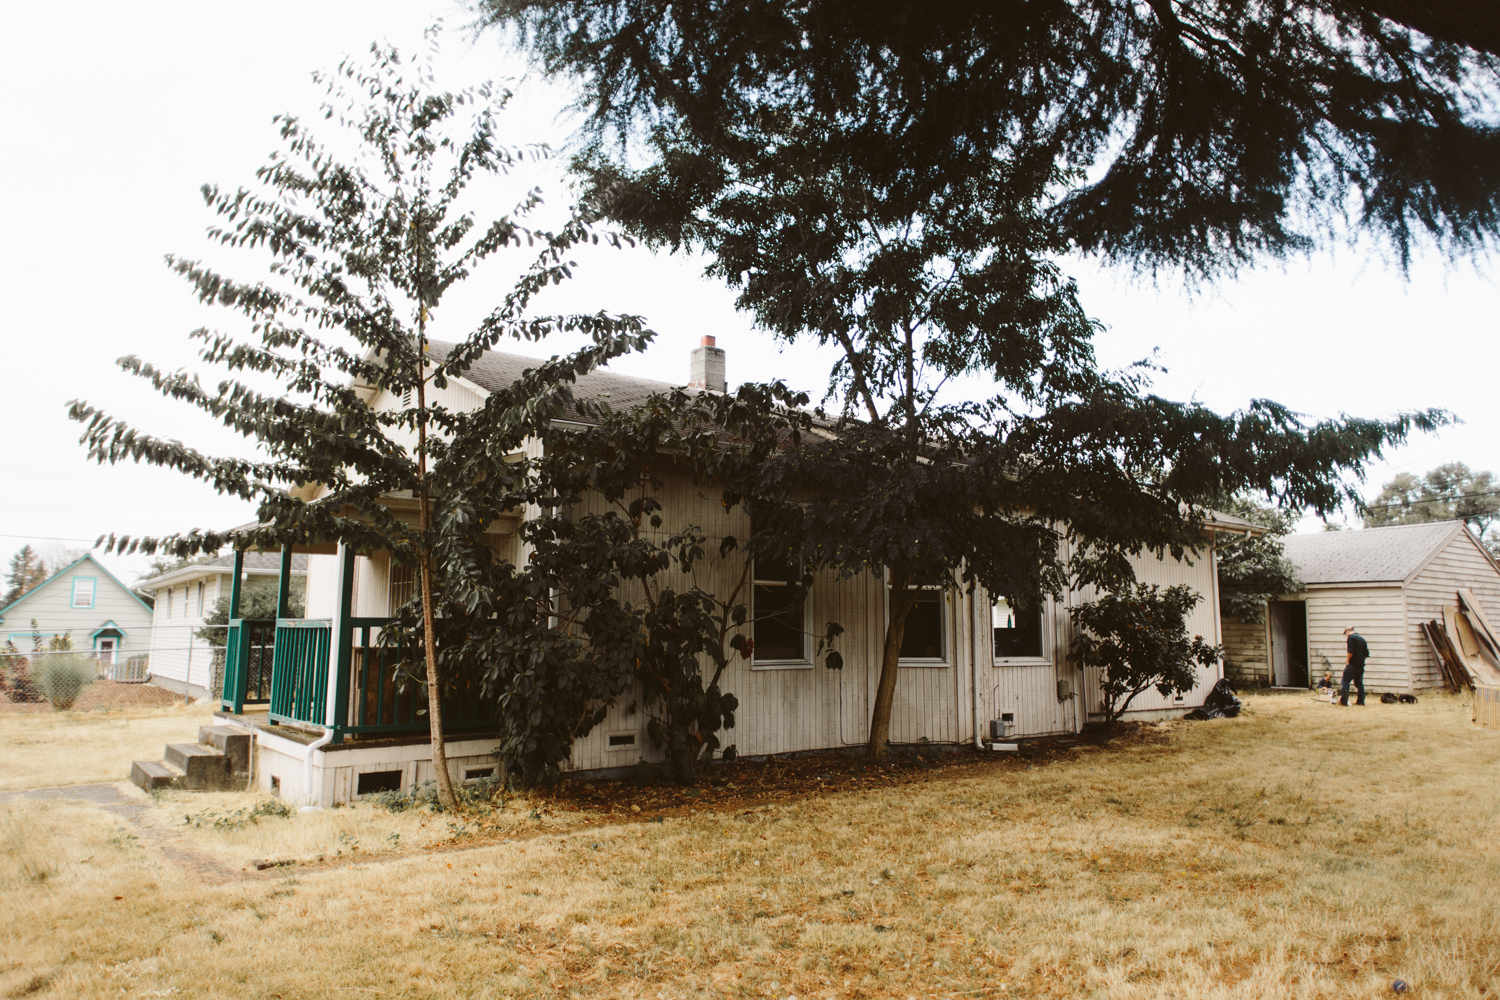
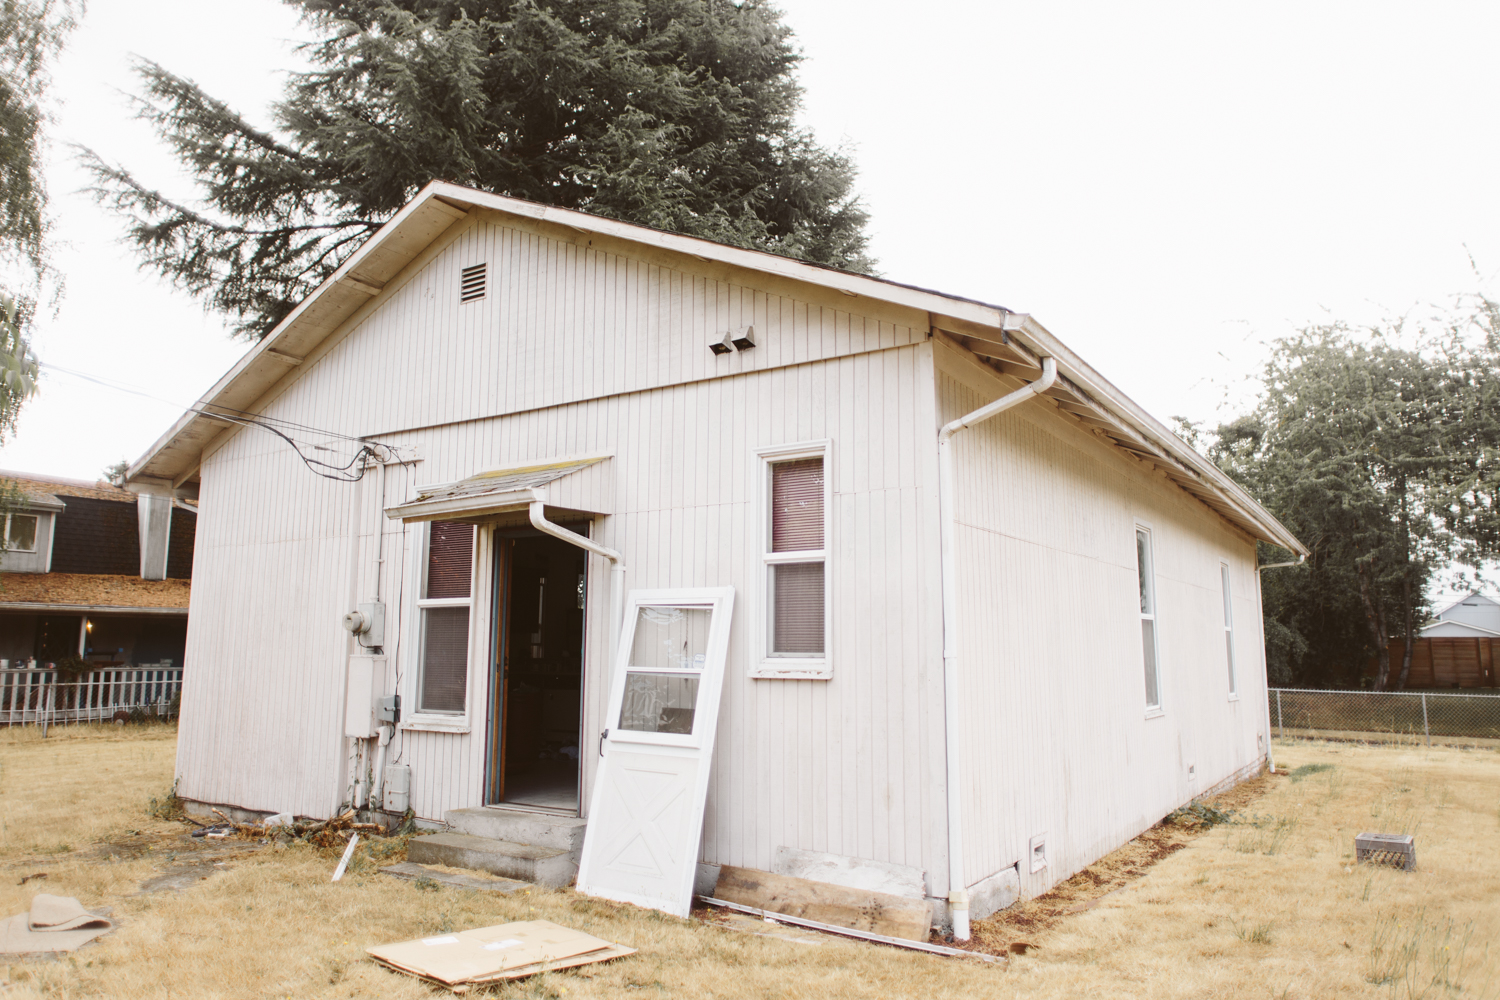
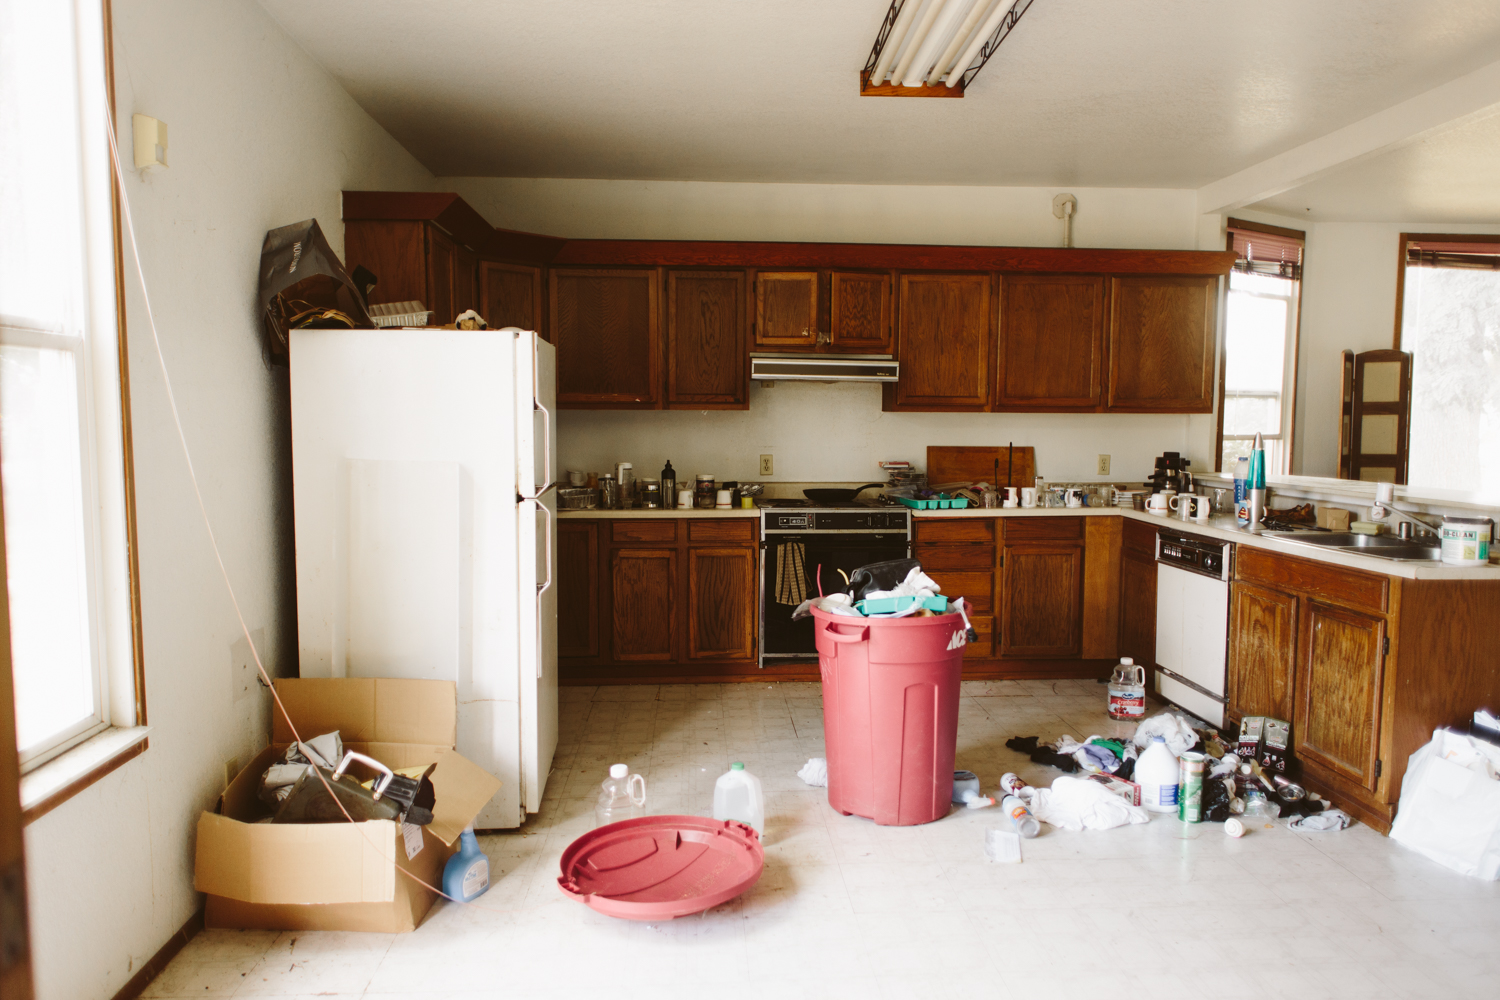
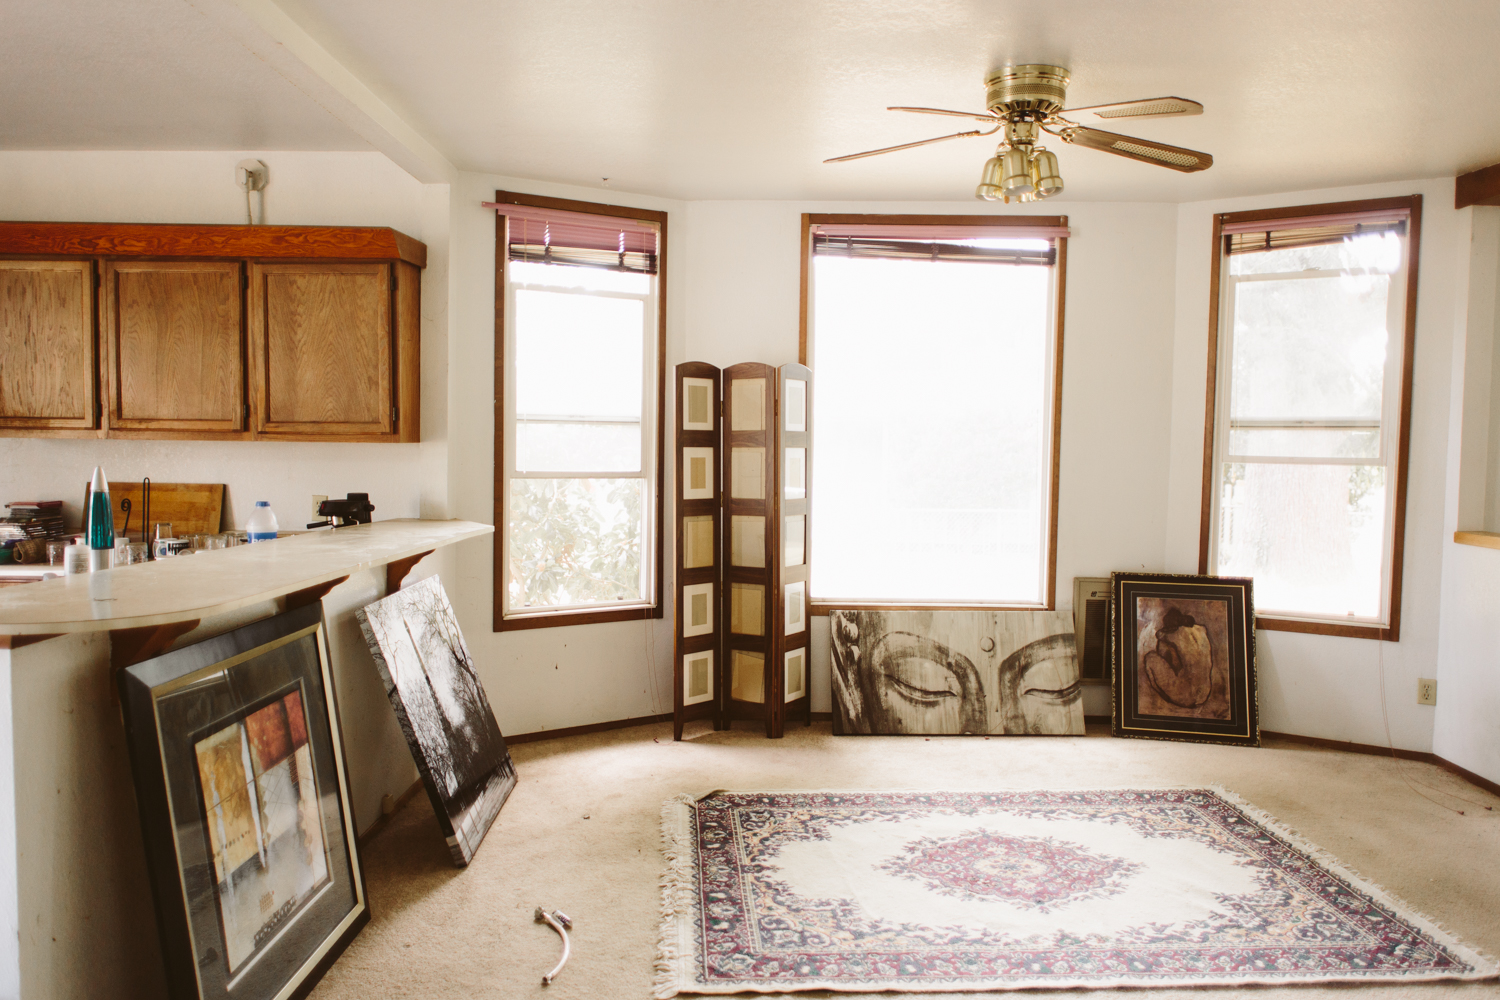
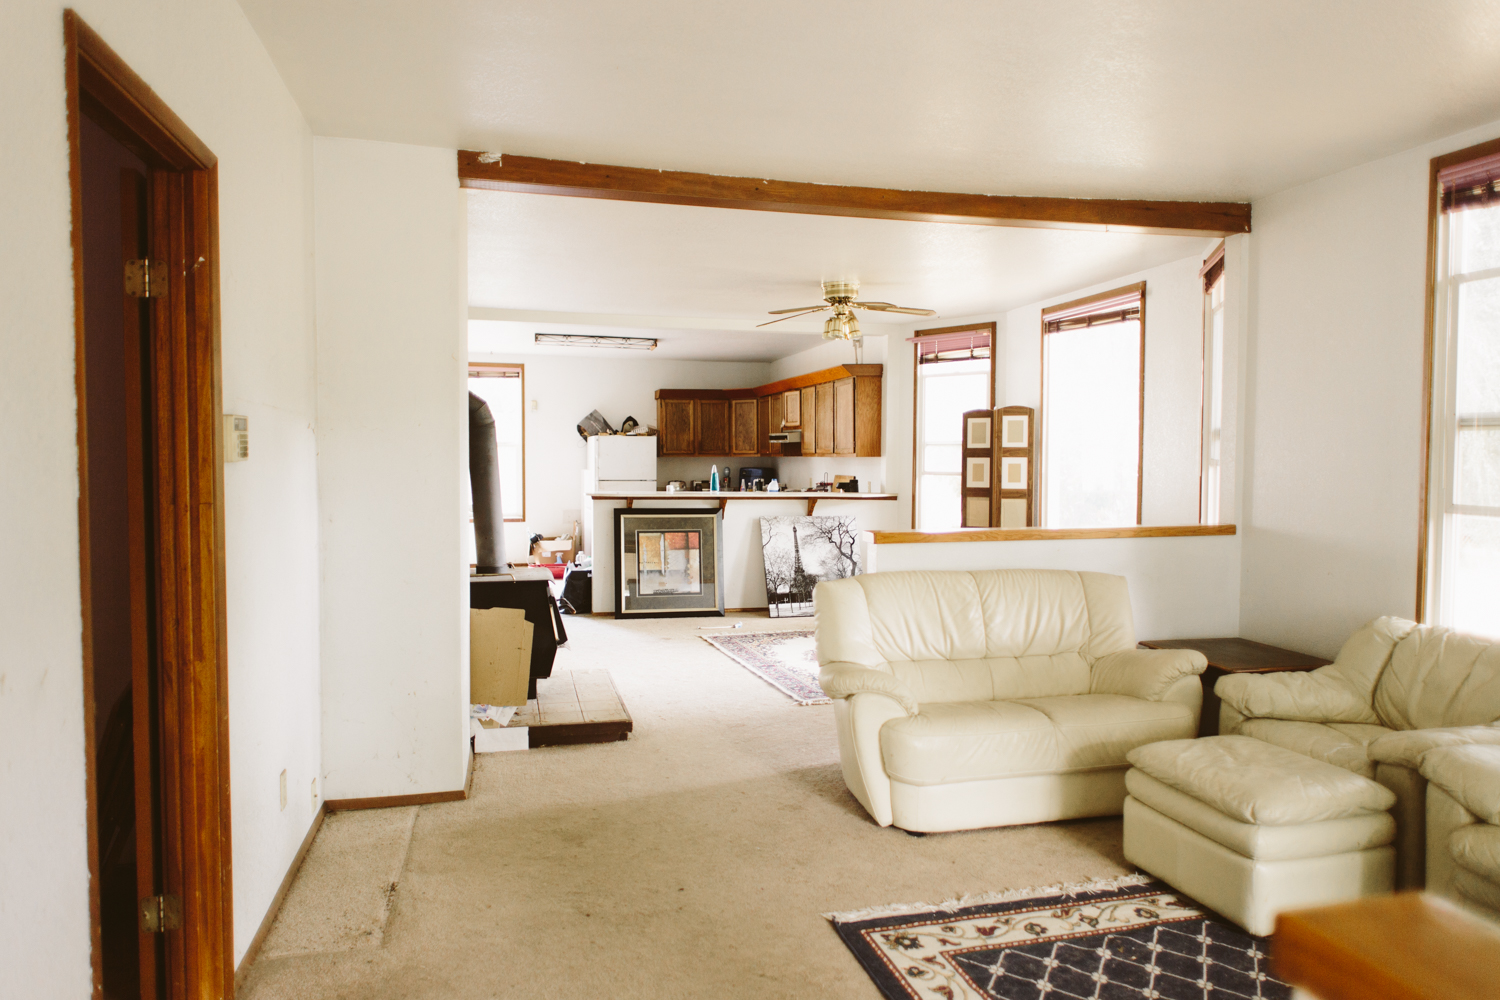
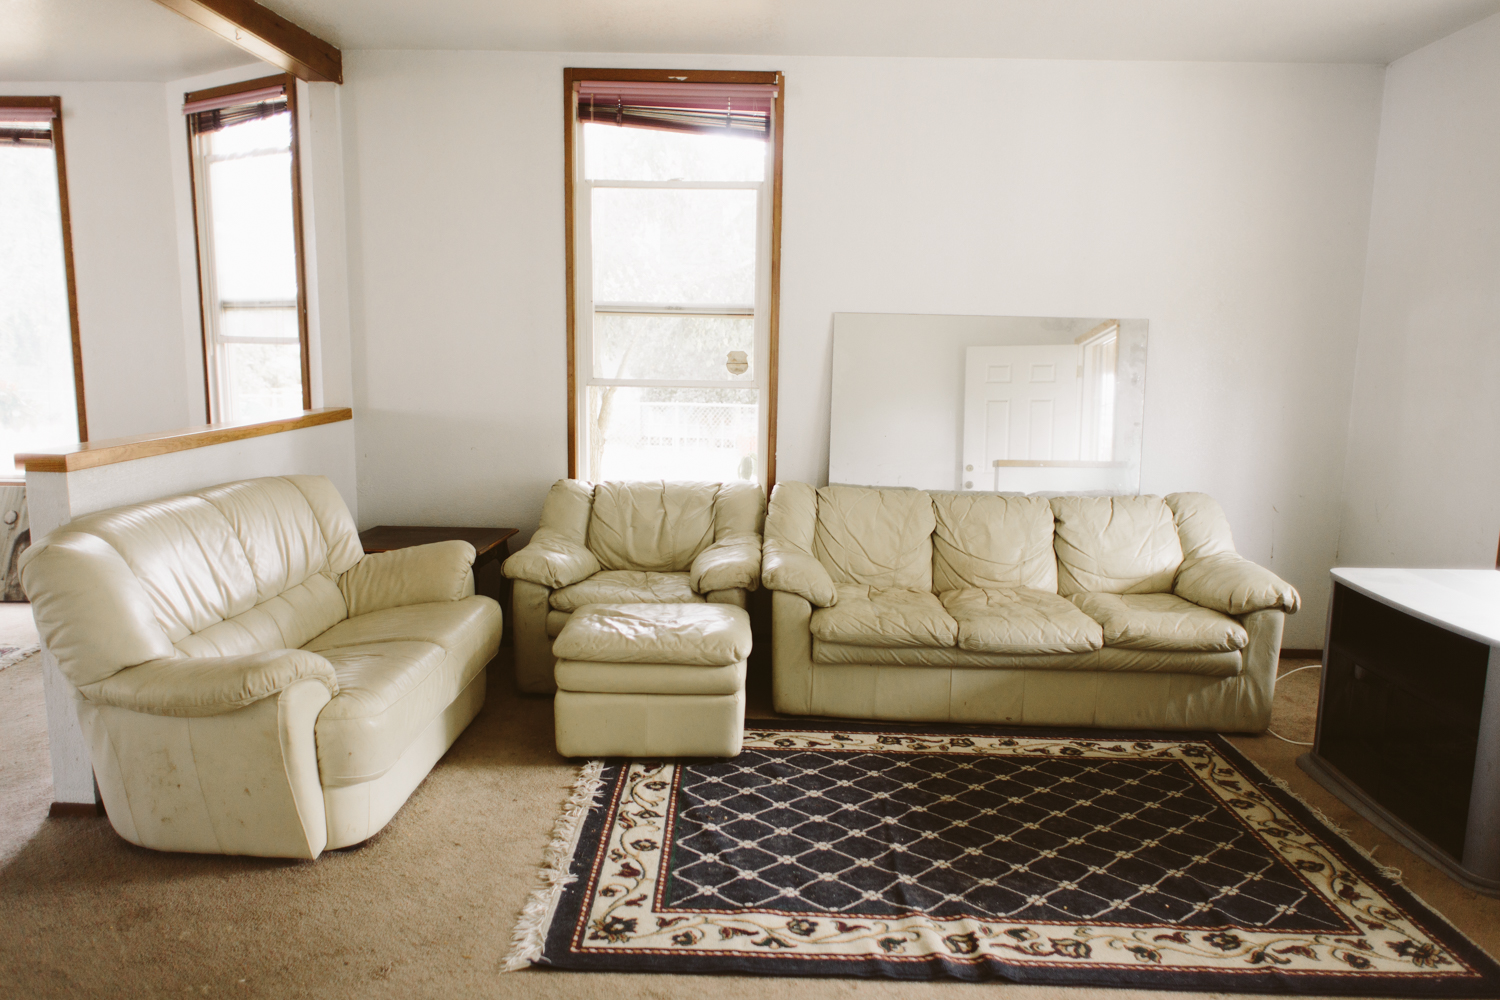
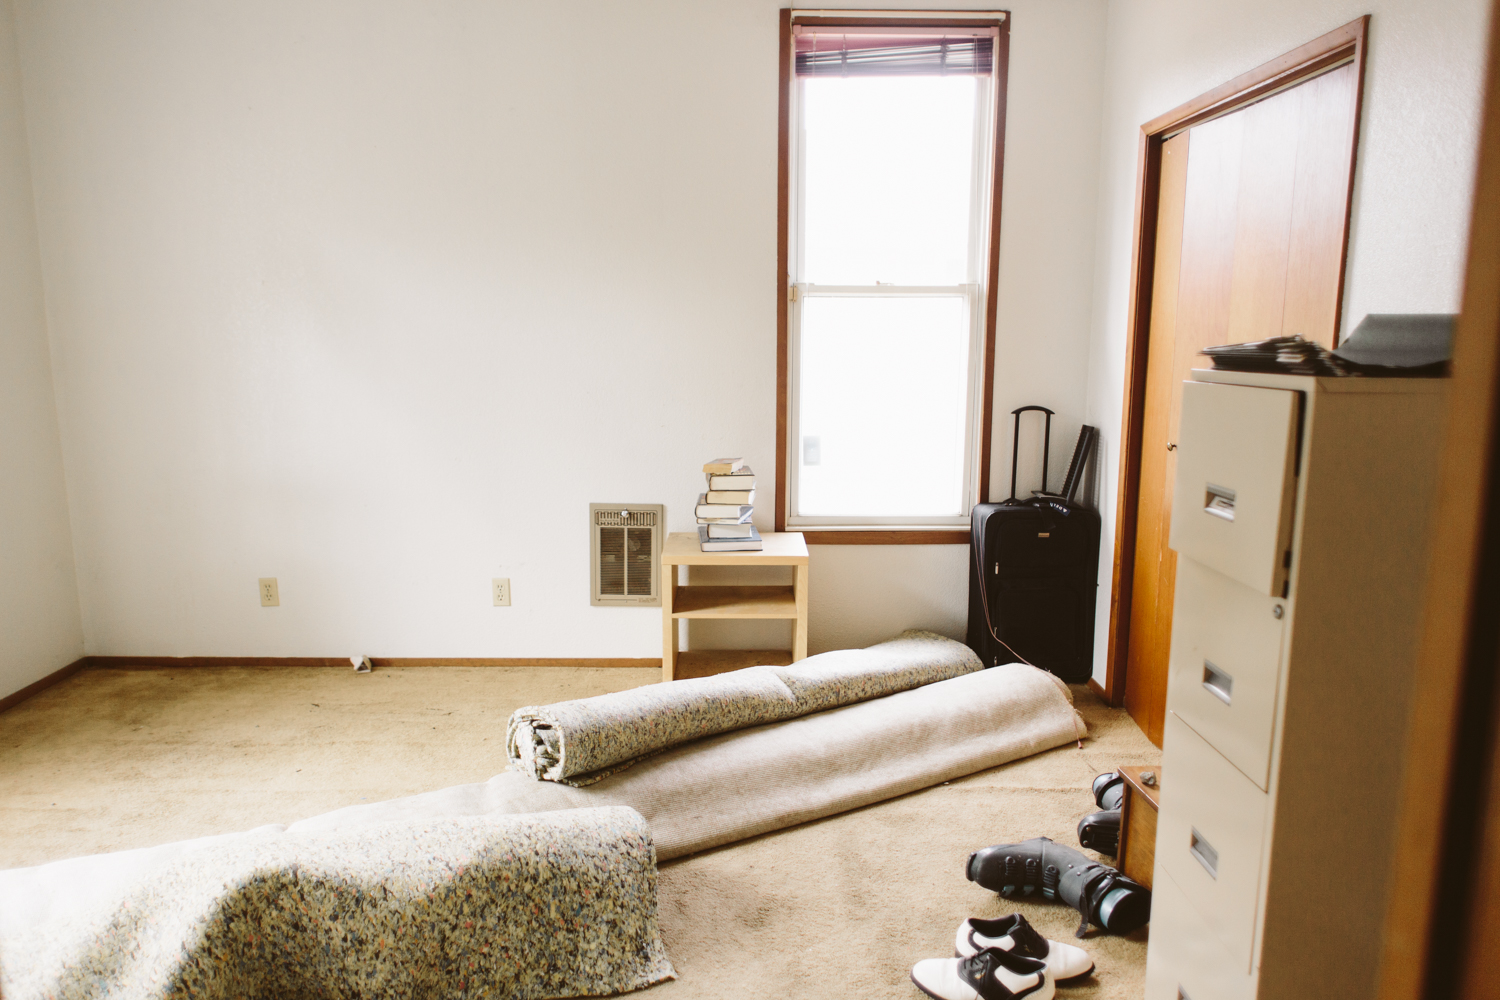
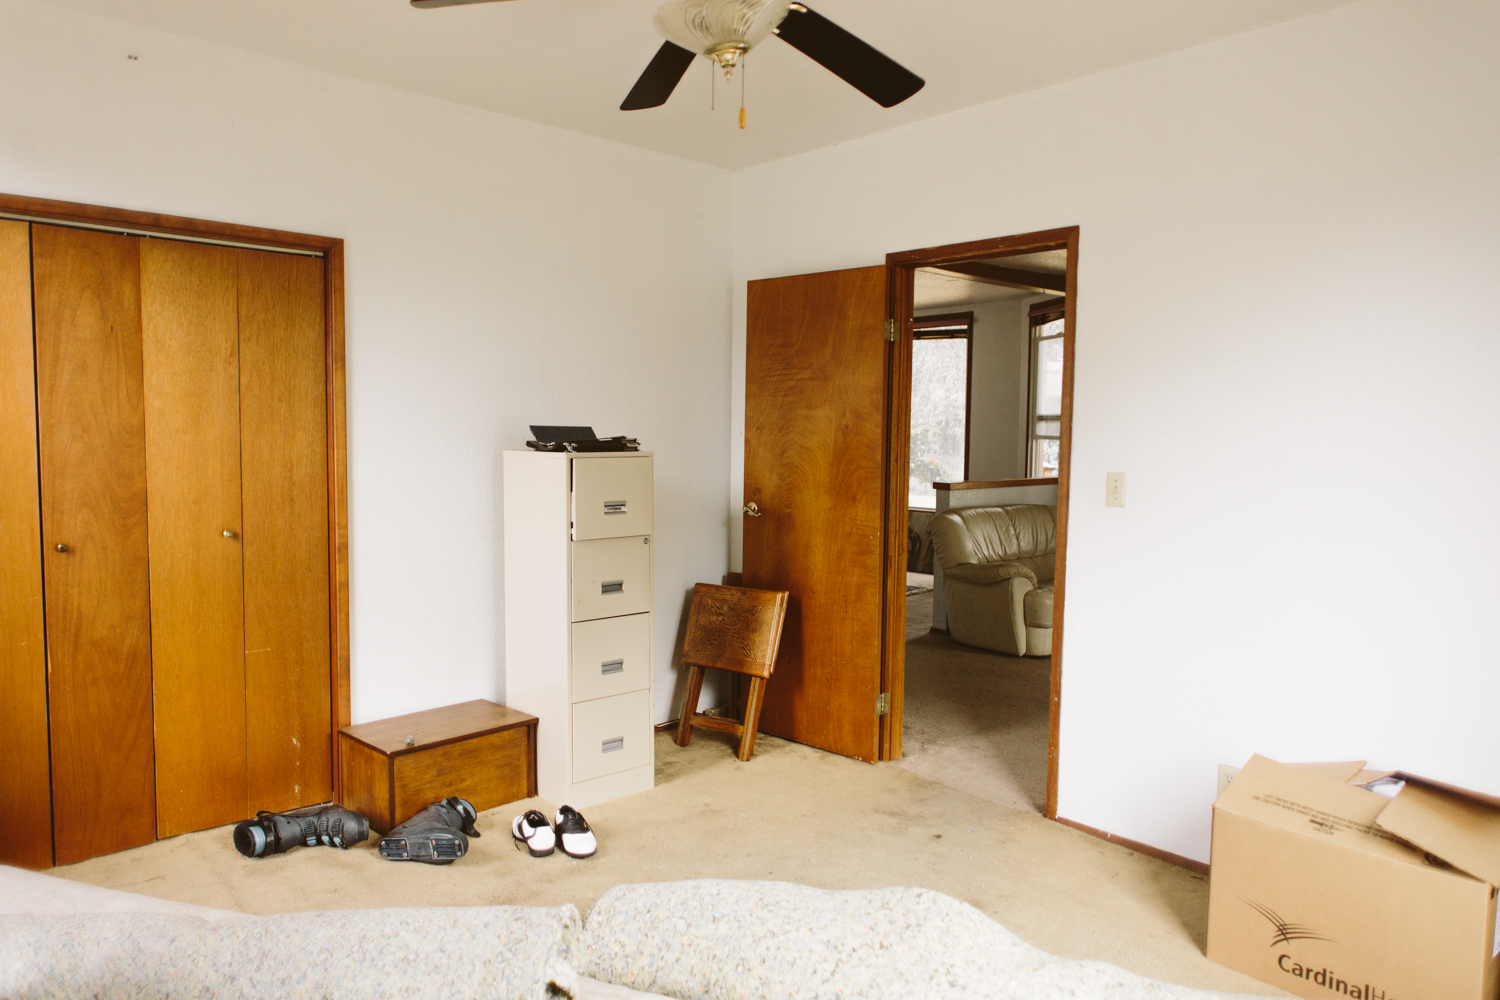
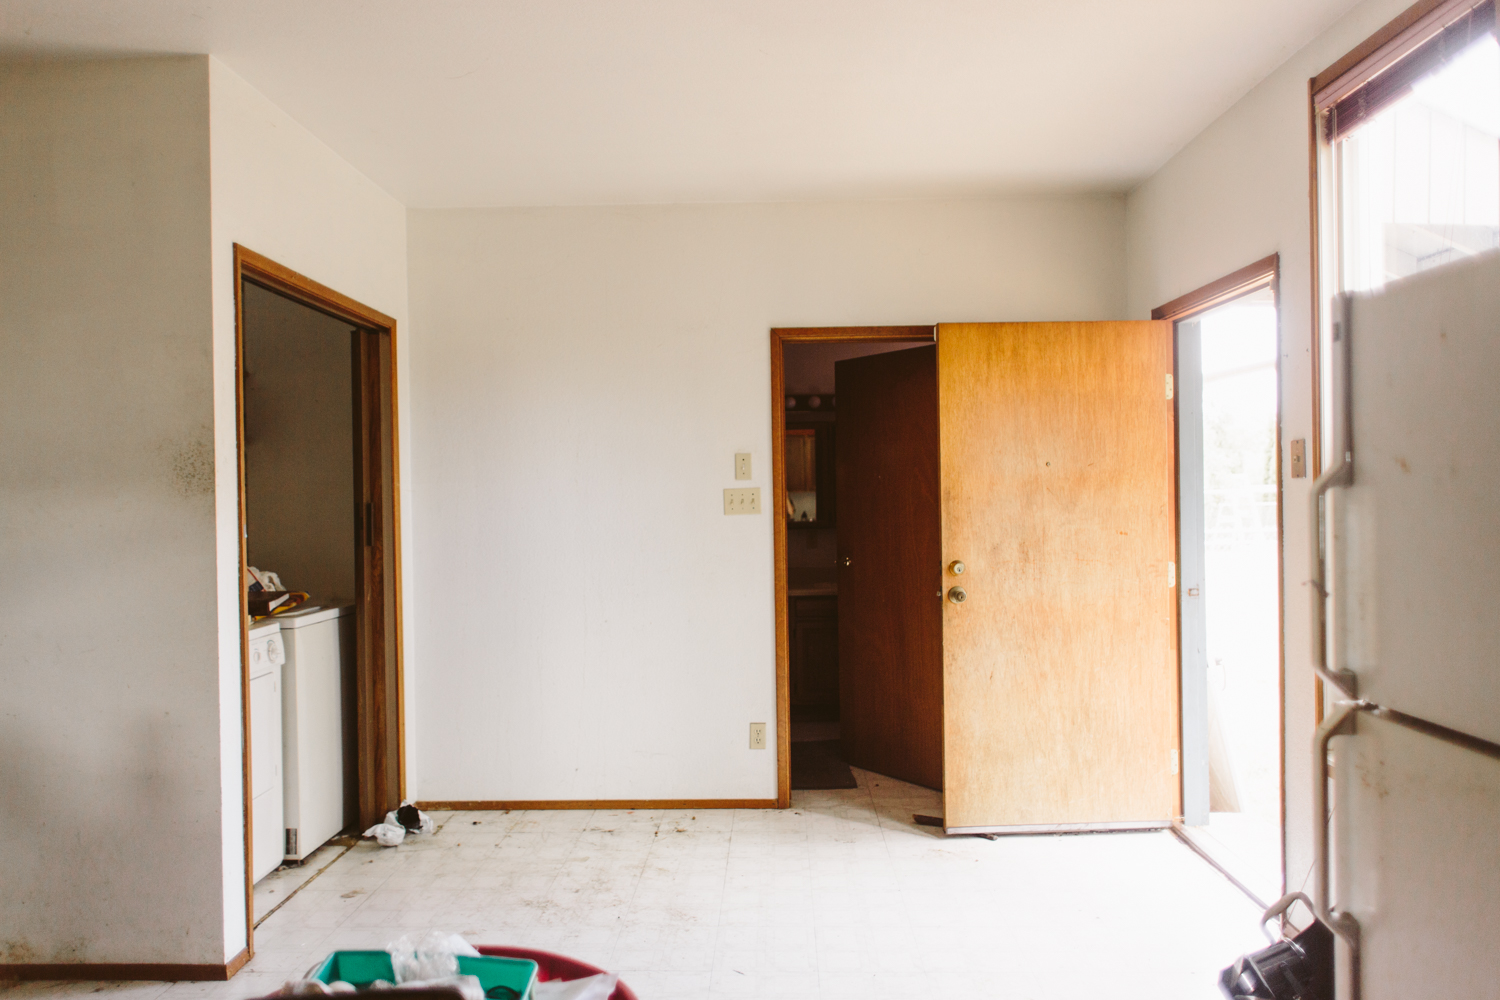
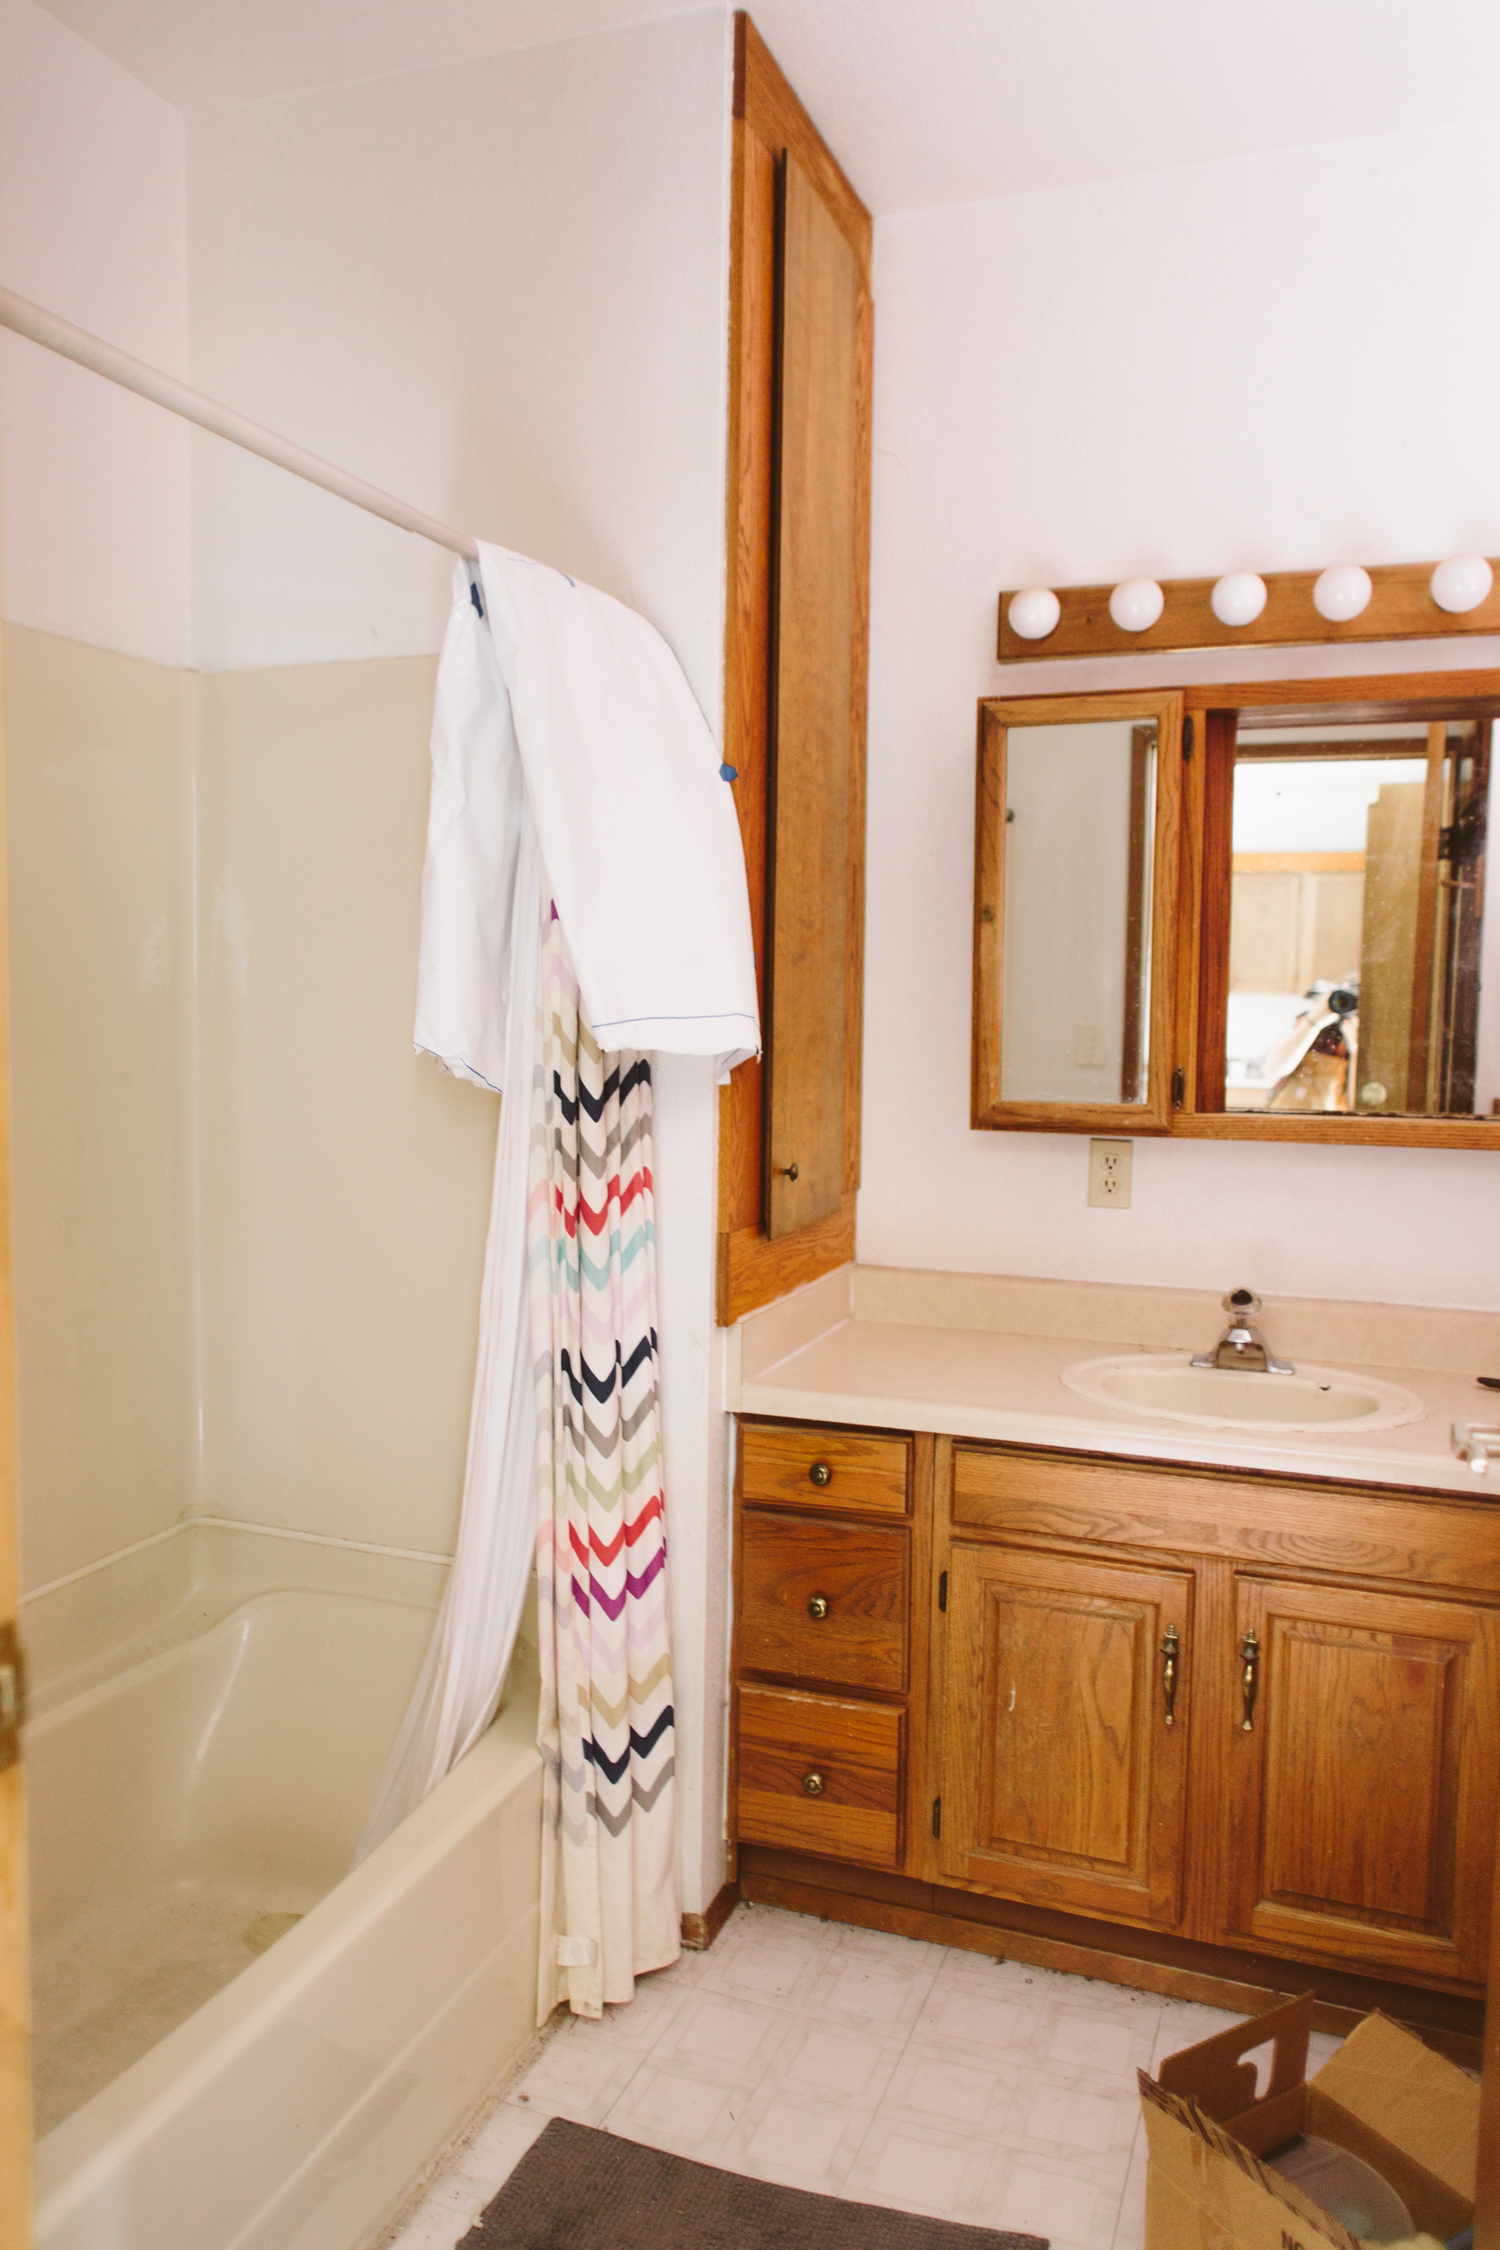
So here she is in all her day-1 glory. We just got our dumpster delivered so we can finally finish up our trash-out!

There you have it. It’s not going to need a lot in terms of any structural changes, it’s primarily a cosmetic fix, but we are adding a bedroom within the current footprint!

Here’s the original layout:

Melrose Original floorplan.jpg

Basically one half of the house is bedrooms/bathrooms, and the other side is one big open space (with a couple pony walls) of living and kitchen. Normally I’m all about the open concept life, but for a house this size, in this neighborhood, I felt like functionally it needed a third bedroom/office.

This house has a huge yard, and a large detached garage, so it really feels like it would be a perfect spot for a small family, or a couple who might need home office space. The third bedroom will be pretty small, but for a nursery or home office I think it’ll be a great space.

For a small family or a couple, a huge dining room isn’t necessary so I combined the kitchen and dining space in the center of the house, and it’ll be a large, open room with the living room. I also love that you’ll still be able to see the back door from the front door, which will make it feel bigger even though we’re making the living space a bit smaller. The way it was laid out before didn’t feel functional at all, even though it was larger, so I think this new layout will be more practical for actually living in the space!

Melrose Floorplan.jpg

One of my favorite things about this house is how big the property is. Most homes in the neighborhood are on two parcels of land, and this one is on three. Right now I have my Winnie parked there, plus there’s still a parking spot and a two car garage, so it’s got tons of space for fun to be had! The backyard is begging for a kids’ playset!

I’ll try to update here on the blog when major progress happens, but follow my Instagram Story for more quick updates!

DIY White Concrete Skimcoat Countertop

DIY White Concrete Skimcoat Countertops

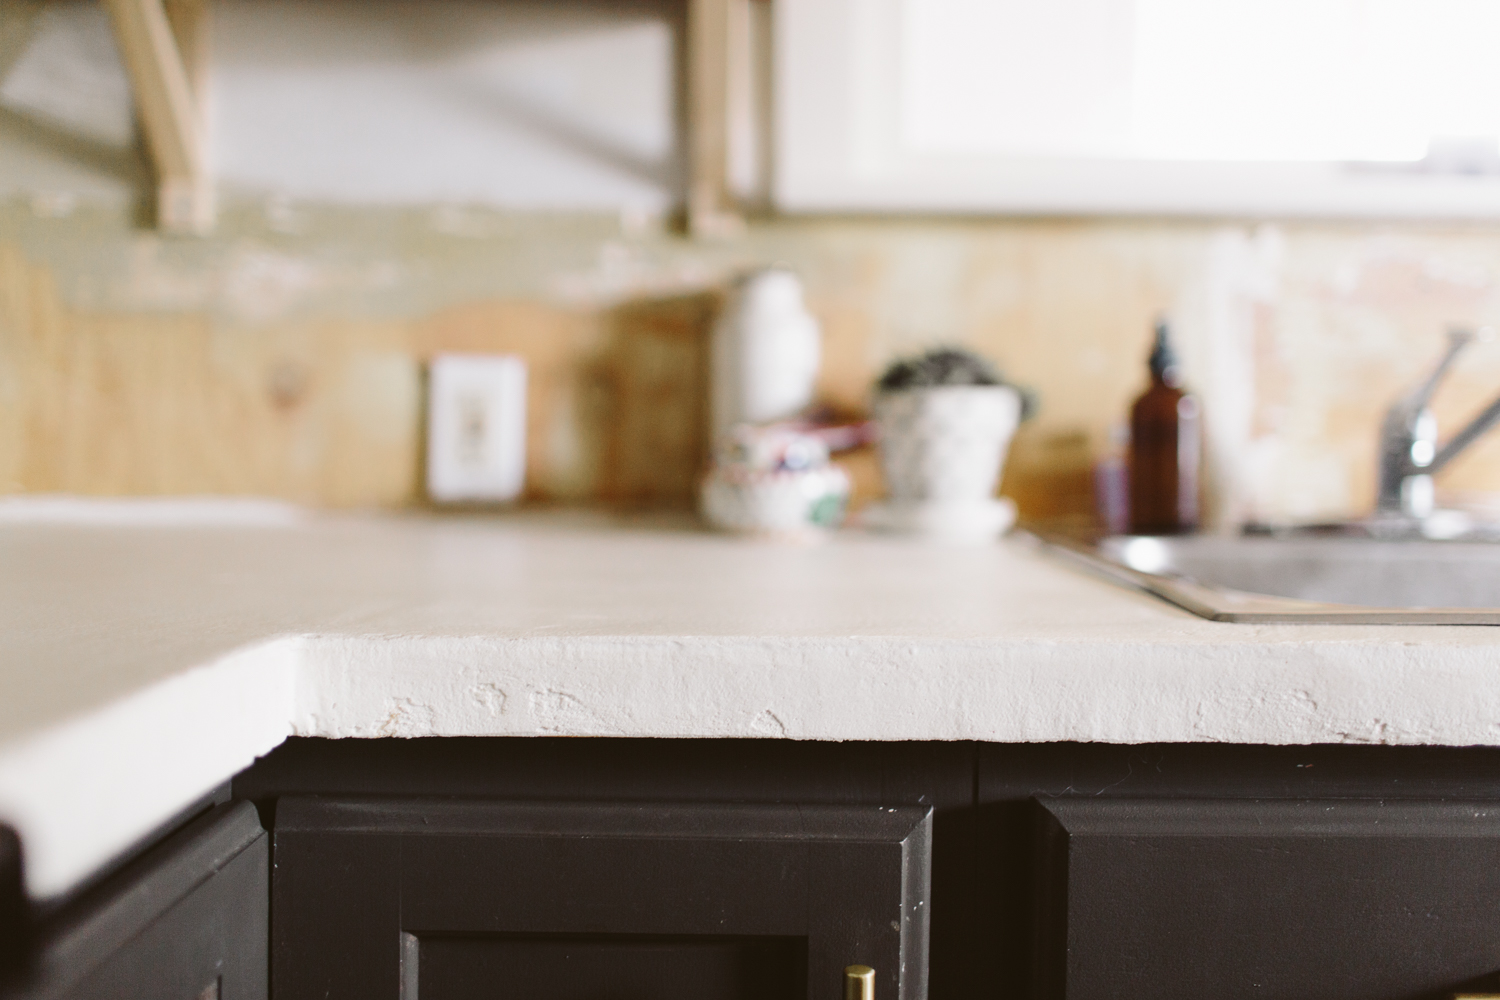
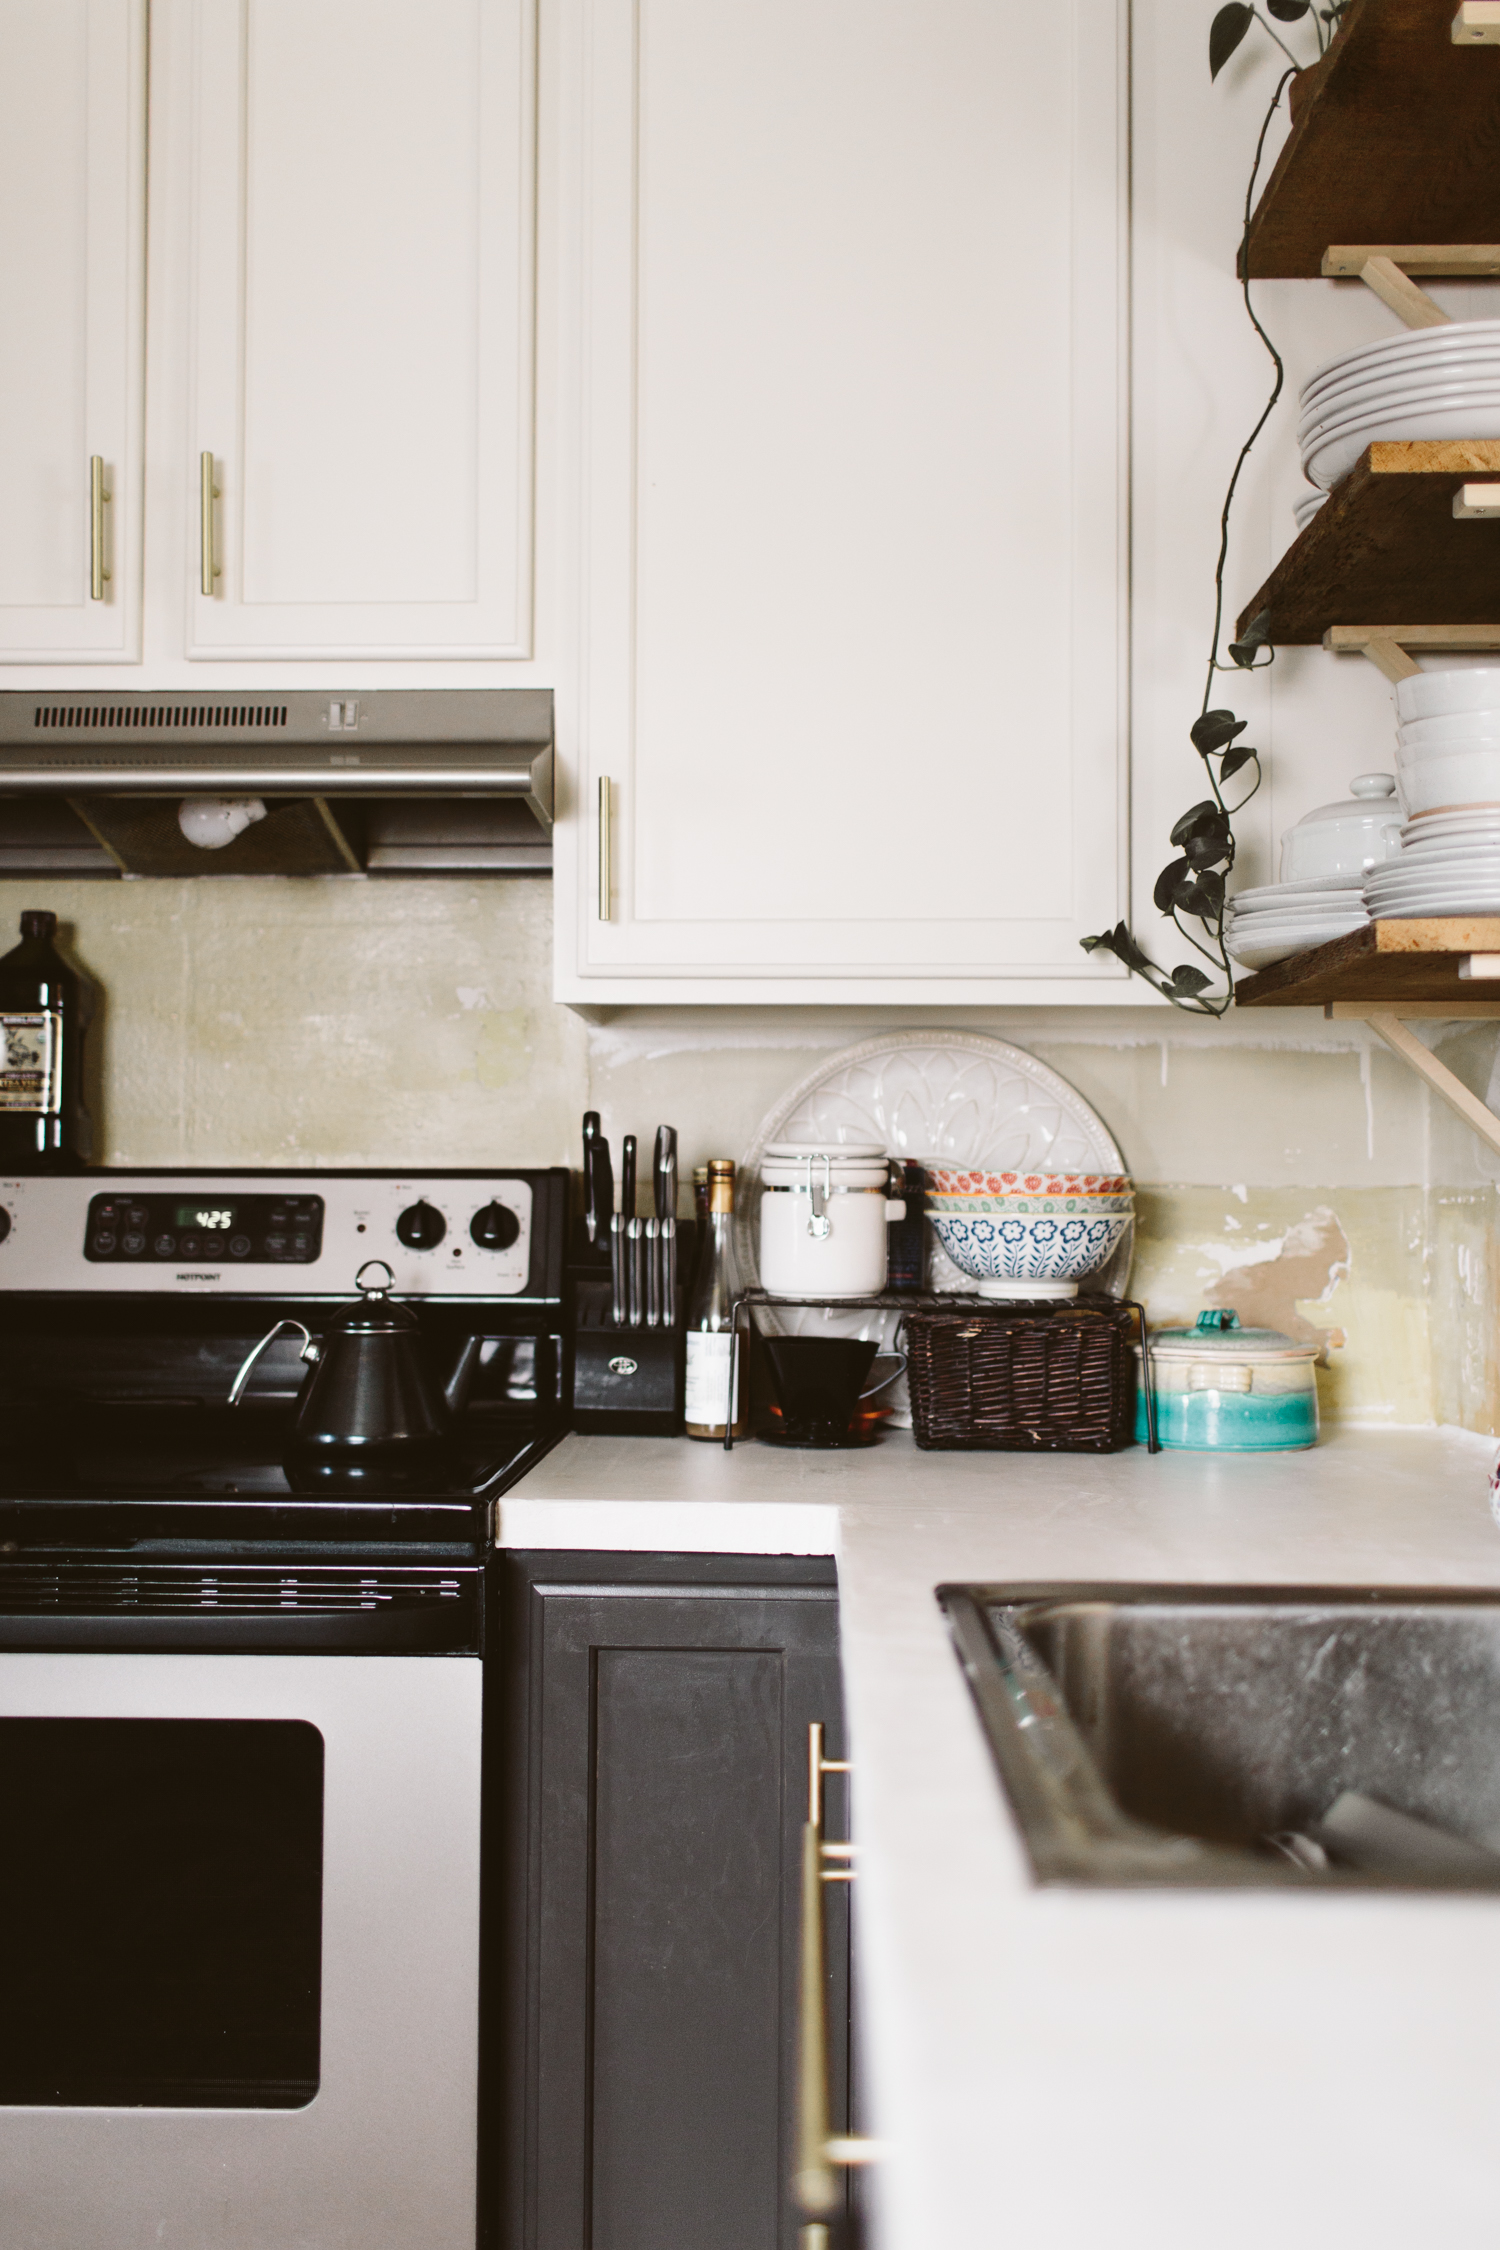
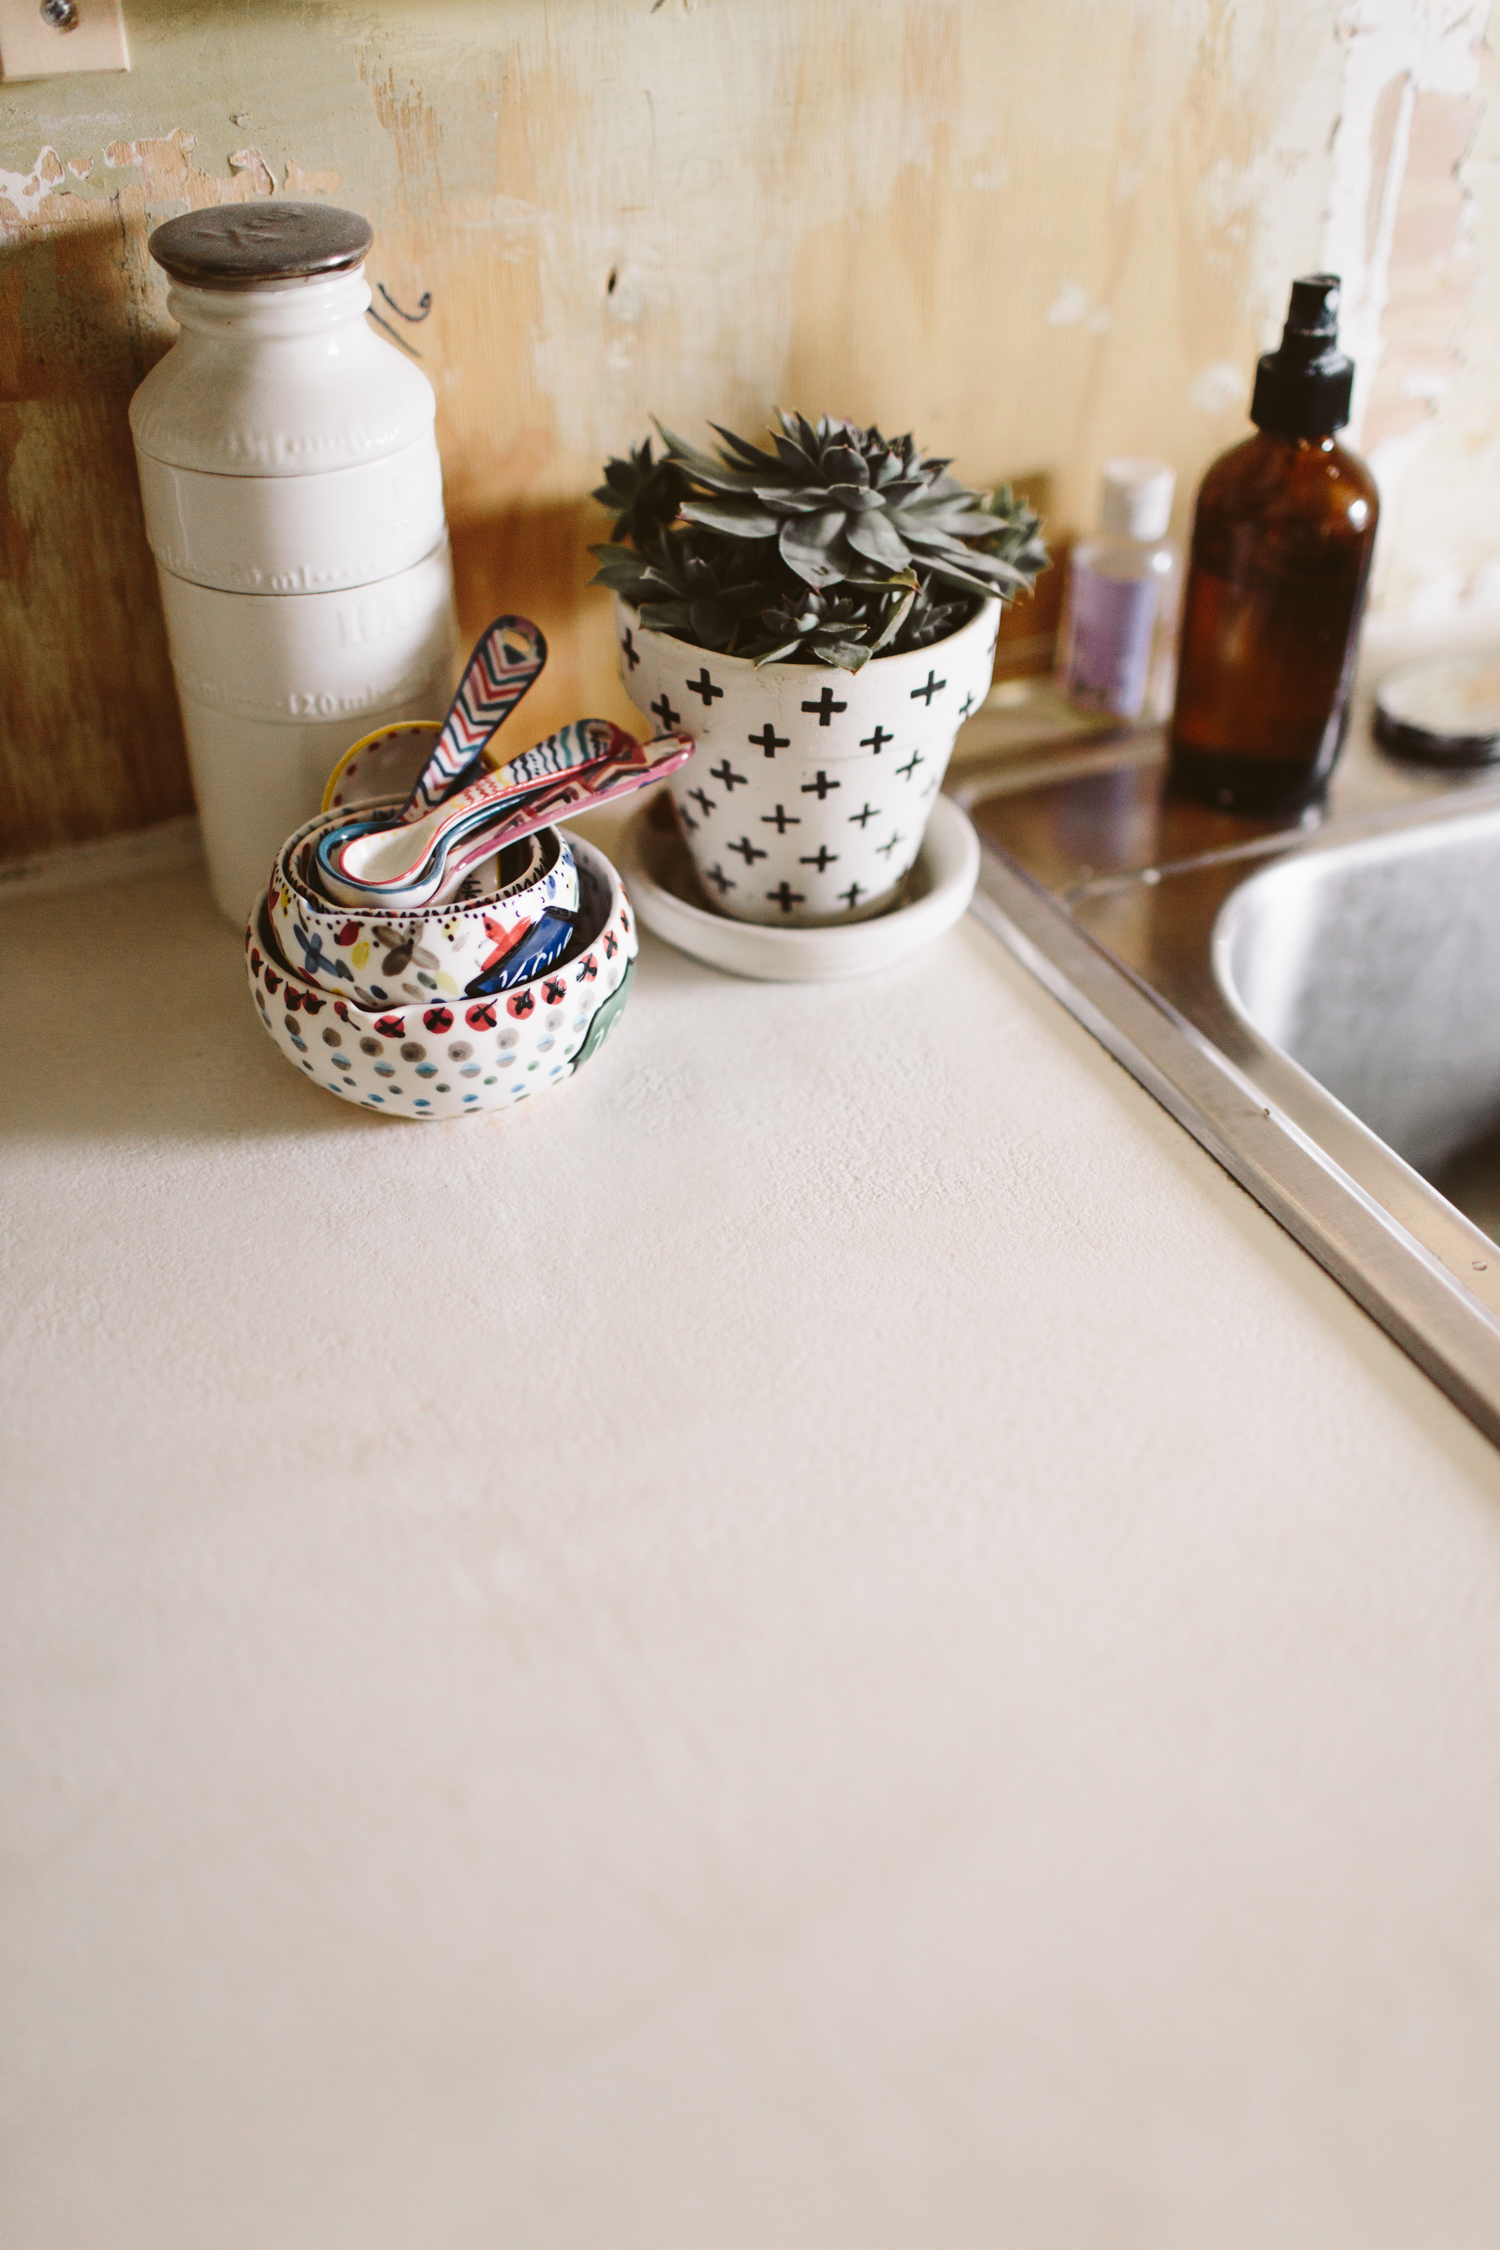
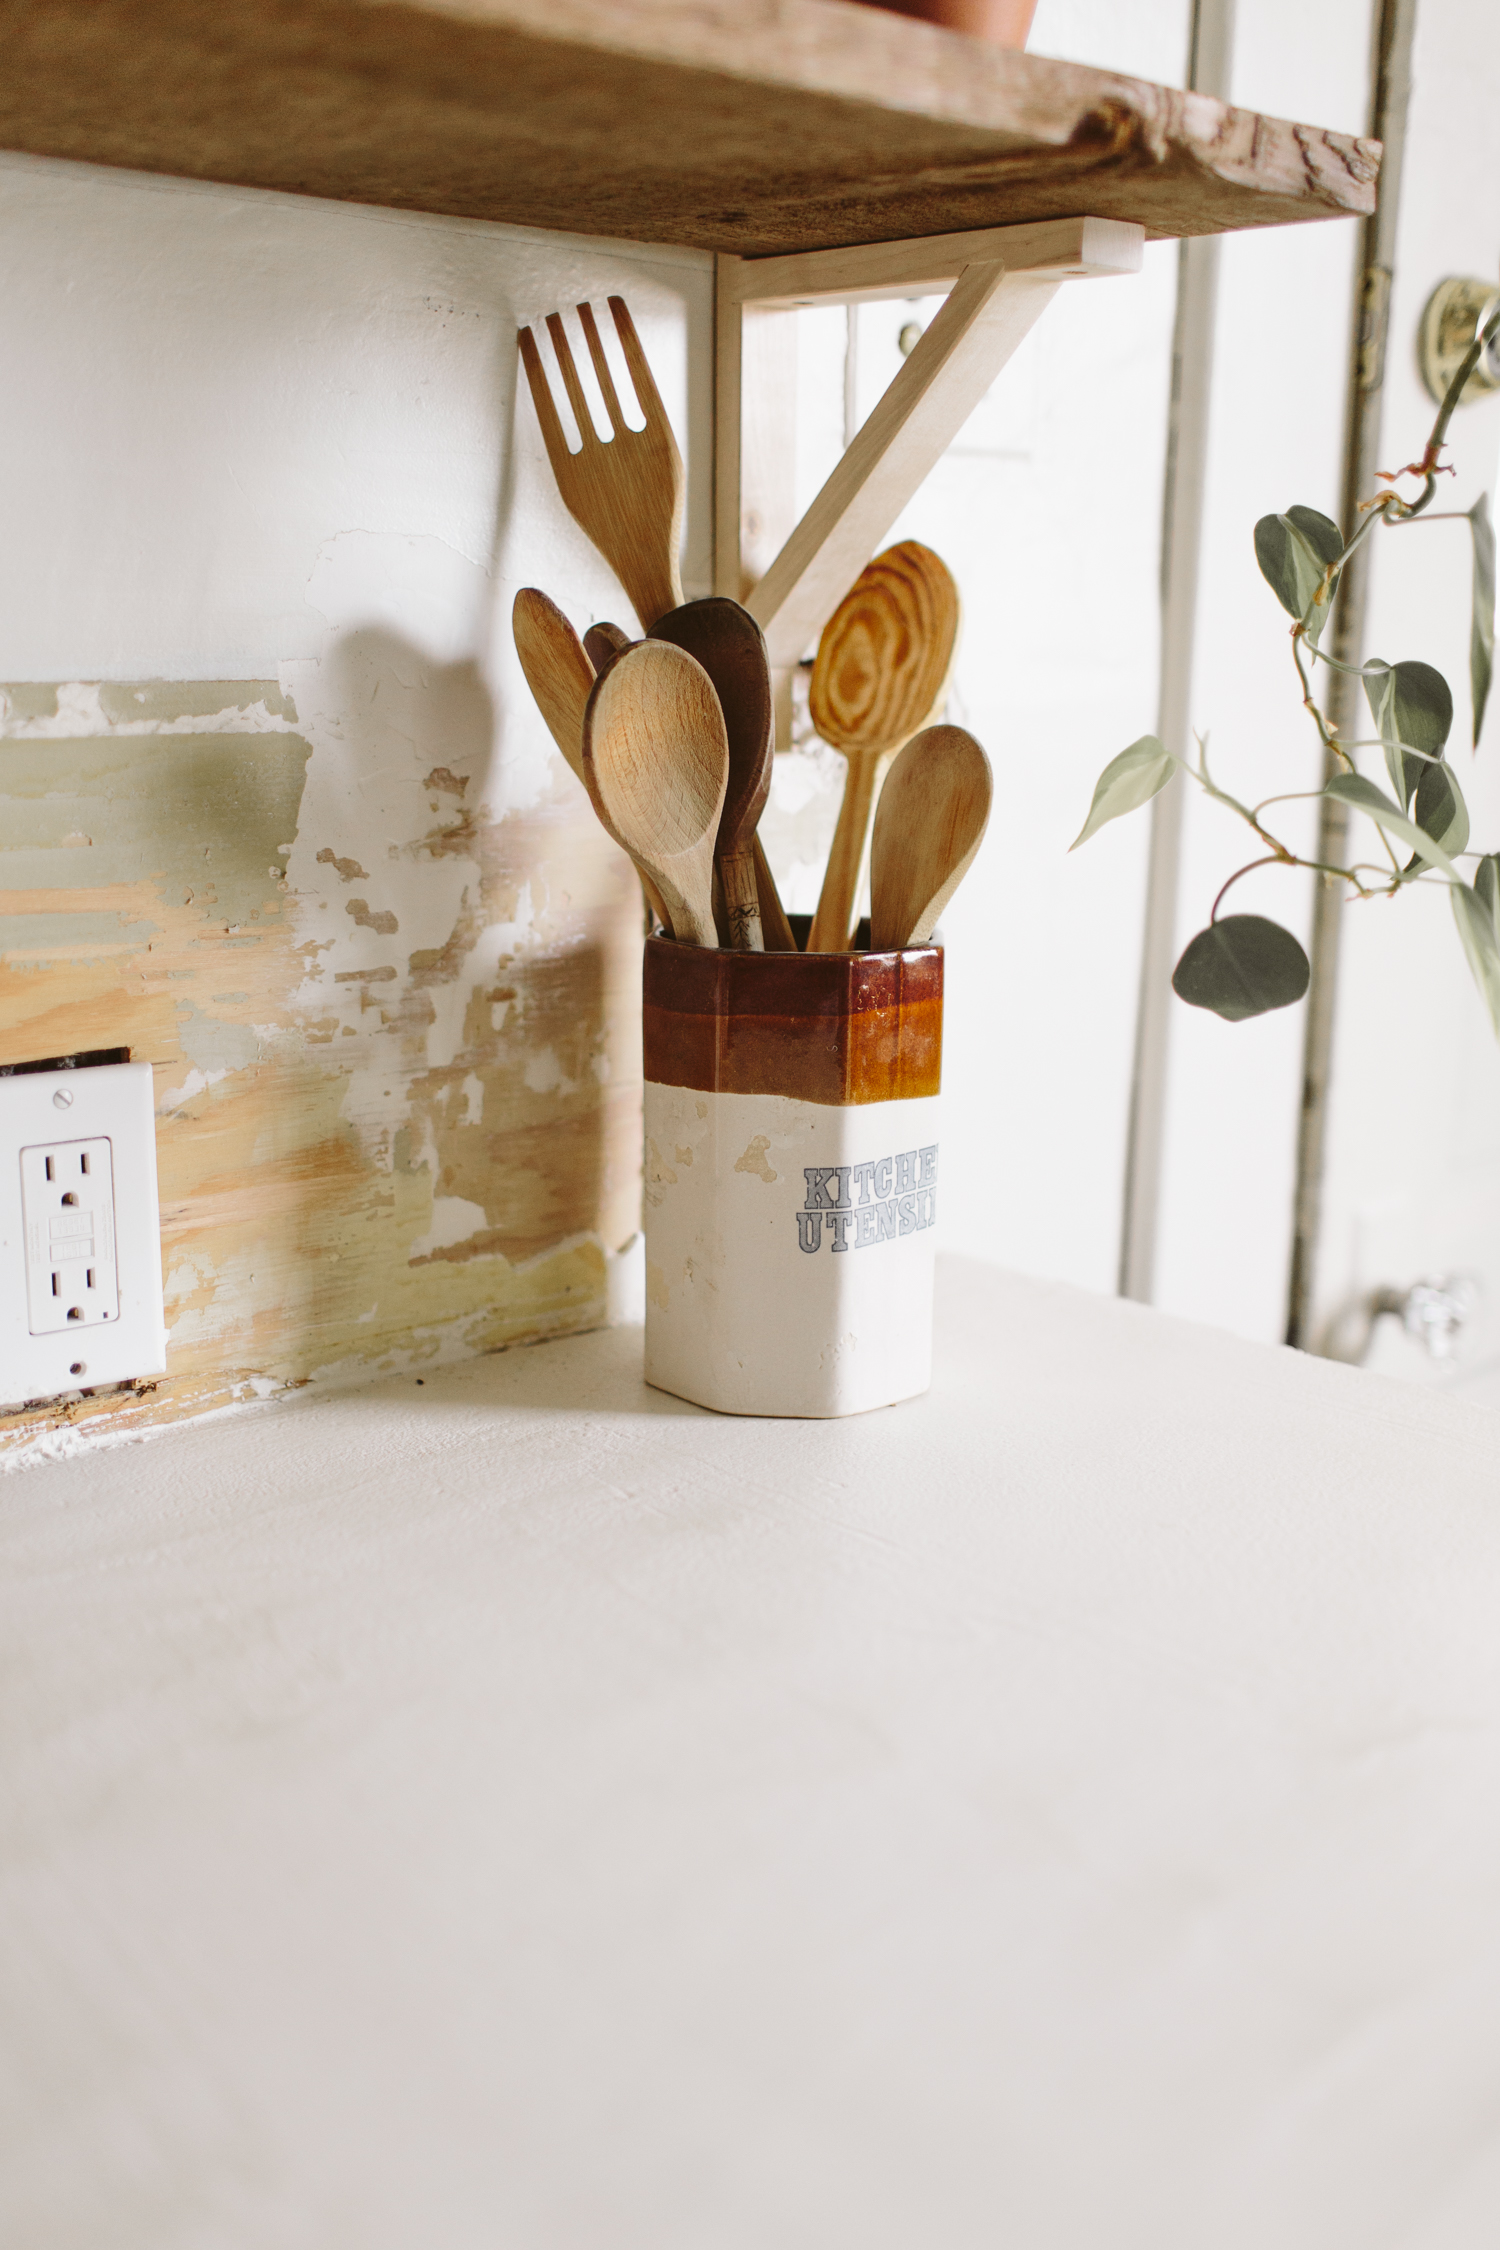
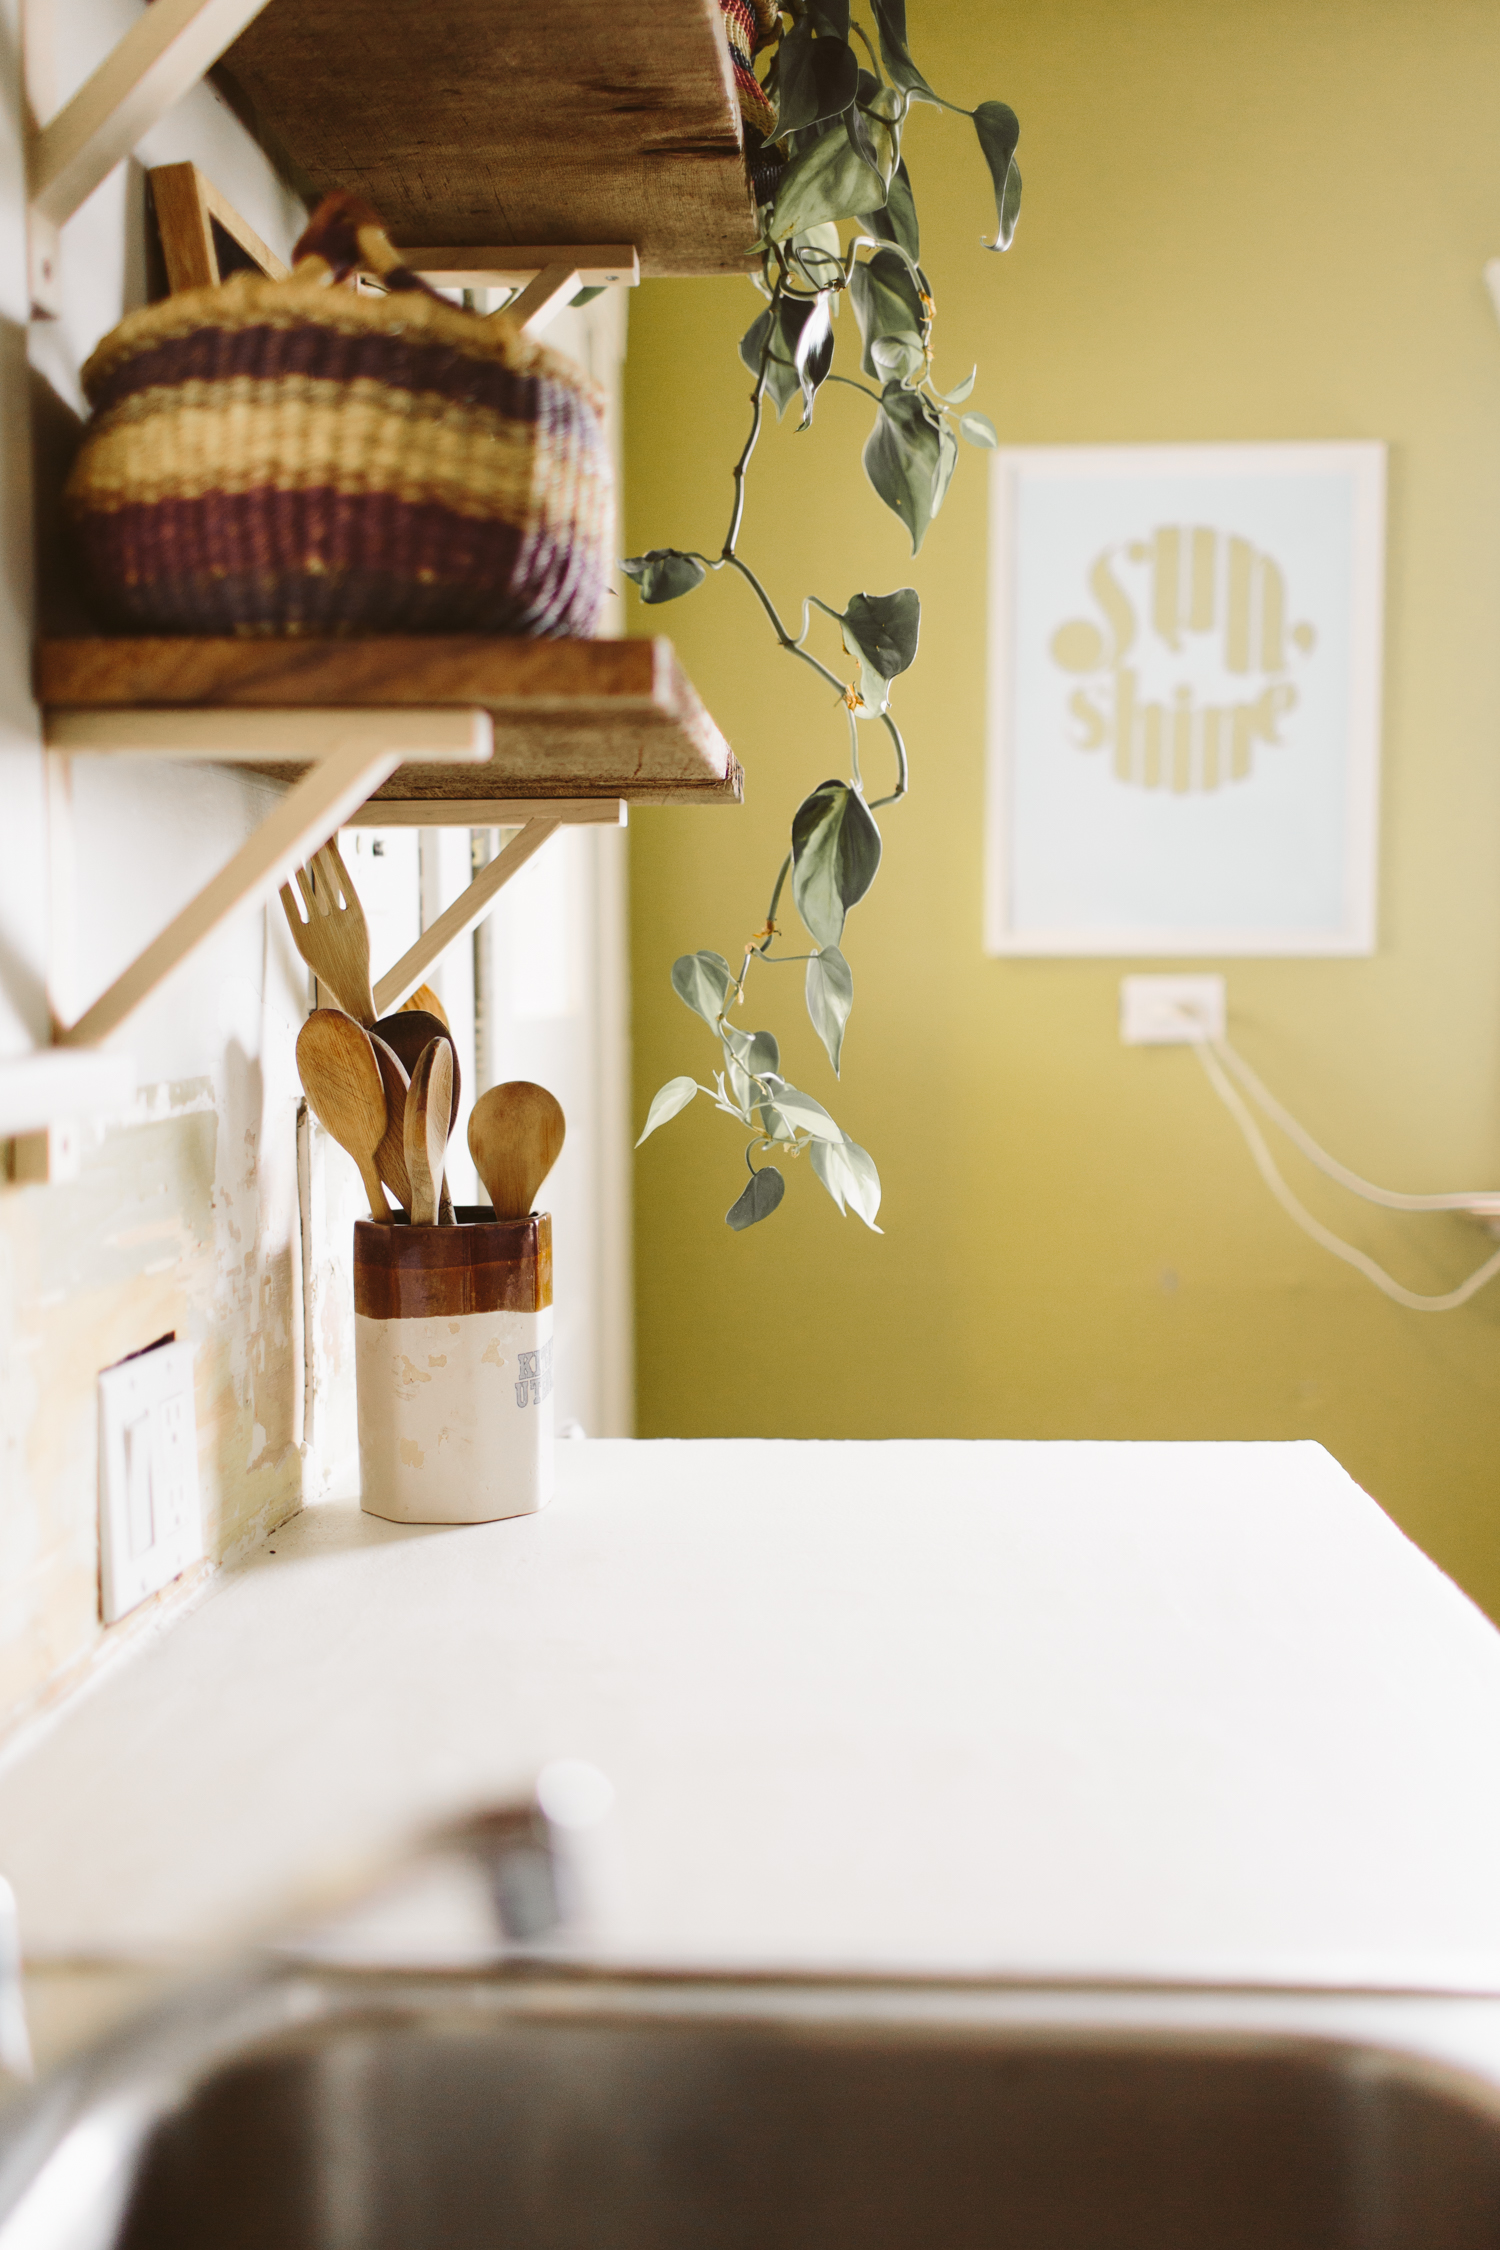
I was hoping to have my backsplash done in time to take some "after" photos of my counter, but that project is just taking too long to complete, so I'm getting this post up anyway, demo'd backsplash on full display!

I'm super thrilled about this DIY for multiple reasons.  Not only does it create a super cool finish that's a little bit industrial, a little eclectic, a little farmhouse, but it's fast, pretty easy, and it's AFFORDABLE.  That last one is really important to us because we just don't have money to throw around on new counters (and to be honest, the reason our backsplash has looked this way for almost 3 months is because I haven't been able to afford the tile).

I did a little research on what product I wanted to use. Originally I had planned on doing walnut butcher block counters in our kitchen but since we weren't replacing the cabinets I was worried that removing the original counters would damage the cabinets.  We're also thinking about eventually putting this house up for rent and I was concerned that a more high maintenance substance like butcher block wouldn't fare as well with renters. Concrete answered both of those problems, as well as the financial issue as well. Butcher block (even the fake Ikea stuff) was around $3 - 400, which is super affordable compared to a lot of counter options out there, but this skimcoat product only cost me $173.  That's a price I can get behind.

Since I'd already painted the cabinets a dark grey, I was worried that doing the regular grey concrete color would just make for too much grey in the space and make it feel too cool (as in cool toned, not like... awesome cool), and I'd just seen a friend do white concrete counters and loved that look, so I went on the search for a skimcoat product that would allow me to do white concrete.

I found what I was looking for with Direct Colors Inc.  They do a concrete overlay product that is specifically designed to skimcoat formica counters, which is what we had.  I bought their DCI Concrete overlay, with smooth texture, white base color, and added the Pearl color pack, which was supposed to make it even more white (I didn't make a batch of it without the pearl color added, so I'm not sure how white the white base would be without it, but I think it'd probably be plenty white if you wanted to skip that.  It cost $10.95 more). I also bought the 550 Water Based matte Polyurethane Concrete Sealer in the Matte finish (I didn't want shiny counters).  And I added on a Magic Trowel because I didn't have a trowel to smooth things out.  I didn't realize that I should've also bought a primer sealer which should go on before the 550 Water Based Sealer, so I'd recommend getting that too and applying it before the 550 sealer.  Our counter is working fine, though, with two coats of the 550 Water Based Polyurethane Concrete Sealer.

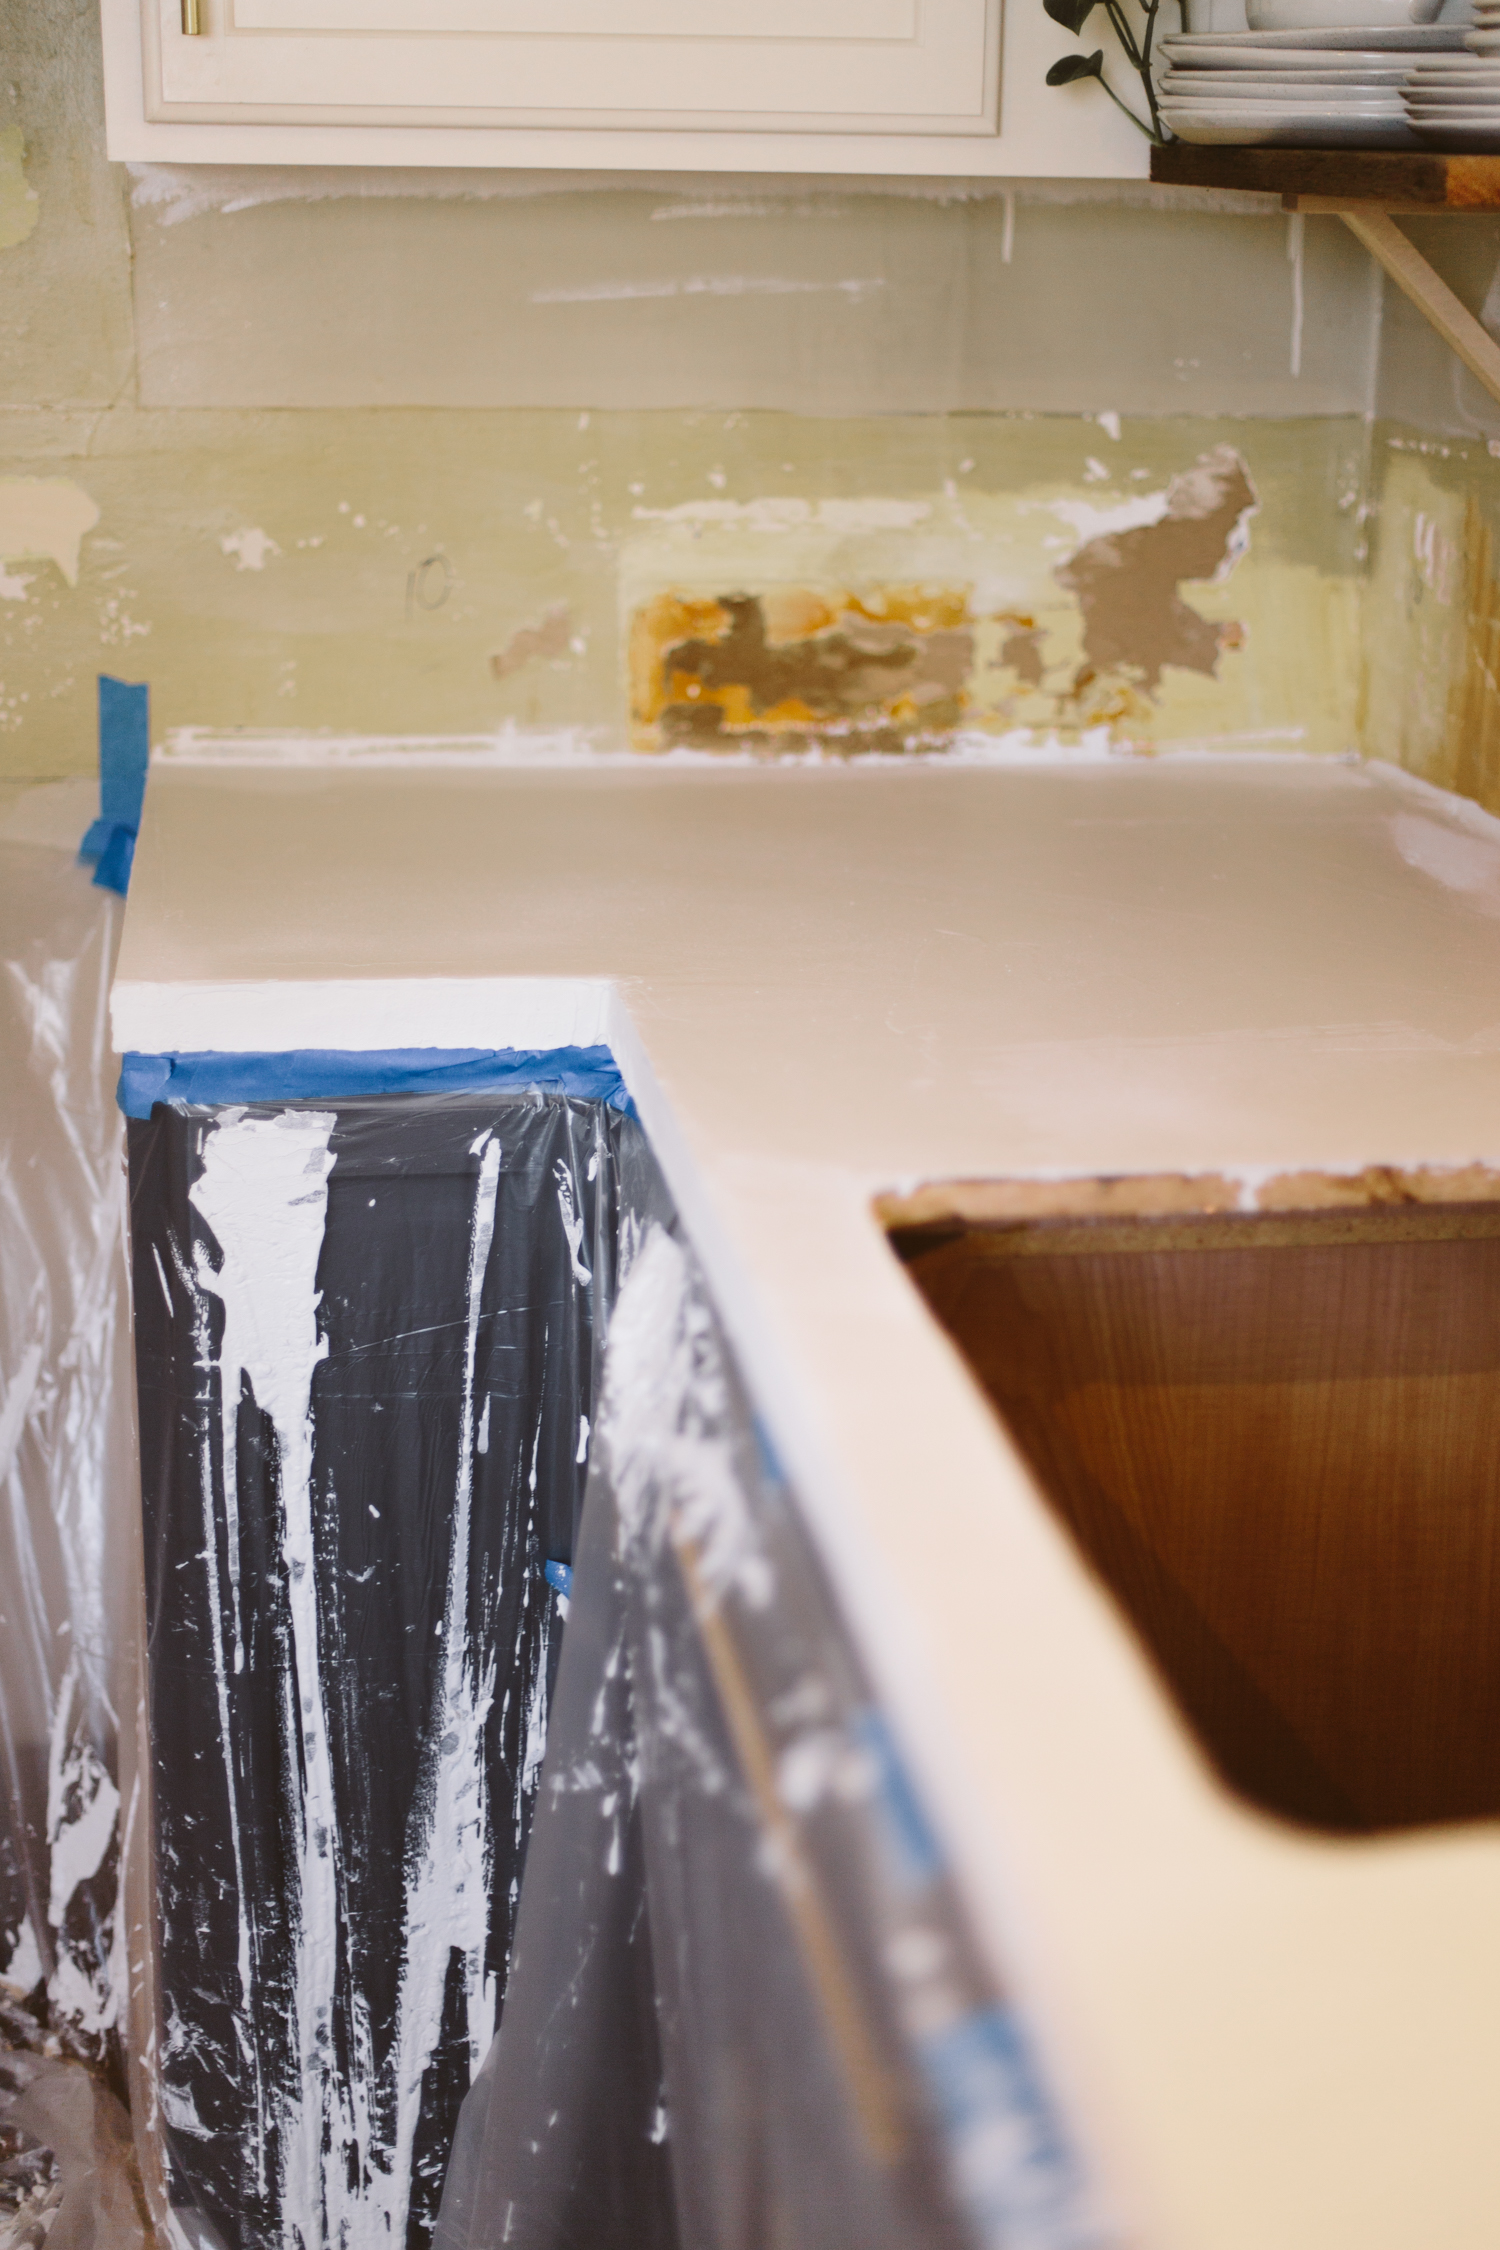
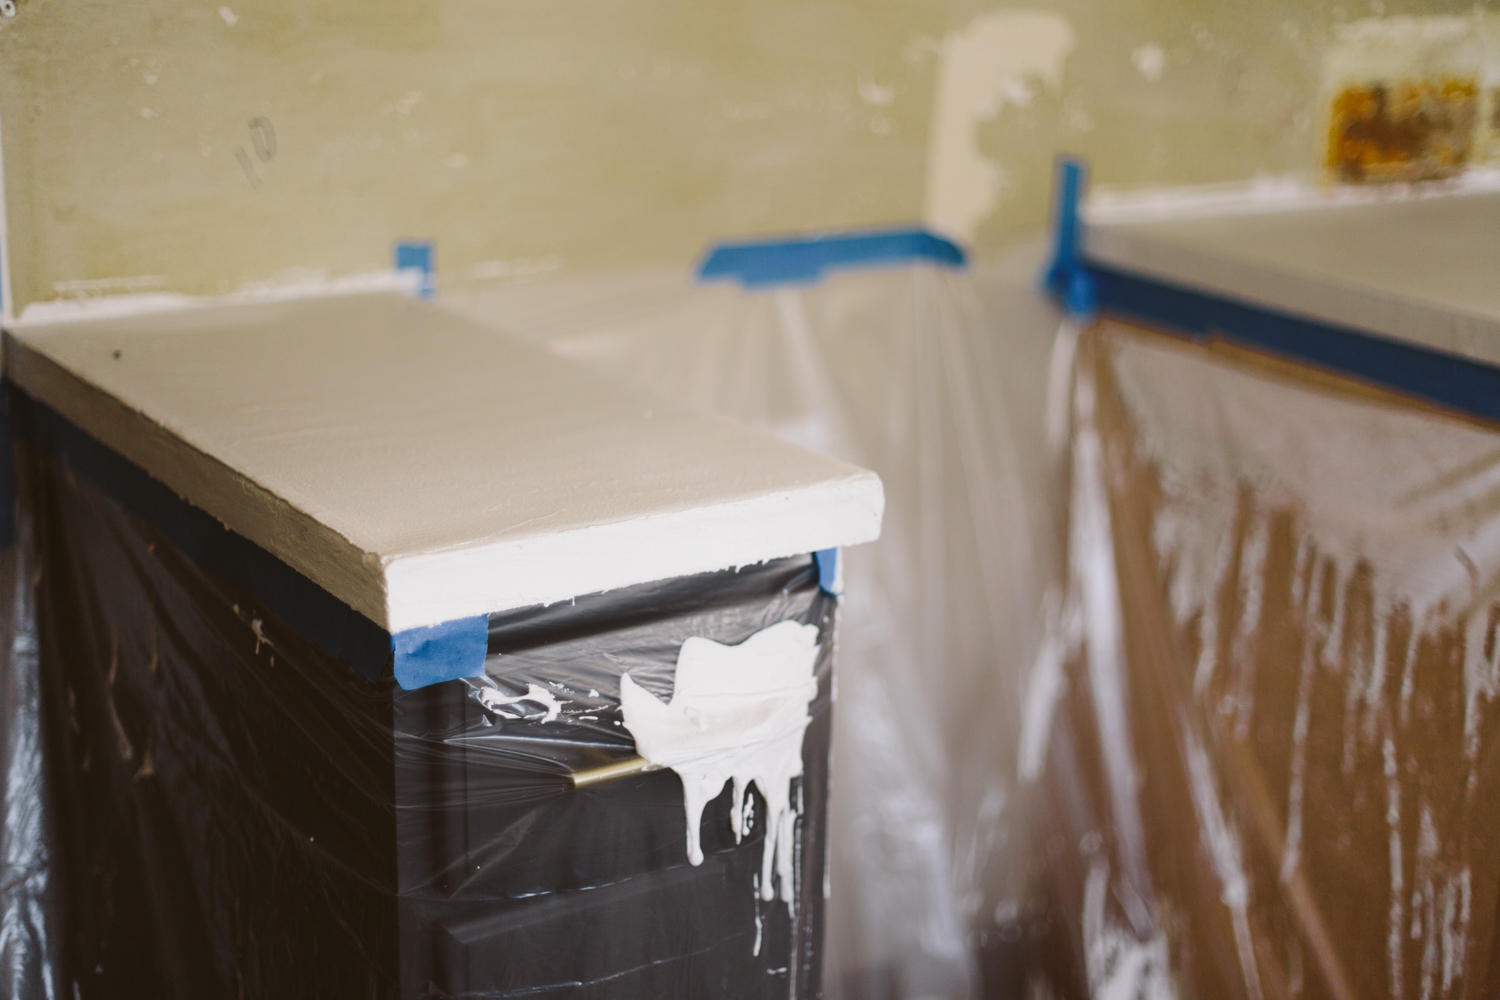
You're really gonna want to prep your work space, I promise.  This stuff is messy.  Or maybe I'm just messy. But historically I'm not messy with wet/goopy stuff and I was messy with this.  So get some dropcloths/plastic to protect your lower cabinets and floors.  The concrete gets heavy when it's on the plastic, too, so make sure you tape it to the top edge really good. I had my tape let go and then I had concrete dripping down behind it onto my cabinets and was frantically trying to get it re-taped while also covered in concrete, which is about as easy as it sounds.

I'd also recommend having a partner to help you.  I did it by myself and it would've definitely been helpful to have someone to assist.

DIY White Concrete Skimcoat Countertops

If you're doing a formica counter like me, just give it a sanding before you start to give it some texture to stick to.  I used a 120 grit.

The first thing you'll do is the front vertical edge, which needs a bit of a thicker consistency to stick, so make up a small batch of that (If you're using the DCI product they send lots of instructions on how to use it/make a batch, and they also have lots of video tutorials on their site which I watched thoroughly before starting).  For the top surface you want it mixed to a pancake batter consistency, but with the vertical surfaces, you want it much more thick and sticky.  I bought a mixing accessory for my drill, which I used to mix the concrete.  Since I wasn't making huge quantities, I could just mix the product and water in a 5 gallon bucket (or smaller for the vertical surface batch) with my drill.

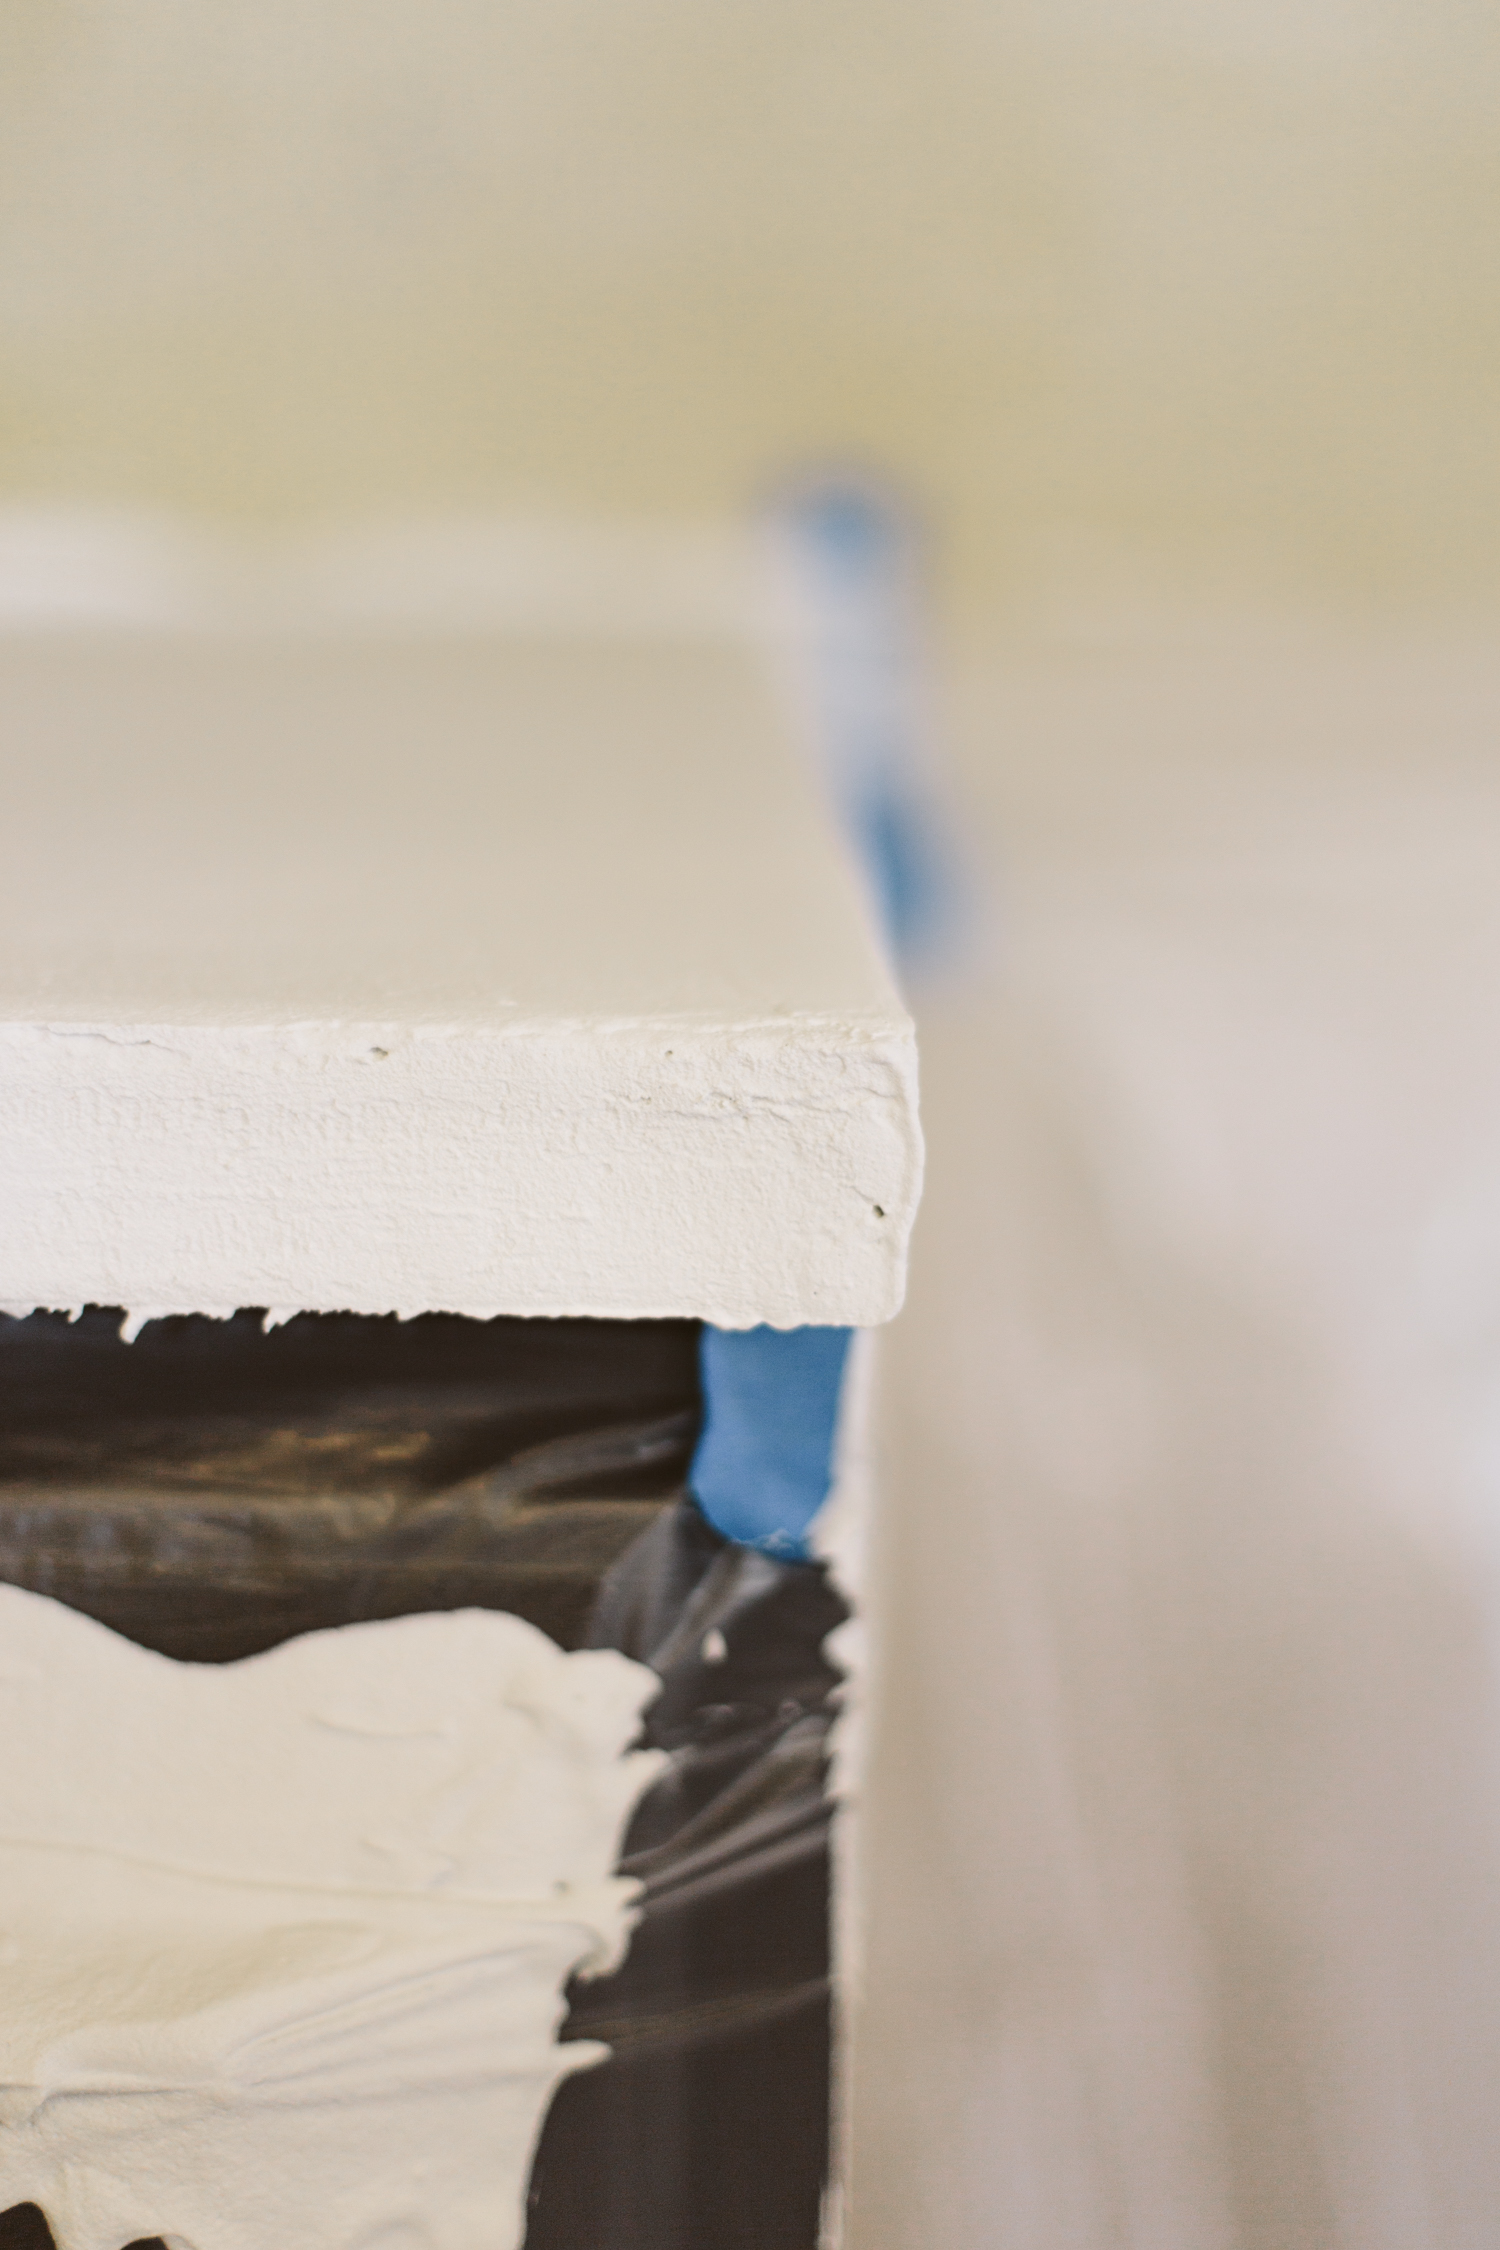
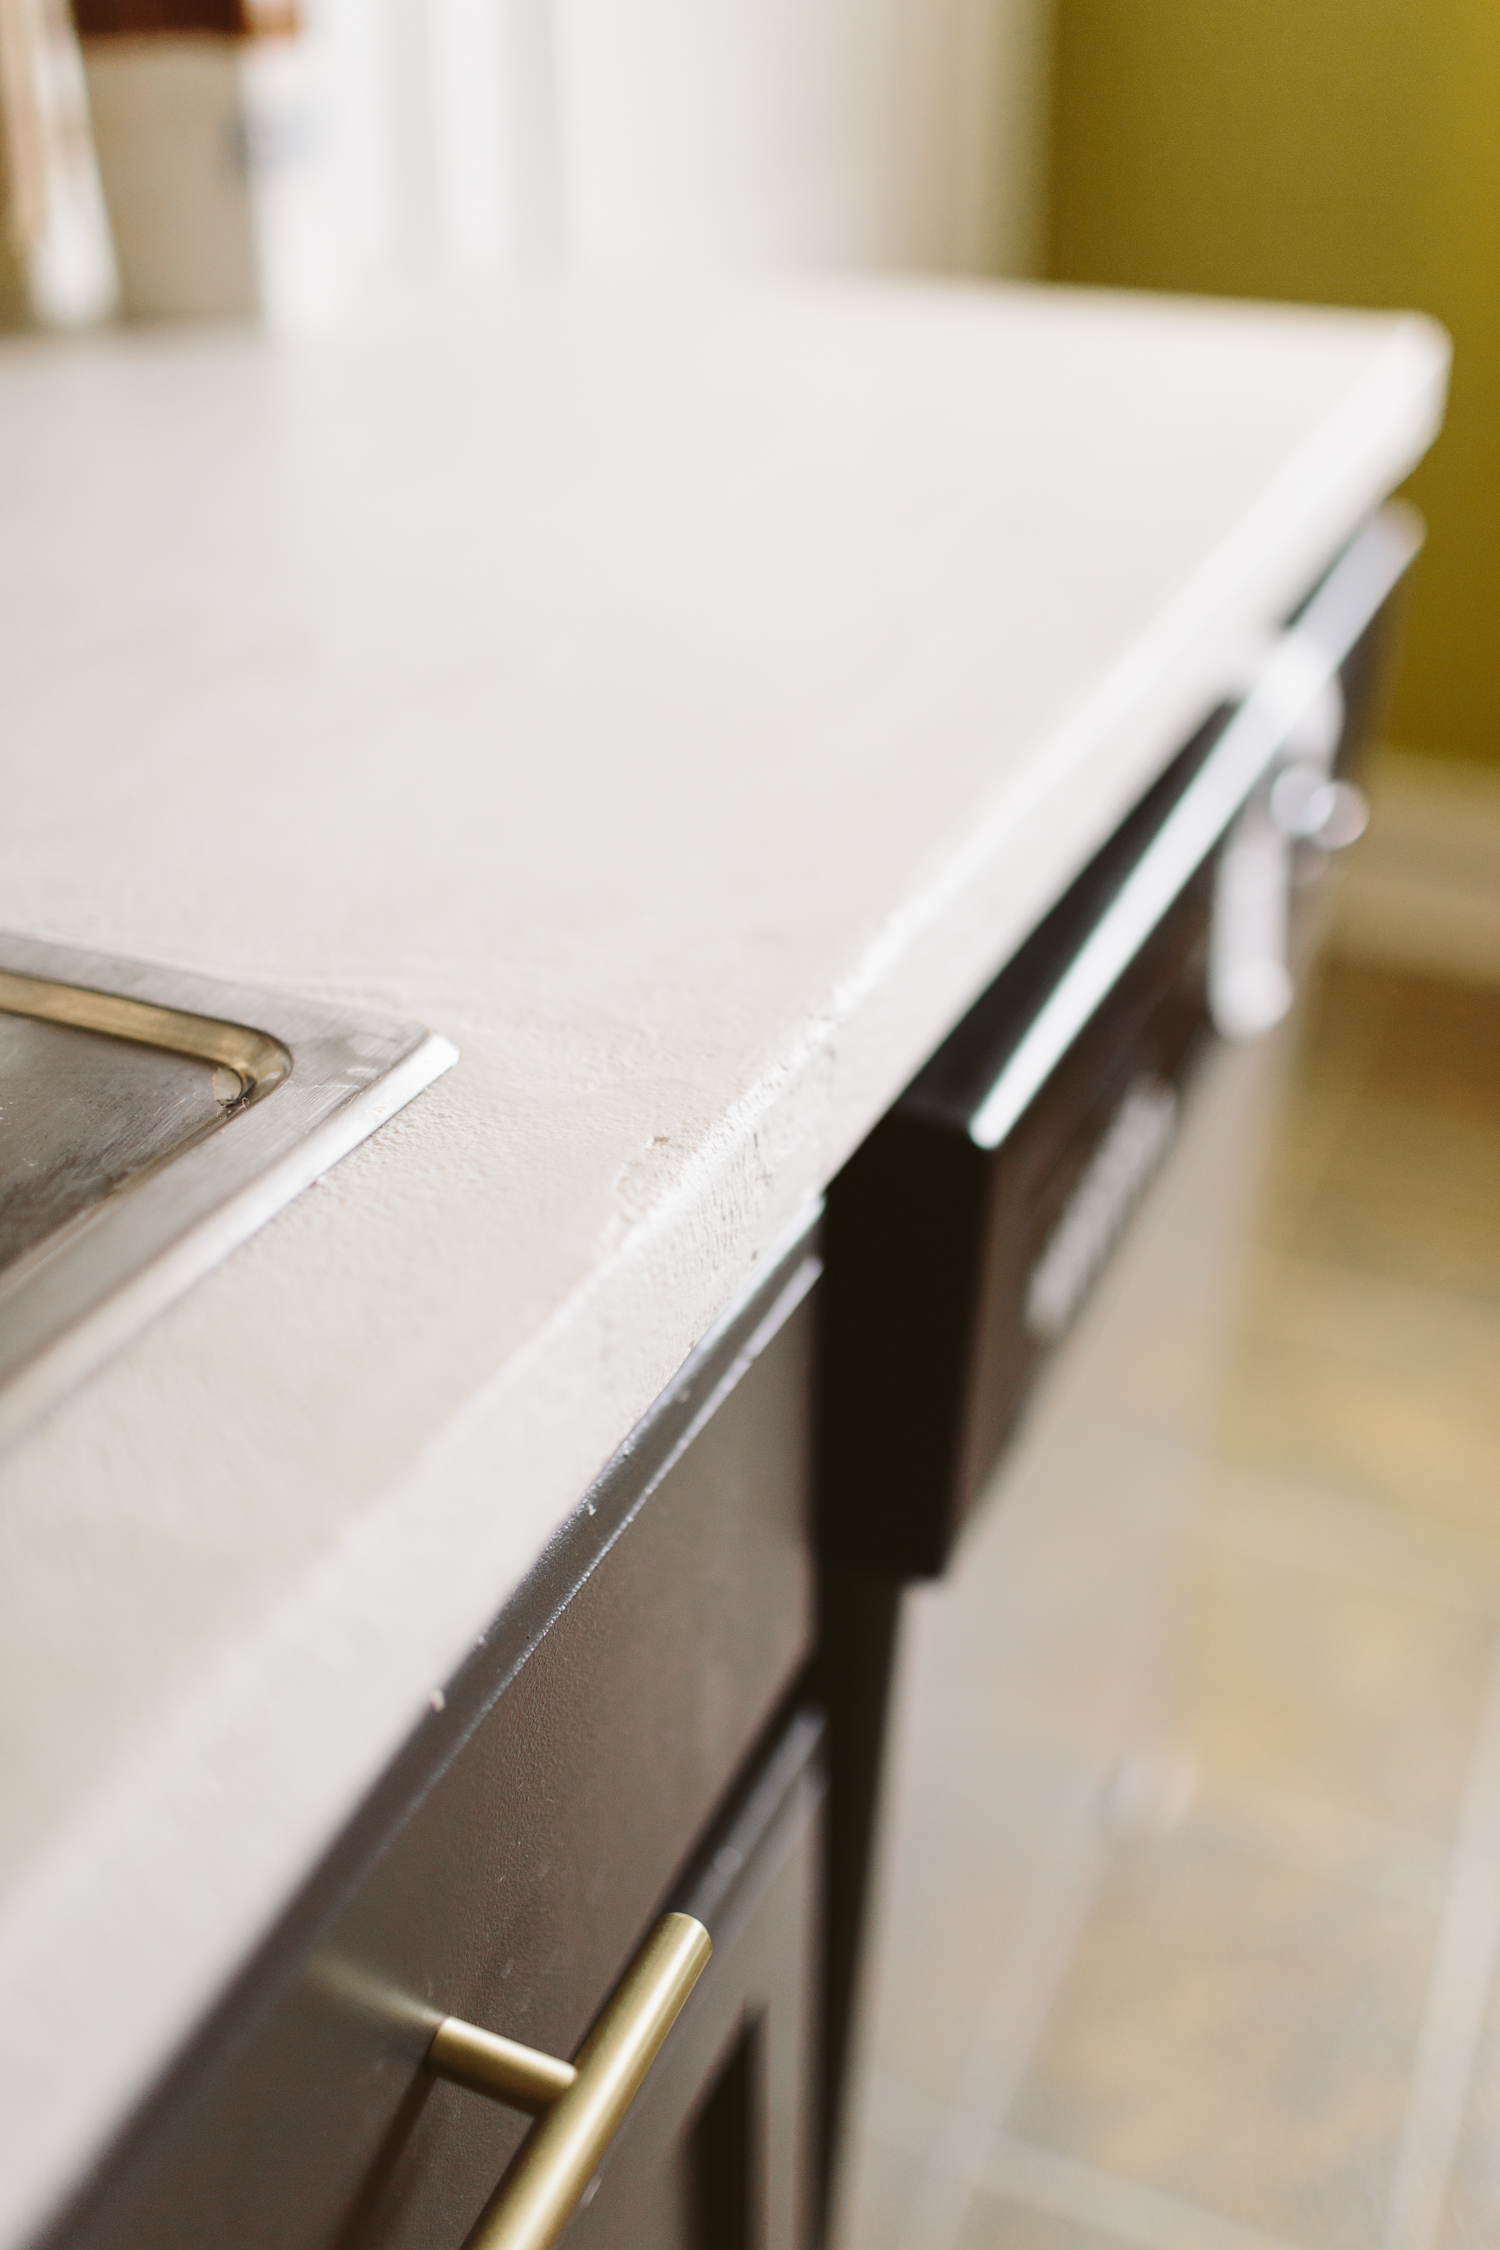
Once you've made up your more sticky batch, apply that just with your hands wearing vinyl gloves.  It's a little hard to get a smooth finish, but I wasn't too worried about that because I didn't mind getting a more "rustic" finish.  You can use a trowel to smooth it out too if you want it more uniform.

Then mix up your batch for the top, to about a pancake batter consistency.  You can pour it directly on the counter and then smooth it out with a trowel.  You want about a 1/8 - 1/4 inch thick skimcoat, and do your best to get it as smooth as you can because it's super annoying to have to sand and put another slurry coat on there.

This product doesn't require a second coat (unless you want to fix some errors) so you just have to wait 24 hours to let it dry and then seal it with the sealer!

I've only had the counters for about a month and a half, but I really like how they've been holding up.  I haven't had any staining, which I was a little worried about since they are white, and no chipping or any other issues.  Obviously that's not a lot of time for regular wear and tear to conduct a really good evaluation so I'll update in a while once it's had time to be sufficiently tested.  That being said I know two people who have refinished their counters by skimcoating with concrete and both were super happy with it (and one is in an RV, so you know that gets jostled around a lot while on the road!).  Neither of those folks used the same product that I did, so it's not exactly the same, but the finish as a whole seems solid and durable!


DYING TO TRANSFORM YOUR OWN KITCHEN, BUT AREN’T SURE WHERE TO START, HOW TO BRING YOUR VISION TO LIFE, OR NEED HELP FIGURING OUT HOW TO MAKE IT ALL HAPPEN? I’VE GOT YOU COVERED! HEAD OVER HERE AND LET’S GET STARTED ON WORKING SOME DESIGN MAGIC FOR YOU!


You Might Also Like

4 super easy houseplants for beginners

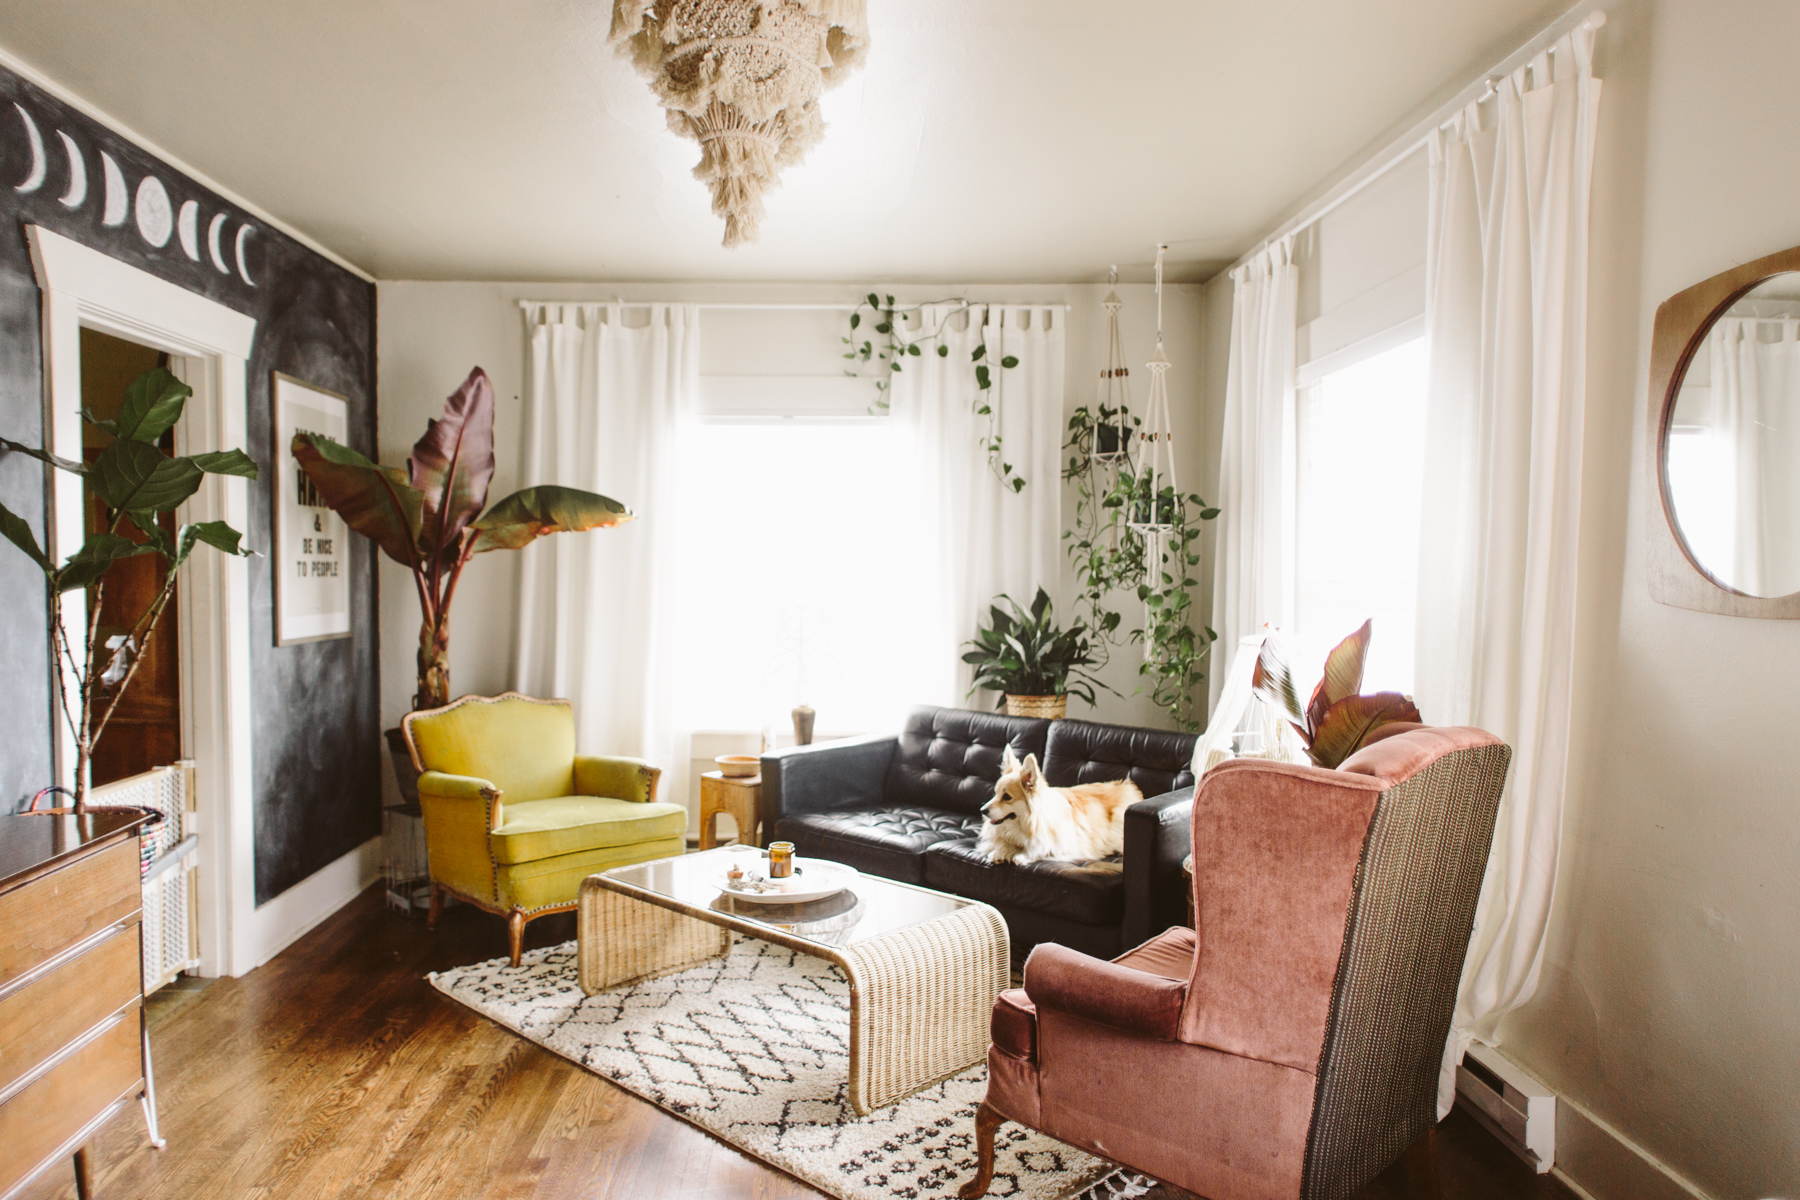
Boho Eclectic Living Room-12.jpg

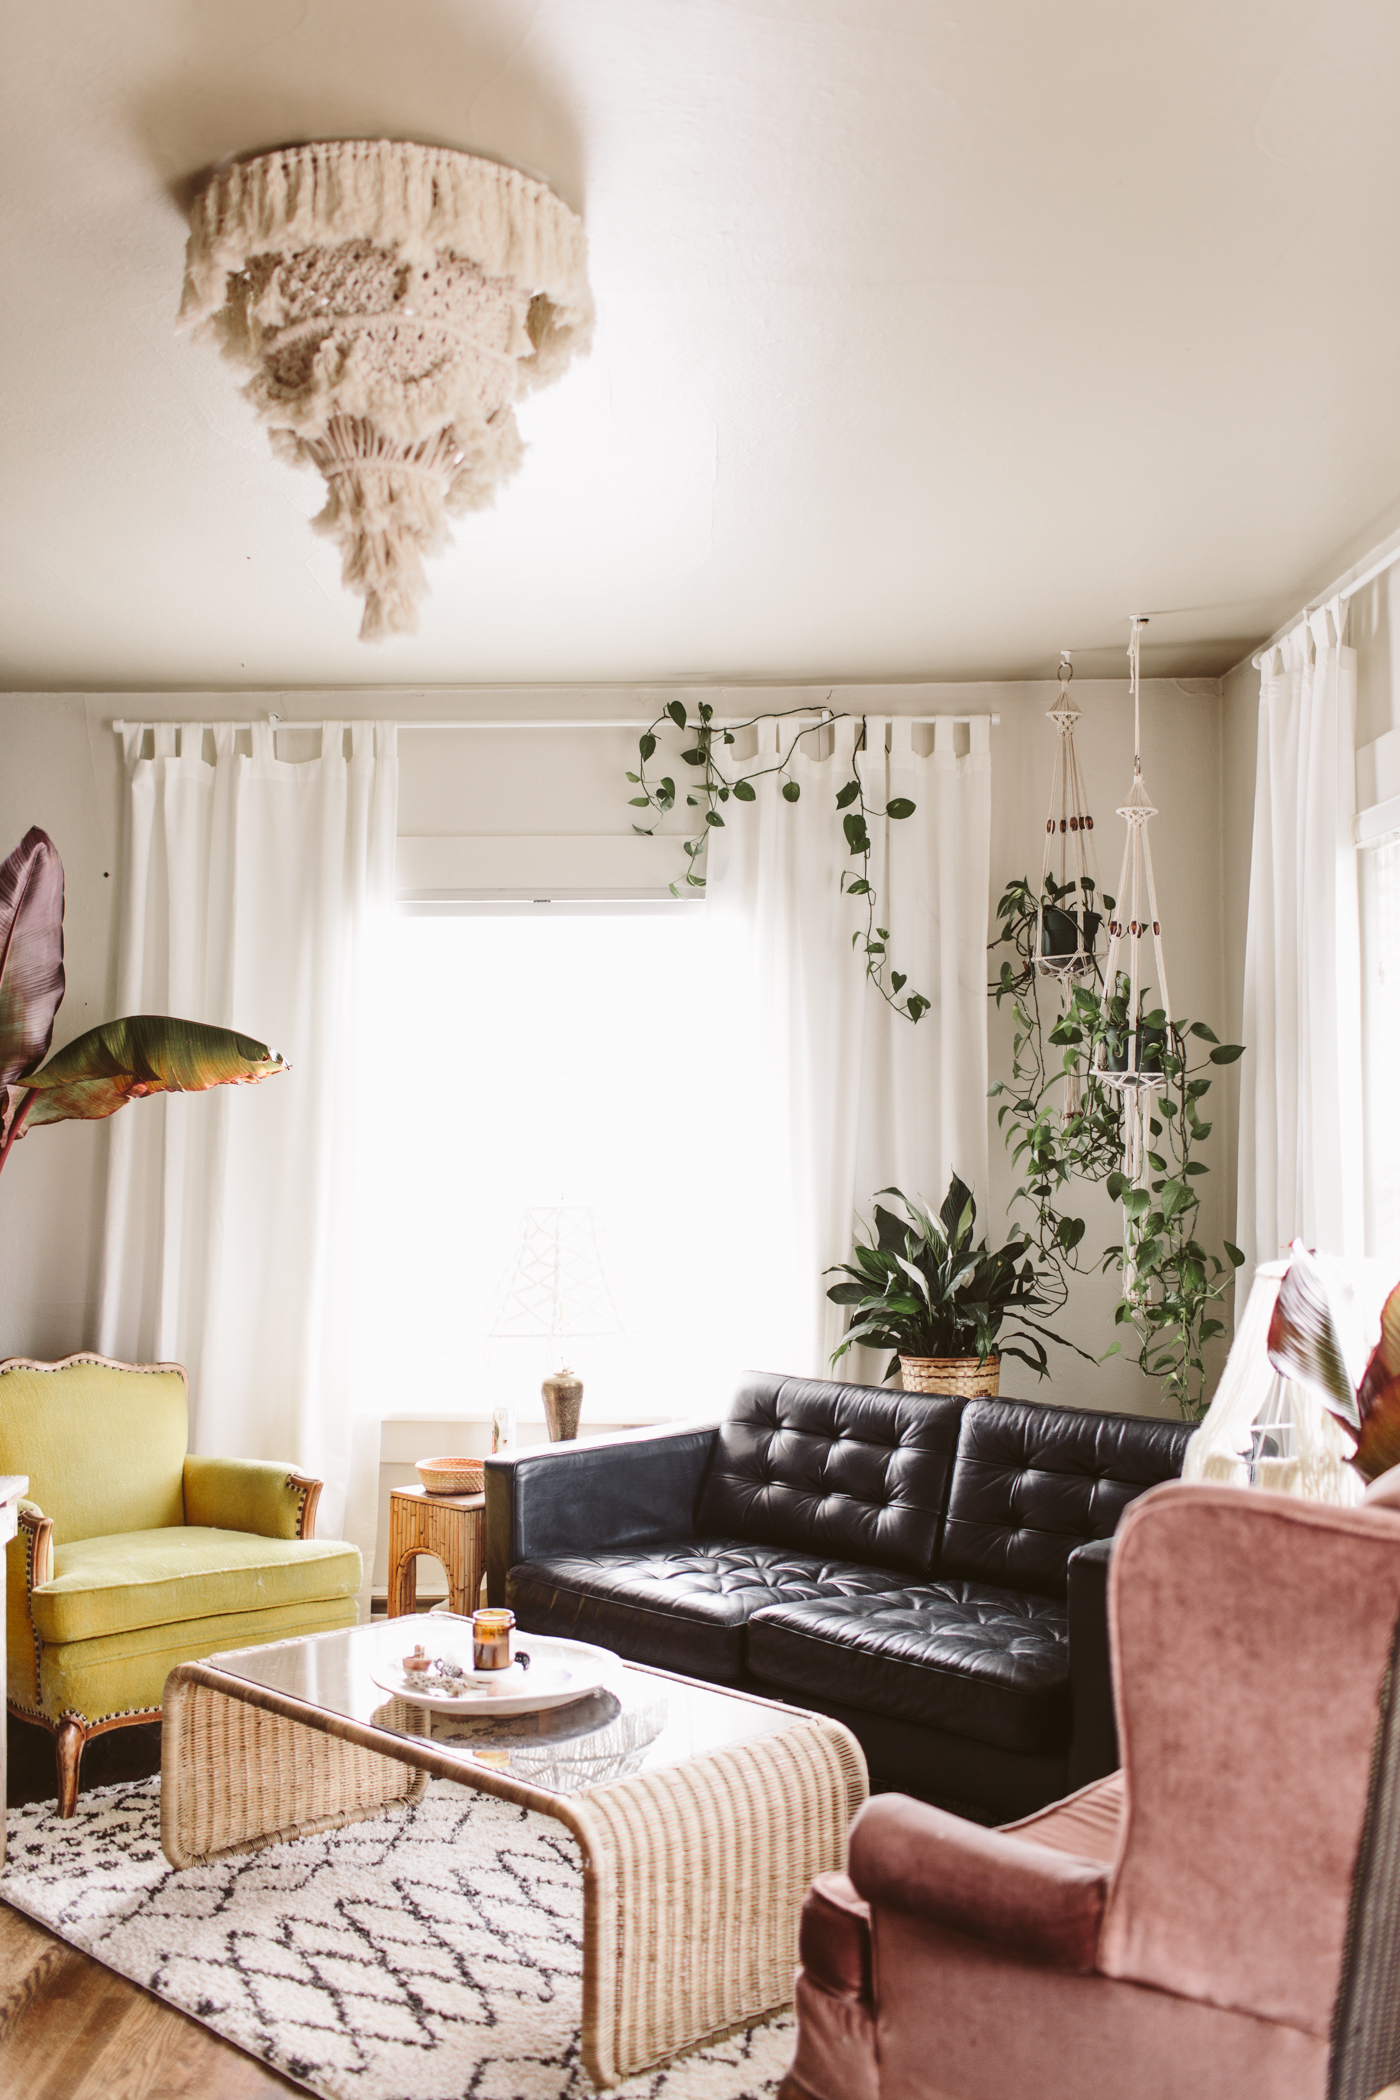
I never considered myself much of a green thumb for most of my life. Growing up, my mom grew flowers in the summer, but we always had faux interior plants, so I never much thought about having houseplants.  The first time I got houseplants was shortly after we bought our house. I'd found those two macrame plant hangers at a thrift store and needed something to put in them, so I headed to Home Depot to find a suitably vine-y, hanging plant and bought the two pothos that still live in those hangers.

In the ensuing five years I have killed plenty of house plants.  I'm certainly no houseplant genius, and my thumb is only mildly green, but I've learned which plants are pretty fool-proof and easy to care for, so I wanted to share four of my favorites!

Photo May 31, 8 36 03 AM.jpg

Pothos

I love my Pothos.  I have several but I want dozens more.  They have the perfect cascading vines, are SO easy to keep alive, and they do alright in low-ish light, so I even have one in my bathroom which only has one tiny window.  Bonus?  They are super easy to propagate, so if you have one, you can make more!  It's like getting free plants!


Snake Plant

The Snake plant is SO easy to take care of.  You can ignore this bad boy for a looong time and it'll stay happy.  I have a couple of these and they are so hardy and add a really cool architectural look that is different from other leafy plants.  These do very nicely in low light, so we have one in our bedroom where we have a couple windows, but usually keep the blinds down because sleep.

4 easy houseplants for beginners

Philodendron Selluom "Hope"

This is very similar to a Monstera, but it has leaves that have a little more of a "ruffled" edge than the smooth-edged leaves of the Monstera.  These can grow pretty big (a local coffee shop in town has a huge one that is amazing!), and it's very easy to care for and keep alive.

Photo Aug 03, 6 46 36 PM.jpg

Peace Lily

I love how lush the Peace Lily is. I also love how they droop when they need water.  Three cheers for communicating your needs, little plant!  If they start to droop, you just give 'em water and they're happy again and perk up in a matter of minutes.

4 easy houseplants for beginners

Plants I've had trouble with that I personally am avoiding for the time being: Majesty Palms, Ferns, Fiddle Leaf Figs, Succulents (not counting cacti and hens and chicks. All my other succulents have tended to get leggy and eventually die).  

A few other plants I've found relatively easy: Croton, Cacti, ZZ Plant, Hens and Chicks (these are also awesome outdoor ground cover!). Make sure you note how much light a plant prefers, and how much water it likes.  You can usually find this info on the tag when you buy it, or just look it up online! I like to keep a loose schedule for watering my plants because in the past I've killed plants simply because I didn't water them enough.  Right now my Sundays are plant watering days! You can also buy plant food to help your little plant friends grow and be happy too. I use this stuff about once a month.

Houseplants can feel intimidating if you've never had them (or have killed off a few), but starting slow and with some easier, low-maintenance plants is a great way to bring happy plant vibes and fresh air to your space without the stress of taking care of a living thing that's threatening to die constantly. 


You may also like

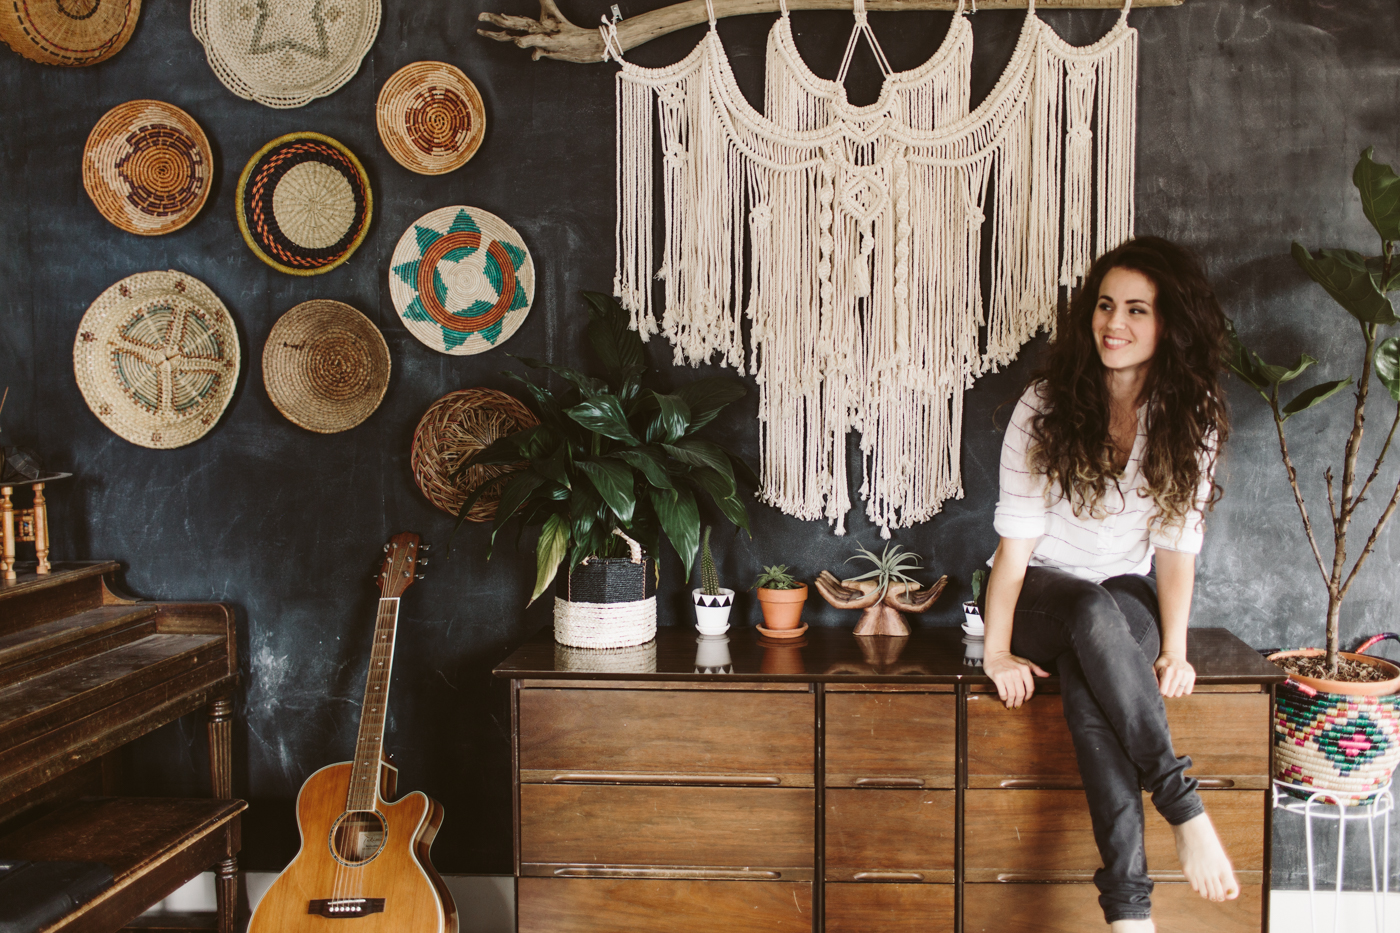
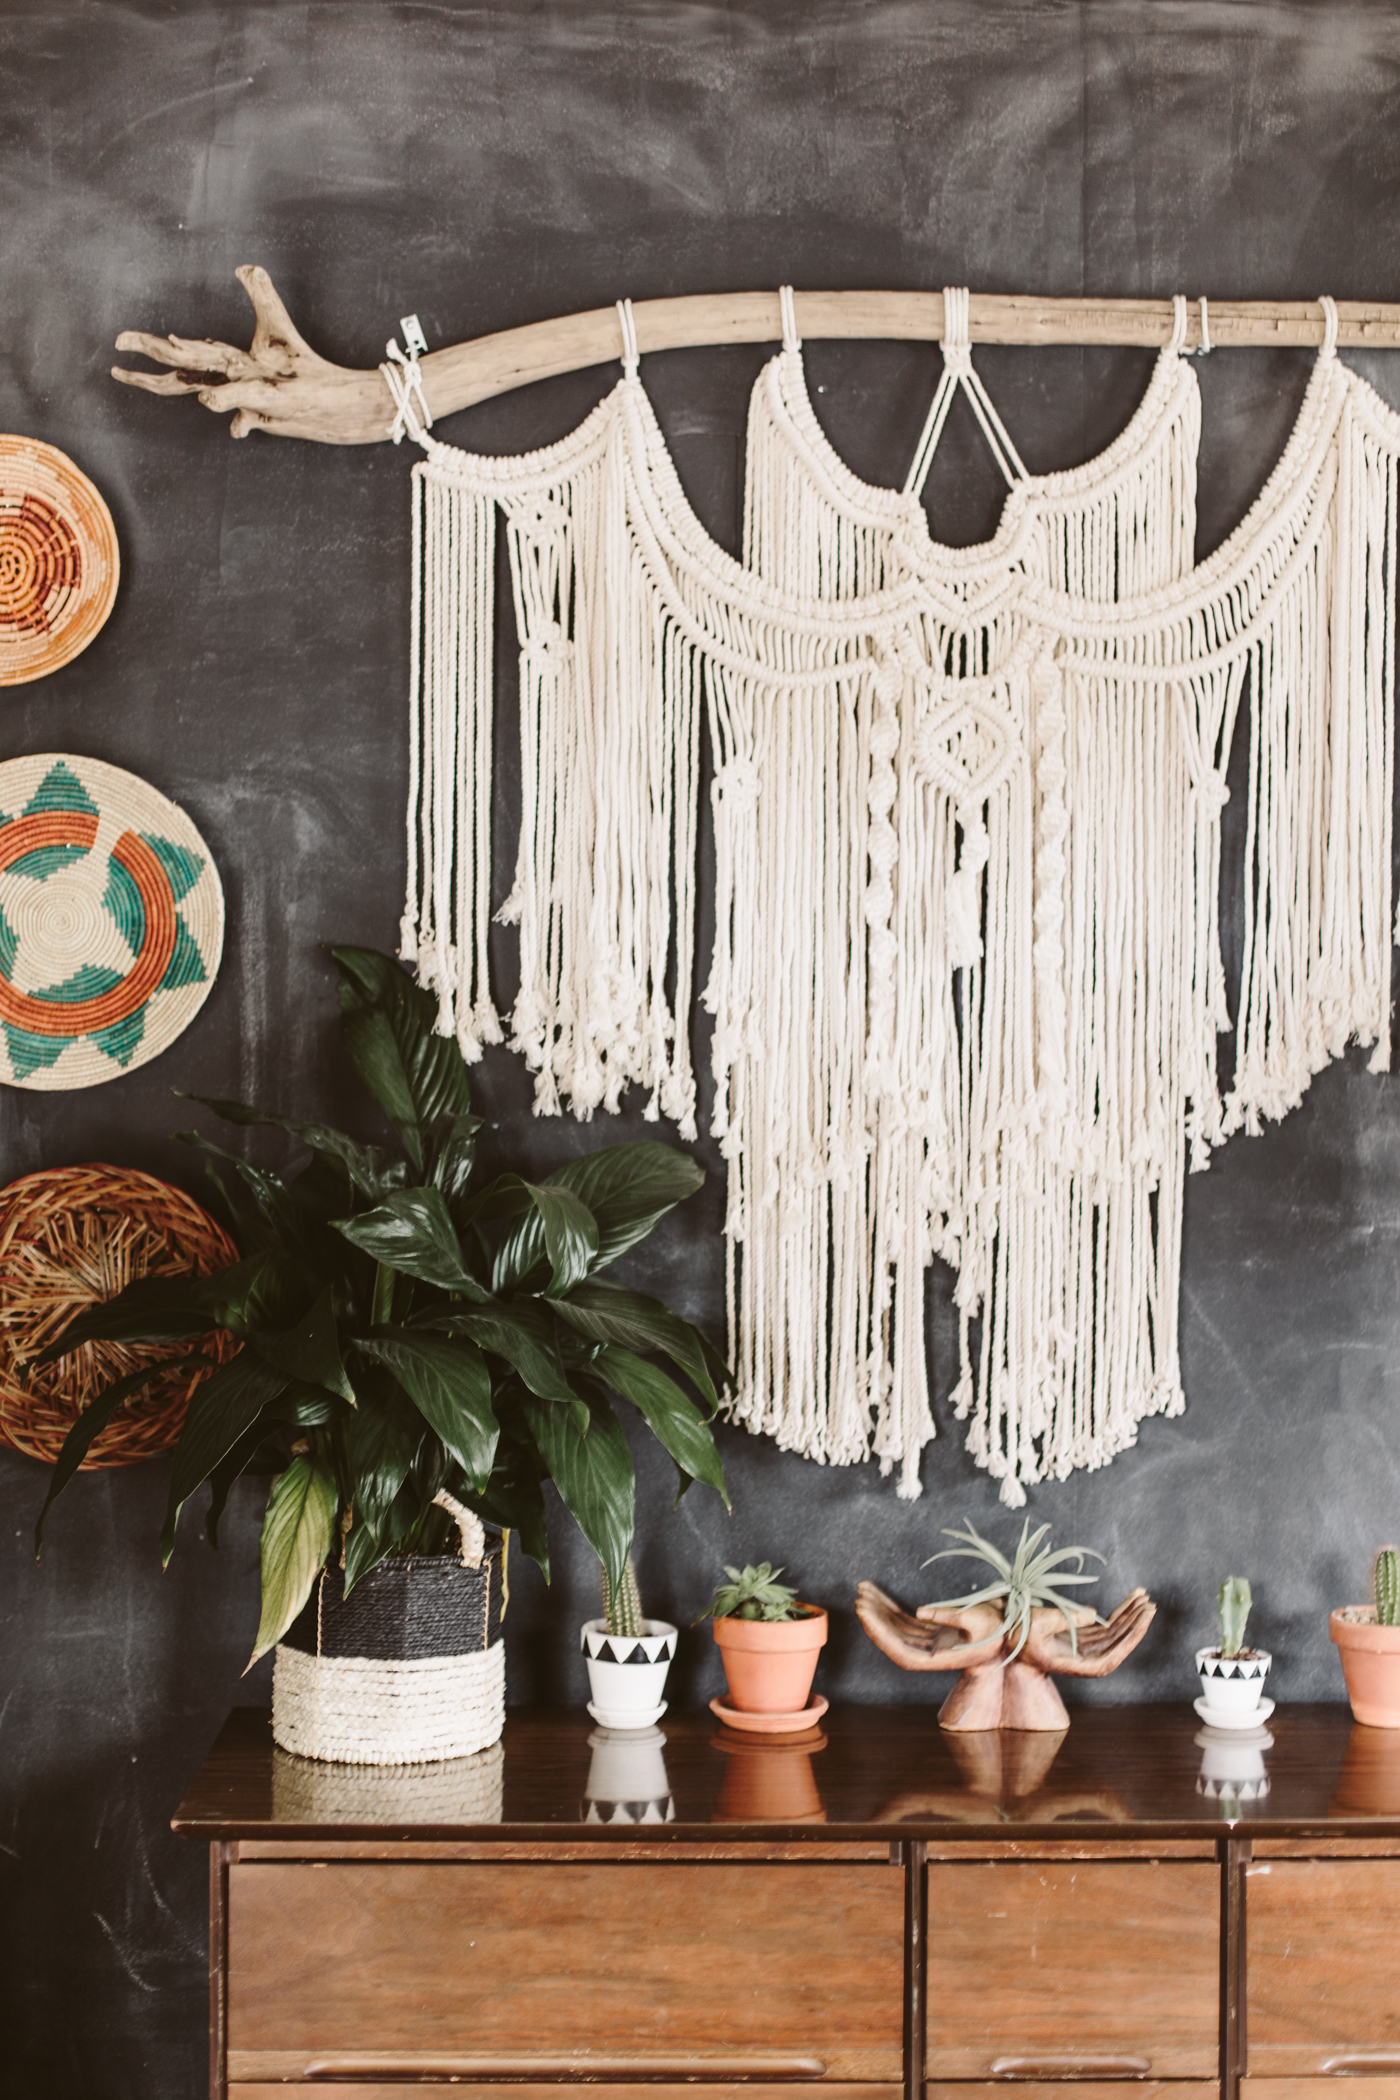
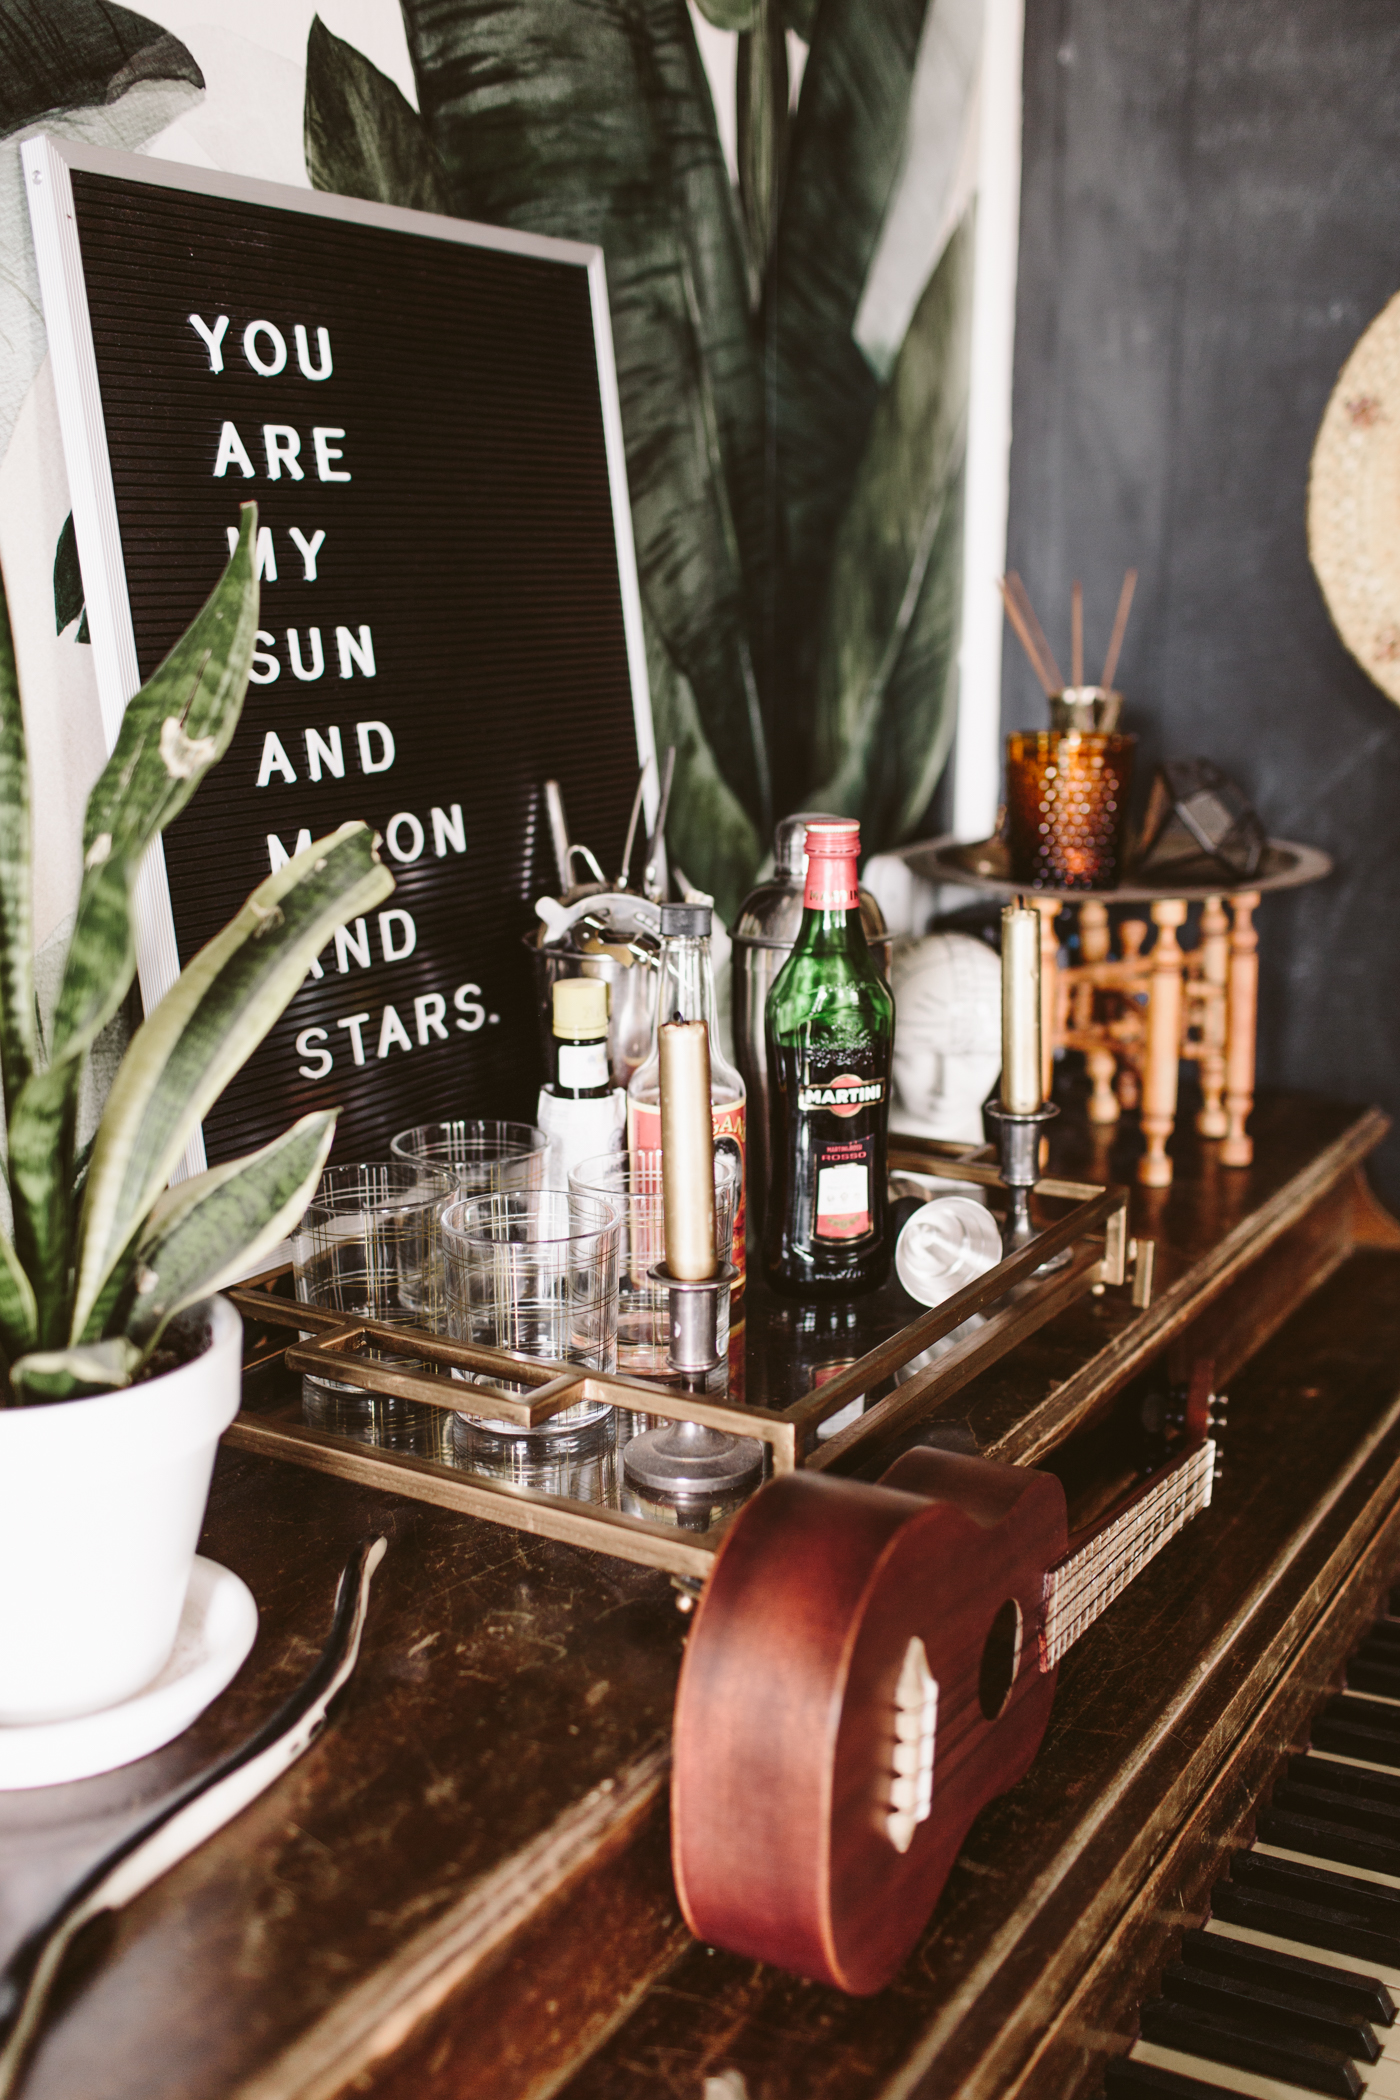
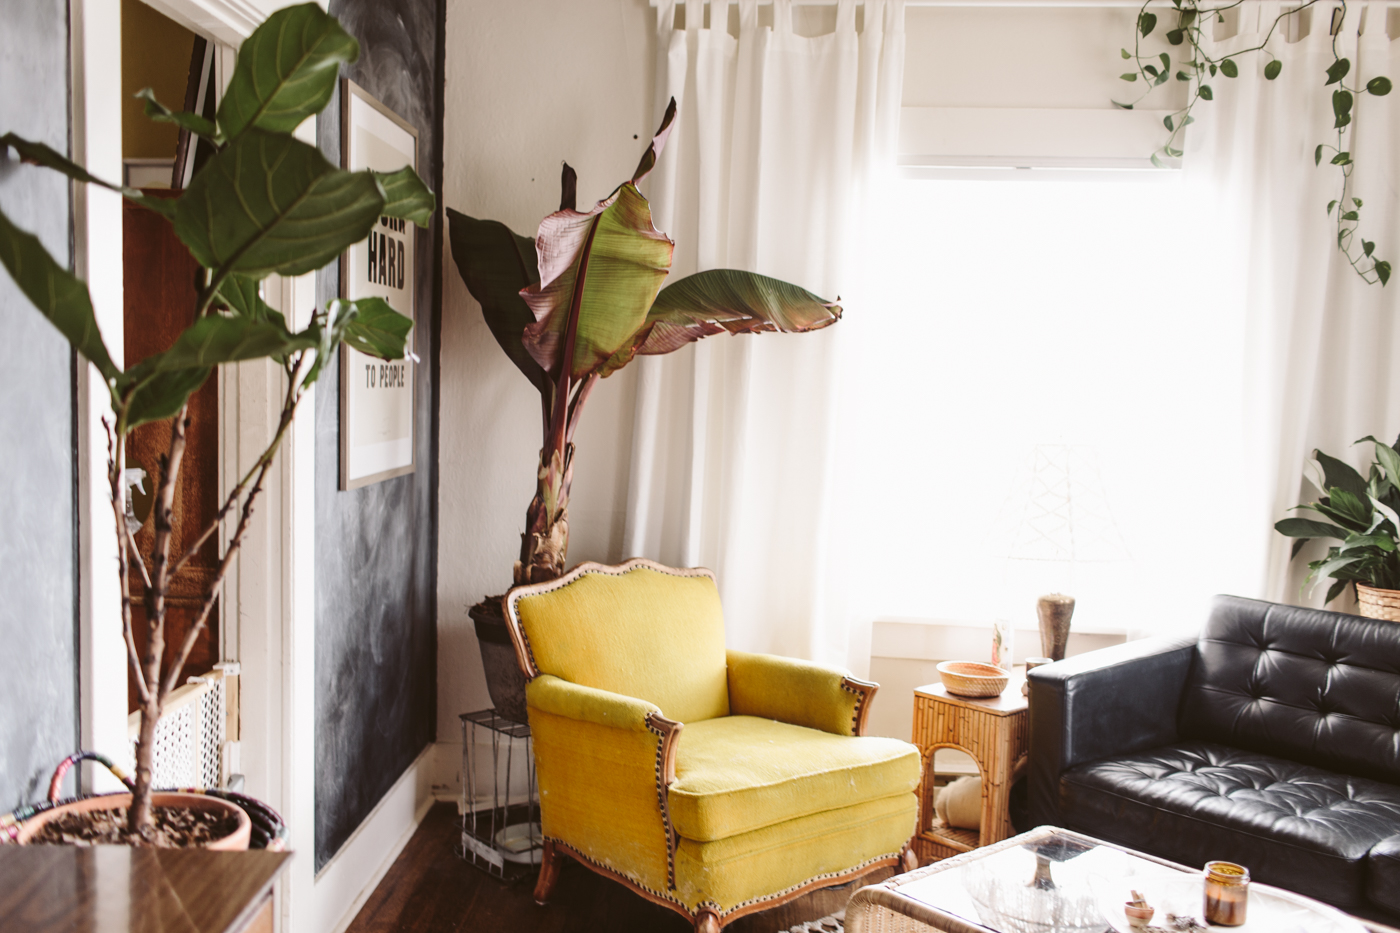
Boho Eclectic Living Room

Boho Living Room

Guys.  First thing: HOLY COW as of today I've been blogging for TEN YEARS.  Ten.  A damn decade.  What?  I haven't done anything for a decade straight.  If you want to go back to the early days and have a good laugh, feel free.  It's pretty hilarious to see how different blogging was a decade ago!  

Second thing: to celebrate I'm doing some giveaways with brands that I thing are rad and the first one is a $100 gift certificate to The Jungalow! I'm constantly inspired by Justina Blakeney's lush aesthetic, so I wanted to give one lucky reader the chance to grab something gorgeous from her shop! Click the button below to go enter!

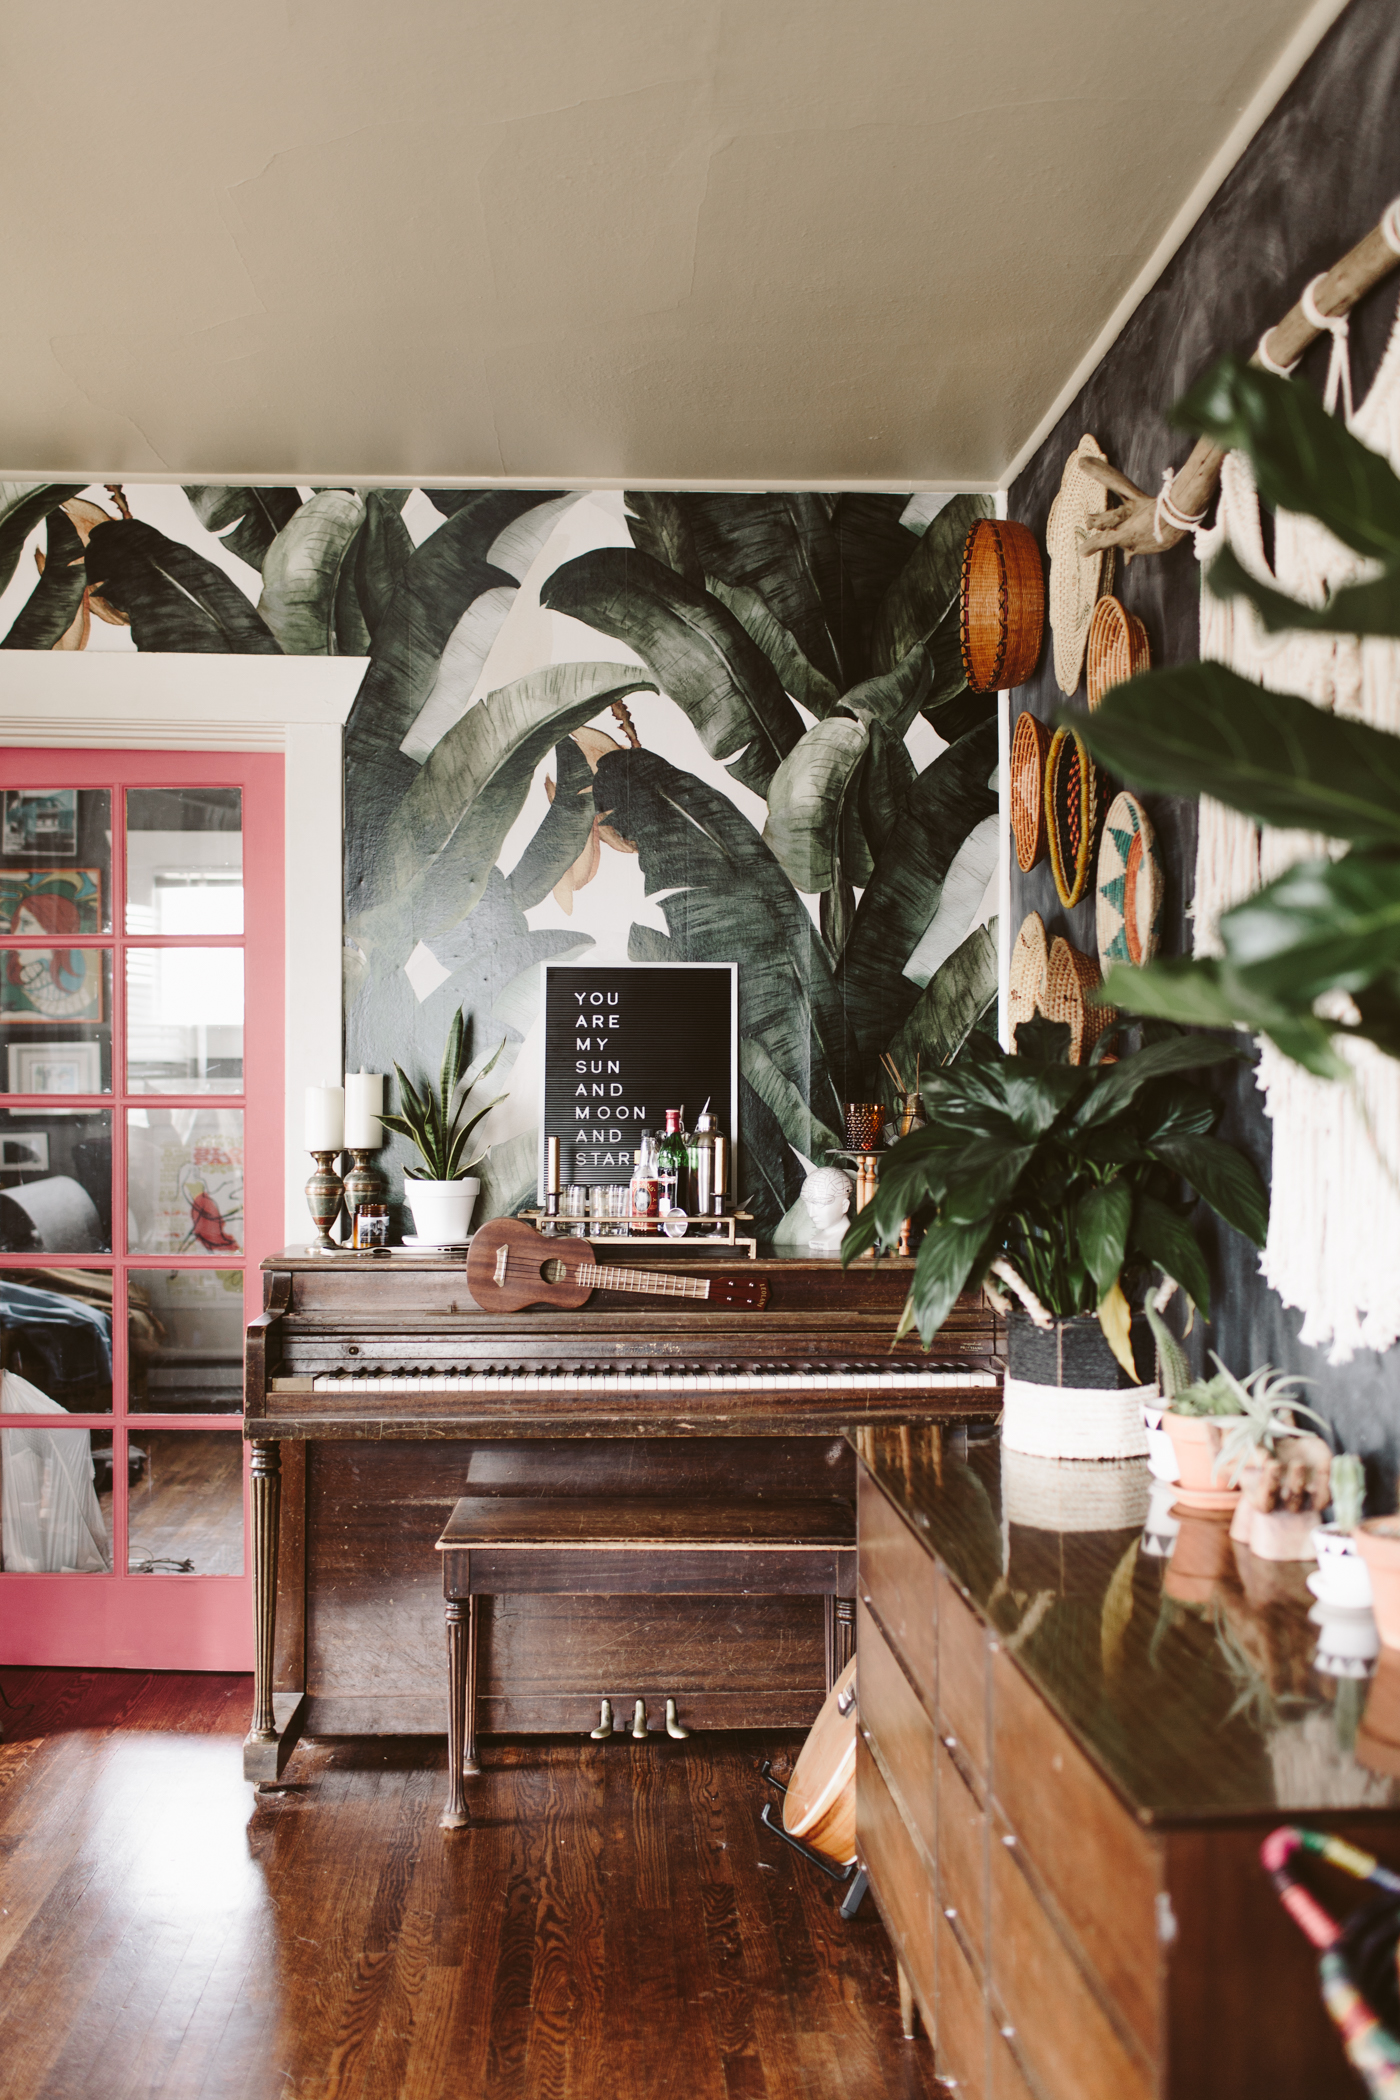
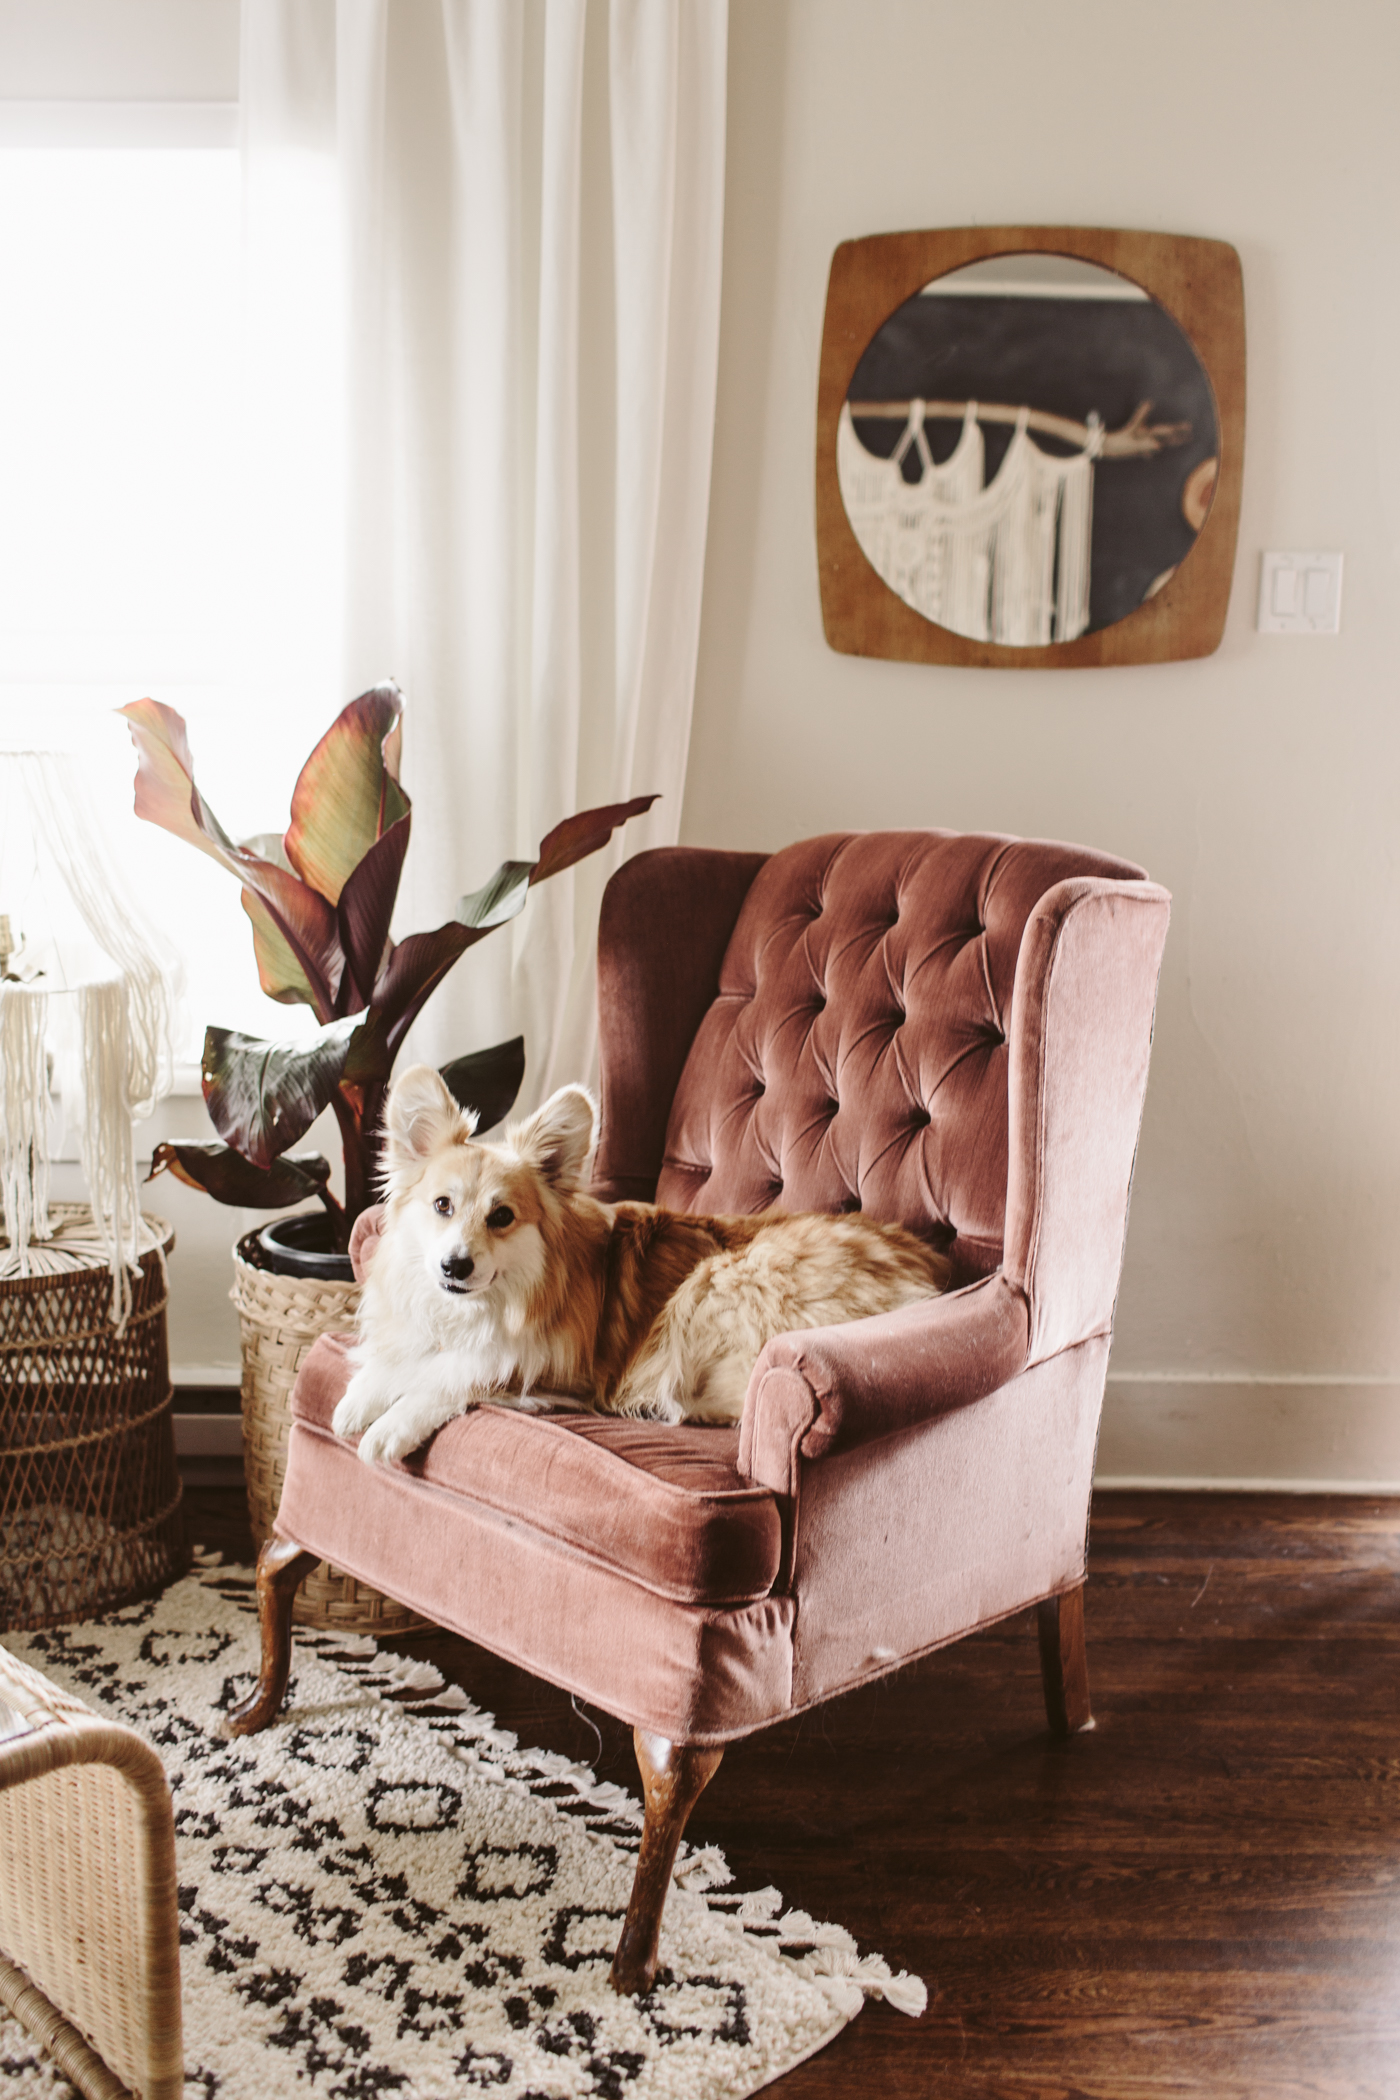
My space probably hasn't reached the level of Jungalow status yet, but I'm getting there! I recently re-did my living room layout and it feels SO good.  I feel like there's some unspoken rule about not doing diagonal layouts in rooms, but rules are meant to be broken, and for our space, this is actually the most practical layout, so much so that I can't believe I haven't arranged our furniture like this before in the 5 years we've lived here!  This space finally feels complete and I'm so in love with everything!  Everything except the rug (from Wayfair) and the couch (Ikea) is thrifted or craigslisted!


You may also like

DIY Triangle Hanging Shelves

DIY Triangle Hanging Shelves

I knew I wanted more plants in my bedroom, but with not a lot of floor space, I'd have to get creative with how I was going to incorporate them.  I already had a board that I'd bought months ago to make a different shelf that I never got around to making so all I had to do was buy some cord and whip these up!  They probably only took 10- 15 minutes to put together, so they're a quick and easy way to add some great shelving to any room!

WHAT YOU'LL NEED

1x8 common board
Rope or Cord
Screw with anchor (anchor optional)
Saw
Drill

 
DIY Triangle Hanging Shelves

/ STEP 01

Take your 1x8 board and chop it into the lengths you want your shelves to be.  I made mine 26 inches.  I used a skillsaw to cut mine but if powertools freak you out or you don't have access you can have them cut the board for you at most hardware stores!  Or just use a regular saw!

 
DIY Triangle Hanging Shelf

/ STEP 02

Use a drill to make 4 holes at the corners where your rope/cord will go through.  How big your holes are will depend on how thick your rope is, but I used a 1/4in bit for mine. Make sure you don't make the holes bigger than your knot will be, otherwise it will slip through when weight is put on the shelf. 

DIY triangle hanging shelf

/ STEP 03

Take your first rope (cut to 57 inches long) and push the ends through the front two holes.  If the rope is frayed you may have to singe the rope ends to make it easier to push through the holes. Tie a knot at the ends of the ropes after you've pushed them through.

DIY Triangle Hanging Shelf

/ STEP 04

Once you've done the front rope, repeat the same process with the back rope. Cut the back rope to 55 inches (the back rope is slightly shorter because it's flush to the wall, whereas the front one has to angle back to the wall).

DIY Triangle Hanging Shelf

/ STEP 05

Screw a hole in your wall where you want to hang your shelf!  I used an anchor to help secure my shelf because I knew I'd be putting plants on in and didn't want the weight to be an issue.  If you aren't putting anything heavy you might be able to get away with a nail, but I'd recommend a screw. Voila, you're done!

DIY Triangle Hanging Shelves
 

You Might Also Like