DIY

DIY Triangle Hanging Shelves

DIY Triangle Hanging Shelves

I knew I wanted more plants in my bedroom, but with not a lot of floor space, I'd have to get creative with how I was going to incorporate them.  I already had a board that I'd bought months ago to make a different shelf that I never got around to making so all I had to do was buy some cord and whip these up!  They probably only took 10- 15 minutes to put together, so they're a quick and easy way to add some great shelving to any room!

WHAT YOU'LL NEED

1x8 common board
Rope or Cord
Screw with anchor (anchor optional)
Saw
Drill

 
DIY Triangle Hanging Shelves

/ STEP 01

Take your 1x8 board and chop it into the lengths you want your shelves to be.  I made mine 26 inches.  I used a skillsaw to cut mine but if powertools freak you out or you don't have access you can have them cut the board for you at most hardware stores!  Or just use a regular saw!

 
DIY Triangle Hanging Shelf

/ STEP 02

Use a drill to make 4 holes at the corners where your rope/cord will go through.  How big your holes are will depend on how thick your rope is, but I used a 1/4in bit for mine. Make sure you don't make the holes bigger than your knot will be, otherwise it will slip through when weight is put on the shelf. 

DIY triangle hanging shelf

/ STEP 03

Take your first rope (cut to 57 inches long) and push the ends through the front two holes.  If the rope is frayed you may have to singe the rope ends to make it easier to push through the holes. Tie a knot at the ends of the ropes after you've pushed them through.

DIY Triangle Hanging Shelf

/ STEP 04

Once you've done the front rope, repeat the same process with the back rope. Cut the back rope to 55 inches (the back rope is slightly shorter because it's flush to the wall, whereas the front one has to angle back to the wall).

DIY Triangle Hanging Shelf

/ STEP 05

Screw a hole in your wall where you want to hang your shelf!  I used an anchor to help secure my shelf because I knew I'd be putting plants on in and didn't want the weight to be an issue.  If you aren't putting anything heavy you might be able to get away with a nail, but I'd recommend a screw. Voila, you're done!

DIY Triangle Hanging Shelves
 

You Might Also Like

Painted Carrera Marble Countertop DIY

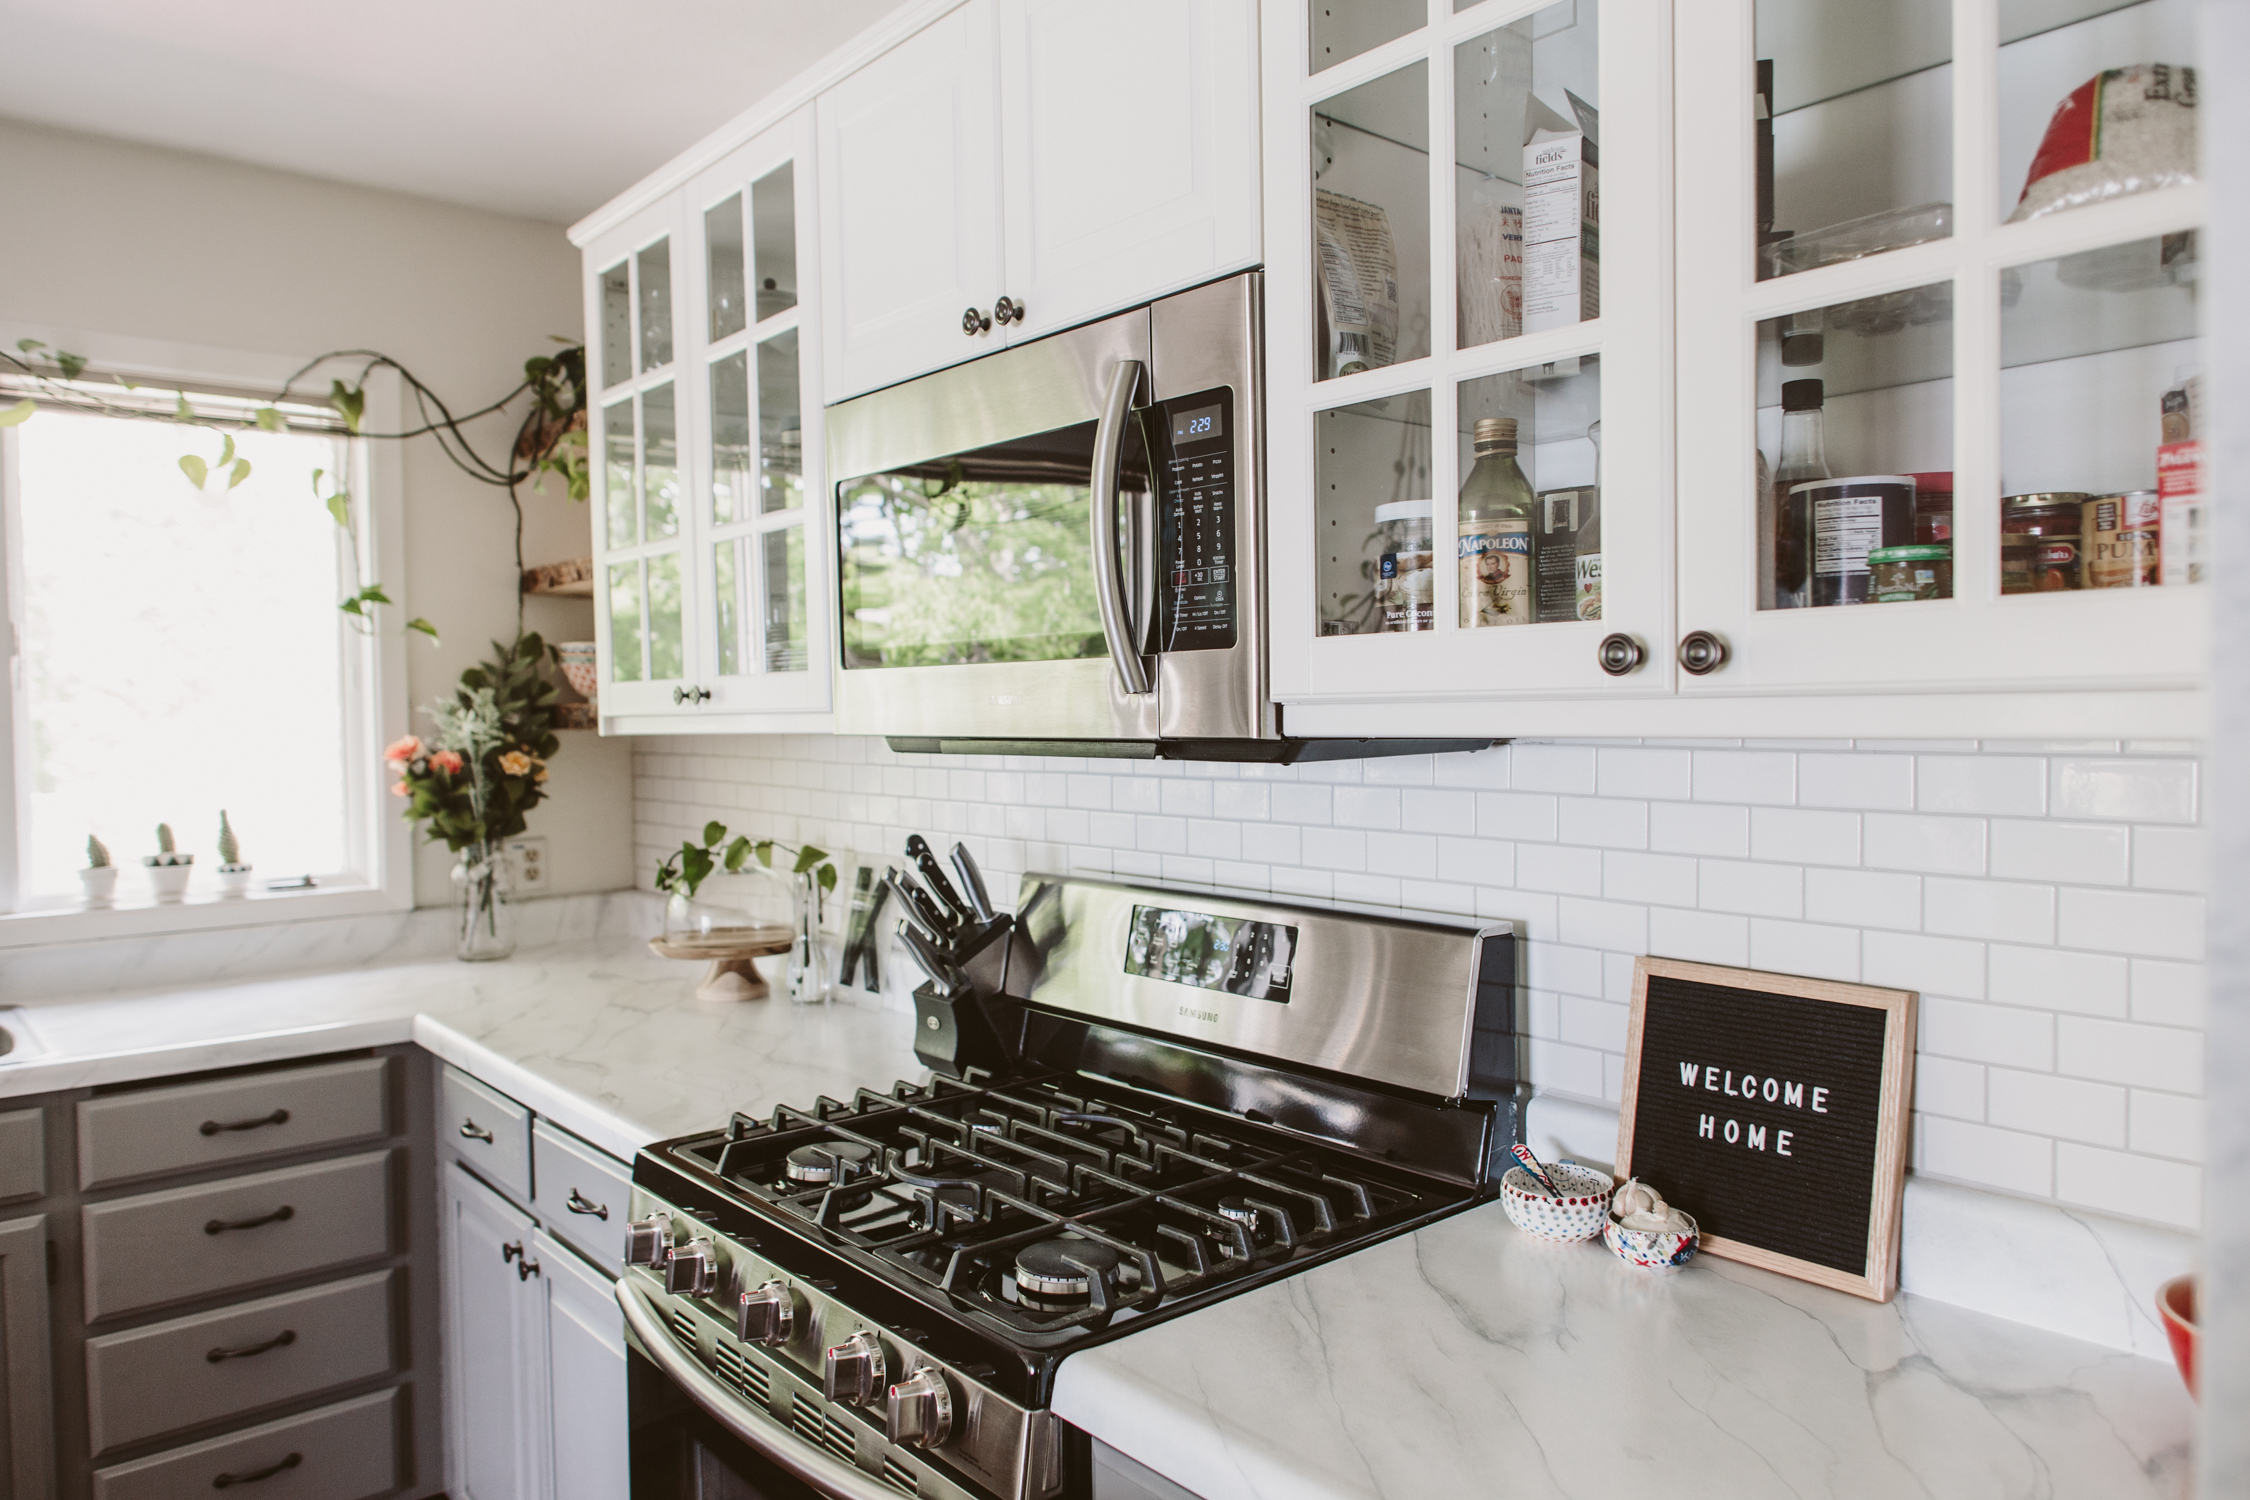
When we were trying to decide what to do with our counters for our kitchen renovation, we knew we didn't want to spend a ton of money.  First, we live in basically a little mother-in-law apartment above the garage of my parent's house, so it's not a fancy joint or anything. We didn't want to put real marble in or anything, and even faux marble was pretty spendy, so we figured we'd try painting the existing formica countertops and if it turned out awful, then we'd rip them out and just shell out for new, faux marble formica counters.  After stalking Pinterest for a bit and looking at various countertop painting DIYs I decided on using Giani's Faux Granite DIY countertop paint in White Diamond to create a faux marble look.

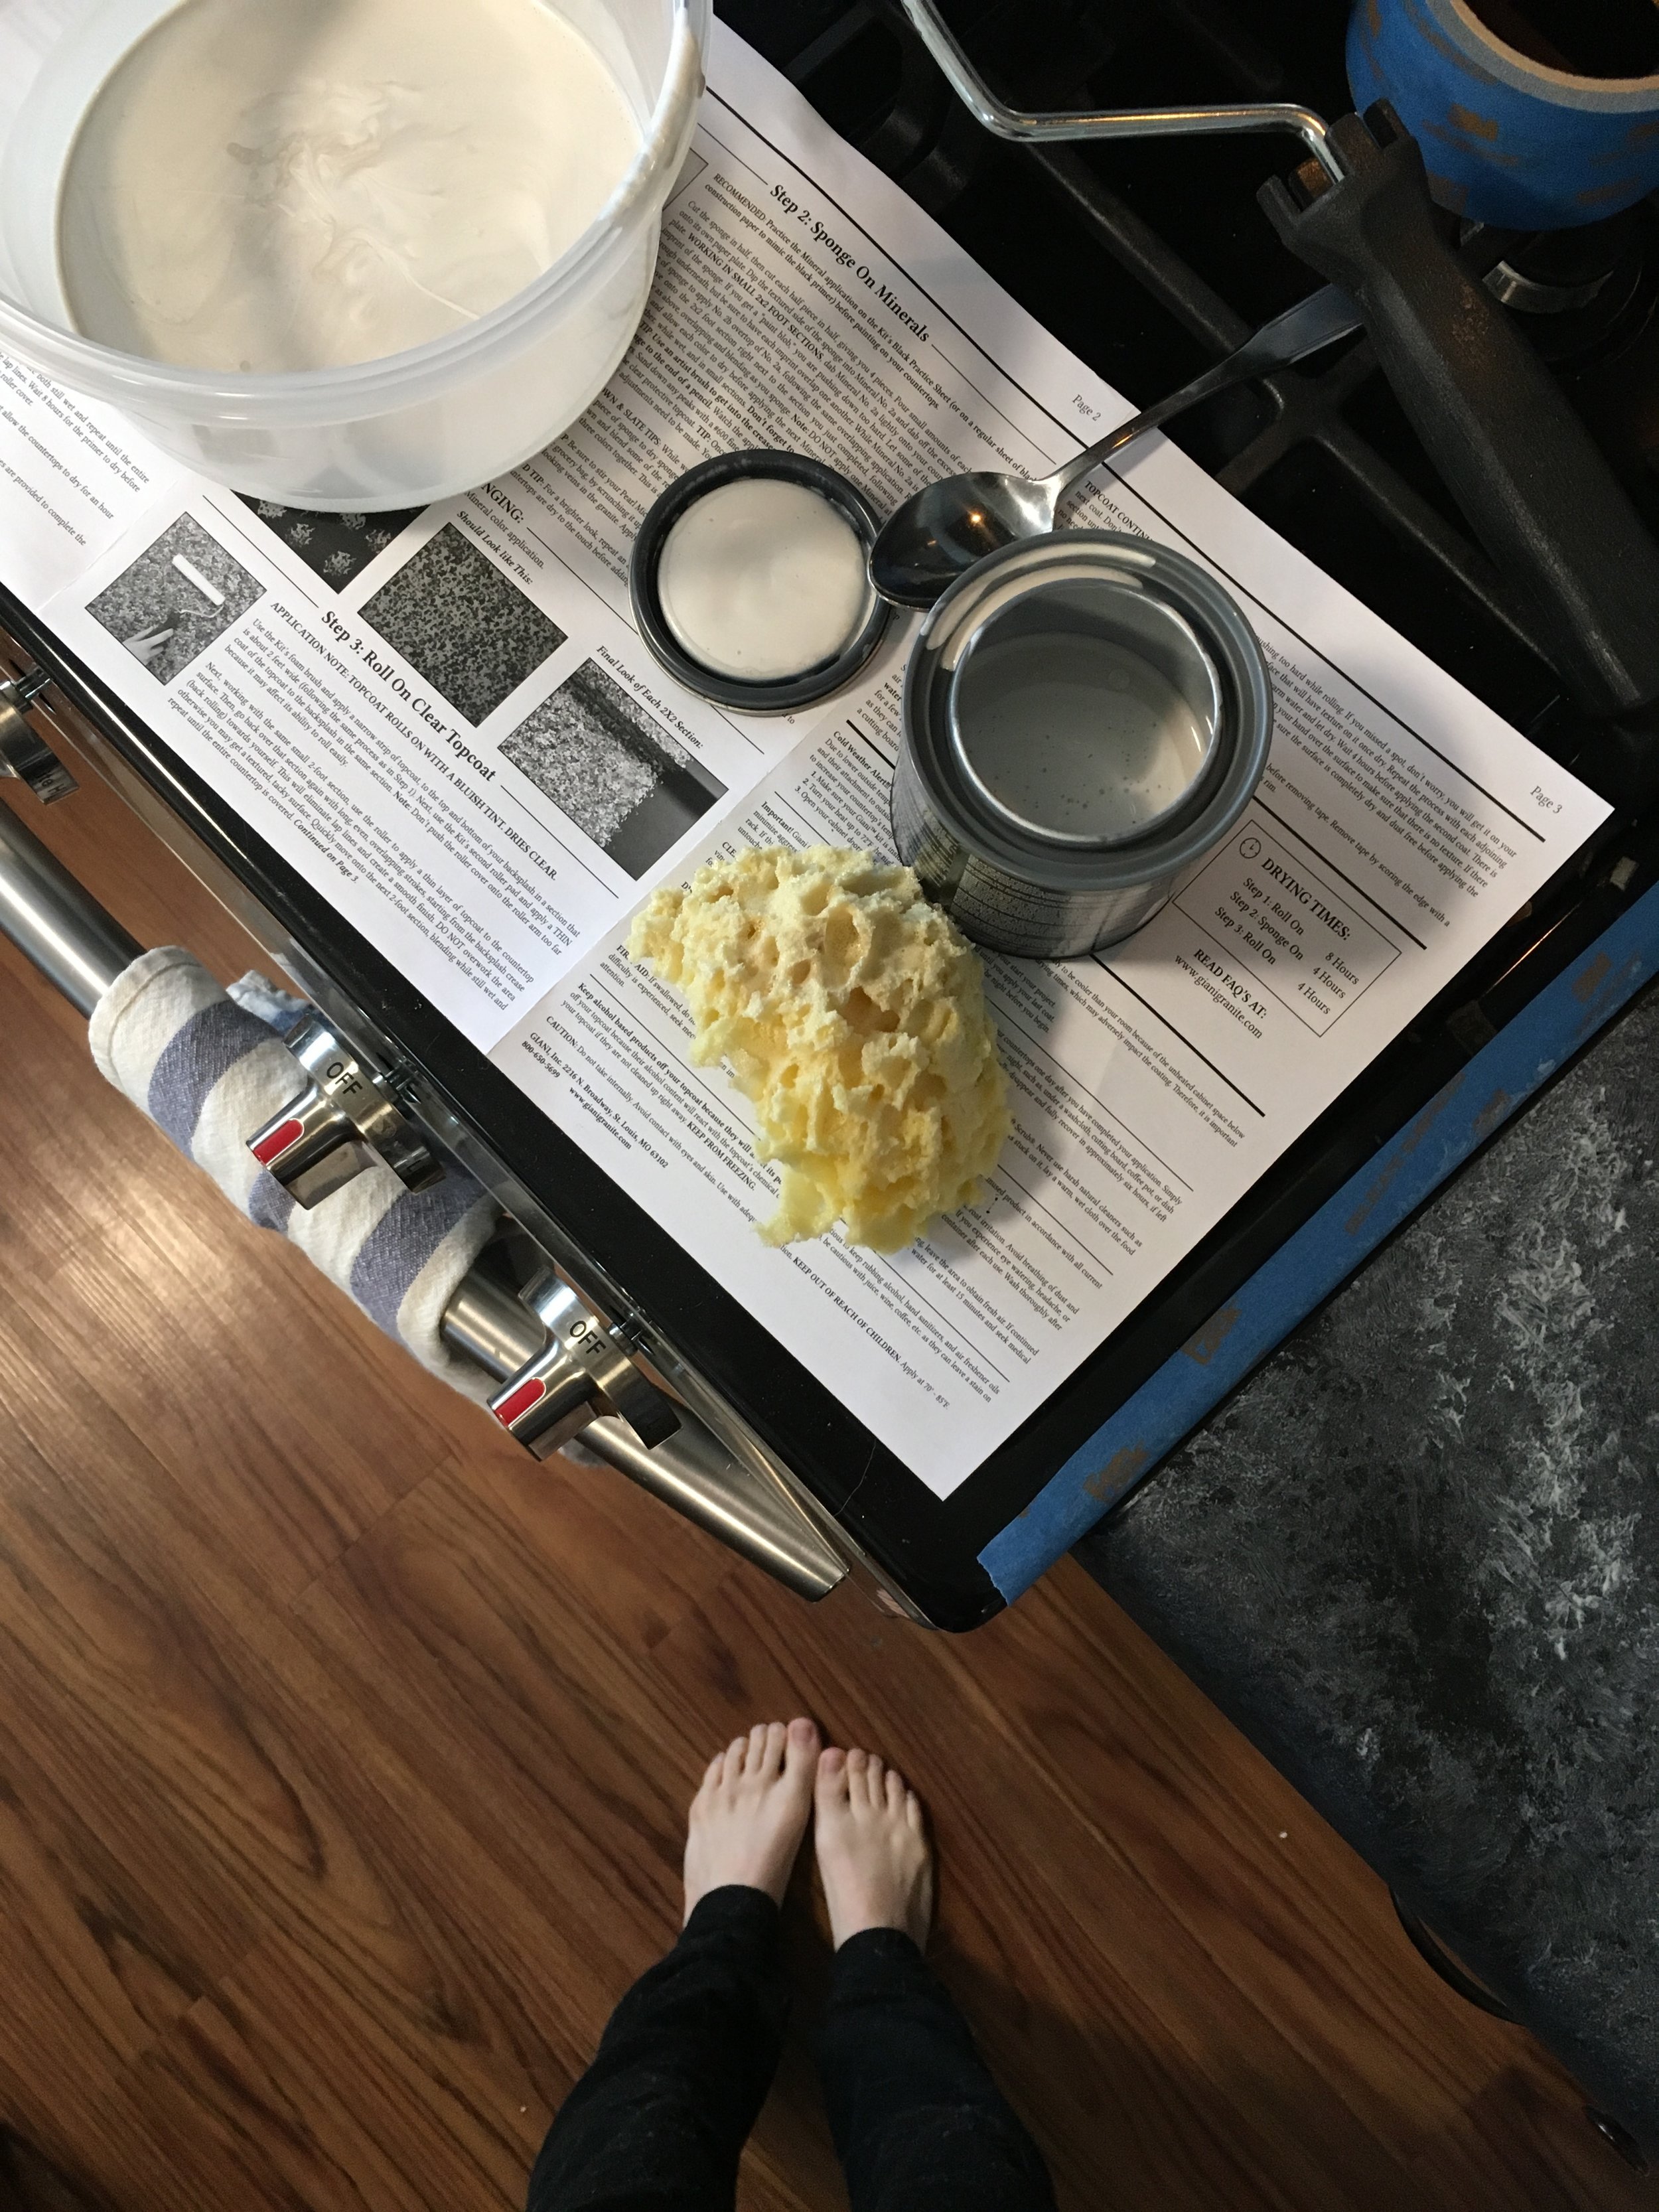
The kit comes with a black primer, a pearl mica paint, two cans of white limestone paint, a metallic gold paint which I didn't use, and a clear top coat.  I would recommend buying two extra white limestone cans if you're going to use the kit to make a white marble look.  I didn't and I ended up just using some regular paint to finish it off (I had a time crunch and couldn't wait for more white limestone to ship) and it worked fine I think, but I wouldn't recommend doing that.  The paint in the kit is more of an enamel type paint (I had a really hard time getting it off my fingernails, whereas the regular paint scrubbed right off), so I think it probably hardens and sticks better.

You start by rolling the black primer on to a very well cleaned counter.  My counter had a little bit of texture to it so I didn't really sand the existing counters first, but if your counter is super shiny and slick, it'd be a good idea to give it some texture with some sand paper before putting down the primer.  I just did one coat and then touched up a couple spots where it was a little thin.

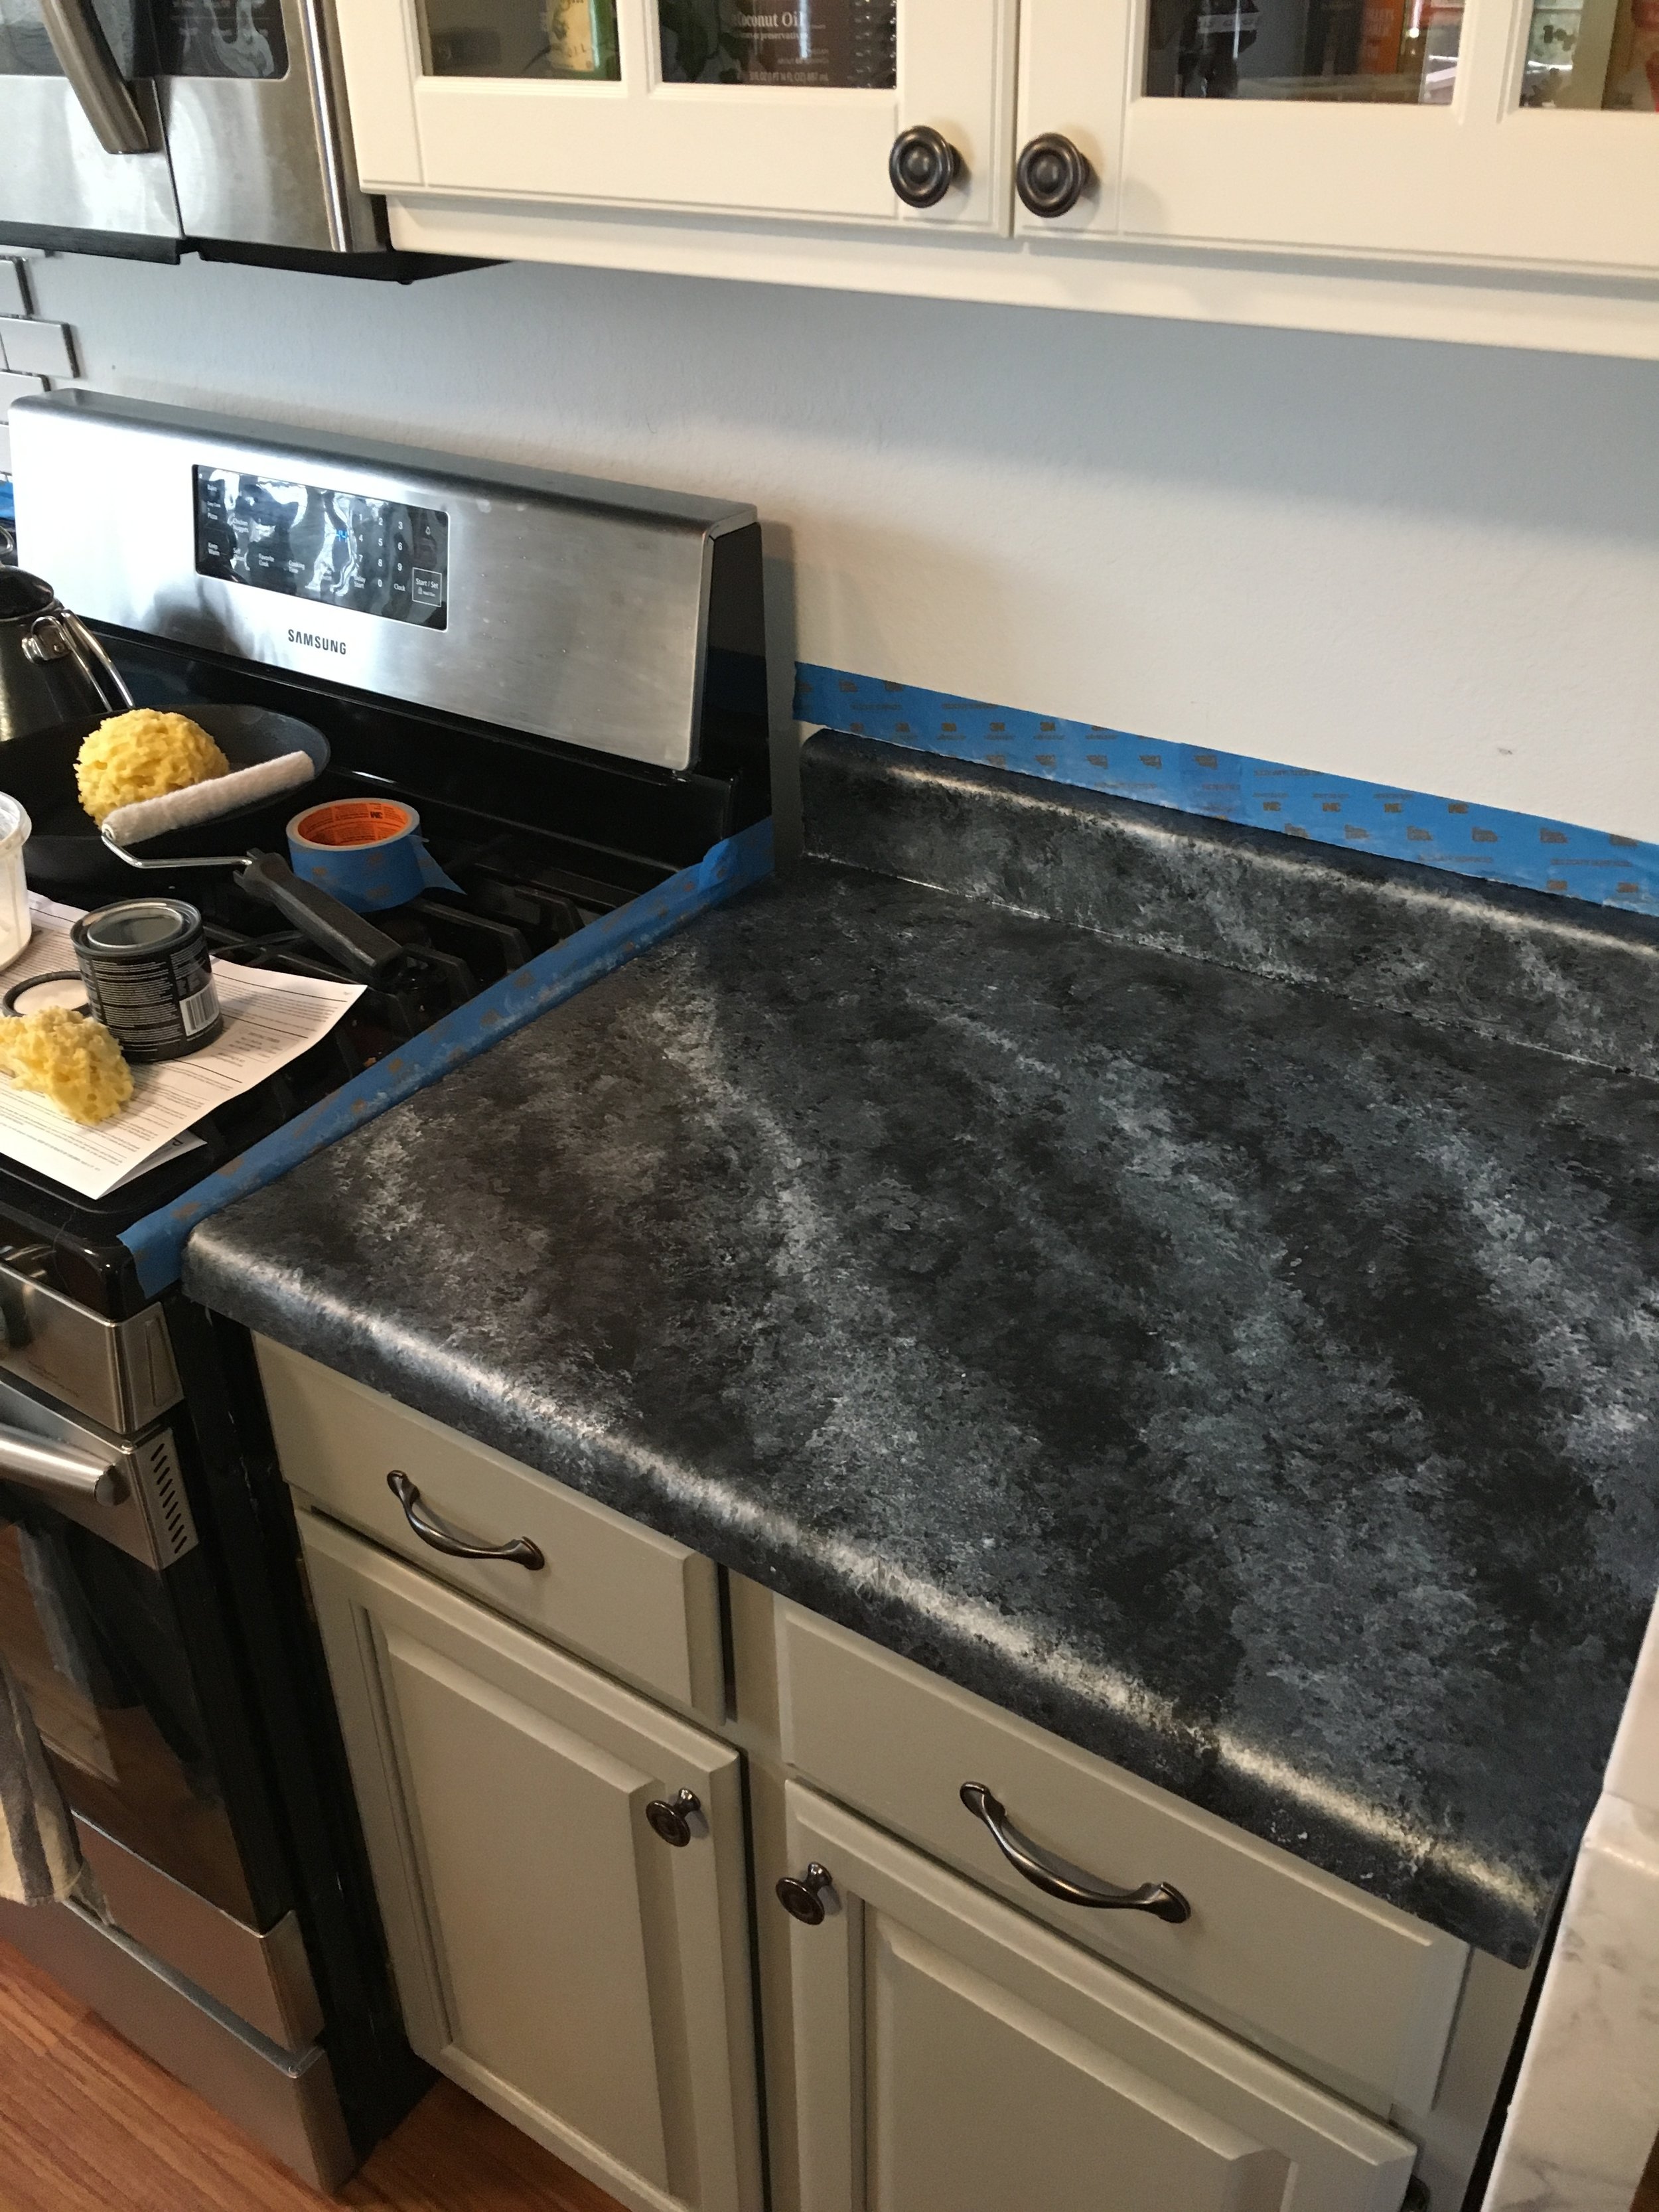
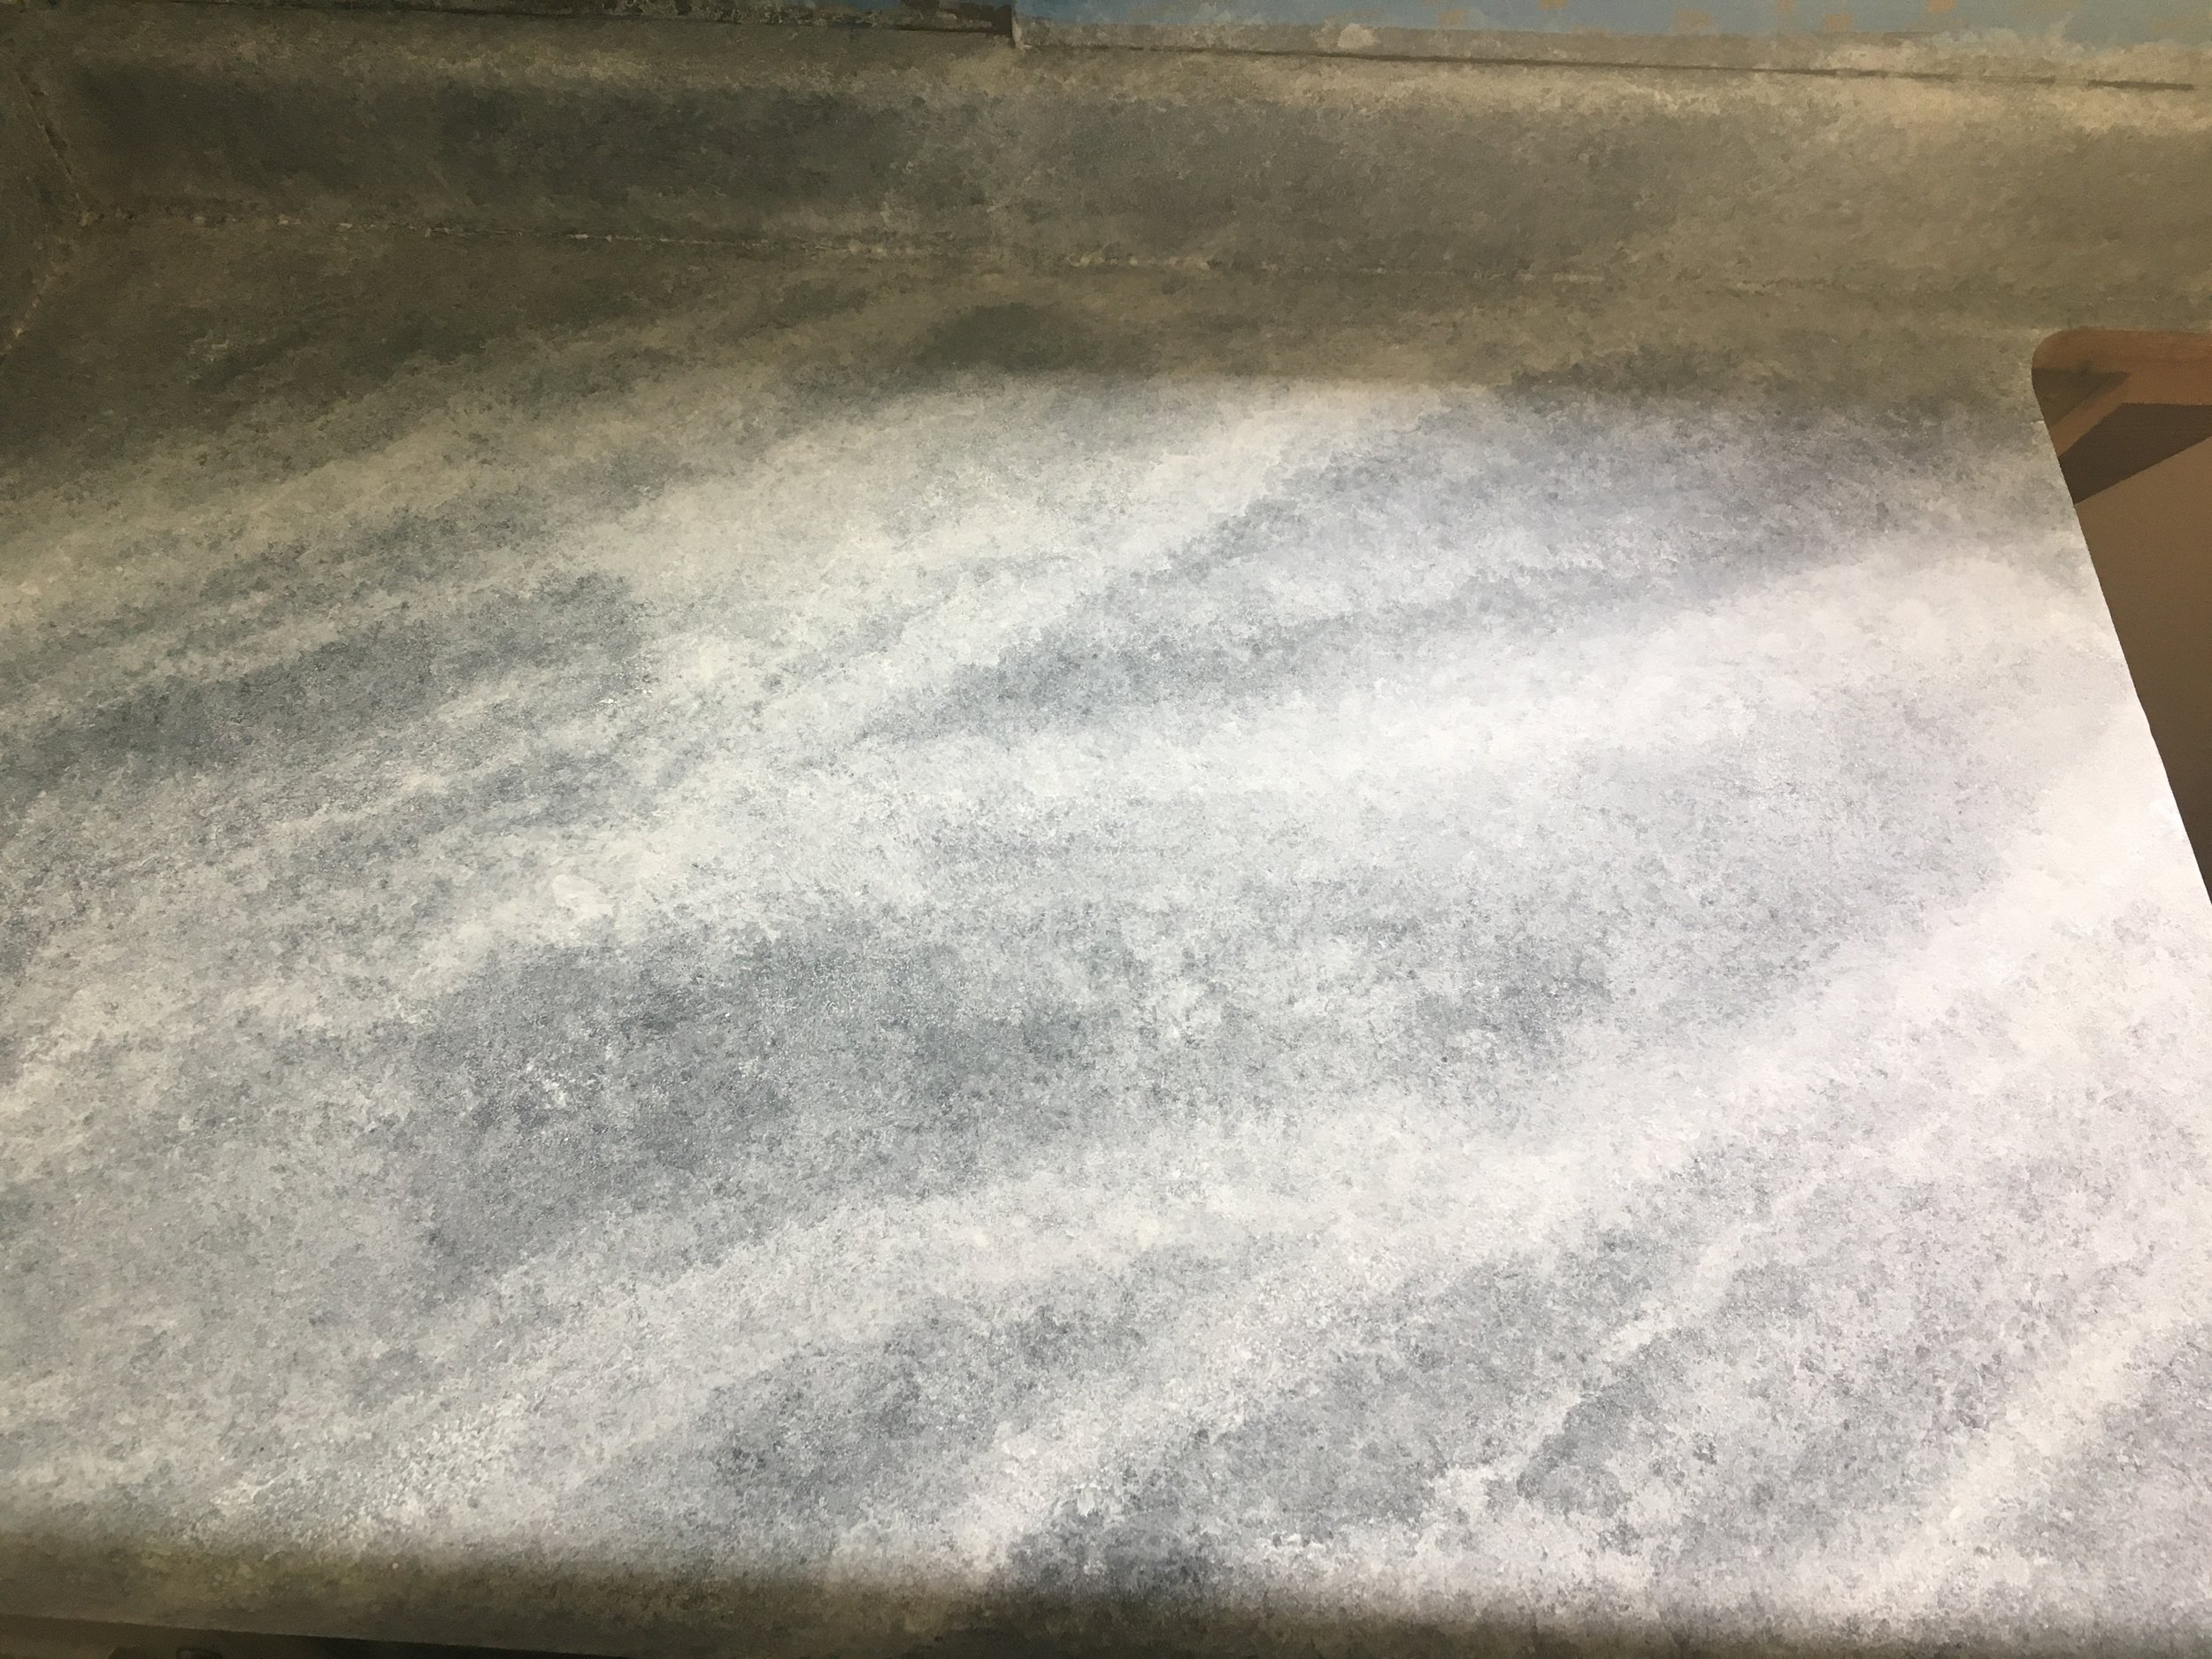
Next, you start layering on the paint.  The kit comes with a sponge you can cut into pieces to sponge on the paint.  I started with the pearl mica.  I started creating the flow of my veining from the beginning, doing a kind of diagonal veining pattern.  After the pearl mica I started the white limestone layers and then you basically do as many layers of the white limestone as you want to achieve the lightness of marble you want.  I think I did about 4, maybe 5 layers. I sort of got lost in a haze of sponging and didn't keep track after like 3 layers.

To do the veining, mix a little of the black primer with the white limestone and use a small brush.  Keep some white limestone handy with your sponge to go over top the veining if you don't like the vein you put in, and also to fade them a bit so they blend.  I google searched for marble slabs and found one that I used as a reference for my veining look.  

The top coat gets rolled on and goes on in 2-3 layers.  You don't want to put anything heavy on the counter for a couple days and it cures fully in 2 weeks.  In terms of durability, it's not the greatest (that being said, I didn't use only the countertop paint, I did those top couple layers of white with non-countertop paint, so I'm not sure about what the durability would be if I only used the kit).  I can tell that if I scratched it with something hard or metal, it'd probably put a gouge in the paint. We had an electrician come in to fix our outlets and he totally scratched through the paint somehow (I think he leaned against the counter with like tools on his belt or something), so that was a bummer, and it does stain if you're not careful.  We have an espresso machine and over by that we already have a couple small yellow-ish coffee stains.  I bet wine and certain spices would also stain it.  We use our butcher block island for most food prep stuff that might be staining.

If you're looking for a stop-gap that's a cheap (but a bit time-consuming) way to get the look you want until you can afford getting real marble (or real faux marble) counters, this is definitely a way to do it.  If you're super rough on your counters, this might not be a great solution.  It'll work for us for the time being though!  You can wipe them down easily, they just recommend not using any harsh chemicals and not scrubbing super hard.

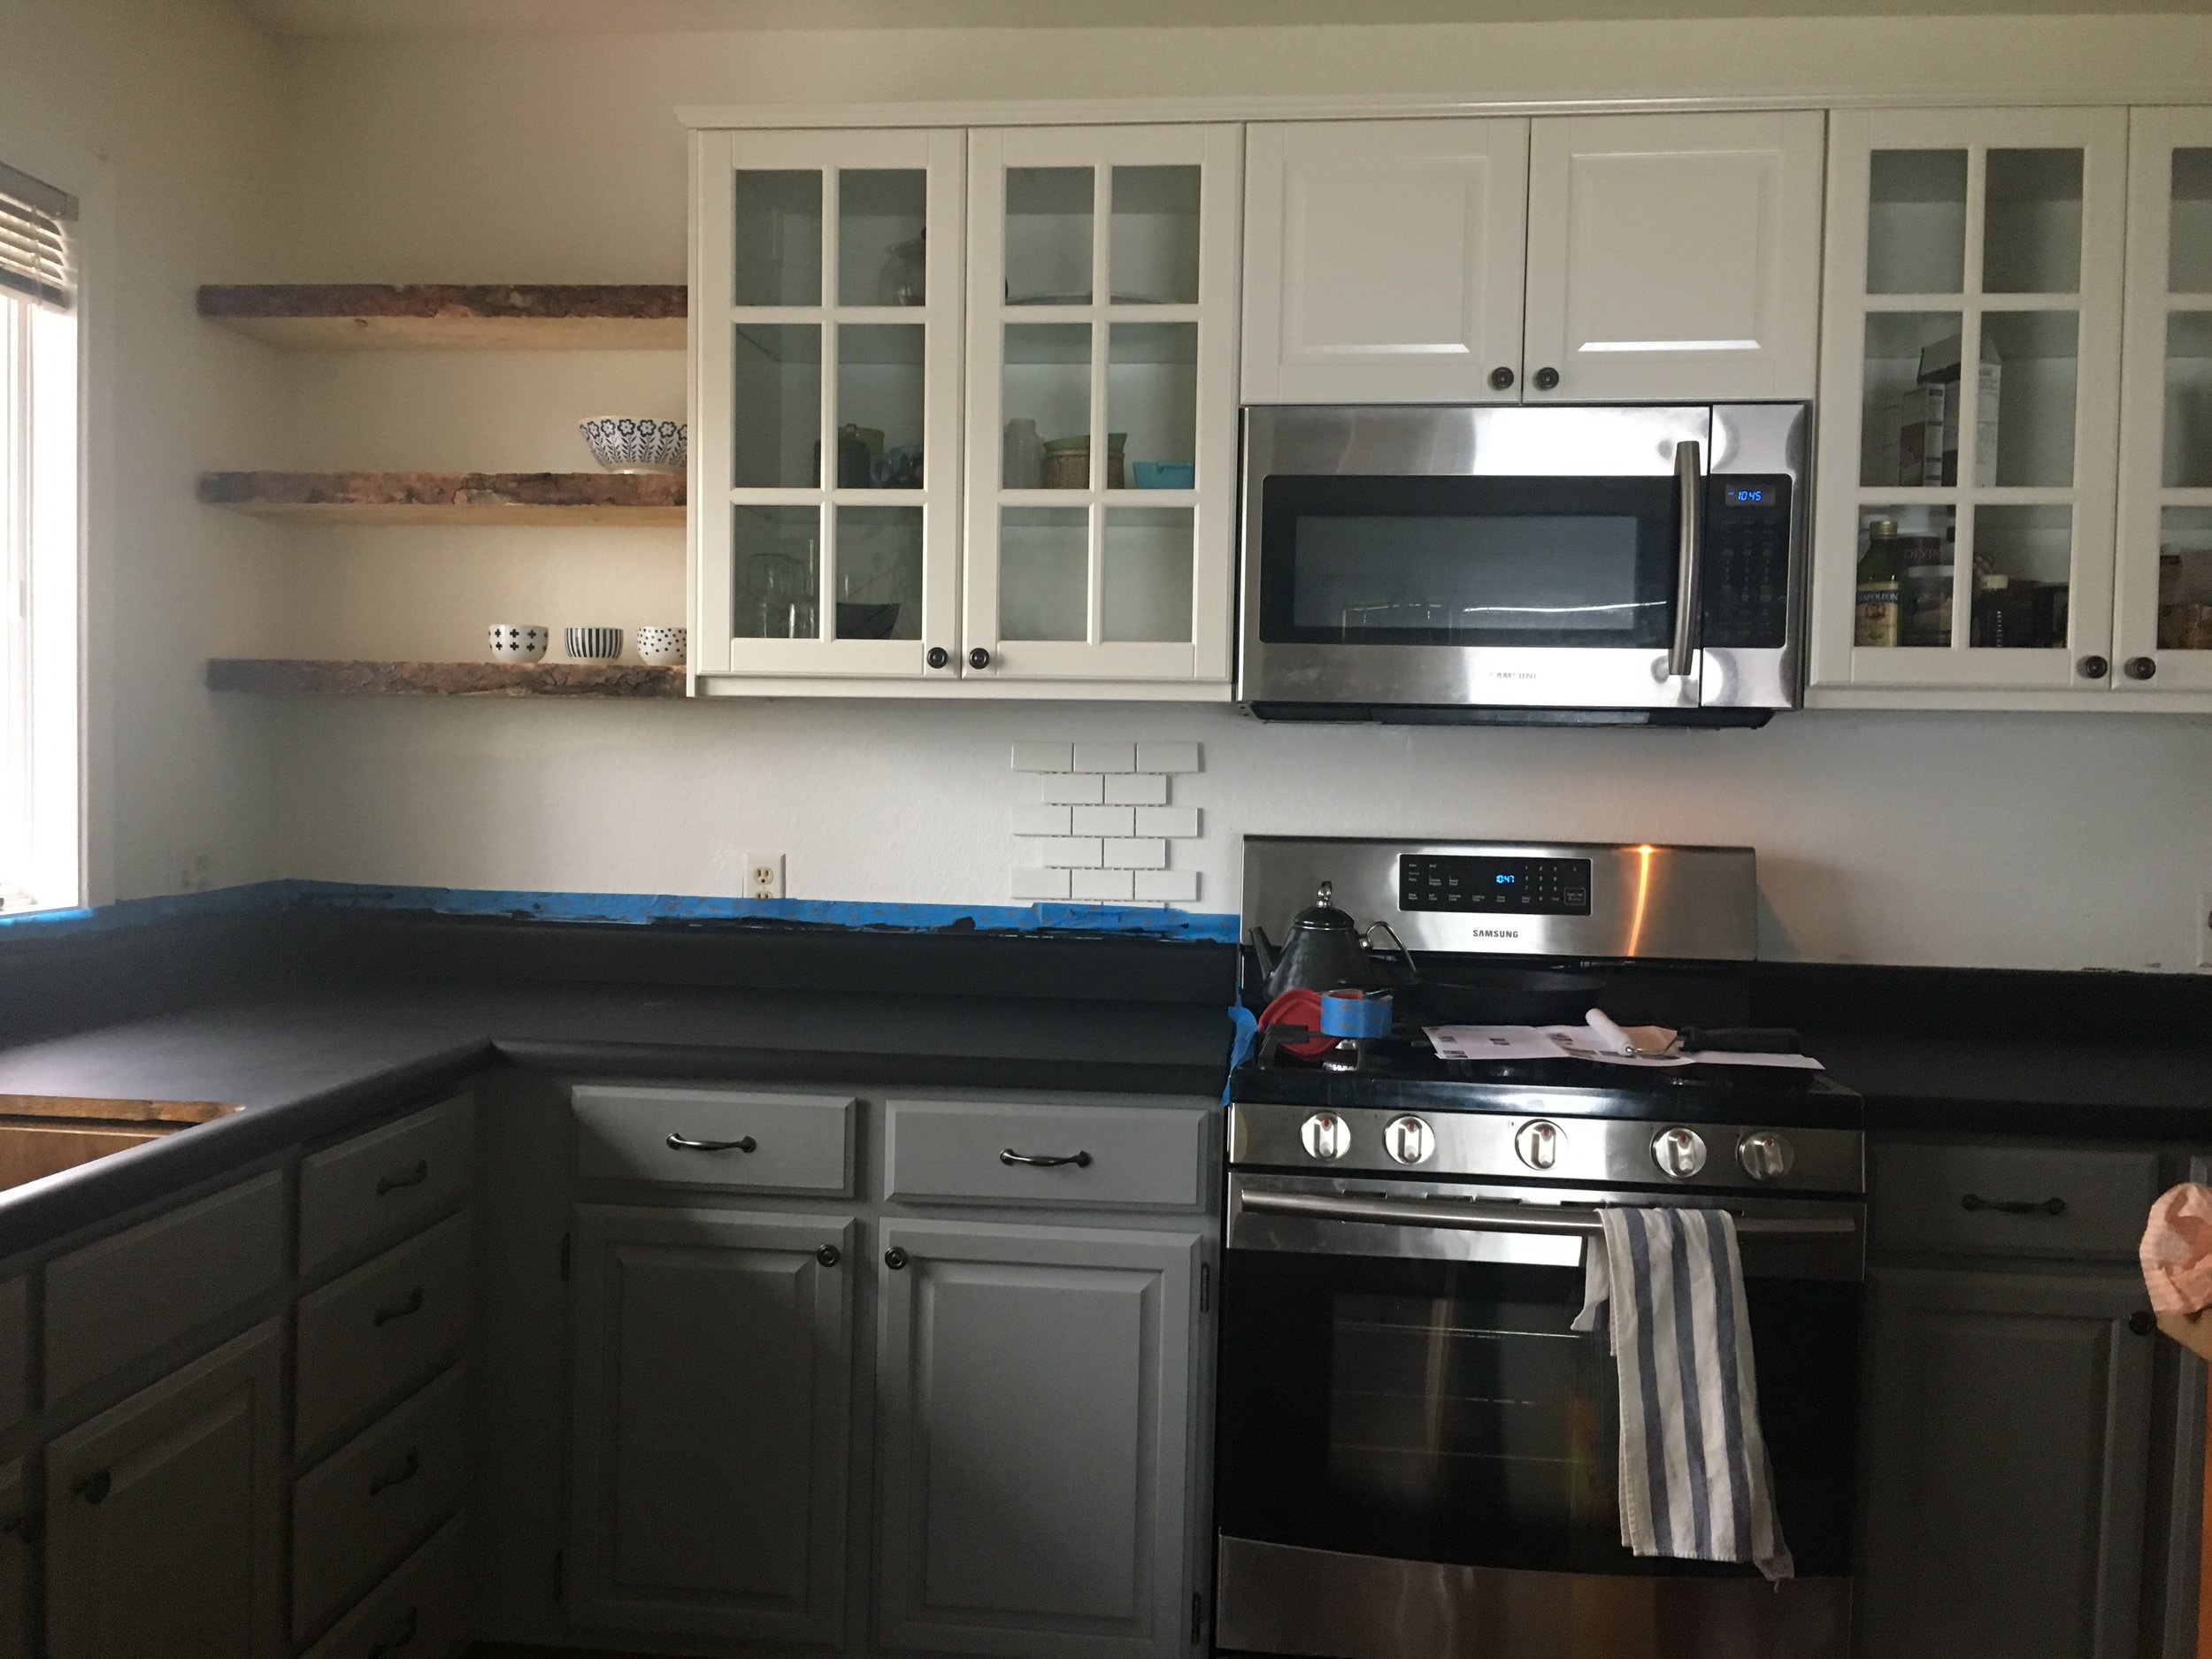
I used one whole kit (plus 2 extra white limestone cans) and we have about 15 feet of counters.  Here's what she looks like before.  Kind of dingy, off-white, ivory:

And after!  Crisp, white, and fresh!:

DYING TO TRANSFORM YOUR OWN KITCHEN, BUT AREN’T SURE WHERE TO START, HOW TO BRING YOUR VISION TO LIFE, OR NEED HELP FIGURING OUT HOW TO MAKE IT ALL HAPPEN? I’VE GOT YOU COVERED! HEAD OVER HERE AND LET’S GET STARTED ON WORKING SOME DESIGN MAGIC FOR YOU!

DIY Diaper Wipe Spray

When we decided to go with cloth diapers, at first the thought of doing cloth wipes as well wasn't something I even considered.  I don't even think I thought that was a thing.  Then at our baby shower a friend who had a new baby was changing her and used a reusable cloth and wipe spray and my mind was blown.  

There are lots of reasons to forego using regular disposable wipes: nasty chemicals and fragrances, the wastefulness of the packaging and throwing away the wipes themselves.  But what really got me was just the cost effectiveness of creating my own wipe spray and using cloth wipes.  

We've been using this method since Jack was born and I really really love it.  The wipes just go in the wash along with the cloth diapers, and I've gone through maybe 4 or 5 batches of this recipe so far.  It's super quick to make and I make two at a time so I can have a spare one to take in my diaper bag for when we're on the go.

DIY Baby Wipe Spray

  • 2 TBSP Aloe Vera (liquid. we use this stuff)

  • 2 tsp oil (jojoba, hemp, avocado, etc)

  • 1.5 tsp liquid castile soap

  • 10 drops tea tree essential oil

  • 10 drops lavender essential oil

  • ~4 TBSP water
    (yields 4 oz)

1. Add all ingredients (except water) to a 4 oz dark glass spray bottle.

2. Add water, just enough to fill the bottle to the top (leave enough room for the displacement of the spray tube). Swirl gently to mix.

3. Before each use, invert or gently swirl to combine ingredients.  Spray directly onto baby's skin or on the wipe itself (I find the former works best for us).