how to

Best DIY Projects of 2023

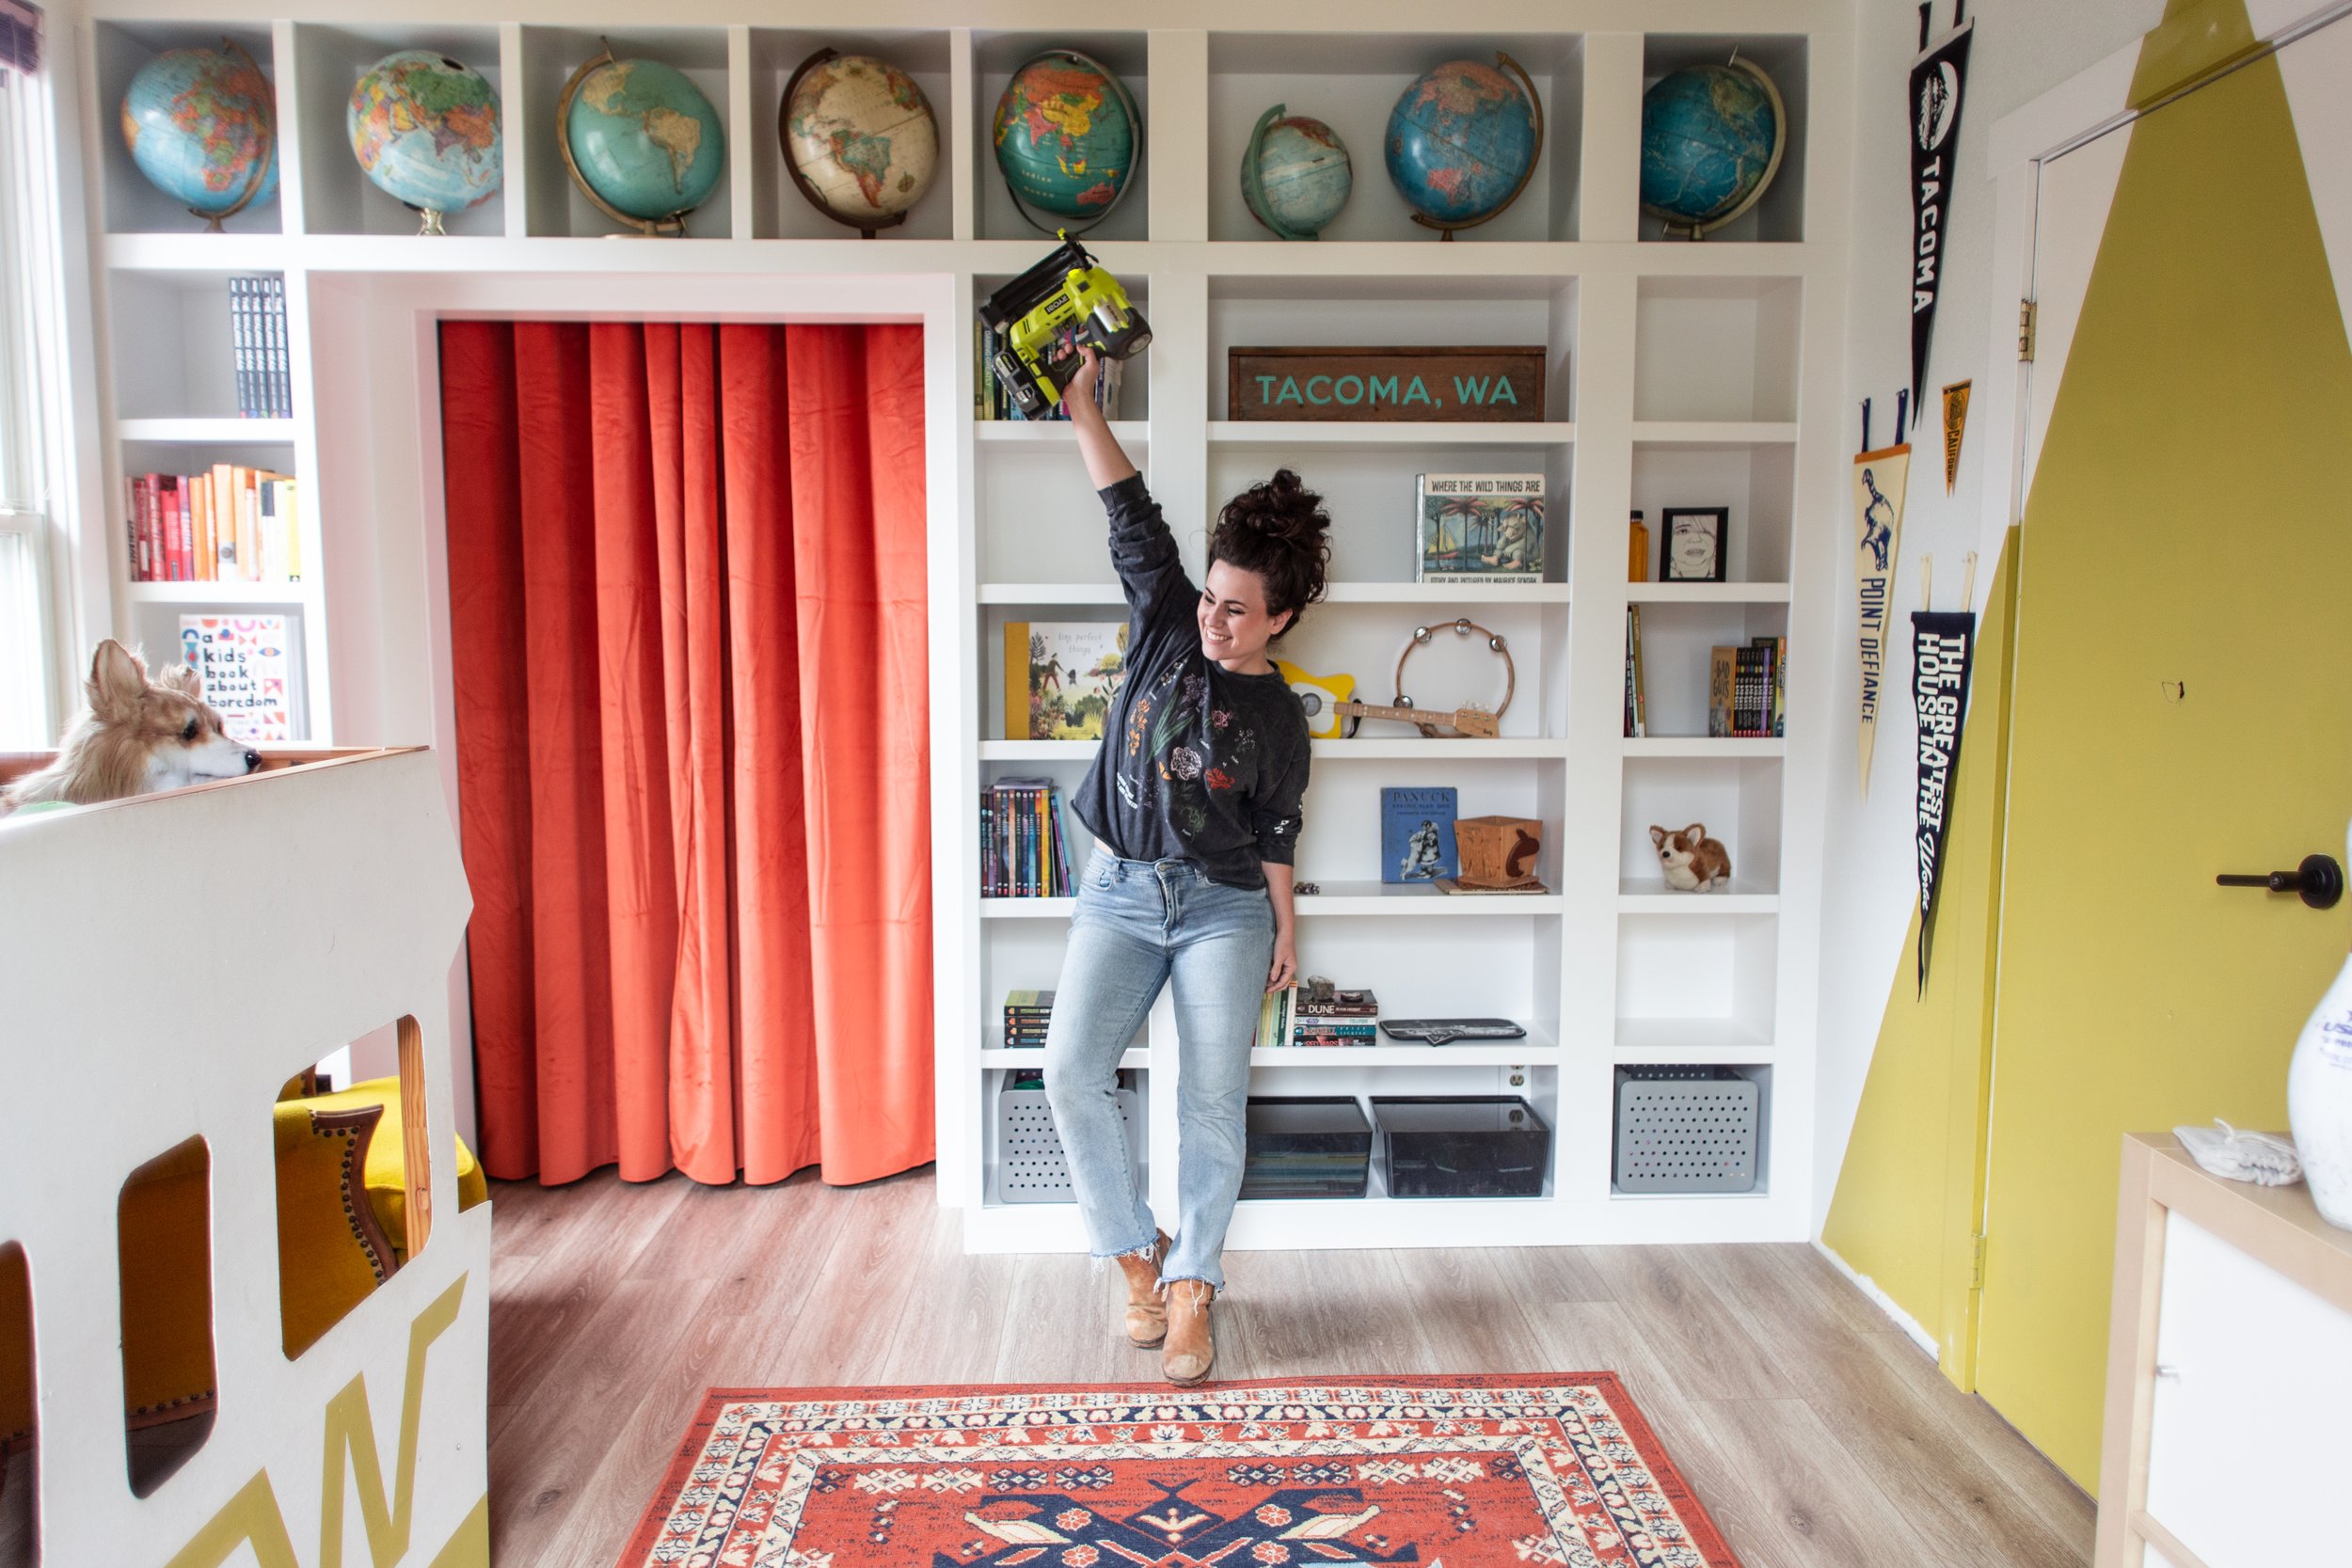
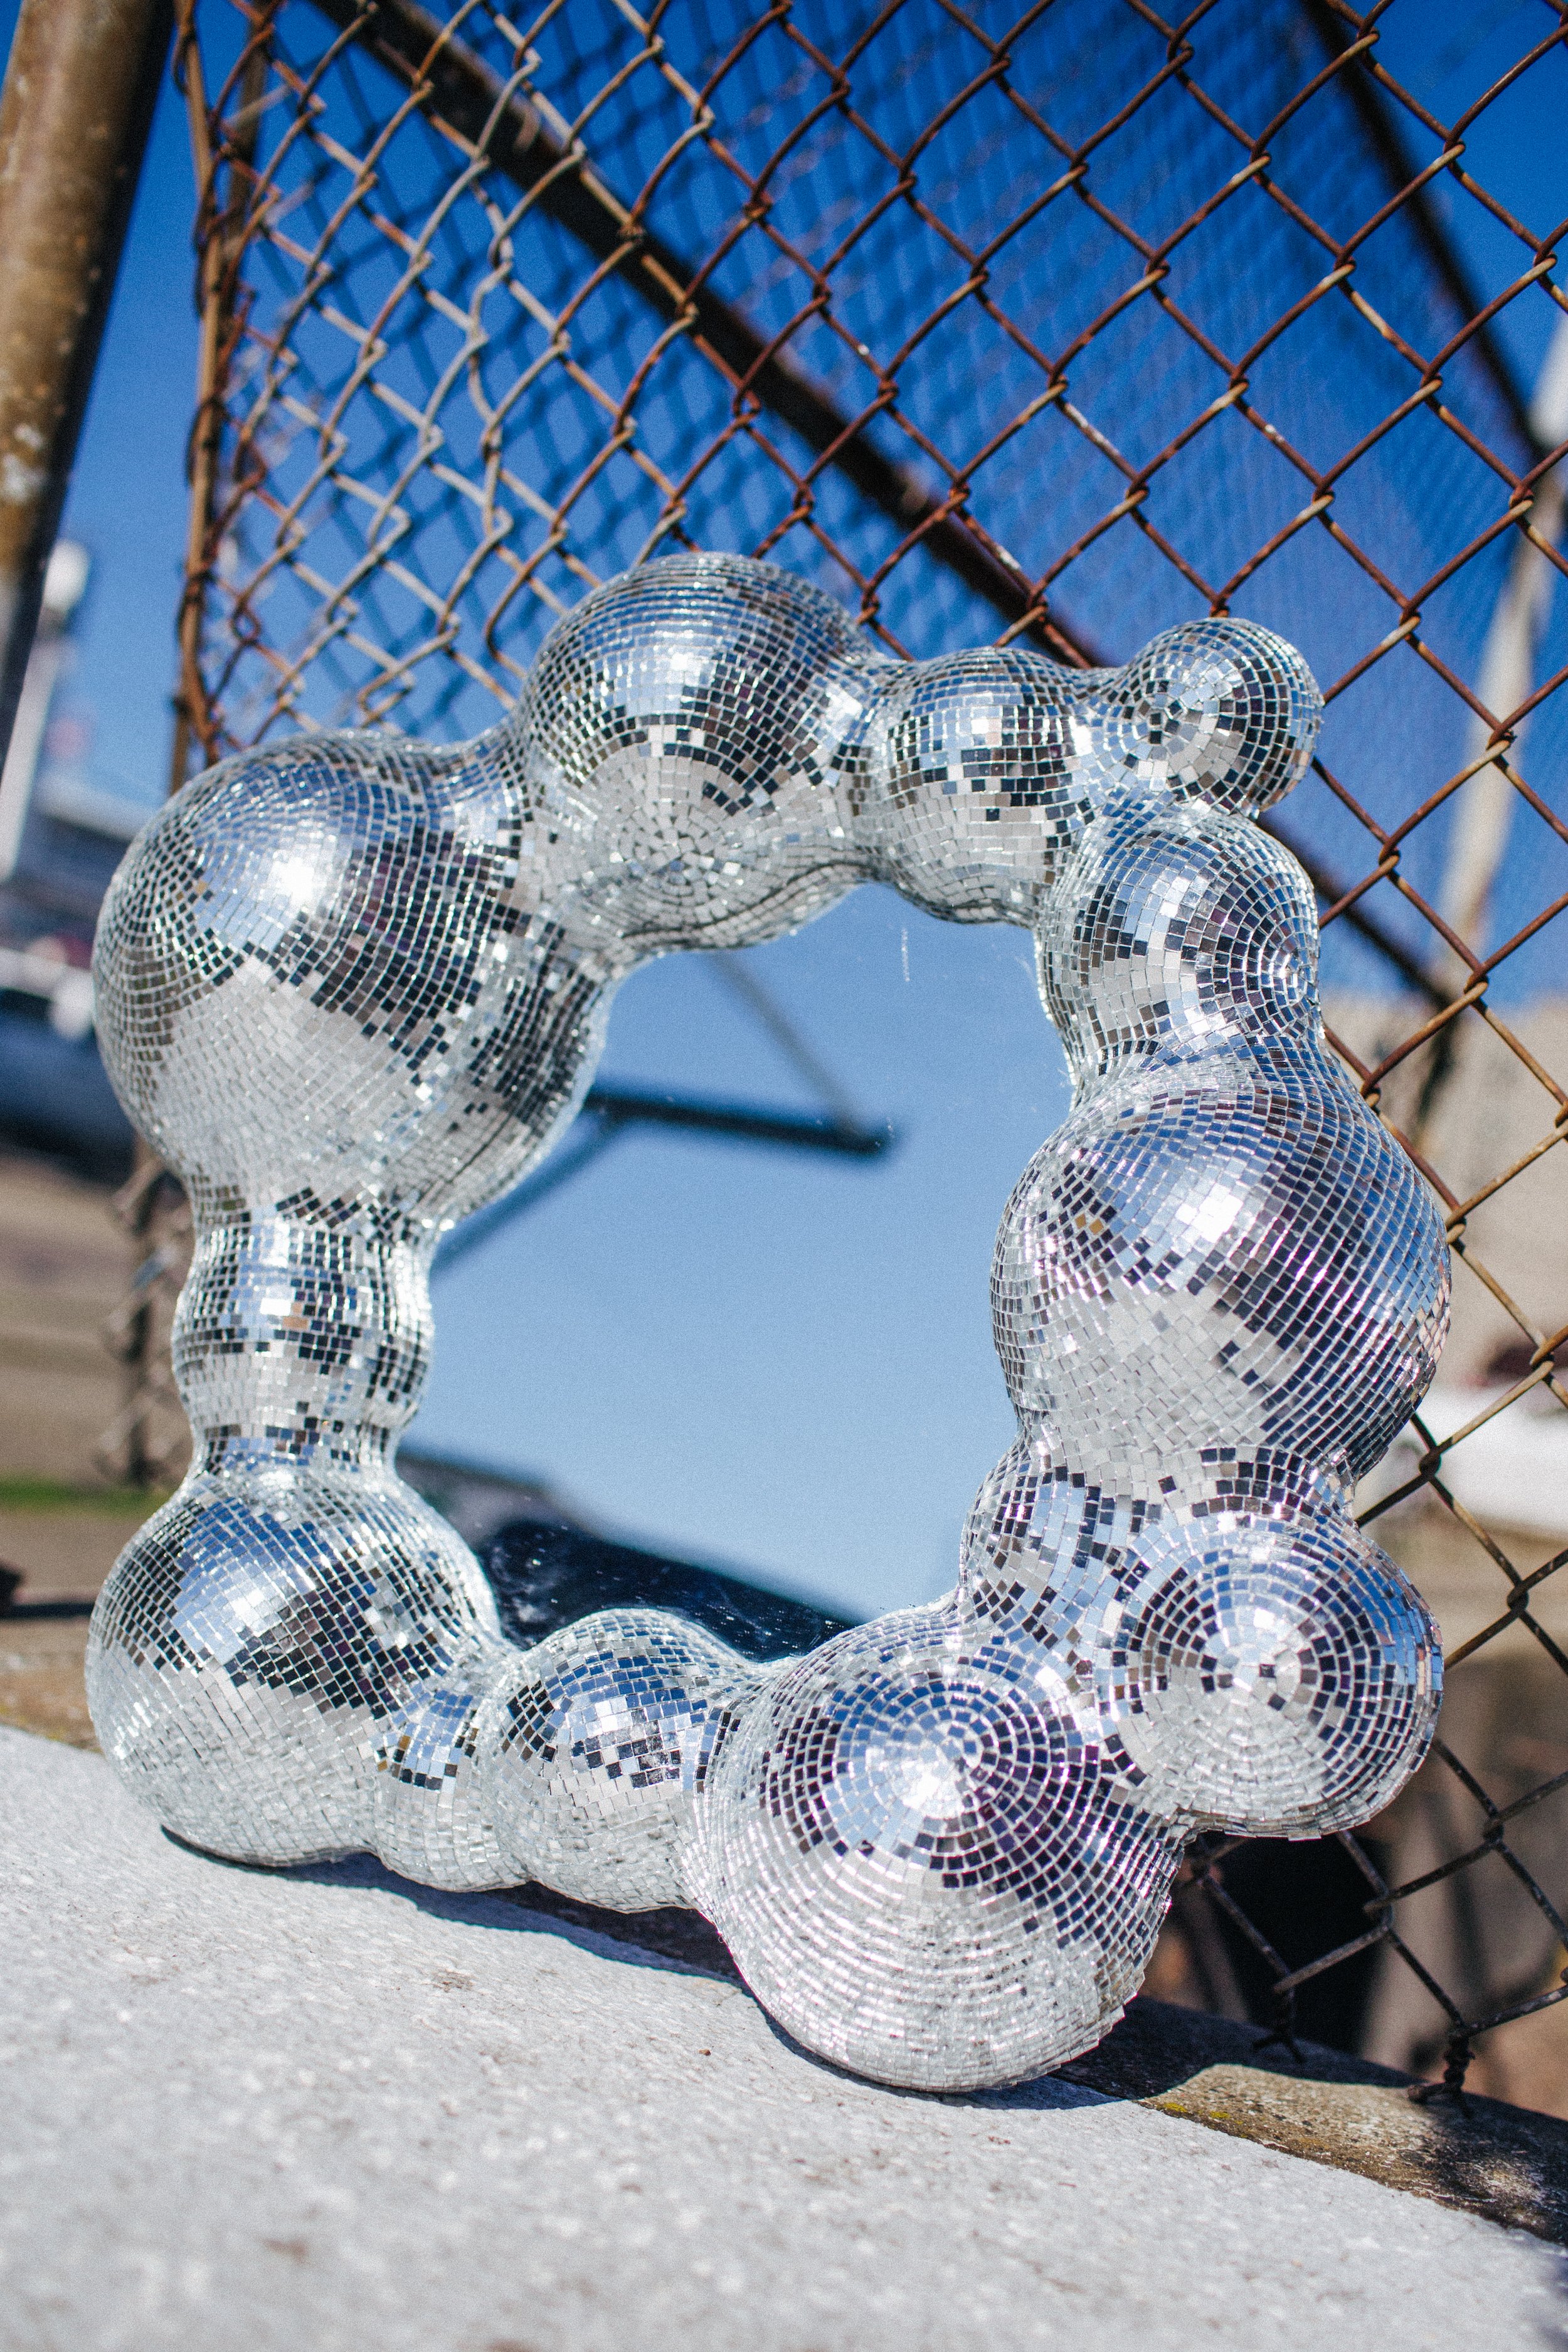
2023 was a bit of a slower year project-wise but I love what I got to create this past year. These are in no particular order but I think my top three are the library, the fireplace, and the disco mirrors. I’m counting The DIY Awards as a DIY project because, well, it was quite possibly the most intense, stressful, and time consuming DIY project I did all year. Tap on each link to go to the tutorial for that project (and if you click the DIY Awards one it’ll take you to the Awards round up with photos from the event, as well as all the winners!).

I don’t have anything solid planned for 2024 projects, but I’ve had some things that have been needing to be done for many years and I’m hoping to get those projects ticked off this year (there’s a half finished bathroom staring at me right now).

All in all, I’m proud of what I did in 2023, most of all the rest I allowed myself to take. I’m feeling like I’m going into the new year recharged and re-inspired, whereas I basically dragged myself through January last year trying to finish up and put on the DIY Awards event, and then subsequently was burnt out for a good portion of the year.

So here’s to 2023 and her accomplishments, and a fresh new year ahead full of possibility.

01/ The Ikea-hack built-in library

04/ The Disco Mirror projects

diy globe hanging light

have a pretty big globe collection in my house and the one the started it all had broken off its brackets last year and looked a bit sad.  I thought it could use some new life so I turned it into a pendant lamp!  I get all my globes from thrift stores and pretty much every time I see one I get it.  Almost every room in our house has a little collection of globes now.  

My studio space is one of the few rooms in the house that I haven't really started working on.  It's sort of the catch-all because nobody ever sees it.  You have to go though our bedroom, upstairs, through our closet and then to the studio, so it's mainly just a place where I throw stuff to "organize later" (read: never).   What you don't see in these photos is the giant pile of mess just out of frame, but I promise it's there and it's scary.  I need to rip the ugly brown carpet out of the entire upstairs, so part of me doesn't want to bother cleaning it up because I'll have to take everything out of there to remove the carpet and put in new flooring anyway.  You can kind of see the carpet around the edges of the zig-zag rug.  It's bad.  I actually realized that I ripped the exact same carpet out of the Brave when I re-did her floors in May. The Brave looks so much fancier without that old brown carpet (it wasn't even the original green carpet, bleh), so I can't wait to get new floors in this attic space.  

When we looked at this house before buying it, I was entranced by this upstairs space.  I immediately claimed it as my studio.  I recently looked at a few homes for sale with my parents and in every single one I was enamored with the very top floor with slanted ceilings.  Maybe it reminds me of a treehouse or something, being on the very top floor, but I love me some attic spaces.  I'd love to put a dormer in to expand the space and bring in more light.  The room is pretty dark with just the one window on the end, especially in the winter, so it'd be nice to get a little more space and natural light.

What You'll Need:

rotary tool with cutting bit and/or utility knife

drill (or rotary tool w/ drill bit)

cardboard globe

hanging light cord (Ikea has the Hemma cord or here's one on Amazon.)

light bulb

safety glasses

First, remove the globe from its stand.  Depending on the kind of globe you have it might be a bit difficult, mine was kind of a pain.

Since your globe has latitude lines on it, you can use that as a line to follow when cutting your hole in the bottom.  I used 45º S for mine, but you can pick any, depending on how large you want the opening to be.

Using your rotary tool with a cutting wheel bit, or just using an x-acto knife, cut along the line to make the hole in the bottom of your light.  Make sure you use goggles if you're using a dremel because it'll fling particles up at your face.  I did most of mine with a rotary tool and then used an x-acto to cut any pieces that were left holding the bottom on.  

Take your lamp cord and put it at the north pole where it'll hang from and trace the circumference.  Cut your hole along this line.

If you'd like light to show through little holes on in the side of the globe, use a drill or your rotary tool with a drill bit and drill little holes!  I drilled holes along the edges of the continents for mine.  A fun version of this lamp could be painting the globe black and then drilling star constellations in the sides!

Once your holes are all drilled, unscrew the piece from the light cord that secures the shade and then push the threaded end of the cord through the hole you made at the top of the globe.  Screw that piece back on the threads from the inside of the globe to secure the globe shade to the cord.

Plug her in and find a place to hang it!  Hanging lamp cords usually comes with little hooks and cord holders to help hang it, but if you get another kind of cord, you'll need some hooks to hang it up.  I love this light hanging above my studio desk, it gets to hang out with the other globes that have parked themselves on the desk.  

easy DIY macrame pot holders

his is actually a DIY I did last summer, but never ended up posting!  I wanted to liven up my front porch, so I made these super easy hanging pot holders and planted some little marigolds.  All you need is some rope and pots!

During Christmas I put faux Poinsettias in the pots, but I noticed that the red dye in the faux flowers bled all over the pots and rope.  Luckily the dye washed away in the rain after a couple months, but if you live in a place that's rainy and want to put faux flowers in your pots outside, take note.  Real Poinsettias are too large for these pots so I'll have to figure something else out next winter.

This is a really quick project, depending on how many you're making.  I have six hanging from my front porch and it took me a couple afternoons, mostly because I ran out of rope and had to go buy more.  I'd say each one only took 10-15 minutes.

You'll need six lengths of rope (or yarn, I made some hanging candles in mason jars using this same tutorial using yarn.).  I'd recommend cutting the rope longer than you think you might need it, it's better to have extra than not enough.   I used white rope and a simple terra cotta pot which I panted white with exterior paint (since my pots would be outside in the rainy northwest weather).  The amount of rope you need will depend on how long you want your macrame holders to be.  Mine hang about 3 feet down and I believe I made the ropes about 5 feet each.

Tie the ropes in a knot leaving a bit of extra (you can always cut it off later).  Separate the three pairs of rope so they're easy to see.  Tie the adjacent pairs together with a square knot.  This will be the base of your pot holder, so where you tie them will depend on how big the base of your pot is.  Try to aim for tying this first knot at the length of the radius of the base, or a bit longer.  Go around and tie all three pairs.

Now that all three are tied together, separate the free ends.  Tie these new adjacent strings together for your "level 2" knots.  Make sure all your knots are the same distances, so each level is at the same point, otherwise it'll get lopsided. If you're not sure if your knots are in the right place to create the right size space for your pot, have your pot on hand and you can slip it in there while you're making it to see if your knots are going to fit the pot.  Knot each adjacent pair.

You can keep knotting as high as you like, but I found that three levels of knots works good for a small pot.  Slip your pot in there to see how it fits and if it looks good, you're done!  Knot the top of the strings so the pot hangs where you want and then screw a hook to the ceiling, or wherever you're hanging your pot from and hang it!

I was lazy with my pot holder and just let the ends fray, but if you wanted to make the ends cute you could leave them super long and put a wood bead on the end and knot it for a bit of embellishment.  Or you could singe the ends of the rope/string so that they didn't fray.

DIY Hog Panel Trellis

Over the past three years, I’ve slowly built and added on to our garden, and now that the essential layout and garden beds are done, I’m moving on to fleshing it out with elements that help define the space and give it a cozier feel. When we bought this house, it really just felt like the house was dropped onto a totally empty lot with no landscaping to speak of, so adding in things that help the house feel integrated with the land and neighborhood has been part of our long-term exterior goals.

I’ve spent a couple years building raised beds for our vegetable/pollinator garden, but last year when I built the patio and pergola area in the back of our house, I realized that you could see all the way to that area from the front, so I wanted to create a little more privacy, with something for climbing plants to vine on. While I was walking the aisles of Home Depot, I saw a garden bed trellis made with Wild Hog fence panels and I knew that would be the perfect solution, since we already had garden beds right where I wanted trellis to go.

I’d built the pergola last year using LINX brackets and Wild Hog fence panels, so I was familiar with and loved those products already, so using them to create this trellis situation seemed like the perfect fit.

What you’ll need:


Materials (per 3.5 x 6.5 ft trellis):
2-  10ft 4x4 treated lumber
1-  8 ft 4x4 treated lumber
1-  36x72in Wild Hog Panel
1-  6ft Wild Hog Tracks kit
2-  4x4 LINX L-Fit Brackets
4-  3in Exterior Wood Screws
Gravel or Concrete for setting posts

Tools:

Circular Saw
Impact Driver/Drill
Angle Grinder
Tape Measure
Speed Square


  1. Start by inserting one of the 10ft 4x4s into the first LINX L-Fit brackets. Make sure the 4x4 goes all the way in, so that when you look inside from the other side, you see it fully inserted. Then slide in the 8ft (for the 36in wide panel, or 6ft for the 60in wide panel) 4x4, so that its inserted fully and touches the 10ft 4x4 you’ve already inserted.

  2. Lay your Wild Hog panel in the middle where it will eventually go, with about a 1/4 - 1/2 in gap on all sides. Mark the width of that top 4x4 using your speed square, remove from the bracket, and cut on your mark.

3. Insert the other 10ft 4x4 to the second LINX bracket, then reinsert the top 4x4 you just cut, then secure the brackets using the screws provided with the LINX brackets.

4. Open your Hog Track kit, you’ll have two 3ft tracks and two 6ft tracks. If you’re building a trellis using 36in wide Wild Hog Panel, you’ll need to cut the 3ft track to fit between the LINX Brackets (you won’t need to do this for the wider trellis using the 60in panel). You’ll also need to cut the excess off the bottom of the 6ft tracks to fit between the bottom of the LINX bracket and the bottom of the panel.

5. Cut the tracks using your angle grinder, then spray the cut end with black spray paint.

6. Mark the center of all of your 4x4s at 1 3/4in, this is where you’ll install the hog tracks. I used my speed square, holding my pencil at 1 3/4 and sliding the base of the square along the edge of the 4x4.

7. Using the provided screws, attach the Hog Tracks along this line.

Repeat this process for each side.

8. With the three sides installed, slide your panel in all the way. Once the panel is in, you can build and install the bottom piece.

9. Measure the inner width between the upright 4x4s and cut your final section of 4x4 to fit. If you’re making a trellis using the 36in panel, you’ll need to cut about 1in off your final 3ft Hog Track, so it will fit between the vertical Hog Tracks on either side. Again, mark the center of the 4x4, and install that Hog Track. You can then slide this up so the panel slips inside that bottom track.

10. Secure this bottom piece by toenailing in using 3in exterior screws.

11. At the location where you’re going to install your trellis, measure and mark where the posts will go. Using a post hole digger, dig a hole about 38-42in deep.

12. Place about an inch or so of gravel in the base of the hole, then (with a friend— these trellises are heavy!) slide the trellis posts into the holes.

13. You can secure this trellis either using quick-setting concrete, or I simply filled in around the posts using gravel. Since my garden plan is constantly in flux, I wanted to make sure I had the option to move these in the future if my plans change, and gravel keeps them secure without making them 100% permanent.

If you’re also wanting to build some of these corrugated metal raised beds, they’re one of my favorite budget-friendly and (IMHO) cool-looking garden beds. You can find my tutorial for those here!

Our existing arbor that you can see is a Home Depot find, I’m not finding the exact model but you can see a very similar one here.

DIY Vintage Winnebago Kids Bunk Bed

Jack’s little Winnie bunk bed is hands down one of my favorite (and one of my easiest) DIY projects. You could obviously use this method to create any number of cool shapes— I made a version of this as a submarine for a local preschool— but I thought it would be so fun to give Jack a kiddo version of my grown-up-real-life Winnebago Brave.

Here’s what I used for this project:


Materials:
1/8 in 4x8ft Utility Panel
3/4 in screws
Finish Washers
White and Yellow Paint
Ikea Kura Bed
Ikea Trofast Shelf

Tools:
Impact Driver/Drill
Circular Saw
Jigsaw


Here’s the diagram for all the measurements I used to cut and paint mine. These measurements will fit the Kura bed, but you may need to modify if you’re using a different base bed (though it shouldn’t be too much different since it’s a standard twin size bed length).

  1. Cut out your plywood panel using the measurements. I used a circular saw for the larger straight cuts and then a jigsaw for the interior window cuts.

  2. Paint two coats of white on the whole thing (you could do both sides, but I left the inside raw wood).

  3. Use masking tape to mask off the RV stripes and paint two coats of yellow (or whatever color you prefer)

  4. Attach the RV panel to the Kura bed using screws and finish washers. You can touch up paint over the screws to help them look less obvious. I did a few along the top, and a few along the bottom.

That’s it! On mine, I covered up the area on the bed where the ladder goes with the RV panel, so I used the Trofast shelf as a set of stairs so Jack could climb up to the bed. I initially had a play kitchen inside so it felt like a real mini RV, but now that Jack is a little older and the play kitchen isn’t his speed, we turned it into a little gaming den where he can play Minecraft with Dan. Super cute!