decor

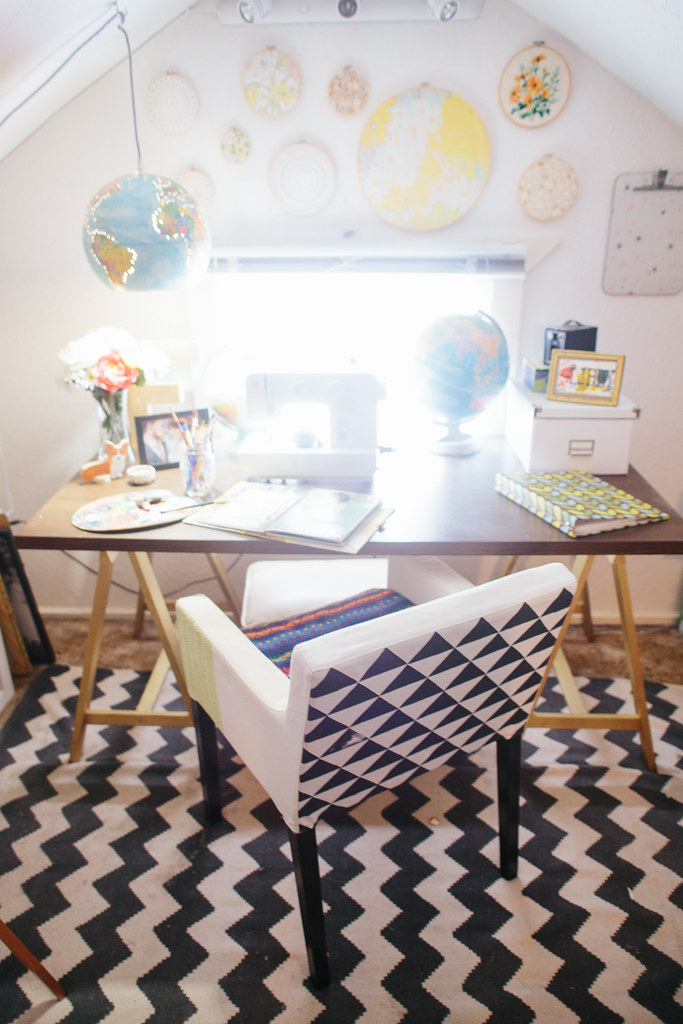
diy globe hanging light

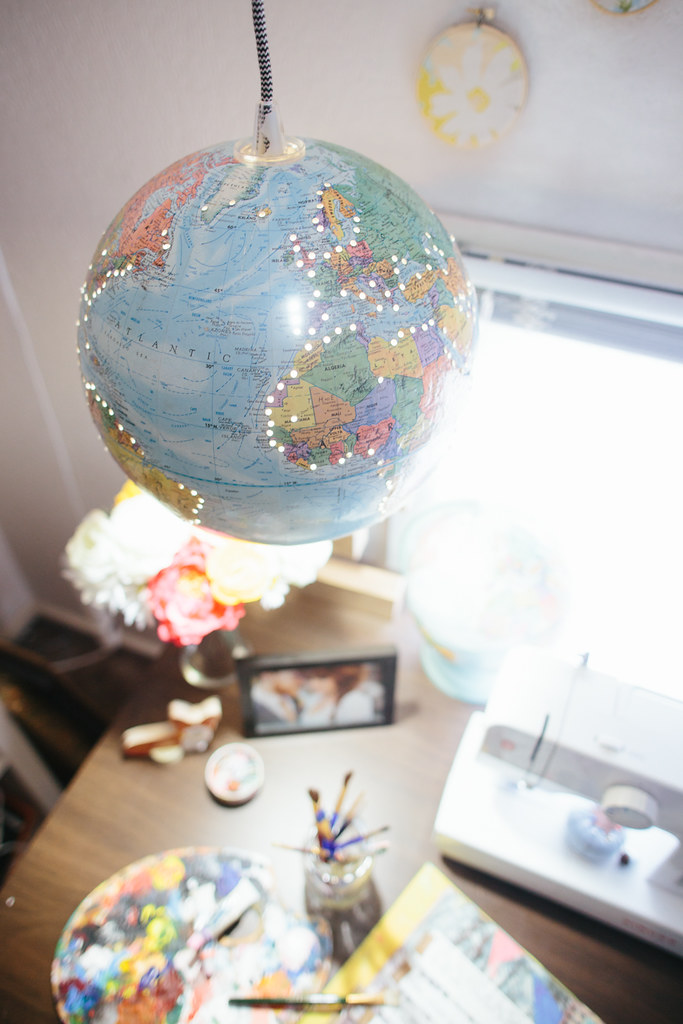
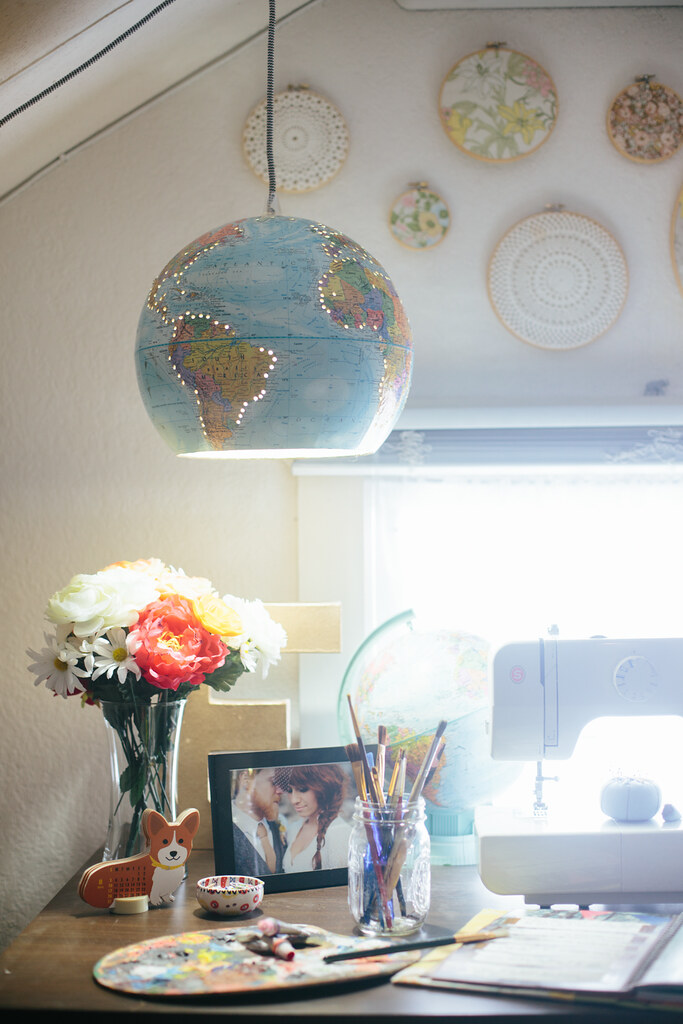
have a pretty big globe collection in my house and the one the started it all had broken off its brackets last year and looked a bit sad.  I thought it could use some new life so I turned it into a pendant lamp!  I get all my globes from thrift stores and pretty much every time I see one I get it.  Almost every room in our house has a little collection of globes now.  

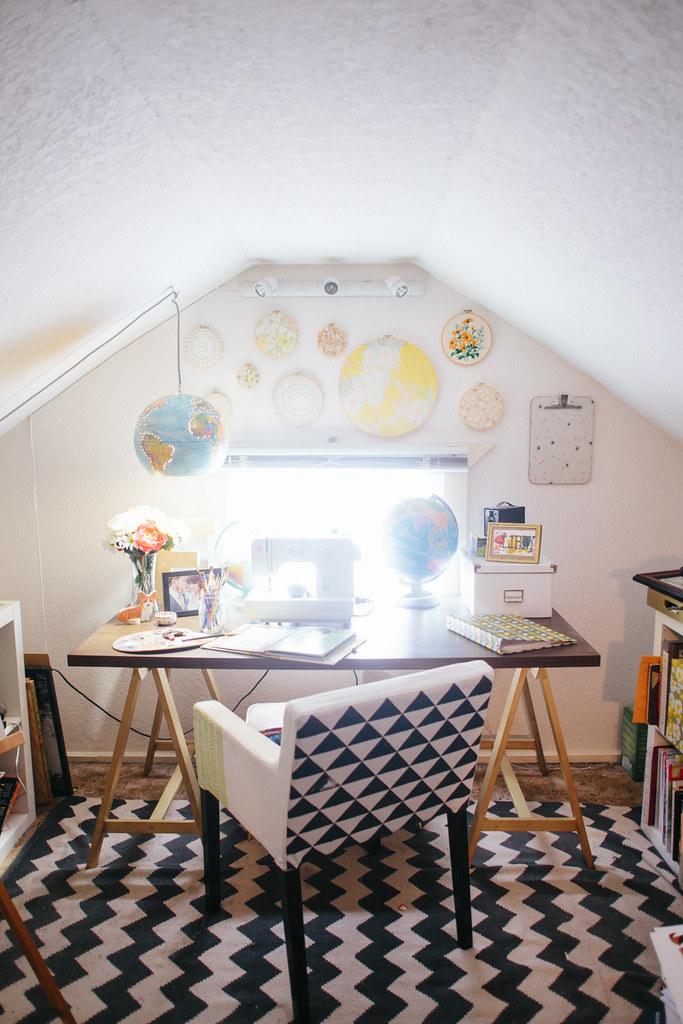
My studio space is one of the few rooms in the house that I haven't really started working on.  It's sort of the catch-all because nobody ever sees it.  You have to go though our bedroom, upstairs, through our closet and then to the studio, so it's mainly just a place where I throw stuff to "organize later" (read: never).   What you don't see in these photos is the giant pile of mess just out of frame, but I promise it's there and it's scary.  I need to rip the ugly brown carpet out of the entire upstairs, so part of me doesn't want to bother cleaning it up because I'll have to take everything out of there to remove the carpet and put in new flooring anyway.  You can kind of see the carpet around the edges of the zig-zag rug.  It's bad.  I actually realized that I ripped the exact same carpet out of the Brave when I re-did her floors in May. The Brave looks so much fancier without that old brown carpet (it wasn't even the original green carpet, bleh), so I can't wait to get new floors in this attic space.  

When we looked at this house before buying it, I was entranced by this upstairs space.  I immediately claimed it as my studio.  I recently looked at a few homes for sale with my parents and in every single one I was enamored with the very top floor with slanted ceilings.  Maybe it reminds me of a treehouse or something, being on the very top floor, but I love me some attic spaces.  I'd love to put a dormer in to expand the space and bring in more light.  The room is pretty dark with just the one window on the end, especially in the winter, so it'd be nice to get a little more space and natural light.

What You'll Need:

rotary tool with cutting bit and/or utility knife

drill (or rotary tool w/ drill bit)

cardboard globe

hanging light cord (Ikea has the Hemma cord or here's one on Amazon.)

light bulb

safety glasses

First, remove the globe from its stand.  Depending on the kind of globe you have it might be a bit difficult, mine was kind of a pain.

Since your globe has latitude lines on it, you can use that as a line to follow when cutting your hole in the bottom.  I used 45º S for mine, but you can pick any, depending on how large you want the opening to be.

Using your rotary tool with a cutting wheel bit, or just using an x-acto knife, cut along the line to make the hole in the bottom of your light.  Make sure you use goggles if you're using a dremel because it'll fling particles up at your face.  I did most of mine with a rotary tool and then used an x-acto to cut any pieces that were left holding the bottom on.  

Take your lamp cord and put it at the north pole where it'll hang from and trace the circumference.  Cut your hole along this line.

If you'd like light to show through little holes on in the side of the globe, use a drill or your rotary tool with a drill bit and drill little holes!  I drilled holes along the edges of the continents for mine.  A fun version of this lamp could be painting the globe black and then drilling star constellations in the sides!

Once your holes are all drilled, unscrew the piece from the light cord that secures the shade and then push the threaded end of the cord through the hole you made at the top of the globe.  Screw that piece back on the threads from the inside of the globe to secure the globe shade to the cord.


Plug her in and find a place to hang it!  Hanging lamp cords usually comes with little hooks and cord holders to help hang it, but if you get another kind of cord, you'll need some hooks to hang it up.  I love this light hanging above my studio desk, it gets to hang out with the other globes that have parked themselves on the desk.  
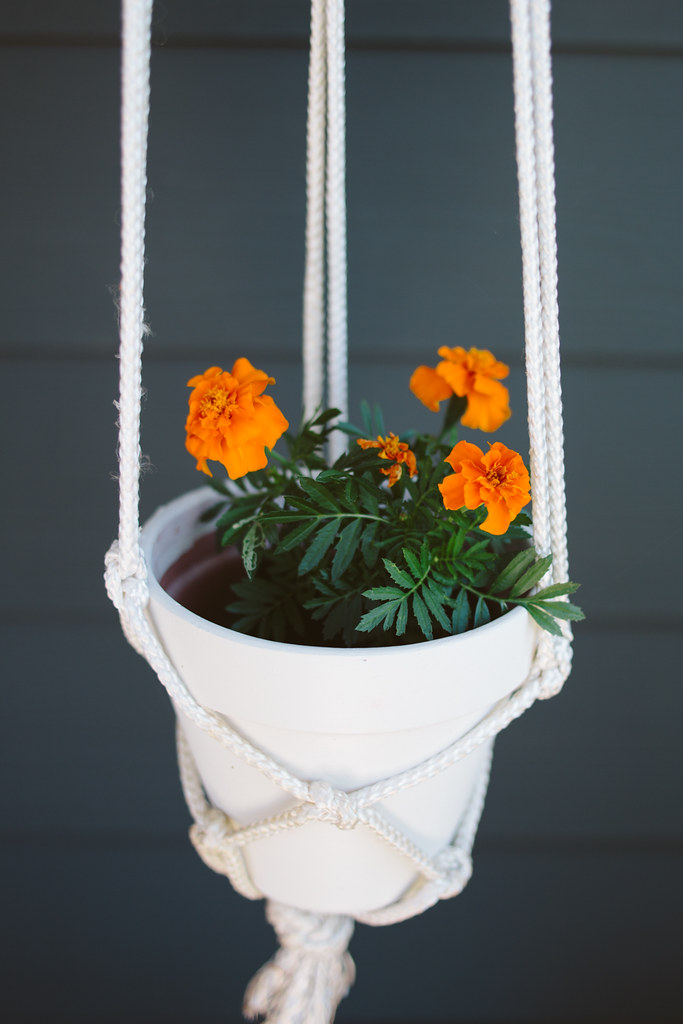
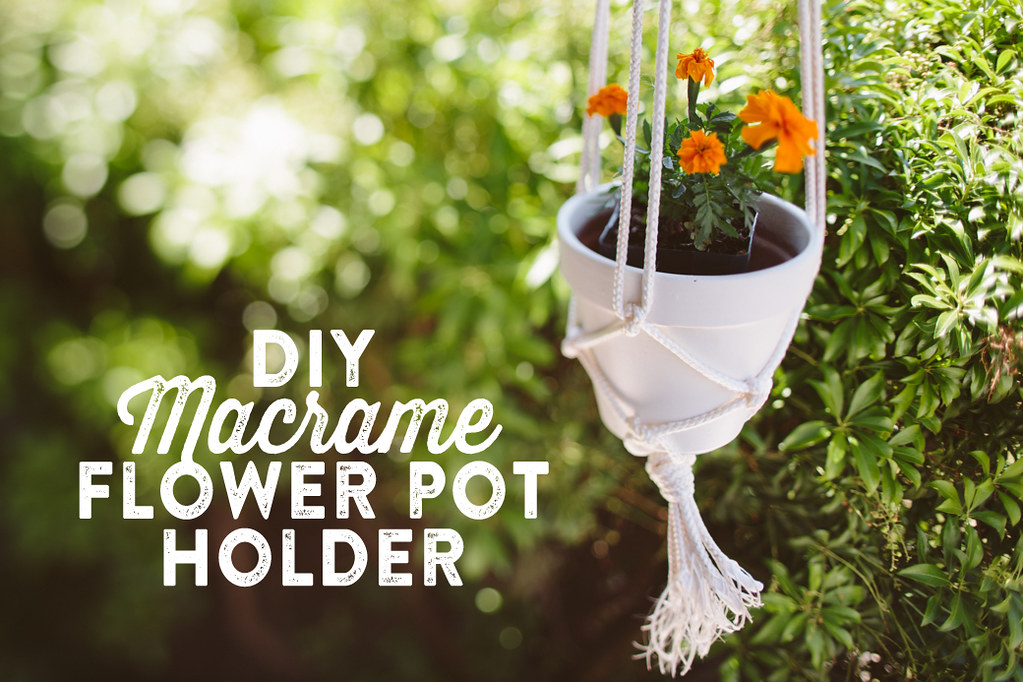
easy DIY macrame pot holders

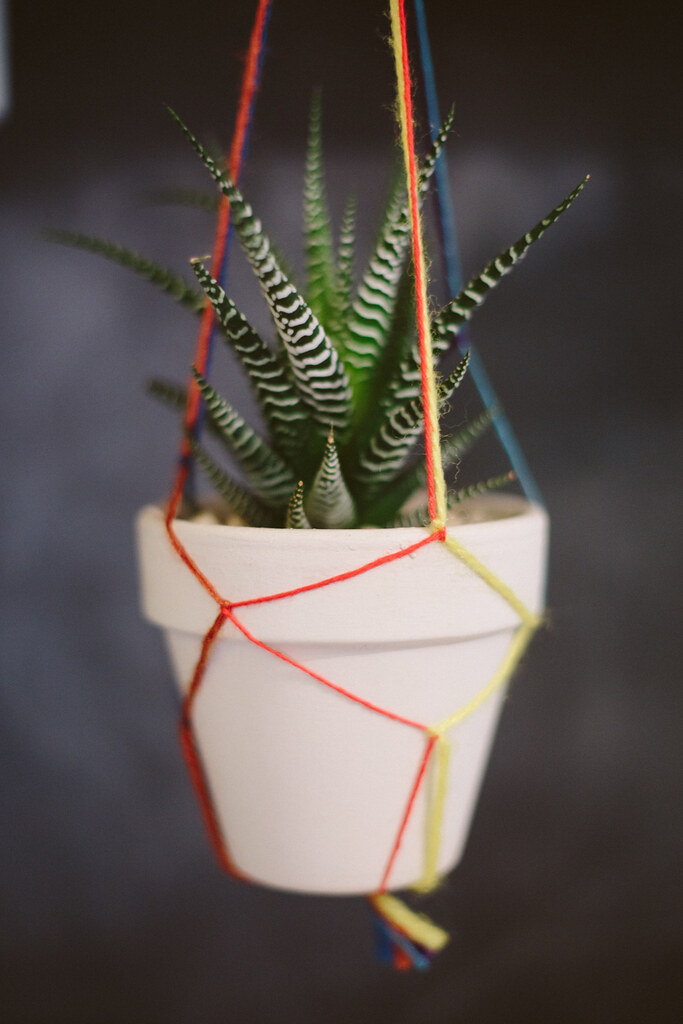
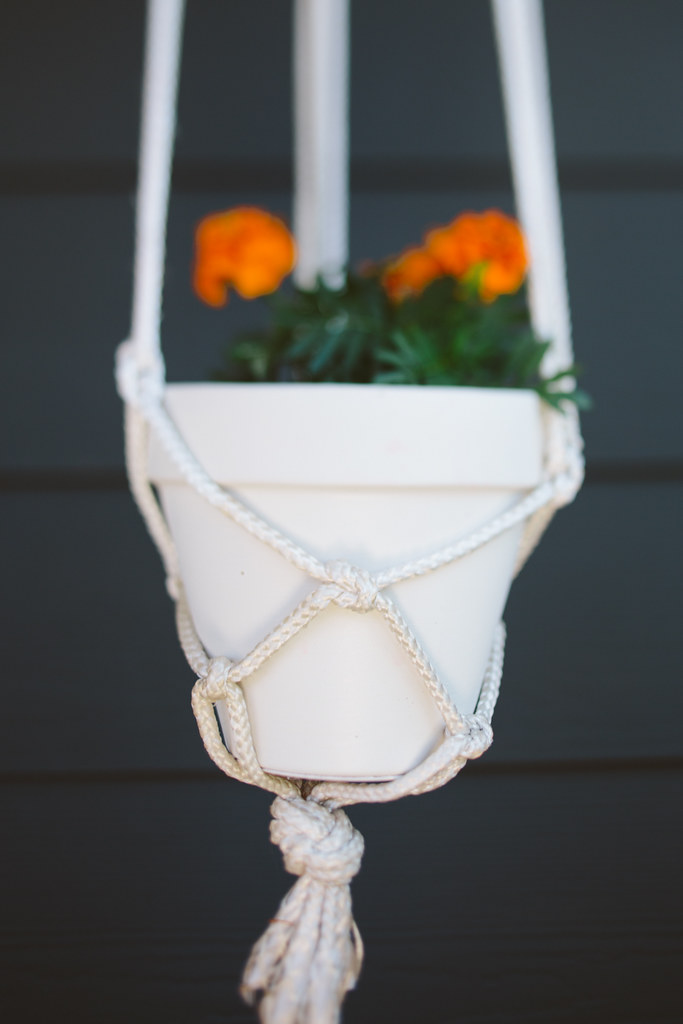
his is actually a DIY I did last summer, but never ended up posting!  I wanted to liven up my front porch, so I made these super easy hanging pot holders and planted some little marigolds.  All you need is some rope and pots!

During Christmas I put faux Poinsettias in the pots, but I noticed that the red dye in the faux flowers bled all over the pots and rope.  Luckily the dye washed away in the rain after a couple months, but if you live in a place that's rainy and want to put faux flowers in your pots outside, take note.  Real Poinsettias are too large for these pots so I'll have to figure something else out next winter.

This is a really quick project, depending on how many you're making.  I have six hanging from my front porch and it took me a couple afternoons, mostly because I ran out of rope and had to go buy more.  I'd say each one only took 10-15 minutes.

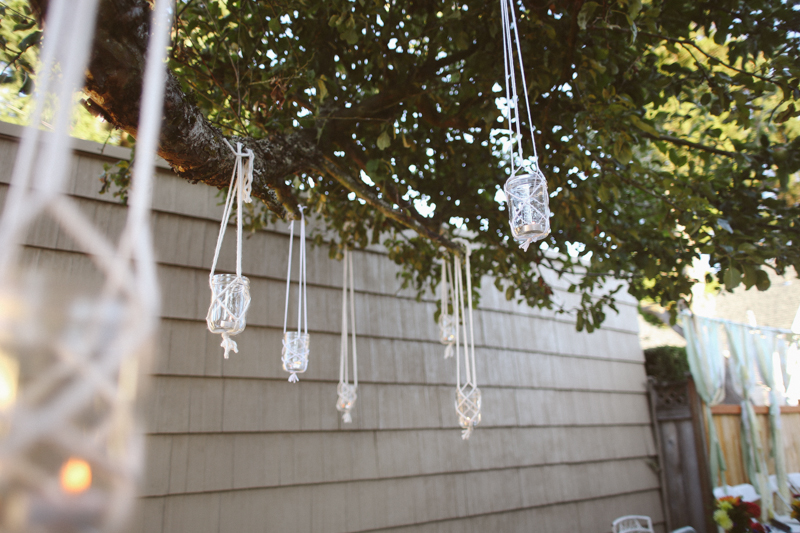
You'll need six lengths of rope (or yarn, I made some hanging candles in mason jars using this same tutorial using yarn.).  I'd recommend cutting the rope longer than you think you might need it, it's better to have extra than not enough.   I used white rope and a simple terra cotta pot which I panted white with exterior paint (since my pots would be outside in the rainy northwest weather).  The amount of rope you need will depend on how long you want your macrame holders to be.  Mine hang about 3 feet down and I believe I made the ropes about 5 feet each.

Tie the ropes in a knot leaving a bit of extra (you can always cut it off later).  Separate the three pairs of rope so they're easy to see.  Tie the adjacent pairs together with a square knot.  This will be the base of your pot holder, so where you tie them will depend on how big the base of your pot is.  Try to aim for tying this first knot at the length of the radius of the base, or a bit longer.  Go around and tie all three pairs.

Now that all three are tied together, separate the free ends.  Tie these new adjacent strings together for your "level 2" knots.  Make sure all your knots are the same distances, so each level is at the same point, otherwise it'll get lopsided. If you're not sure if your knots are in the right place to create the right size space for your pot, have your pot on hand and you can slip it in there while you're making it to see if your knots are going to fit the pot.  Knot each adjacent pair.

You can keep knotting as high as you like, but I found that three levels of knots works good for a small pot.  Slip your pot in there to see how it fits and if it looks good, you're done!  Knot the top of the strings so the pot hangs where you want and then screw a hook to the ceiling, or wherever you're hanging your pot from and hang it!

I was lazy with my pot holder and just let the ends fray, but if you wanted to make the ends cute you could leave them super long and put a wood bead on the end and knot it for a bit of embellishment.  Or you could singe the ends of the rope/string so that they didn't fray.

Budget vs Investment Pergola Comparison

Are you considering adding a pergola to your outdoor space but unsure whether to opt for a budget-friendly option or invest in higher-quality materials and expert craftsmanship? When it comes to outdoor structures like pergolas, it's important to weigh the benefits and drawbacks of both options. While a budget-friendly option may seem attractive upfront, investing in a high-quality pergola can provide long-term benefits such as increased durability, better resistance to outdoor elements, and a longer lifespan overall. To help you make an informed decision, we've put together a comparison of two different pergola projects: one completed on a budget using lower-quality materials, and one that utilized high-end materials and expert craftsmanship.

Let’s start with the budget pergola.

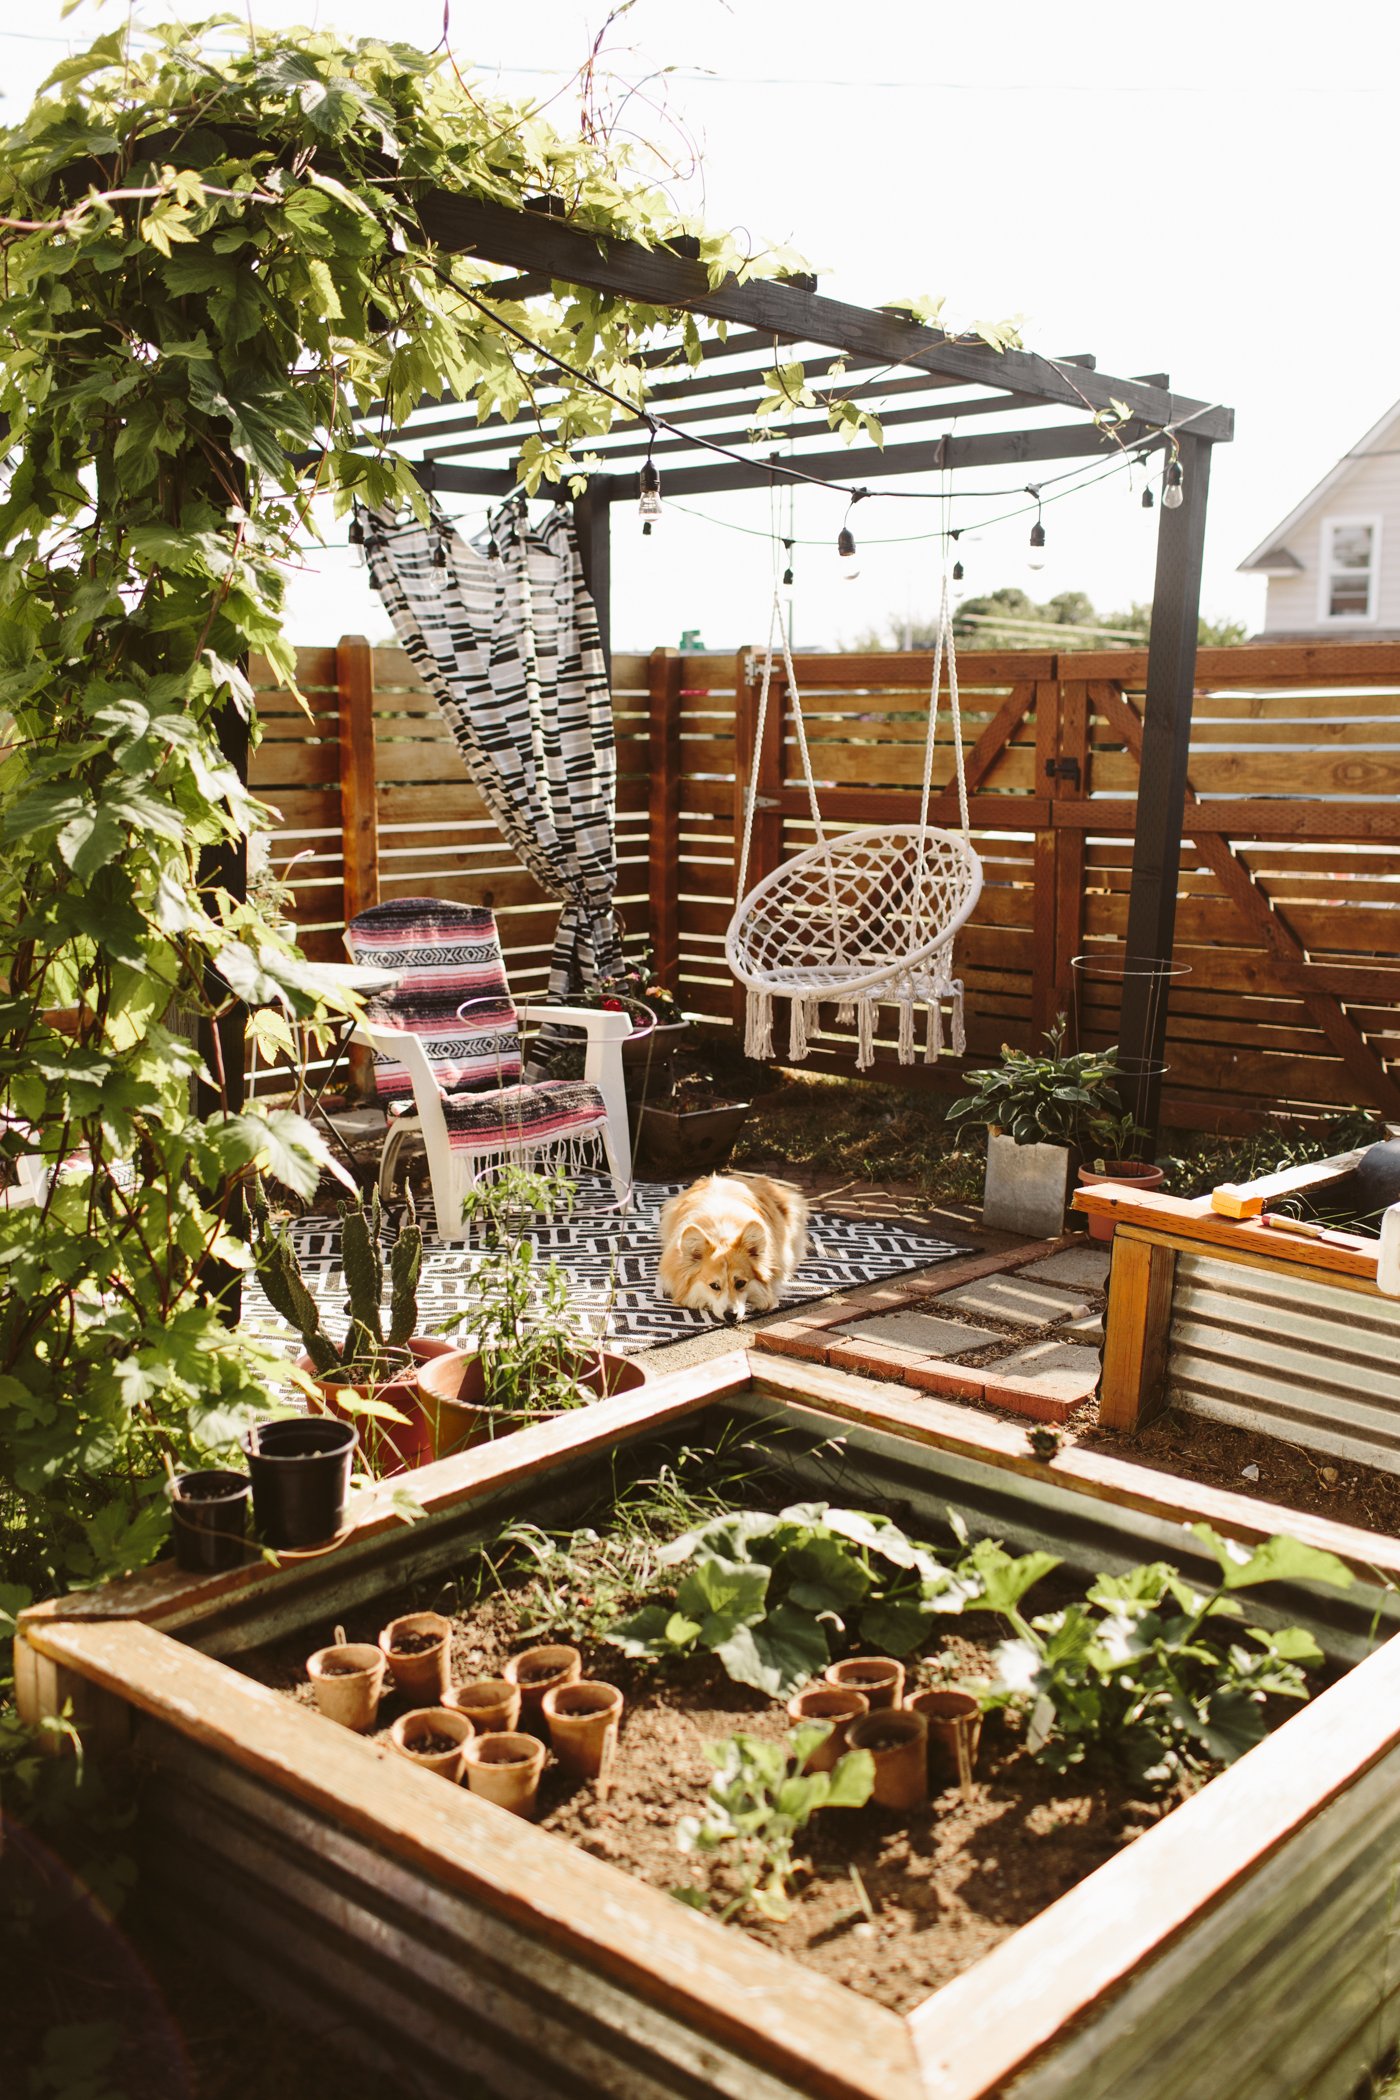
Several years ago I spotted a modern black pergola at Target. It was metal, and had a really simple silhouette that I loved. I believe it was around $400-500, which at the time was out of my budget (they no longer sell that one, but this one is similar). So one weekend I decided to build one myself that had a similar feel to it, and I did it for around $100. You can see that project here.

It actually ended up being a pretty great dupe of the Target version, and I made it using 4x4, 2x4, and 2x2 lumber, painted black. It was the perfect little pergola for our hops to climb on and I believe we had this pergola for about 3 years before we sold the house.
Pros:
— It was super affordable. I used cheap pine (instead of outdoor treated lumber or cedar), and paint I already had on hand.
— It was the perfect place for our hops to climb, which made perfect shade in the summertime.
— It had the style I was wanting.
— It was easy and quick to build.

Cons:

— After a while it wasn’t very sturdy. I didn’t anchor it to the ground because it was sitting on concrete (and because I didn’t want it permanent), and it didn’t have any angle bracing in the corners. After a couple years we added some angle bracing in the corners to shore it up.
— Because it wasn’t made with outdoor lumber it might not have lasted for many years due to rot (especially because of how wet the winters are here in the pnw).

Despite the cons, I really liked this pergola. It was extremely affordable to build, and brought us tons of enjoyment for the few years we had it. We didn’t have the budget for something more expensive, so rather than not having a pergola at all, we had one that was a little chintzy, quality-wise, but it was all we needed. Had we stayed at this house for longer, I probably would have eventually replaced it or rebuilt it to something more high quality that would last a long time. (Also, it should be noted that this was built prior to the price hikes on lumber in 2020, so it might be over $100 to build at this time).

The investment pergola:

This pergola was part of an entire patio build project, so I knew I wanted something that was high quality, sturdy, and would last. Because the budget pergola was built in front of our garage door, I didn’t want it to be permanent in case we ever needed to drive a car into the garage (we didn’t use it for a car, but just in case). This pergola wasn’t going to be going anywhere that it might need to move, so I felt comfortable installing something super permanent.

This pergola, with all the components we used, totals about $3500. Because I worked with LINX on this project as a sponsored campaign they provided the materials, so I made sure to price things out online so I could know the full cost of this pergola. This number includes all the brackets (the corner brackets, and the base brackets that attach it to the patio), the metal grate on the roof, and the 6x6 timbers. LINX makes their own hollow engineered timbers, which I used in this pergola (they’re nice because they are lighter weight and you can hide any electrical cords inside the hollow core if you’re doing any sort of lighting). These timbers are definitely more expensive than standard 6x6 lumber, so you could also cut costs there as well.

Pros:
— This thing is solid. It’s definitely going to last decades.
— It has the style I want (again— modern), but there are also a ton of different ways to utilize the LINX bracket system to create a totally custom pergola.
— Even though the timbers are engineered, they’re still real wood (unlike something like Trex decking, which isn’t) so I could stain them the color I wanted.
— I designed the custom roof to be the perfect place for hops to climb because I loved how the hops climbed on our old pergola so much (LINX also has shade sails that work perfectly with their brackets, if you’re wanting a shade situation)

Cons:
— Way more expensive than $100 (we built ours with 6x6 lumber/brackets, which are more expensive. LINX also has 4x4 brackets and STIX timbers that cost a bit less).
— Not as easy or quick to build. Because this was made with 6x6 timbers, it was much heavier, and we needed about 4 people to put it up, whereas I was able to build and put up the cheaper pergola entirely by myself.

I love both of these pergolas for different reasons, and I don’t think one is better than the other because each one has their place. Not everything has to always be the highest, best quality. It’s okay to do things in a more affordable way, especially if you go into it knowing that it’s not going to last forever. Our cheap pergola worked amazing for us, and the fancier LINX pergola is perfect in its own way as well. Most importantly, do what works for your life, your space, and your finances.


Now, obviously, there’s a pretty big gap between $100 and $3500 and there are plenty of pergola options out there in between that price range.


10x12ft Pergola — $1422


12x12ft Pergola — $599


10x12 ft Pergola — $2048


10x12 ft Pergola — $1633


10x12ft Pergola — $630

I hope that gives you a few more options within some different budgets for pergolas. I haven’t used any of the ones I linked above so I can’t speak to their quality, but they all have a similar modern look, which is what I was going for with both of my pergolas. I can’t wait to get outside this summer and enjoy our new patio and pergola, and I hope this helps you figure out your pergola patio situation this summer too!

The DIY Disco Mirror

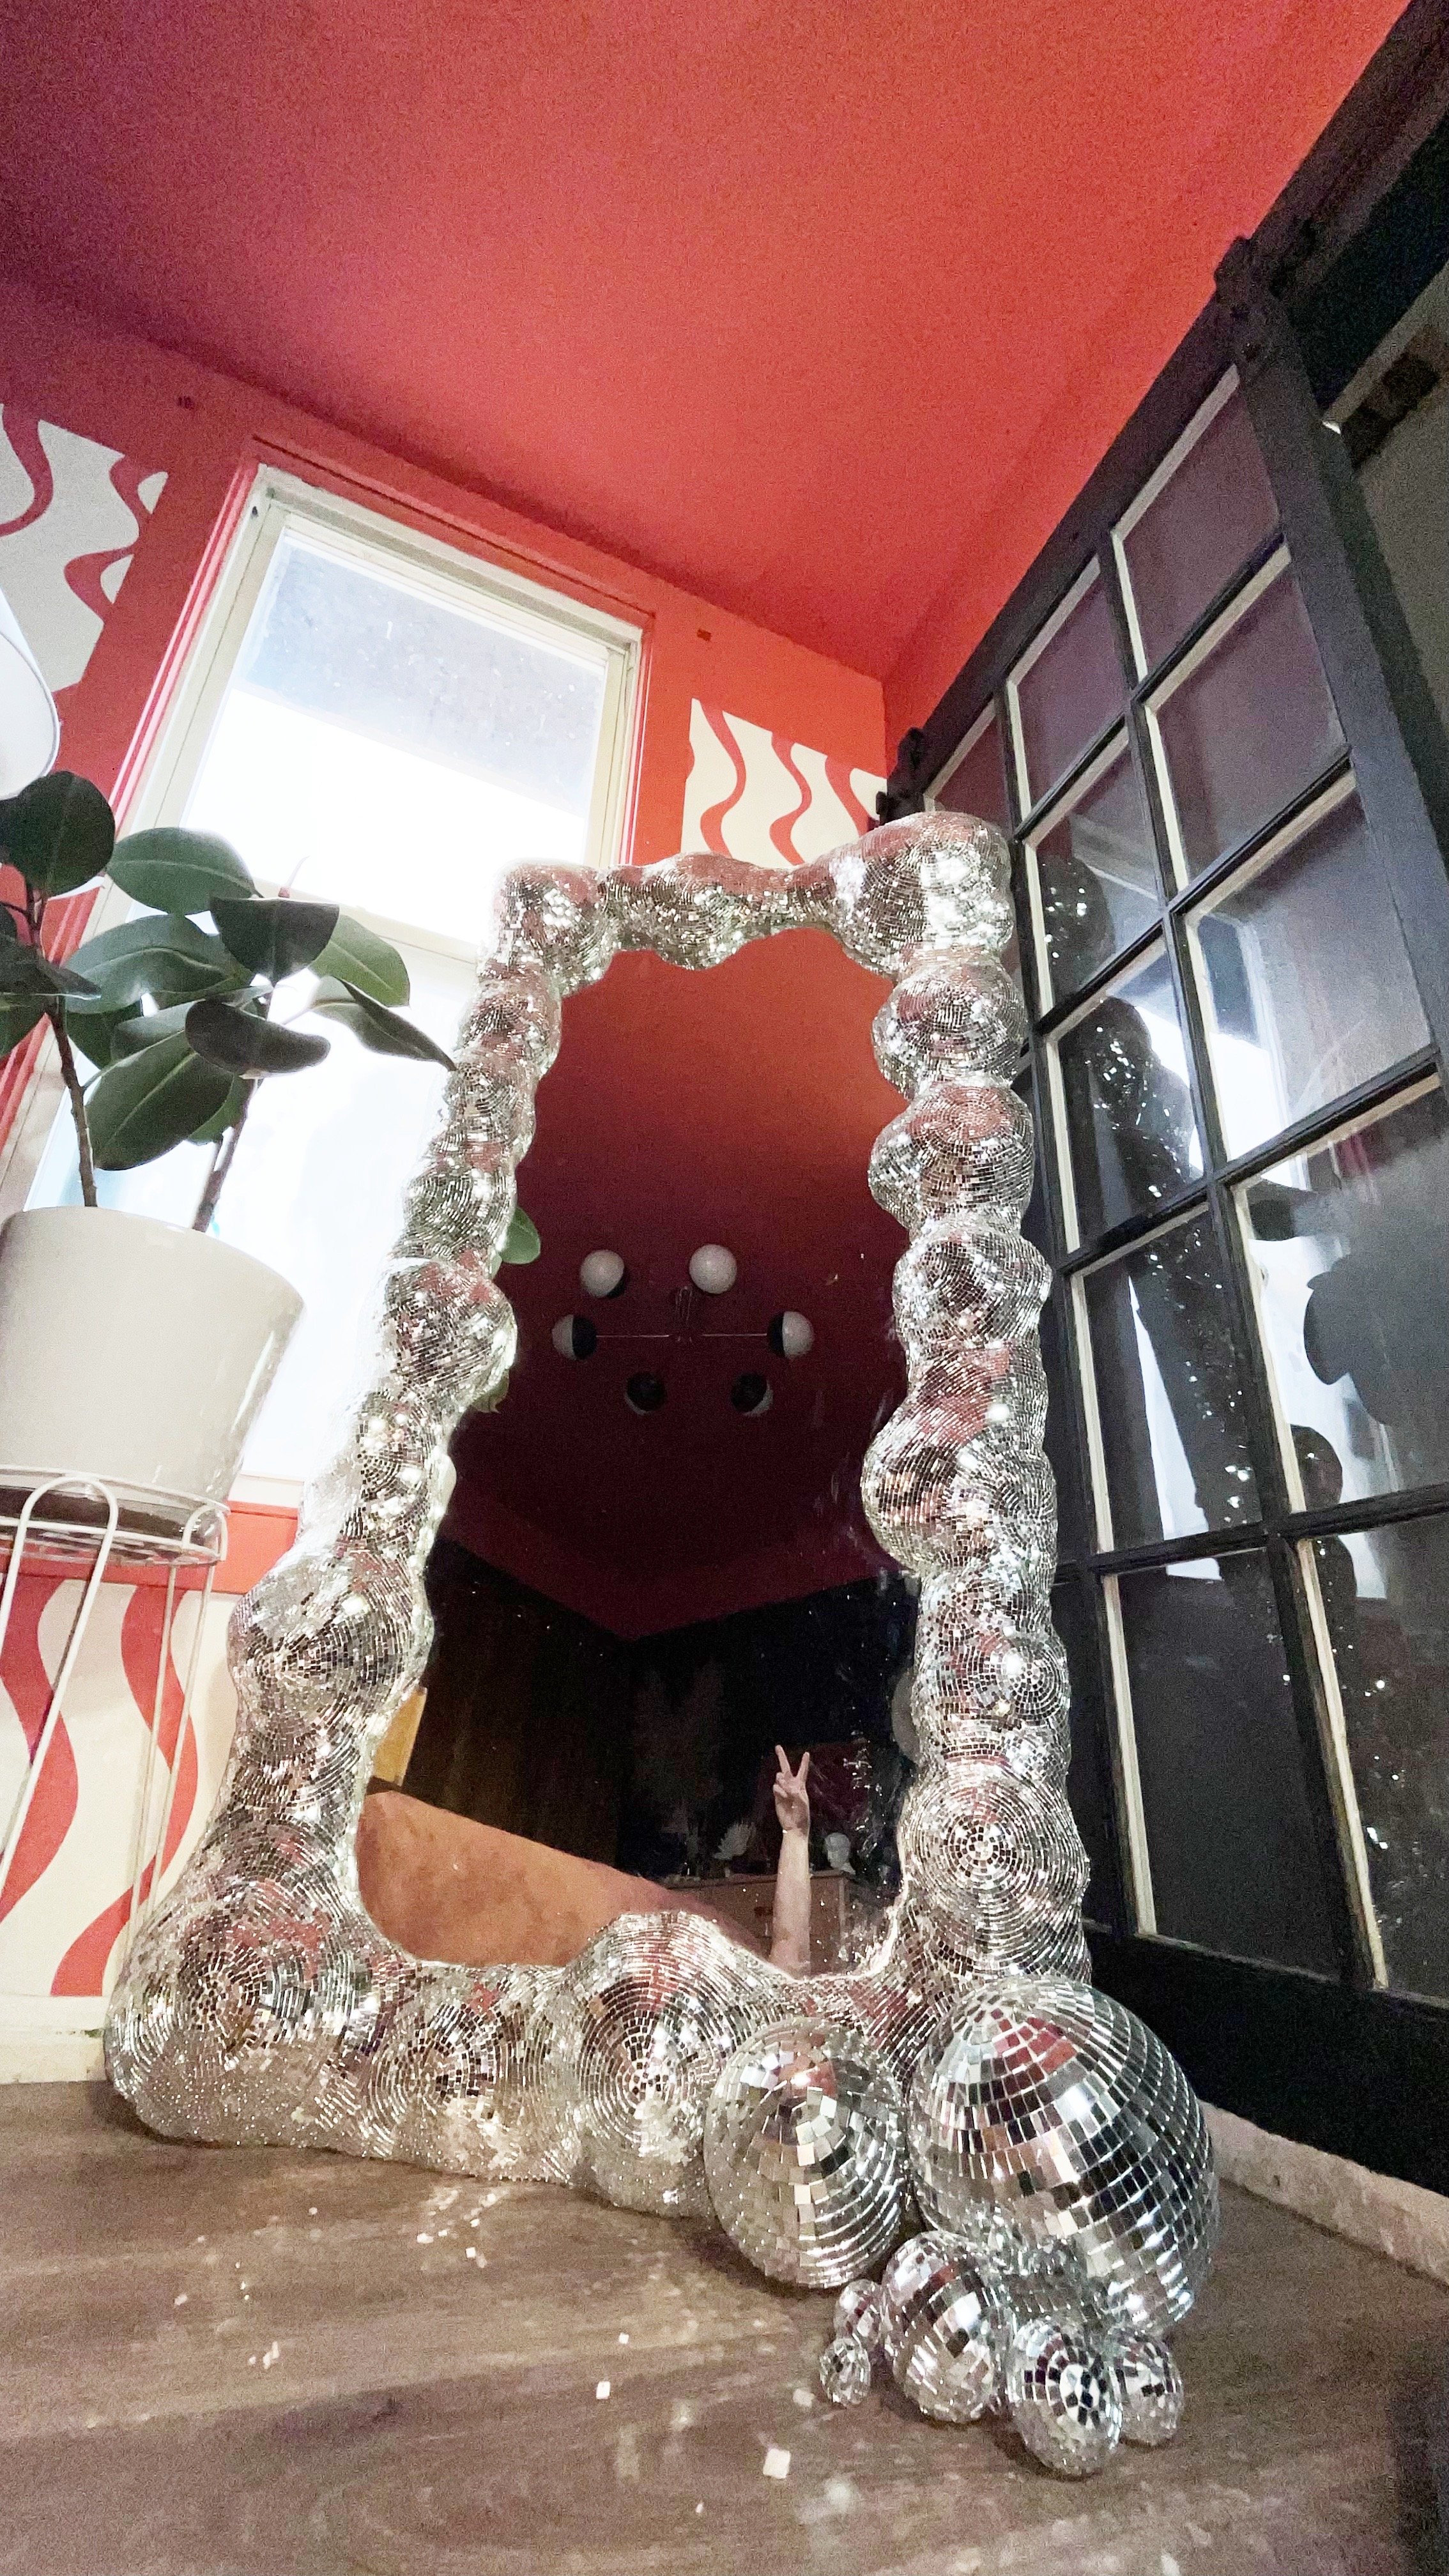
This is what happens when you buy a mirror off of craigslist to customize, with no real plan, and then go completely off the rails. I had a few different concepts when I was trying to decide what I wanted to do with the mirror and of course landed on the most time consuming and expensive option: melty disco ball frame.

What I used:

Disco Mirrors (I used appx 40,000 mirrors)
GemTac Glue (I used appx 2 4ox bottles)
Spray Foam (I believe I went through five 12oz bottles)
Joint Compound
Cheesecloth

I explain the process in the above videos, but basically: the base shapes are made out of spray foam, then joint compound to fill in any gaps and smooth the surface. I sanded to smooth the bumps, then primed, and from there on out it was just a never ending process of sticking mirrors on. I bought 5mm mirrors, which were smaller than I’d anticipated, so if I was doing this over again I’d probably get 10mm mirrors. I do love the density of the 5mm mirrors, but it took forever to put that many mirrors on.

The mirrrors I used had adhesive backing, but I didn’t trust that adhesive to stick well enough, especially with the undulating shapes I was applying them to (they felt strong enough to apply to smooth, flat surfaces), so I used GemTac glue to apply each one. In the larger areas I could apply strips of 4 or 5 mirrors at a time, but in the tighter curves I definitely needed to apply them one by one.

DIY Fireplace build with Ambe Fireplaces

Thank you to Ambe Fireplaces for sponsoring this project

When we first bought this house, it originally had a wood burning stove which was placed super awkwardly in the middle of what was at the time the dining room (we turned this area into the living room). It stuck pretty far into the room and took up quite a bit of square footage, so we ended up removing it and scheming a replacement that would fit the space better both in terms of size/placement, as well as design.

I came up with an idea to transform the whole wall with a modern concrete fireplace and built-in bookcase. After a few years of updating this house, it’s taken on an eclectic modern look so I knew this combination would not only fit the style of the house, but also add a ton of functionality.

I decided to recess the right side about 10 inches to create a raise hearth, as well as create space for a mantel so that the mantel wasn’t sticking out into the room, since the fireplace would be along the main traffic route through the house. It also made it so that if we (or a future owner) ever wants to put a TV above the mantel, it also won’t be sticking out into the room. This design feels like it takes a wall that was blank and unused and gives it so much storage and usability.

Ambe Fireplaces are electric which meant that we didn’t have to do any kind of messing around with the existing chimney, or putting in gas lines. There was already an existing outlet right where we wanted to place the unit, and since Ambe Fireplaces use a standard 120v outlet, we didn’t have to do any electrical to wire it up. They have a few different shapes and sizes, but I really loved the linear style and the 50in was the perfect size for our spot (though they also have a 72in version too!).

The directions were straightforward and included all the dimensions for framing out the hole for the unit, so I sketched up a framing plan and we got to it!

USE code 20lizmorrow
for 20%off!

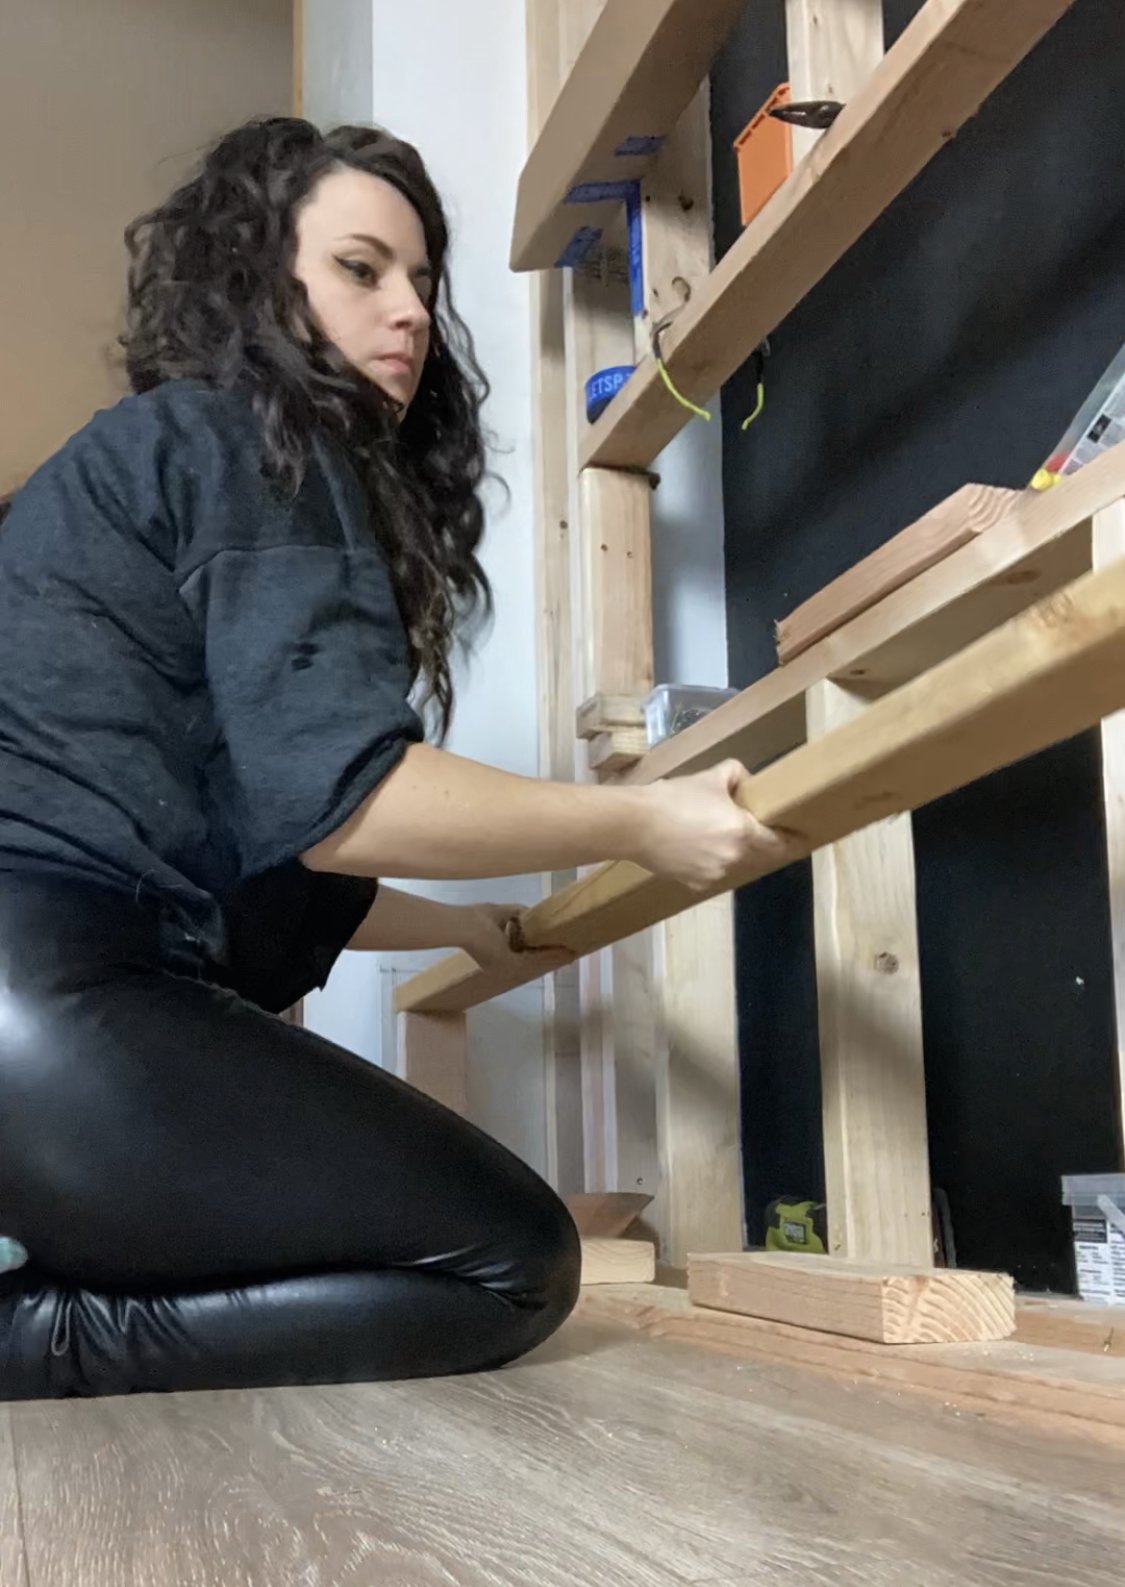
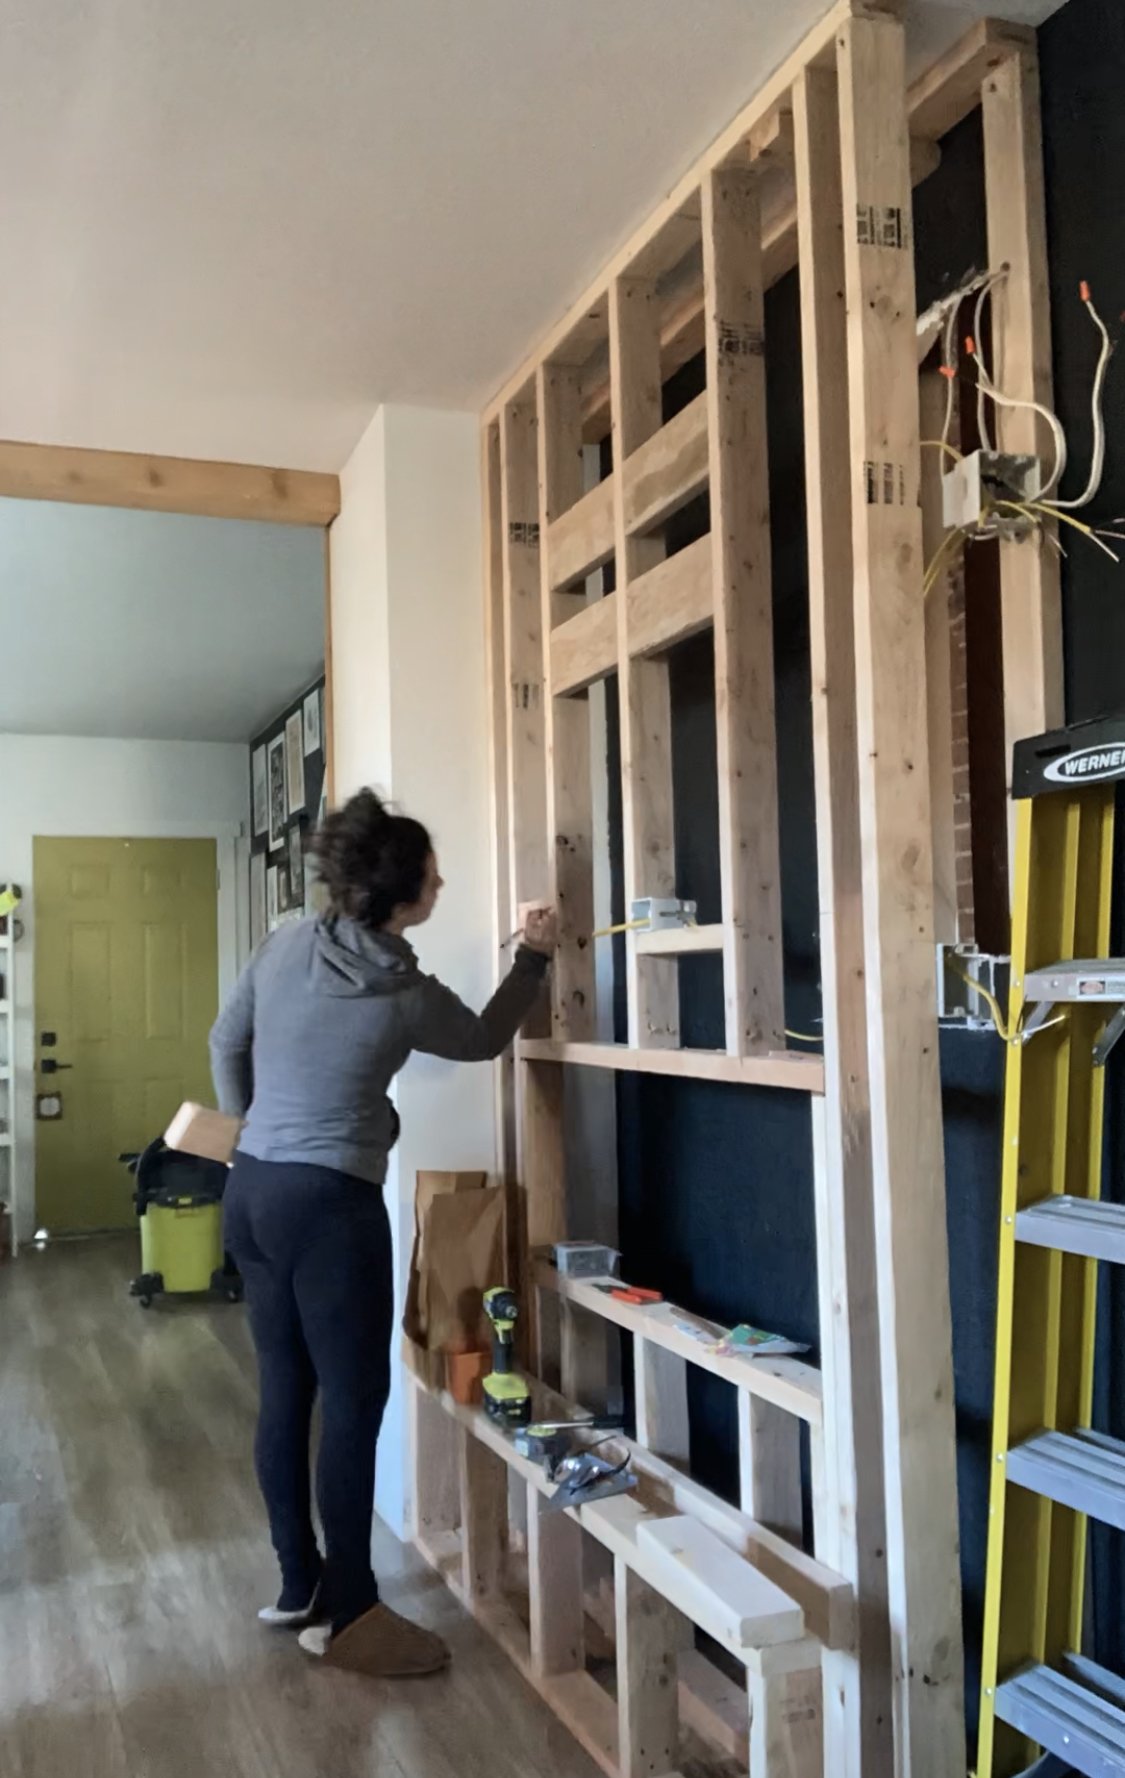
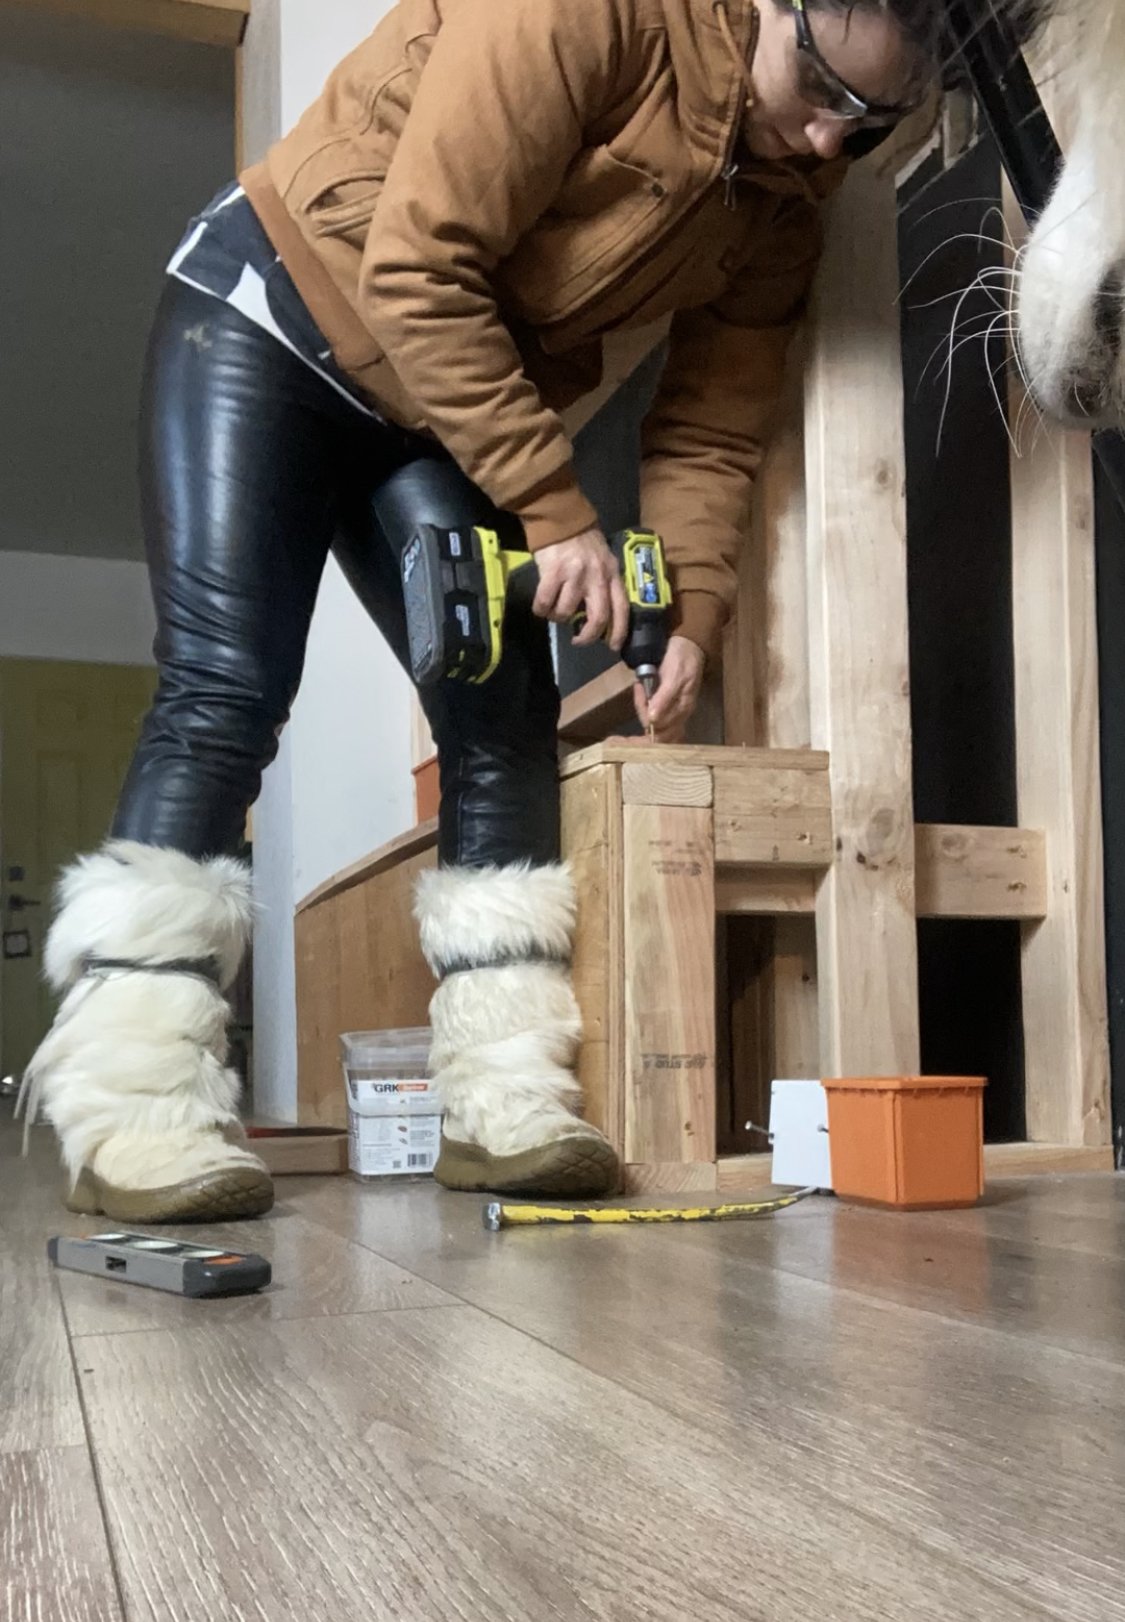
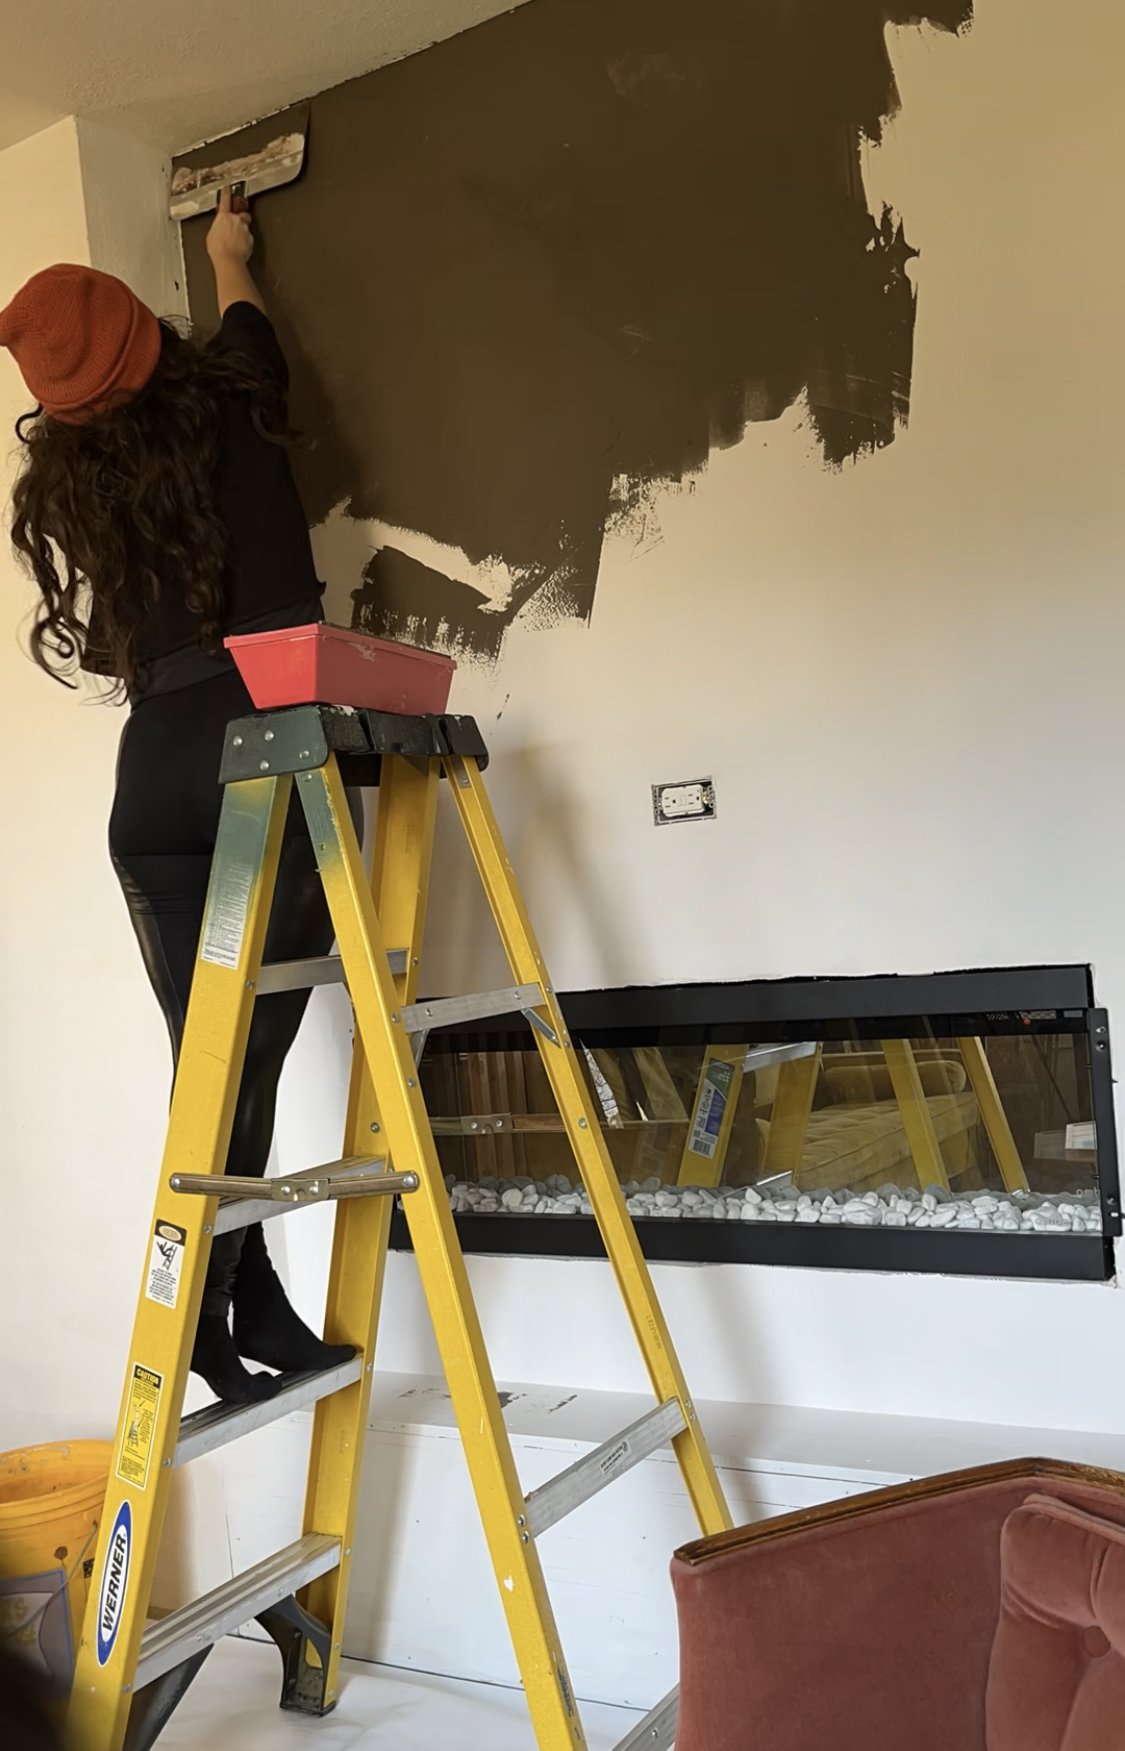
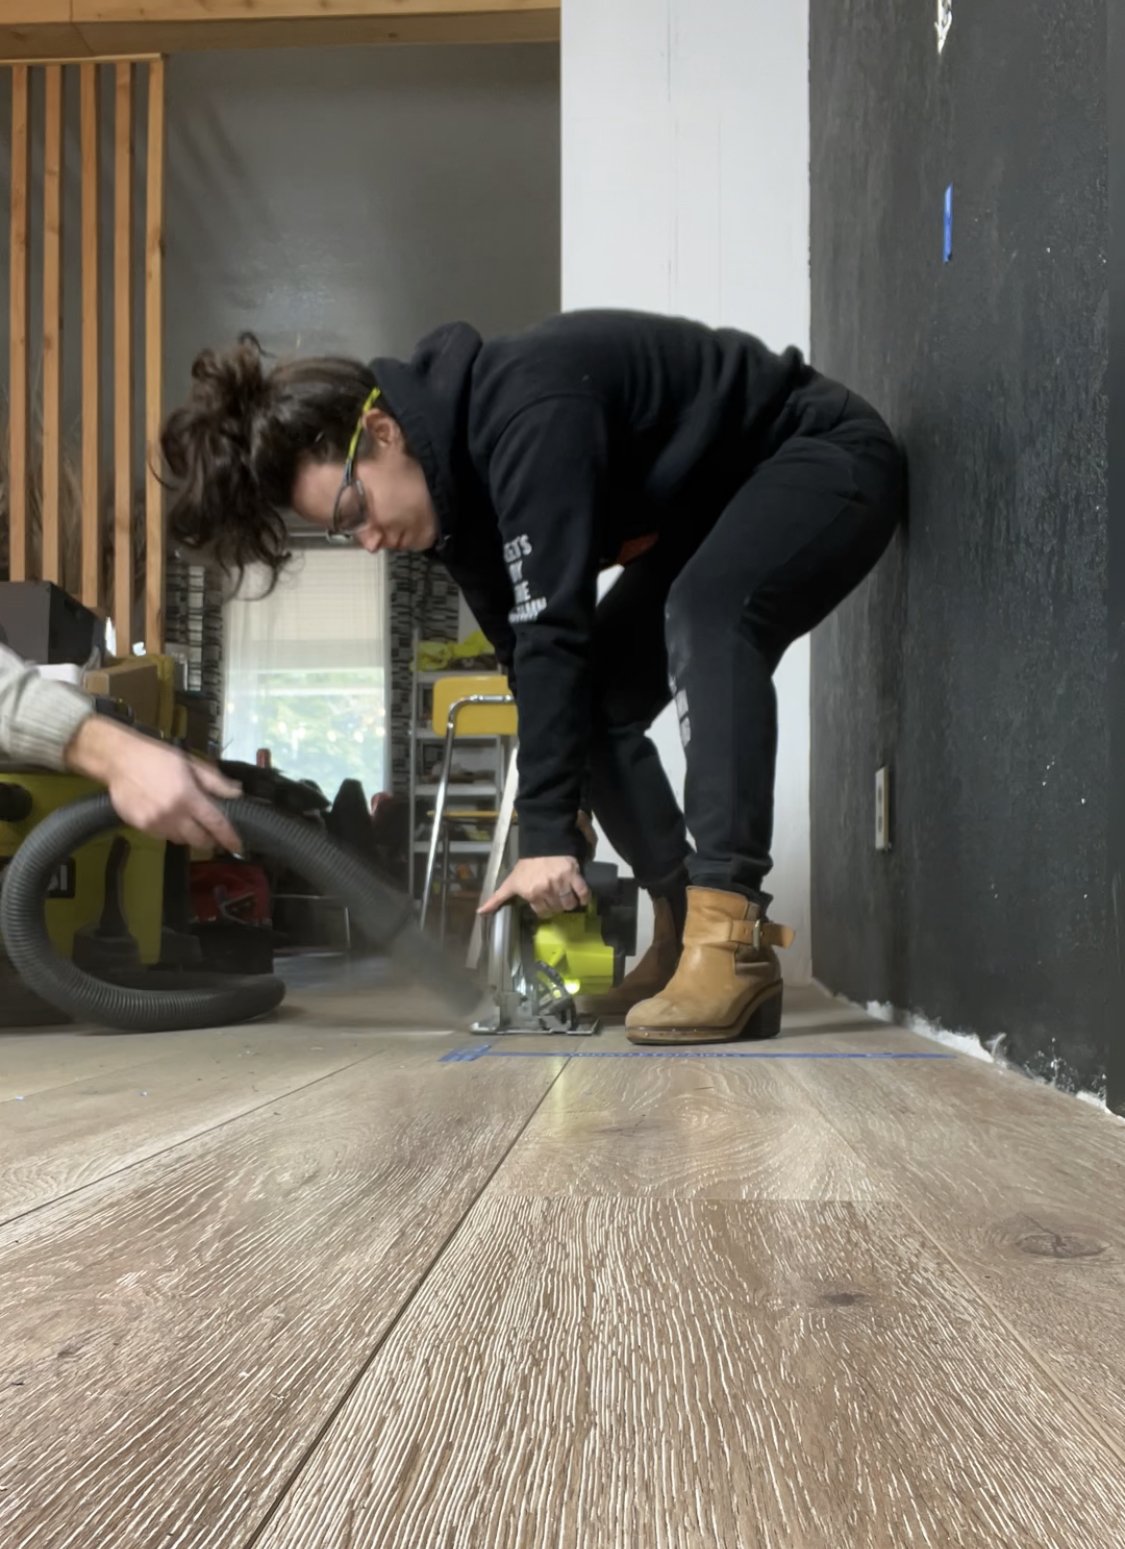
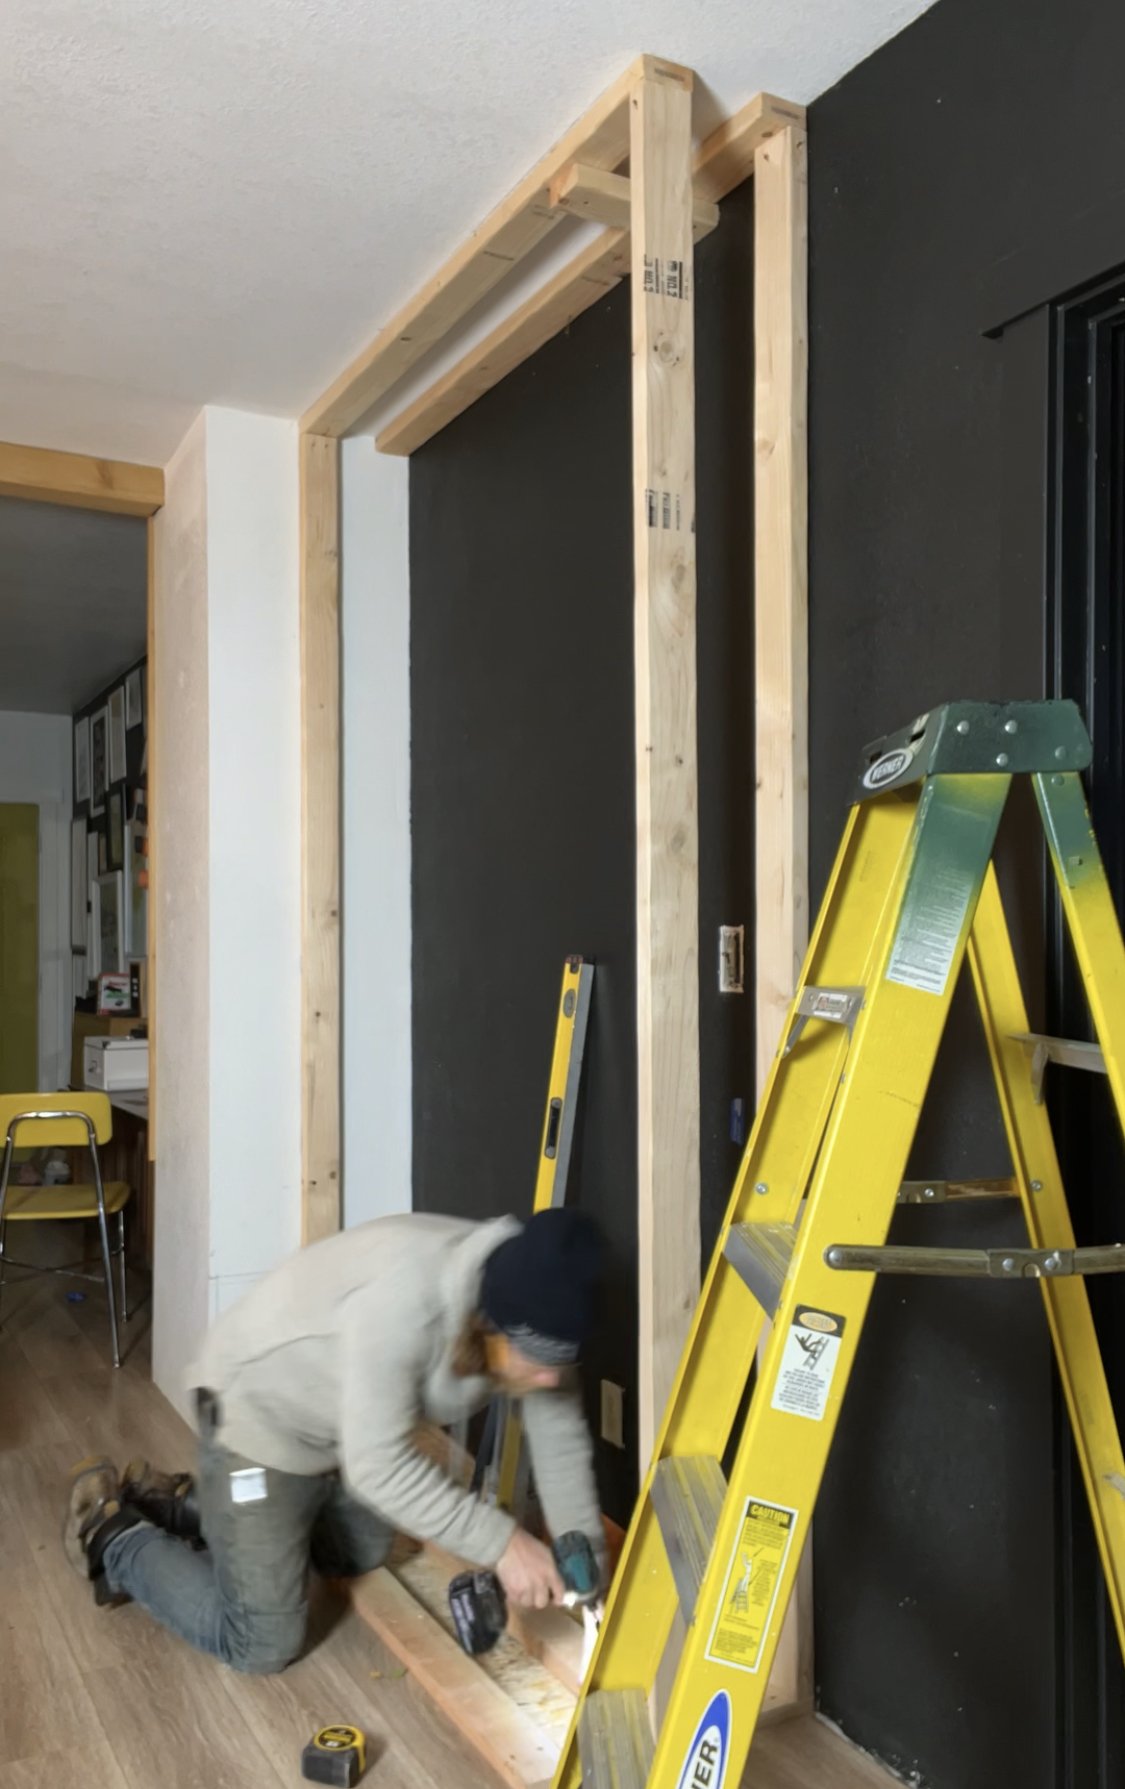
We started by cutting out the flooring where the fireplace was going. since it’s a floating floor, we wanted to remove it so we could attach the framing directly to the subfloor. With the floor out, we framed up the wall for the fireplace. It’s just a decorative wall, so it doesn’t need to be a load bearing wall. We had to move the light switch for the room because otherwise it was going to be behind the area we framed it, and we added an outlet for a TV (which for the time being will be hidden behind the mantel).

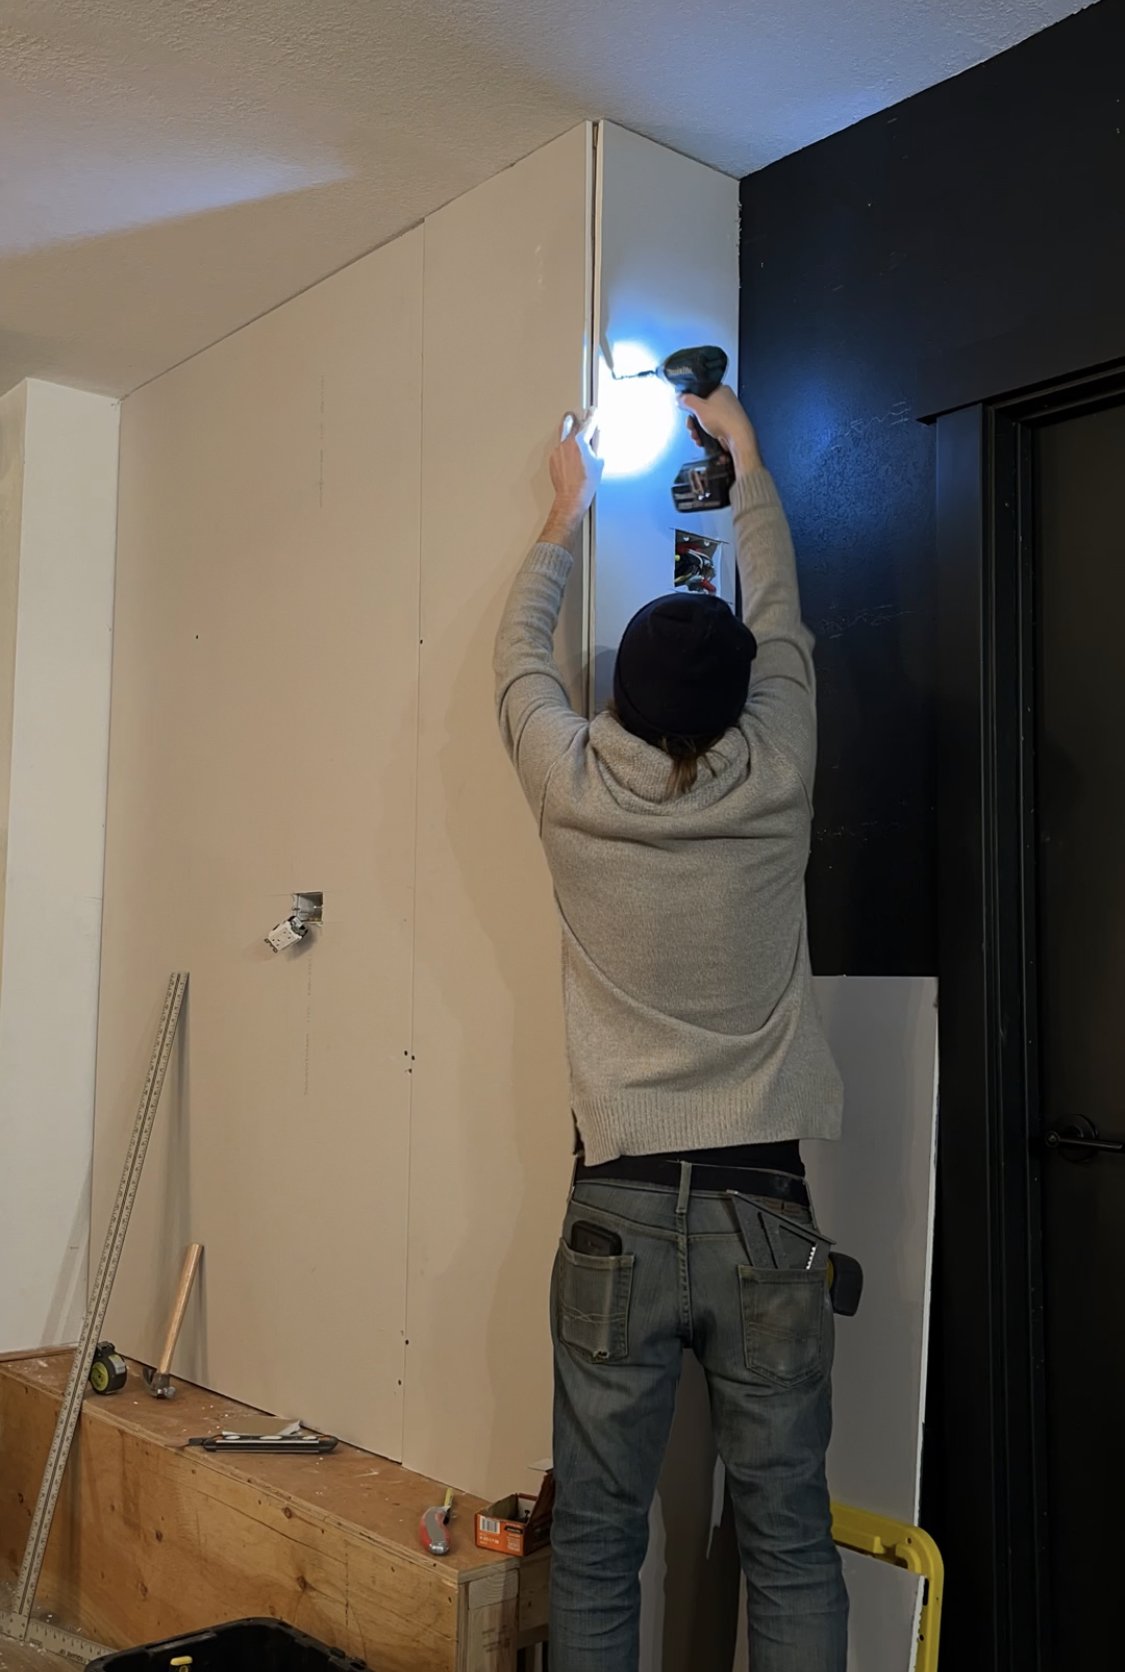
Once the framing was done, we did a test fit to make sure the fireplace unit fit and everything was correct, then we drywalled the whole thing in. I covered the raised hearth with plywood instead of drywall so it’s more durable for folks to sit on there.

For the concrete finish, I used Henry Feather Finish and troweled it on. It took two coats and I sanded it down in between coats and at the end to make sure it was nice and smooth. Then the fireplace could go in for good!

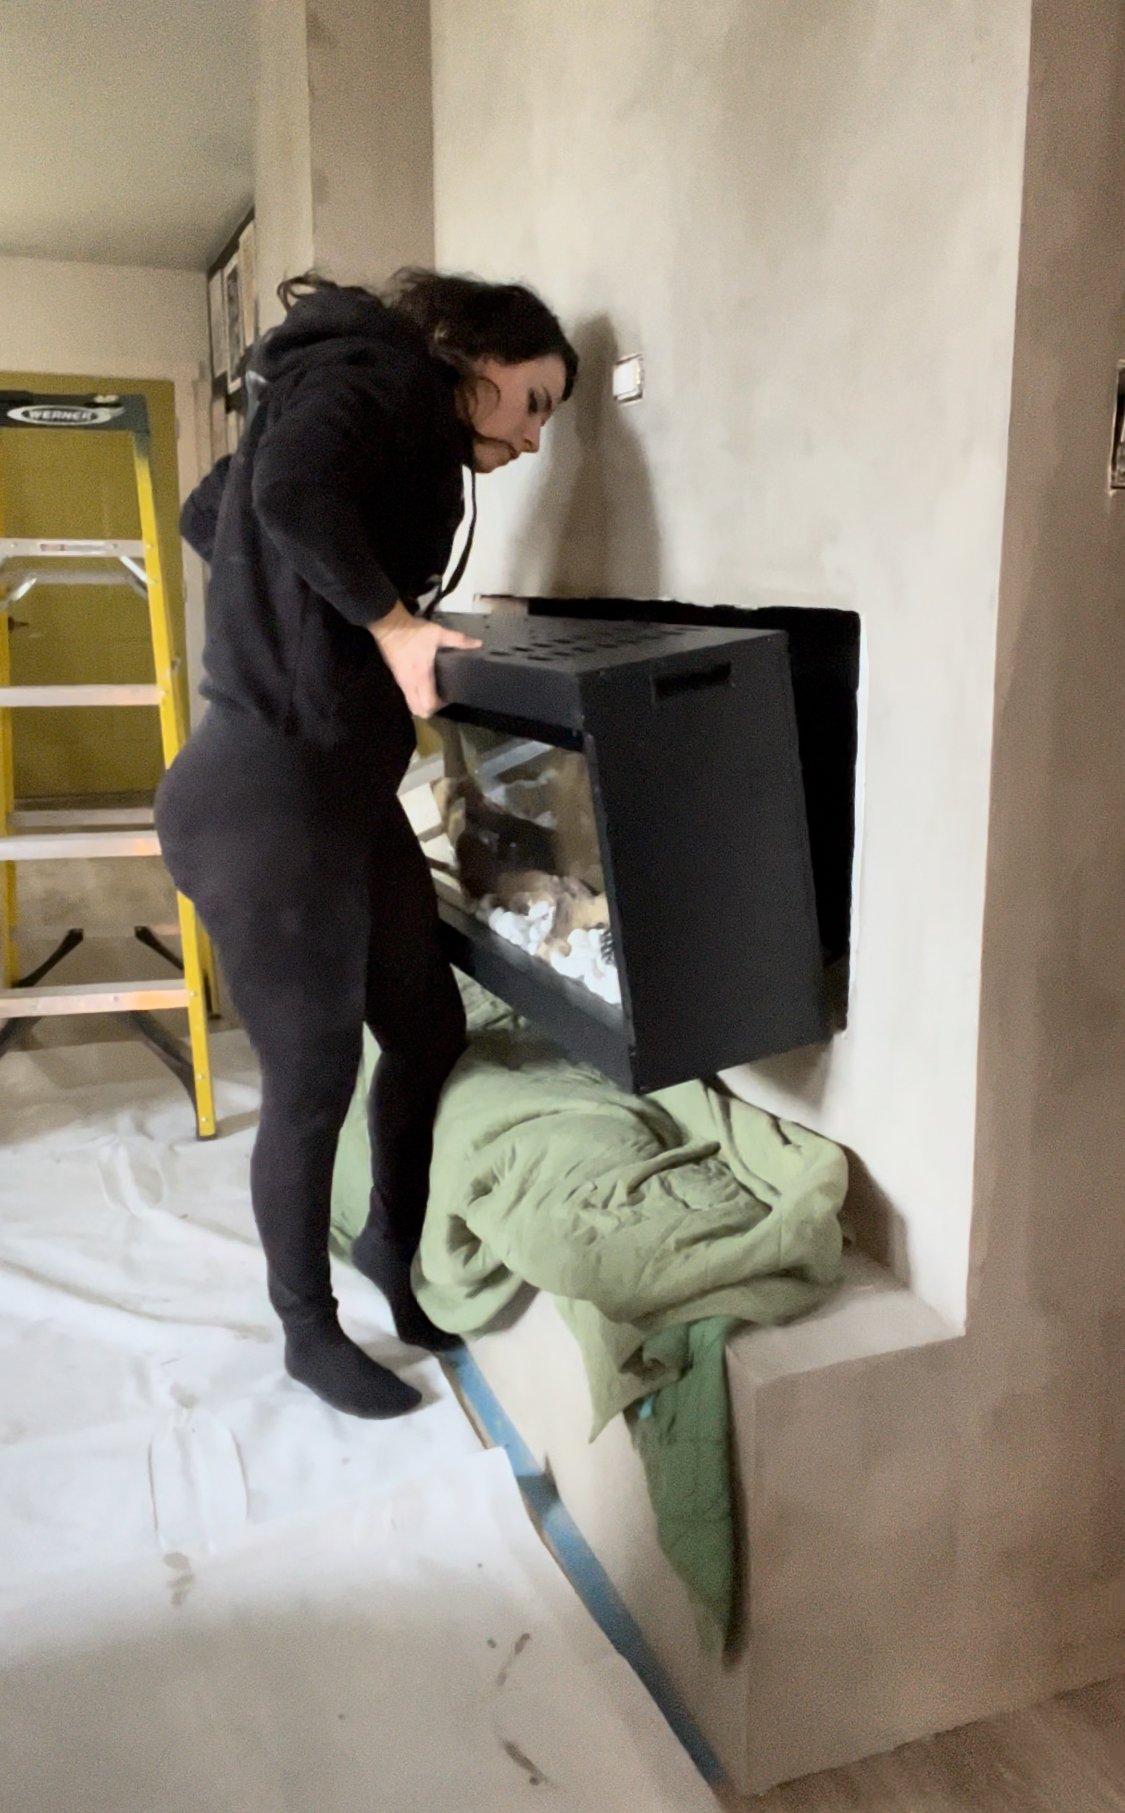
The fireplace comes with a variety of different stones to put in to customize the look of the faux embers, as well as some faux logs. I loved the white stones, so I used those as well as the logs for a really cozy look. Once those are in, you can put the front glass on and it’s ready to install.

Before sliding it in, plug it in (the cord is long enough to make this easy), then slide the fireplace in, making sure each side goes in at the same time. Then you can attach the face frame, and you can turn it right on!

You can customize the color of the flames, as well as an uplight and downlight, which illuminate the rocks. I love a really authentic look so I picked the orange flames and red embers, but they’re super easy to change up with the remote.

The fireplace has a heater which blows warm air out the top of the front, so it does heat your space, but I love being able to have just the “fire” on throughout the day for the ambiance! You can adjust the temperature of the heater, and on super chilly days it was a great supplement to keep the living room warm.

The coziness of a fireplace is so much easier to add to a space than I had previously thought. You could even use an Ambe Fireplace to build a temporary fireplace that’s removable if you’re a renter! Since all you need to do is frame up a box for the unit to go in, and a standard 120v outlet, it can just sit against the wall, without having to permanently attach it to the home.

A fireplace can add so much coziness and be the perfect way to add a focal point to your space. If I had the square footage, I would 100% add another fireplace to my bedroom too!