room tour

Garage Organization Glow Up!

I'm excited to share with you my recent garage organization glow-up! As someone who loves DIY projects and spends a lot of time in my garage, it was time for me to tackle the clutter and create a functional and organized space. Whether you're someone who loves to tinker with tools or simply looking to get your garage in order, this post will provide you with some practical ideas and inspiration to help you transform your space. So, let's get started and dive into the details of my garage organization project!

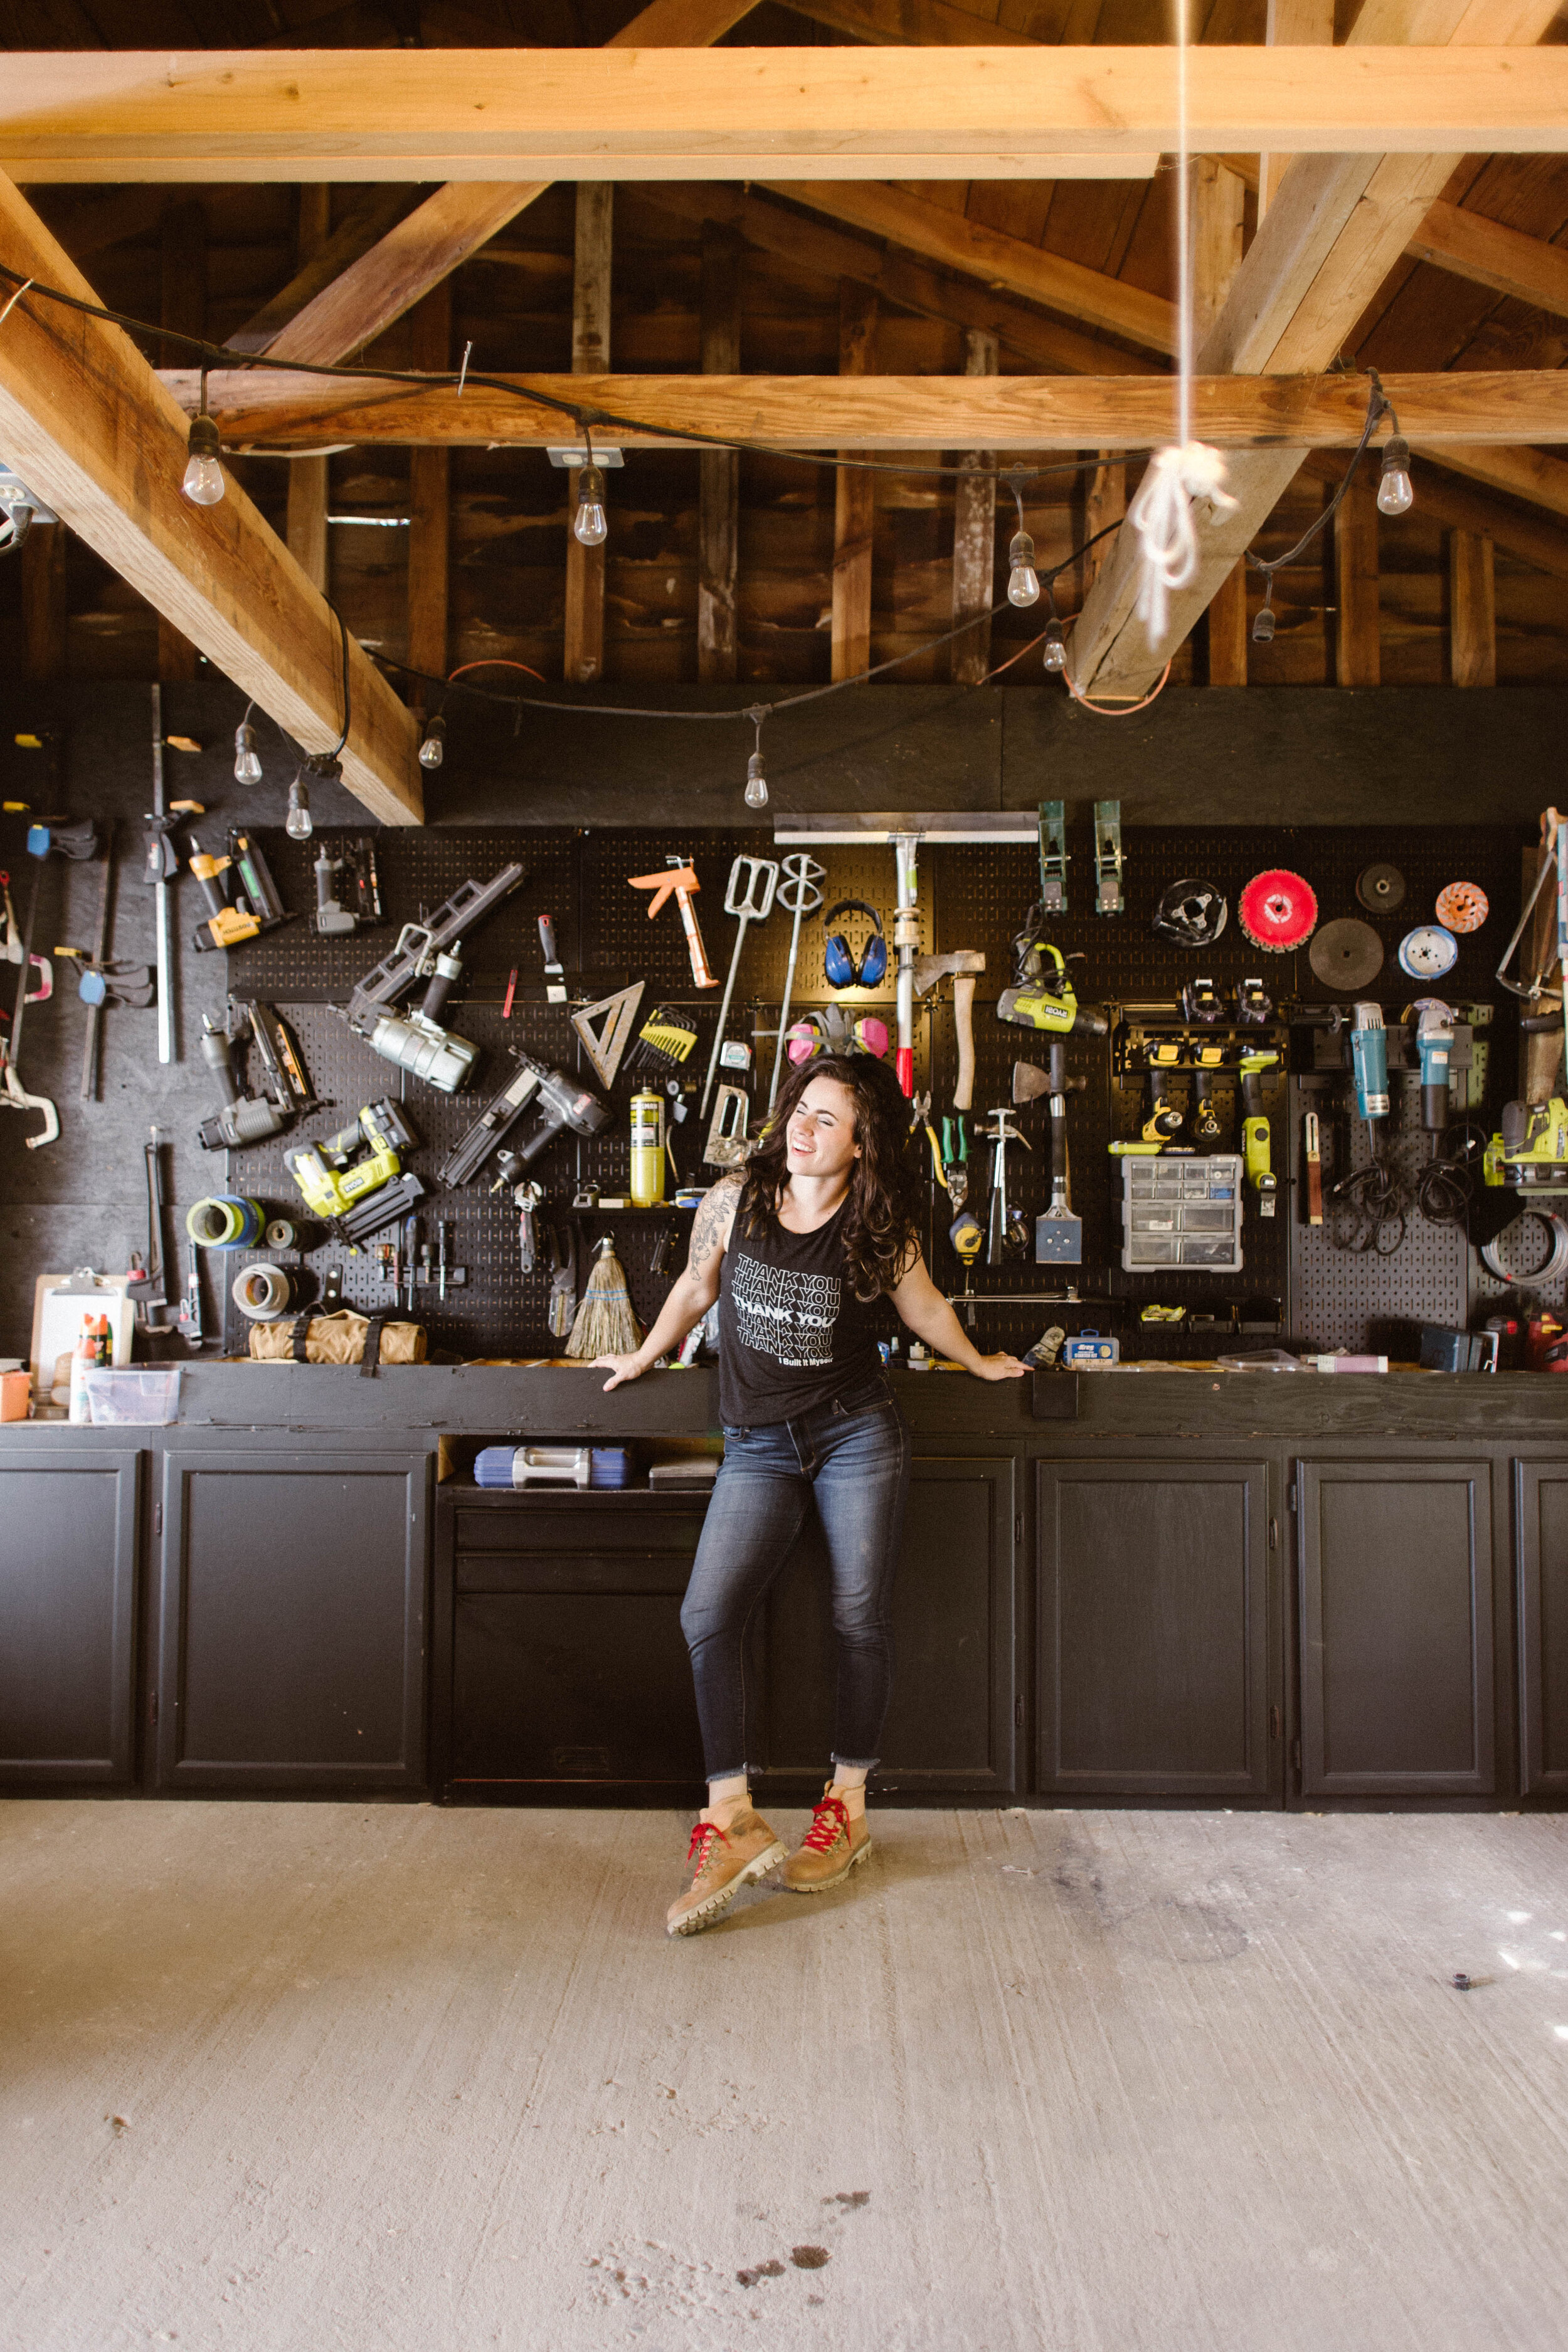
It feels like we’re always in a battle against the garage shop becoming total chaos, but we made a huge upgrade in the storage situation with these Wall Control panels!

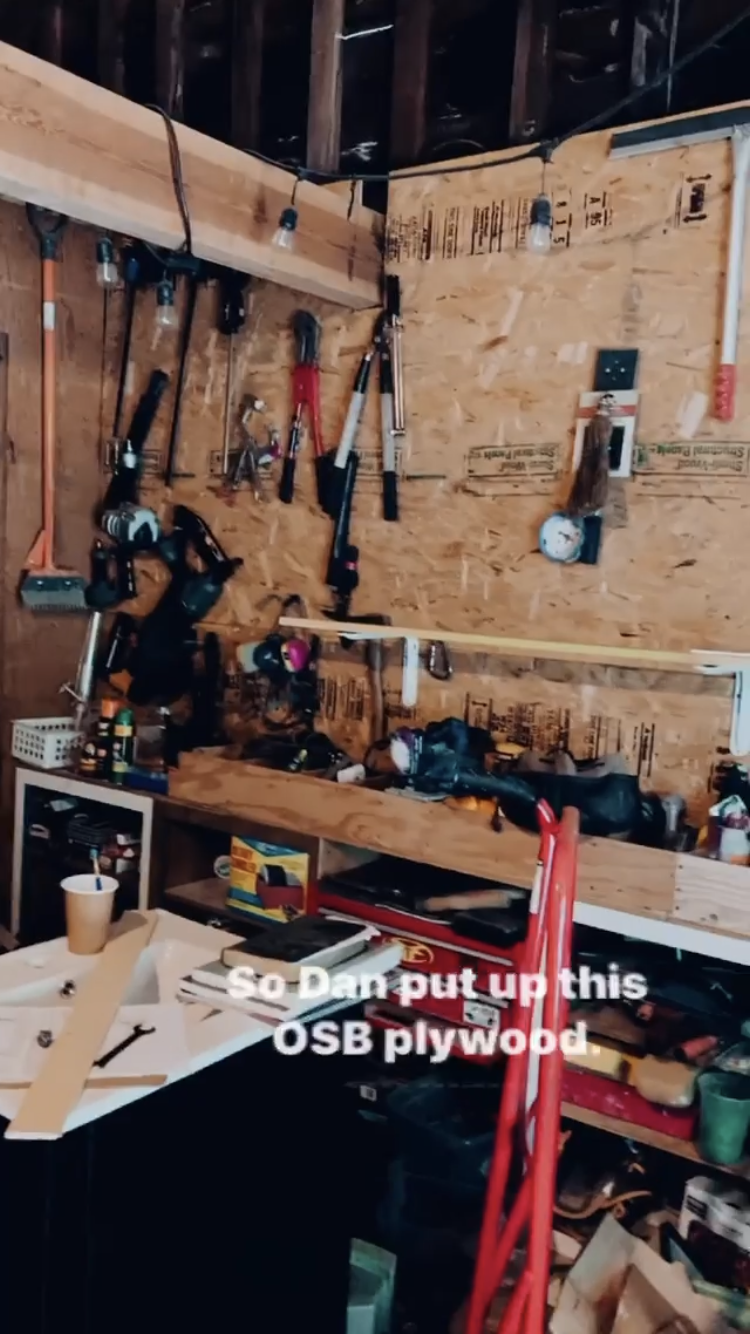
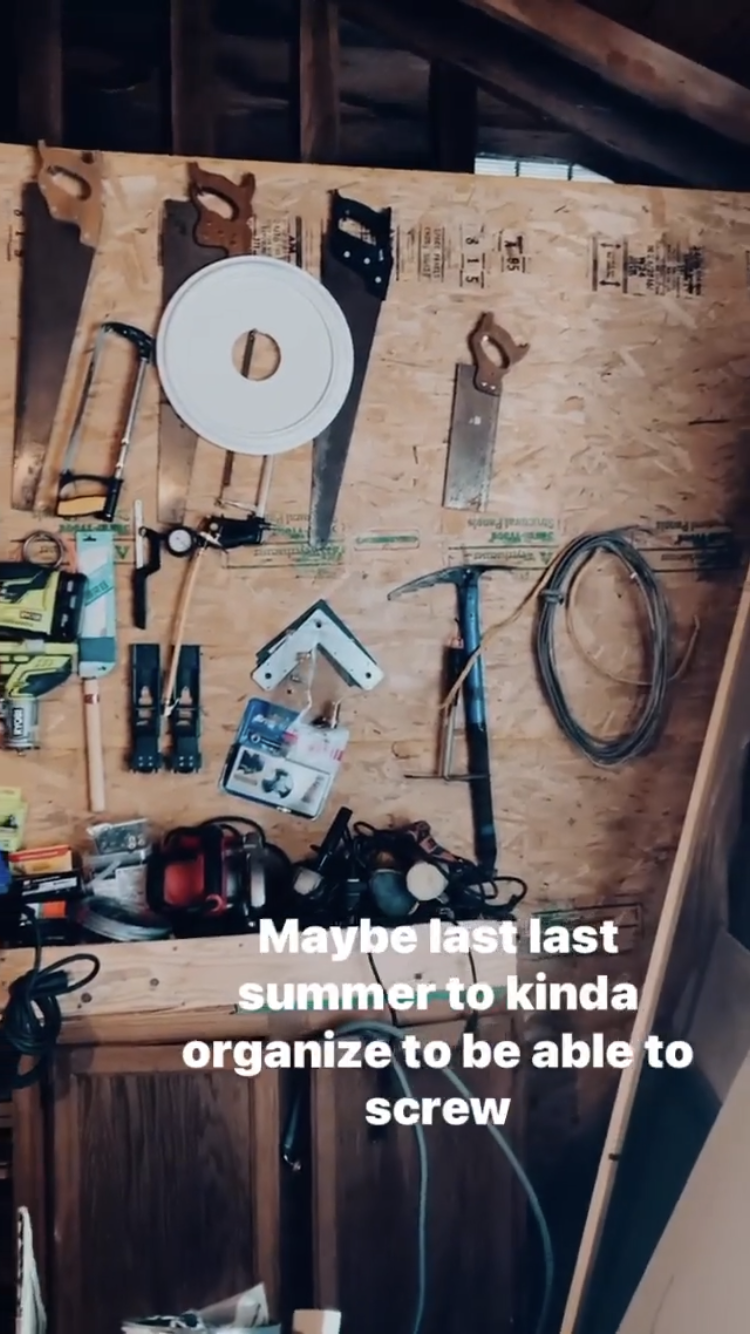
We originally had some screws and nails in the OSB wall that we hung some tools on haphazardly, it worked sort of all right, but it certainly wasn’t anything to write home about. Adding an entire wall of Wall Control panels and hanging accessories made this space work 1000x better, and we’re able to store all of our smaller tools on the wall, giving us so much more floor space in the garage (which is desperately needed).

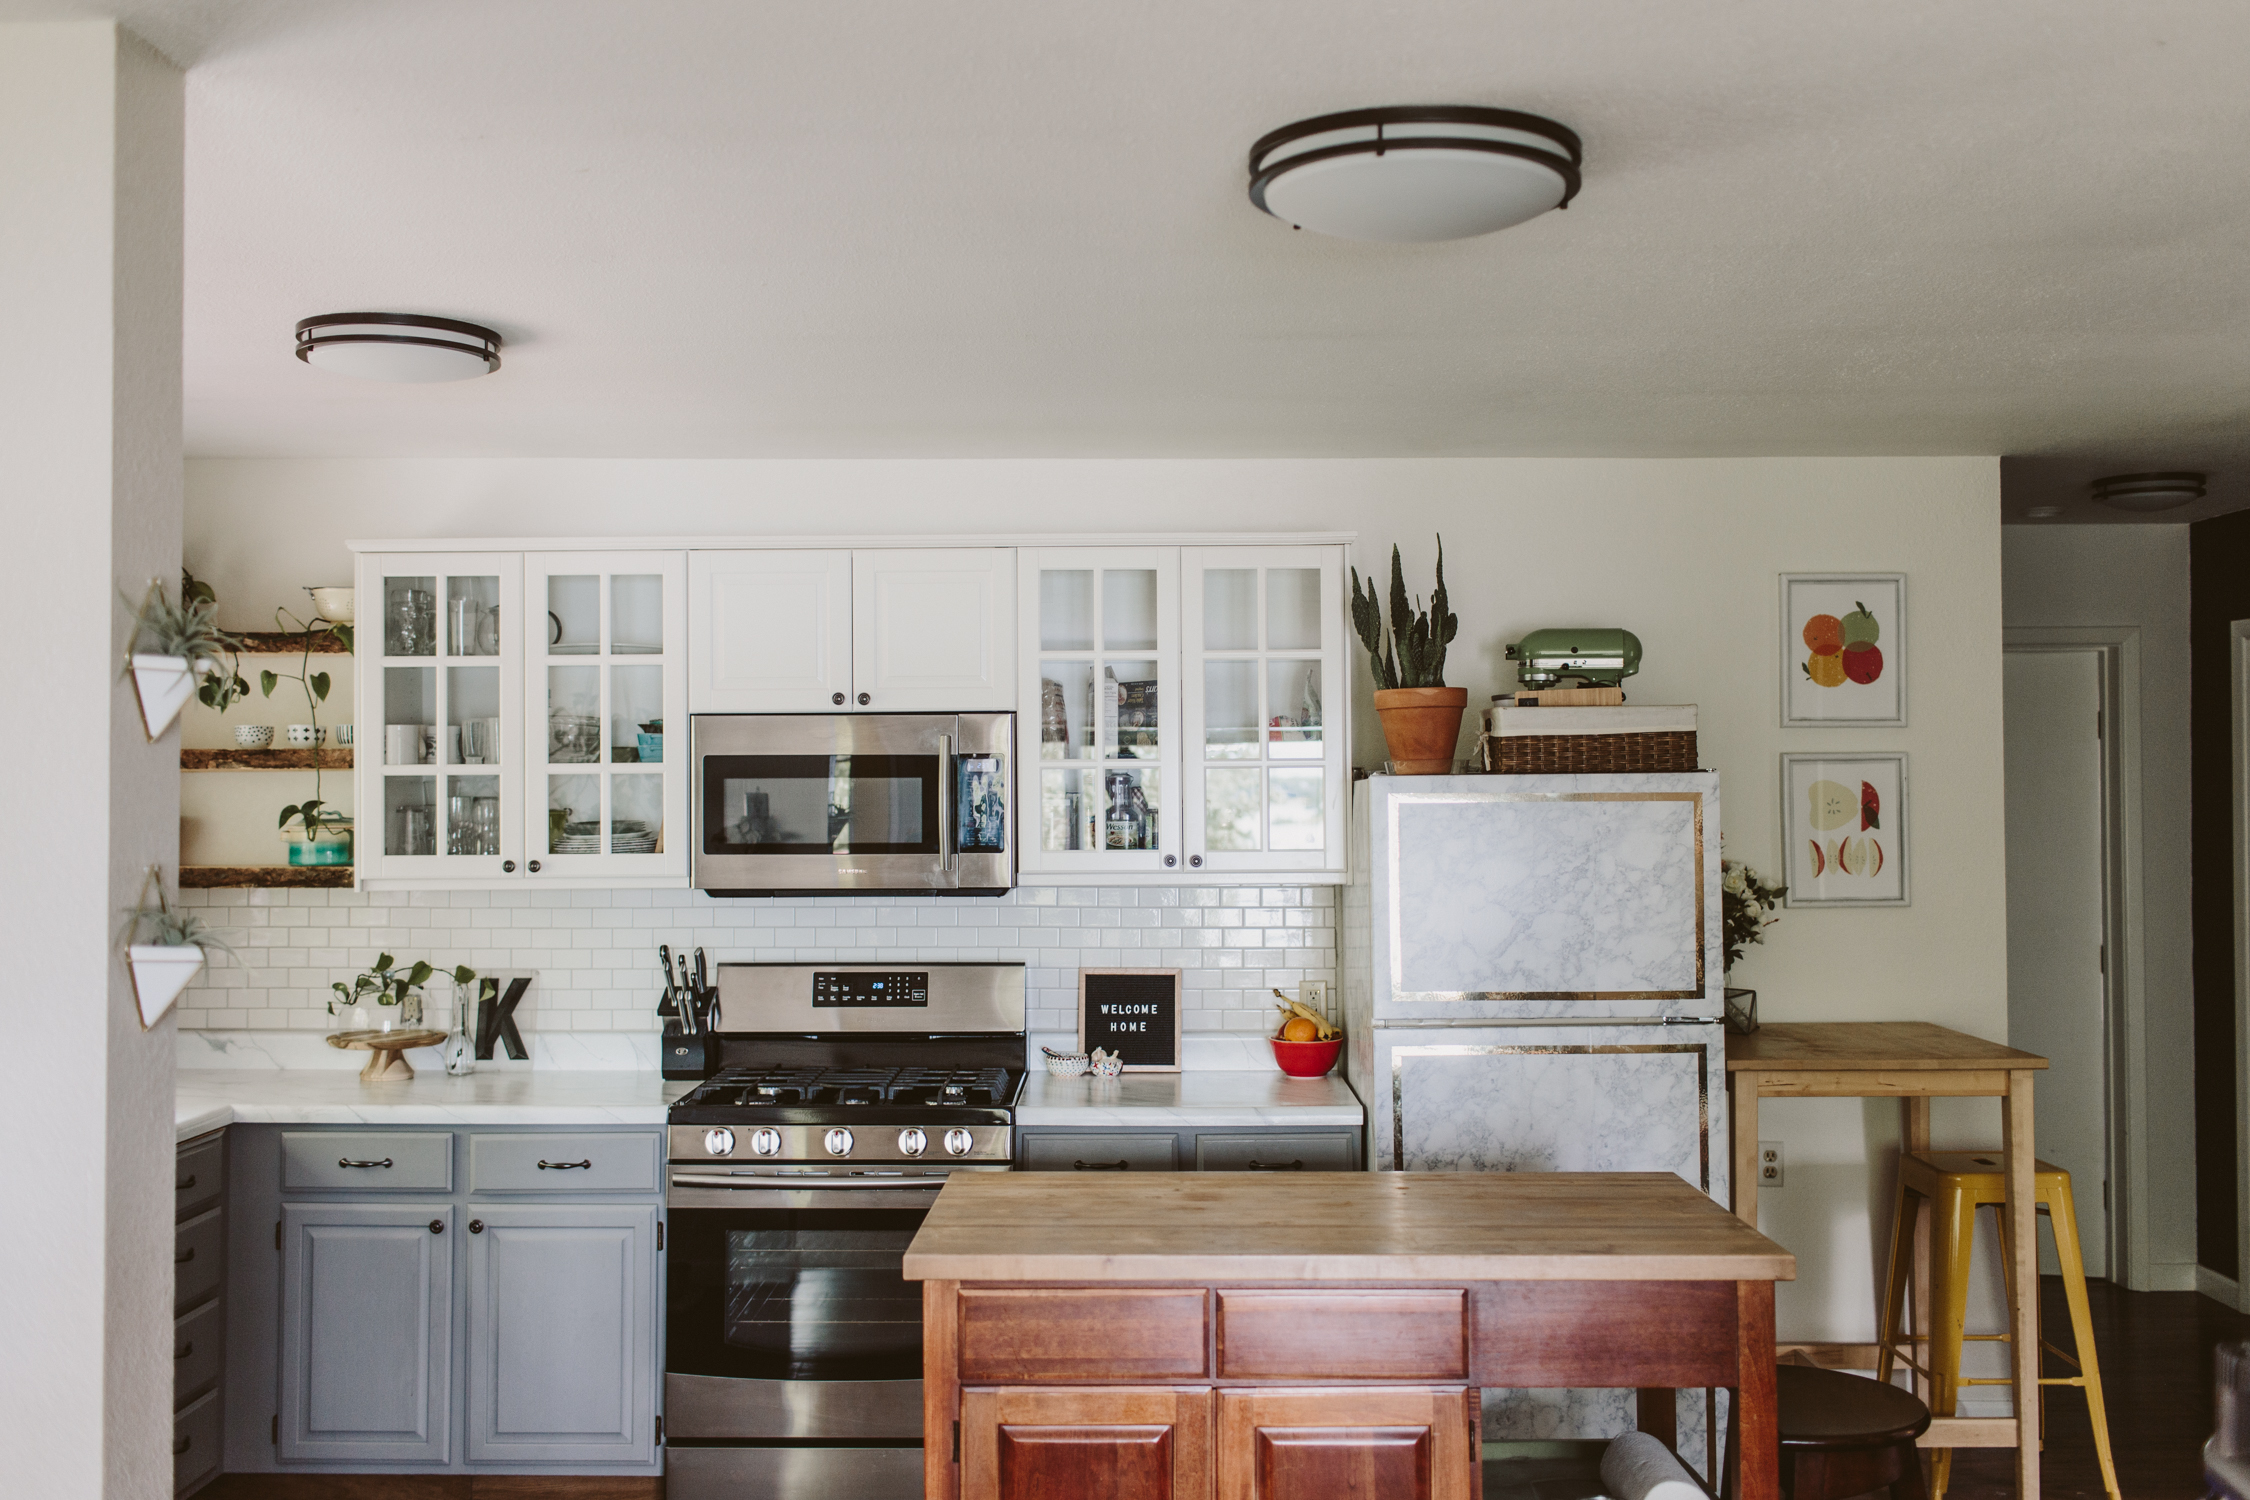
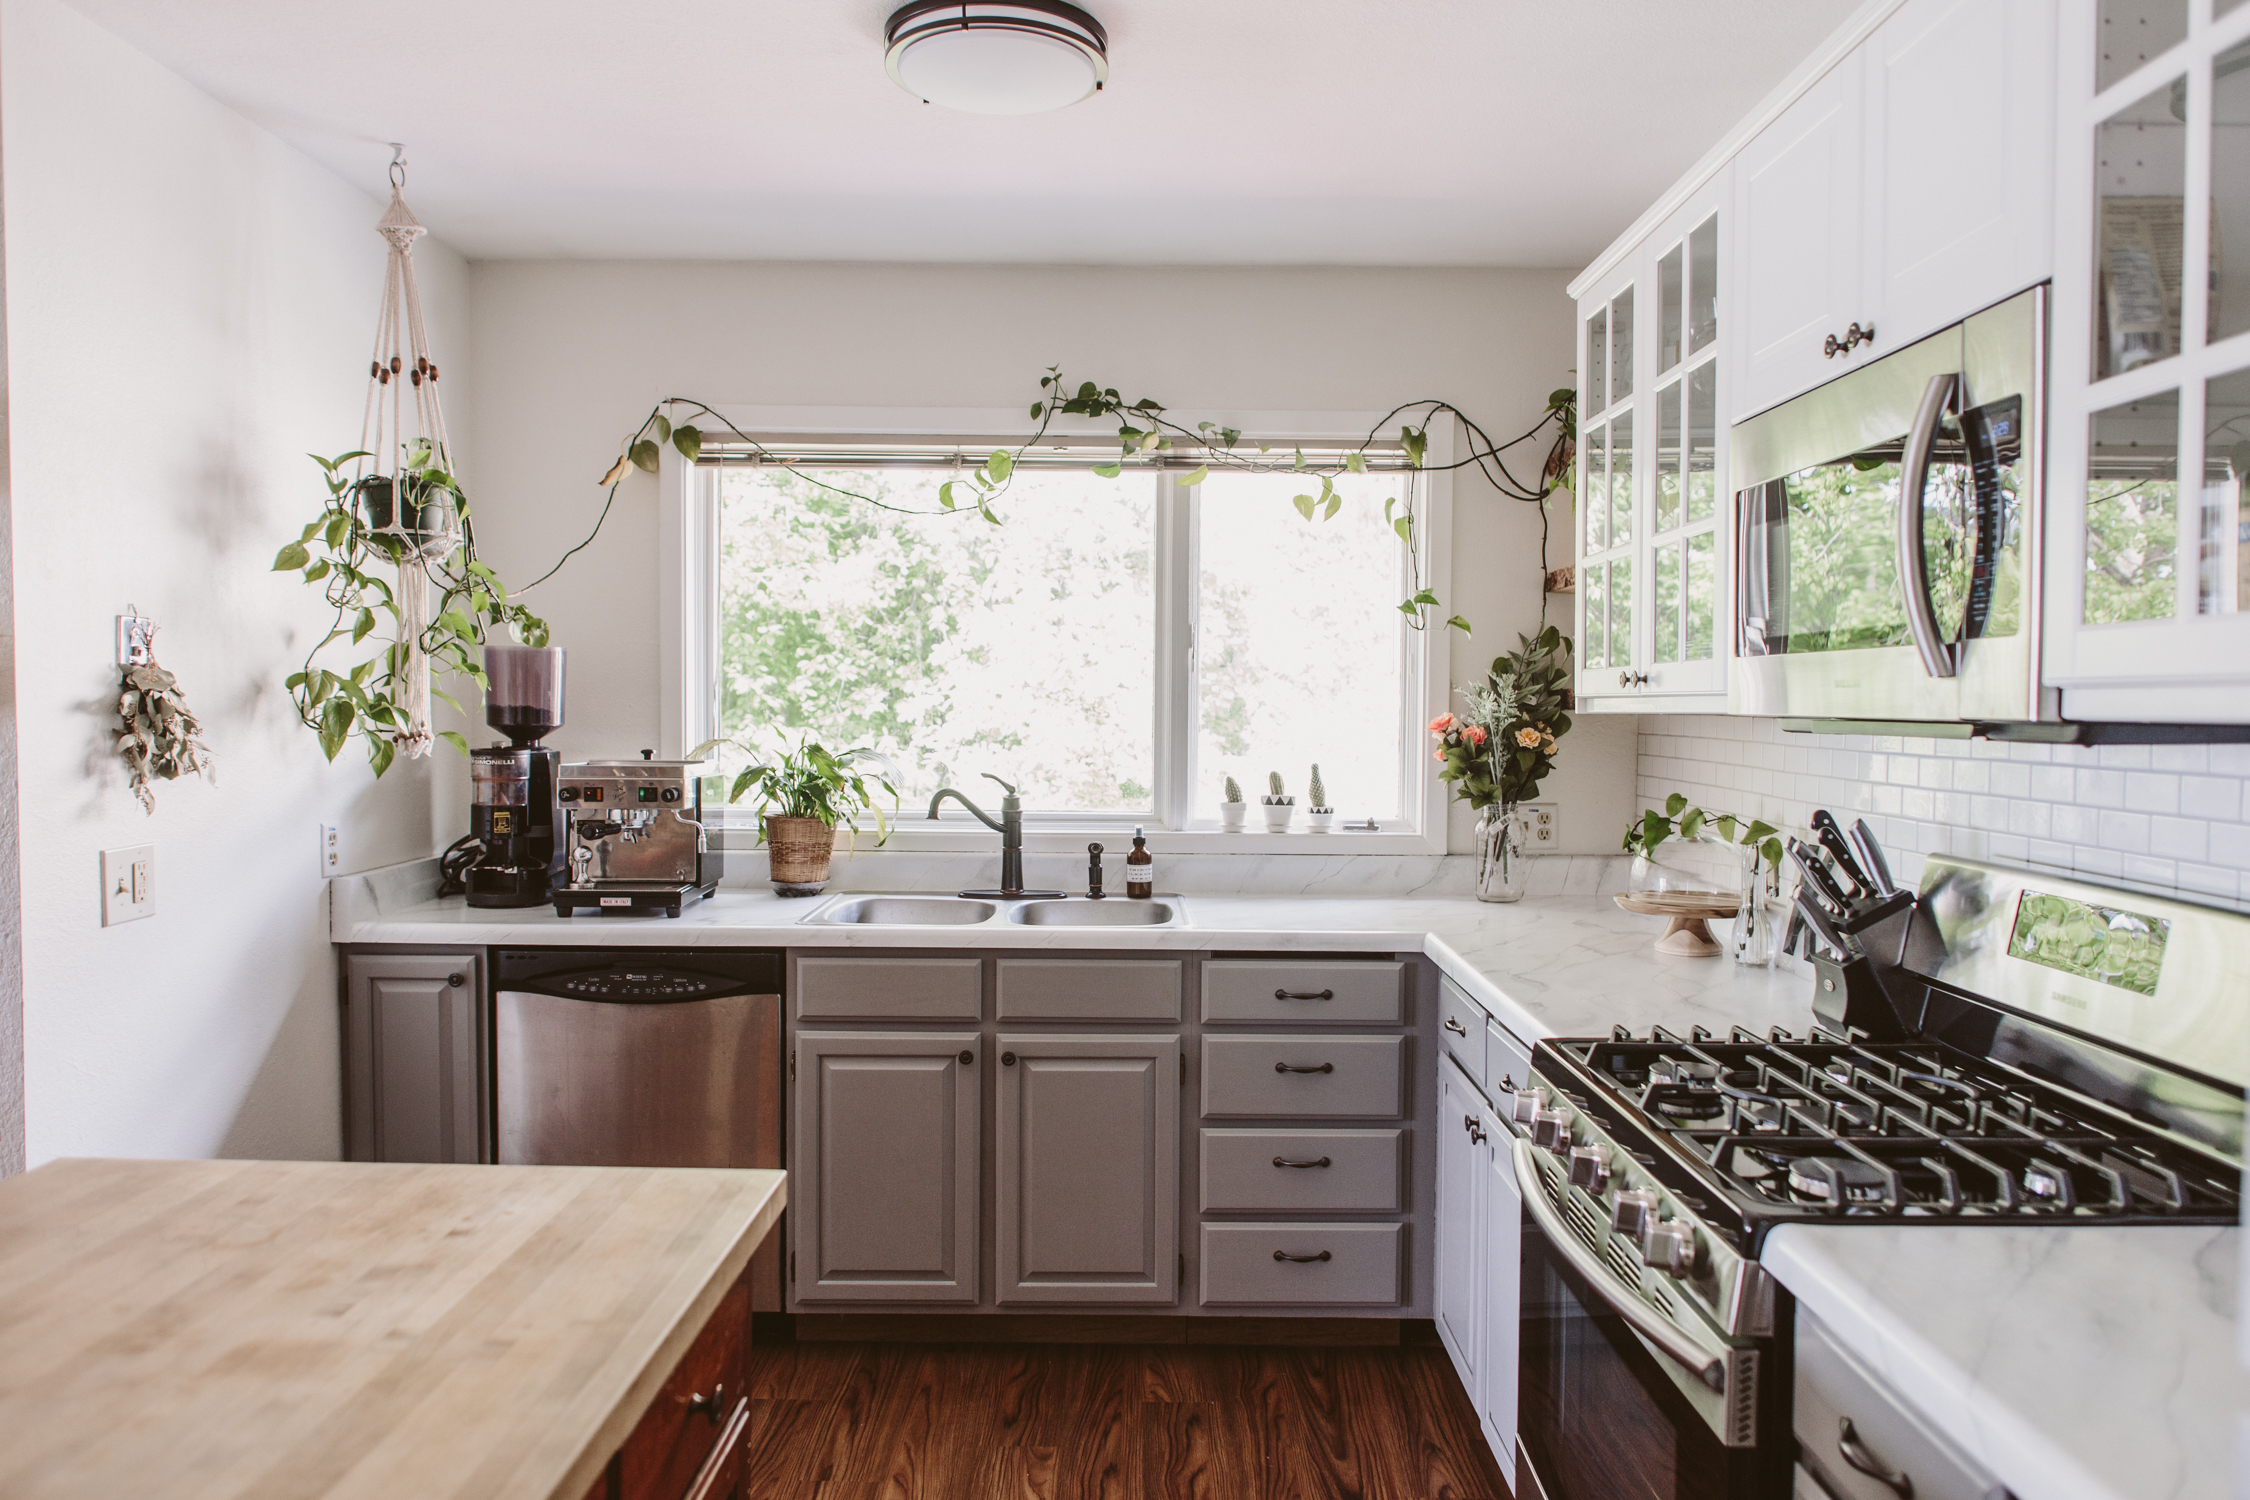
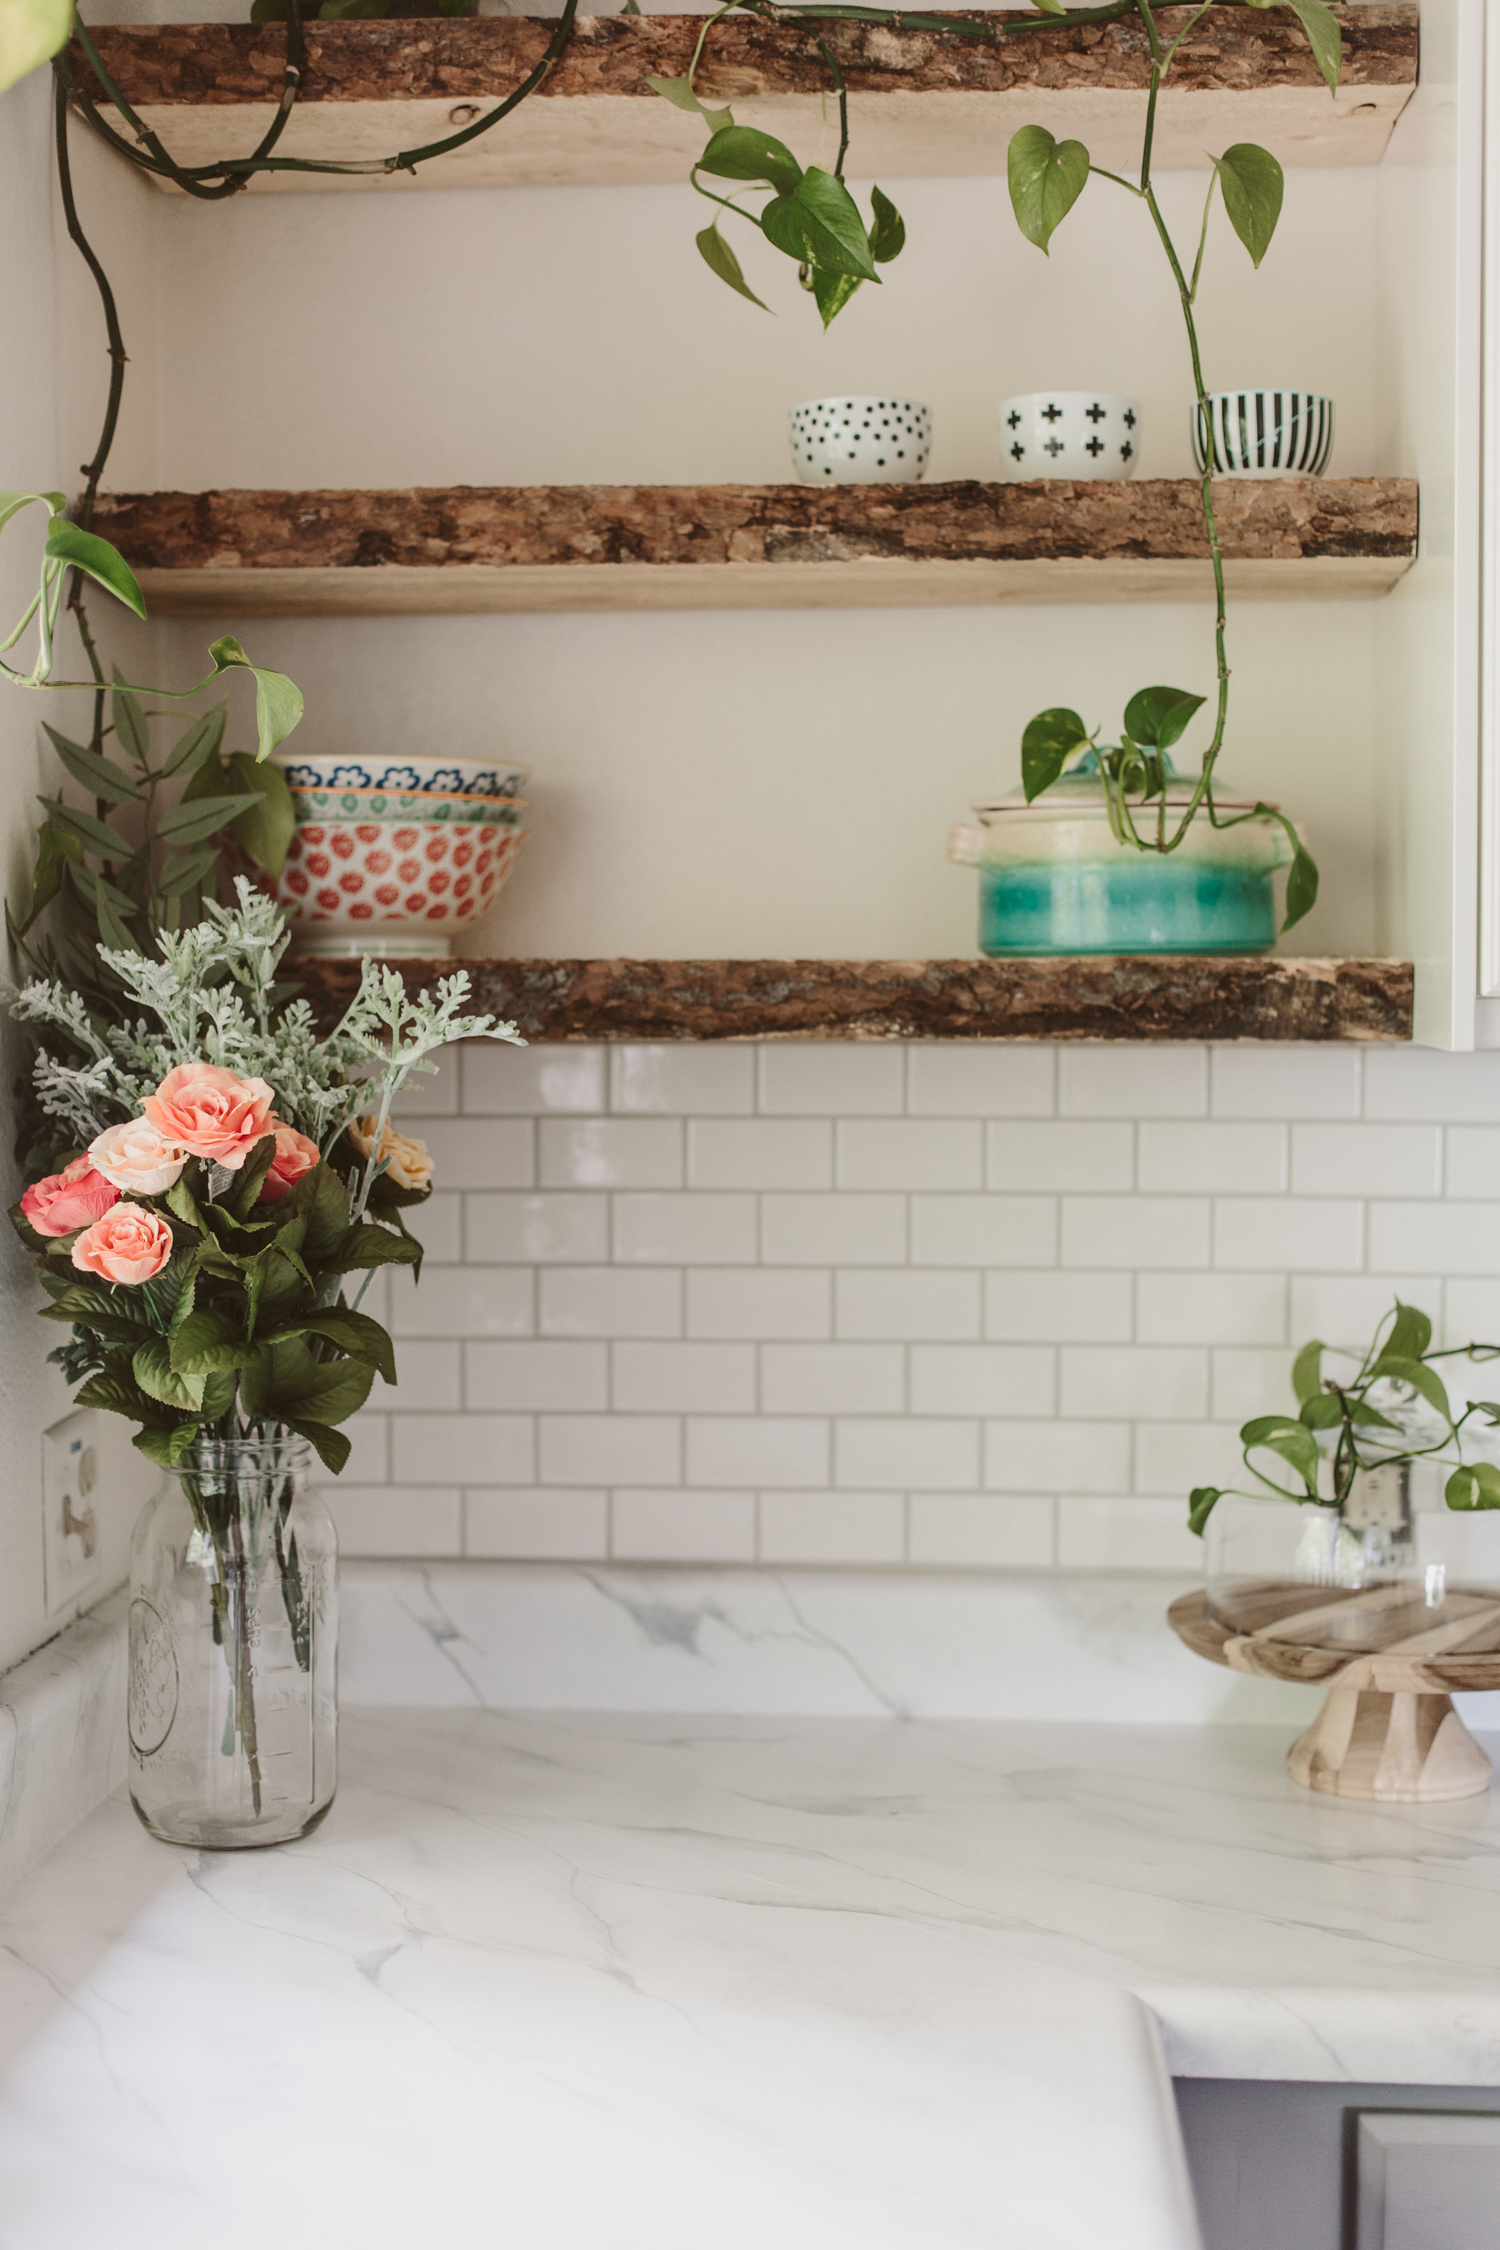
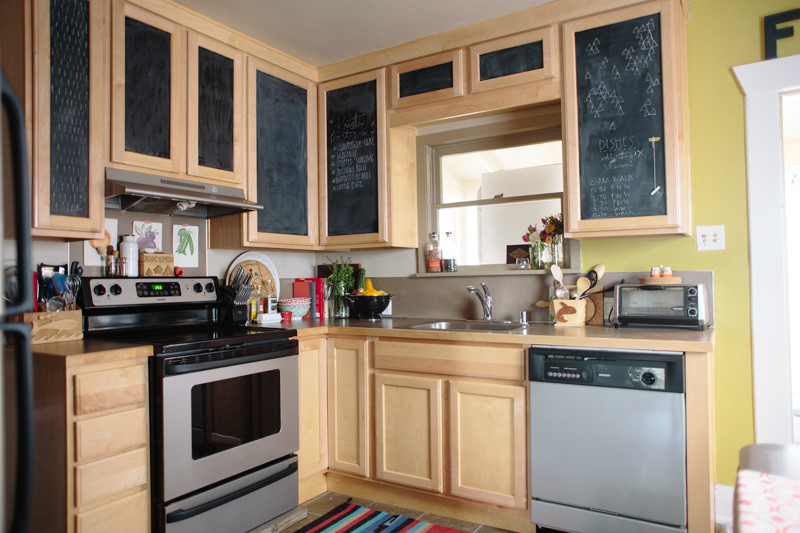
We were also able to use the cabinets that we salvaged from our kitchen remodel, and used those as base cabinets. These were originally the wall cabinets in the kitchen, so they’re 12” deep (standard base cabinets are 24” deep), which is really nice because things don’t get lost in the back of them and they take up less floor space.

We still have plenty of plans to make this garage/shop as useful and practical as possible, but for now this glow-up has made it feel so much more usable. Now the only challenge is actually getting myself to put my tools away where they belong instead of leaving them in piles around the house…

Here are all the Wall Control products we used to transform this space!

Black Vertical Panels | Black Horizontal Panels | Hooks | Drill Holder | Shelves | Spray Can Holder | Angle Grinder Holder | Hanging Drawer Cabinet | Screwdriver Holder | Long hooks

Photo Oct 04, 9 45 56 PM.png
IMG_1473.jpg

You may also like

Jack's big kid room

IMG_1588.jpg

A little less than a year ago, shortly after we moved into this house, we transitioned Jack from a crib to a “big kid” bed. I got this Ikea bed planning on making it into a cute little house, but after sketching out a bunch of iterations, I realized that his bed needed to be a Winnie! Luckily by this time he was a little bit older and I flipped the bed into the loft configuration in order to turn it into his very own Mini Winnie! I had some plywood leftover from a project, cut it into the Winnie shape, cut out the windows, painted it, and then just screwed it to the side of the bed!

I hadn’t really set out on designing his room with a plan, but over time it turned into a sort of adventure room, which I love. I had a bunch of National Park posters from years past, so I put those up (still need to find some frames that fit them). I found a vintage map at a local vintage shop, and had the paper star lanterns from his newborn nursery (Jack’s middle name is Polaris, so his baby nursery had a subtle star theme).

There’s obviously some work to be done, we need to finish the trim throughout the house so his room is missing door and baseboard trim, but for the most part, everything else is almost there! I’d love to take the super dated ceiling fan down and do a DIY paint job that fits his room, maybe do a Hudson Bay blanket look on the fan blades? The yellow triangle was inspired by Erin Barrett (@sunwoven on insta, if you don’t follow, you must! Her house is gorg).

Like the rest of our house, most of Jack’s room is thrifted, with the exception of the Ikea bed and the rug, which is from Wayfair!

Sources:
Bed frame: Ikea Kura Bed | Rug: Wayfair | Red Ampersand : Modcloth (years ago, here are some similar options) | Letter Boards: Mini + Poet size from Letterfolk | Winnie Painting: by me | Shelving unit: thrifted (originally from Ikea) | Storage Bins: thrifted (similar metal bins) | Bookshelf: thrifted (similar) | Elephant Clothes Hamper: thrifted (similar) | Chairs: thrifted | Floor Pouf: c/o D+K Renewal

Jack's Gender Neutral Nursery

Boho Gender Neutral nursery

I've been doing some rearranging of Jack's room, and I'm finally liking how his little space has come together.  It can be challenging to place furniture with the angled ceilings, and so one thing I moved out of this room into the adjacent space (which is where our closet is) is his changing table.  Having that out of this space made it a little easier to work with furniture.

The rug, cube shelf (Ikea), rattan shelf, and crib (Babyletto) were all Craigslist finds!  And his little dresser was a cheap Target dresser which I fancied up with some Pretty Pegs legs to give it a little mid-mod flair.

This room is a converted attic space, so the stairs to get up here are very small. Any furniture has to be less than 25 inches wide to fit up there, or able to be built in the space like most Ikea furniture.  Luckily I found that round chartreuse chair at World Market and because of it's weird shape and removable legs, I was able to fit it upstairs!  It's the perfect little chair for bedtime stories.

The floors are actually just the subfloor.  There used to be ugly brown carpet up here and we ripped it out and I liked the wood floors.  But we never put trim back on, so if you're wondering why we have no floor trim in here, that's why!  We're probably going to eventually put *real* flooring in whenever we end up putting this house on the market.

I love having a space that feels uncluttered and natural.  I'm not a fan of bright plastic toys, so I prefer classic wood toys that look nice and are also more eco friendly.  I've found a lot of cool wooden toys on etsy and at thrift stores!

*for those wondering about the plants, Jack is never alone in this room because we're unable to fence off the stairs, so I'm always with him when he's playing in here.  Peace Lilies are toxic to humans and pets, and Snake plants are mildly toxic, so make sure you watch your kids and pets around those plants!*

Kilim rug, rattan shelf, hamper : thrifted/Craigslisted | Cube shelf : Ikea via Craigslist |  Yellow Chair : World Market | Crib : Babyletto via Craigslist | Dresser : Target | Dresser legs : Pretty pegs | Kind + Brave banner : handmade | World is your Oyster Print : Rifle Paper Co. via Moorea Seal |  Floor Pillows : Target via Goodwill


You Might Also Like

Our Apartment Kitchen Remodel

necklaces-3.jpg

I'm gonna tell you guys something a little heartbreaking, right out of the gate.  This kitchen is now completely demolished.  We finished this remodel in June and by August,  this apartment was totally gutted by the new owners.  Moment of silence.  Okay, now lets get to it.

This apartment was above the garage of the house I grew up in, so I've been familiar with the space for many years.  It's seen a few small remodels, mostly paint, and a few years ago my parents put in new vinyl wood flooring.  Nothing about it was super special.  The cabinets were cheap, the countertop was dingy off-white formica, and the sink was designed with a sloped bottom so any time you set a glass in there it tipped over.  

We didn't want to spend a lot of money, so we didn't want to gut it and have to install new cabinets, counters, and fixtures.  We saved lots of money by DIYing a few things.

Kitchen Before 2.jpg
Kitchen Before.jpg

The biggest DIY was the countertop. We wanted something fresh and clean, but doing real Carerra marble was way too spendy for this space, so I decided to paint the countertop with a faux marble instead.  You can peep that DIY here.  I will say that it's a good way to get the look, but it wasn't the most durable.  It definitely would stain if you left anything like coffee or wine on the counter for too long, and if you scratched it too hard, it'd scratch the paint off.  If you're wanting something to hold you over while you save money for the real deal, it's great for that, but I'm not sure it's the best for a long-term solution, especially if you do a lot of cooking and like coffee and wine *raises hand*.

We ended up keeping the lower cabinets and painting them grey, and then we replaced the uppers with Ikea cabinets.  That ended up being more expensive than for those of you near an Ikea because they had to be shipped to Alaska.  The open shelving was DIY.  My dad went to a lumber yard and bought a 20ft plank that had an unfinished edge.  He chopped it into the three pieces for the shelves and installed it.  We also DIYed the subway tile backsplash.  I had never done tile before but I was excited about how straightforward it was.  I'm looking forward to doing more tile work!  

The other super easy, dirt cheap DIY was the fridge.  It was an ugly old ivory fridge, and I just covered it with marble contact paper and gold tape.  It's a pretty durable and quick way to freshen up a fridge without having to drop hundreds of dollars on a new, fancy one.  I've put contact paper on every fridge I've ever had (faux wood contact paper on one, chalkboard contact paper on another, and marble on this one!).  I love how it gives an eclectic and unique look to an appliance that's usually boring.

We also painted the room white, and I popped a chalkboard wall in there on the right side (though I never actually put any chalk on it, so it's just a black wall).  

There were definitely things about this space that I would've done differently, had the situation been different.  Knowing that it got destroyed shortly after we finished it makes it easier to feel okay about not doing it 100% the way I really wanted to.  We are planning our current kitchen remodel and I'm excited to be able to do it exactly how I want (and also not have to pay out the ass to ship things from Ikea).

If you have any questions about this remodel, hit me up in the comments! 

Our Home Tour

As we roll into our new town and start the process of moving into our new apartment, I wanted to take a look back at our little Tacoma home.  We spent 3.5 years in this house transforming it into something super special and completely loved.  Driving away was tough, but since we decided to rent it for now, there is the possibility that some day we'll come back to this lovely little house.  I've done room tours before, but I've never done a single post with a tour of the whole house, and what better time to do that than now!

Goodbye little house!