


I'm gonna tell you guys something a little heartbreaking, right out of the gate. This kitchen is now completely demolished. We finished this remodel in June and by August, this apartment was totally gutted by the new owners. Moment of silence. Okay, now lets get to it.
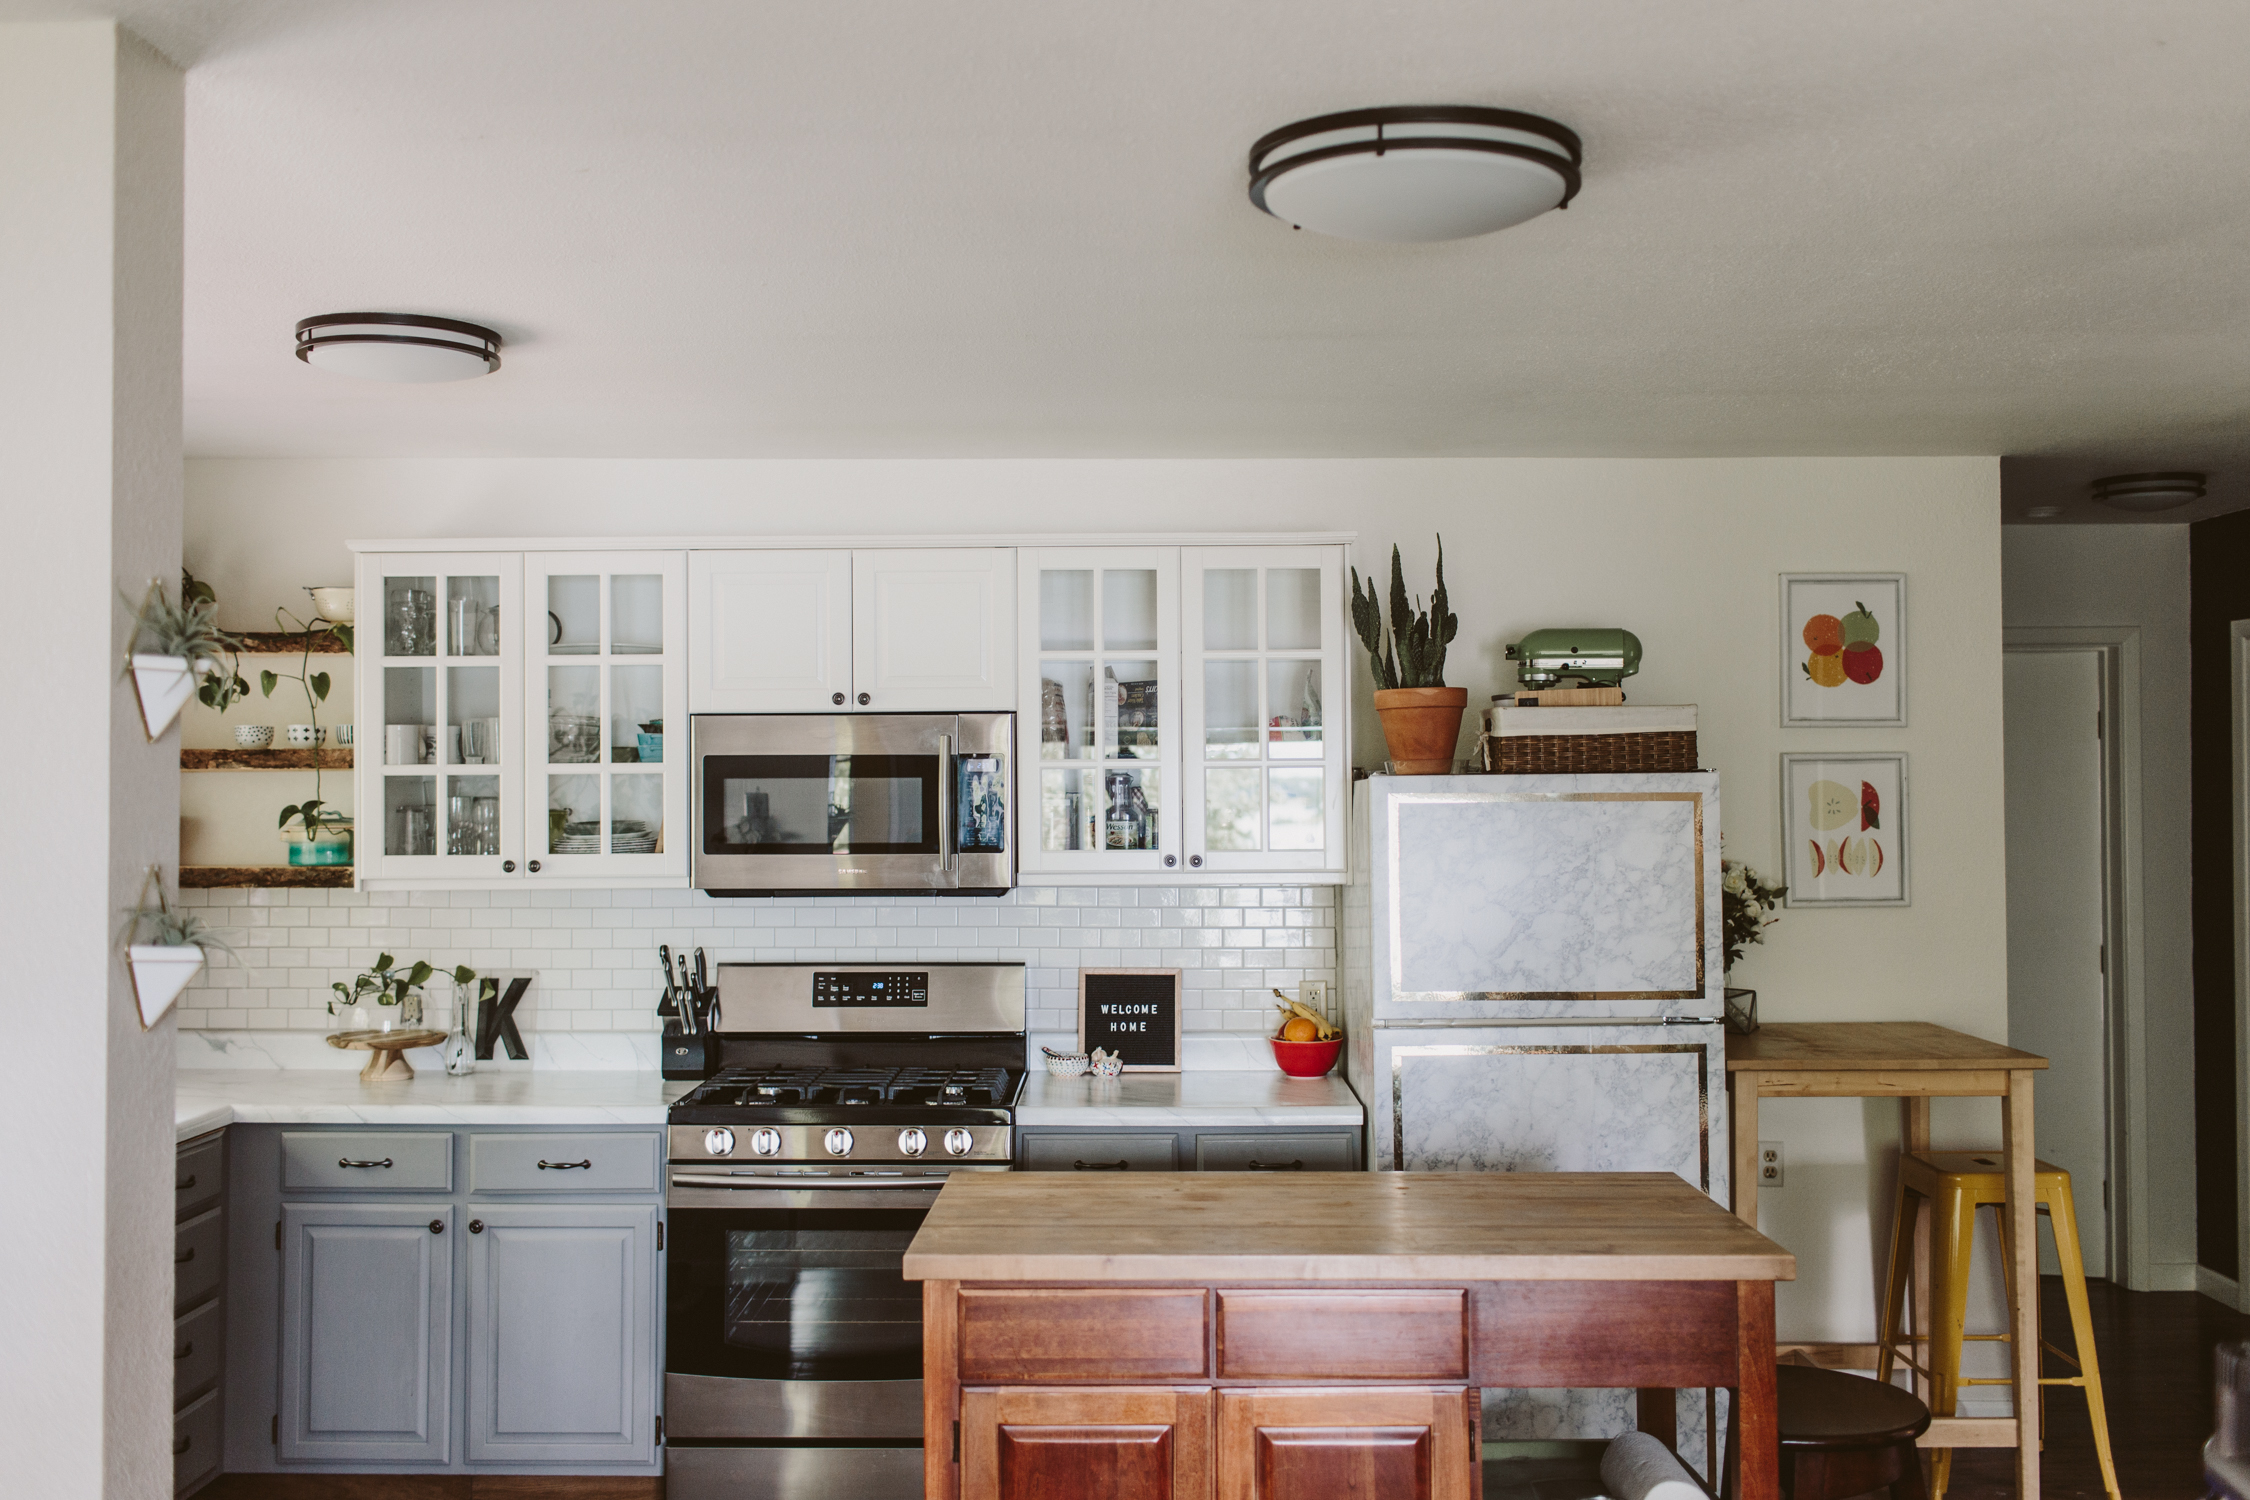
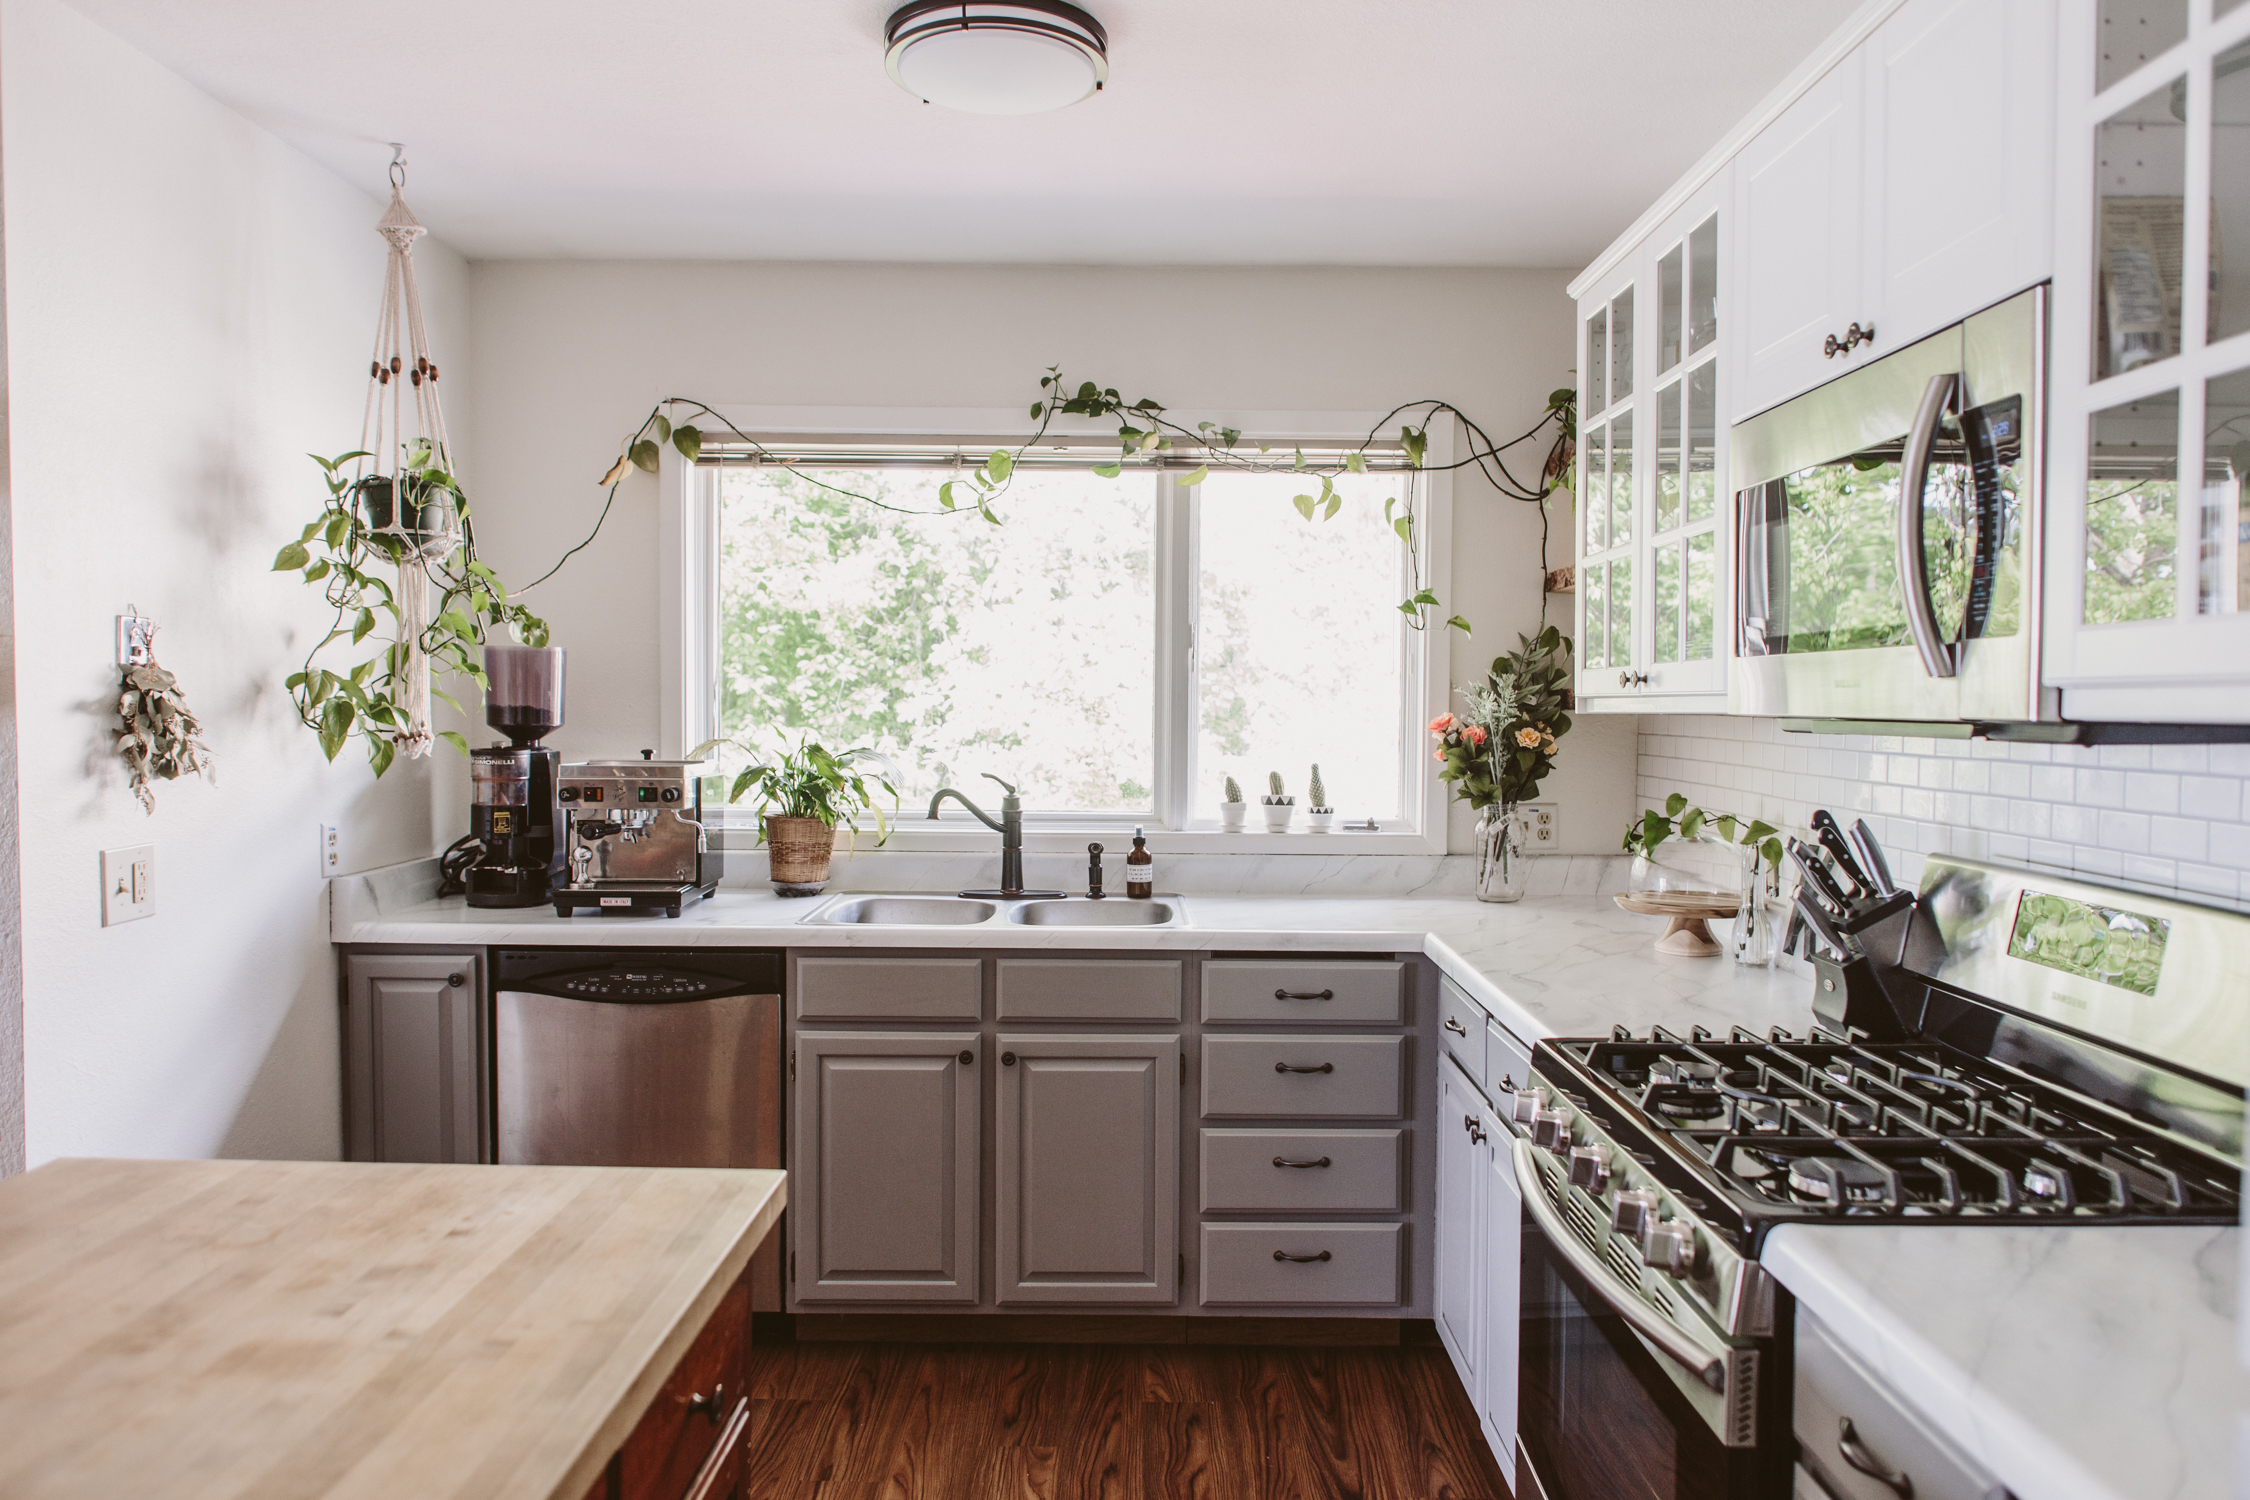
This apartment was above the garage of the house I grew up in, so I've been familiar with the space for many years. It's seen a few small remodels, mostly paint, and a few years ago my parents put in new vinyl wood flooring. Nothing about it was super special. The cabinets were cheap, the countertop was dingy off-white formica, and the sink was designed with a sloped bottom so any time you set a glass in there it tipped over.
We didn't want to spend a lot of money, so we didn't want to gut it and have to install new cabinets, counters, and fixtures. We saved lots of money by DIYing a few things.


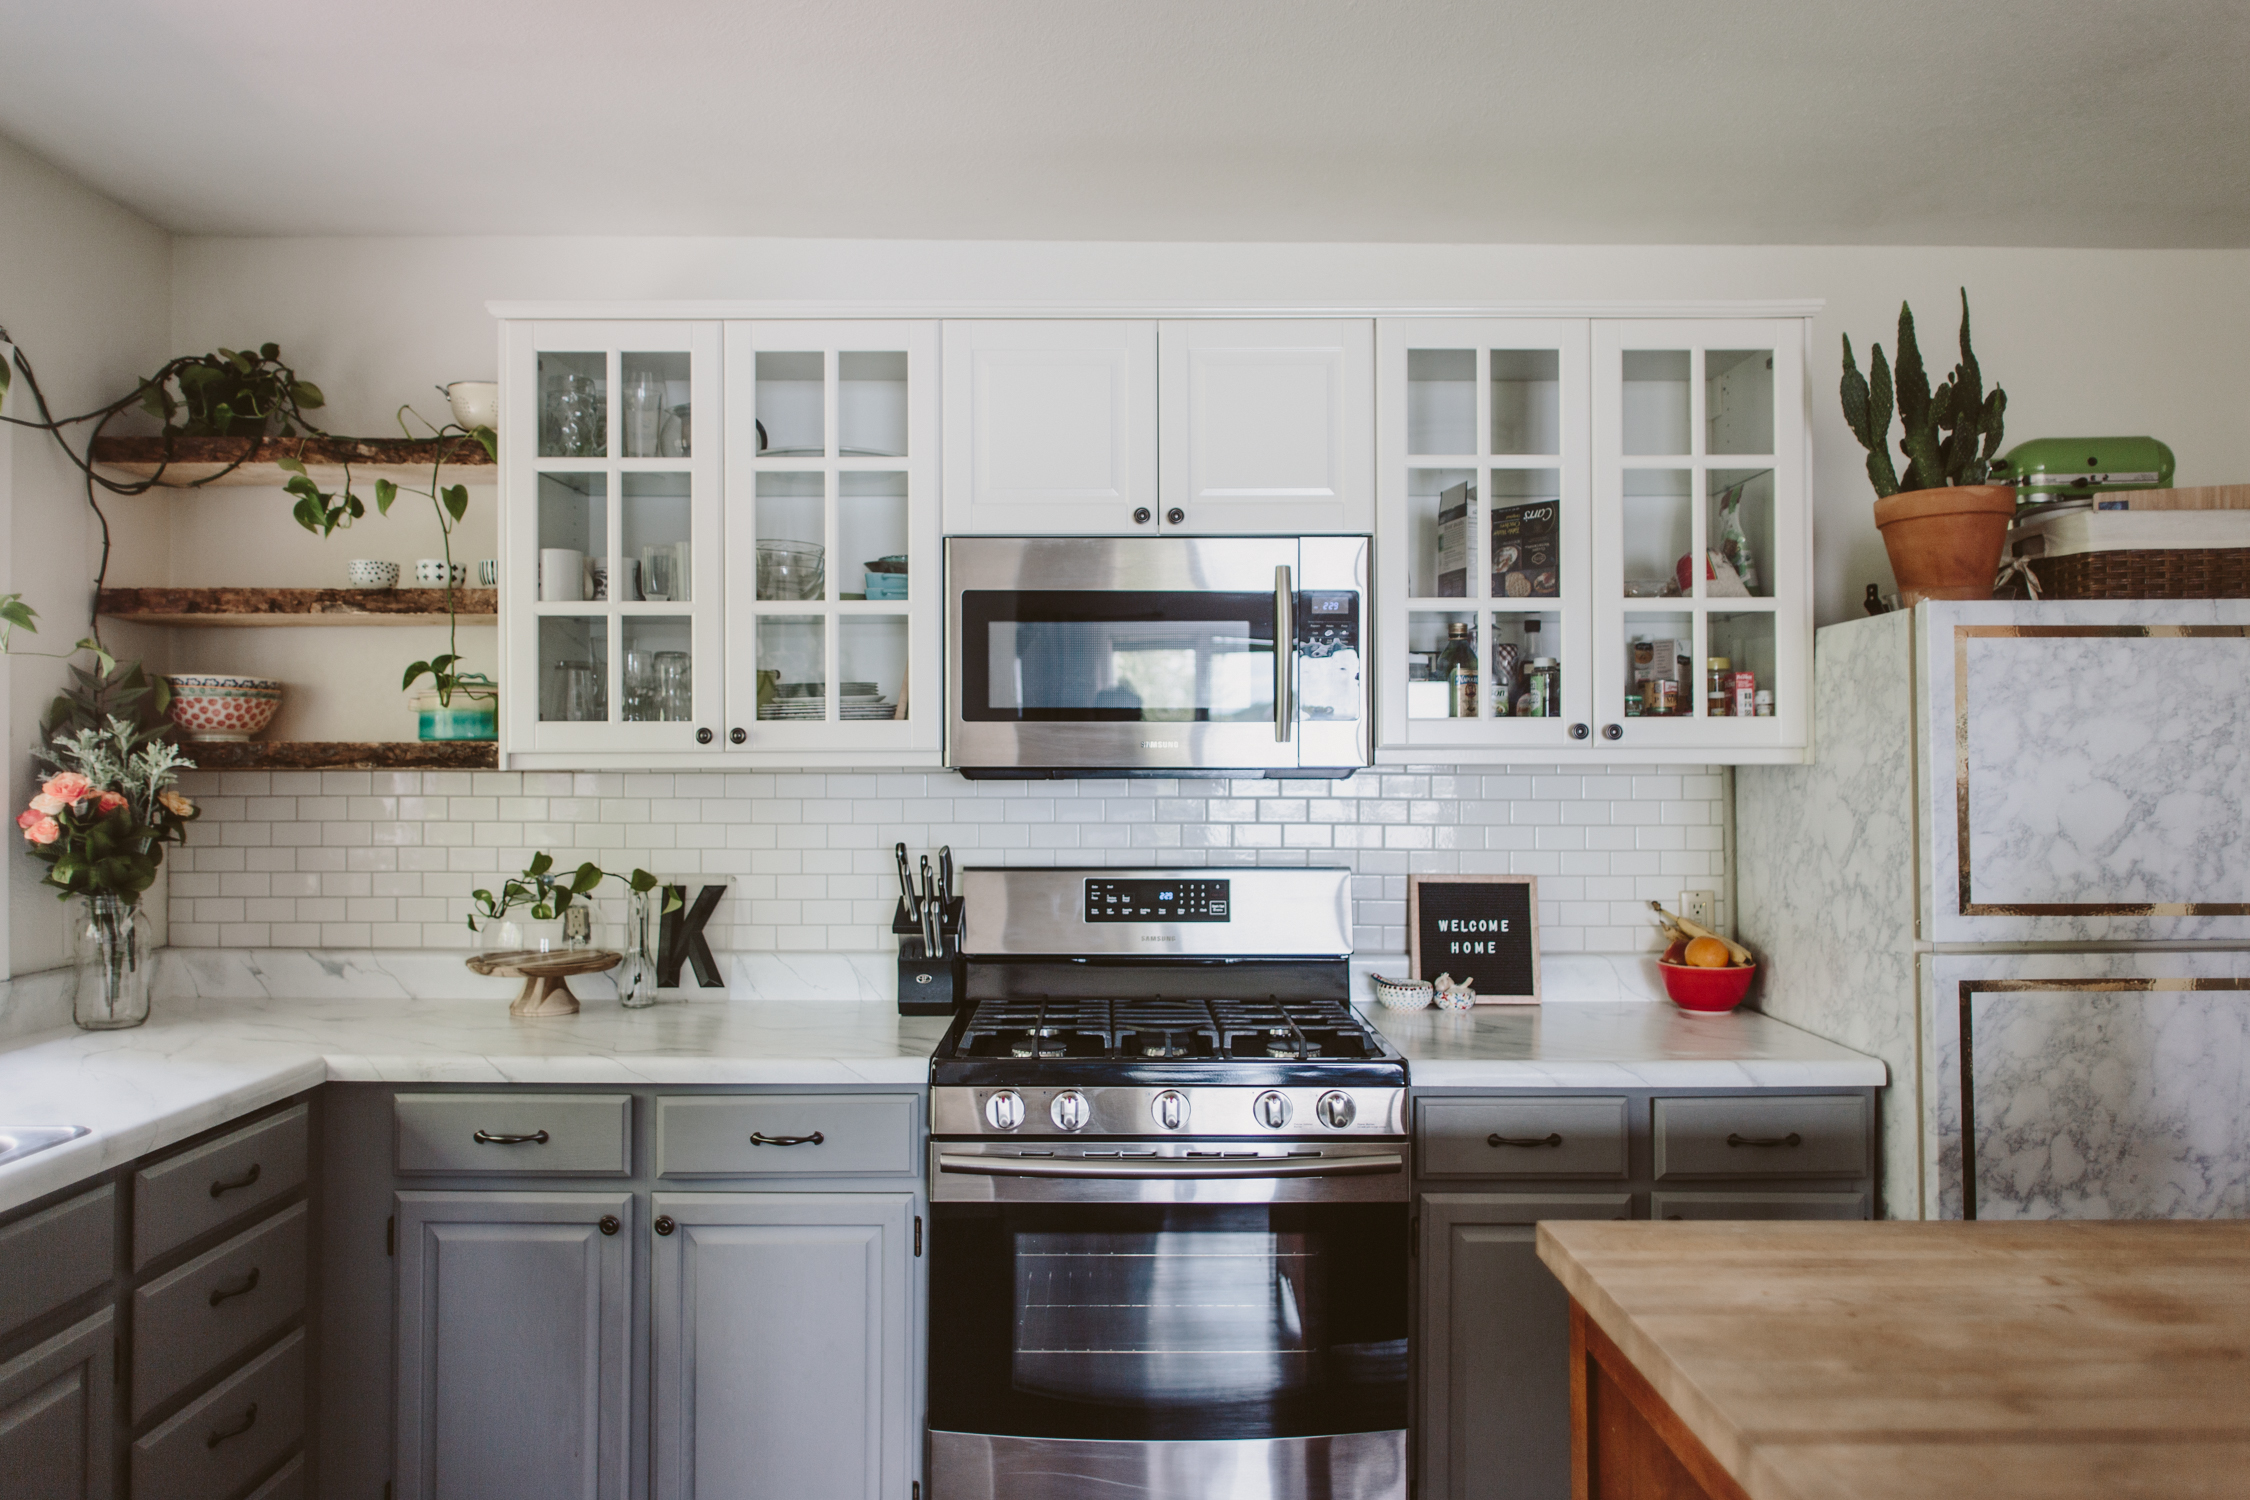
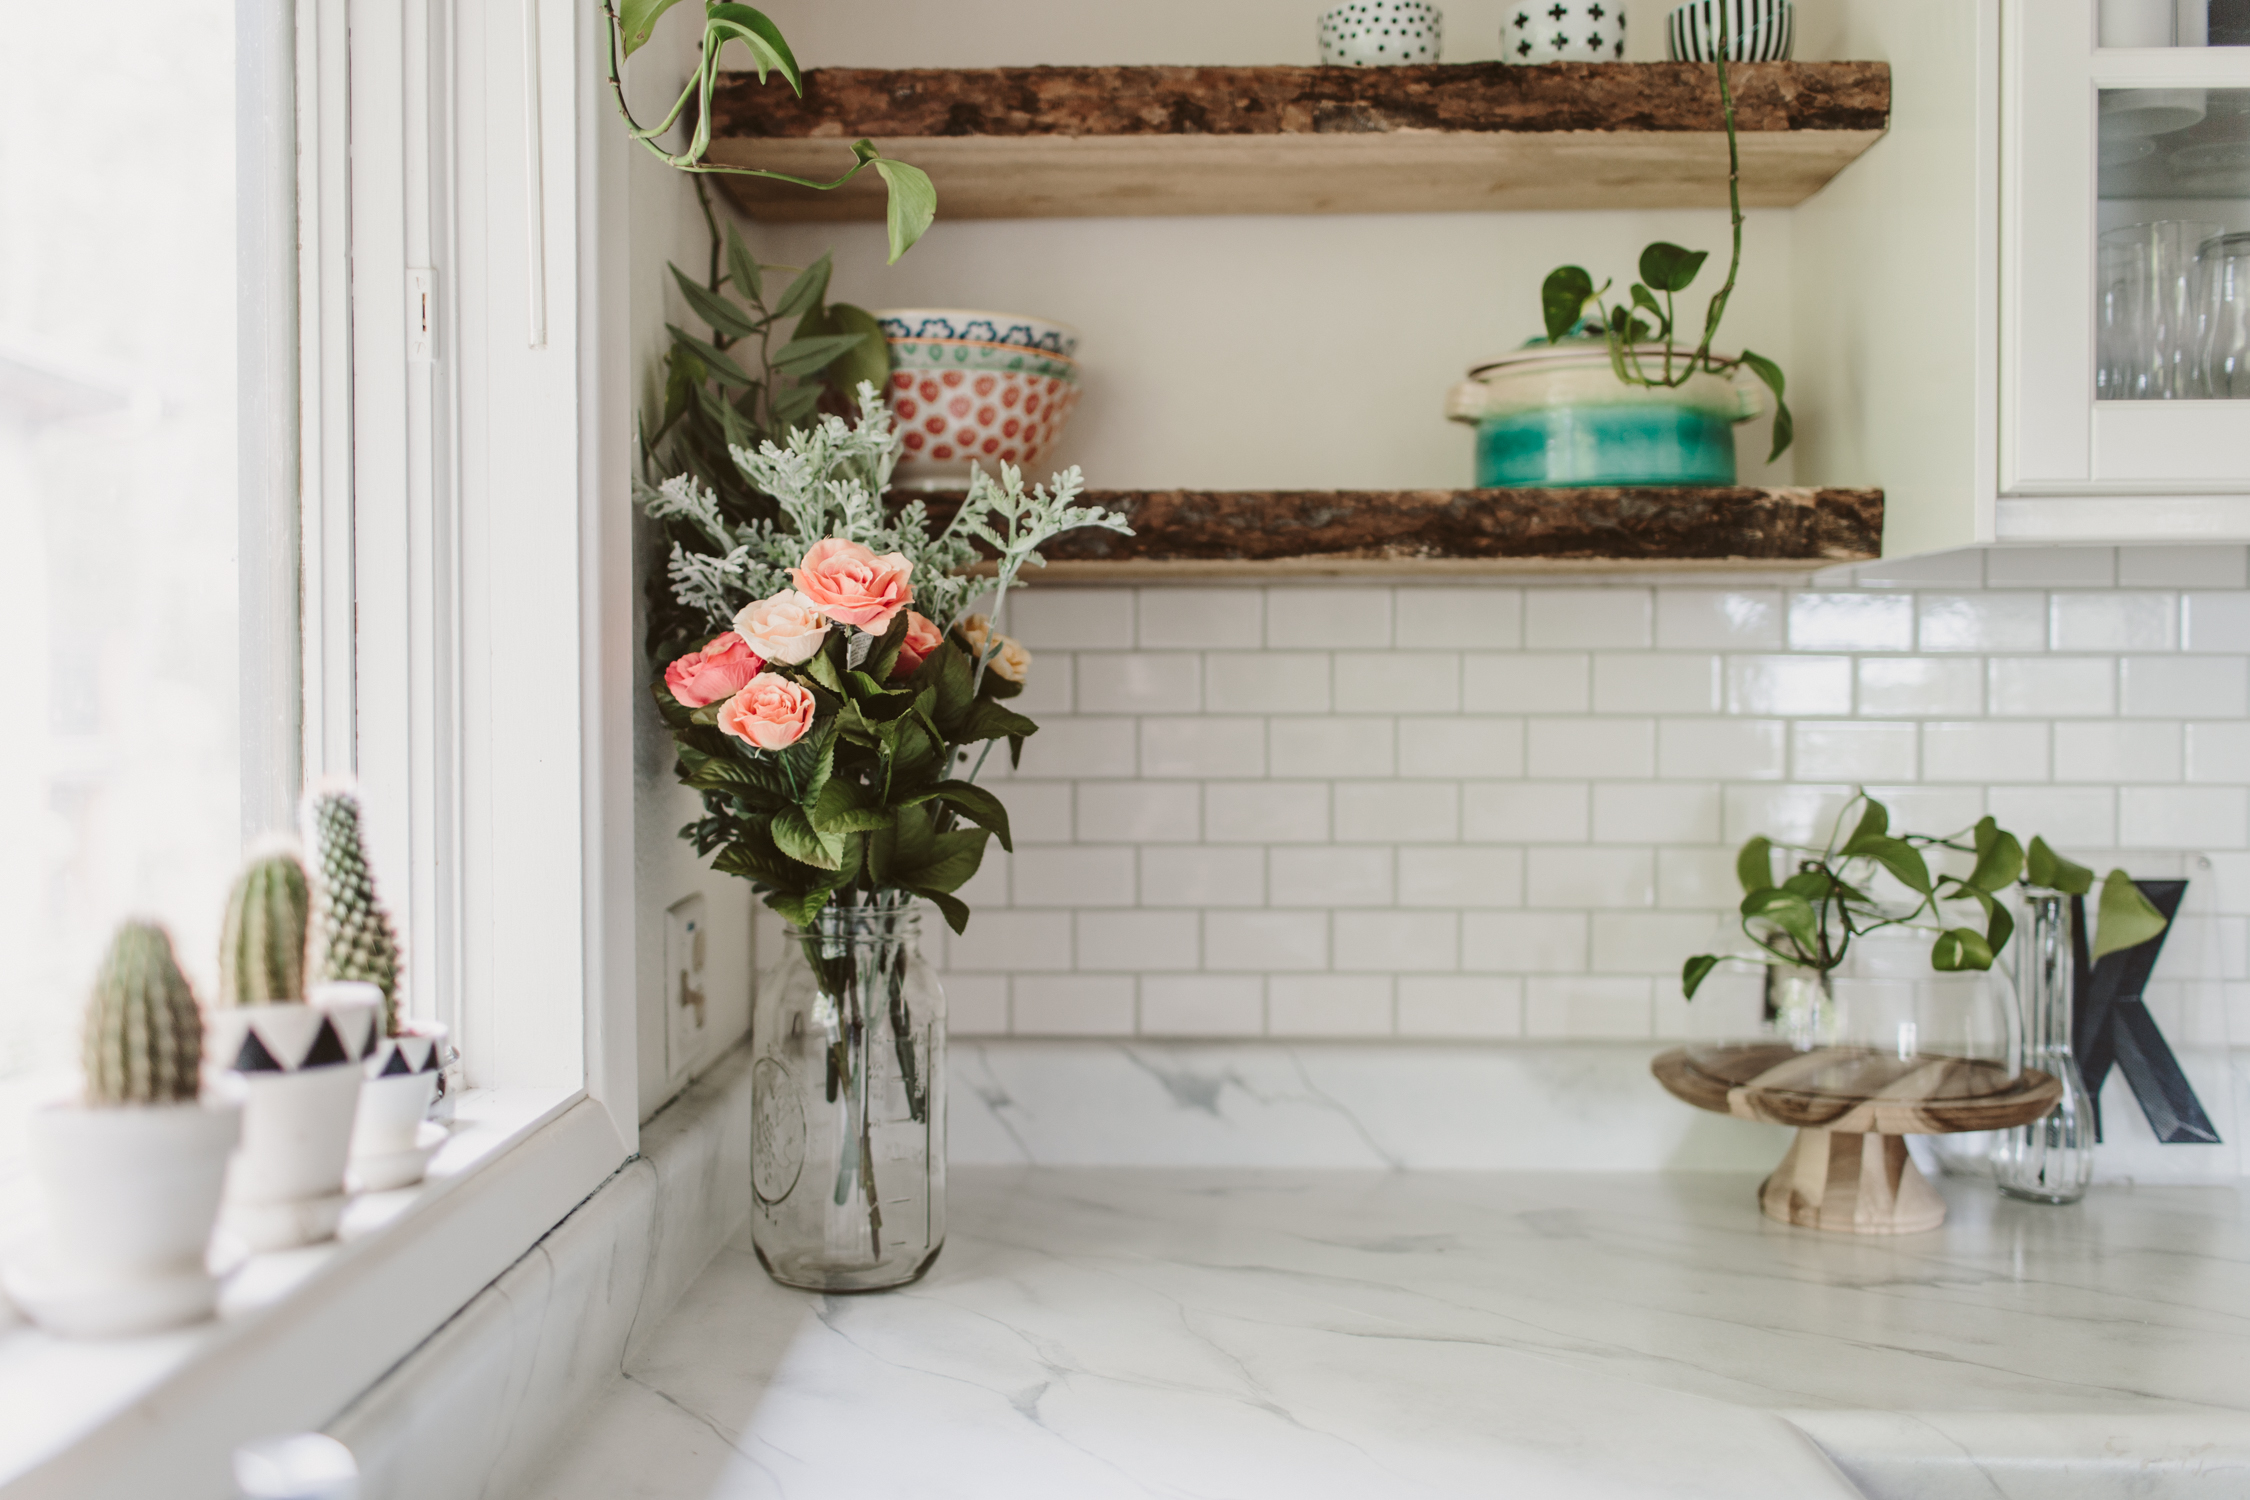
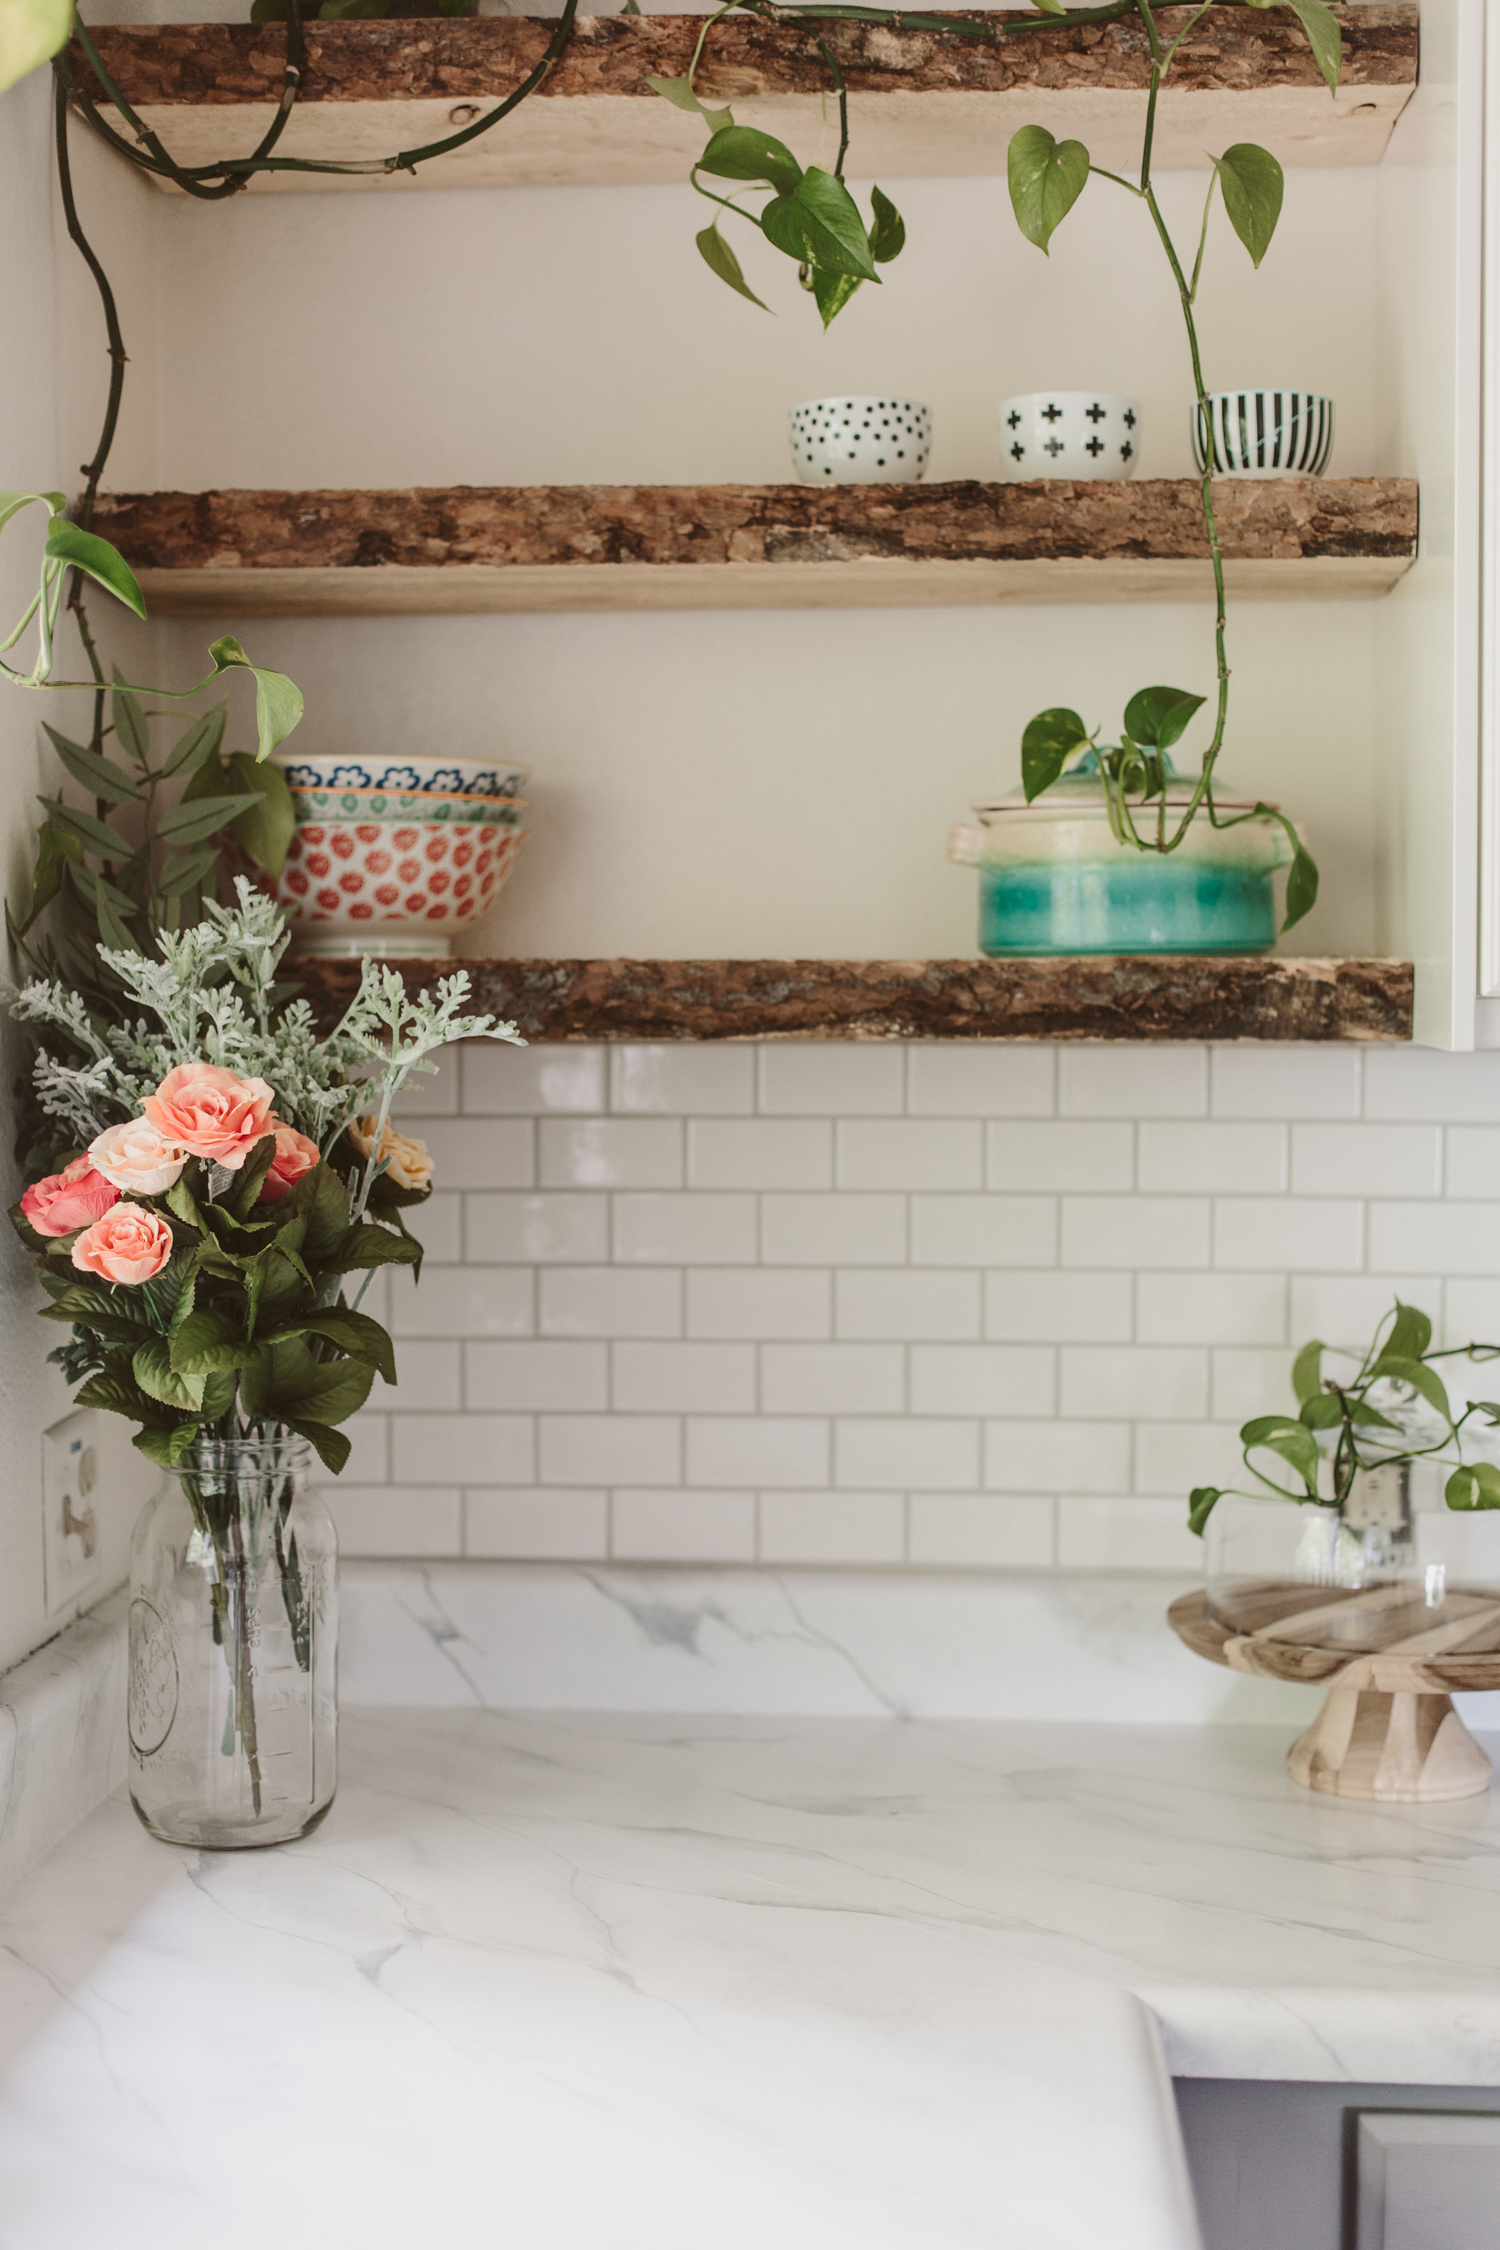
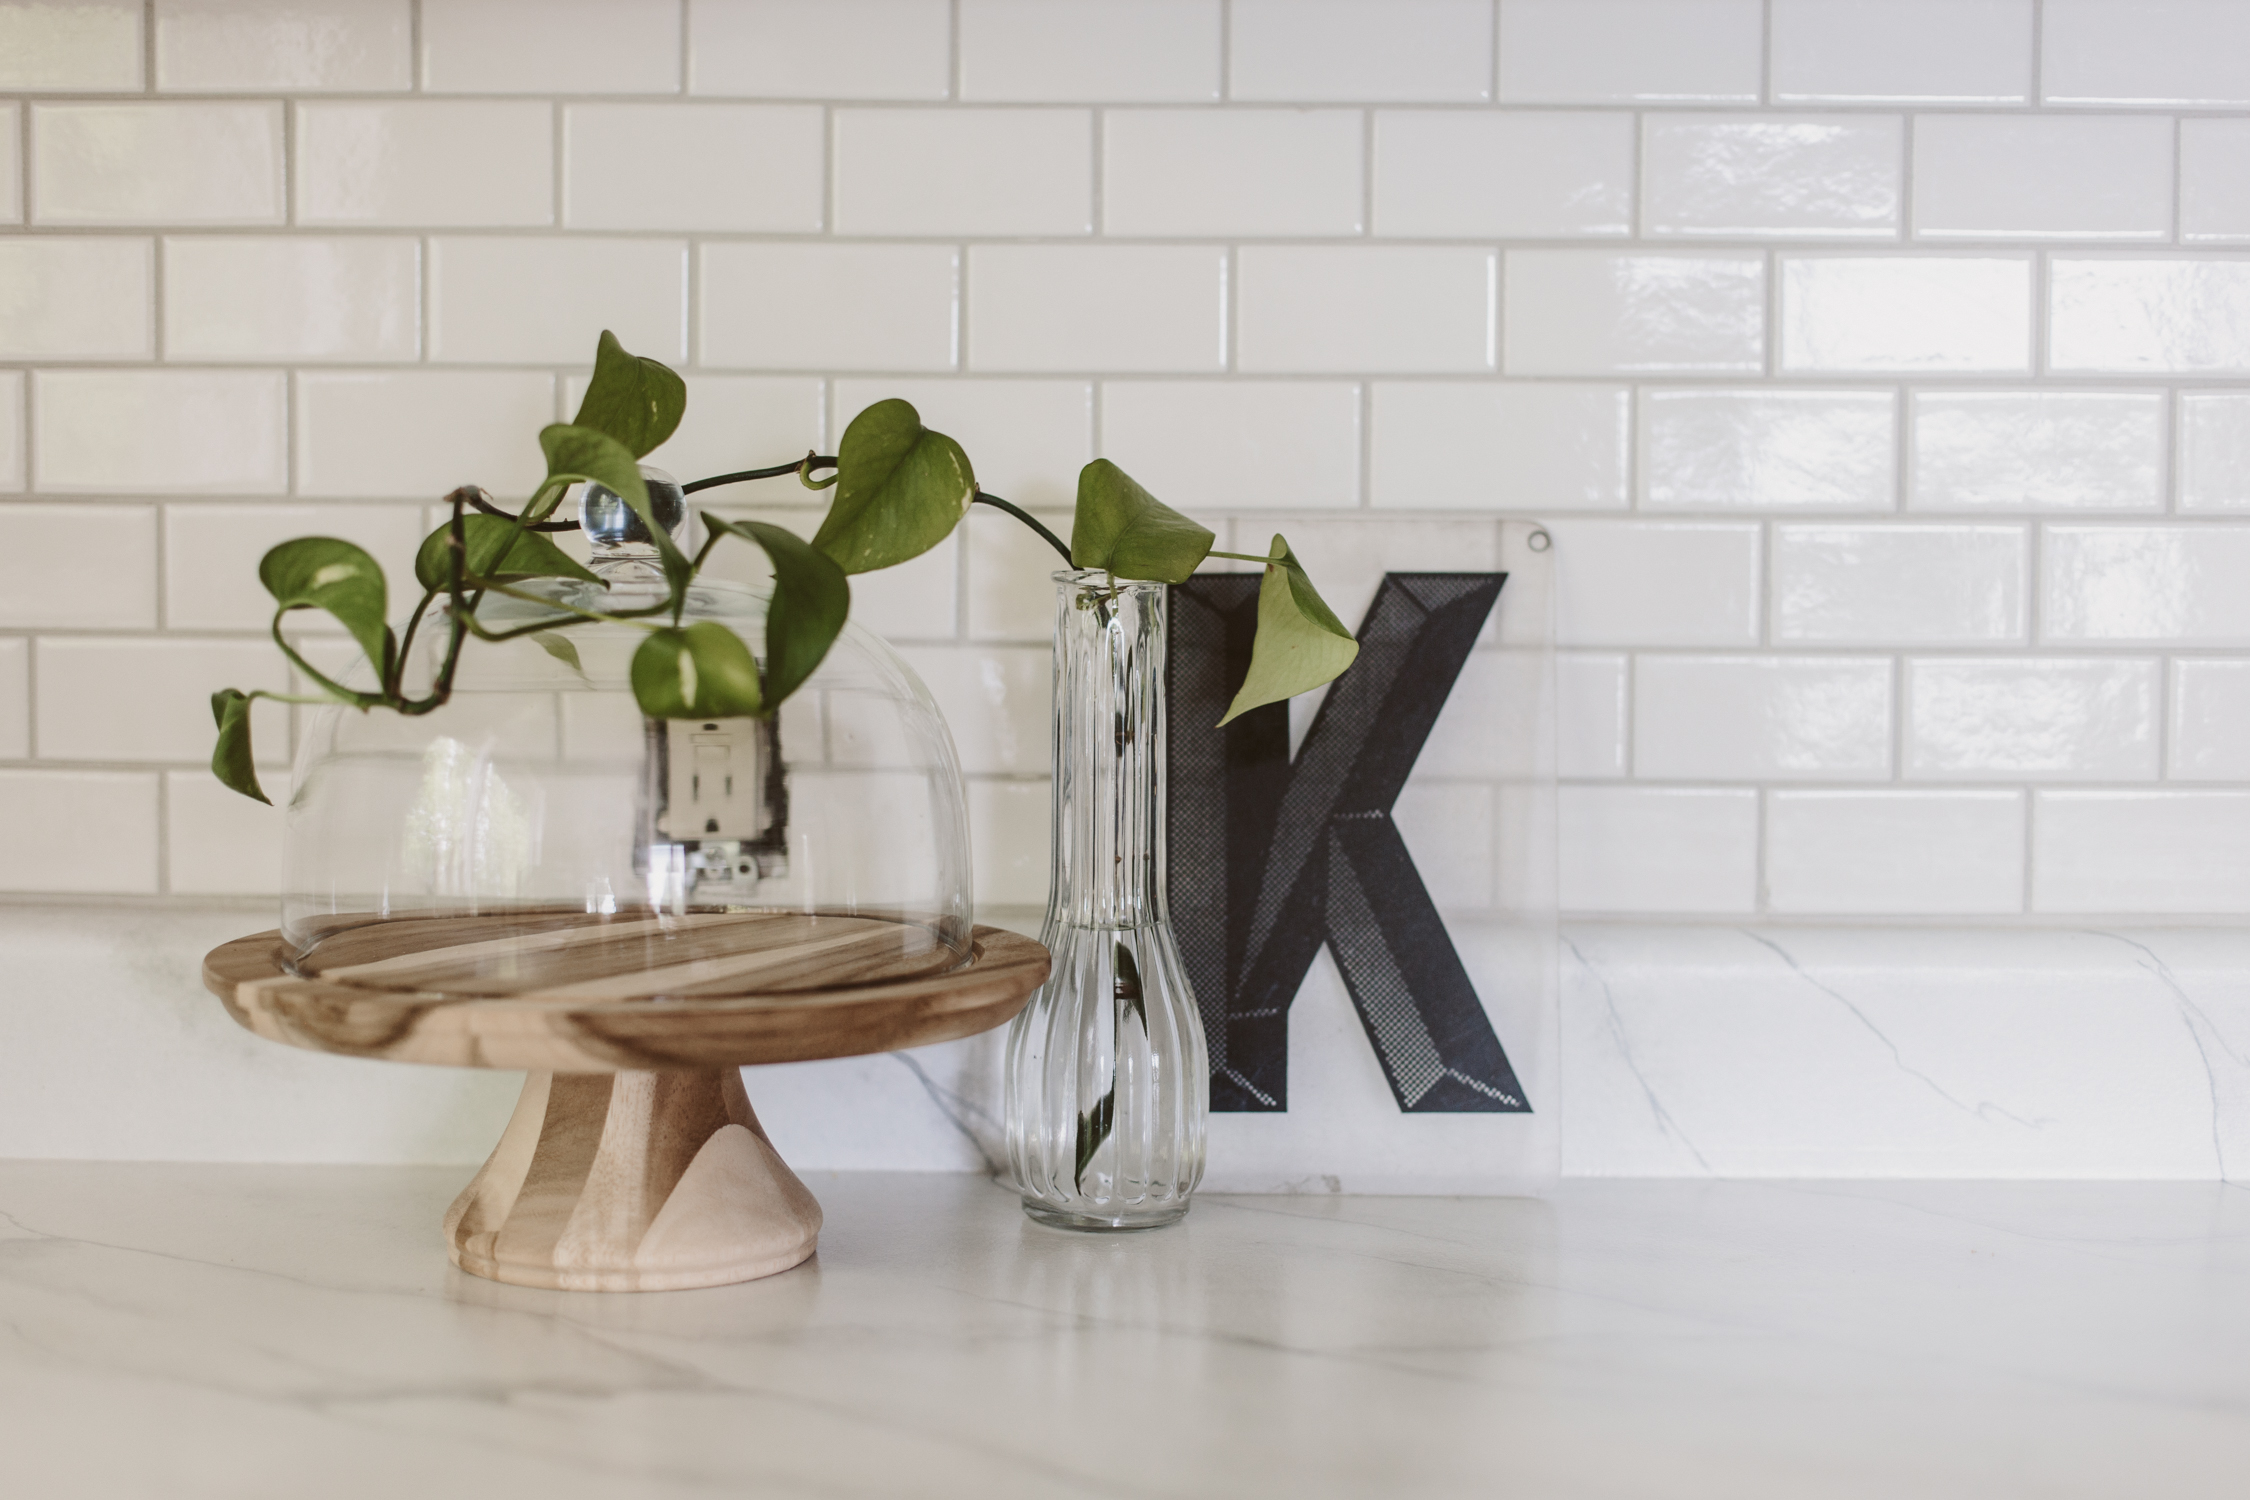
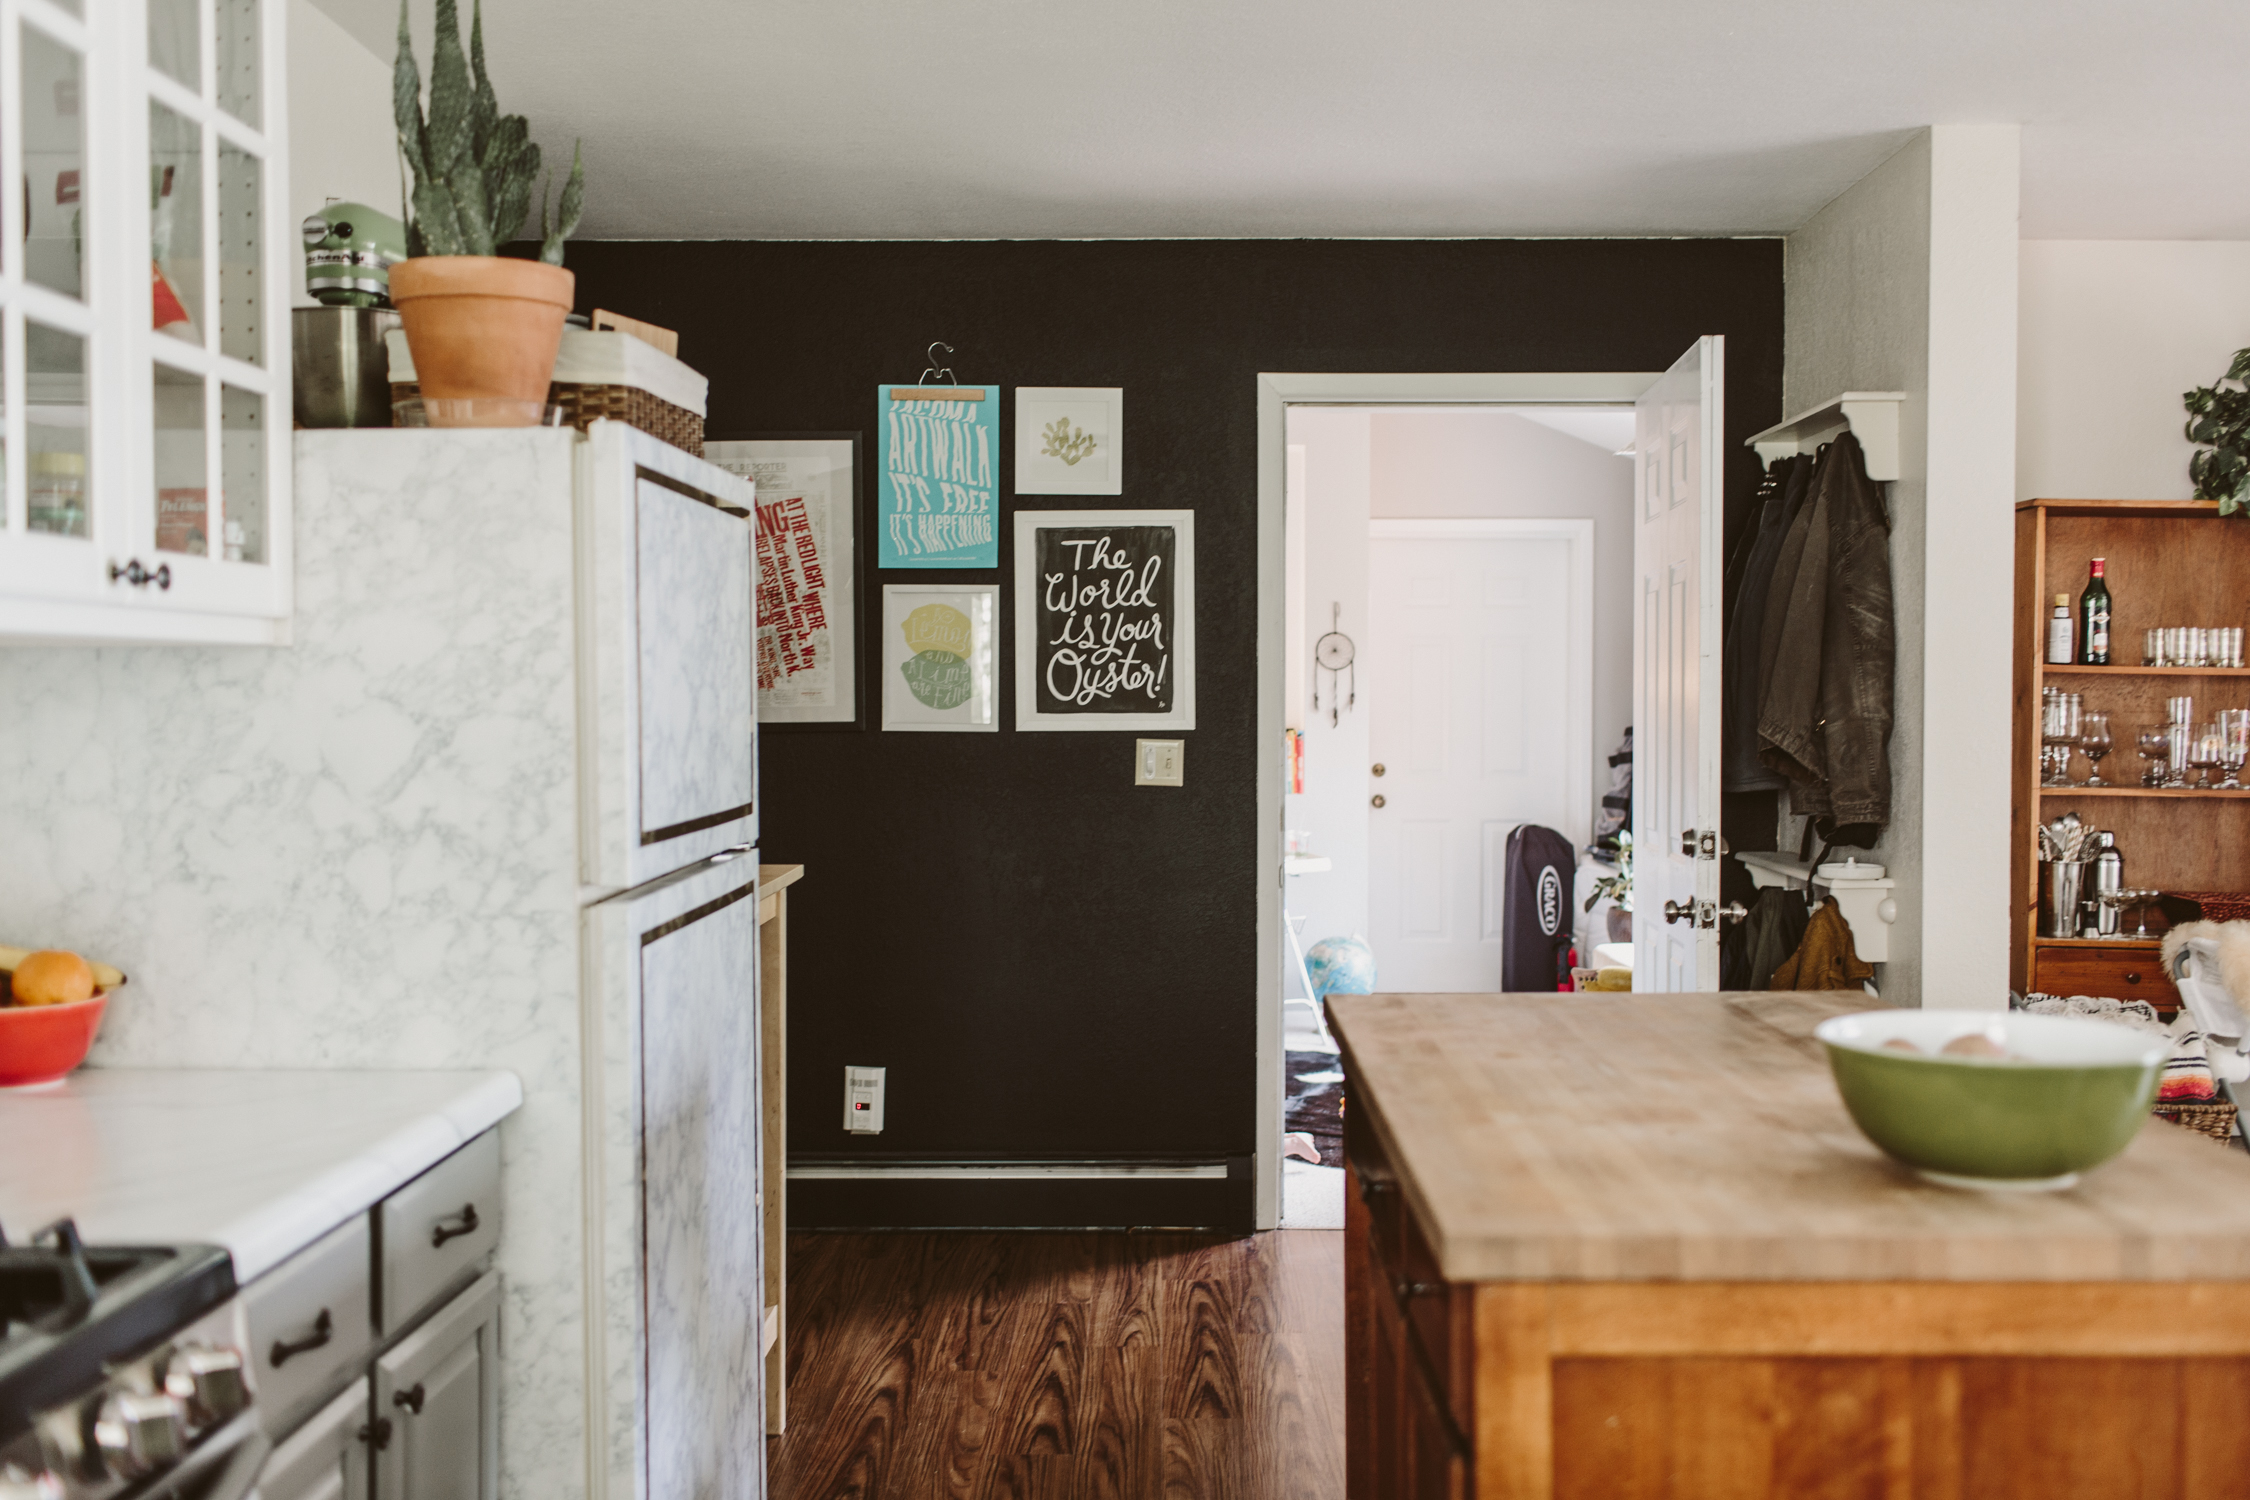
The biggest DIY was the countertop. We wanted something fresh and clean, but doing real Carerra marble was way too spendy for this space, so I decided to paint the countertop with a faux marble instead. You can peep that DIY here. I will say that it's a good way to get the look, but it wasn't the most durable. It definitely would stain if you left anything like coffee or wine on the counter for too long, and if you scratched it too hard, it'd scratch the paint off. If you're wanting something to hold you over while you save money for the real deal, it's great for that, but I'm not sure it's the best for a long-term solution, especially if you do a lot of cooking and like coffee and wine *raises hand*.
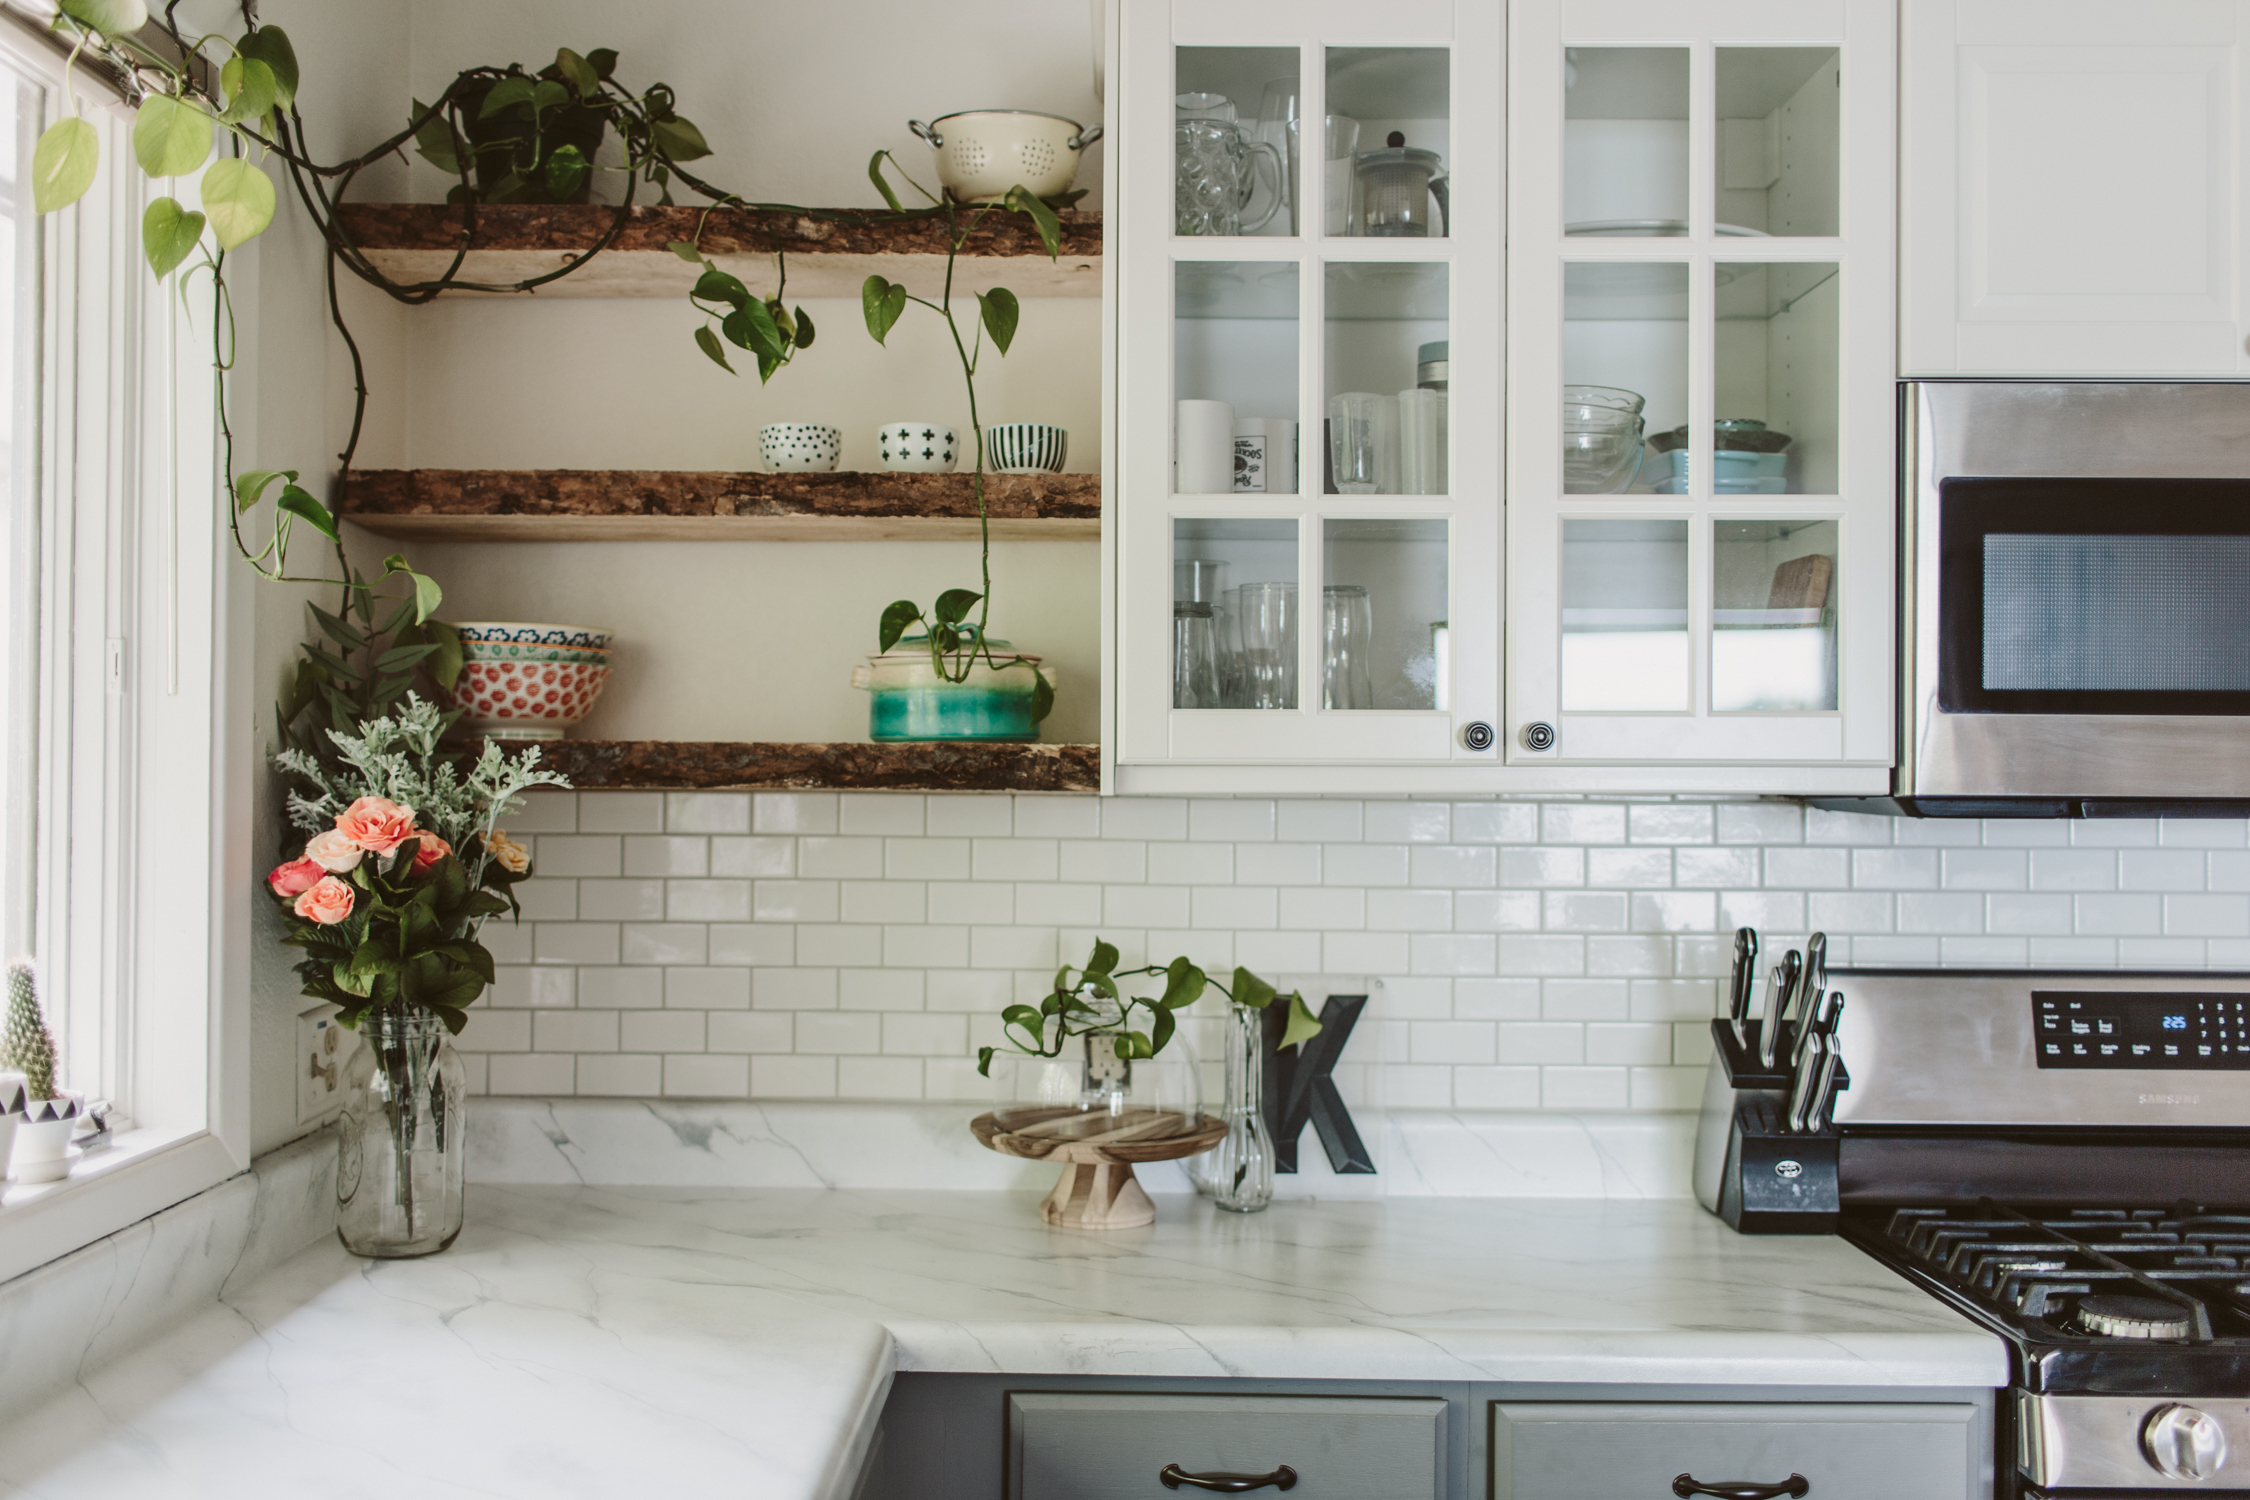
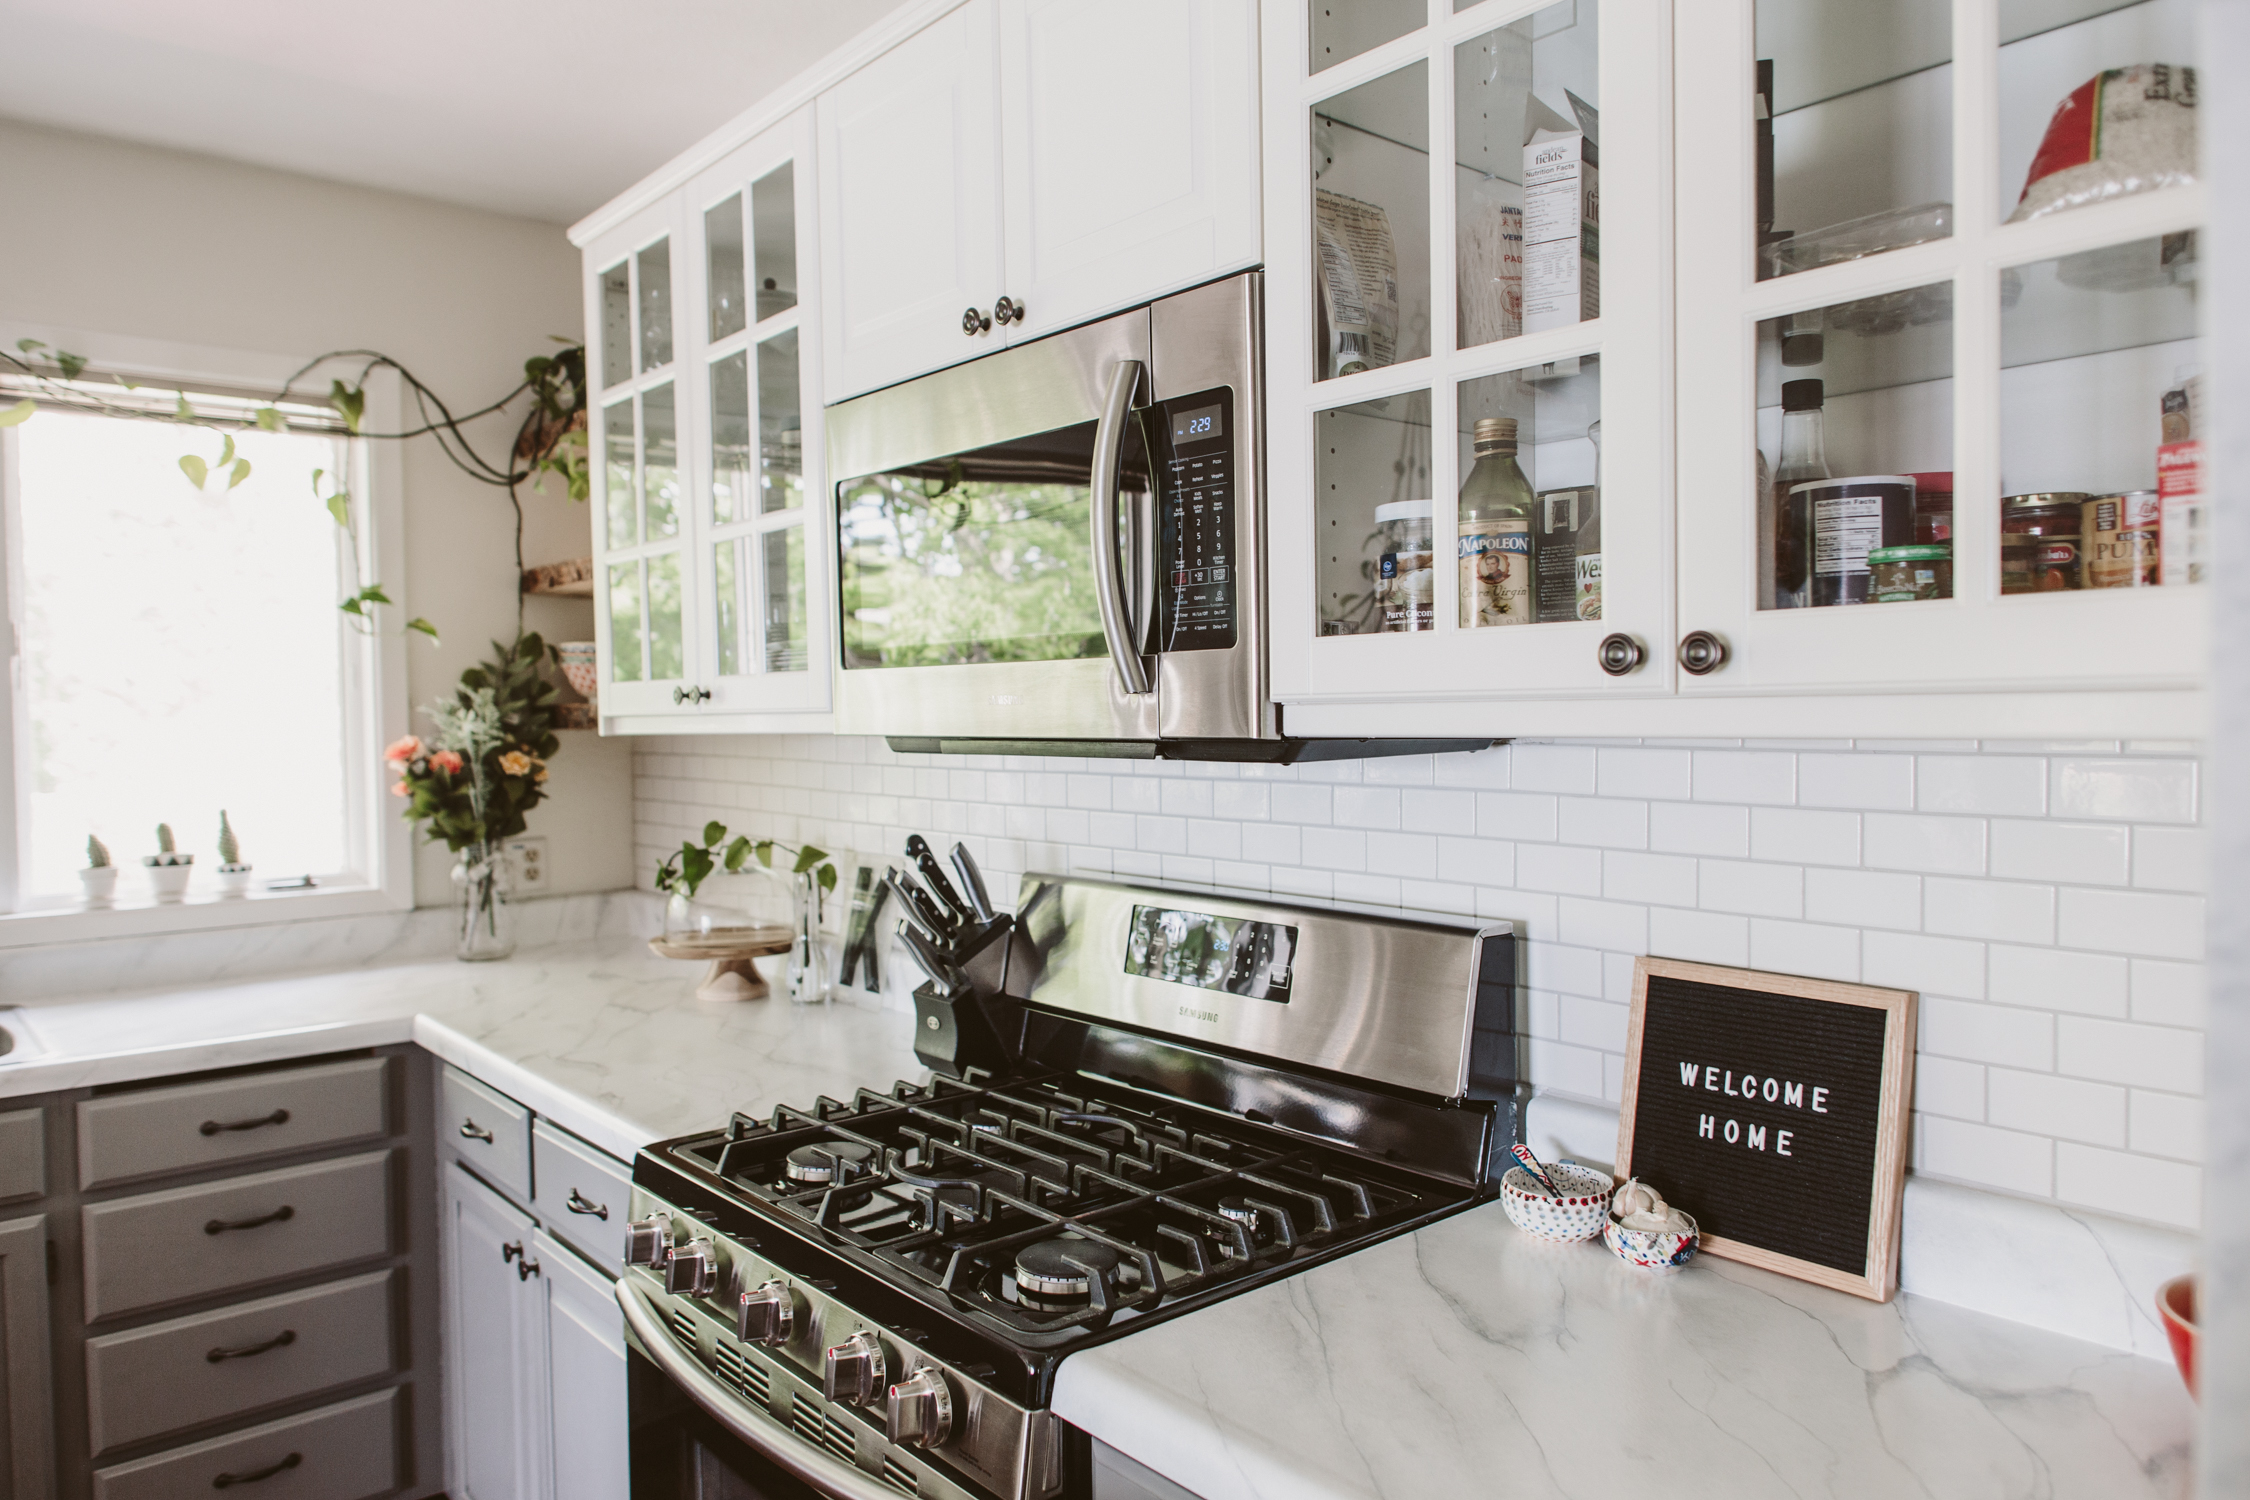
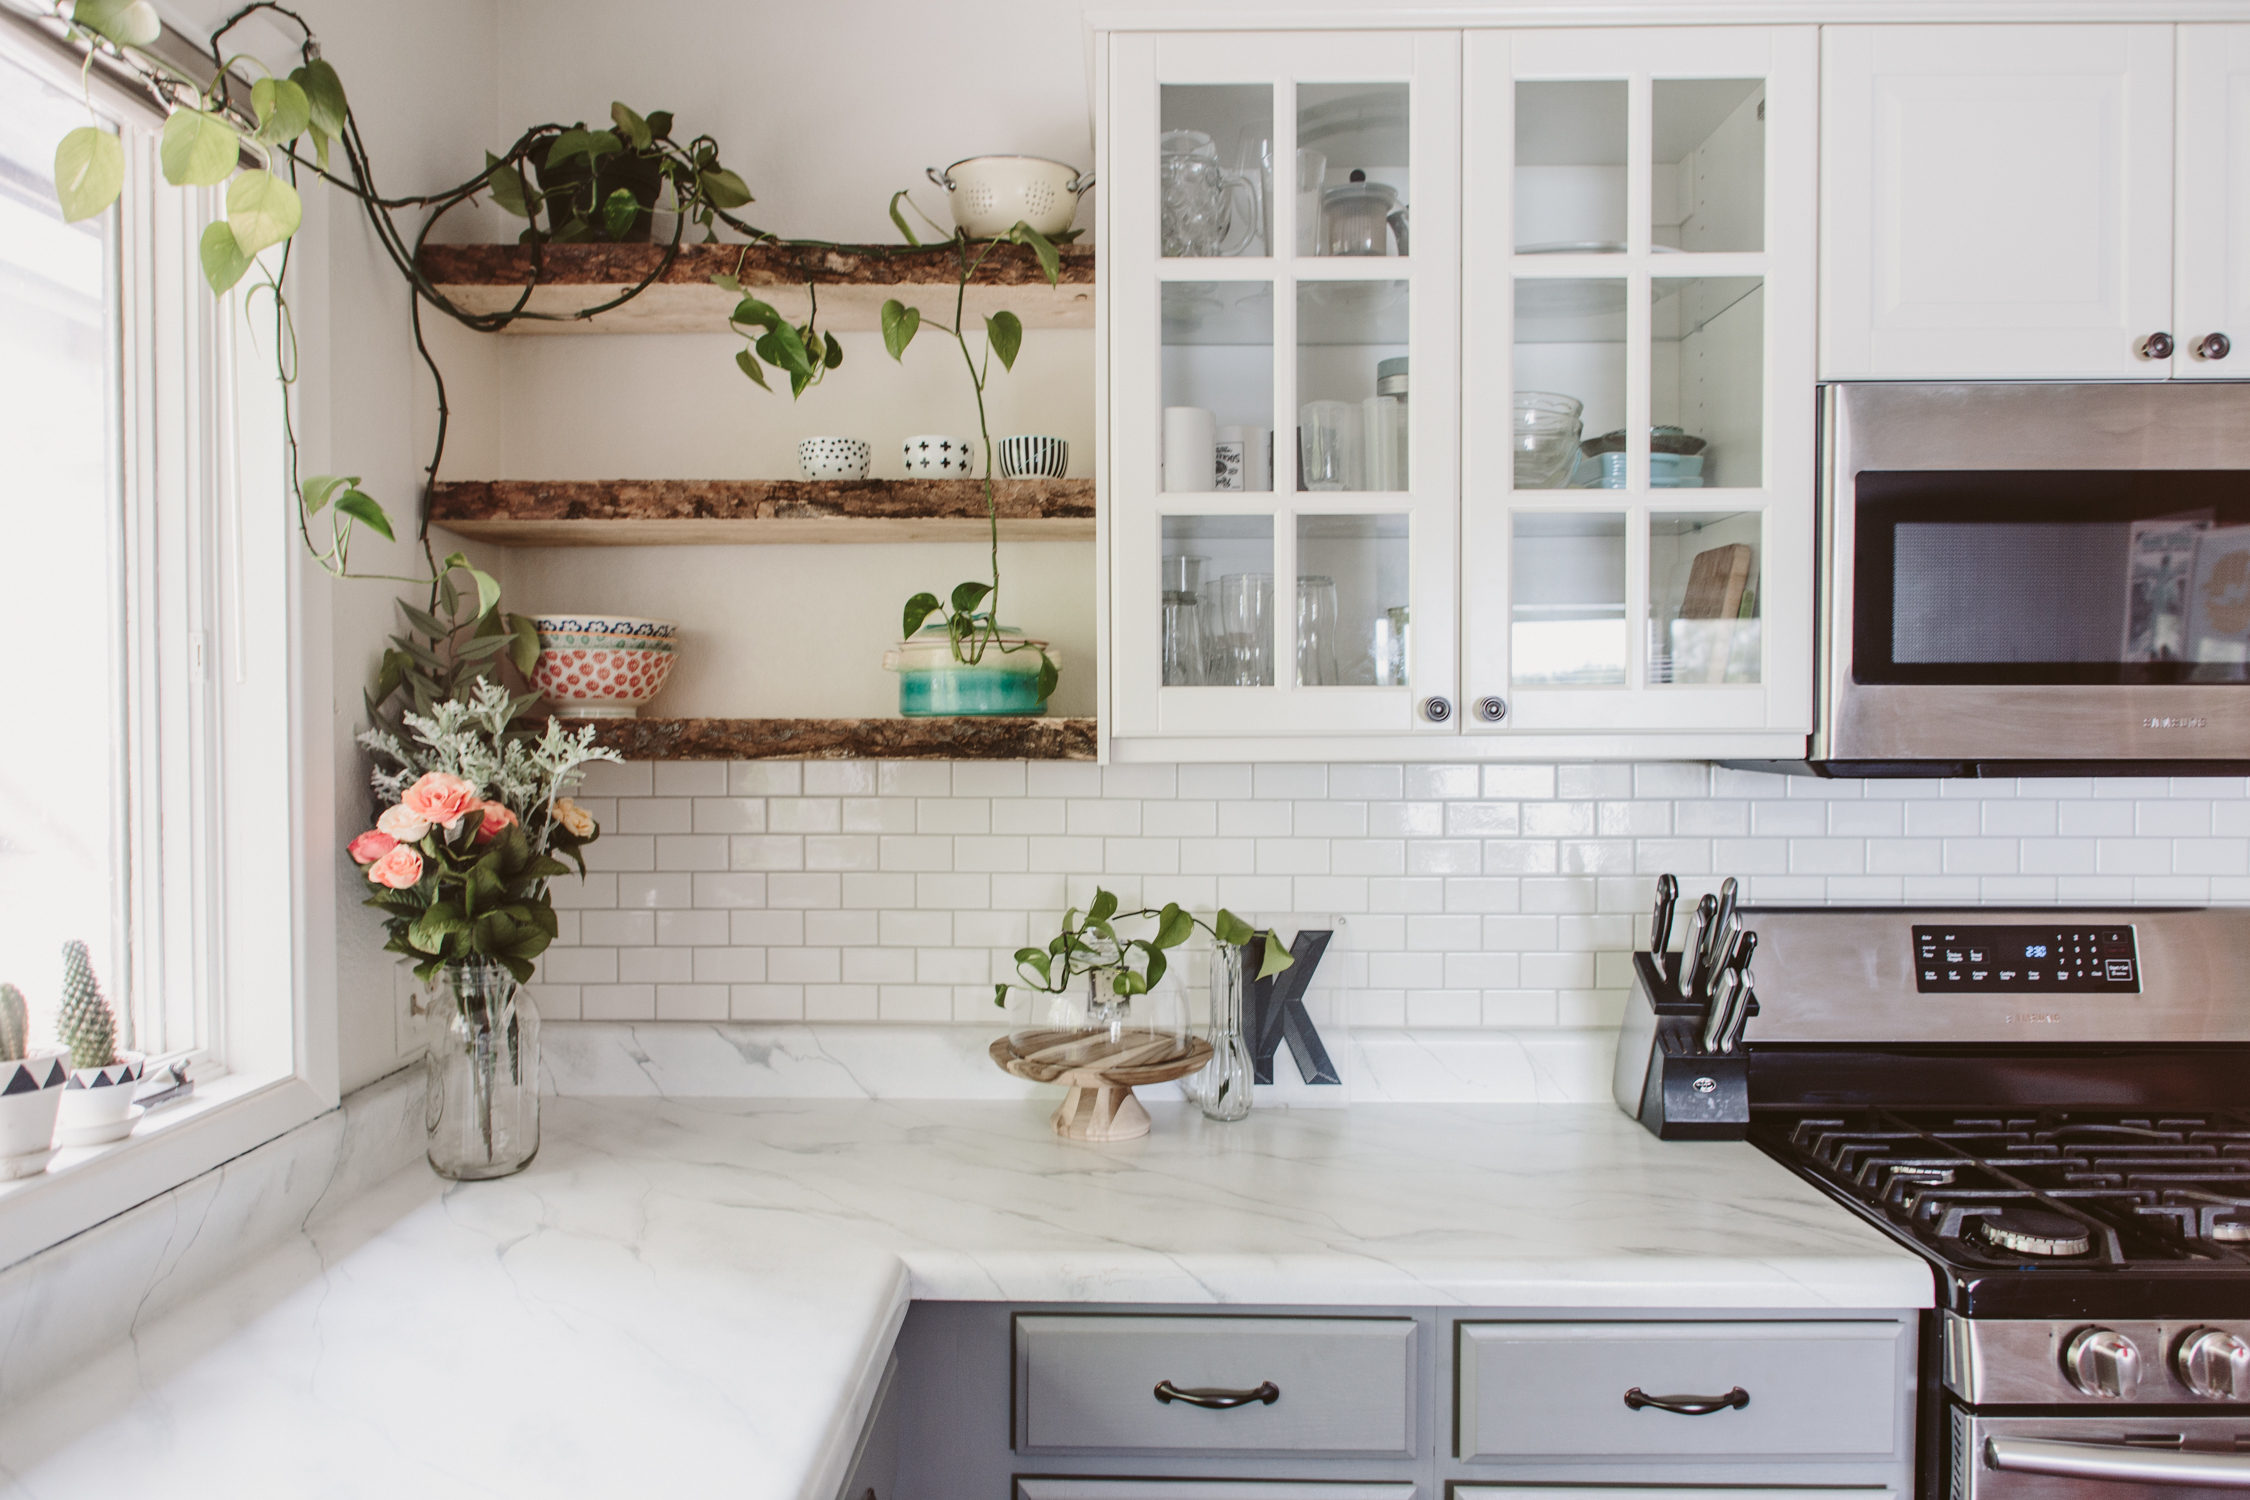
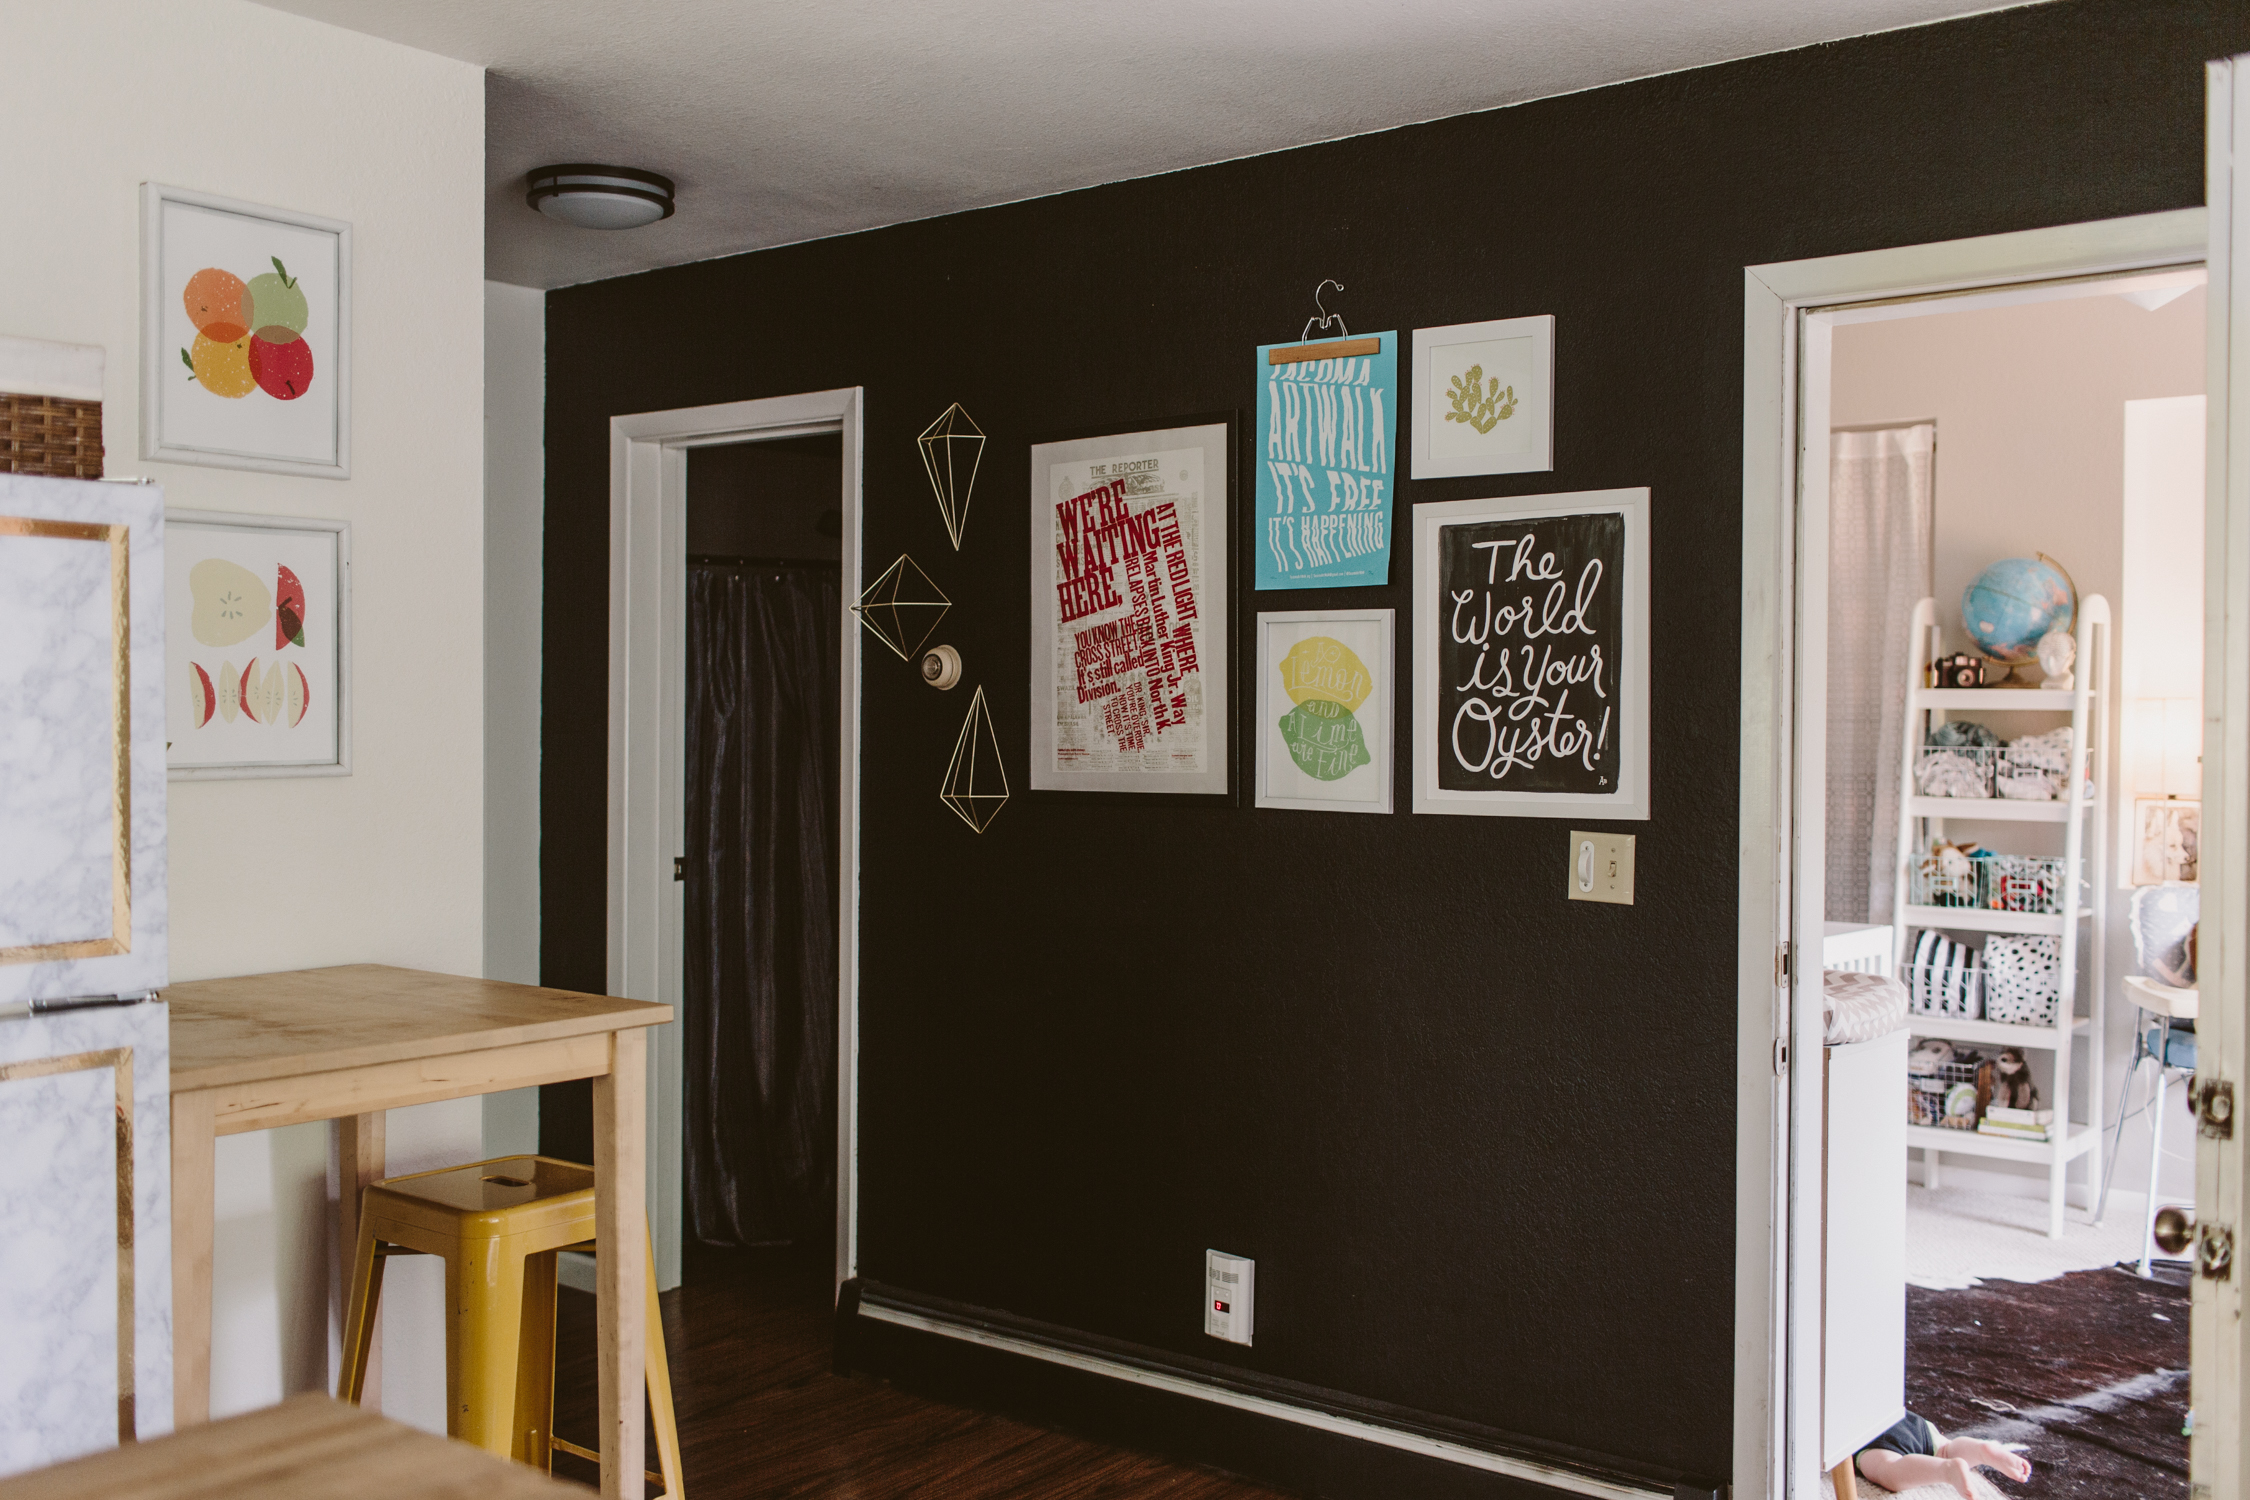
We ended up keeping the lower cabinets and painting them grey, and then we replaced the uppers with Ikea cabinets. That ended up being more expensive than for those of you near an Ikea because they had to be shipped to Alaska. The open shelving was DIY. My dad went to a lumber yard and bought a 20ft plank that had an unfinished edge. He chopped it into the three pieces for the shelves and installed it. We also DIYed the subway tile backsplash. I had never done tile before but I was excited about how straightforward it was. I'm looking forward to doing more tile work!
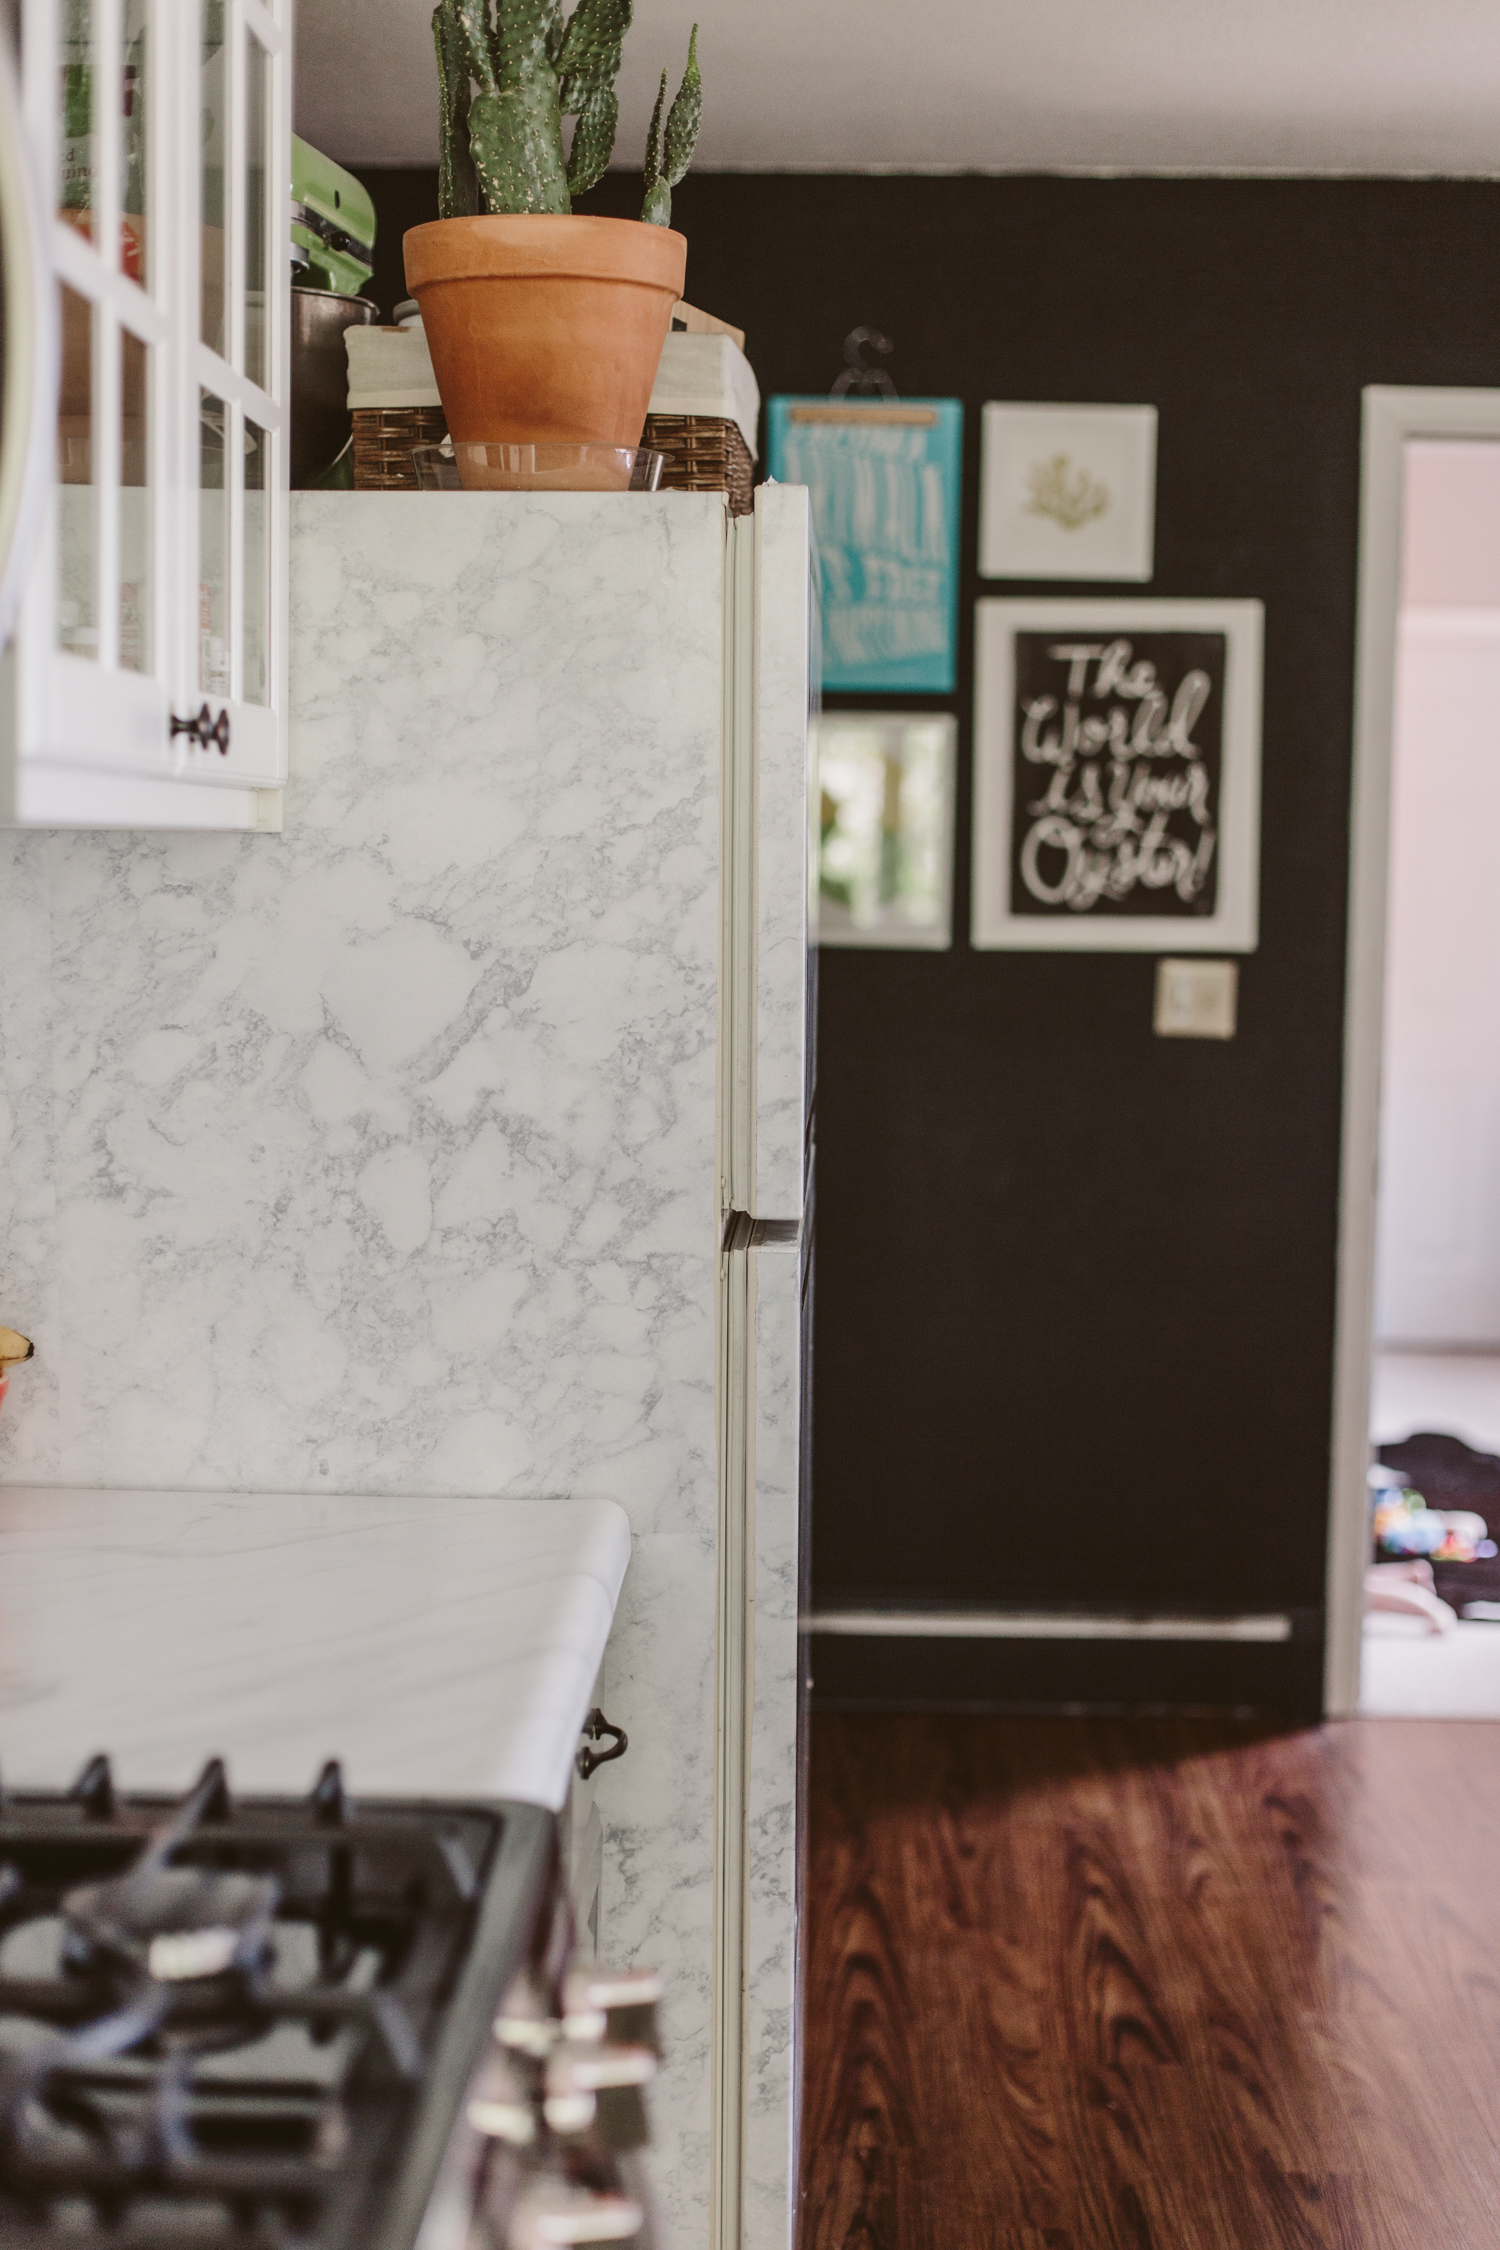
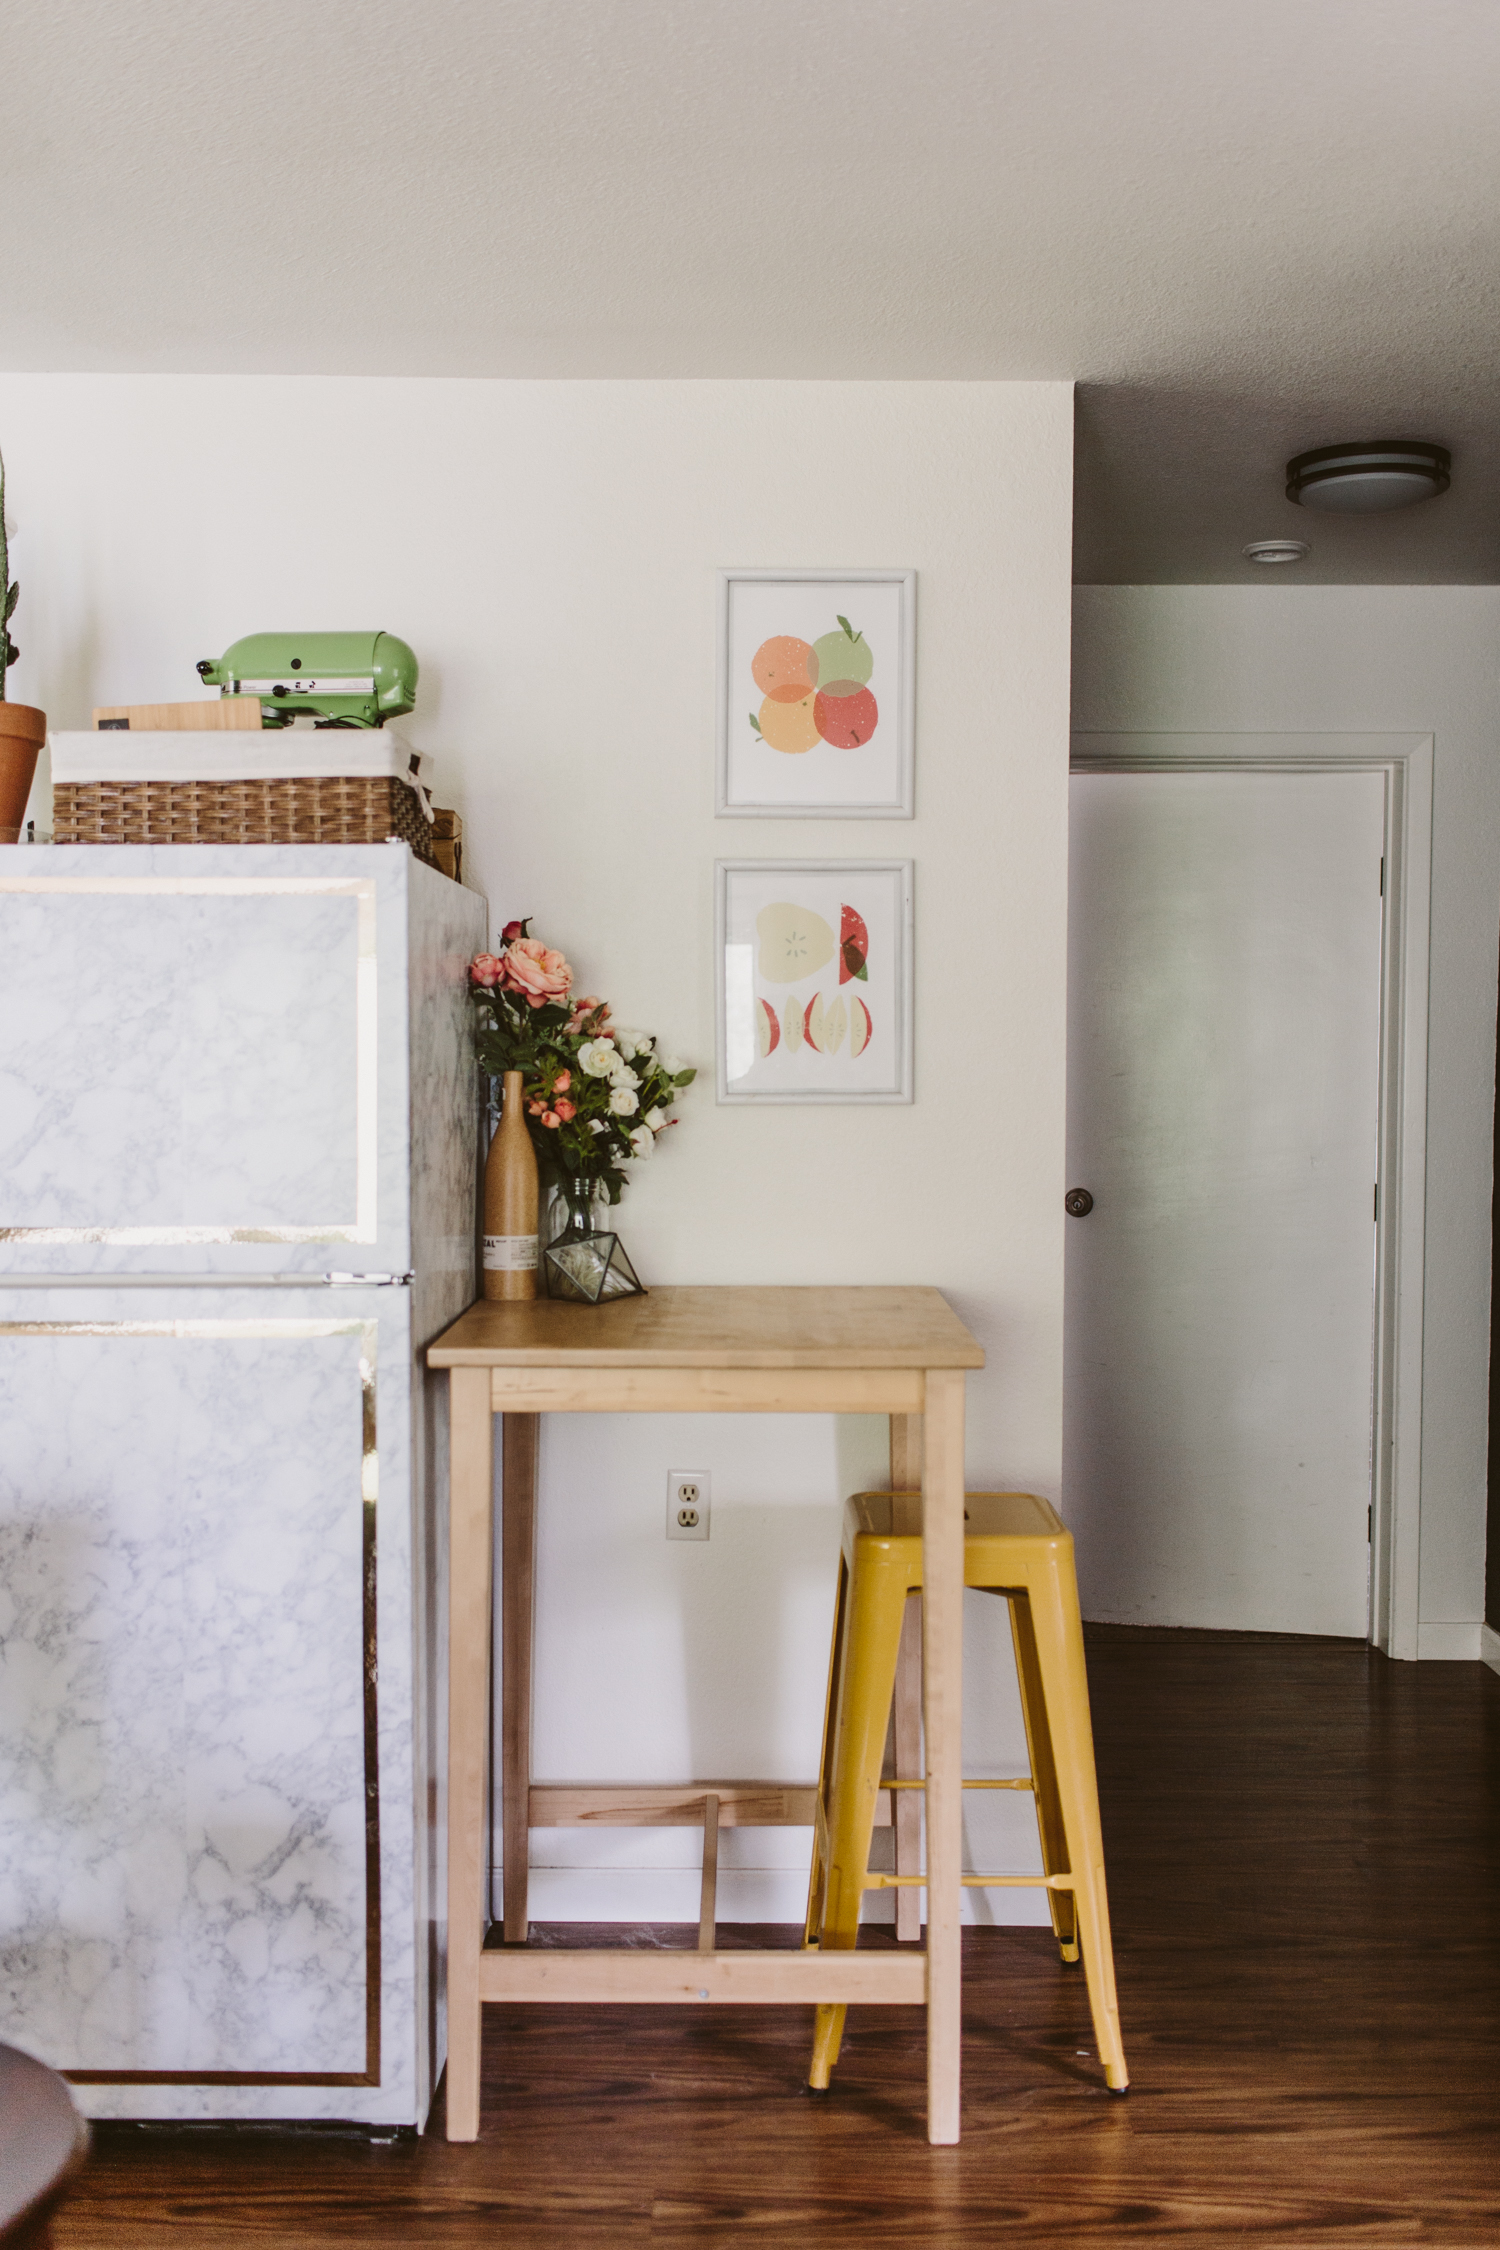
The other super easy, dirt cheap DIY was the fridge. It was an ugly old ivory fridge, and I just covered it with marble contact paper and gold tape. It's a pretty durable and quick way to freshen up a fridge without having to drop hundreds of dollars on a new, fancy one. I've put contact paper on every fridge I've ever had (faux wood contact paper on one, chalkboard contact paper on another, and marble on this one!). I love how it gives an eclectic and unique look to an appliance that's usually boring.
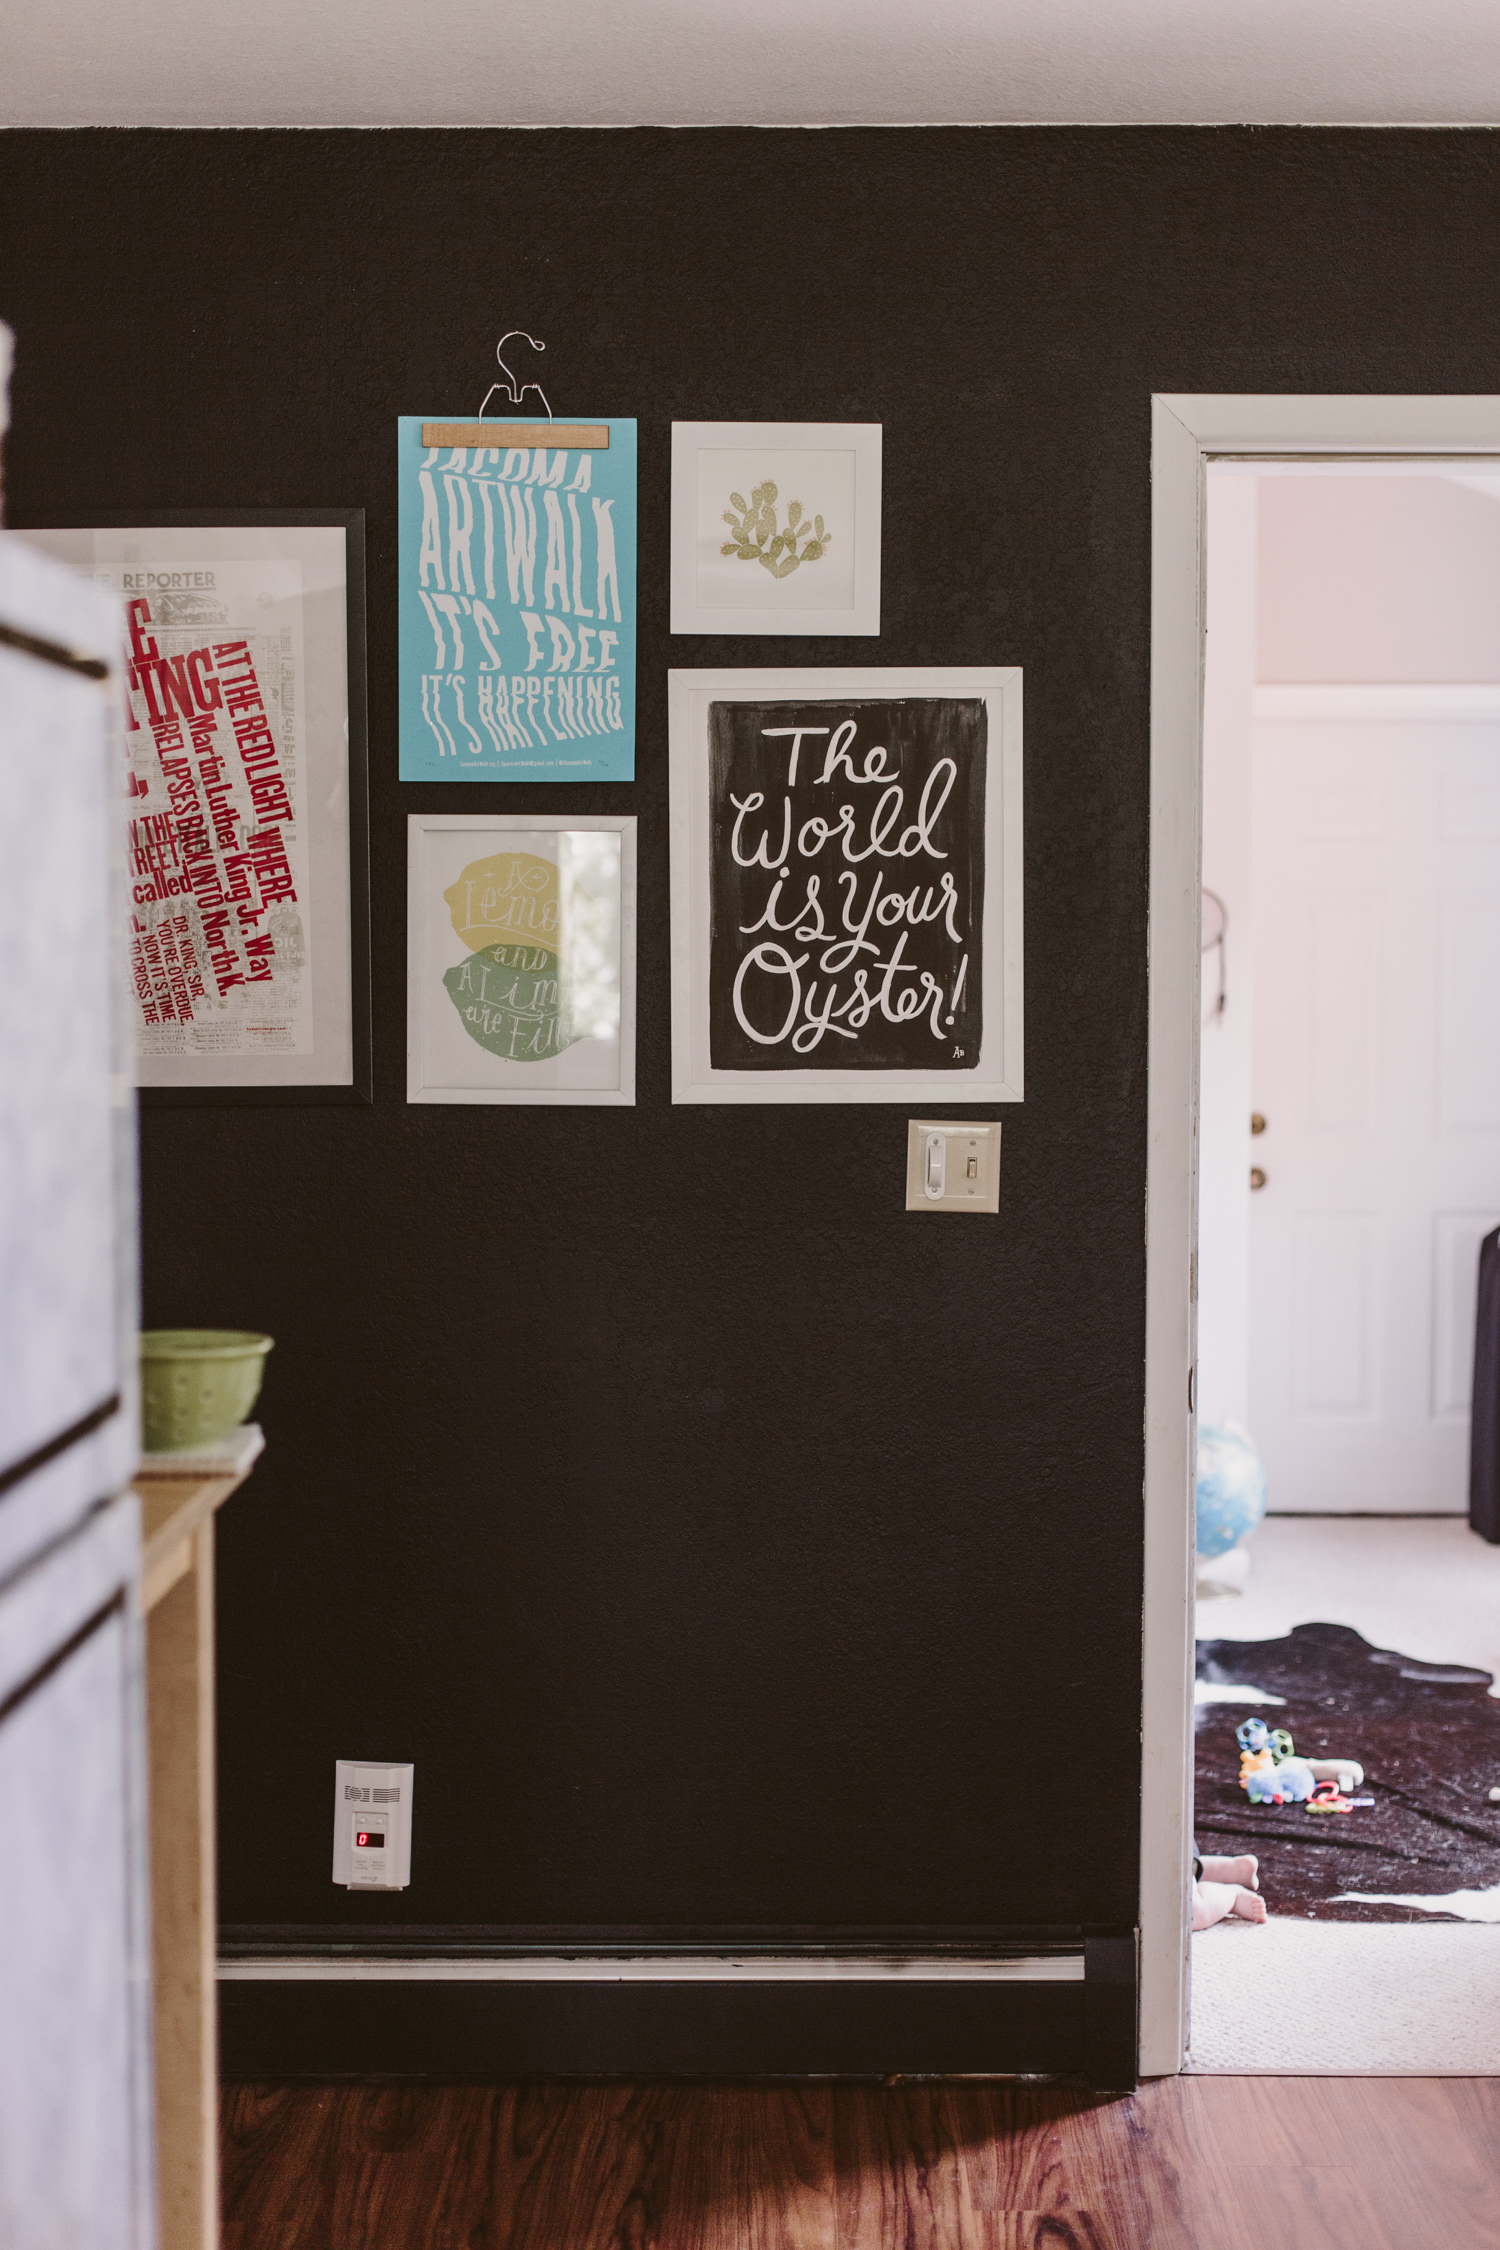
We also painted the room white, and I popped a chalkboard wall in there on the right side (though I never actually put any chalk on it, so it's just a black wall).
There were definitely things about this space that I would've done differently, had the situation been different. Knowing that it got destroyed shortly after we finished it makes it easier to feel okay about not doing it 100% the way I really wanted to. We are planning our current kitchen remodel and I'm excited to be able to do it exactly how I want (and also not have to pay out the ass to ship things from Ikea).
If you have any questions about this remodel, hit me up in the comments!


![As per usual I’m pushing right up against a deadline and have hyperfixated on this painting all week to finish in time.
Chikayaasix̂ [Fireweed] Transplanted- acrylic on wood.
Every generation my family has moved farther and farther from ances](https://images.squarespace-cdn.com/content/v1/574dddd6d51cd4bc35c1609a/1714708076216-UAPXPXK9DVDBP7F1C65E/image-asset.jpeg)

