Emerald Kitchen

Removable Wallpaper Fridge Makeover

Spring 2022 One Room Challenge | Week 3

If you guys know me, you know I can't leave a regular fridge alone. In my last three places I've re-covered my fridge with contact paper. Refrigerators can be ultra boring, and if you're renting, it's not like you can paint it or replace it, so you're stuck with it. Not so! Ladies and gentlemen, removable wallpaper is your fridge's best friend.

I've used chalkboard contact paper, woodgrain contact paper, and marble contact paper, as well as removable peel and stick wallpaper to cover fridges.


What you'll need:

Peel and Stick Wallpaper
Scissors
X-acto knife (optional
Tape Measure

First thing you need to do is remove the fridge door handles, which is very easy.  There's usually just a screw on top the door and either on the bottom of the door, or on the bottom front of the door.  Unscrew both screws and the handle pops right off.  You can screw the handle back on after applying your contact paper, but I liked how clean it looked without the handle and it's perfectly easy to open without a handle. 

Applying the removavle wallpaper to the fridge is pretty straightforward.  I did two vertical pieces of wallpaper on the front , and then the sides also took two vertical pieces, again, one full width and then a smaller strip to complete the side.  

Measure how much you need for each piece as you go, cut the piece and then pull a few inches of the backing off to start applying.  Make sure your measurements include enough to wrap around the edges of the doors.  Apply it to the front of the door, leaving the edges loose to wrap once you've got the front stuck on.  Pull the backing off and smooth the sticky side to the fridge in increments so you don't get air bubbles.  Once the front is stuck on, go around the edges and stick them down.  You'll need to cut a little slice out of the the corner so it lays flat.

Continue that process around the whole fridge till it's all covered!


 Now revel in the awesomeness of your swanky new fridge!  
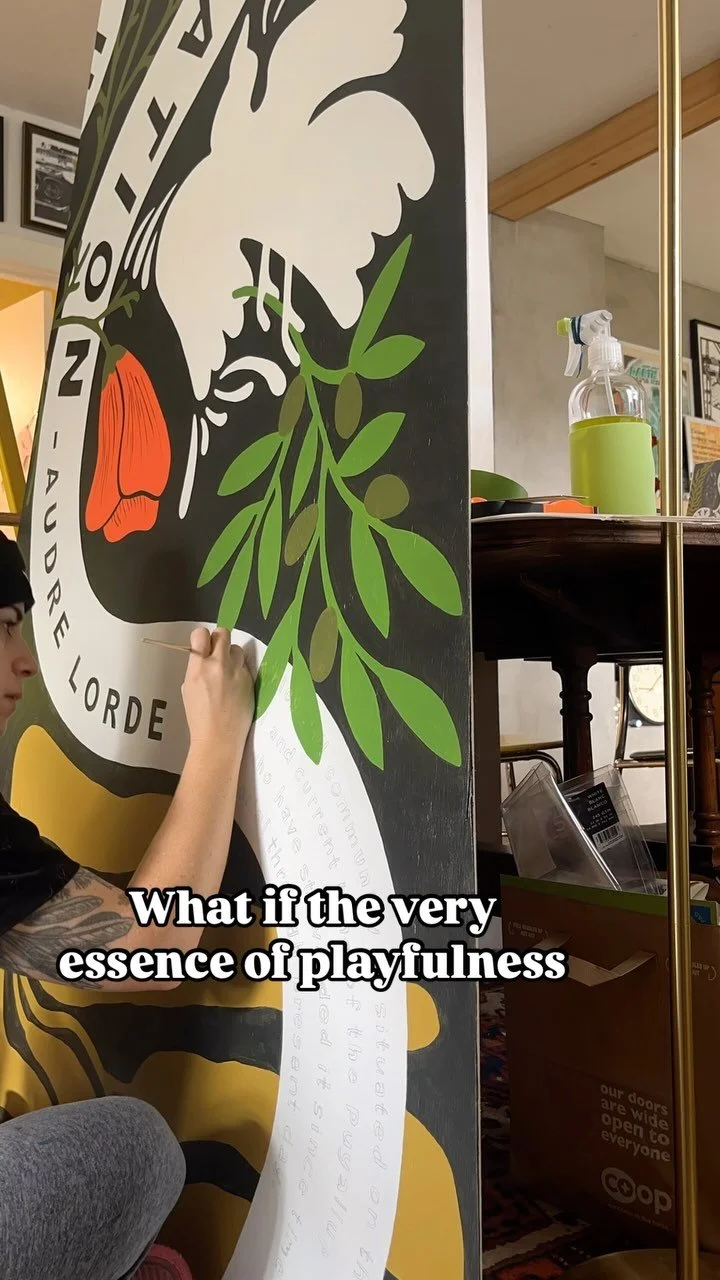
DIY Easy click-connect laminate flooring install

Spring 2022 One Room Challenge | Week 2

There are a lot of nailed-down details on this One Room Challenge remodel, but one thing that was up in the air when I started- the flooring. The original flooring was, well, it was okay. The kitchen/dining/entry area had vinyl plank and the living room was carpeted. It all looked very worn down, and there was a noticeable hump in the floor right as you entered the kitchen.

We needed to decide on the flooring situation ASAP because I didn’t want to paint the cabinets and get those finished nicely and THEN go in and do flooring demo and potentially bang up the new cabinet paint. Since this decision was being made last minute, we also needed flooring that was in stock and available in the quantity we needed to do the entire space— kitchen/dining and the entry/living room.

Well, my parents found some beautiful waterproof laminate flooring at Costco and bought out the whole store (and had to hit up another Costco to get the remaining boxes needed), and we quickly decided to tackle the floors first thing.

Demo was pretty easy, the old vinyl planks came out super easily, and the carpet did as well. Once the flooring was out we were able to figure out what what going on with the lump in the subfloors by the kitchen. The carpeted living room also needed a 1/4in underlayment plywood added to bring that area’s subfloor up to the same level as the floor that had the vinyl planks, which was much easier than fixing the hump.

We ended up pulling out the 1/4in underlayment on either side of the lump, which brought the peak of the hump down lower and we were able to fill in that area with self leveler so the new floors are nice and level with no awkward hump. We ended up needing a couple coats of the self leveler (we didn’t buy enough the first time), so that took a couple days of prep work, which we folded in with prepping the cabinets to prime and paint so there wasn’t any lost time on the cabinet painting front.

I’ve done floating click-connect laminate flooring before in our house, so I had a pretty good idea of what to expect. These kinds of floors are very DIYer friendly. It’s hard to mess up the install, and it’s super straightforward, these were no different. We ended up with Mohawk Waterproof Laminate floors in Millport Hickory. They have the foam under pad attached to the bottom of the plank so you don’t even need to install a pad before going in with the flooring install!

I picked up a laminate flooring install kit from Home Depot, which was exactly what we needed to do the install, and Ryobi had sent over their flooring saw, which came in clutch. I was on cutting duty outside and my brother and Dad were on install inside and we made pretty quick work of the floor!

One thing manufacturers recommend, and I’ll second, is to use planks from different boxes as you work, and to inspect the planks as you install because there are only so many plank designs and you don’t want to end up with identical planks super close to one another. The other thing you’ll want to make sure of is that the gap you leave around the edges of the room (there should be a slight gap to allow for expasion) isn’t too big so that your baseboard trim is able to cover that. We weren’t super careful in a couple spots and had to to some tweaking to make it work.

Ultimately, click-connect laminate flooring is a perfect DIY project. It’s straightforward, relatively easy, and there are so many options out there now for different looks, as well as water-resistant or waterproof planks as well!

Spring 2022 One Room Challenge | Week 1

I don’t know if anyone’s been around long enough to remember my last ORC attempt. I fizzled out on my Spring 2020 attempt and my bathroom is still half done, lol. This time— I’ve got a plan of attack and a “client” I can’t ditch out on halfway through. I’ll be making over my brother and sister-in-law’s kitchen/living room!

The main focus will. be the kitchen, but we’re replacing the old flooring throughout the kitchen/living/dining areas since those spaces are open-concept. The current space has carpet in the living quadrant of the space and old, dark, worn-down LVP flooring in the rest of the kitchen/dining. The carpet and LVP are going and we’ll be putting in a lighter wood laminate that will brighten and unite the space.

As you can see, the kitchen feels very dark due to the brown cabinets, and what you can’t see is that they are pretty poorly painted. I’m super excited to bring in a rich emerald green onto the cabinets and add some texture and elevate the space with gorgeous white zellige tile on the backsplash. Unsurprisingly I’m also going to be kicking that boob-light to the curb and replacing it with something pretty and refined, and the Ikea pendant over the dining table also isn’t going to be staying.

I like the open shelving to the left of the sink, but I want to replace it with some beautiful wood shelving and brass accents. The countertop is a well worn laminate so that’s going to be replaced with a solid surface quartz countertop. Another fun plan? We’ll be wallpapering the fridge! I had so much fun wallpapering the fridge in the kitchen I did for my BFF last spring, I knew it’d be a fun way to add a graphic element in this space.

We’re already knee-deep in demo and the it-gets-worse-before-it-gets-better phase! Can’t wait to flip this drab, dated kitchen in to an elevated organic-classic space over the next 8 weeks of One Room Challenge!