


(recipe via simplyrecipes)
Crust
2 cups Graham cracker crumbs
2 tbsp sugar
Pinch salt
5 Tbsp unsalted butter, melted
Filling
2 lbs (4- 8oz packages) cream cheese, room temperature
1 1/3 cup granulated sugar
Pinch of salt
2 teaspoons vanilla
4 large eggs
2/3 cup sour cream
2/3 cup heavy whipping cream
1. The first step is to prepare your springform pan so that no water leaks into it while cooking. Take a large 18 by 18-inch piece of aluminum foil (don't try to get away with the smaller width of foil, it won't be big enough to go high enough on the sides of the springform pan and you'll end up with soggy crust), place the springform pan in the middle of the foil and fold up the sides of the foil around the pan making sure that you don't create any holes in the foil (again, water=soggy, ruined crust). Press the foil around the edges of the pan and repeat with a second 18x18 inch square of foil. Press the top of the foil sheets around the top edge of the pan to secure.
If you want to easily remove the cheesecake from the bottom of the springform pan, before you put the foil on the sides, cut a slice of parchment paper a little larger than the size of the bottom of the pan. With the sides off, place the parchment paper over the bottom of the pan and then secure the sides of the pan, so that the paper sticks out the bottom a bit.
2. Preheat oven to 350°F, with rack in lower third of oven. To make the crust, pulse the graham crackers in a food processor or blender until finely ground. Put in a large bowl, and stir in the sugar and salt, then stir in the melted butter.
3. Pour the graham cracker crumb mixture in the bottom of the springform pan. Using your hands, press down on the crumbs to form a nice even layer at the bottom of the pan (but be careful not to make any holes in the aluminum foil wrap). Place in the oven for 10 minutes, then remove and let cool. Reduce the oven temperature to 325°F.
4. Cut the cream cheese into chunks and place in the bowl of an electric mixer, with the paddle attachment (or grab a spoon and give your arm muscles a go). Mix on medium speed for 4 minutes until smooth, soft and creamy. Add the sugar, beat for 4 minutes more. Add the salt and vanilla, beating after each addition. Add the eggs, one at a time, beating for one minute after each addition. Add the sour cream, beat until incorporated. Add the heavy cream, beat until incorporated. Remember to scrape down the sides of the mixer bowl, and scrape up any thicker bits of cream cheese that have stuck to the bottom that the mixer has failed to incorporate.

5. Place the foil-wrapped springform pan in a large, high-sided roasting pan. I didn't have one so I just went to Safeway and grabbed one of those big, aluminum turkey pans in the baking aisle and it worked great and was cheap. Boil 2 quarts of water. Pour the cream cheese filling into the springform pan, over the graham cracker bottom layer and smooth the top with a spatula. Place the roasting pan with the springform pan in it, in the oven, on the lower rack, then carefully pour the hot water into the roasting pan, to create a water bath for the cheesecake, pouring until the water reaches halfway up the side of the springform pan. Cook at 325°F for 1 1/2 hours.
6. Turn off the heat of the oven. Crack open the oven door 1-inch, and let the cake cool in the oven, as the oven cools, for another hour. This slow cooling will help prevent the cheesecake surface from cracking.
7. Remove the cheesecake from the oven and water bath and tent the top of the cheesecake with foil, making sure it doesn't touch the top of the cheesecake. Chill in the refrigerator for at least 4 hours, or overnight.
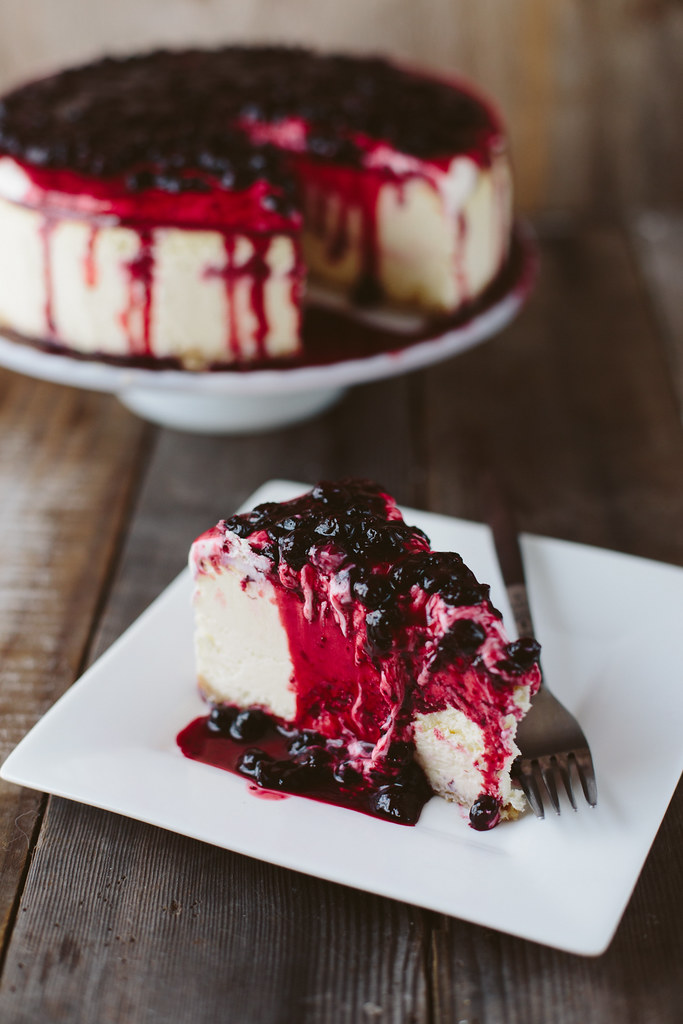
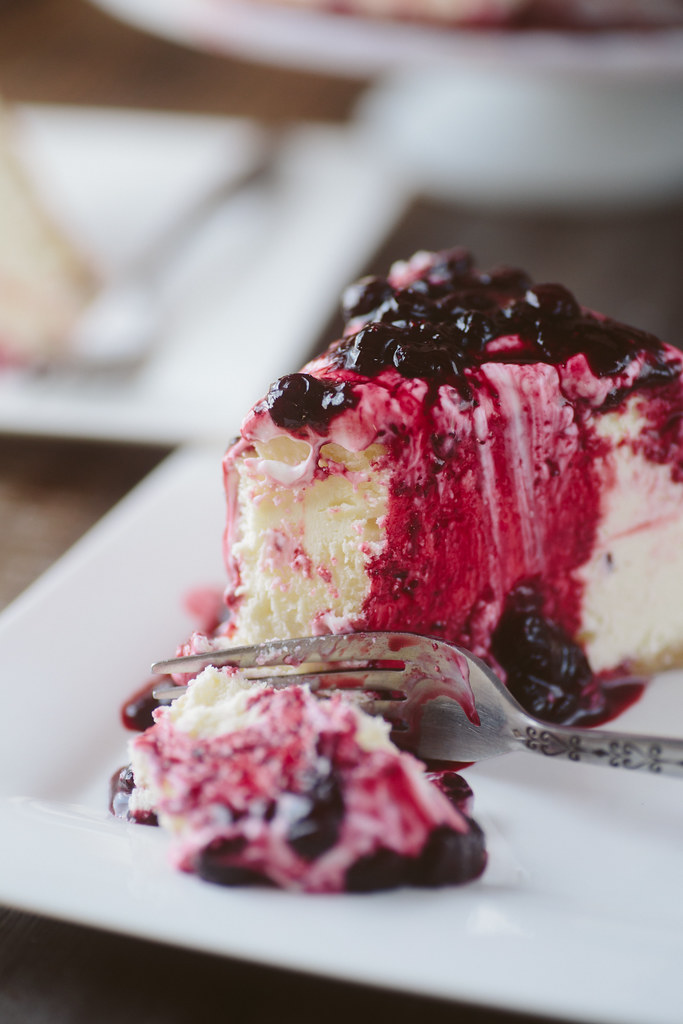
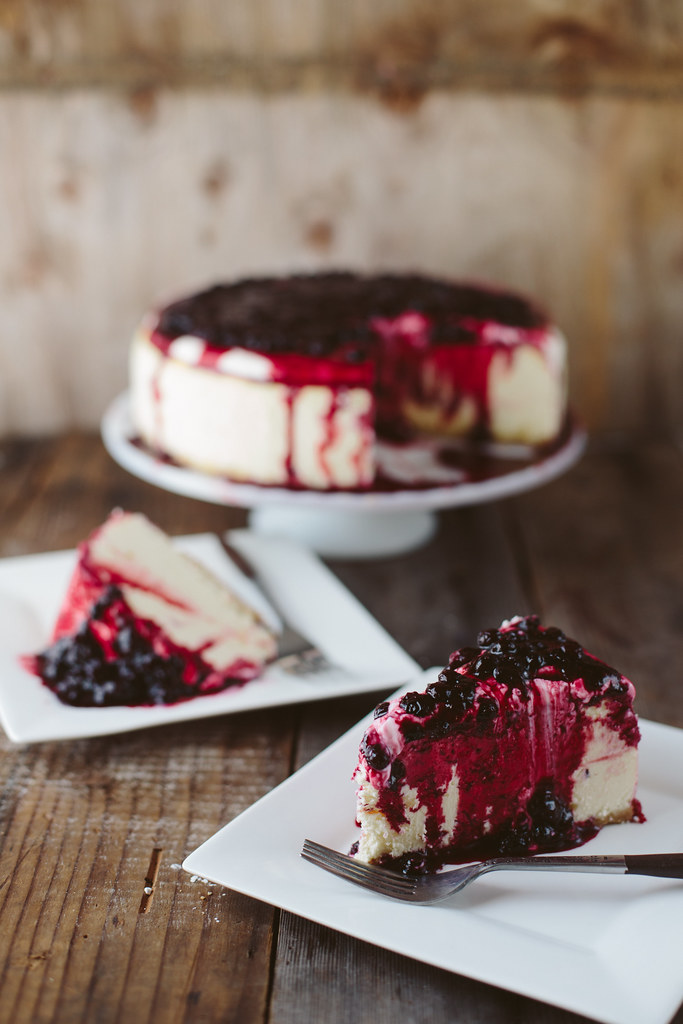
Before serving, prepare the toppings for the cheesecake! The options are kind of endless, but since I have tons of huckleberries in my fridge right now, a huckleberry cheesecake sounded perfect.
Cream Topping
2 cups sour cream
1/3 cup powdered sugar
1 teaspoon vanilla
Place sour cream in a medium sized bowl, stir in the powdered sugar and vanilla, until smooth. Chill until you are ready to serve the cake.
Huckleberry Sauce
recipe via foodnetwork
2 cups huckleberries
1/3 cup granulated sugar
2 tablespoons lemon juice
2 tablespoons cornstarch
1 1/2 teaspoons water
In a saucepan over medium heat, add huckleberries, granulated sugar and lemon juice. Bring to a boil reduce heat and simmer for 5 to 8 minutes.
In a small bowl, combine the cornstarch and water. Slowly stir into the huckleberry sauce and heat until thoroughly combined and thickened.
To Serve:
Remove the cake from the refrigerator and remove the foil from the sides of the pan. If you put parchment paper over the bottom of the pan, you should be able to easily slide the cake off the pan's bottom and onto whatever serving plate you'd like. Run a butter knife between the edge of the cake and the pan. Open the springform latch and slowly open the pan and remove the sides. Spread the top with the cream topping and drizzle with Huckleberry sauce. You should have enough Cream and Huckleberry topping to add to slices, too, for extra decadence!
If you don't finish the whole cake, it freezes well so you can save it for later. Or eat it for breakfast all week... I definitely didn't do that at all. Nope.


![This print feels even more relevant today. We all joke about the dumpster fire of [insert year here], but the important message of this image to me is that *we persist* through the horrors. We stand, we fight— maybe for ourselves, maybe for oth](https://images.squarespace-cdn.com/content/v1/574dddd6d51cd4bc35c1609a/1730935170369-03GPKQ5NF73VAE65RHO6/image-asset.jpeg)


