

At the DIY Awards Bash this year we’ll be serving up a signature cocktail to our attendees, but if you’re tuning in at home and unable to be at the event IRL, you can still treat yourself to the same bev, and we even have a non-alcoholic version as well!
Since this is the DIY Awards signature cocktail, going with a screwdriver was an obvious choice, but TBH I think a screwdriver is a somewhat gross cocktail. So instead, I decided to come up with something with a bit more kick to it, while still maintaining its OJ and Vodka roots. We punched things up by adding some ginger and pumped up the orange with Cointreau.
Because not all of you are drinkers, I put together a mocktail version too, which gives you that orange and ginger flavor with none of the alcohol!
Peep the videos below for the tutorial!
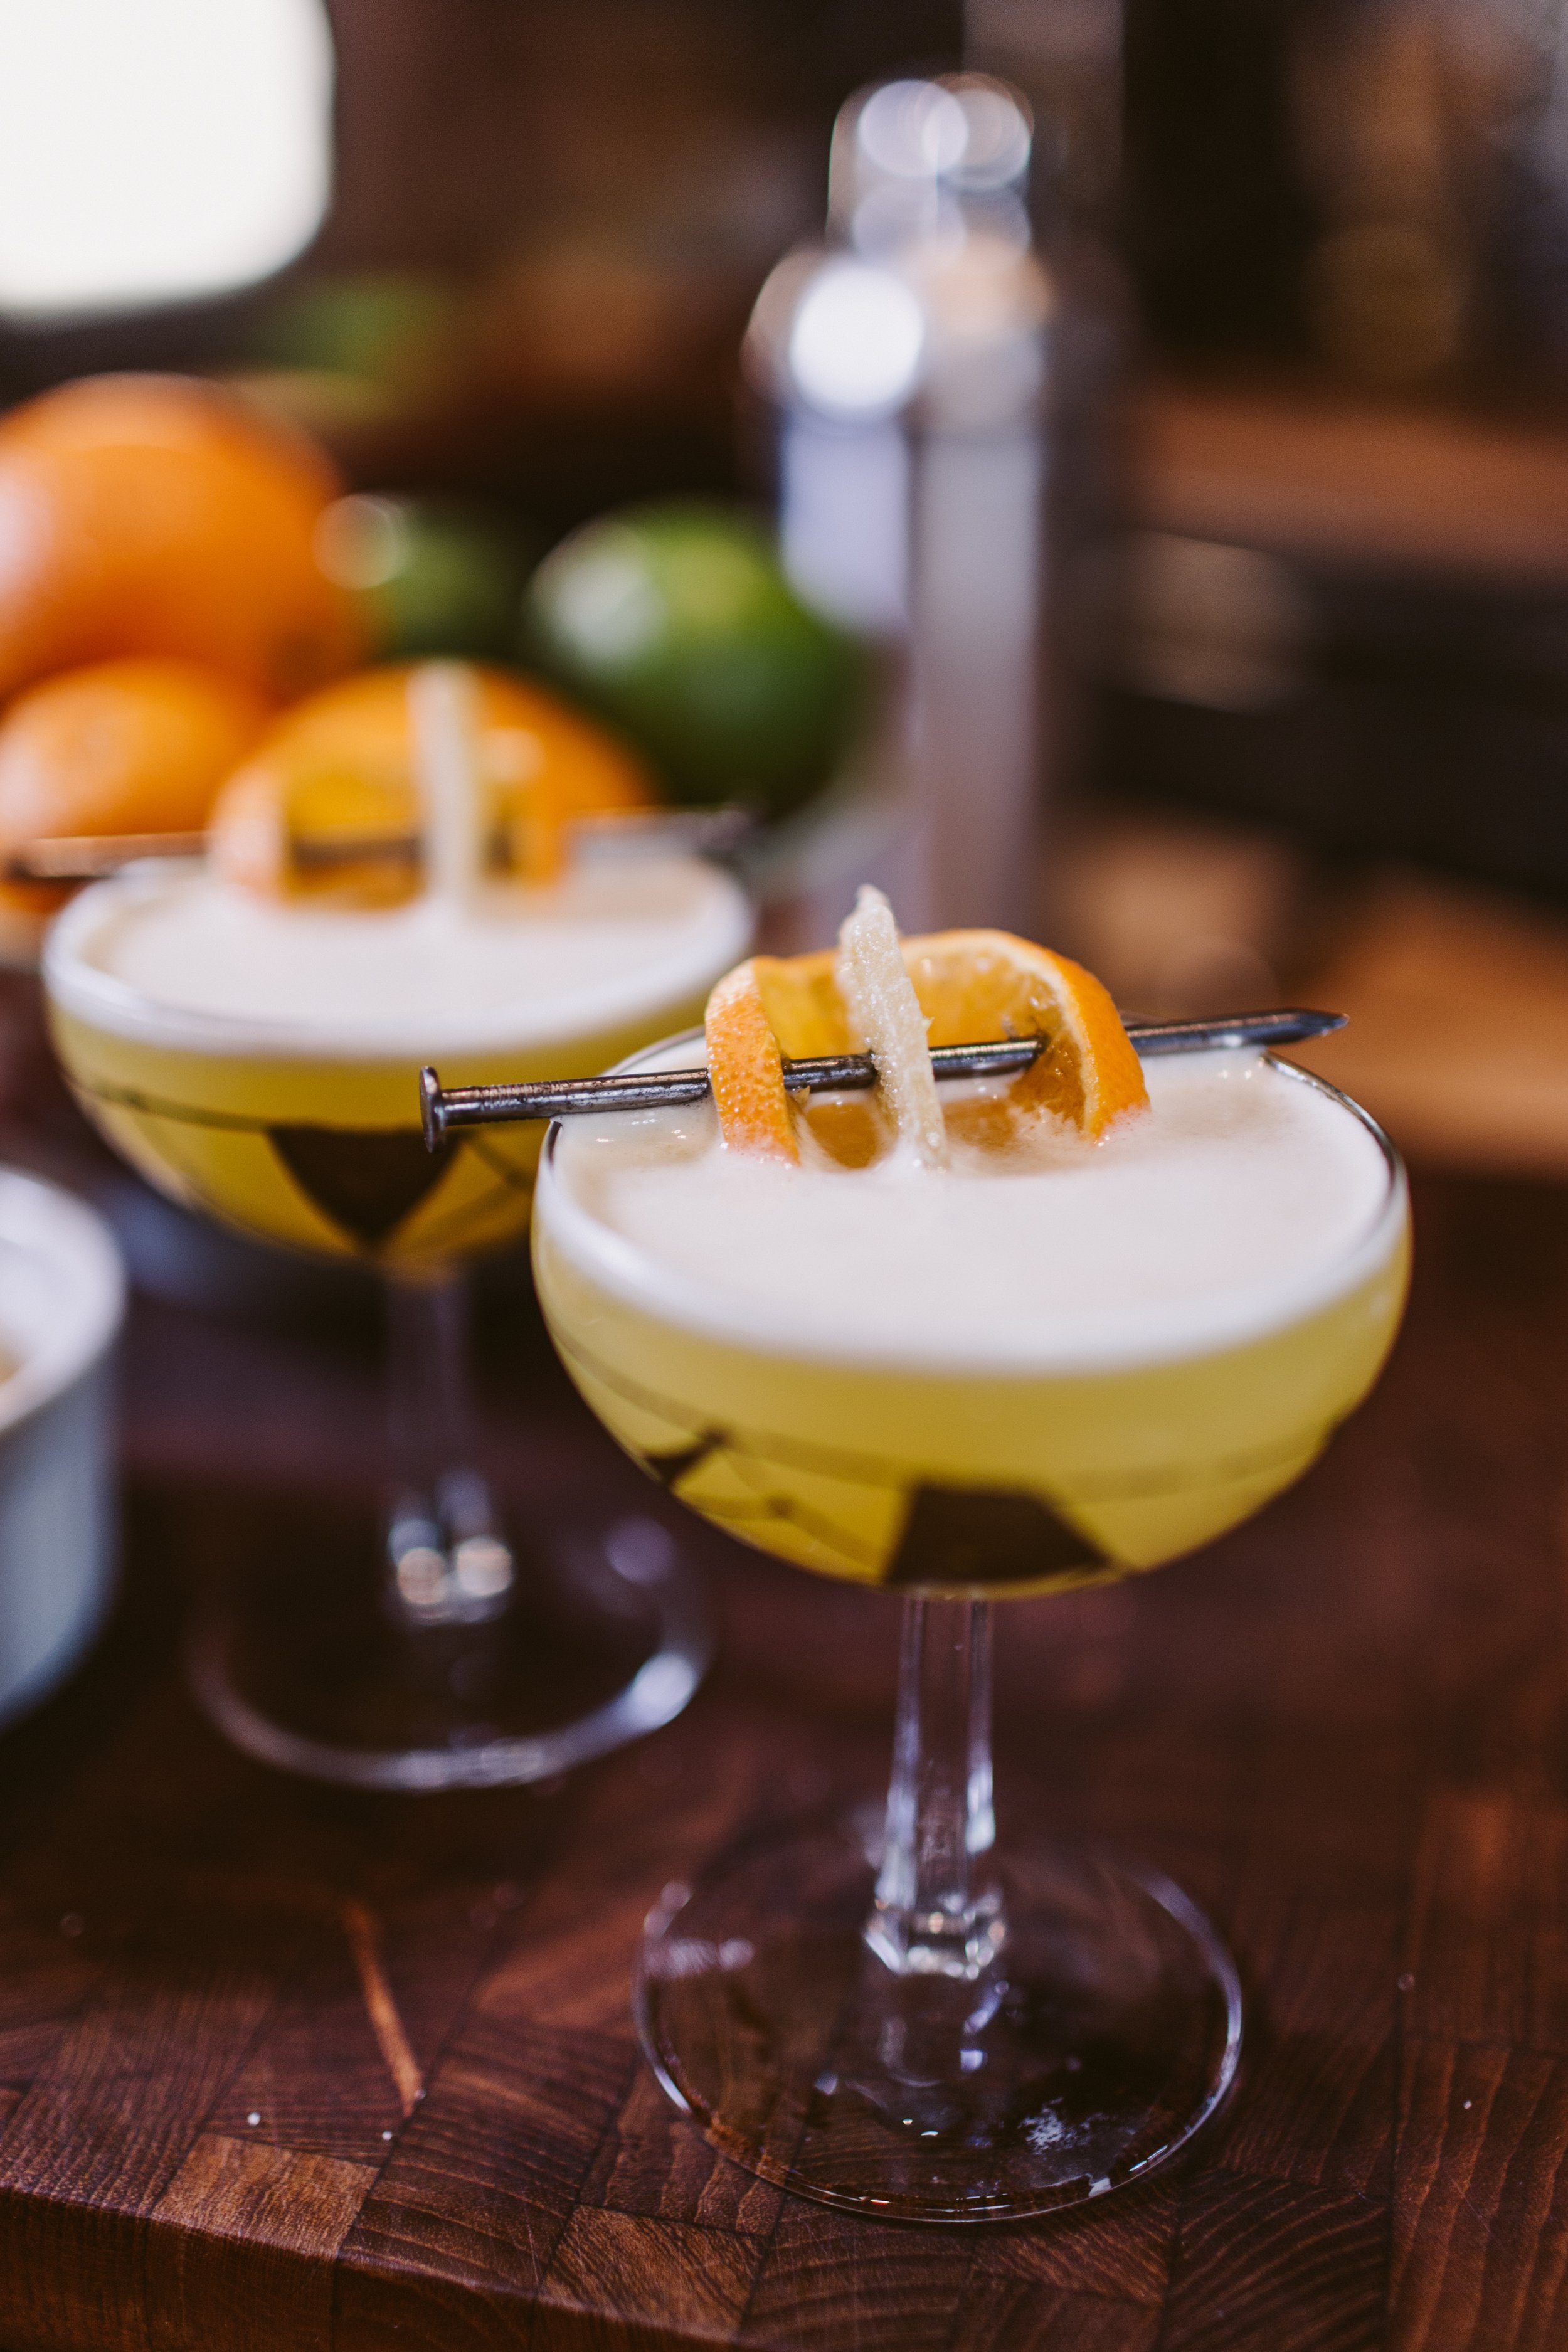
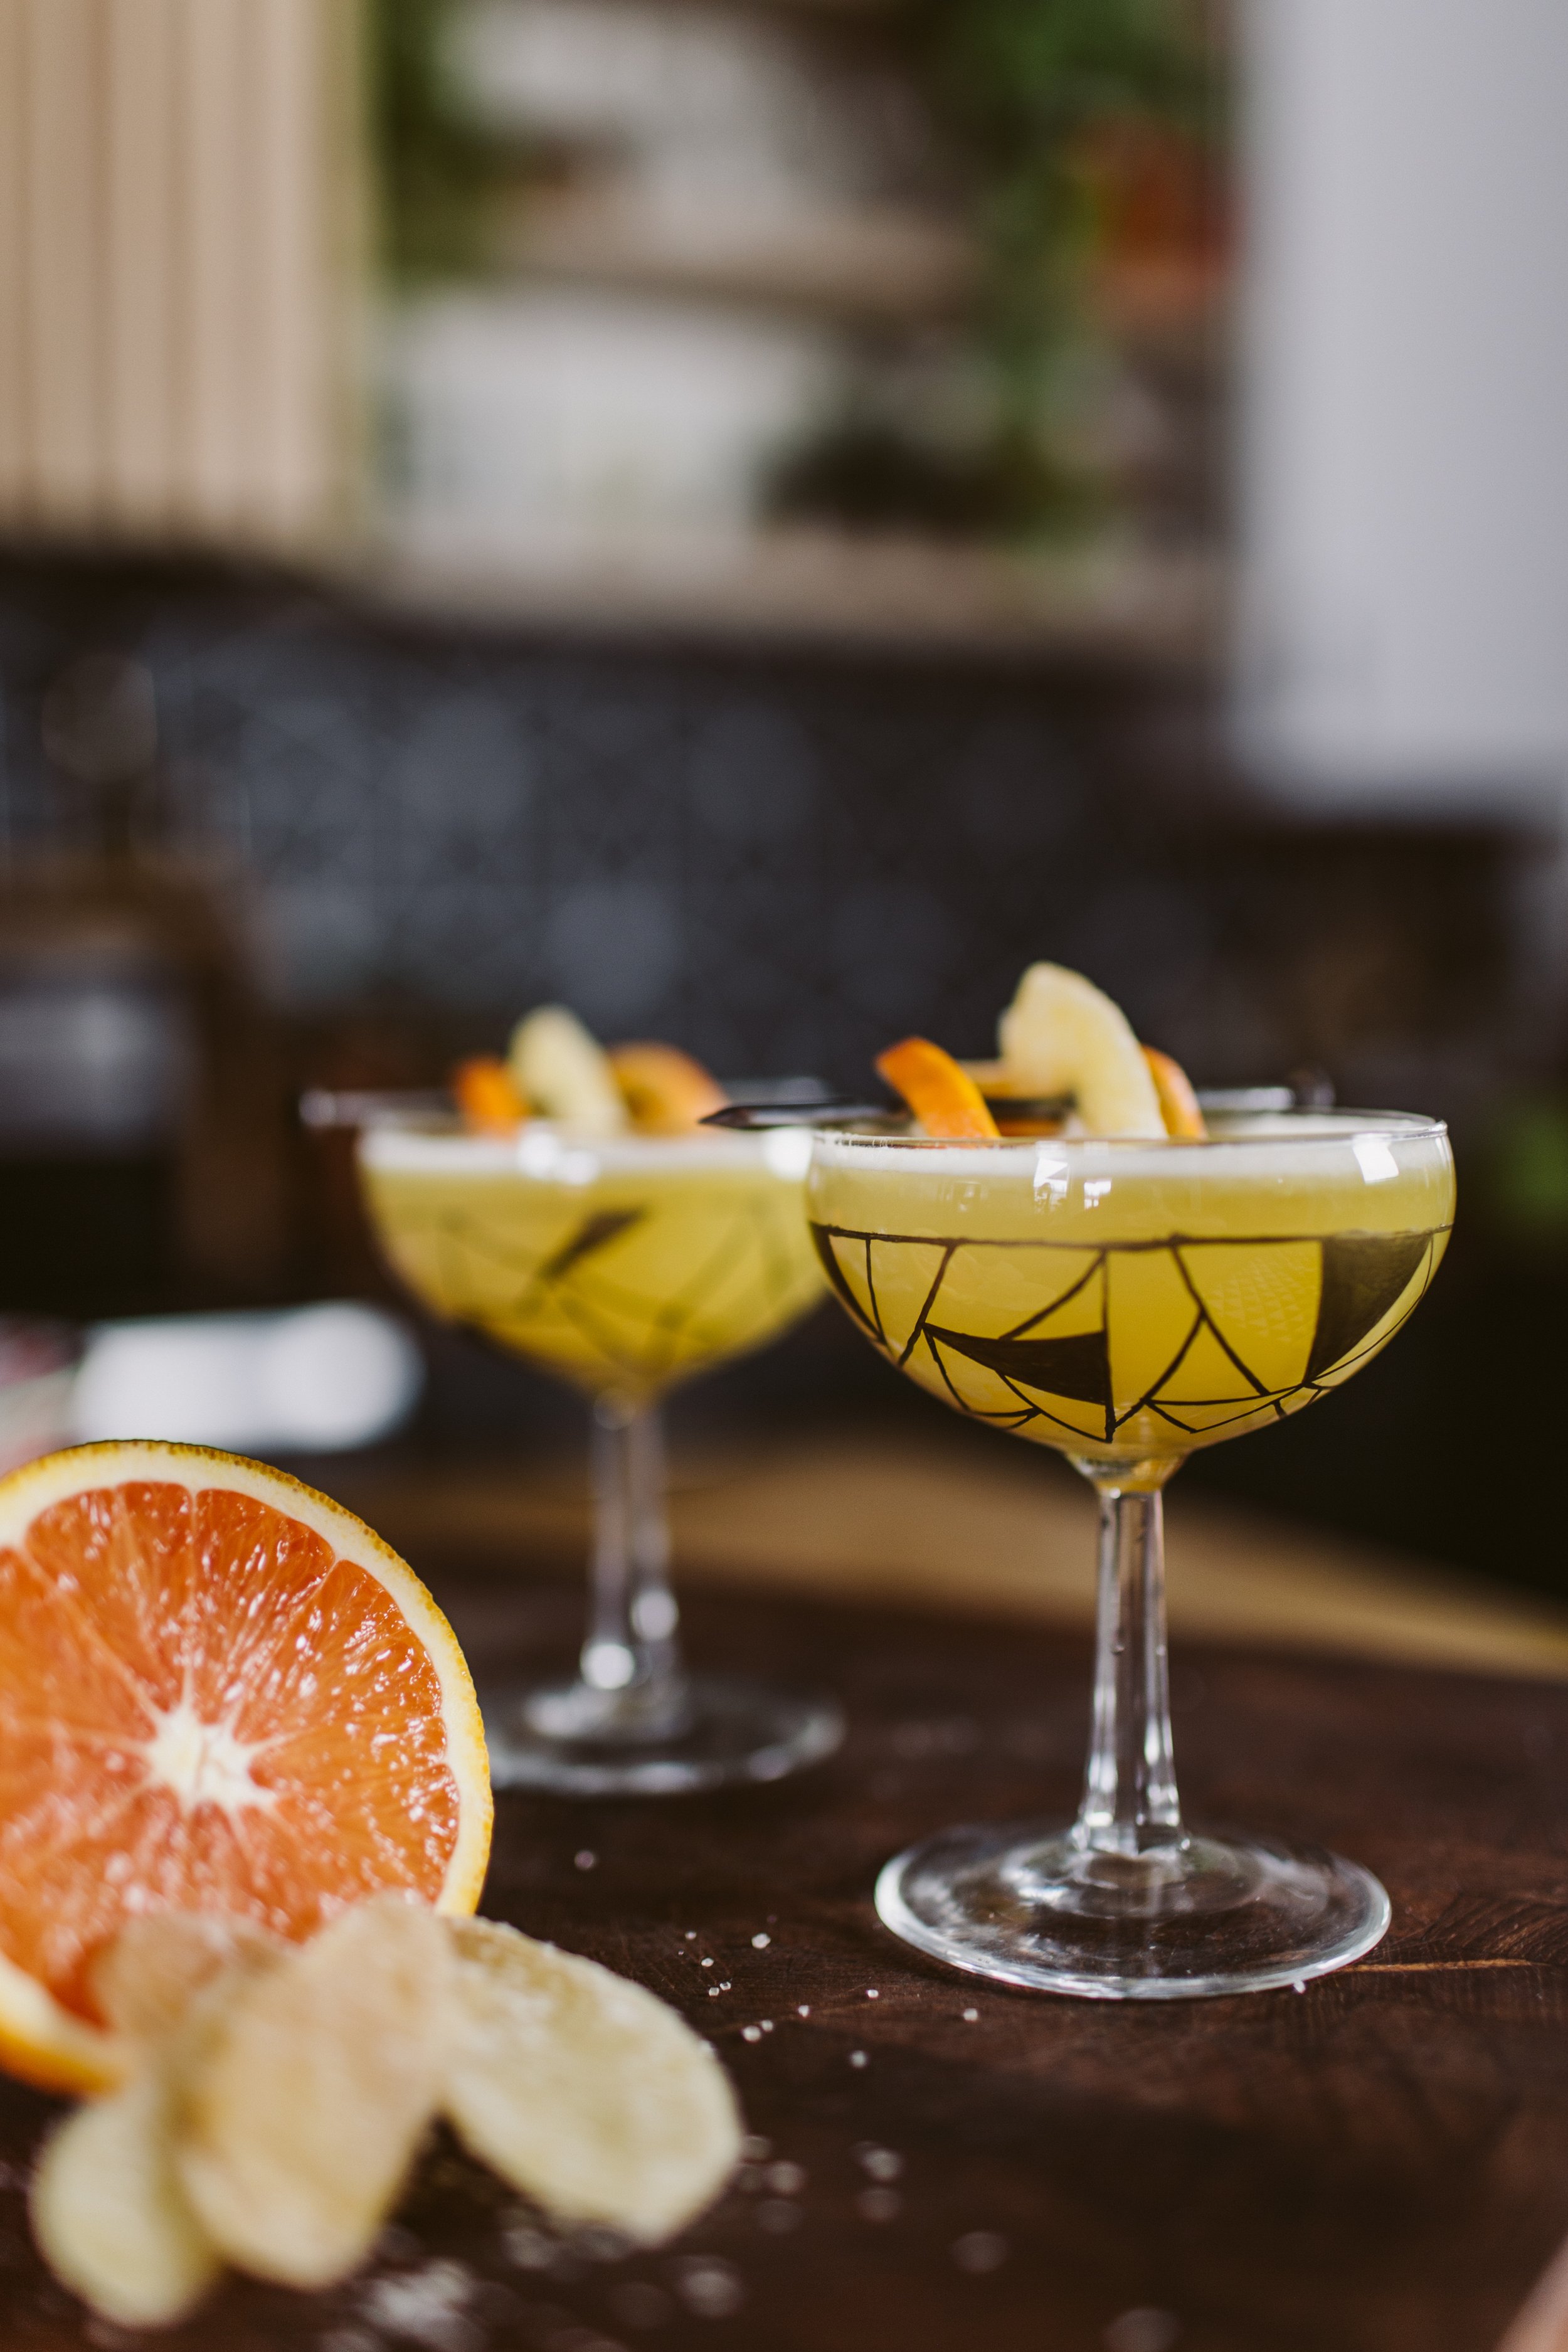
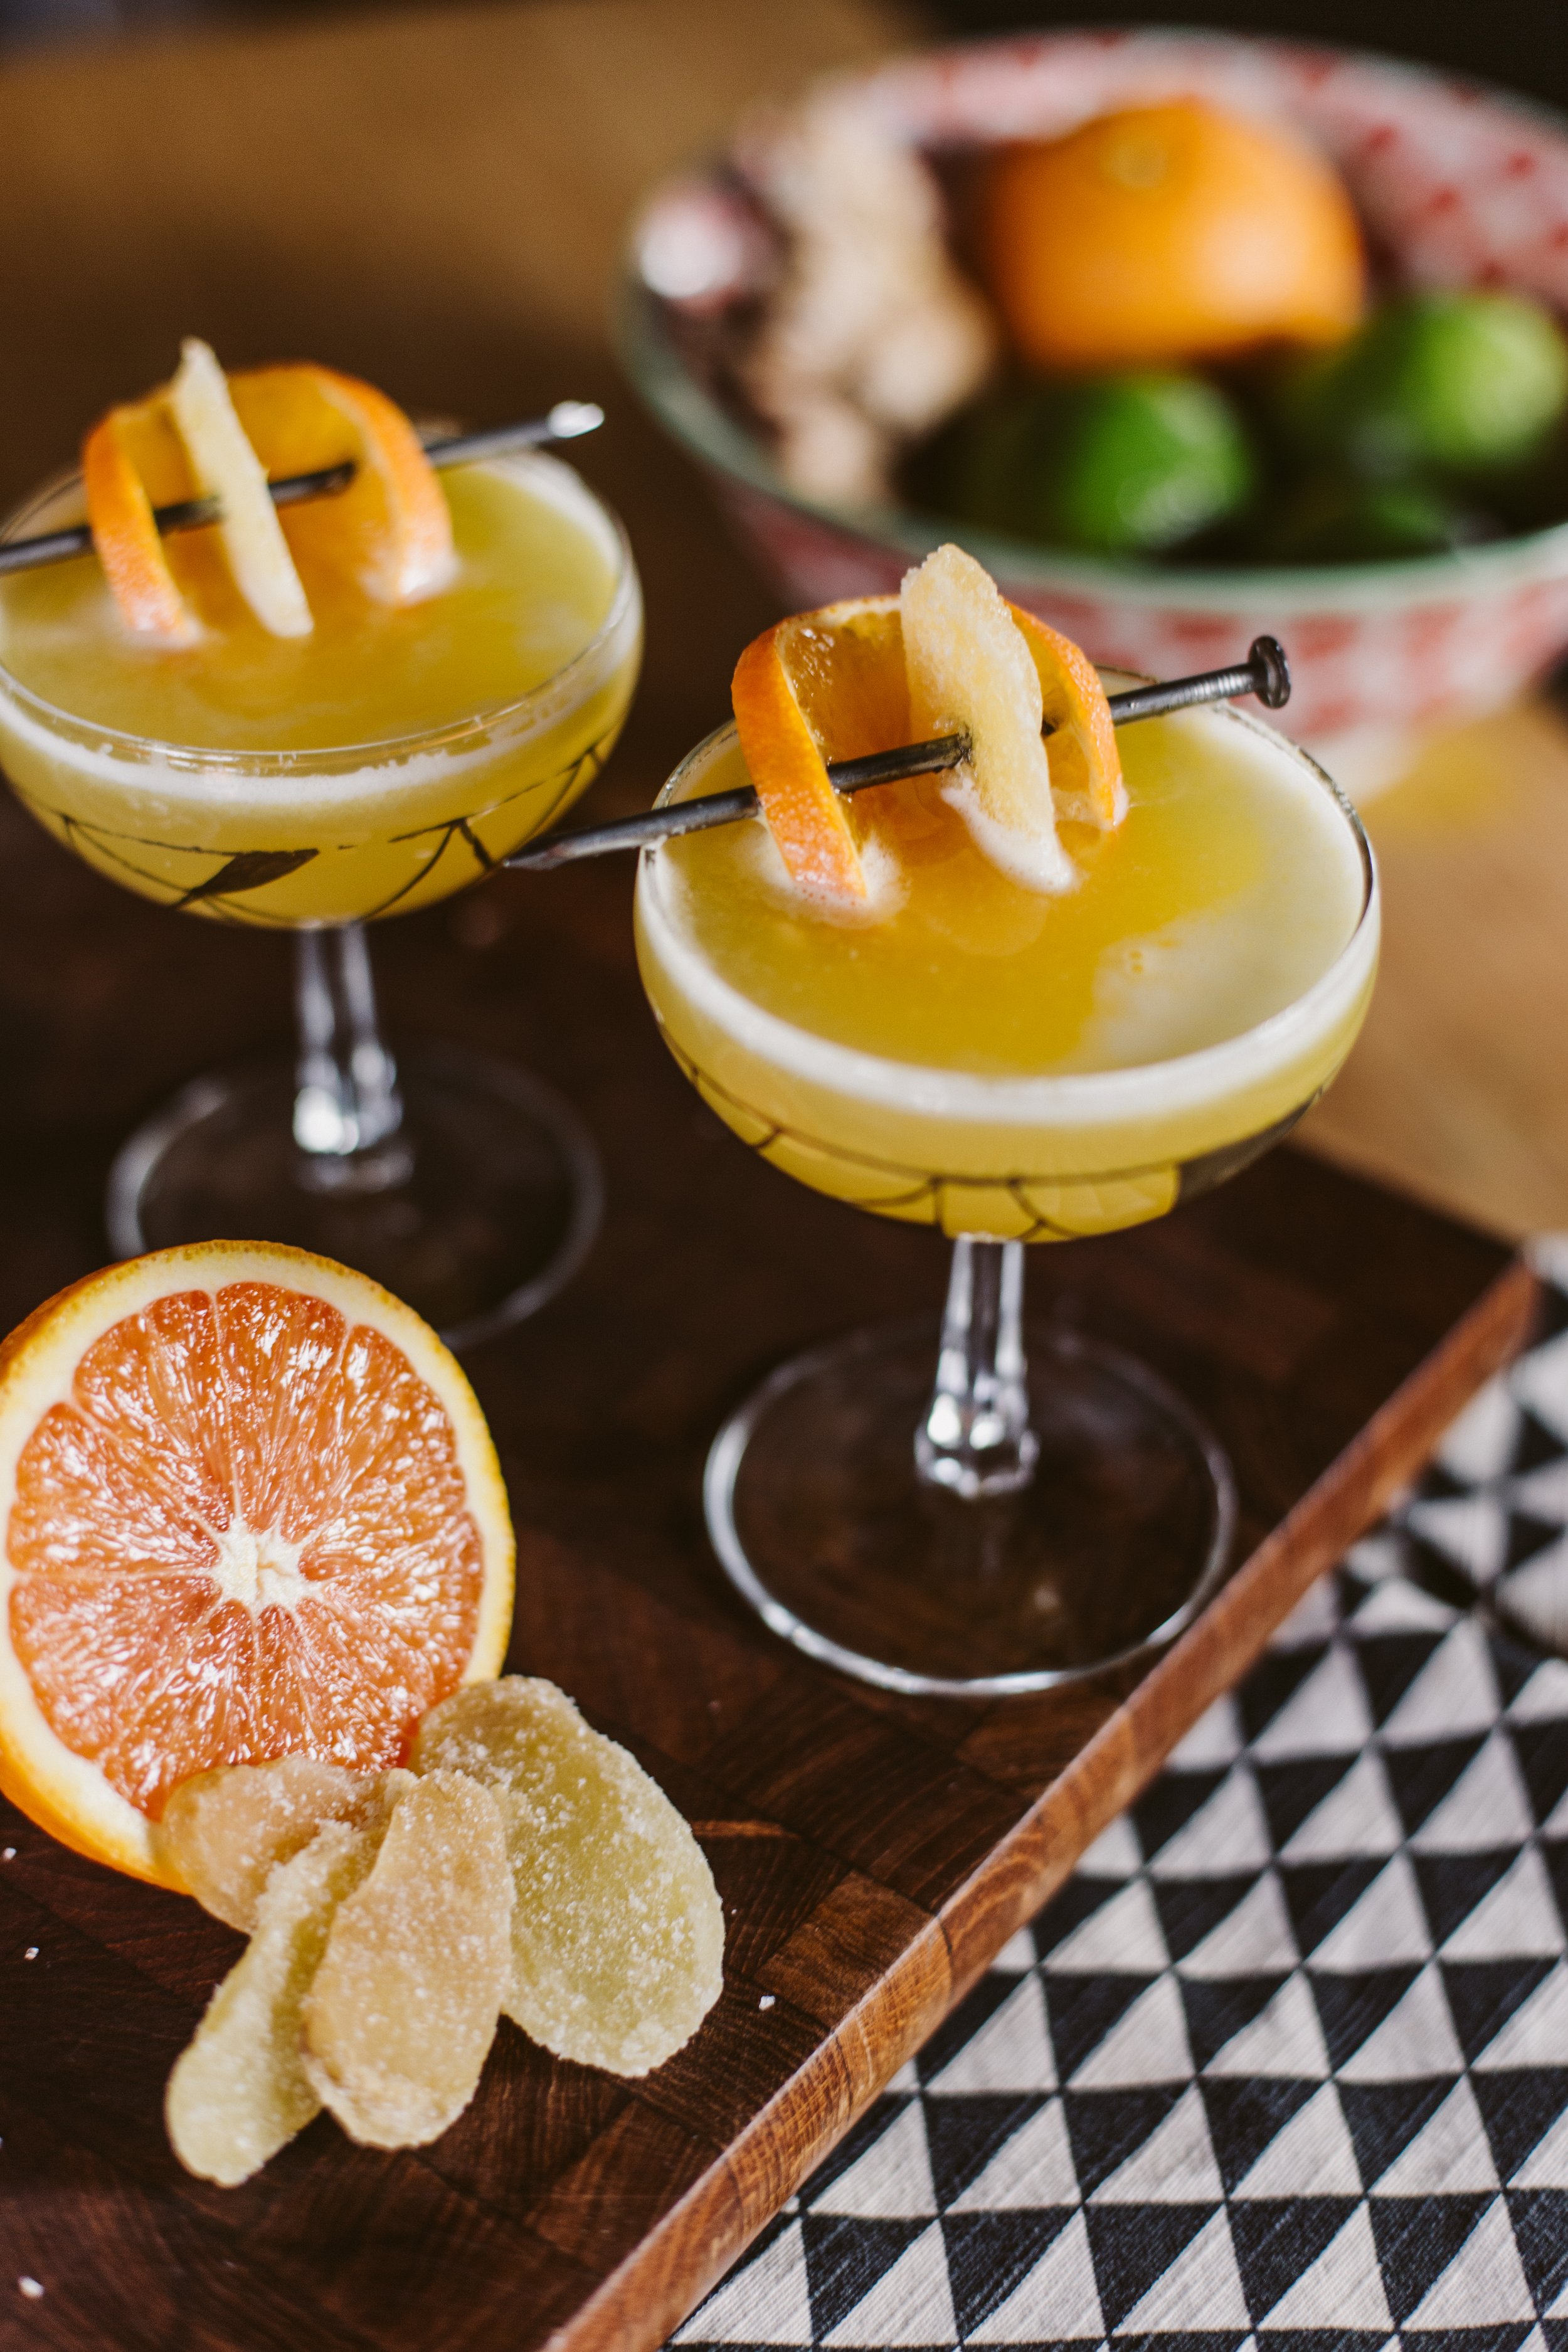
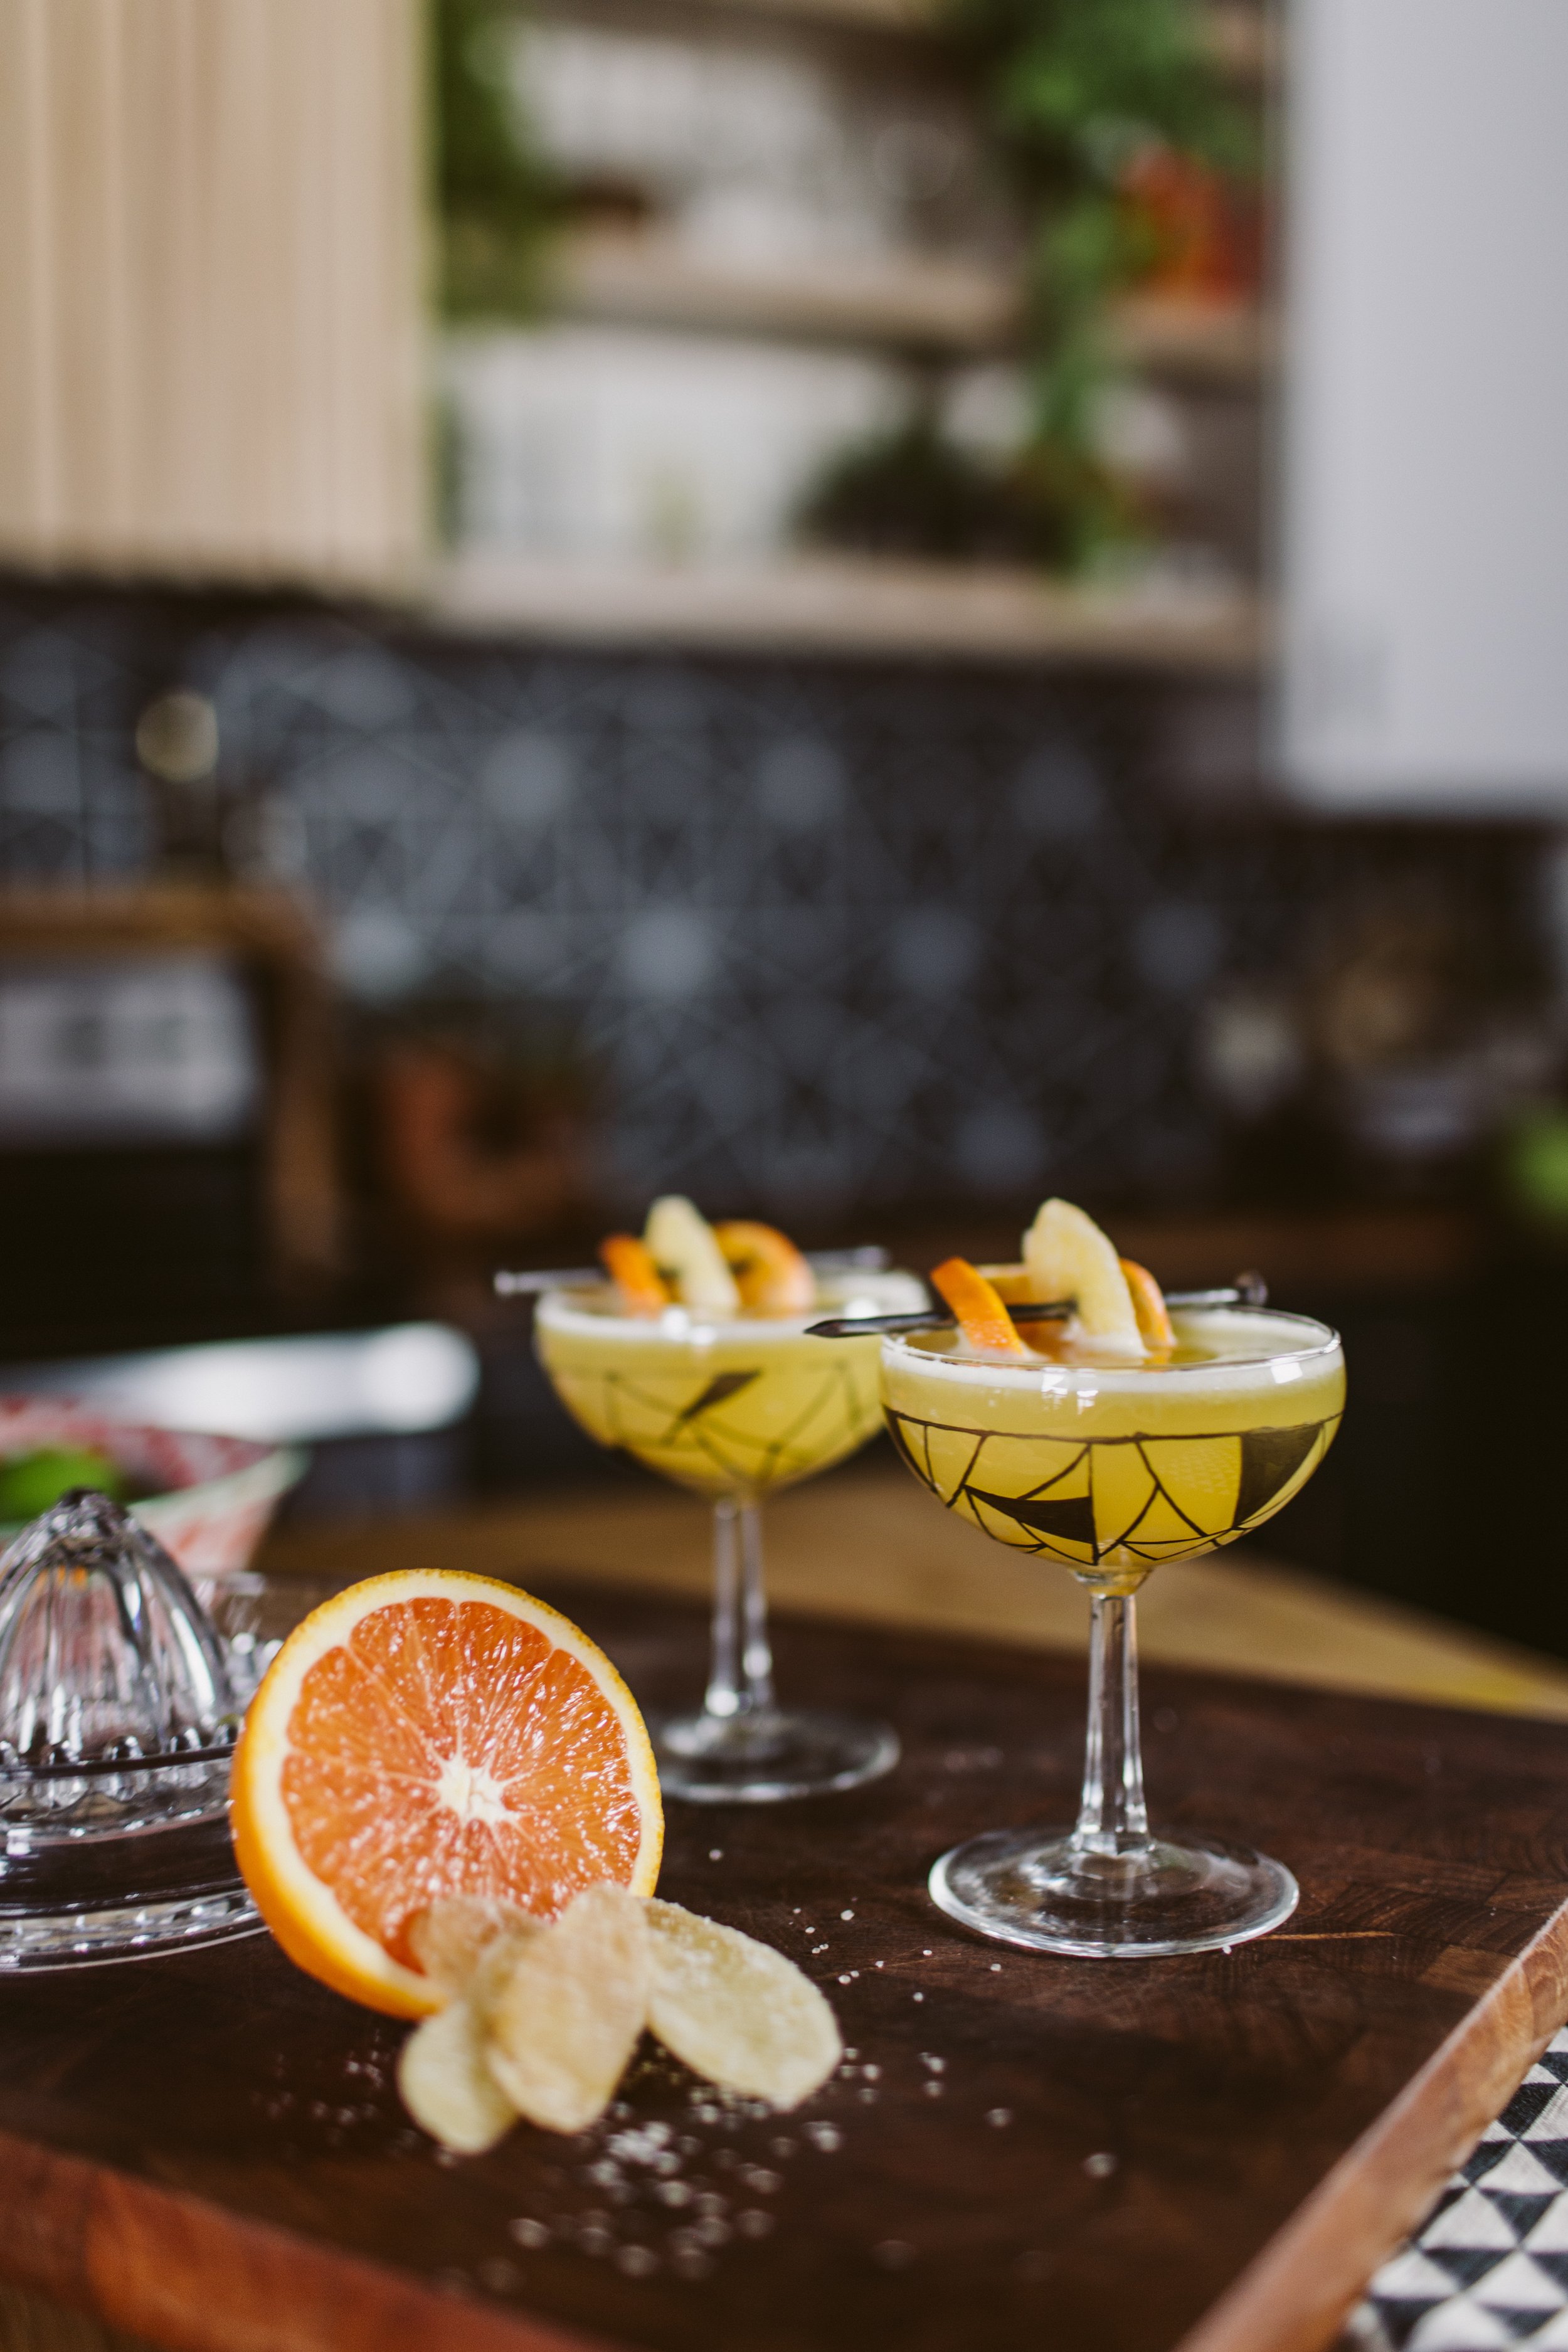
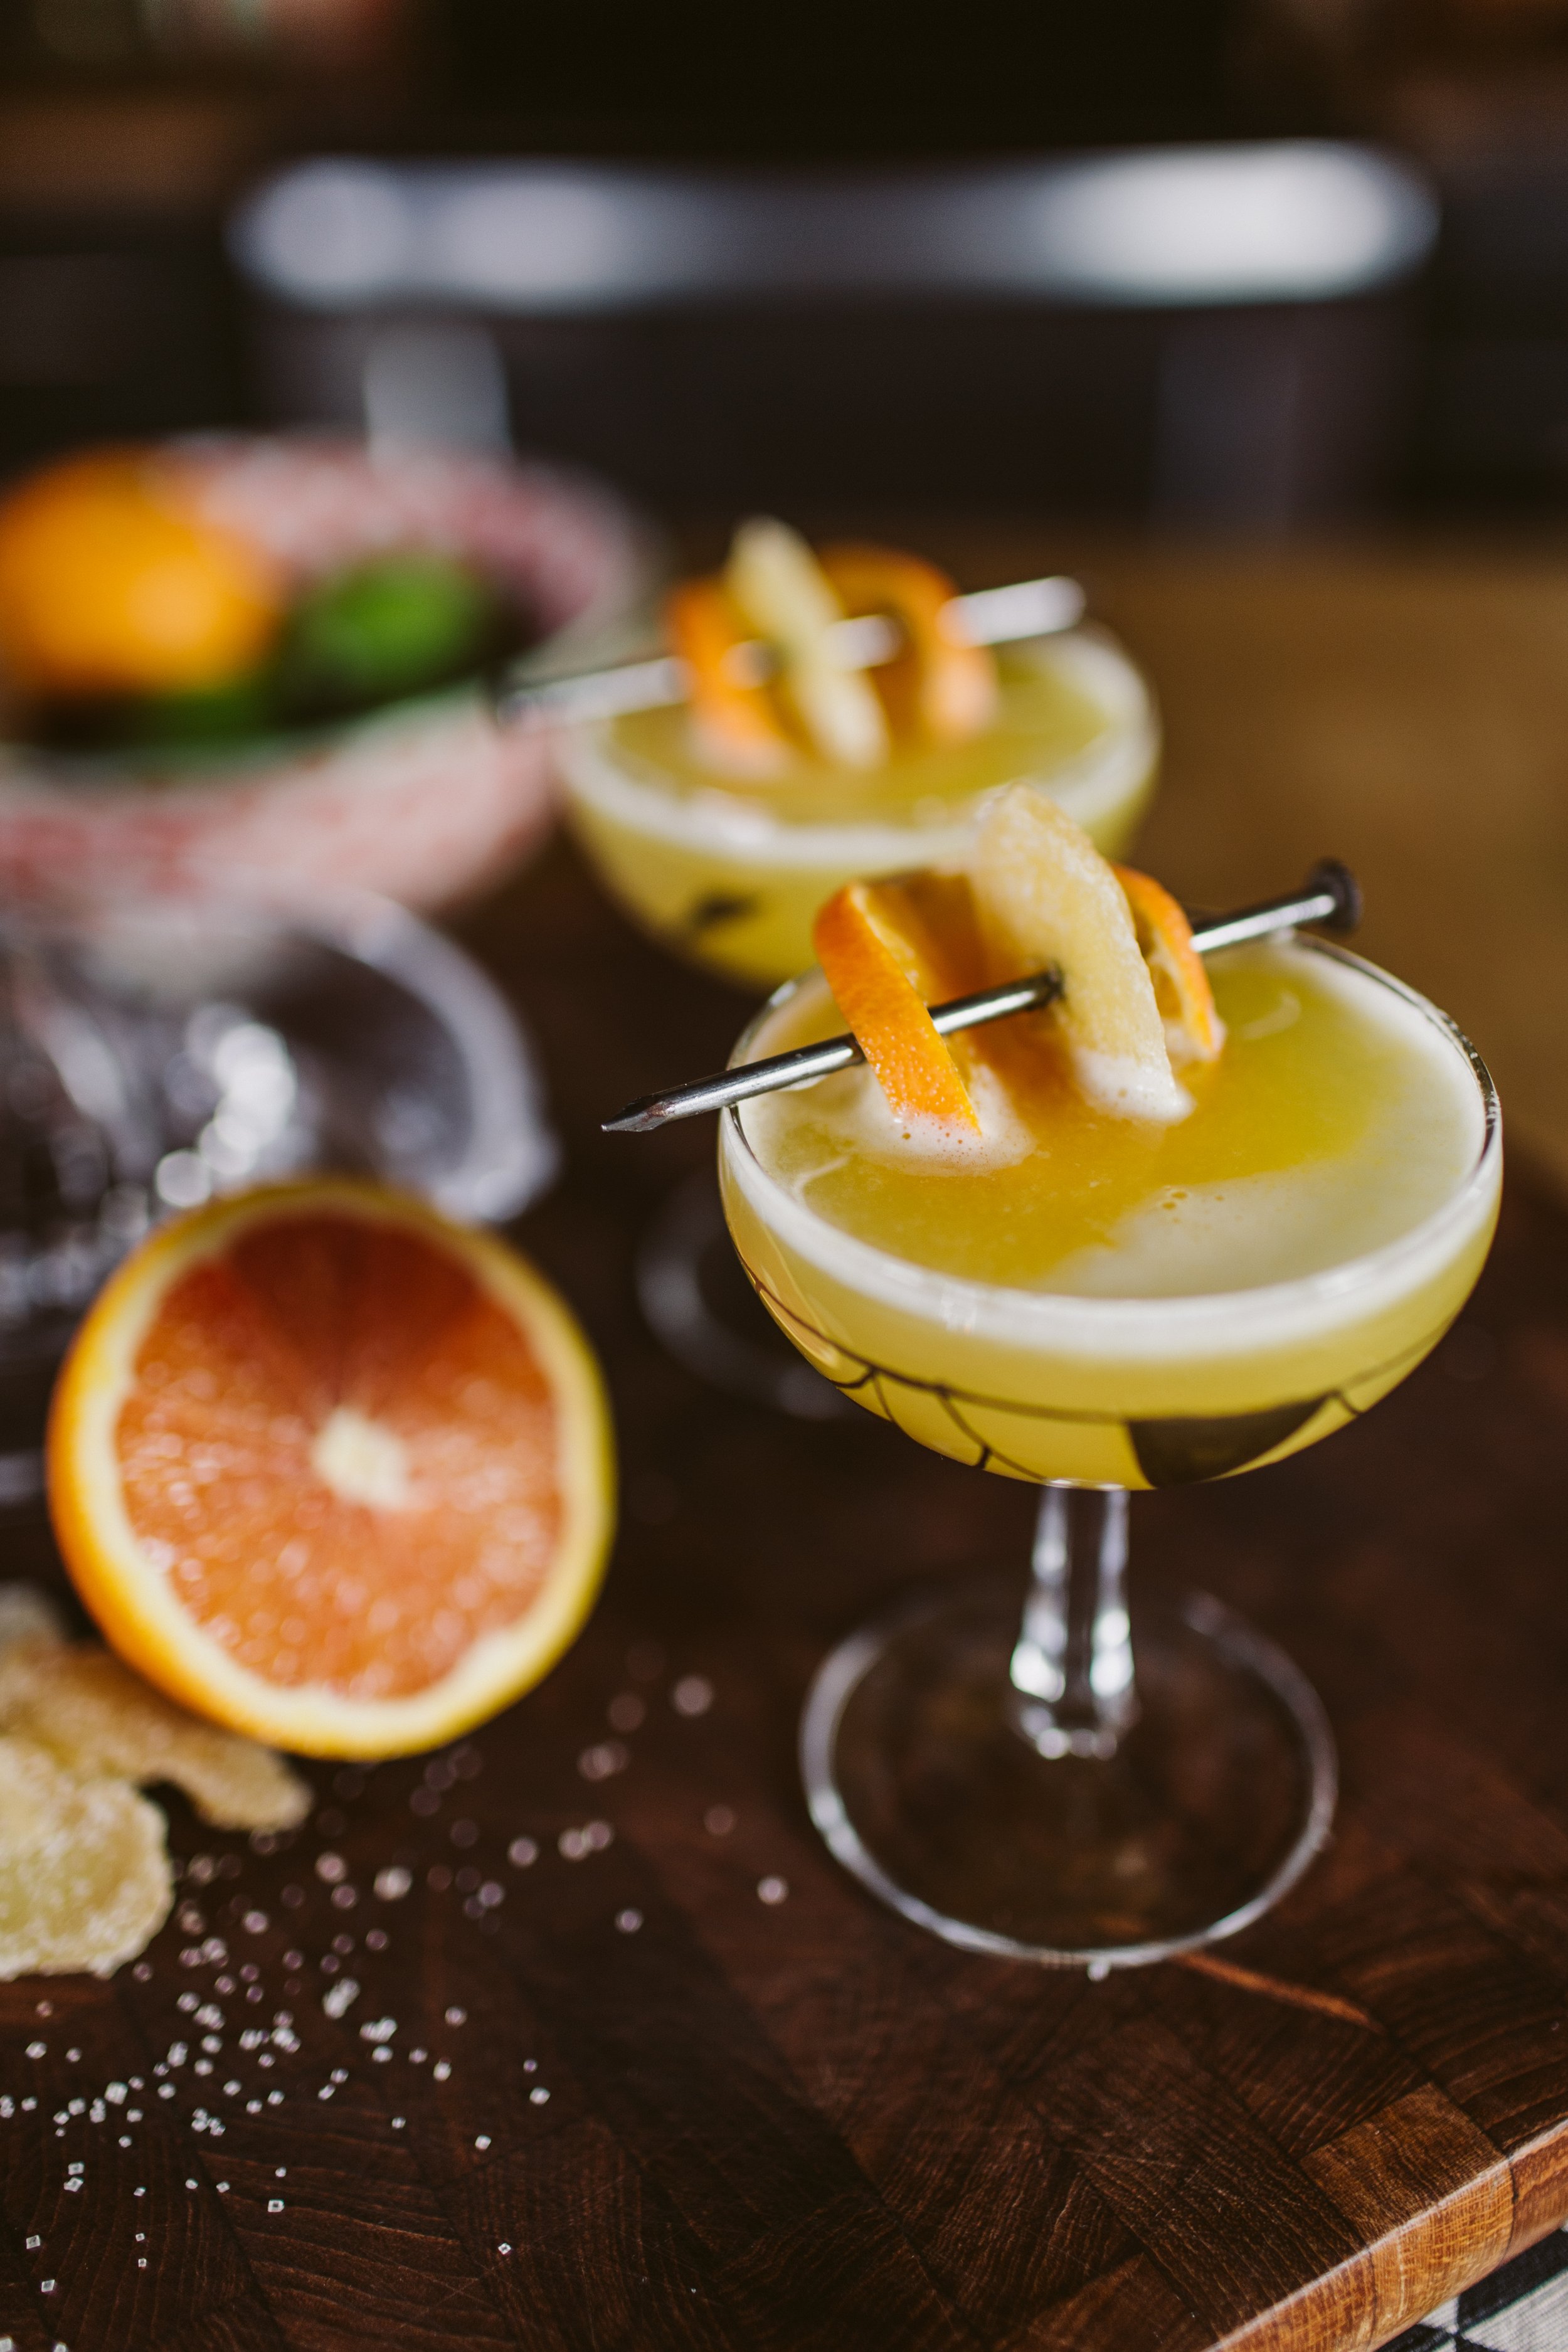
Impact Driver Cocktail
What you’ll need (makes 2 drinks):
1.5 Tbsp Fresh Ginger - chopped
2 oz Simple Syrup
2 oz Vodka
2 oz Cointreau or Triple Sec
3 oz fresh squeeze Orange Juice
1 egg white (optional)
Cocktail shaker
Muddler
Ice
Candied Ginger
Orange Slice
Skewer
Coupe glass
1/ Muddle the fresh ginger in the bottom of the cocktail shaker
2/ Add your simple syrup, vodka, Cointreau, Orange Juice, and egg white. Add ice and shake!
3/ Divide equally between two coupe glasses
4/ Garnish with a skewered orange slice and candied ginger
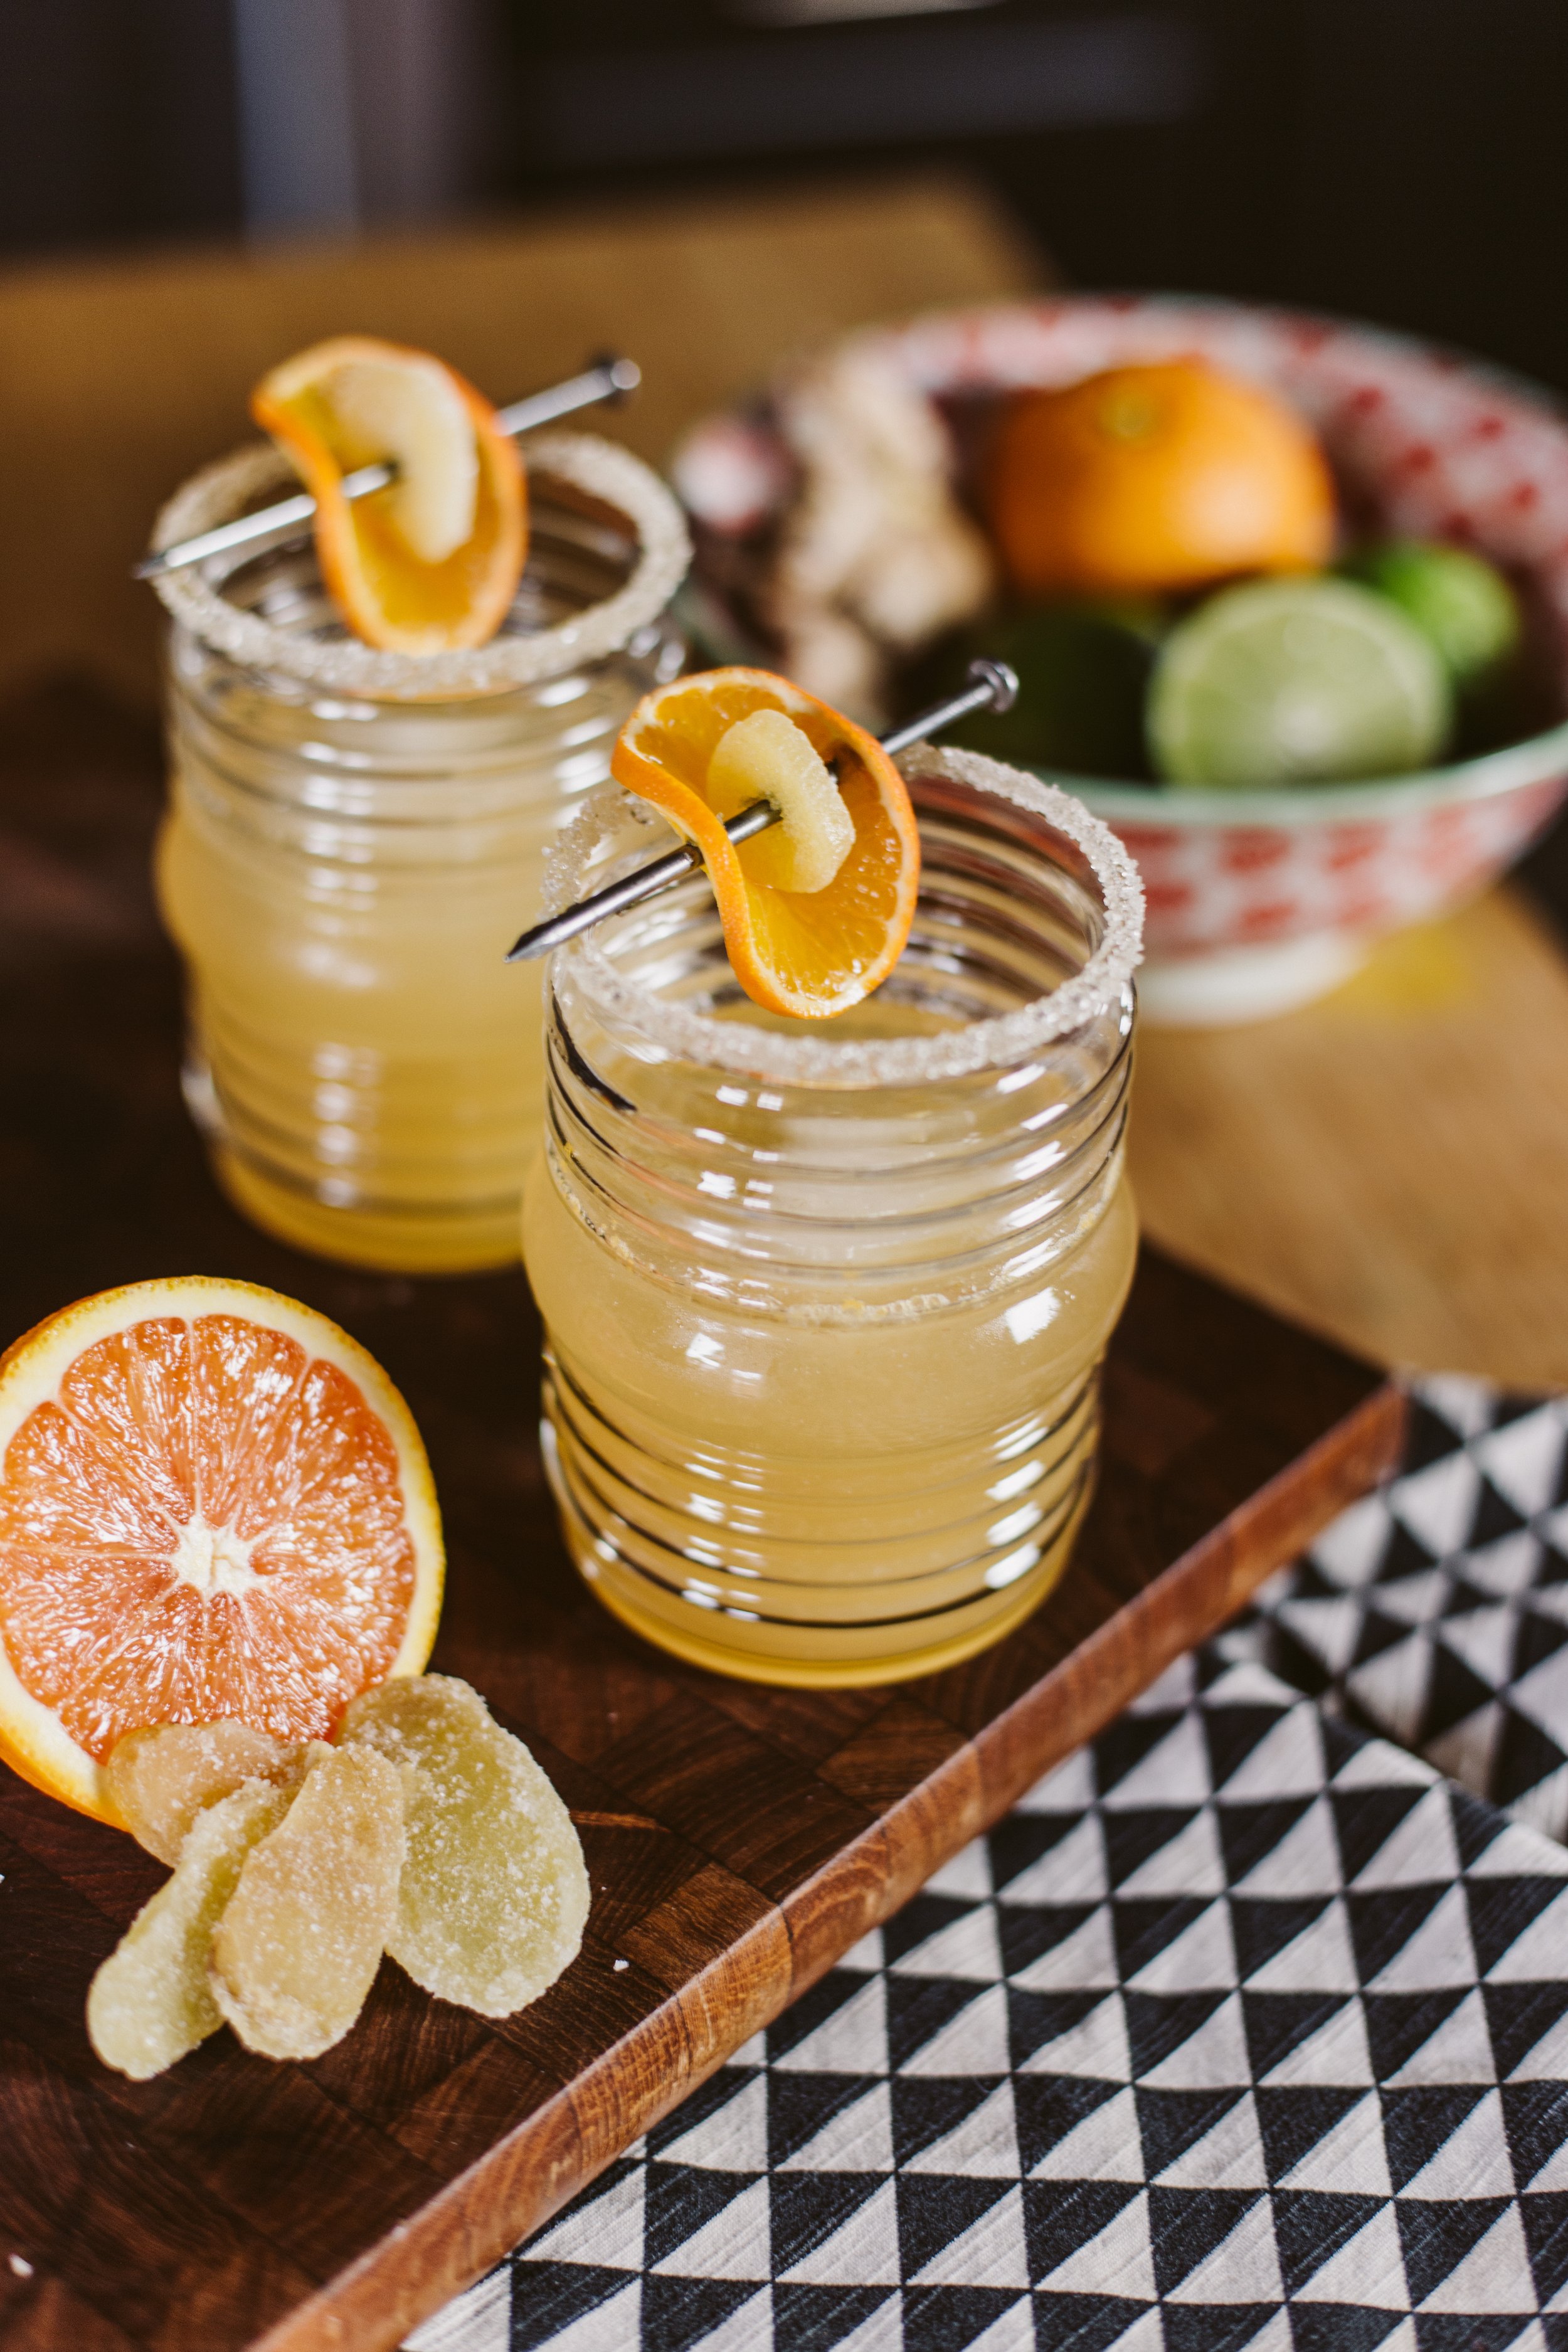
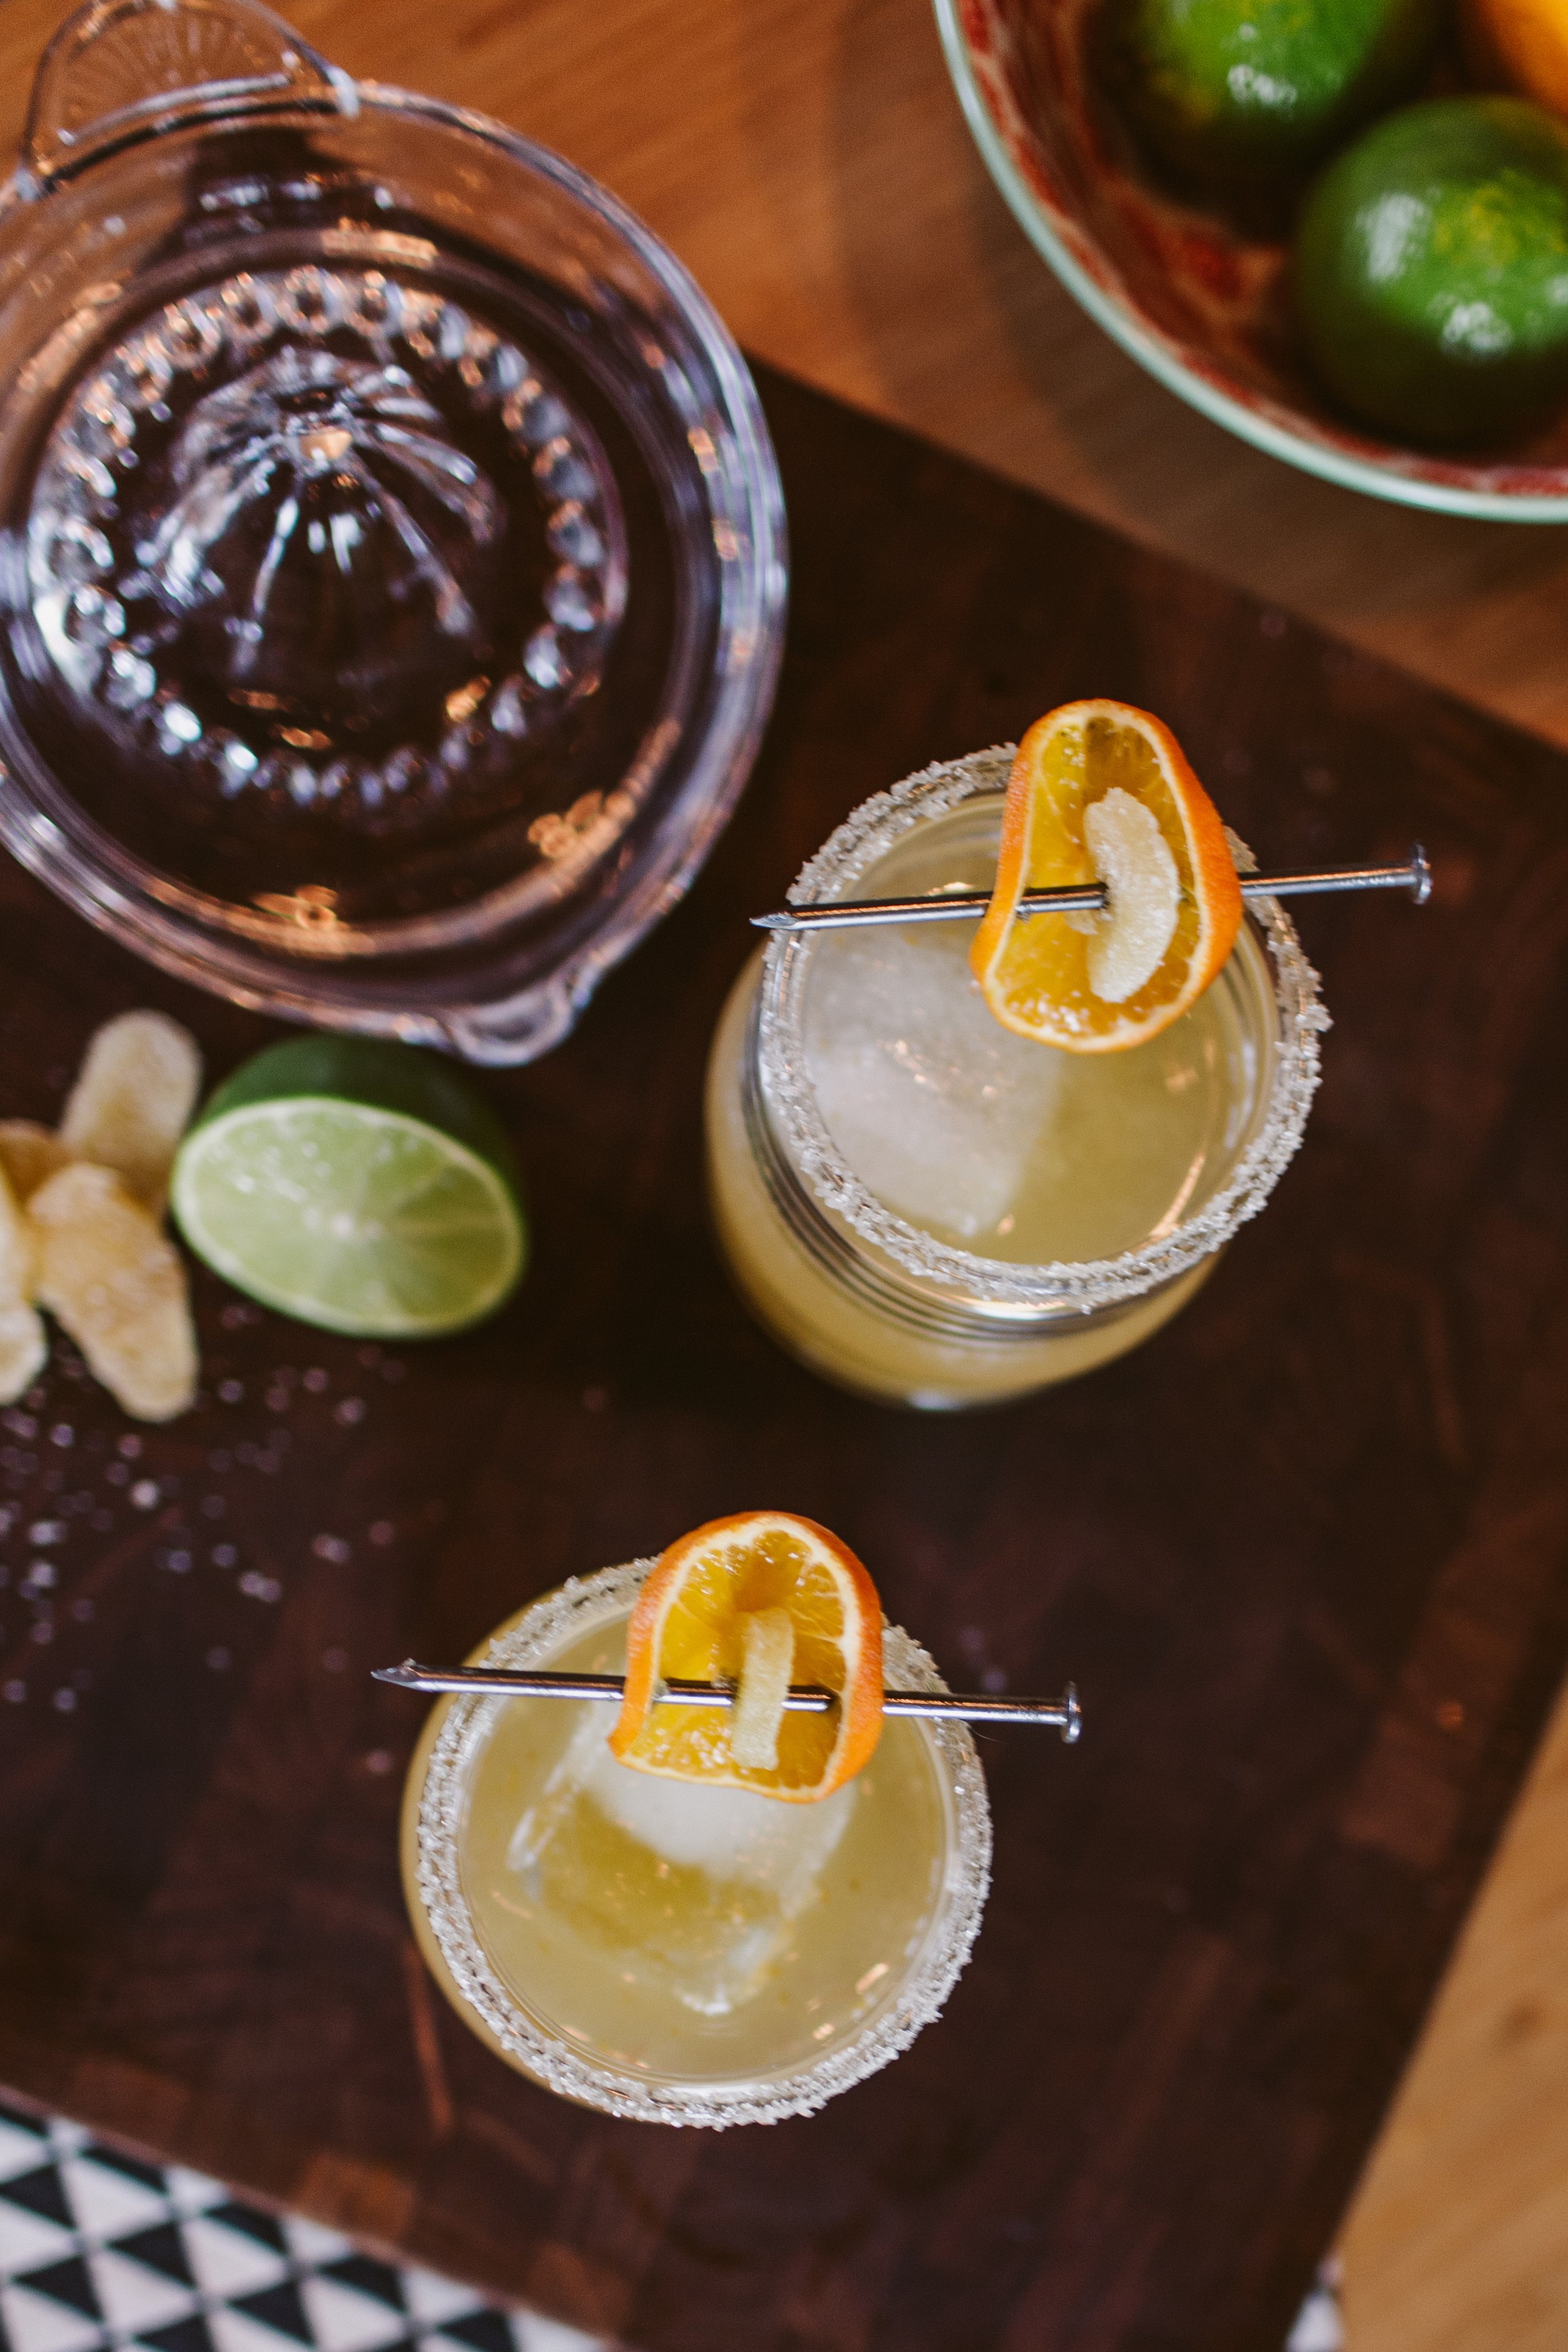
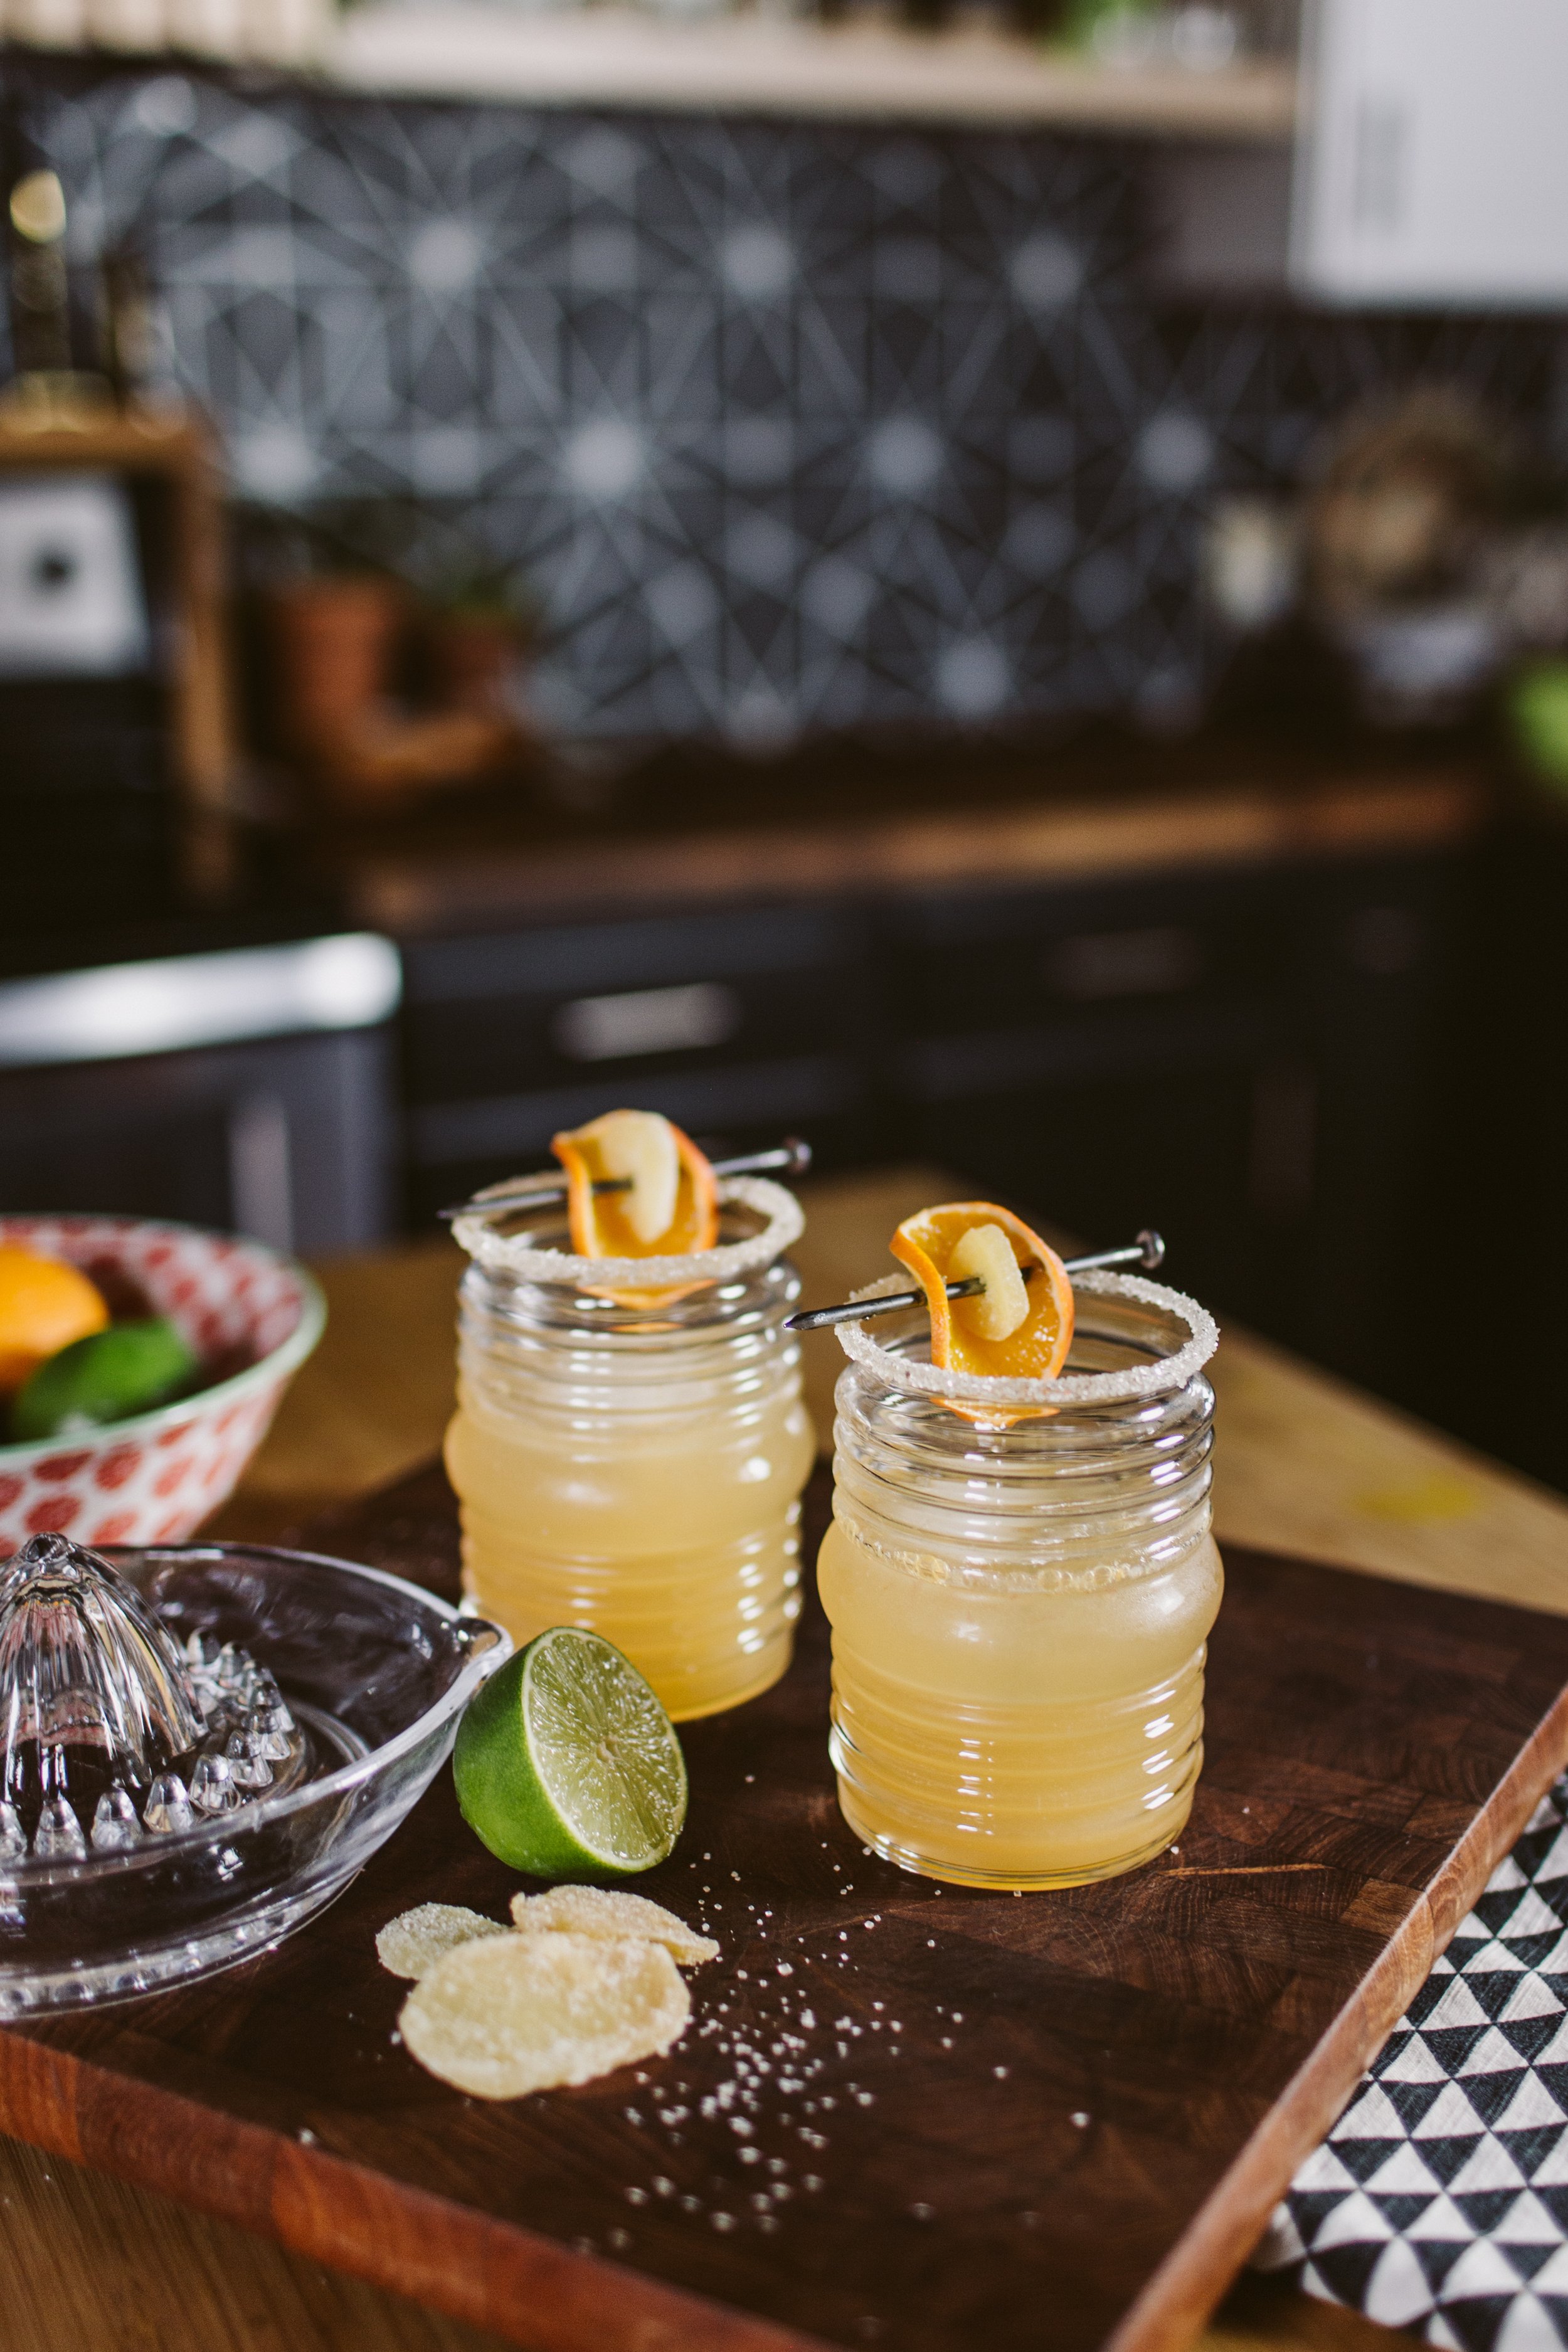
Impact Driver Mocktail
What you’ll need (makes 1 drink):
1 oz Orgeat Syrup
1 oz Lime Juice
1 oz fresh squeeze Orange Juice
Ginger Beer
Big Ice
Lowball glass
1/ Rub the rim of your glass with an orange slice, then dip it in cane sugar for the sugar rim
2/ Add the big ice to the glass (a few cubes of regular ice work too!). Pour in your orange and lime juice as well as the Orgeat Syrup. Give it a spin to mix.
3/ Top with Ginger beer (we used 1/2 bottle of Cock + Bull Ginger Beer for each drink)
4/ If you’d like, you can add the same skewer garnish as the cocktail version!
Enjoy!


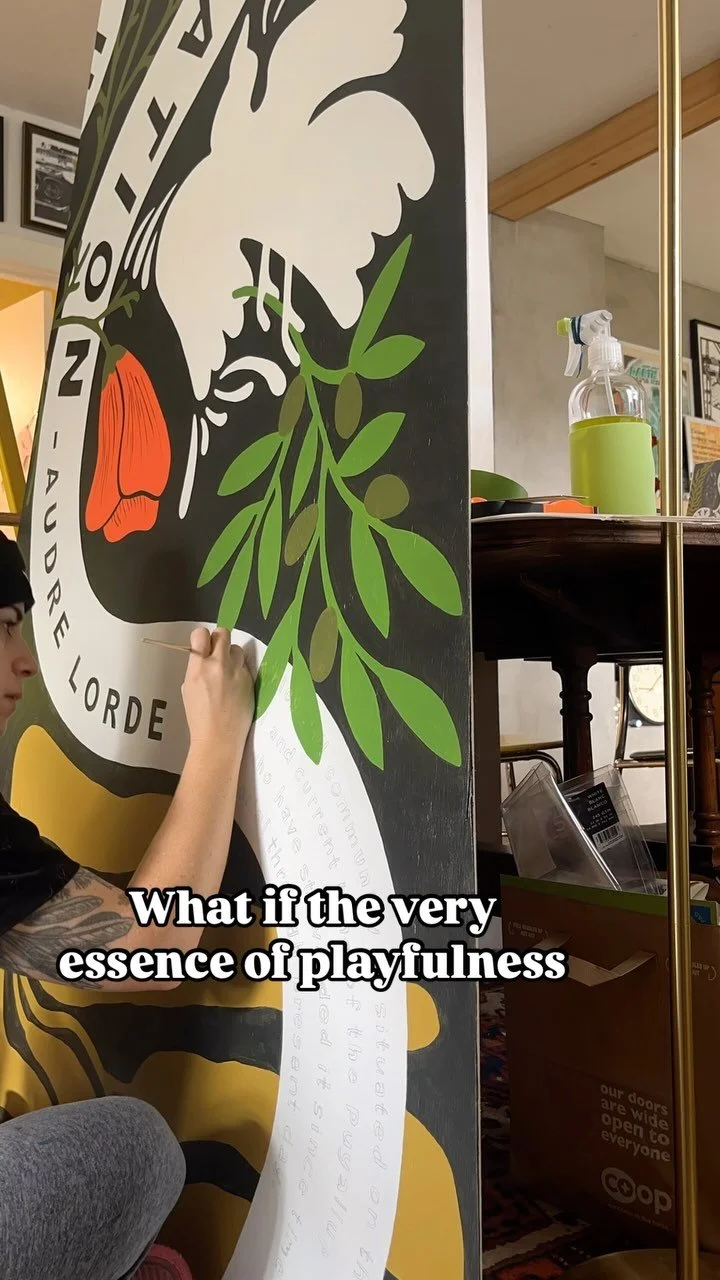

![This print feels even more relevant today. We all joke about the dumpster fire of [insert year here], but the important message of this image to me is that *we persist* through the horrors. We stand, we fight— maybe for ourselves, maybe for oth](https://images.squarespace-cdn.com/content/v1/574dddd6d51cd4bc35c1609a/1730935170369-03GPKQ5NF73VAE65RHO6/image-asset.jpeg)


