Pop Modern

Adventures in DIY tiling

DIY kitchen floor tile

There’s not much I won’t DIY, and I’m usually pretty spot on in my assessment of how difficult a project will be but this kitchen floor has turned into a huge pain. And to be fair, I’m not feeling the pain of how annoying the install process is— Dan is the one doing the mortar and laying the tiles. But what we planned on being a weekend project has now entered the second week of having no functional kitchen, and I’ll tell you what: not having a range is a lot harder than I thought. I finally broke down and bought a microwave yesterday so we could at least have some home cooked food.

We’re probably about halfway done with the kitchen and the same tile will continue into the bathroom and in the laundry closet, so I’m thinking we probably have at least another week of doing tile, though we thankfully have laid the tile where the range goes, which means it will be able to return to it’s home and functional status in the next day or two.

Next up, I’ll be grouting the tile, which is perfect because it’s a great project for me to do while Jack naps. Even though I hate working with it, I decided to go with the Fusion Pro grout again, just because I don’t have to seal it or anything. And I think it’ll be less annoying to work with this time simply because I’m not doing a contrasting grout (last time I did black grout with white hex tiles). Since I wanted a concrete floor, I’m doing the grout in as close to the same color as the tile to give it more of a seamless look. But you know I couldn’t make things easy, so we’re doing a herringbone pattern. It’ll be more subtle since the grout won’t be contrasting, but I still think it’ll add interest.

Photo Jun 30, 5 19 40 PM.jpg

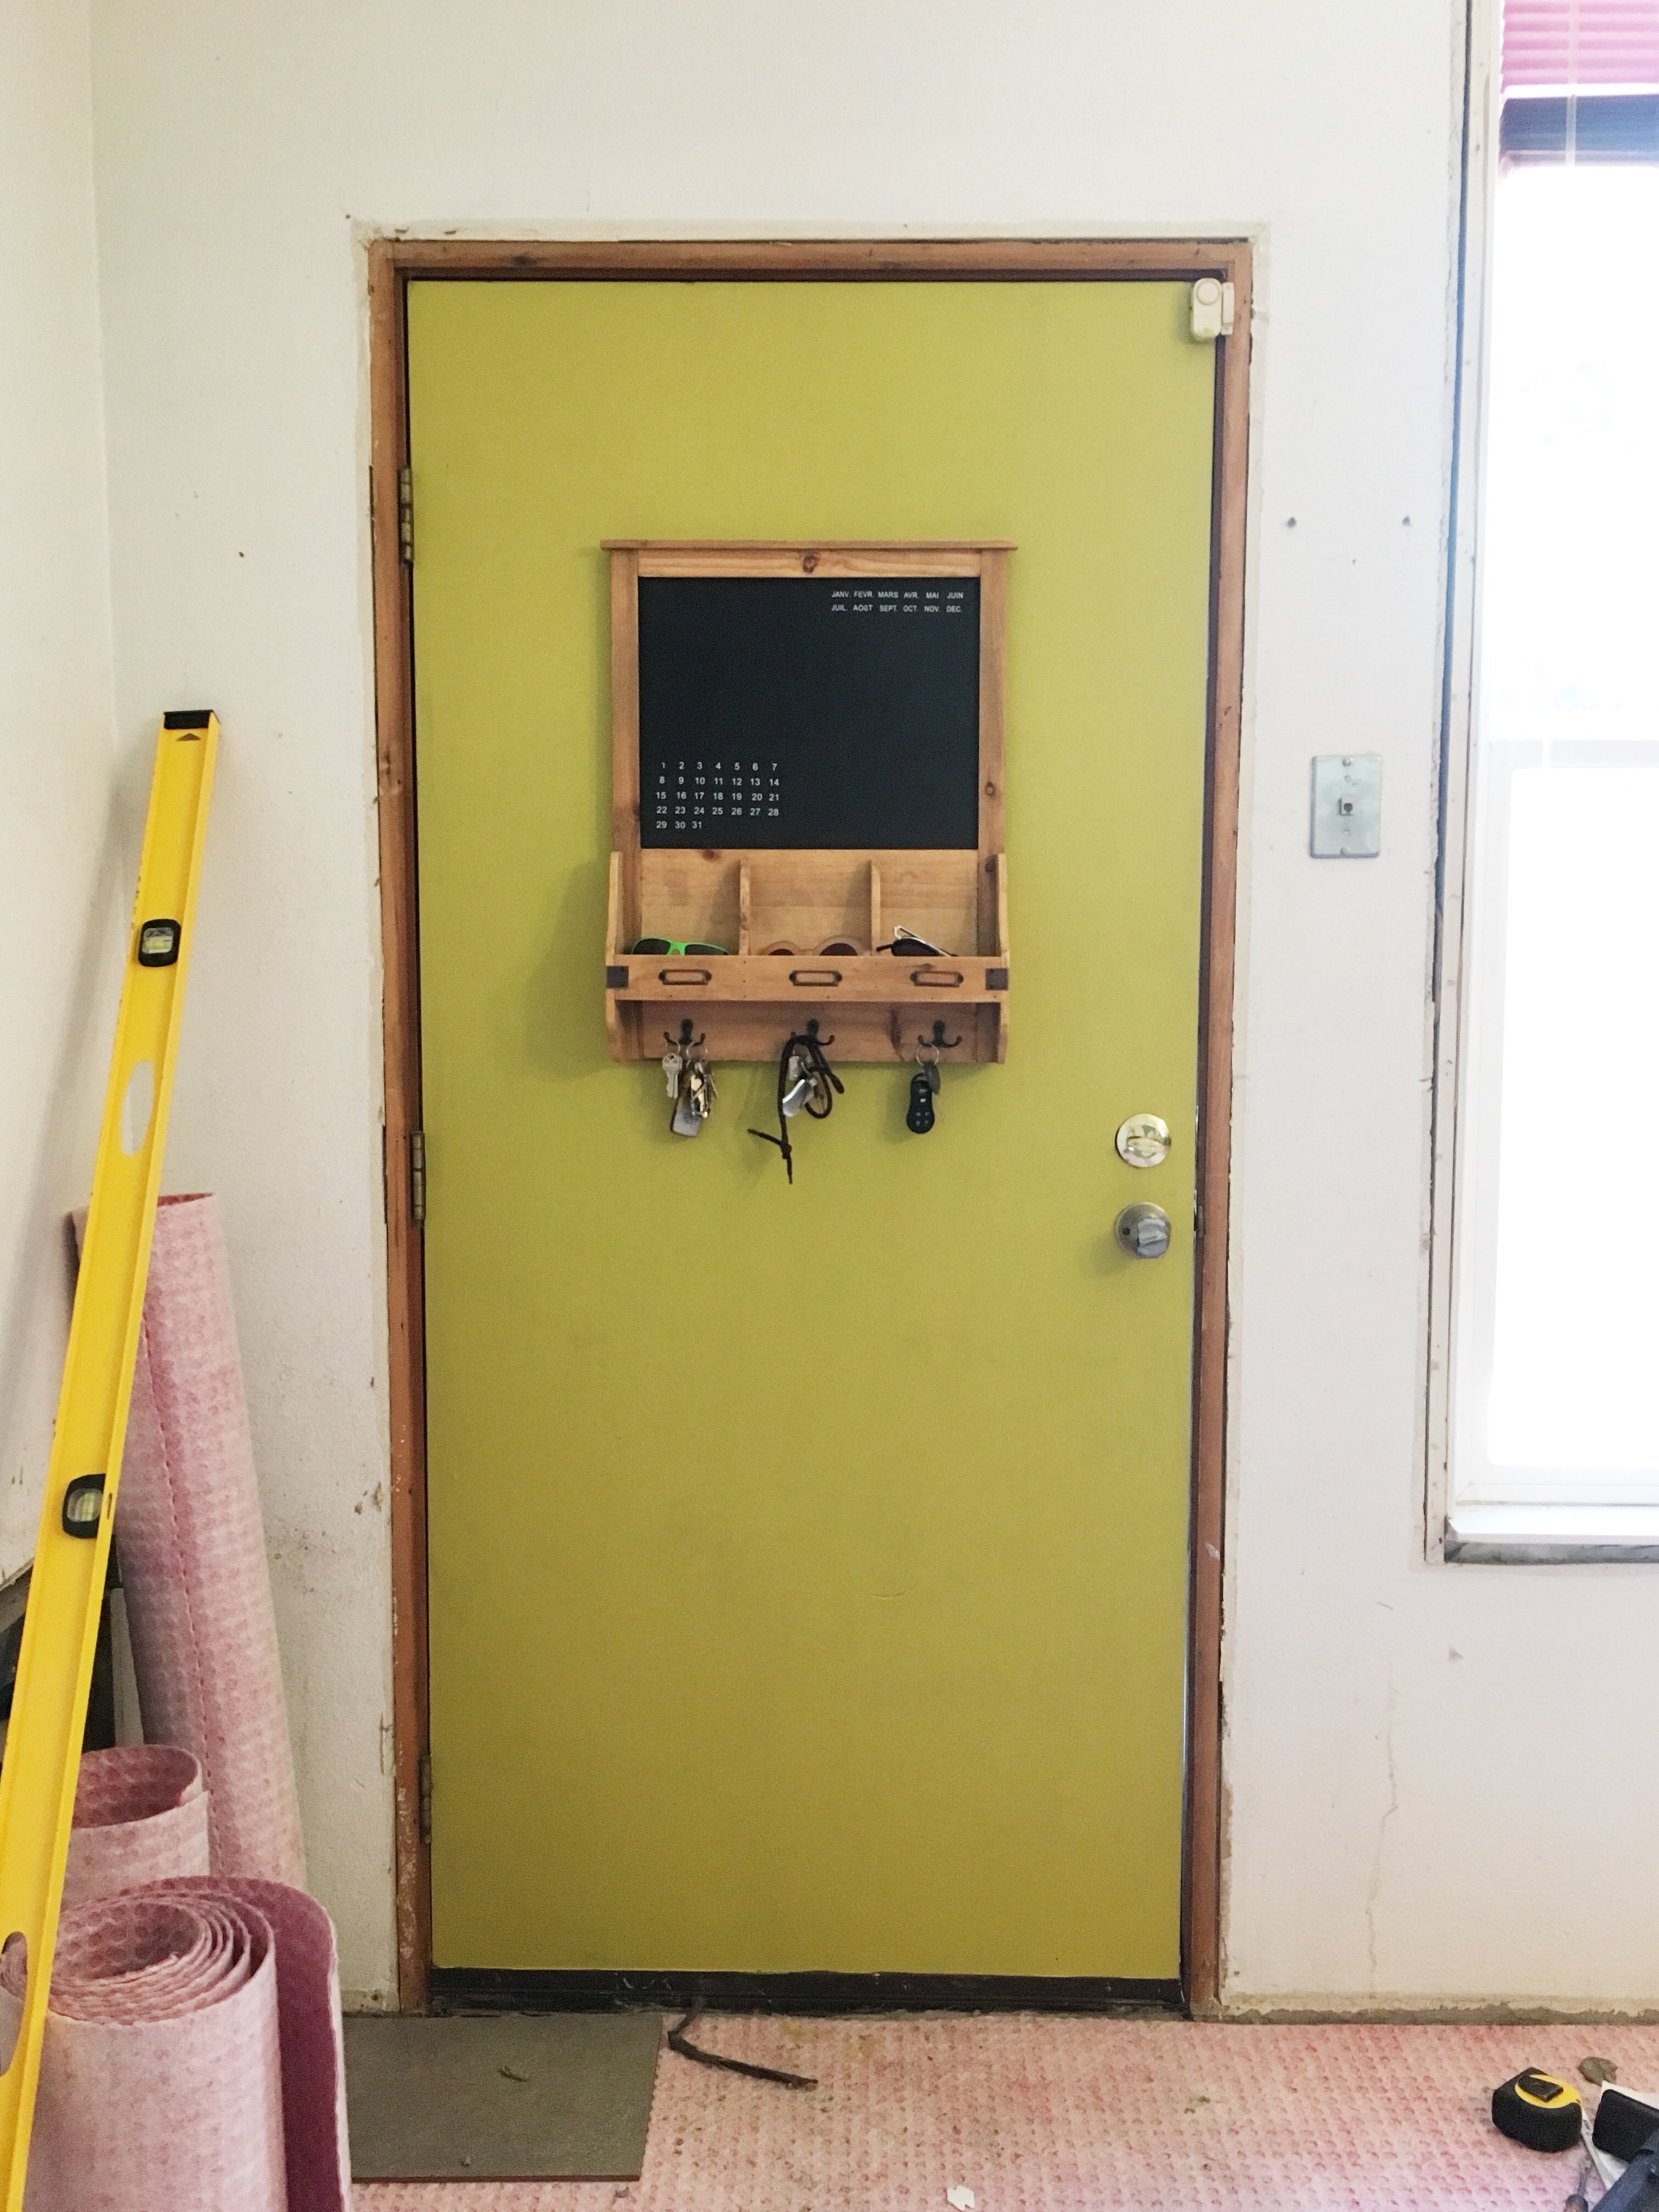
Ooooh, and peep that new light fixture too! In the meantime, you know I couldn’t wait any longer to paint something chartreuse in this house. This color is Lemongrass by Behr and It feels so happy! Even with no trim.

Chartreuse door

Project House Update No.1

IMG_0065.jpg

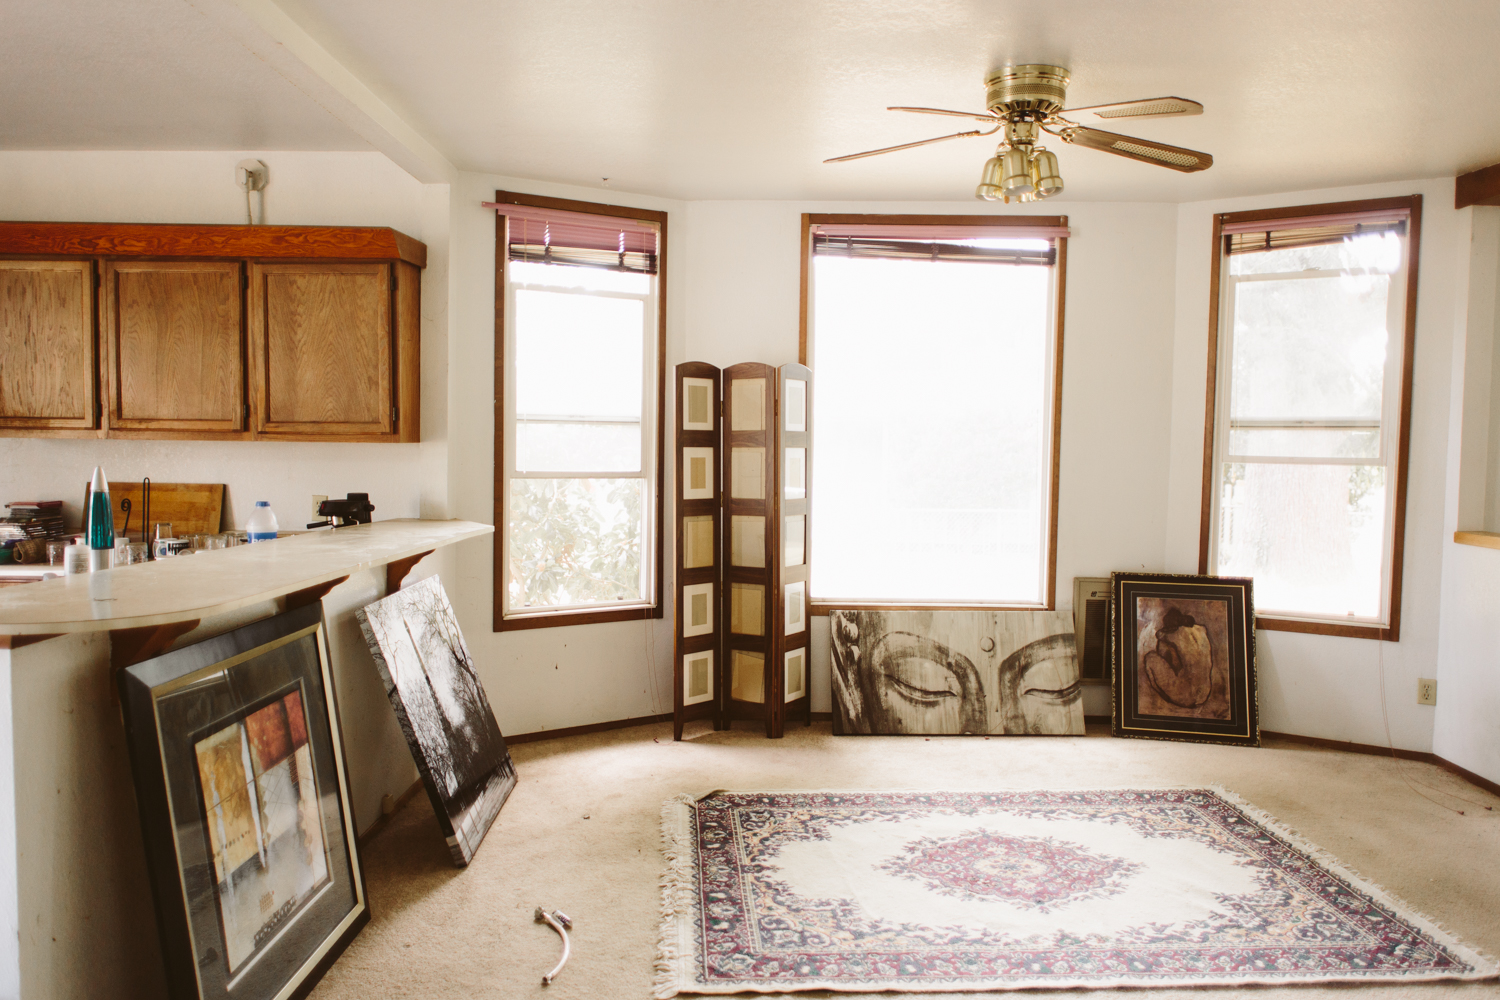
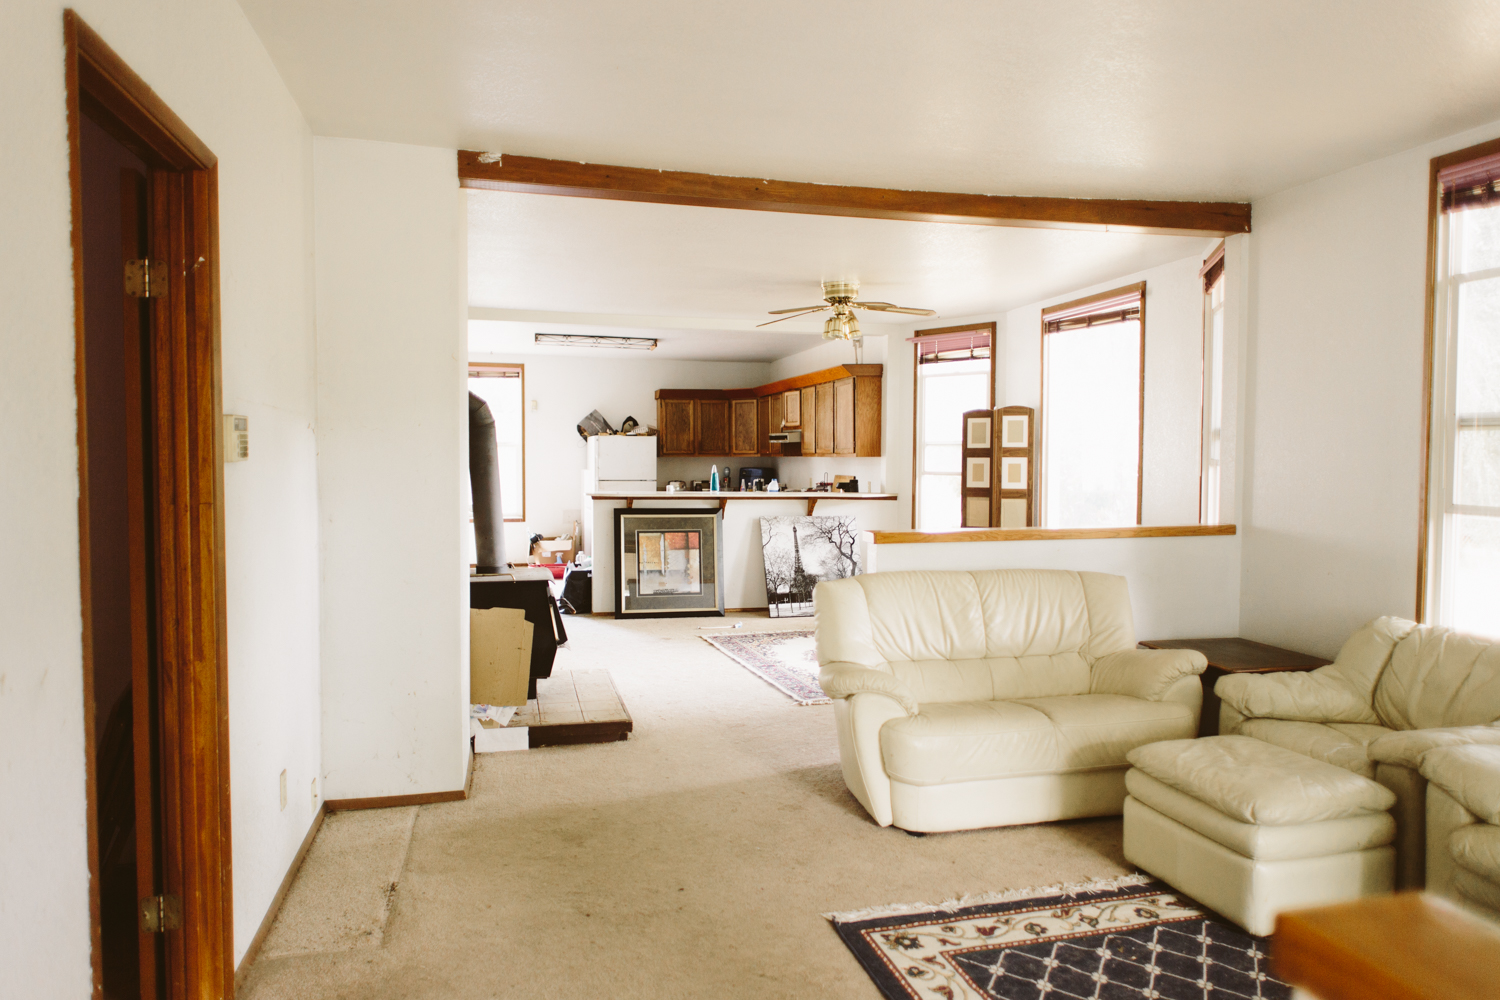
It’s been a LONG time since I did an update, and I could’ve posted some more over here in the prior months, most of it was just gutting the house, putting in new subfloors, and revising my design plan like 100 times. We ditched our original plan to add a bedroom and move the kitchen because it turned out to be out of our budget, so we’re doing a plain ol’ “lipstick flip” (as they say in the biz). So basically, keeping the original floor plan and just updating all the surfaces to be new and prettier. The original floorplan was not bad (minus the odd pony wall that separated the dining room and living room and broke up the whole flow of the space), so I’m not disappointed about the floorplan. The whole idea with adding a bedroom was just to add value to the home (3 bedrooms can fetch a higher sale price than 2), but you can’t add any value if you go over budget, so we scrapped my grand plans and went back to basics.

The other change in plans: we are now living in the house! I’ve mentioned it before in my post about #thebravehouse becoming an Airbnb, but we decided since we have two houses, it makes the most financial sense for one of them to be generating cashflow or at least paying for it’s mortgage and utilities. So even though we’re living in an unfinished house and all my socks have sawdust stuck to the bottoms, I’m very happy to a.) be spending SO much more time with Dan (he used to go straight from work to the house to work on it, then come home, go to bed and repeat. Needless to say, this girl whose love language is quality time was feeling a bit starved for our marriage to have time together), b.) be able to put in work on the house myself while Jack is either playing outside or in his room and during his naps, and c.) be generating an income with the other home I spent years crafting and curating!

IMG_3337.jpg

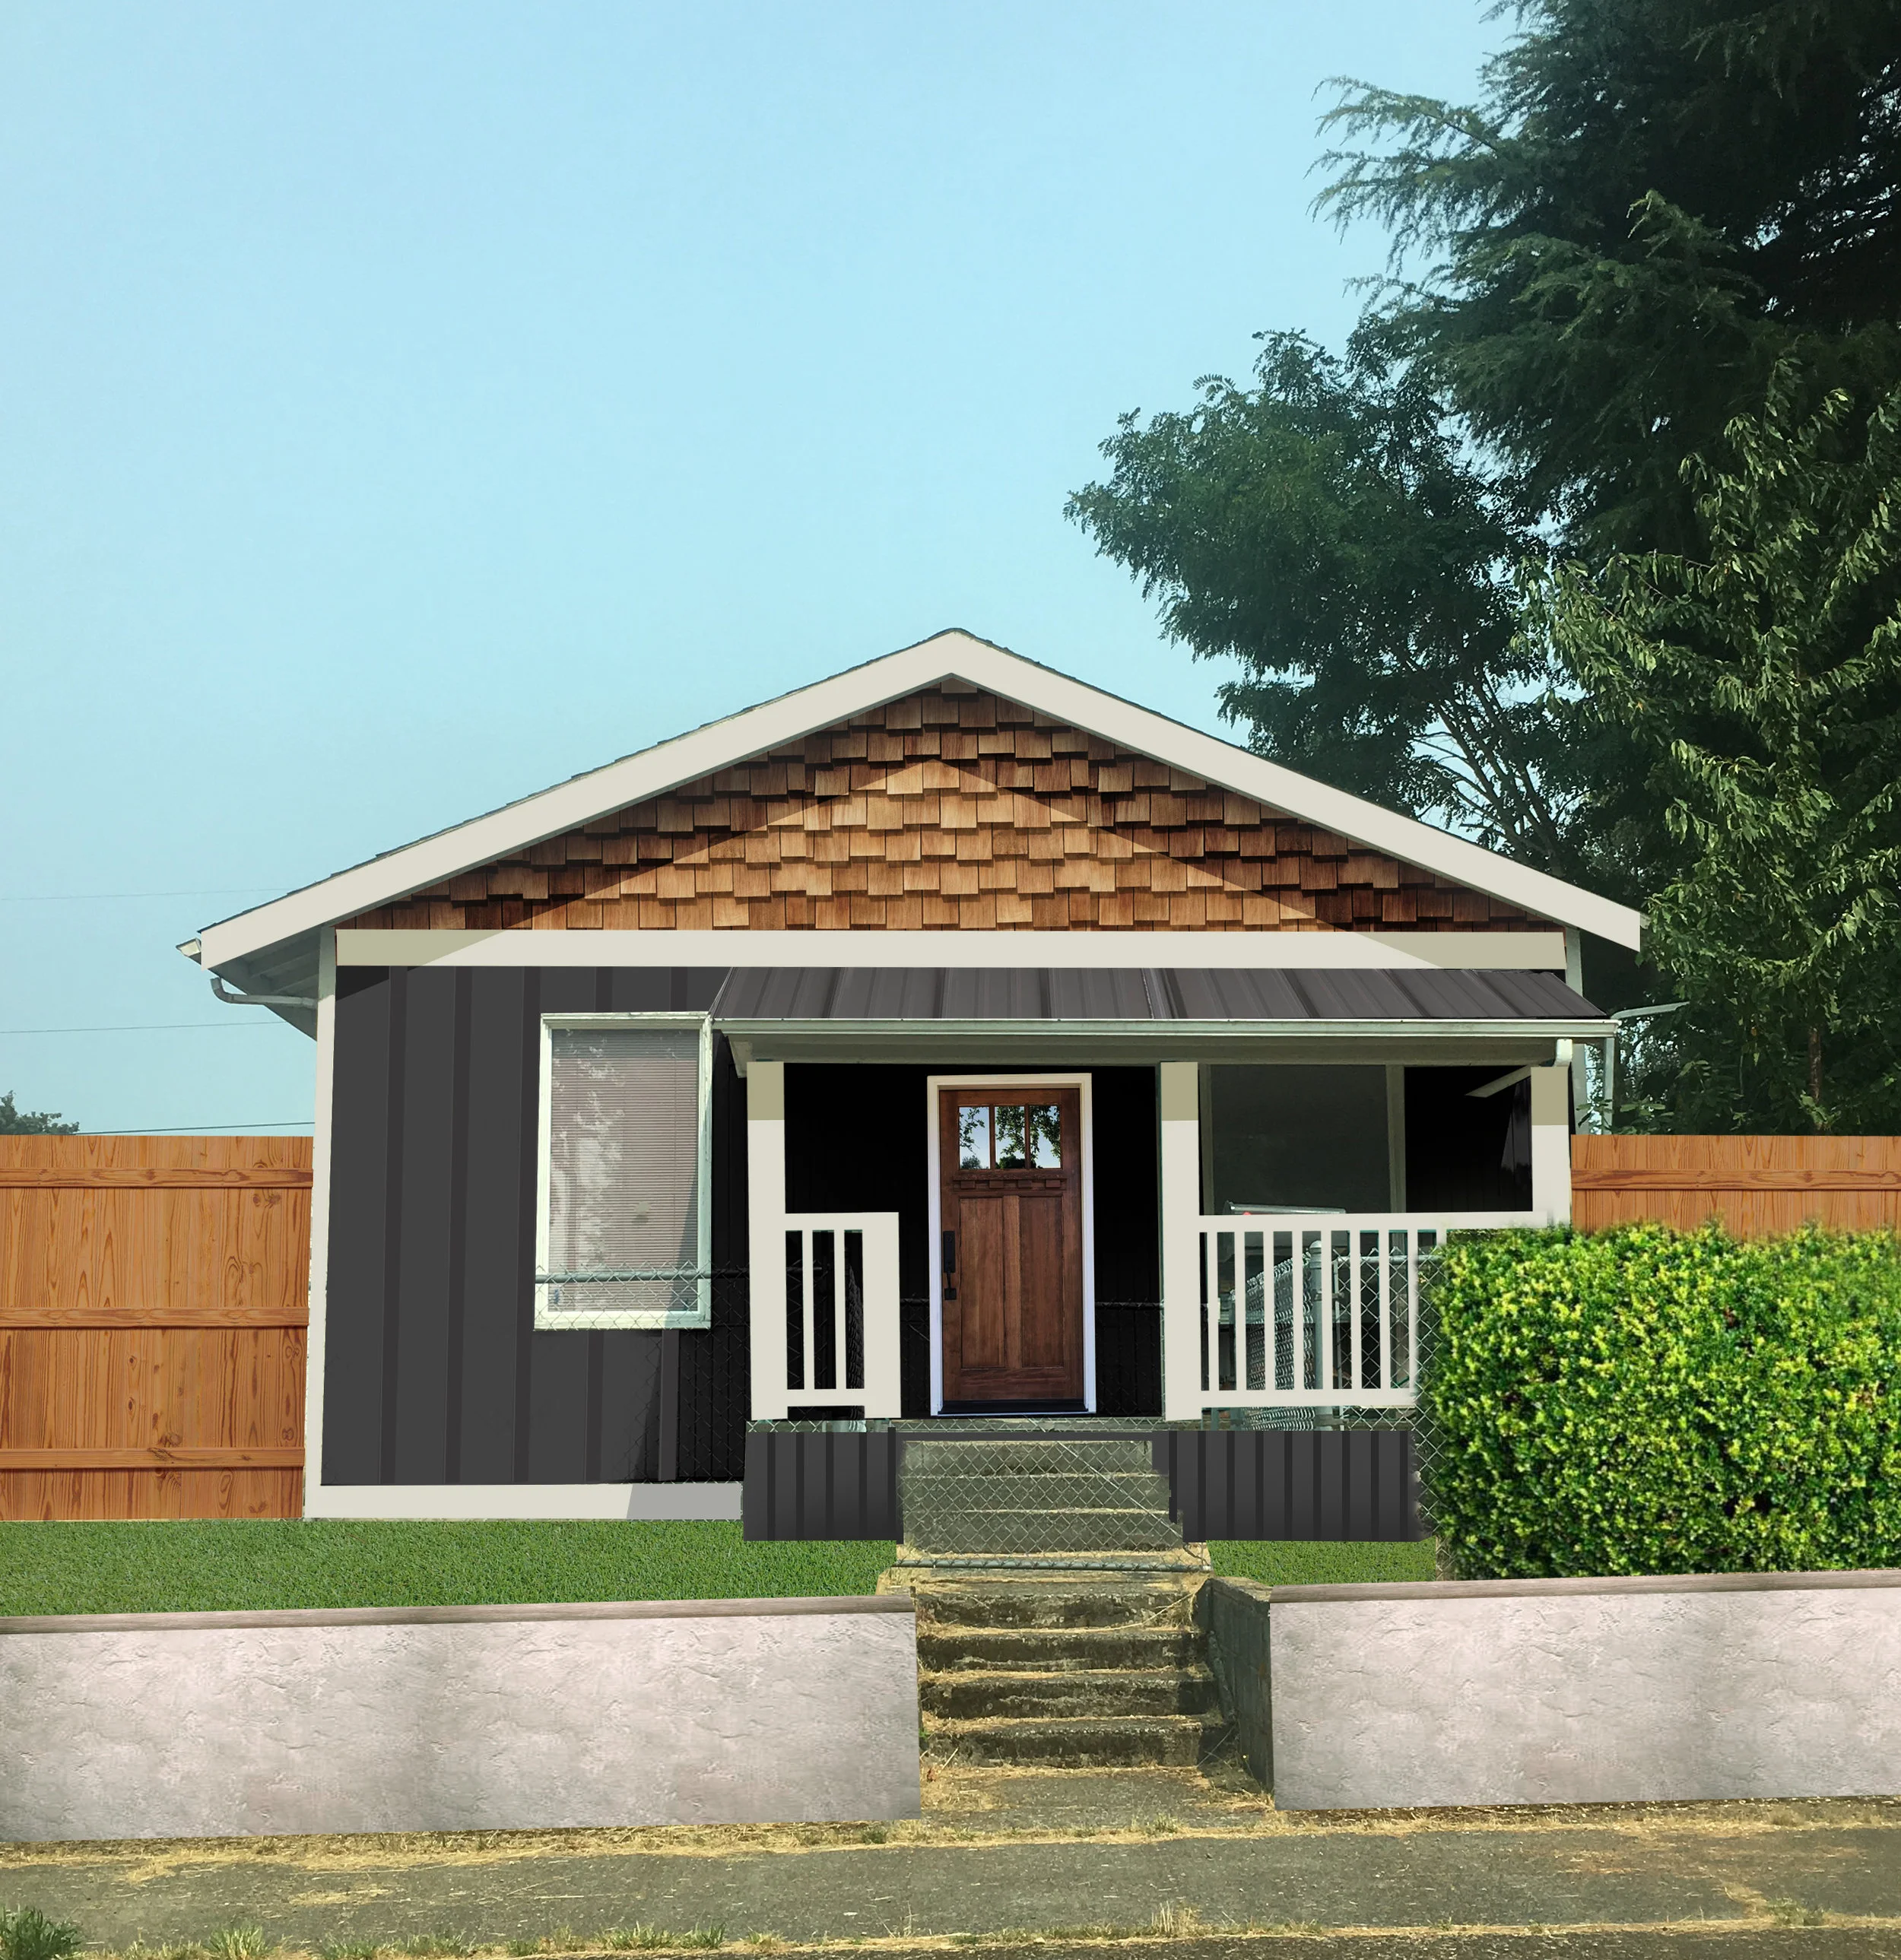
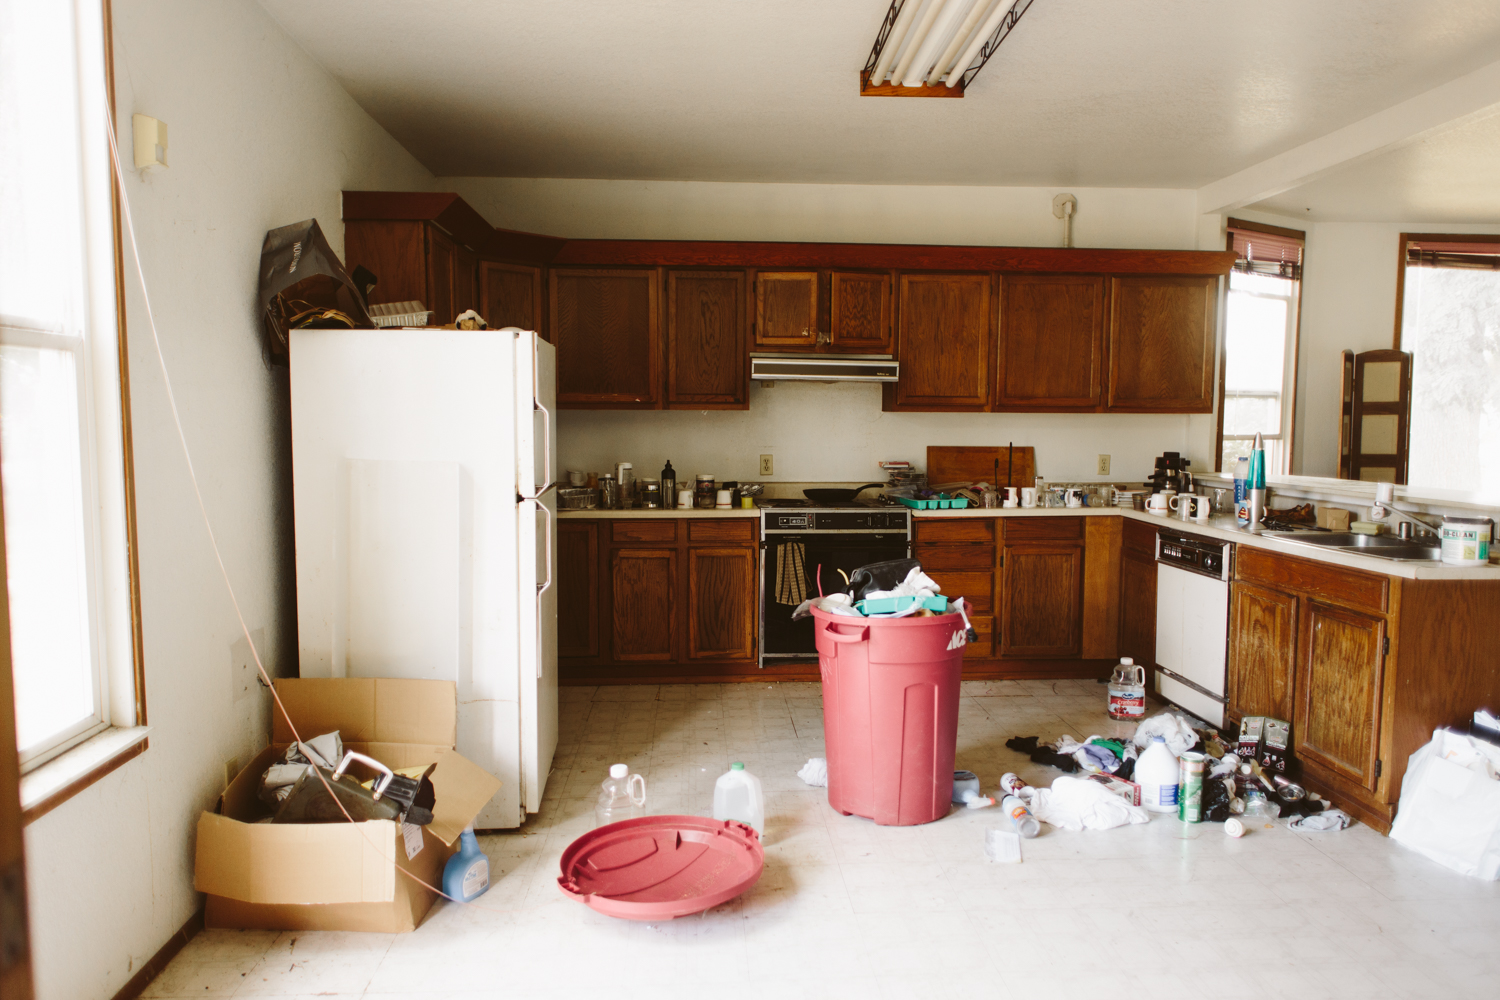
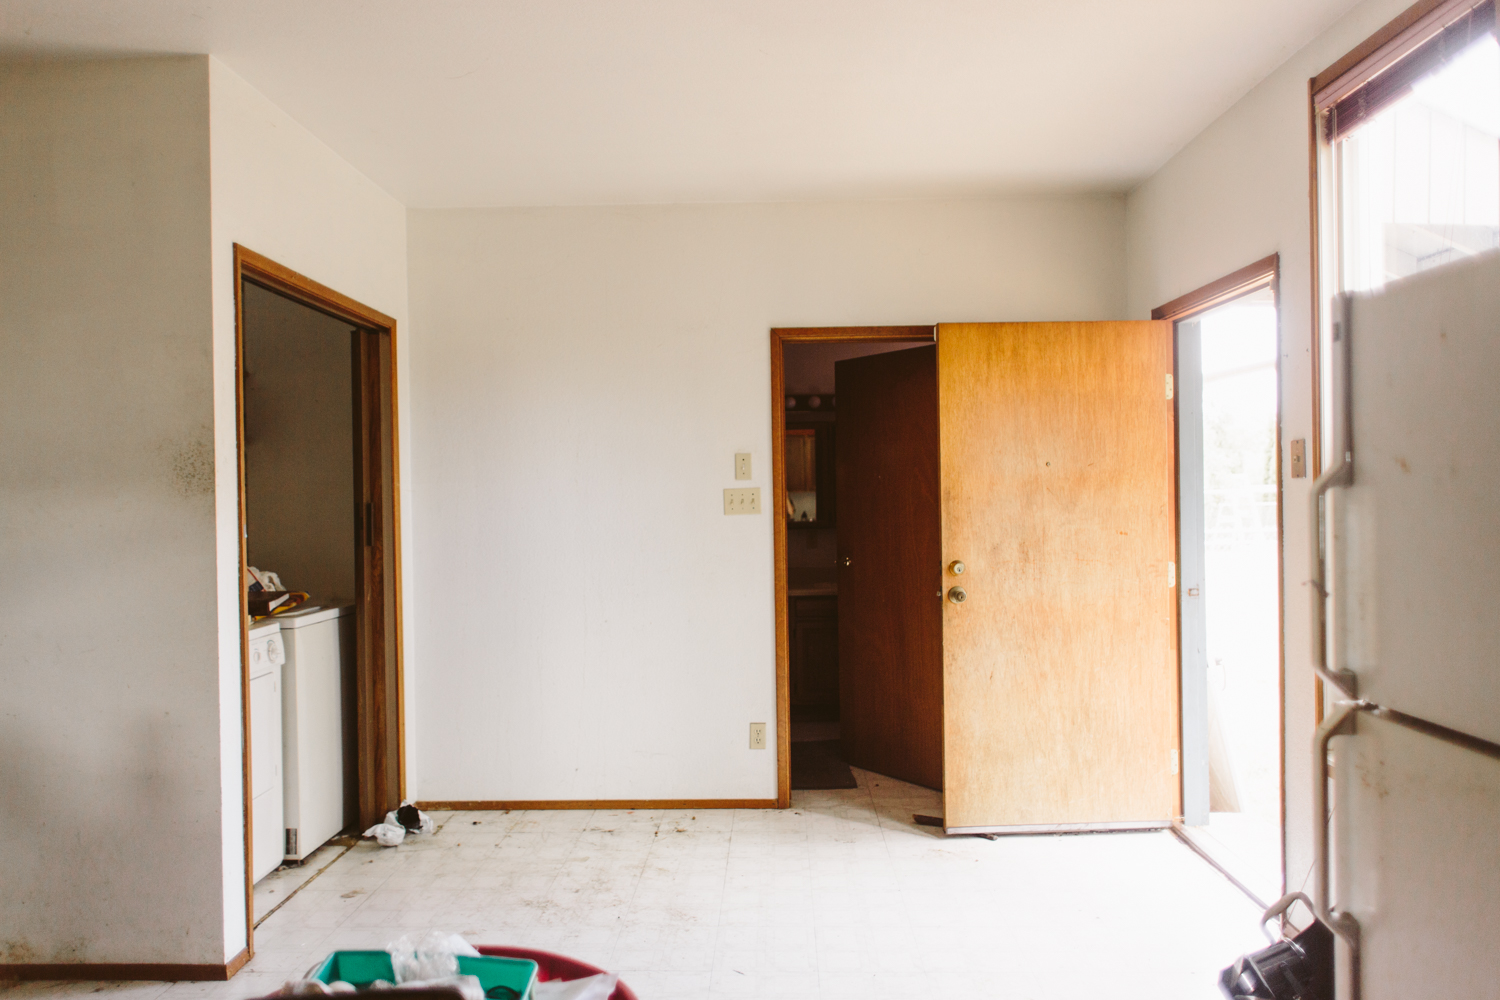
So as a little reminder: here is the original kitchen. This photo was taken the day we got the keys. The lower cabinets are the same, we just painted them black (Behr Broadway, the same color we have on the exterior, just in an eggshell sheen. Exterior is a semi gloss). We decided to get new uppers because I wanted them to be taller. The old cabinets felt too short and I wanted something that drew your eye upward and made the room feel taller. I have a couple more to put up, one over the fridge and one on the right side by that window, and then we’ll do a hood over the range and open shelving on either side of that, butting into the cabinets, like so:

melrose mockup.jpeg

We’re gonna pop an island in there because this kitchen is HUGE. The floor is going to be a concrete-look 12x24 tiles, and then I’m thinking of doing a black tile backsplash, which would definitely be a bold move, considering the cabinets are also black, but I definitely don’t want to do a basic white tile. After all the basic stuff is taken care of we can move on to more fun stuff like putting in pendant lighting over the bar/peninsula and replacing the gross fluorescent light in the center of the kitchen, maybe putting in some can lights for optimal light in the space, and wrapping the odd little beam above the peninsula so it looks more intentional and not just a weird bump on the ceiling. Oh and giving everything a fresh coat of white paint.

IMG_0066.jpg

We’ve got a lot of work to do. We definitely didn’t do this whole thing in the most efficient way and it’s been a huge learning experience, but we’re trucking along and chipping away at each project on our very long to do list.

Project House #1

Tacoma Home Renovation

I'm so excited to share the big news that we just closed on our first flip house!  This has been a long time coming, something I've been planning for over a year and have been thinking about for several years.  After Jack was born I really felt like I needed to reclaim myself and in early 2018 I decided that this year I needed to give birth to something creative for myself.  I vowed that in 2018 I would flip at least ONE house.  I've been trying to get a house since January and have been learning the ins and outs of house flipping and real estate investing, and I still feel like I've only seen the tip of the iceberg with all this stuff, but I also know that I learn by doing so this will be a big learning process.

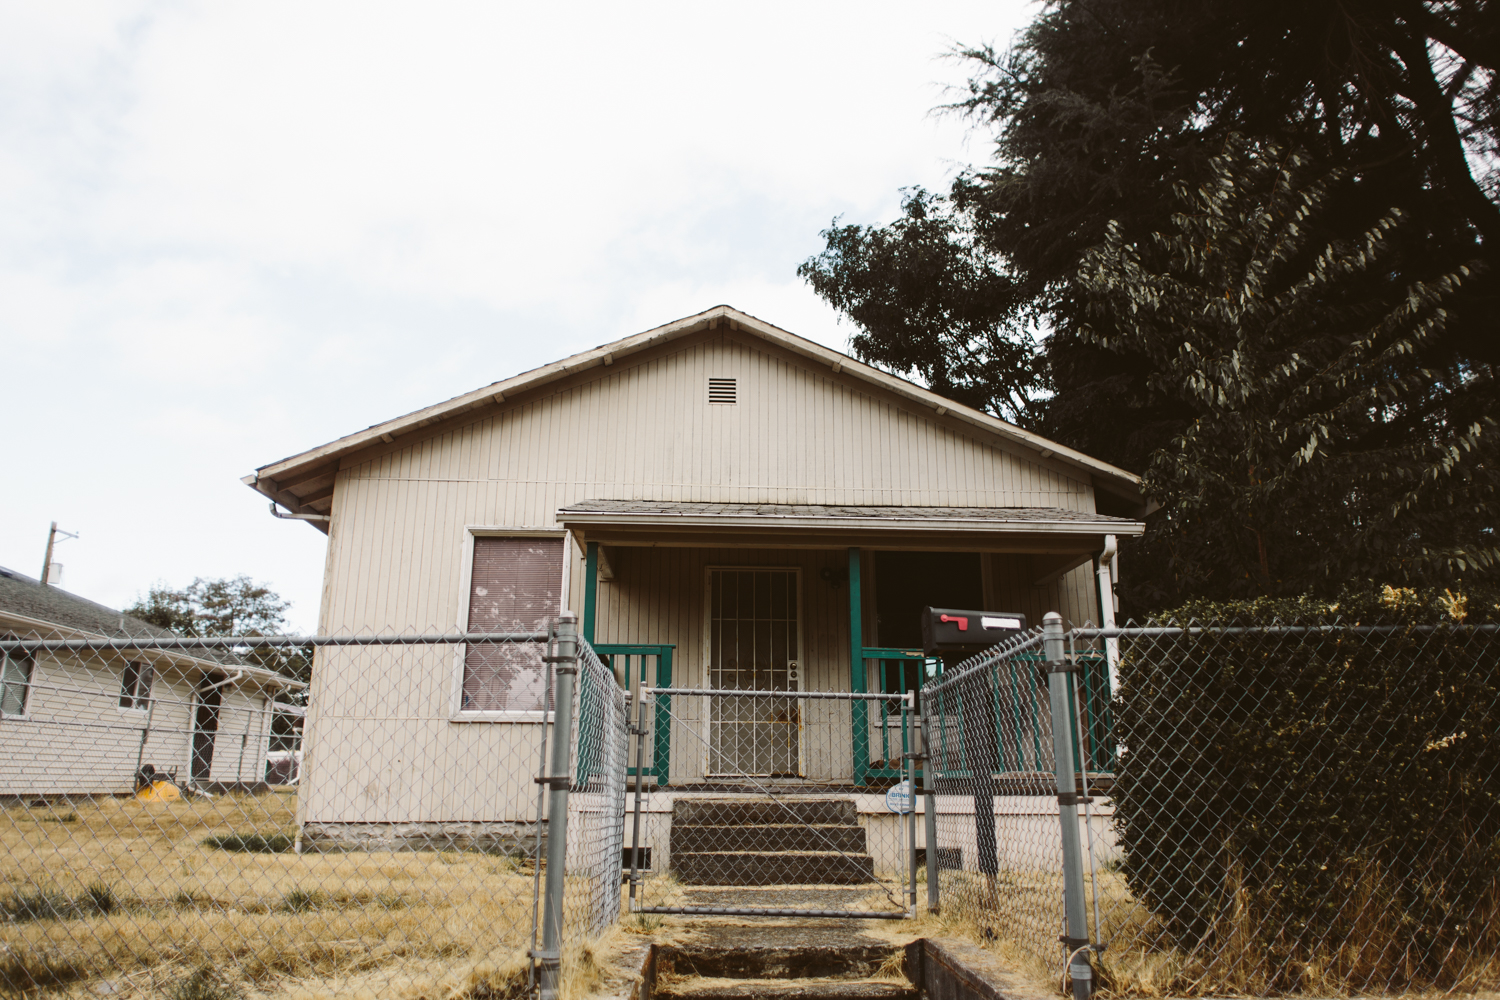
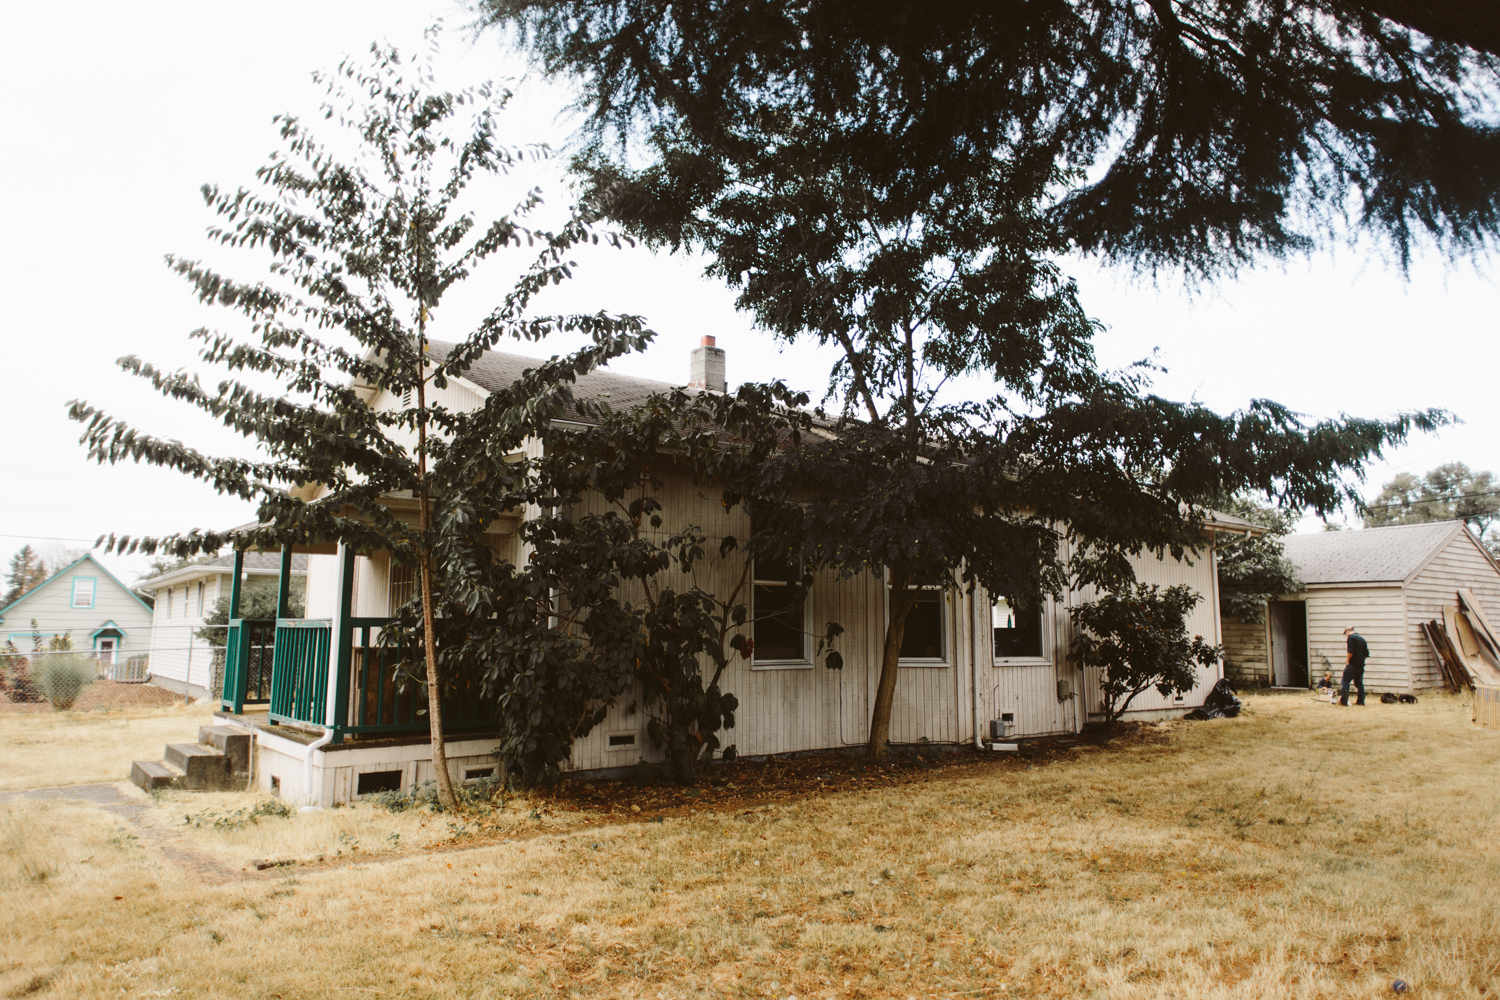
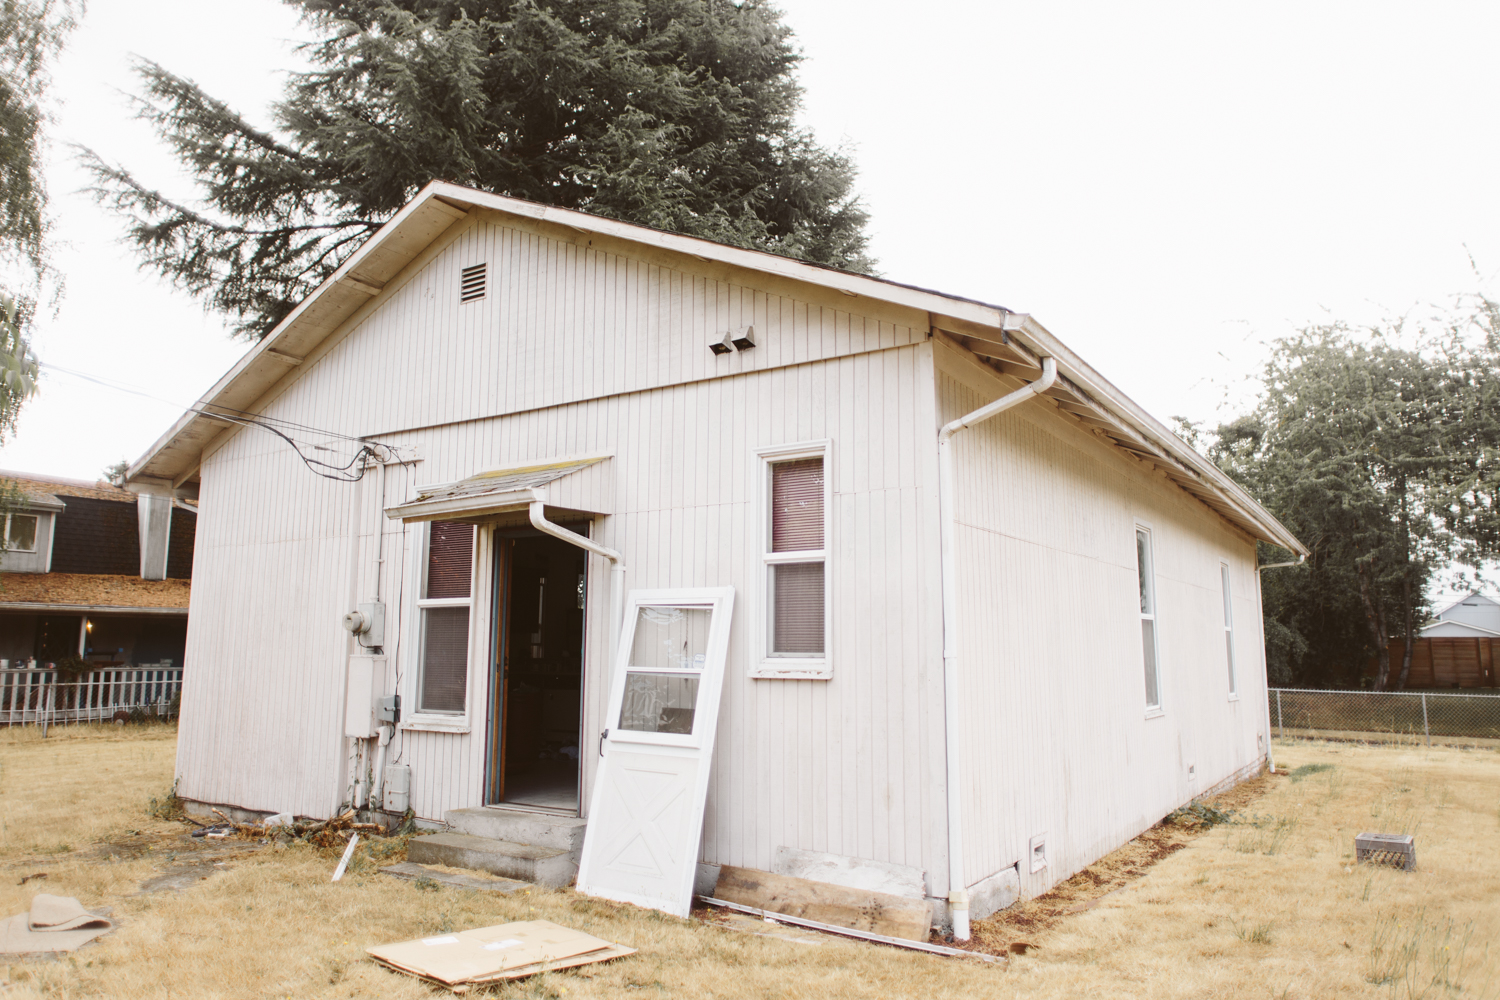
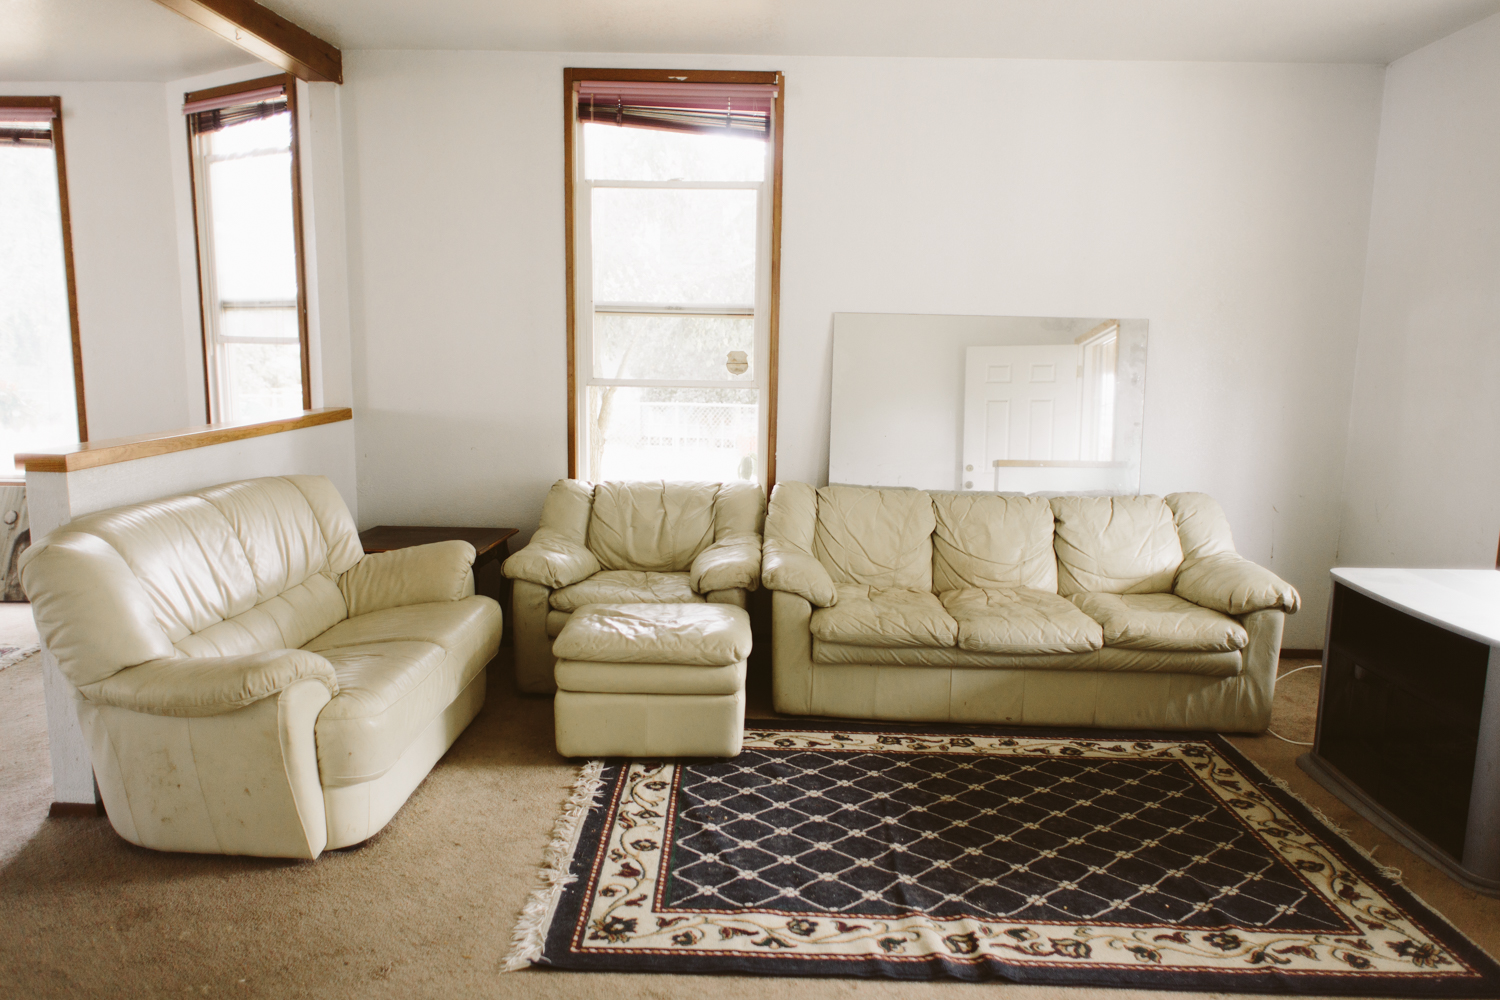
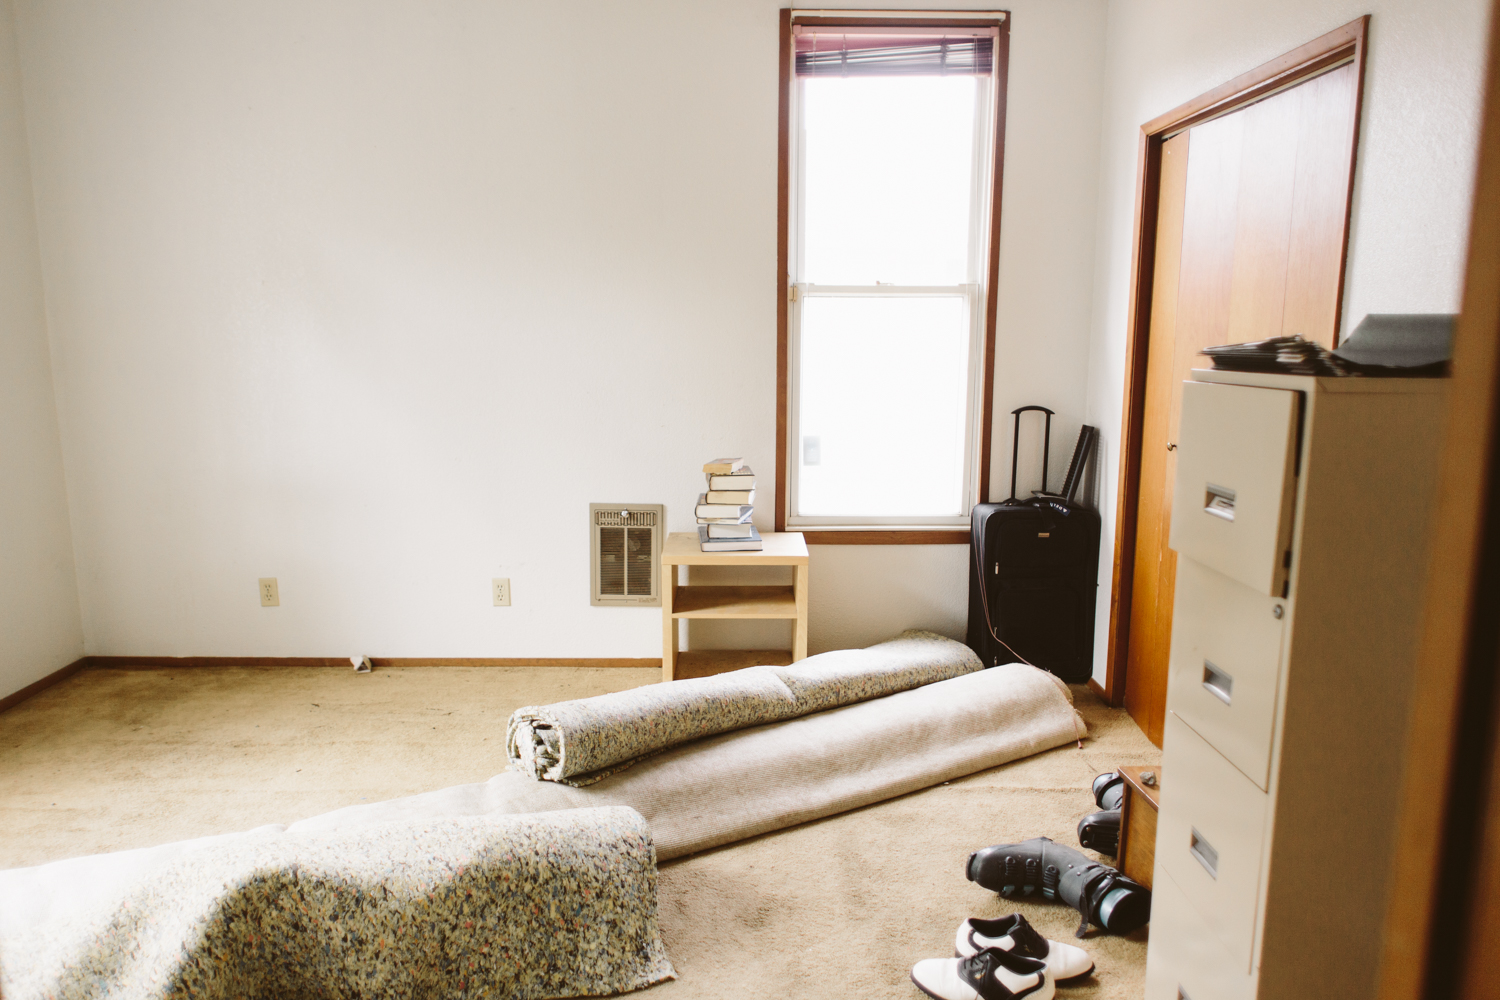
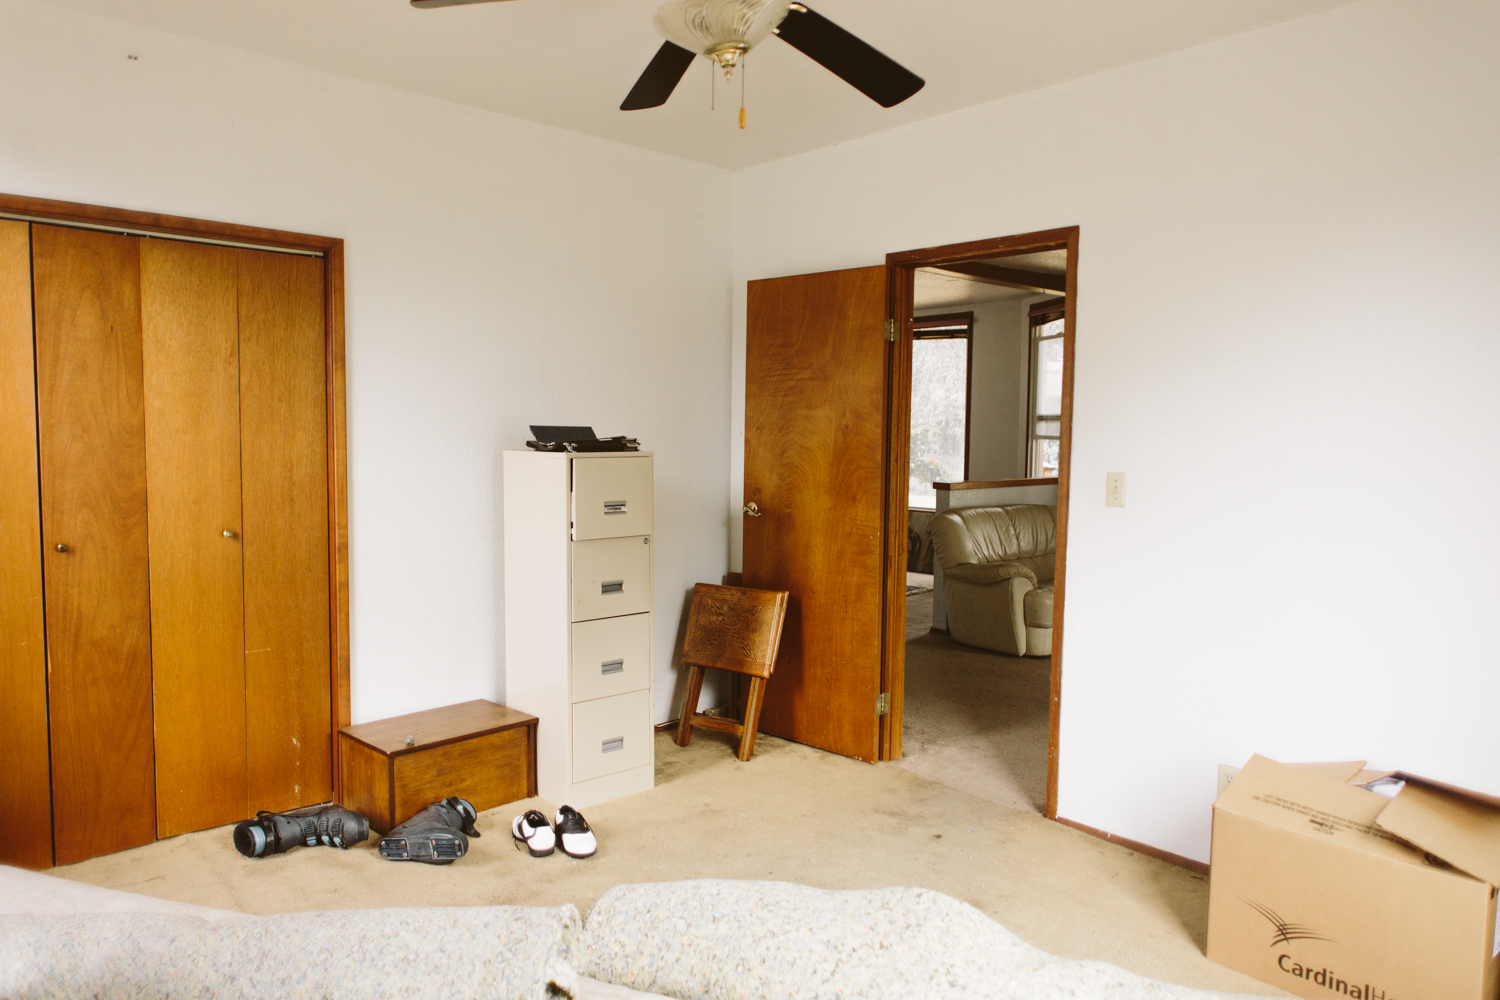
So here she is in all her day-1 glory. We just got our dumpster delivered so we can finally finish up our trash-out!

There you have it. It’s not going to need a lot in terms of any structural changes, it’s primarily a cosmetic fix, but we are adding a bedroom within the current footprint!

Here’s the original layout:

Melrose Original floorplan.jpg

Basically one half of the house is bedrooms/bathrooms, and the other side is one big open space (with a couple pony walls) of living and kitchen. Normally I’m all about the open concept life, but for a house this size, in this neighborhood, I felt like functionally it needed a third bedroom/office.

This house has a huge yard, and a large detached garage, so it really feels like it would be a perfect spot for a small family, or a couple who might need home office space. The third bedroom will be pretty small, but for a nursery or home office I think it’ll be a great space.

For a small family or a couple, a huge dining room isn’t necessary so I combined the kitchen and dining space in the center of the house, and it’ll be a large, open room with the living room. I also love that you’ll still be able to see the back door from the front door, which will make it feel bigger even though we’re making the living space a bit smaller. The way it was laid out before didn’t feel functional at all, even though it was larger, so I think this new layout will be more practical for actually living in the space!

Melrose Floorplan.jpg

One of my favorite things about this house is how big the property is. Most homes in the neighborhood are on two parcels of land, and this one is on three. Right now I have my Winnie parked there, plus there’s still a parking spot and a two car garage, so it’s got tons of space for fun to be had! The backyard is begging for a kids’ playset!

I’ll try to update here on the blog when major progress happens, but follow my Instagram Story for more quick updates!