Painting

What's in my Mural Kit

Having an easily transportable mural kit makes traveling for murals so much easier. I ended up using an old laundry tote to bring my mural stuff on site, which I actually like so much more than something like an Ikea tote because it has a rigid wire around the top to hold the bag open, I like being able to see everything in there and not have the sides flop in. The fabric is also somewhat water-resistant and wipeable on the inside which is nice when you’re hauling around paint that sometimes spills.

Since my murals are usually multi-colored, I like to have plastic wrap with me to wrap up the brushes that are painty but not done being used yet.

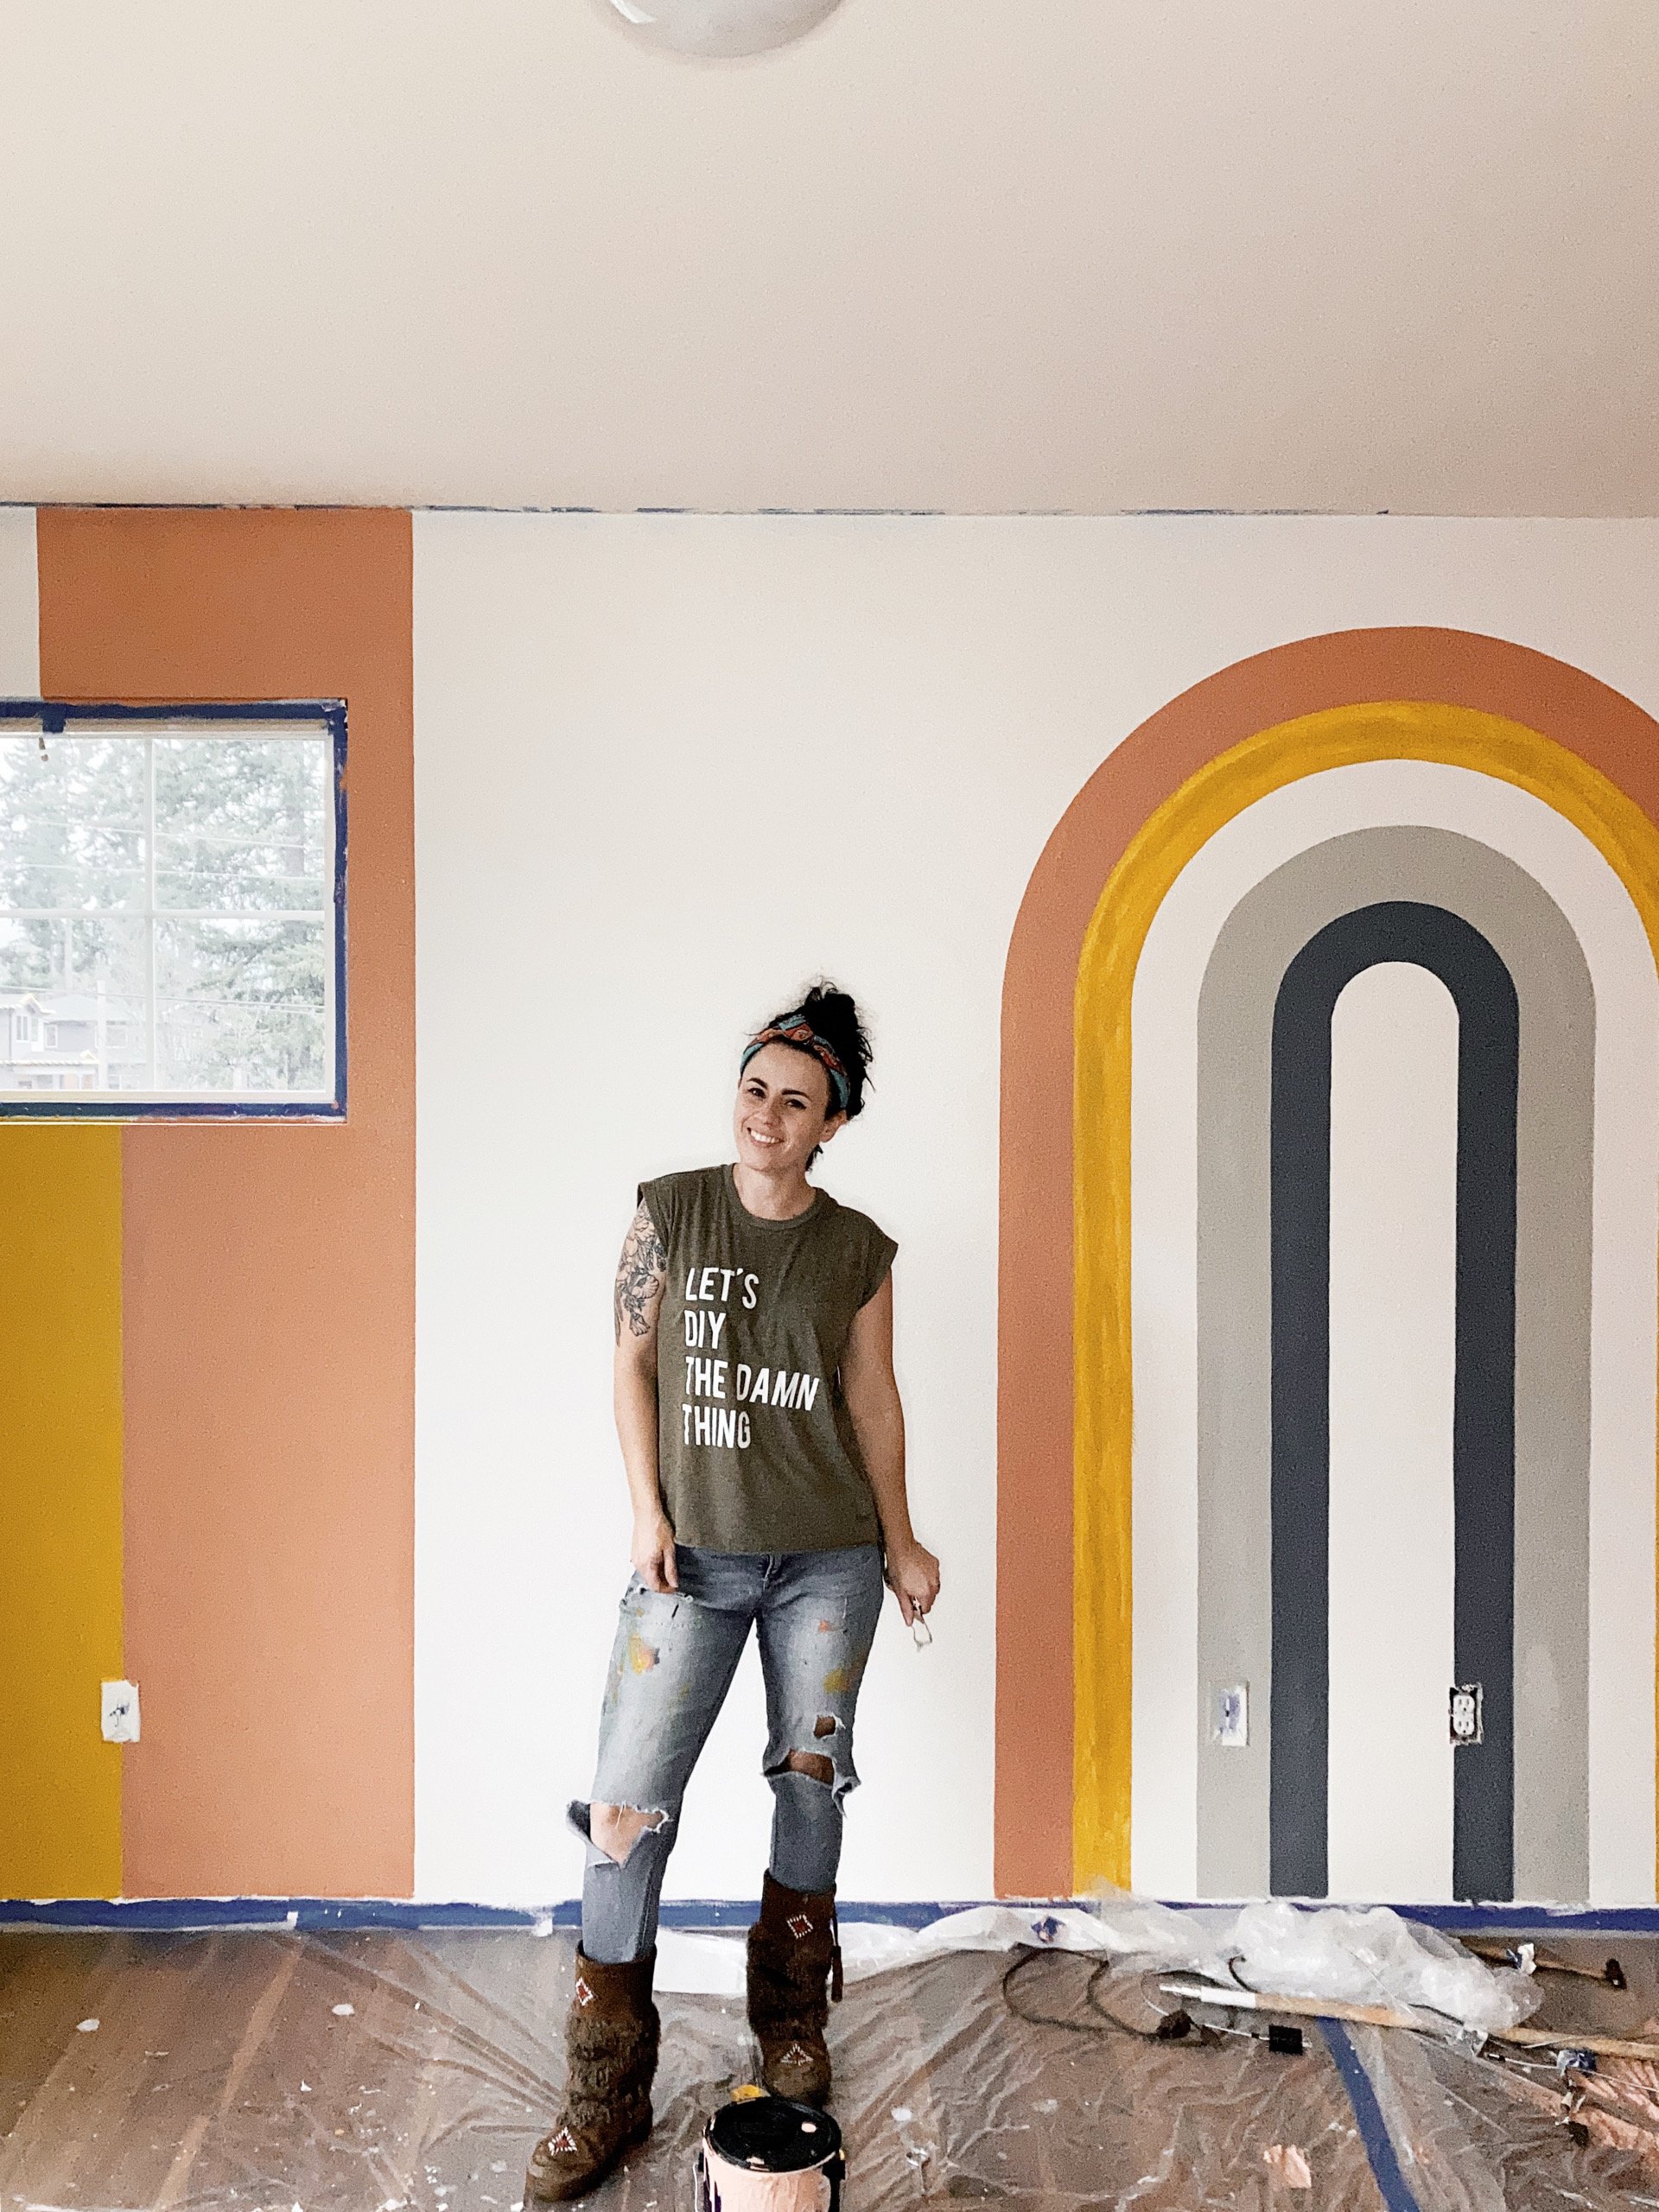
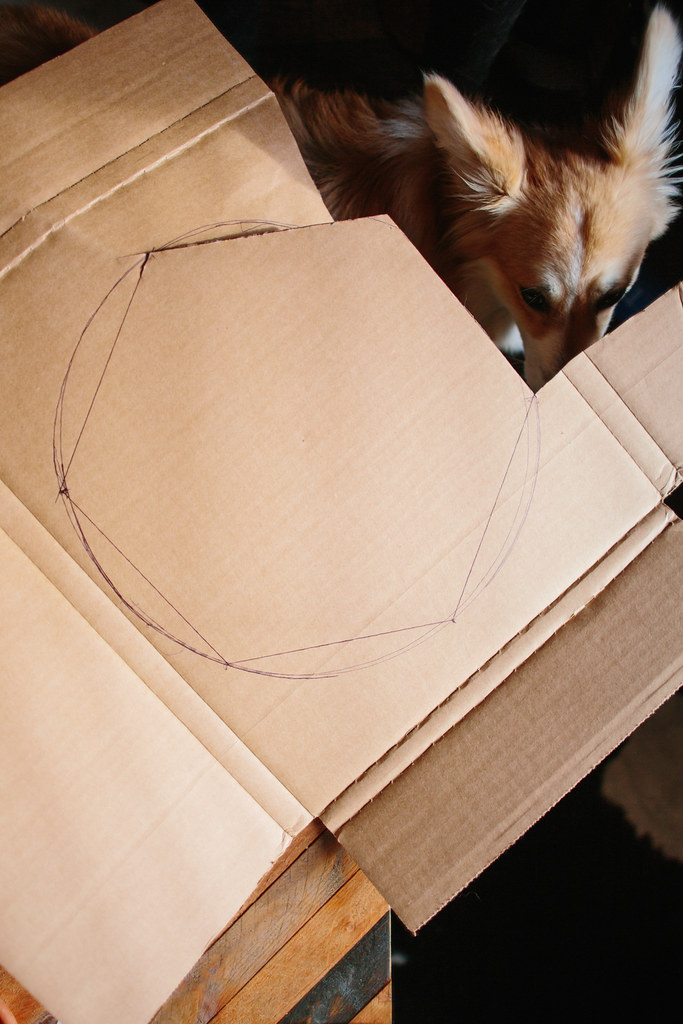
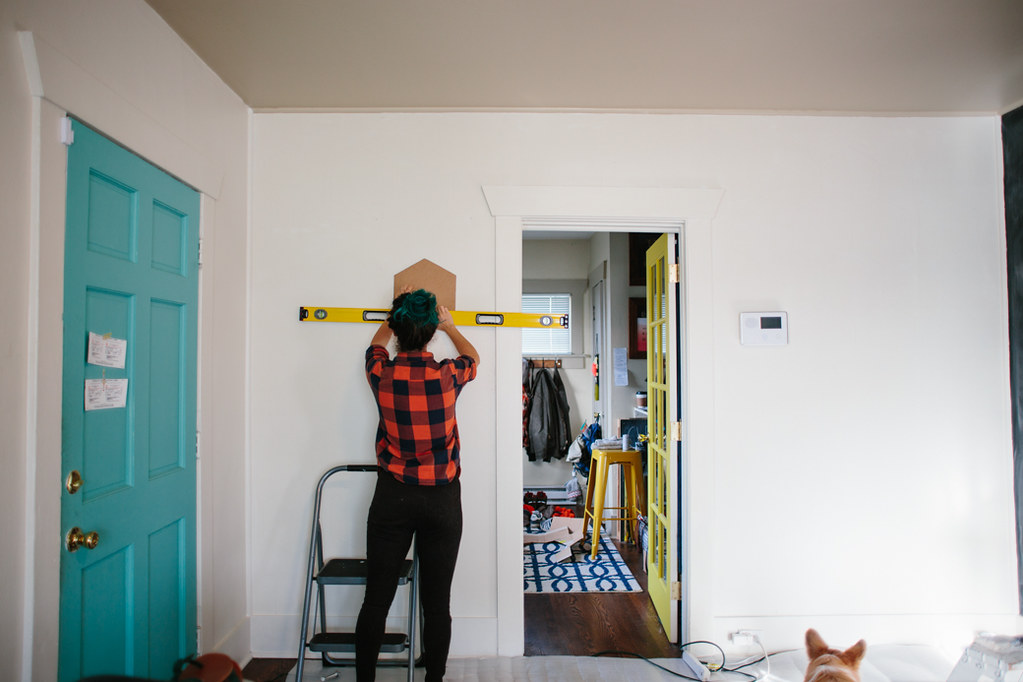
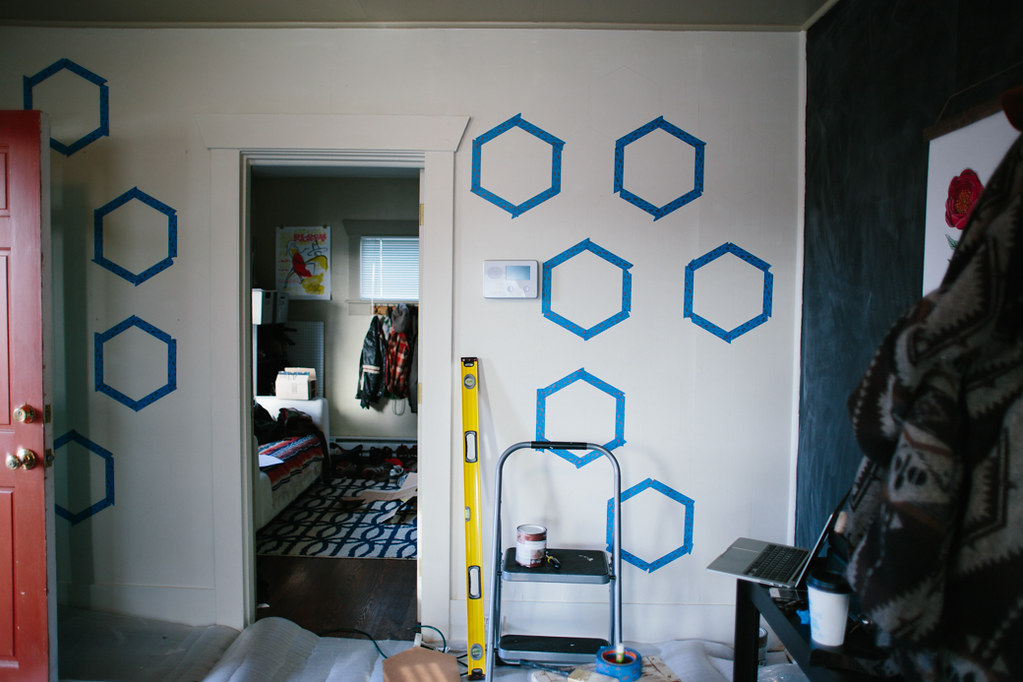
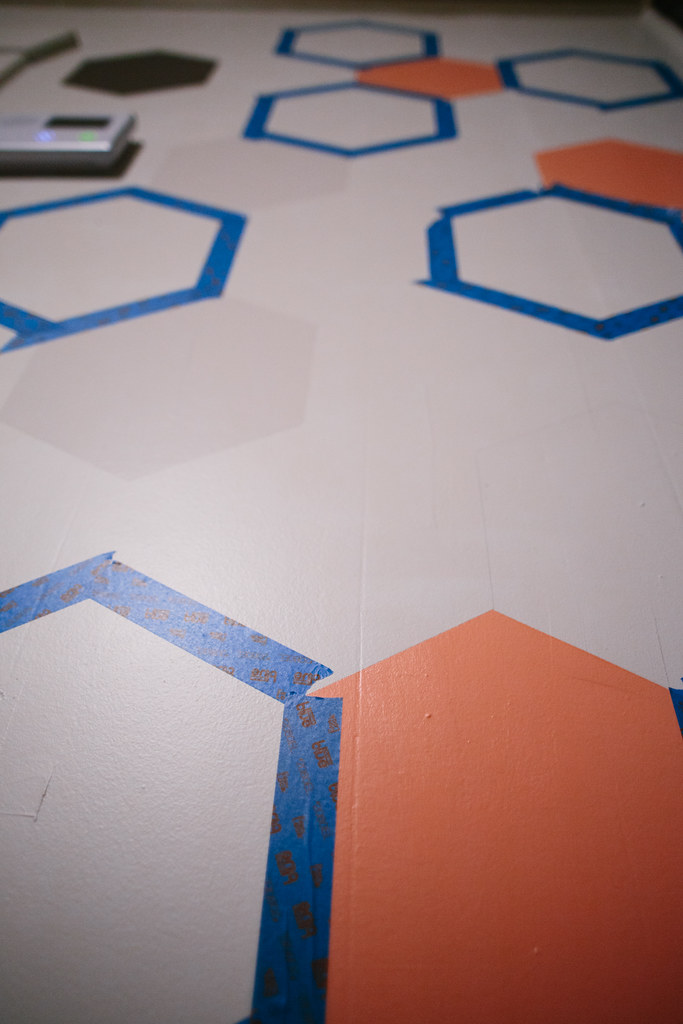
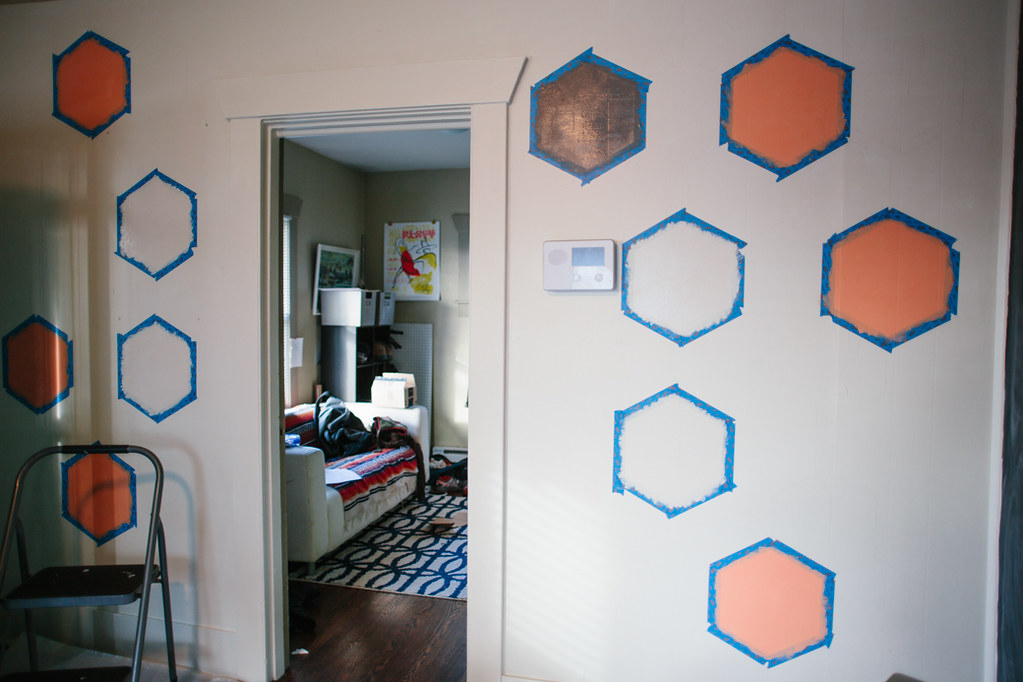
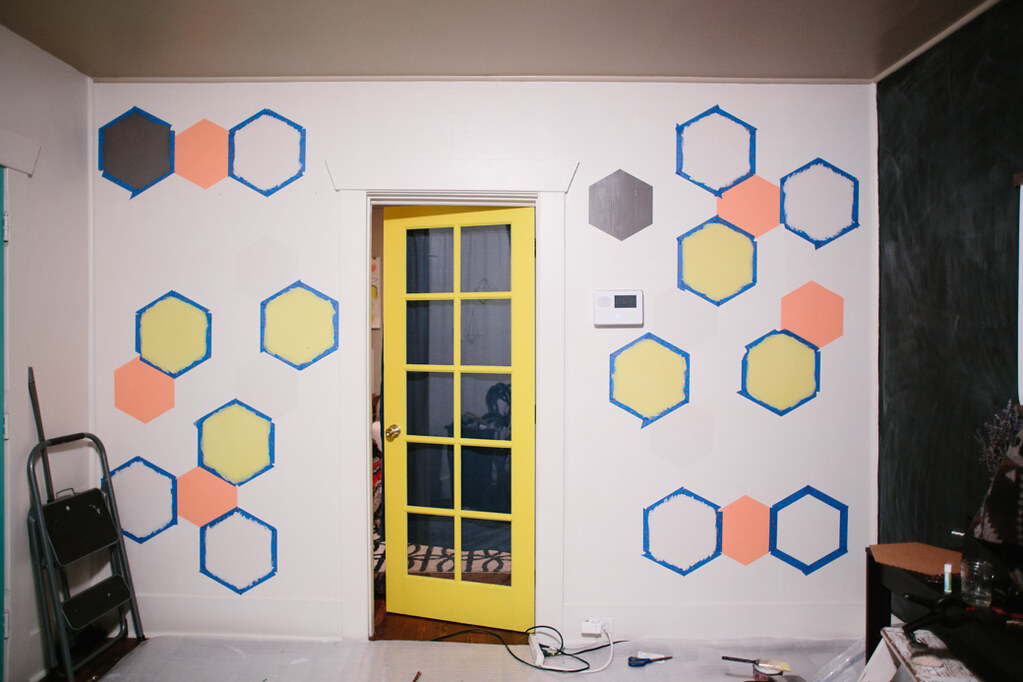
I keep a rope and picture nails on hand for making circles or arches, and a level for making straight lines. I also have a few different kinds of painter's tape depending on the wall texture (multisurface, delicate surface, etc).

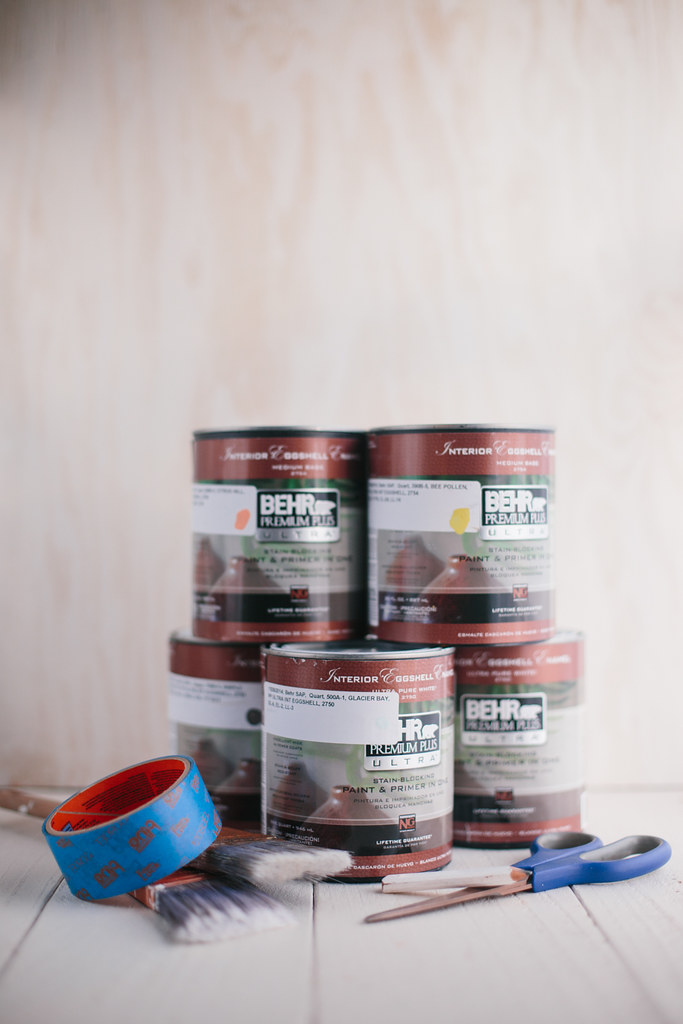
A lot of the time I’ll dip my brush right into the paint can to avoid having to pour paint, but that’s not always convenient, so having easy to hold paint buckets is also a great to keep in your kit.

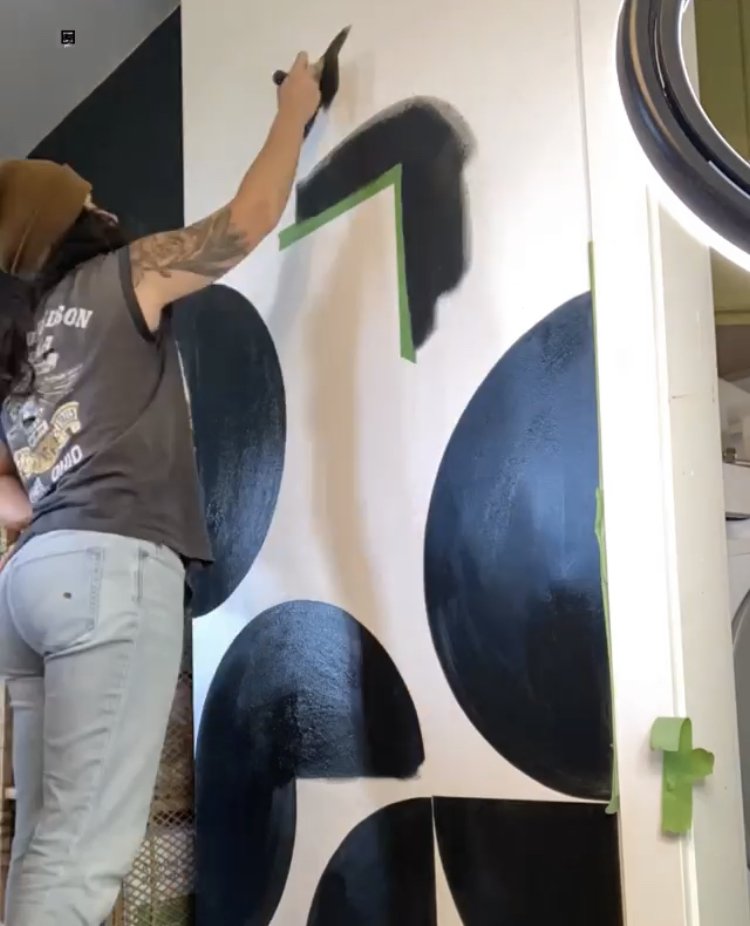
My go-to brushes are Wooster Short Cuts brushes. I love these with their little rubber handle— my hand never feels crampy or sore after using these brushes all day. I can usually get almost all areas with just this brush, but sometimes I end up with small areas that need a tiny artist/craft brush, so I also keep some of those with me as well.

Mess ups and spills are inevitable, so I love to keep baby wipes and some rags with me to quickly wipe up any mistakes. Baby wipes are clutch, I highly recommend keeping some with you for painting projects, even if you’re not doing a mural.

And for finishing up, I like to have a nice eraser to get rid of any stray pencil lines that didn’t get painted over!

Short Cuts Paint Brushes | Small Craft Brushes | Rope | Painters Tape | Carpenter’s pencils | Baby Wipes | Plastic Wrap | Paint can opener | Hammer | Paint buckets | Level | Picture Nails | Rags | Eraser | Laundry Tote

I hope that was helpful! I’m sure my mural kit will change as I do more and more murals, but for now this is my core kit. It’s easy to throw in my truck and carry with me to the mural site. If you do murals or just paint a lot do you have any other items you keep with you?

Hexagon Painted Wall Mural Tutorial

hexagon painted wall design

've been painting my living room slowly over the last year and a half.  The first thing I did was paint two of the walls white, then I painted my big chalkboard wall, but I still had one wall left.  It was still the boring, dingy beige that was there when we moved in.  I knew I wanted some kind of pattern or statement, but nothing too crazy because I already had a huge black wall.  When 

The Home Depot

 and 

ScotchBlue™ Painter’s Tape

 contacted me seeing if I'd be interested in doing a painting project in collaboration with them, I knew this was the perfect time to finally finish my living room!  I love how it turned out!  It's clean and neat, and a statement but not visually overwhelming.  I picked some muted, pastel 

Behr® paint

 colors so it wasn't too bold.  I'd already painted the door bright yellow so I wasn't sure if the muted colors would clash, but I love how the door stands out and is still in the same color family as the yellow hexagons.

hexagon painted wall design

MATERIALS NEEDED:

ScotchBlue™ Painter’s Tape

Behr® Premium Plus Ultra™ Paint

- I used: I used: Glacier Bay #500A-1, Citrus Hill #200B-4, Bee Pollen #390B-5, Chocolate Froth #720C-2, and Simple Silhouette #790B-5

Wooster®

 Pro 

brush

Scissors

Pencil

Cardboard

hexagon painted wall design

DIRECTIONS:

1. Decide on your pattern.  I used photoshop to mock up how I wanted my design to look on the wall and which colors would go in each hexagon.  This also helped determine how big I wanted to make my hexagon template.

2. Create your hexagon template.  It's pretty easy to make a hexagon, but you'll want to make sure it's pretty close to perfect so that your pattern doesn't get wonky.  I used

this super easy little tutorial

with a makeshift compass.  My hexagon ended up being 13 inches from tip to opposite tip (diameter of the original circle drawn). Cut the template out of some cardboard or other sturdy material to trace around.

3. Draw the outlines to the hexagons using a pencil.  Make sure your hexagons are level.  I leveled the first one and then outlined about 4 or 5 and checked the level again, just to make sure I wasn't getting off level.  In each hexagon I lightly wrote the color that would be painted inside.

hexagon painted wall design

4. Using your  

ScotchBlue™ Painter’s Tape

, outline the hexagons that aren't directly next to each other.  Since these hexagons are directly butting up against each other, you'll have to wait for the paint to dry so you can mask off the one next to it.  I masked as many hexagons as possible and painted the color that was written inside using my Behr paint.  Each hexagon got two coats of paint.

5.  Because I had to wait for each hexagon to dry before taping the one next to it, this project took a little longer, but I'm super happy with how it looks.  As soon as I painted the second coat on a hexagon I'd remove the tape and allow it to dry.  This project took three days to complete with the time required to wait for paint to dry.  I let the paint dry about 2 hours between coats, as recommended by 

Behr®

.

hexagon painted wall design

I have to say I was skeptical about how good the Edgelock tape would

really

be in comparison to the regular painters tape I usually use, but I was super happy with how precise my edges were.  I didn't have to fix any leaks and the edges were

so

sharp and clean.  I used the

Delicate Surface Painter's Tape

, but 

ScotchBlue™ Painter’s Tape

 has

a guide that can help pick

the right tape for your project surface.

hexagon painted wall design

I am proud to be a 3M, Behr®, and Wooster® - sponsored blogger, and, as part of my responsibilities, I get the opportunity to evaluate products. Opinions are my own and additional product used in the project were selected by me. Thanks for supporting those companies that keep Delightfully Tacky alive and kicking!

Sweet Darlin'


On the plane back from Alaska, I started some little drawings of Dan & I and this afternoon I finished them off with some watercolors. It was a beautiful day in Tacoma so I sat in my doorway (since I don't have a porch or yard at my apartment) lazing in the sun and making art. I also got another reproduction of an old tacky landscape painting, and it's just waiting for a little Winne to come inhabit it!

I discovered today that there is a little farmer's market right near my house every Tuesday! It was so much fun. I got a mini cupcake from Dulce Cupcakes, too cute! There are tons of veggies and plants and flowers and seafood to buy, and I think next time I'm gonna get some and cook something yummy with fresh produce & seafood. There's also live music and some tasty looking food stands. I was kind of stressed out today, so having that little surprise was really pleasant. I have a feeling I'm gonna fall even more in love with Tacoma this summer...

Future times

Today is more painting. We had to paint the wall two different times today because the firs color we chose was not right. It looks good now though. A lovely shade of blue. Once all the masking is down I'll take a picture. Also, we are getting the other coral room carpeted tomorrow, so once that is done I'll have a picture of that room up as well.

I have not been as feminine these days. I think this mostly stems from just simplicity and the fact that 80% of my clothes are in various bags packed away from my move.

cool summer stylecold summer style
jeans/ross : shirt/walmart : plaid shirt/thrift : hat/target

These days I'm contemplating the various forces which exert themselves upon my life and the direction of my life. I have so many passions and ideas that I almost feel stifled, and yet at the same time I don't feel accomplished enough at any of the things I like in order to feel ready to jump into trying to make them a career. I guess it's just a matter of me jumping in because it will probably always feel like I'm over my head at first.


Beach Creature

Yet another eventful week has passed, and I have neglected blogging. For the most part, I had no means to blog, so I consider that a more legitimate reason for not updating than my previous laziness.

We are in the midst of painting various rooms here at the homestead, which, for any of you who have followed my blog for any amount of time, you surely know is scratching an itch I've had for years of living in non-paintable apartments. Our first room's color: coral! Exciting times...

beach fashionsummer beach style
shirt/thrift : shorts/thrift : bandana/thrift

I am very seriously thinking of purchasing a tripod. Finding things to balance my camera on is getting old.

I am still trying to get into the summer-groove. It's July now, and you'd think that I'd be comfortable with it, but alas. I am a girl who spent her formative years in the arctic. And being uprooted this summer from my home and life has thrown me into a tizzy. Maybe by August I'll figure out this summer business...


These girls know all about summer. (Lookbook).

Oh...and an aside: I really want some cowboy boots...