


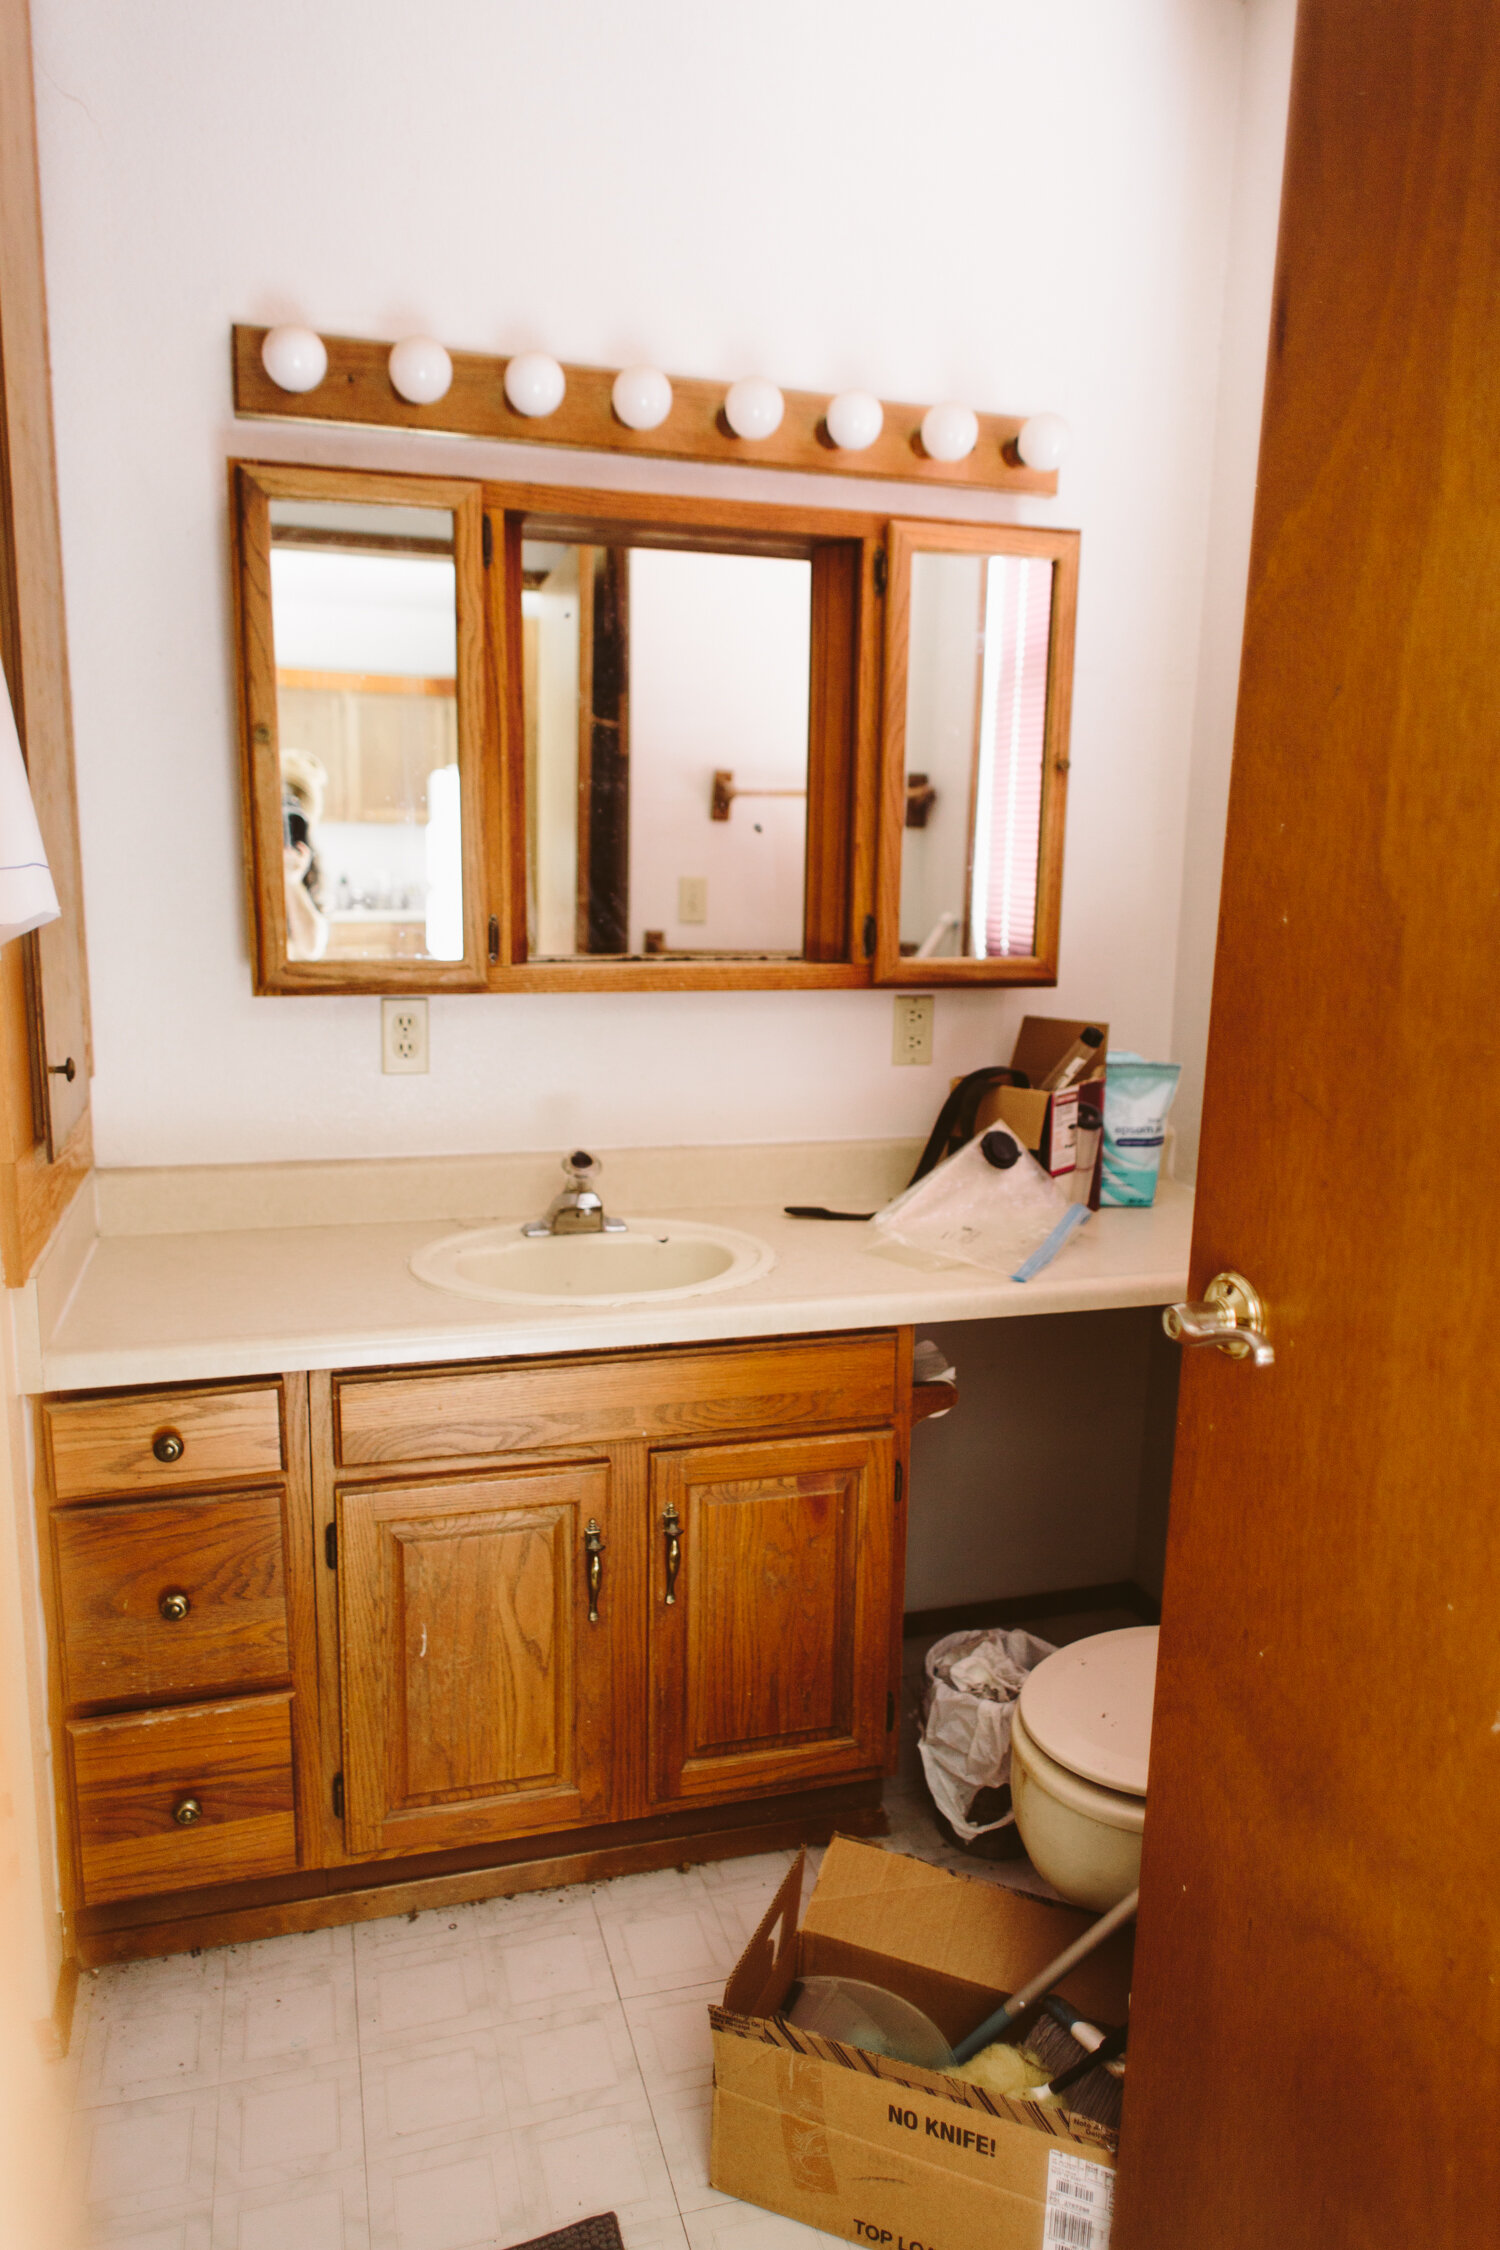
This before and after still rocks my world a little bit. Truth be told it’s not a true after, there are still projects to be done in here. but, I mean, come on. Are these two rooms even the same?! It’s wild. The layout for this room is strange. I’m really not entirely sure what the person who laid out this space was thinking, but gutting it and rearranging just wasn’t in the budget.
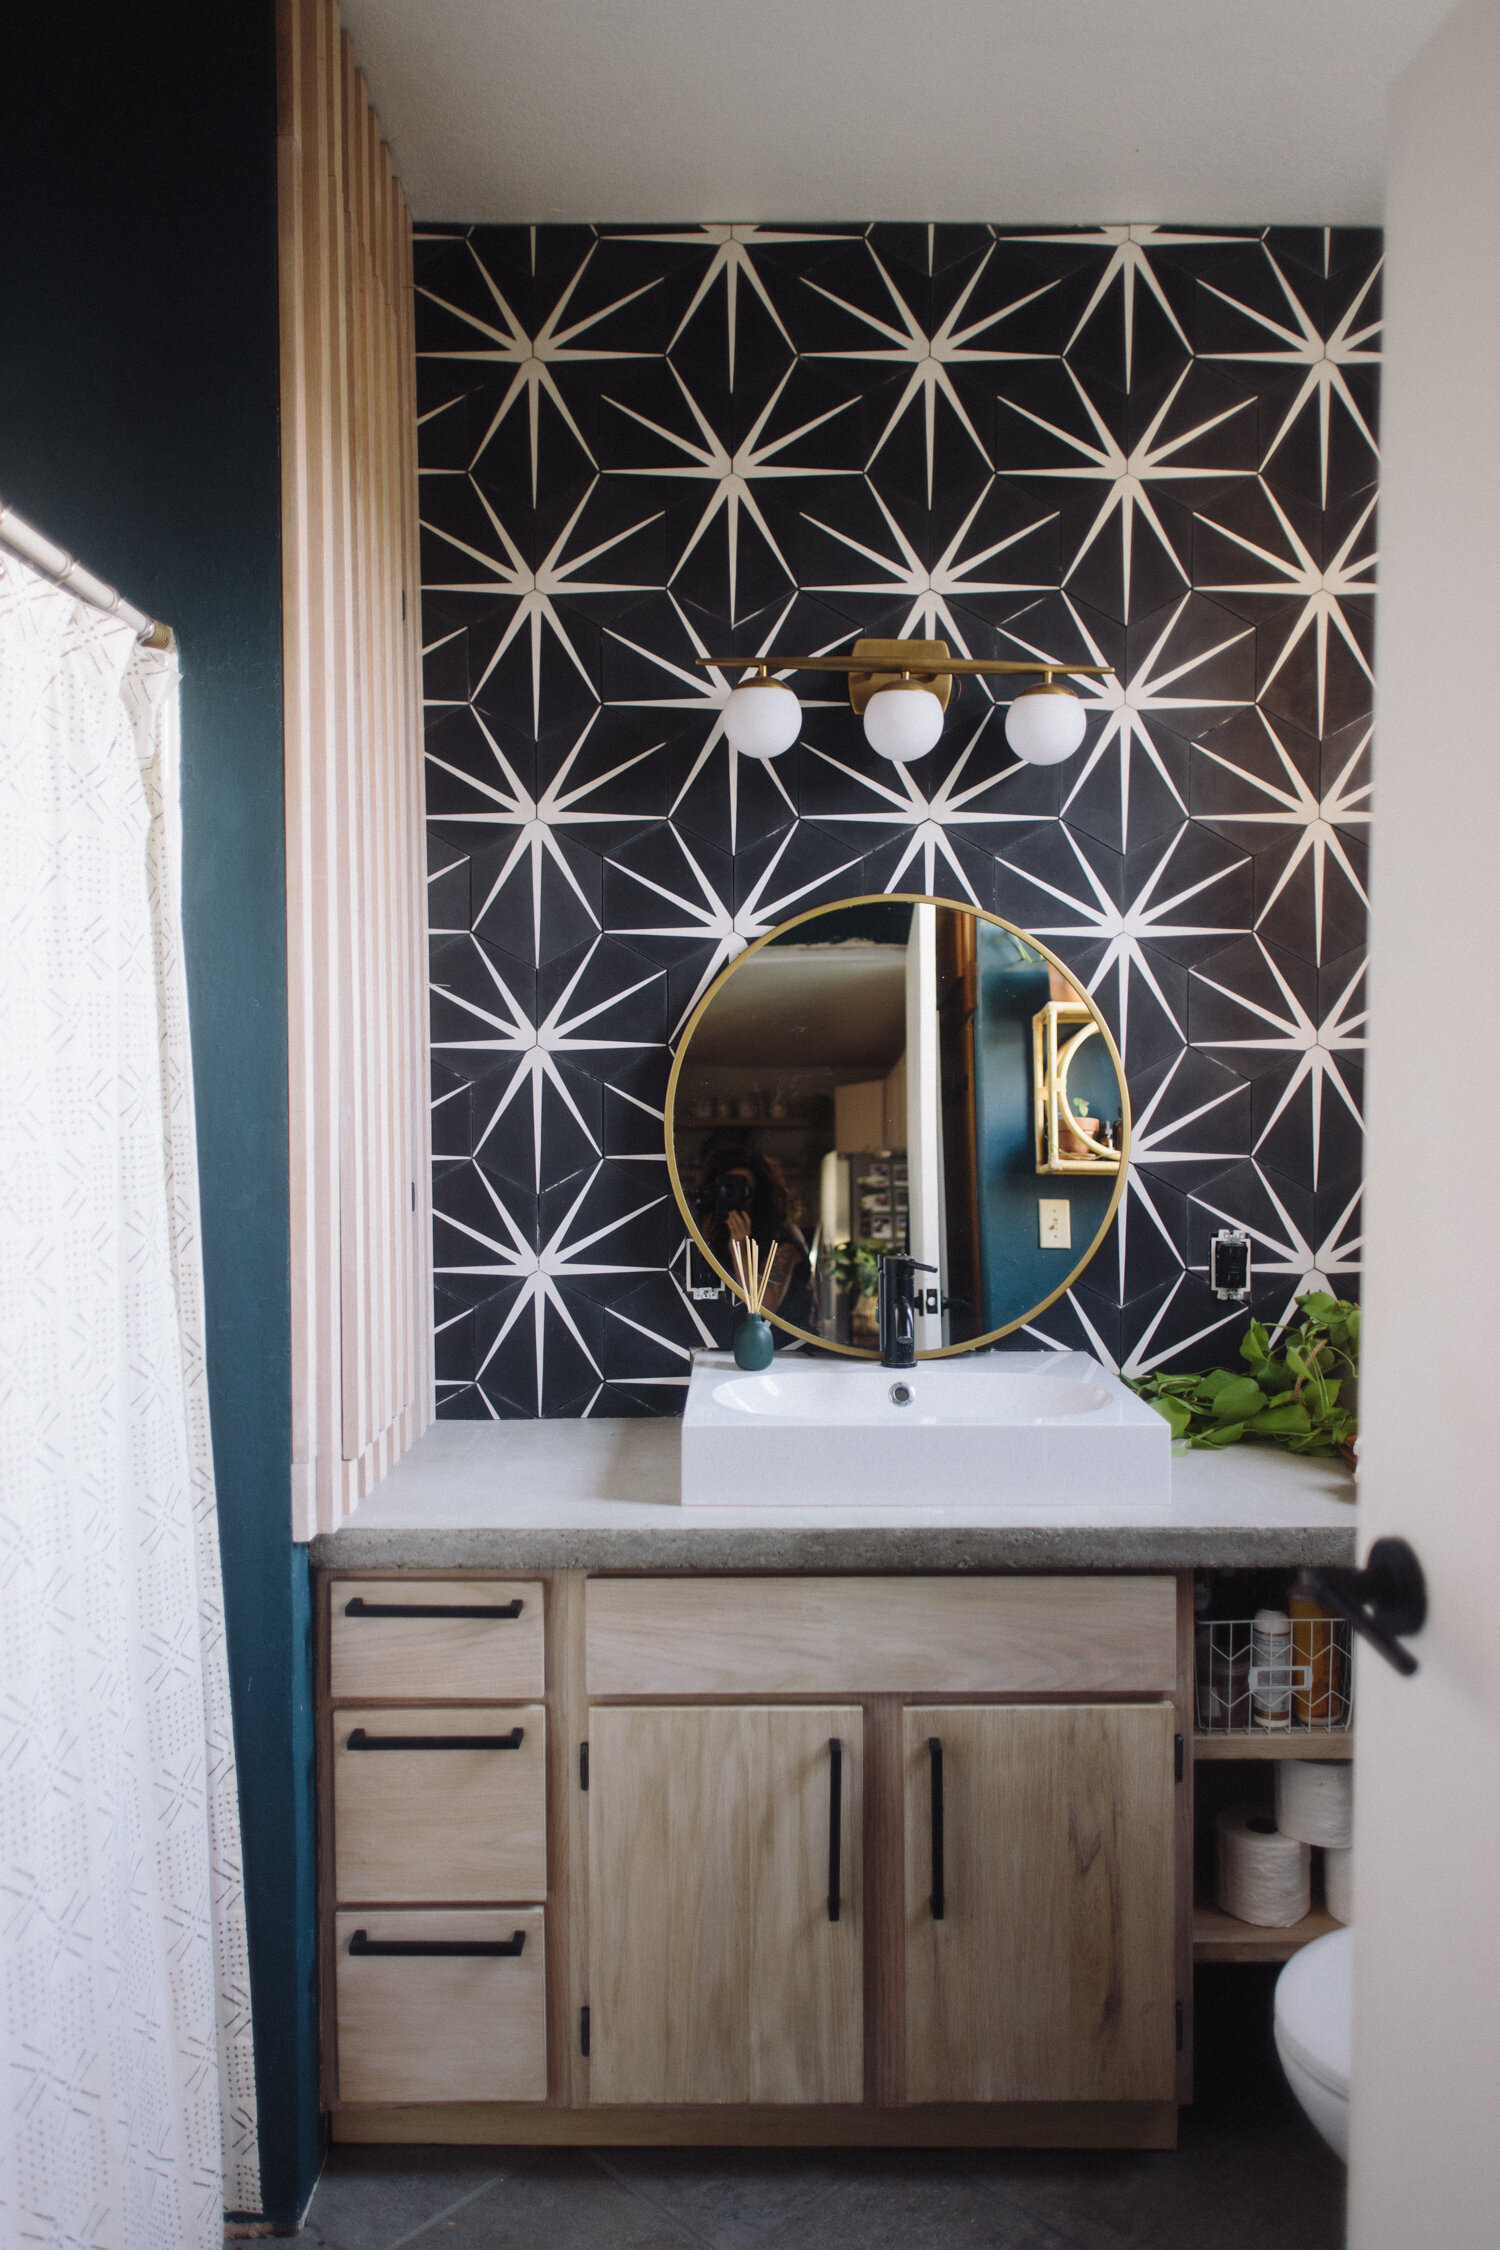
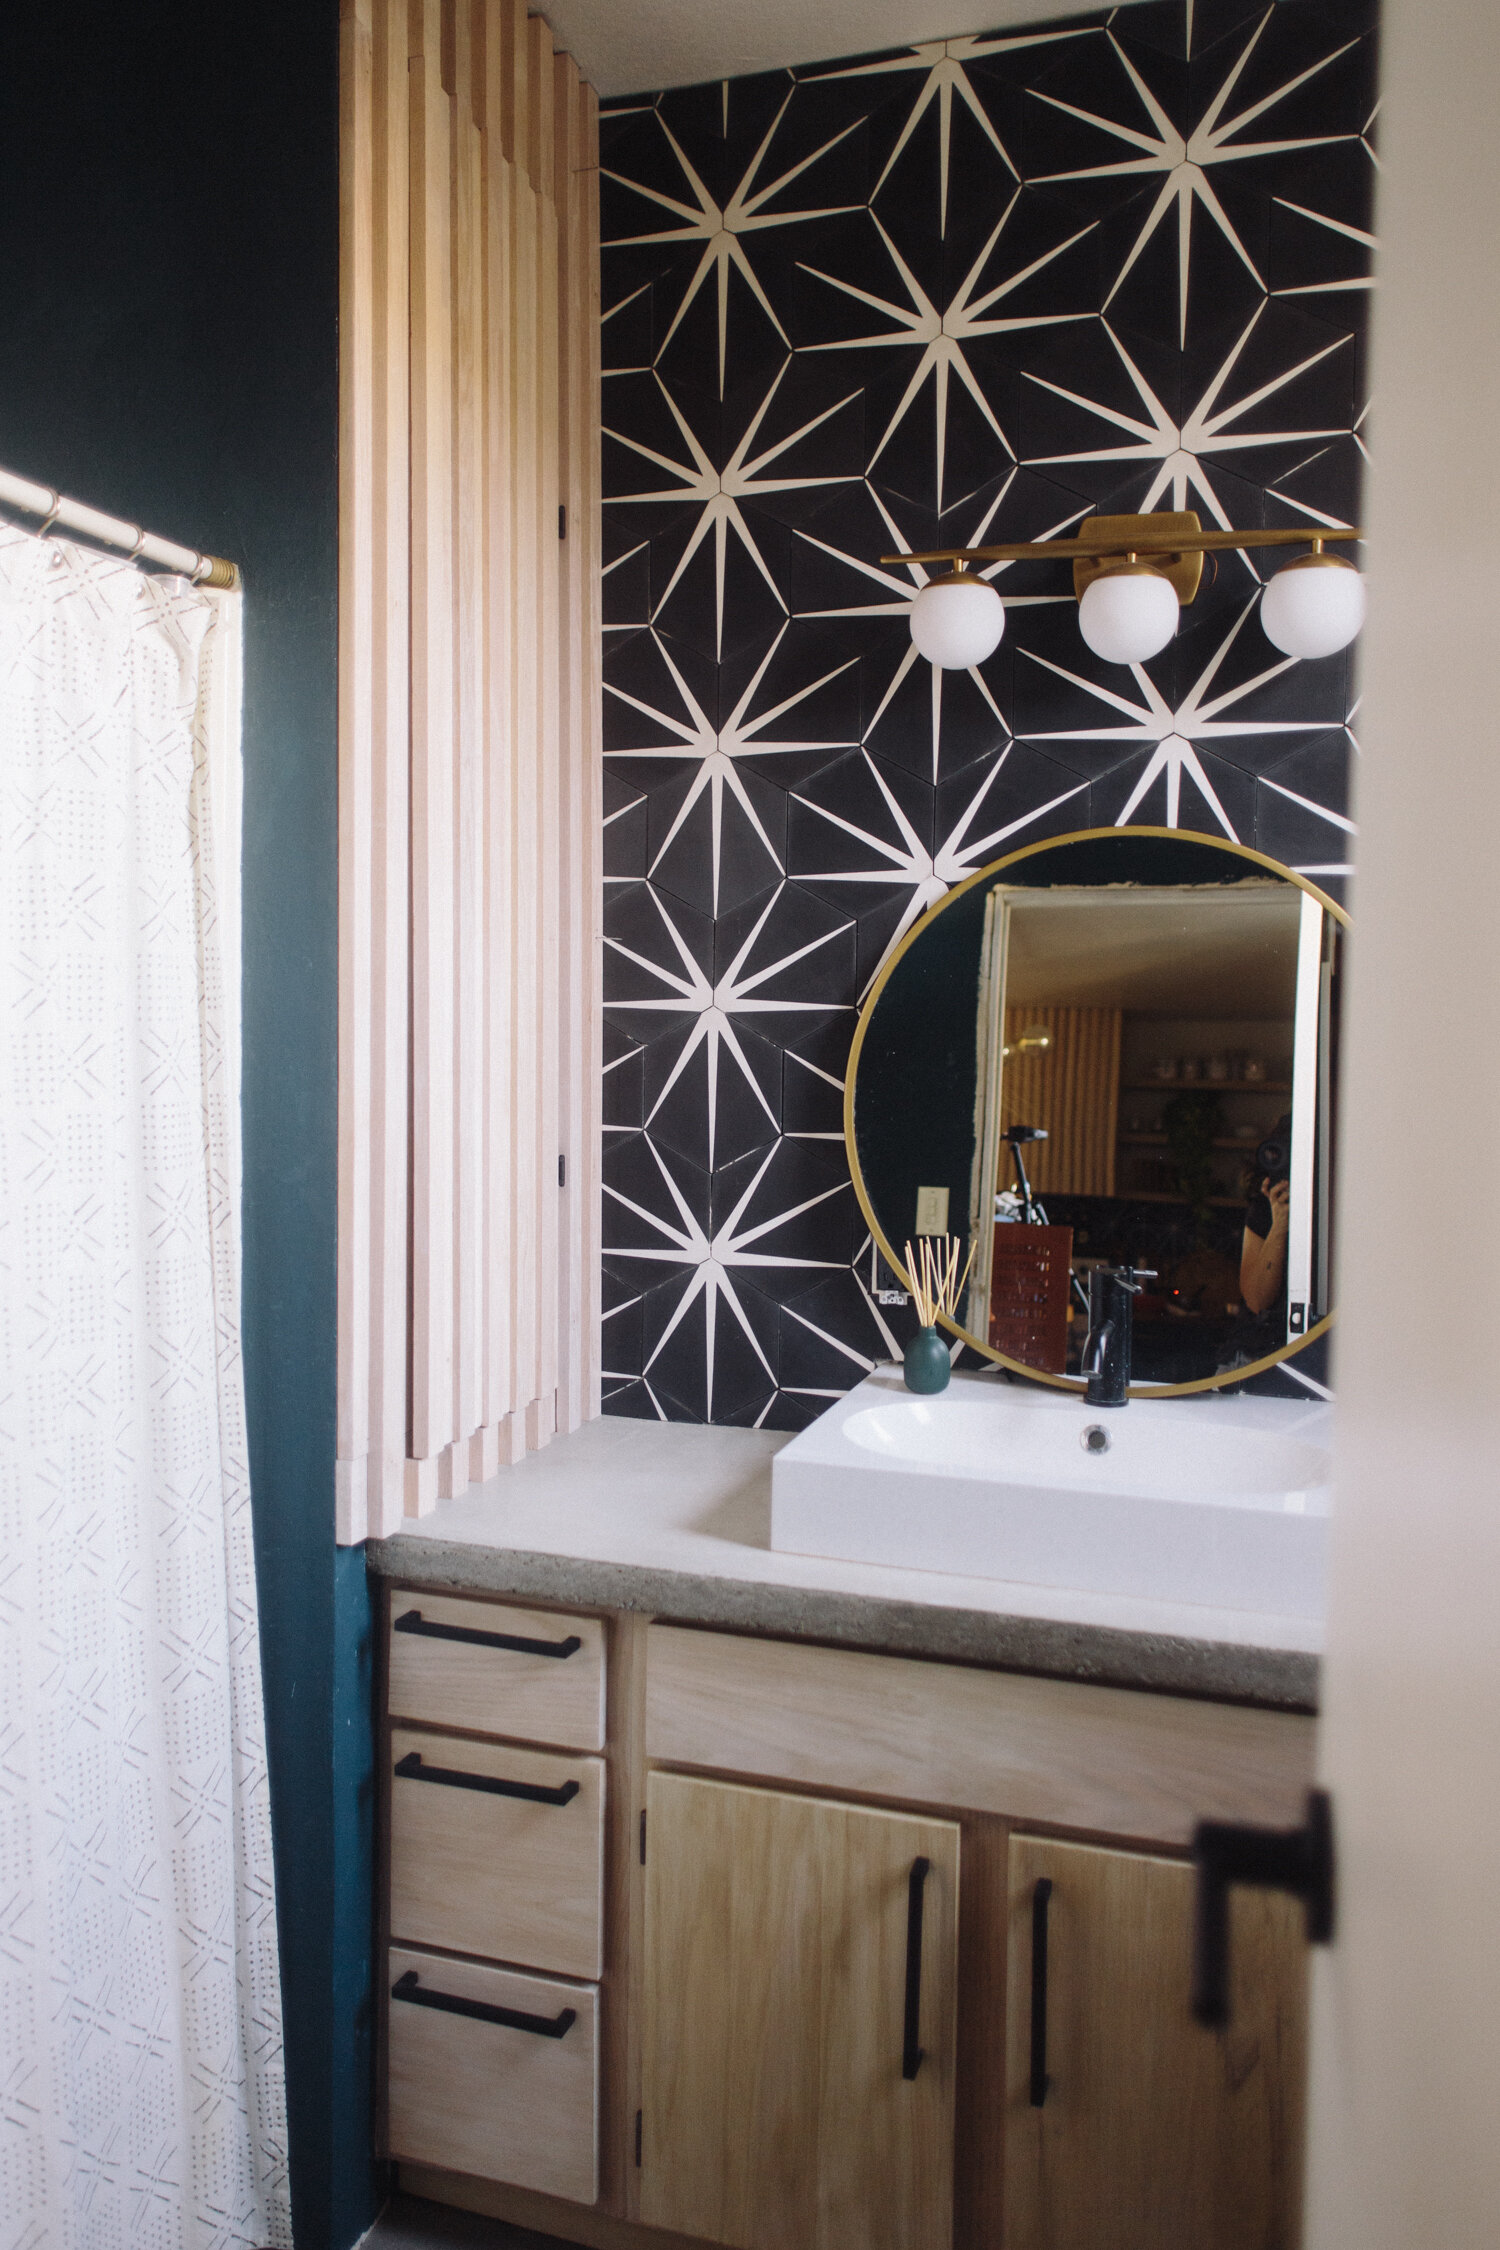
We kept pretty much everything and just reworked it. The vanity is the same, but I put new slab doors on, sanded down the original vanity to its natural oak and then whitewashed it to keep the modern light look that the raw wood had (putting poly over the raw wood would have turned it back into the ugly orangey color of the original bathroom— no thanks!).
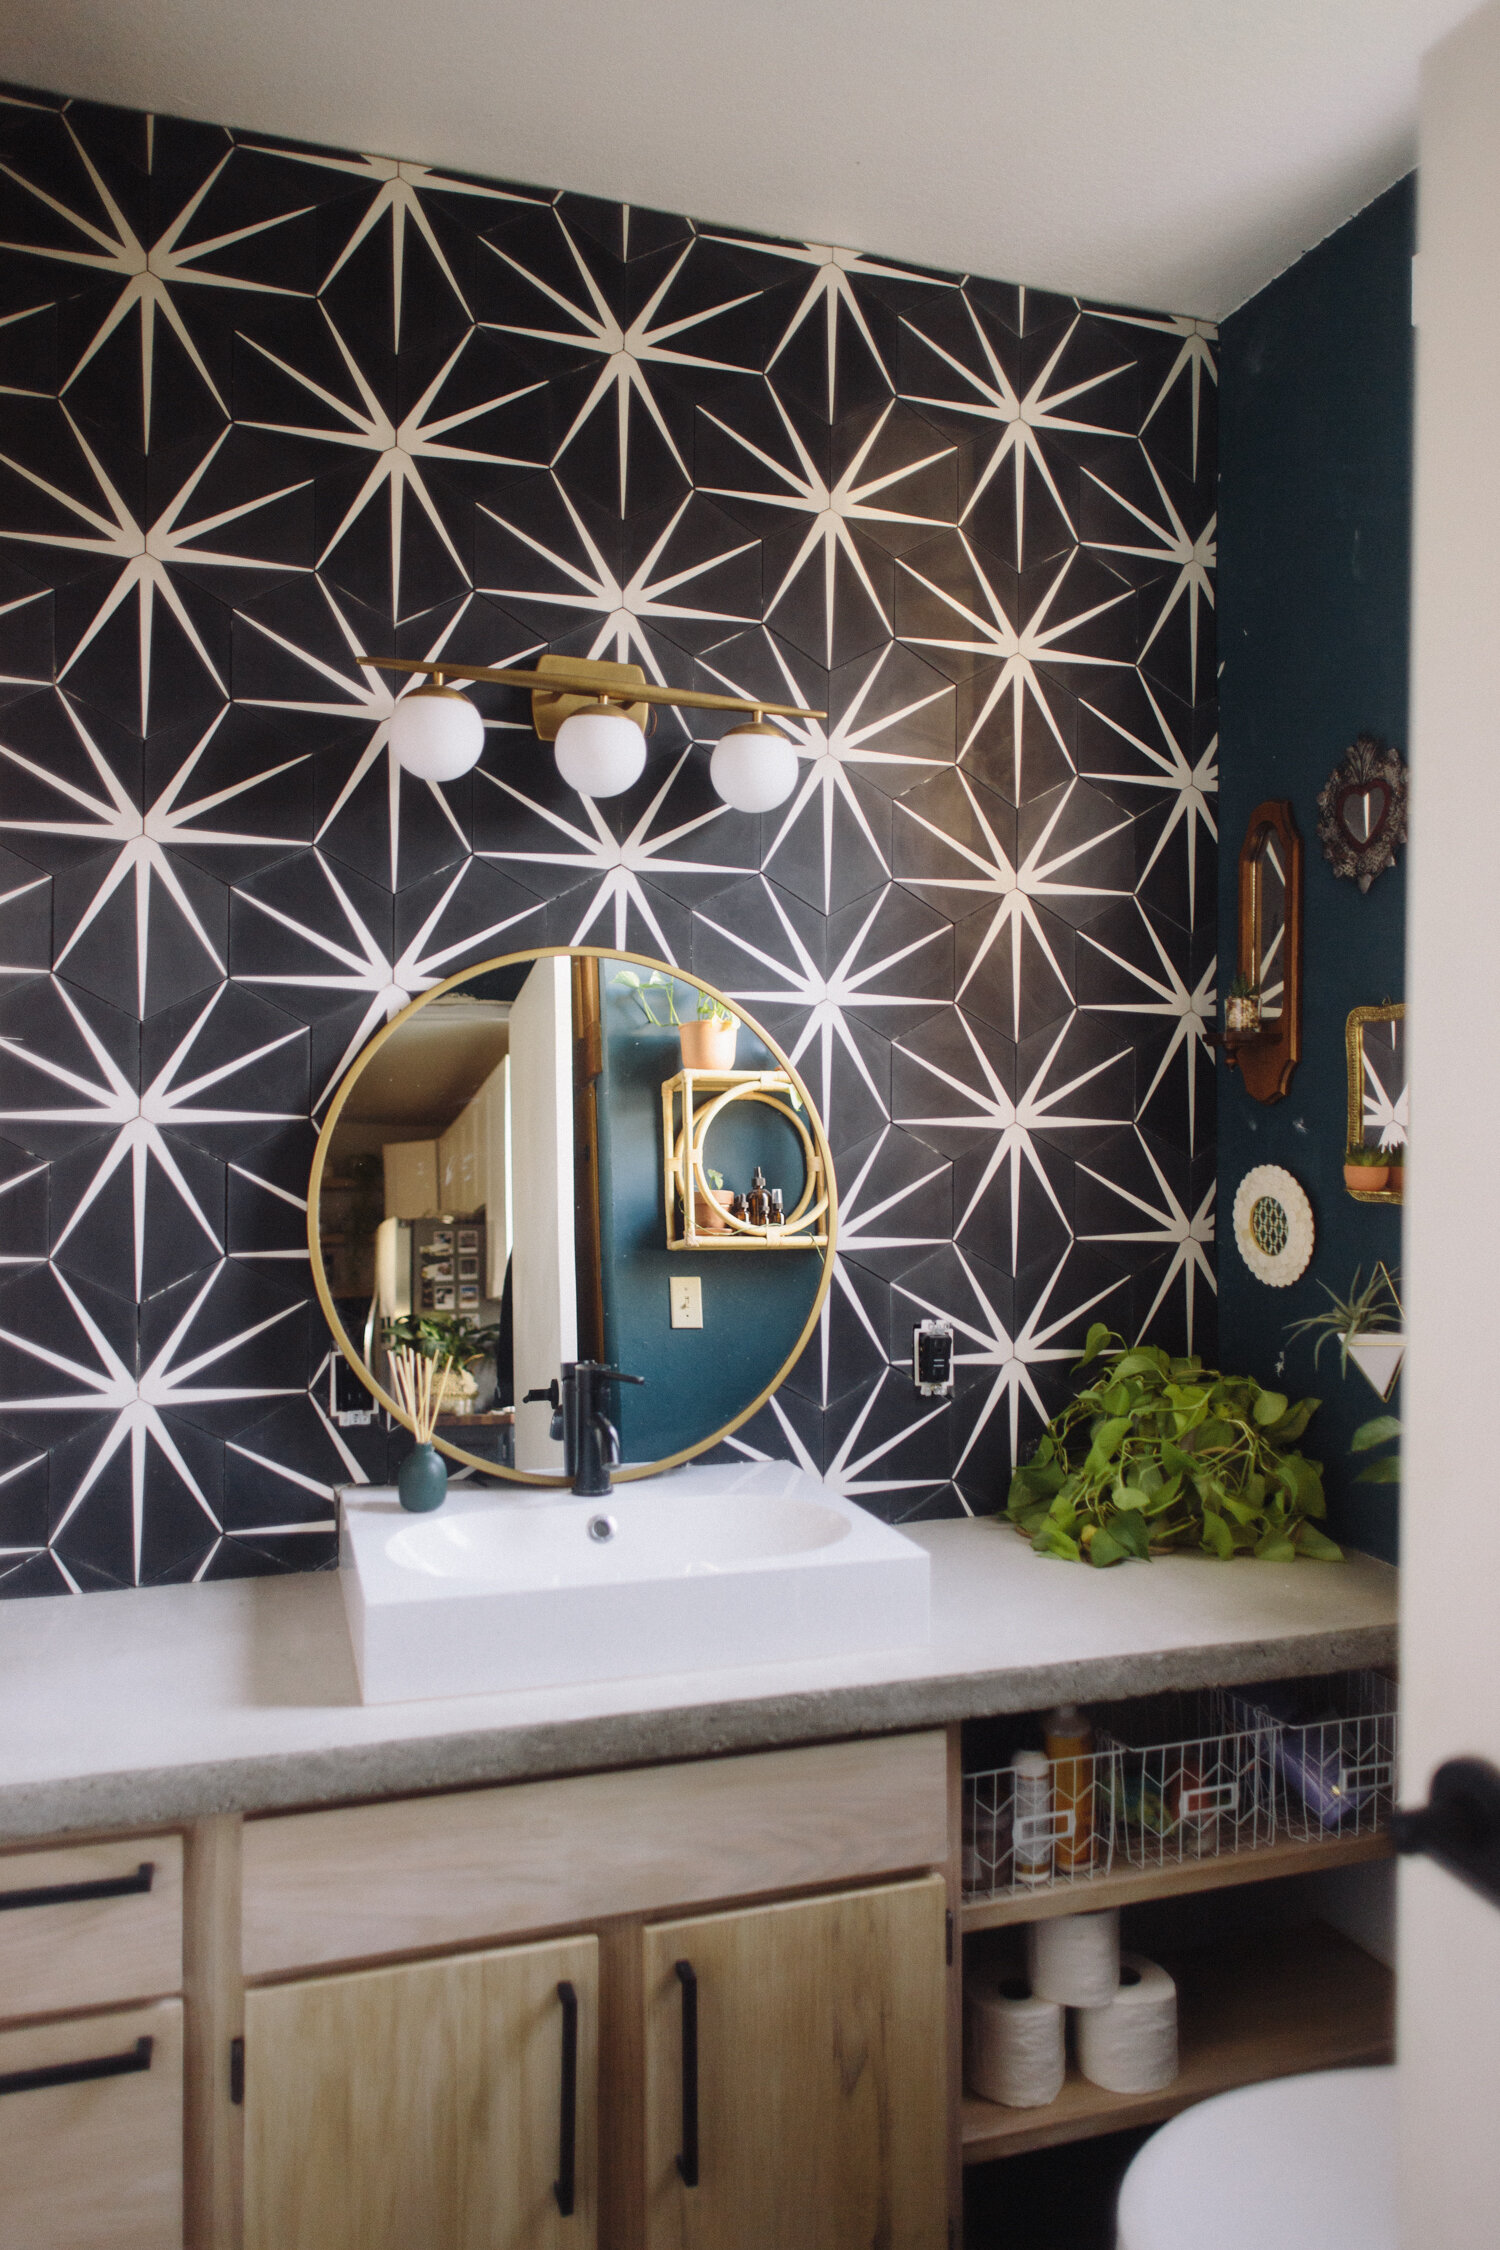
For whatever reason, the old vanity had a strange vacant cavity next to the cabinet under the counter. What went there? Who knows. Probably just cobwebs and grime. I added some open shelves there which are perfect for holding baskets with hair product (curly girls represent!), and the bottom shelf is the perfect spot for extra TP rolls.
The large linen closet storage on the left side of the vanity got a slatted upgrade, I just refinished the existing door and trim the same way I did the vanity cabinet, and then added oak slats.
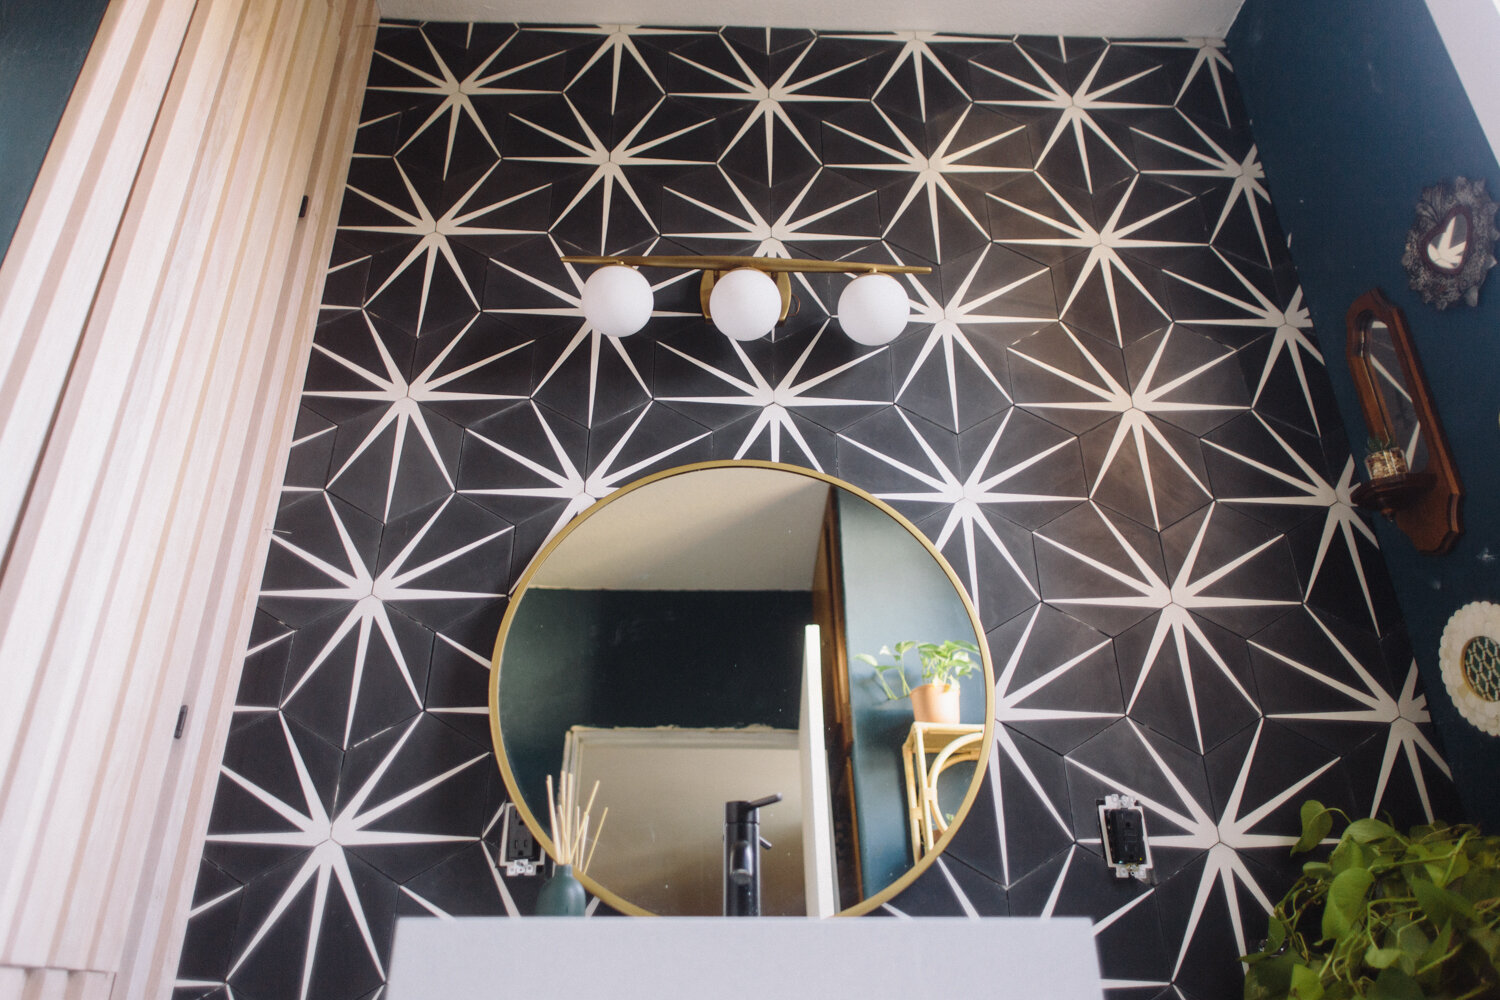
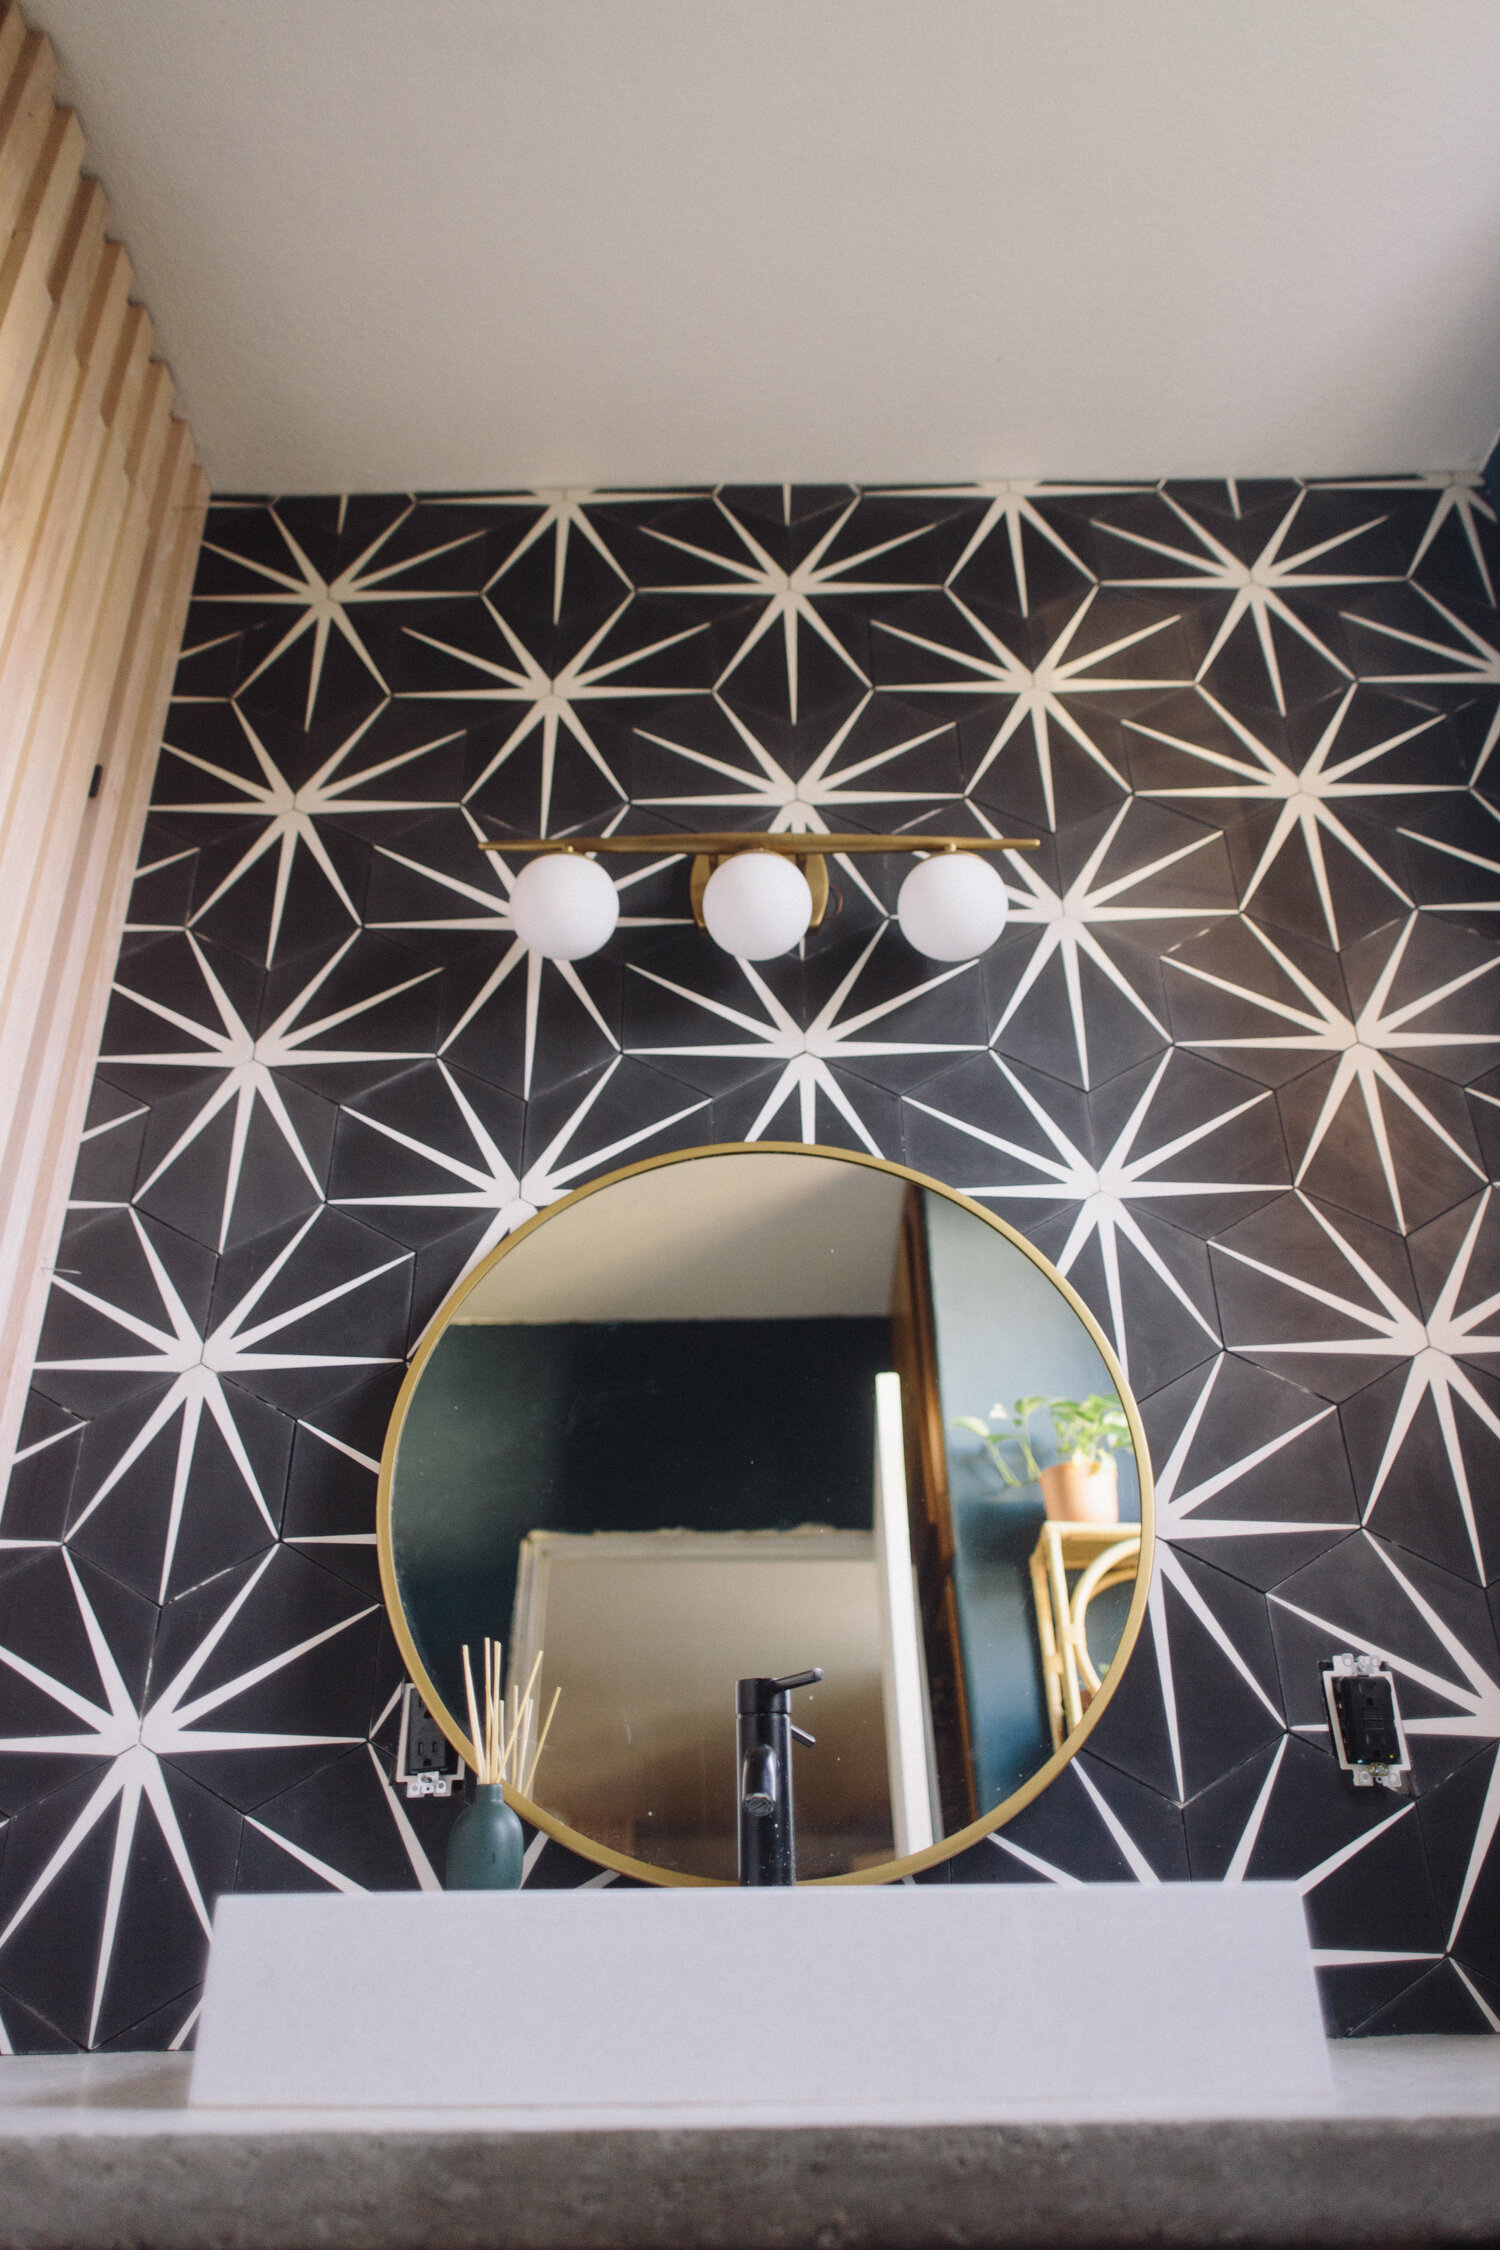
This bathroom is not hurting for storage so the massive medicine cabinet mirror was absolutely not necessary. a streamlined simple brass mirror took it’s place, and the sorely dated vanity lighting got a midcentury modern upgrade.
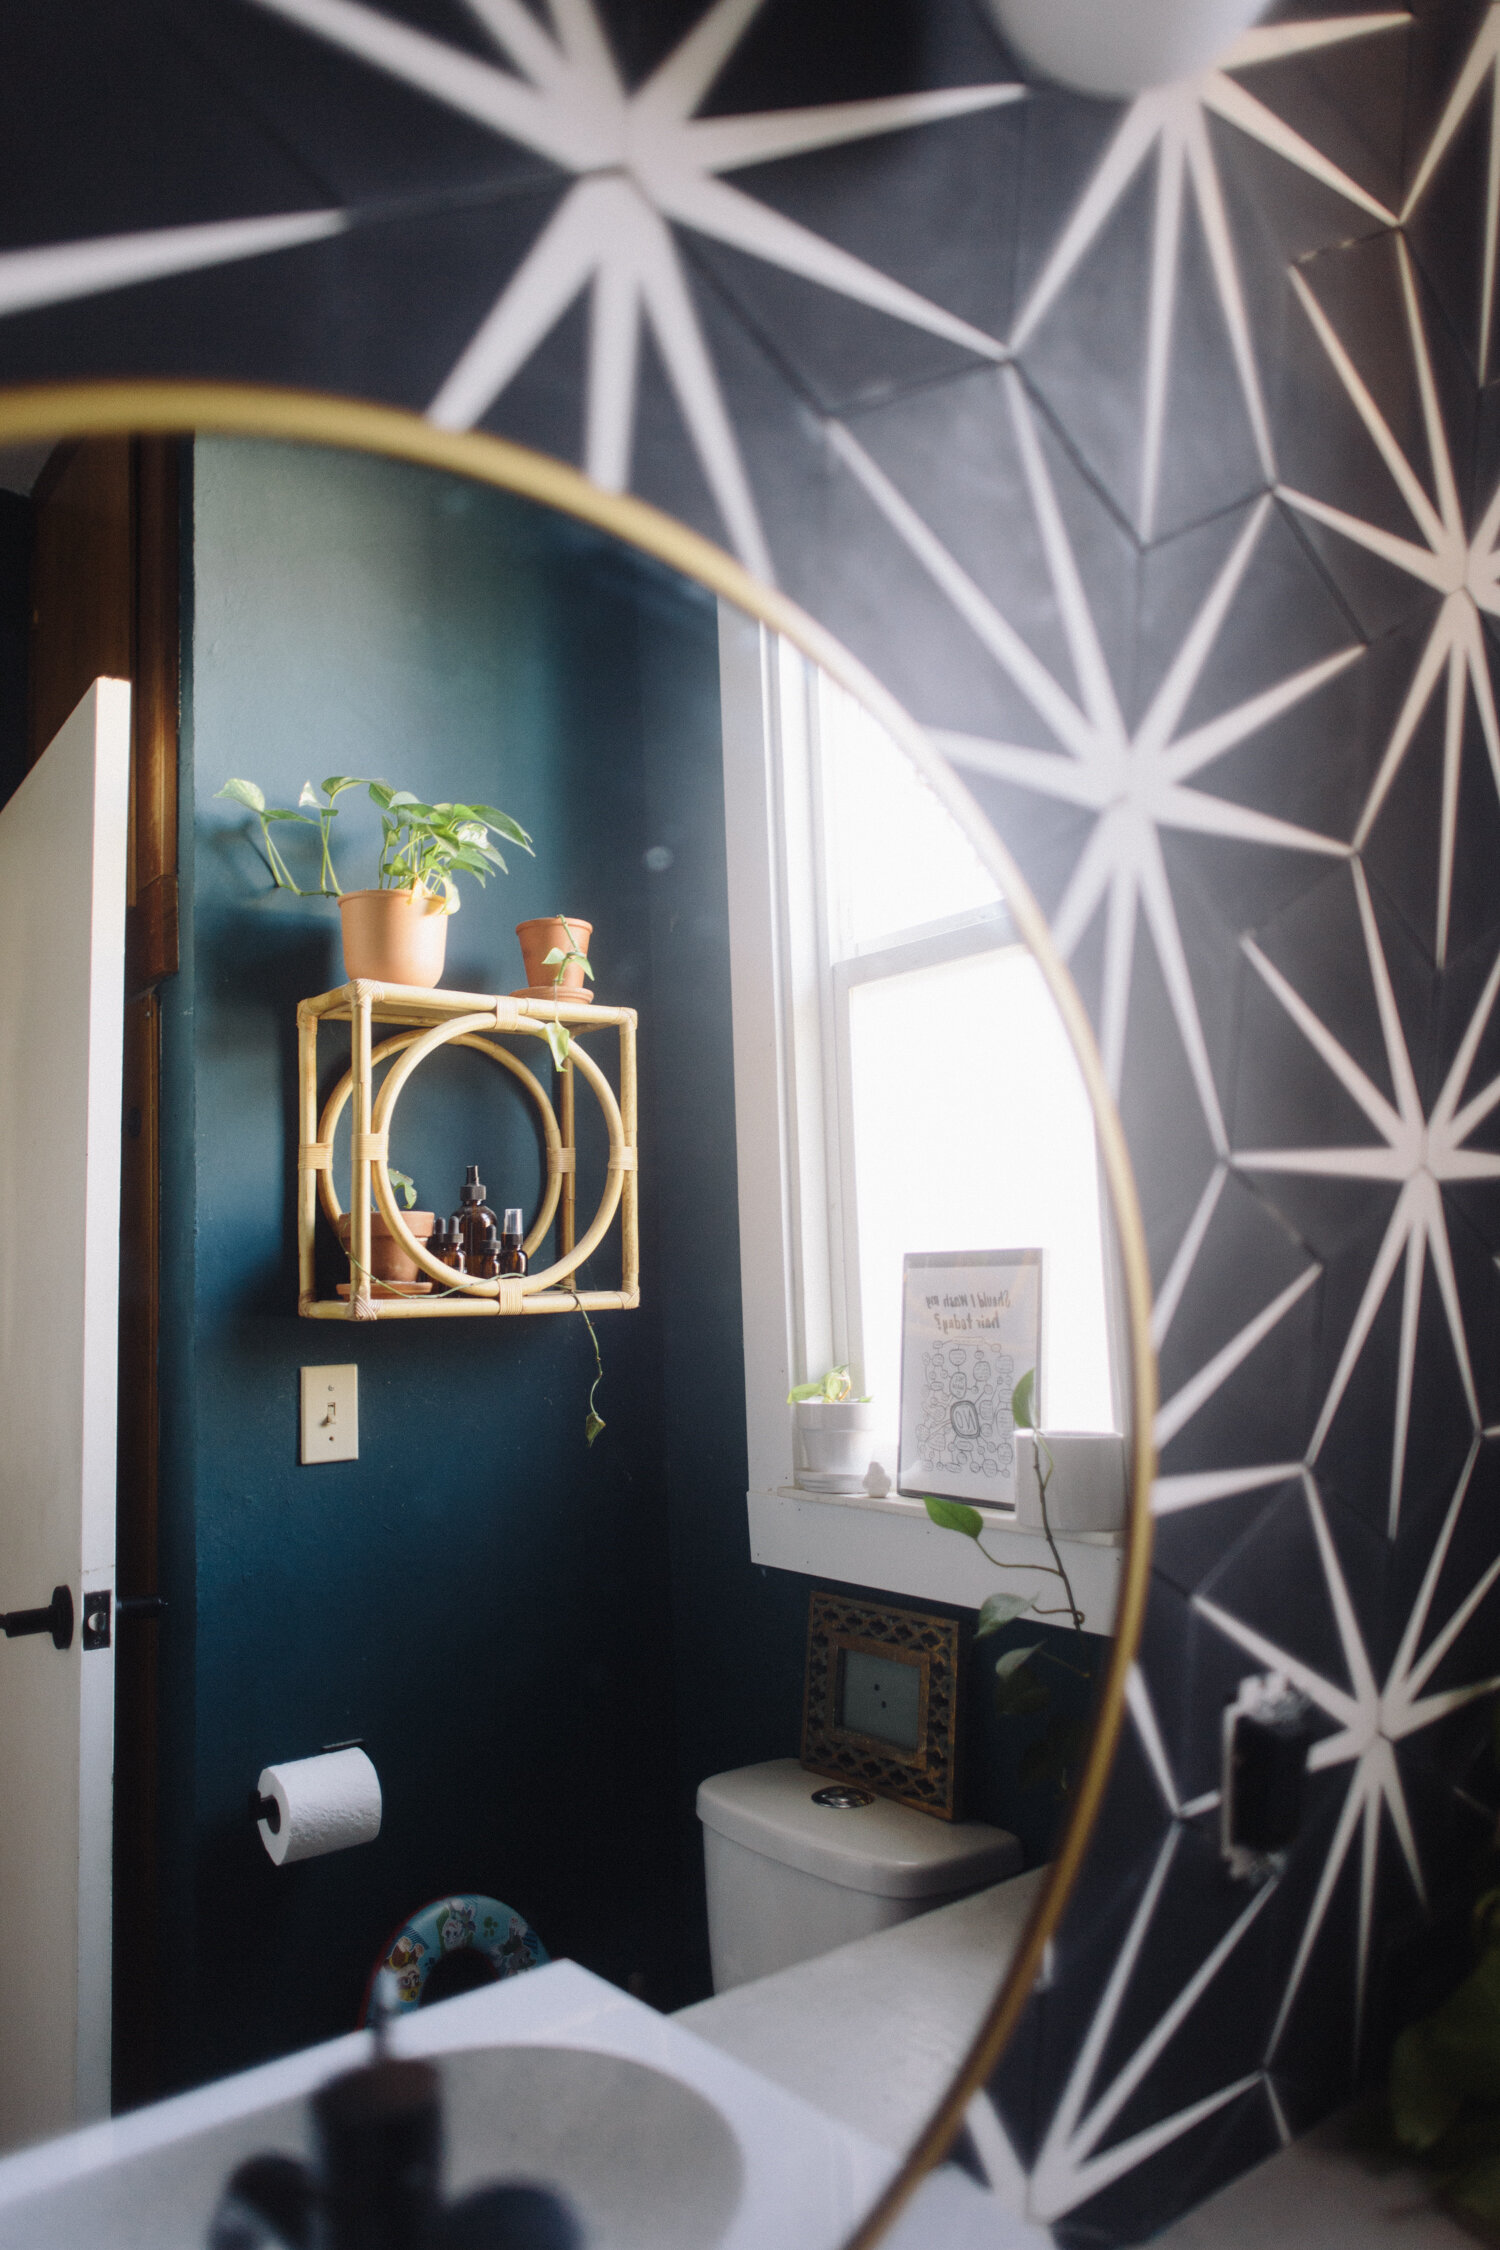
Dingy white walls be gone! I did a textured wall treatment, giving the walls a plaster-y look to remove the dated orange peel texture, and then painted a moody blue-ish green-ish teal, Valspar’s Everglade Deck.
Obviously the showstopper of the space is the stunning cement hex tile from Riad Tile. I’ve eyed so many styles from Riad for years and this large wall behind the vanity basically begged for a statement wall. I’m absolutely obsessed with how this tile completely transforms the room.
And to replace the old formica counter, we did a poured concrete counter! This whole space was a DIY update, and we did everything we could to do budget friendly updates, use what existing elements we could, and worked around the layout so we could create the maximum update for minimum cost. I did pretty much everything myself, except the poured concrete counter and the floor tile, which my husband took on (though I did cut the floor tile, so we’ll call that one a joint effort).
If you want to see the before images, scroll down!
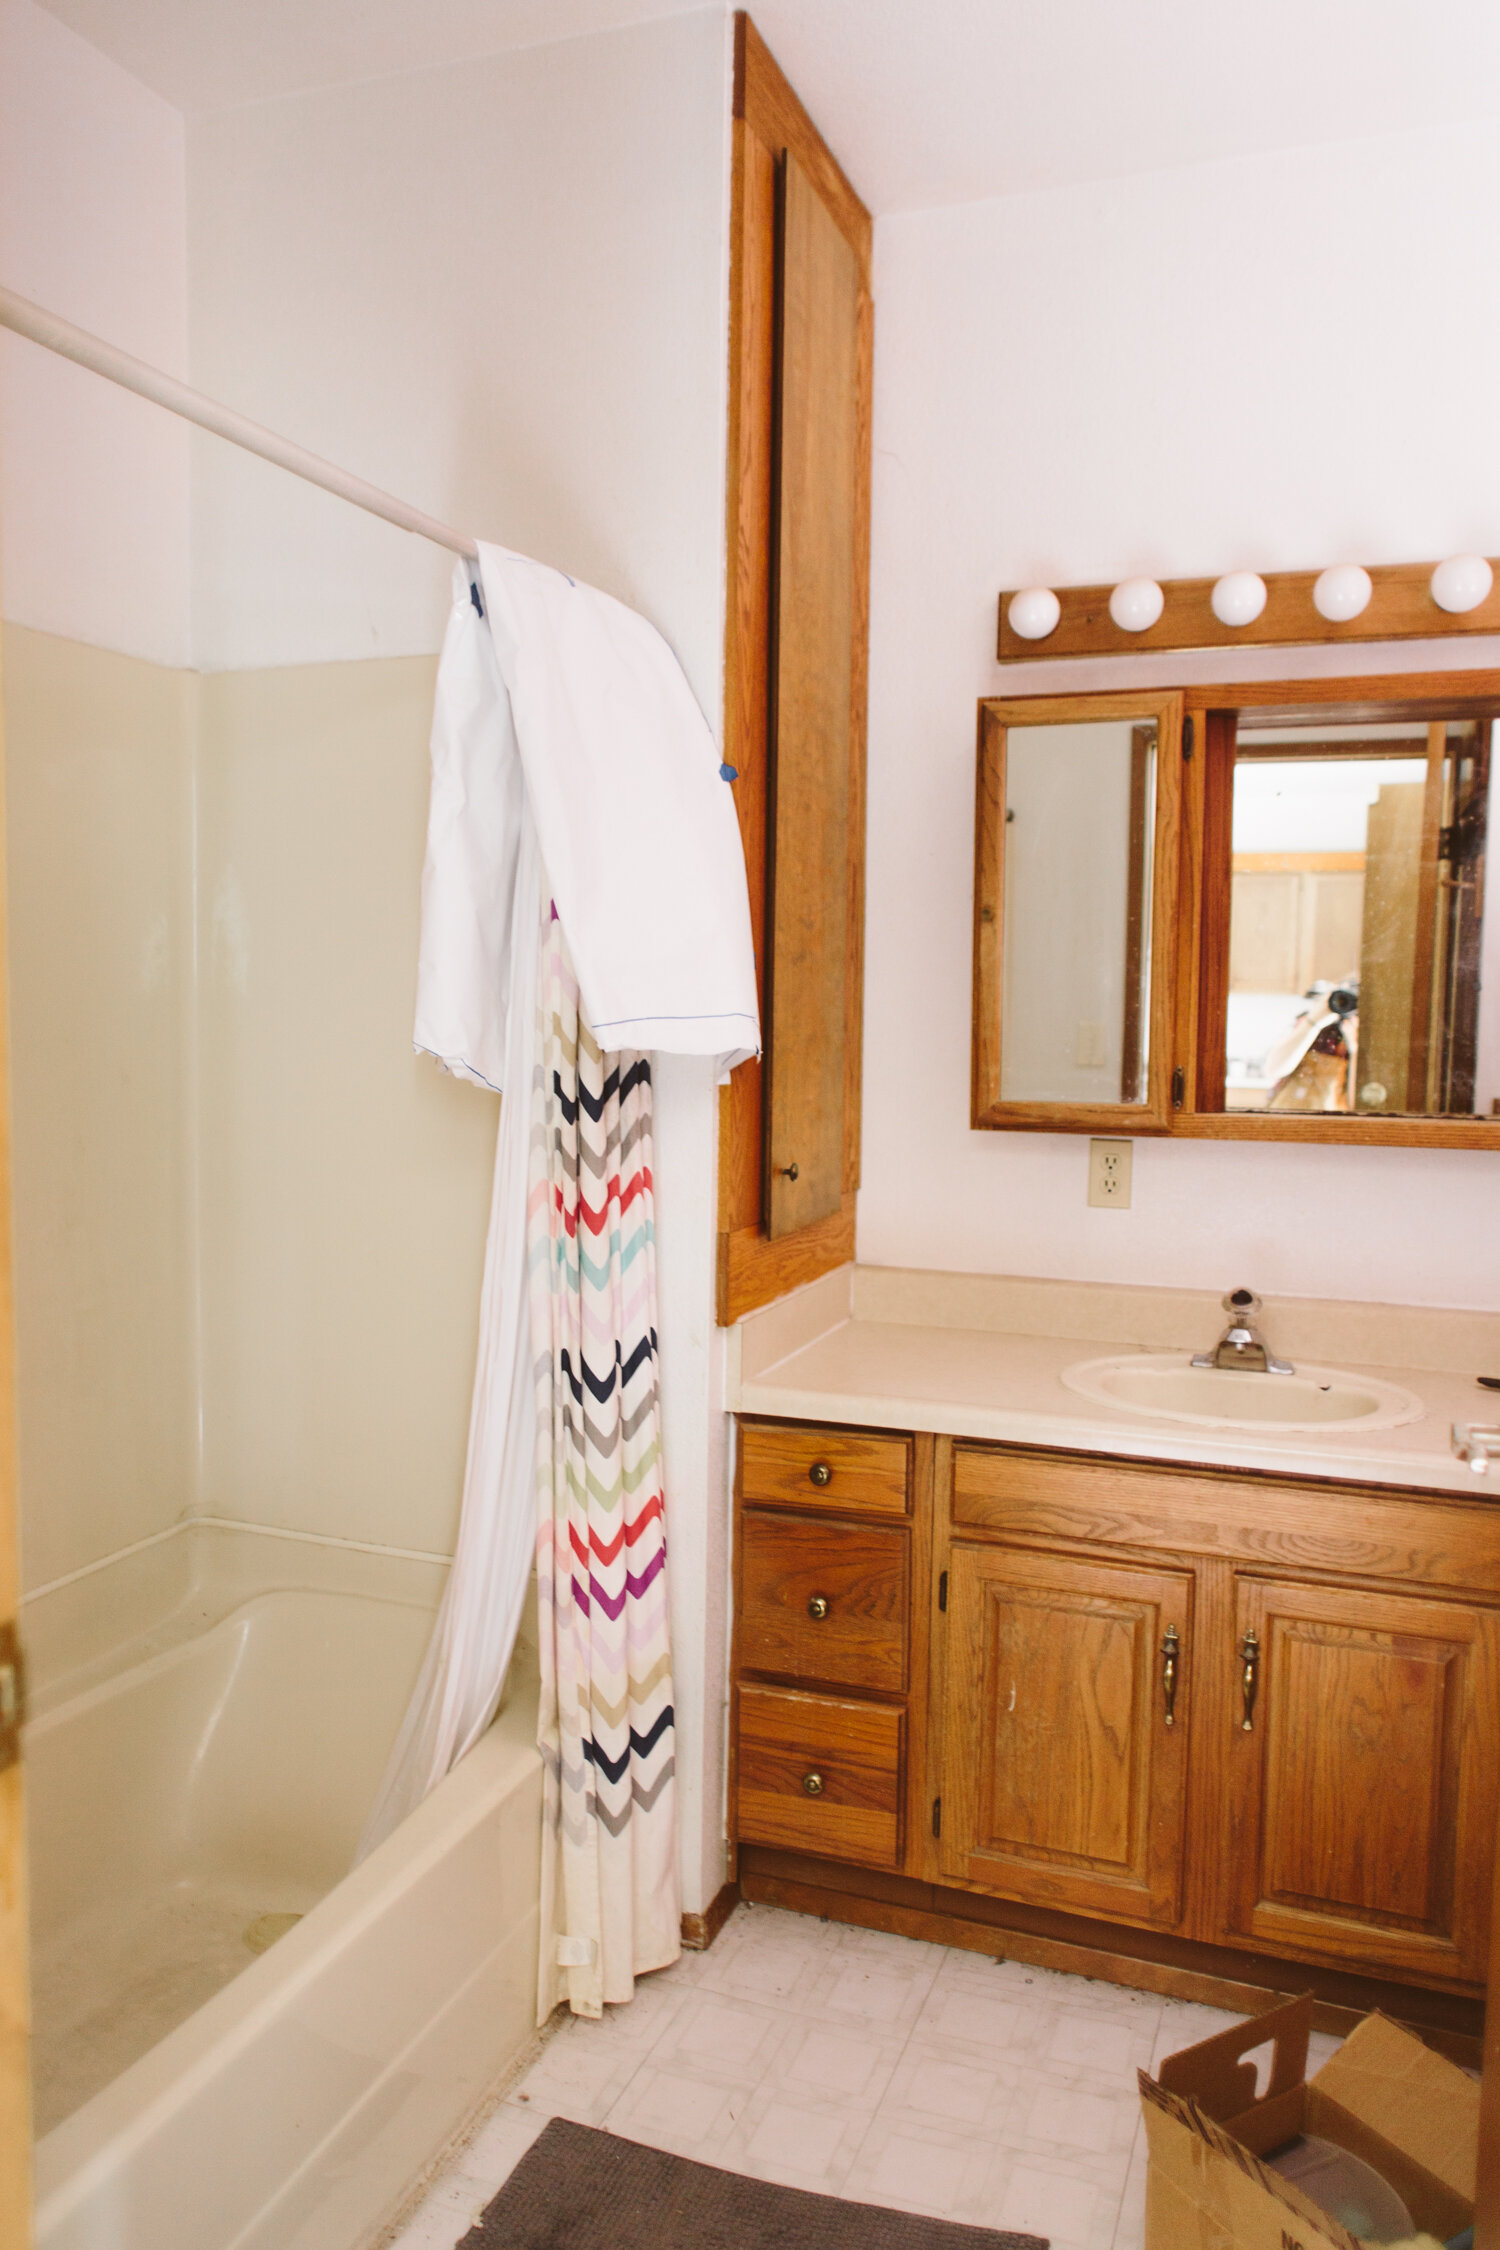
We’ve got some other big projects in the works so this space is basically on hold for now. It has an ugly ivory fiberglass tub/surround which desperately needs to be replaced, but it works fine and I can hide it behind a pretty shower curtain, so for the time being it stays. A pretty white tub and tiled surround will happen someday! In the meantime, I just bask in the glow of the tile wall.
tile c/o Riad Tile


![As per usual I’m pushing right up against a deadline and have hyperfixated on this painting all week to finish in time.
Chikayaasix̂ [Fireweed] Transplanted- acrylic on wood.
Every generation my family has moved farther and farther from ances](https://images.squarespace-cdn.com/content/v1/574dddd6d51cd4bc35c1609a/1714708076216-UAPXPXK9DVDBP7F1C65E/image-asset.jpeg)

