Interior Design

ORC Week 3: Shower tile installed!

 
ORC-Guest-400x218.png
 
IMG_3737-Edit.jpg

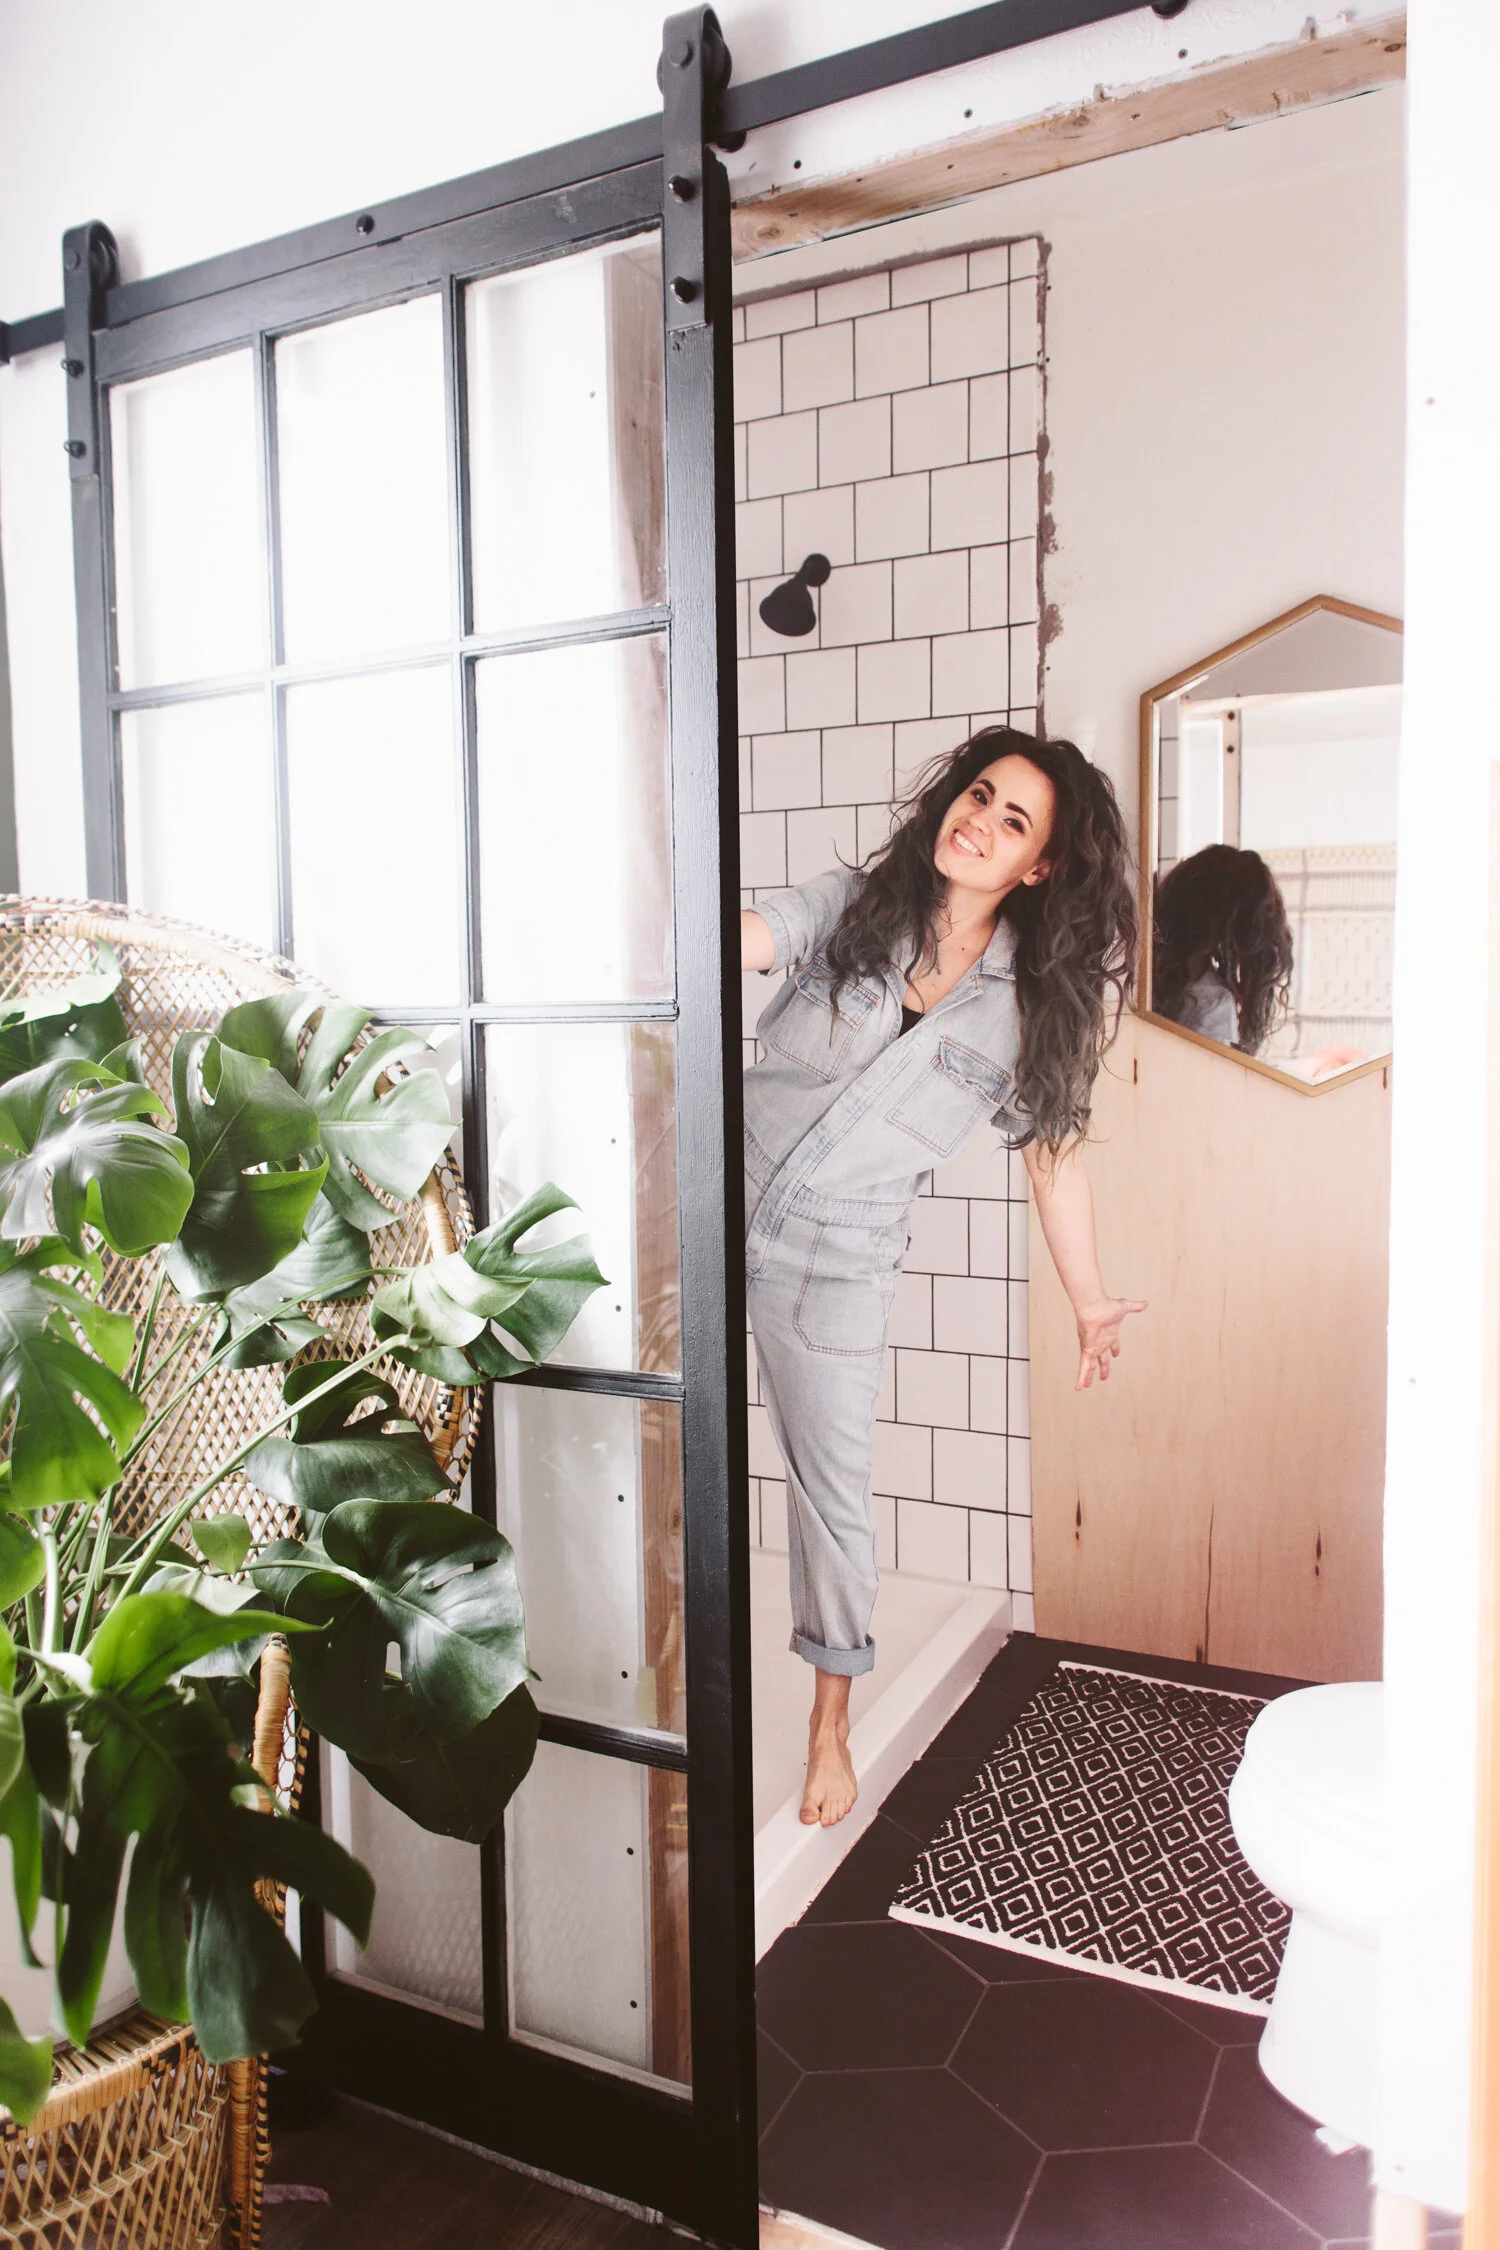
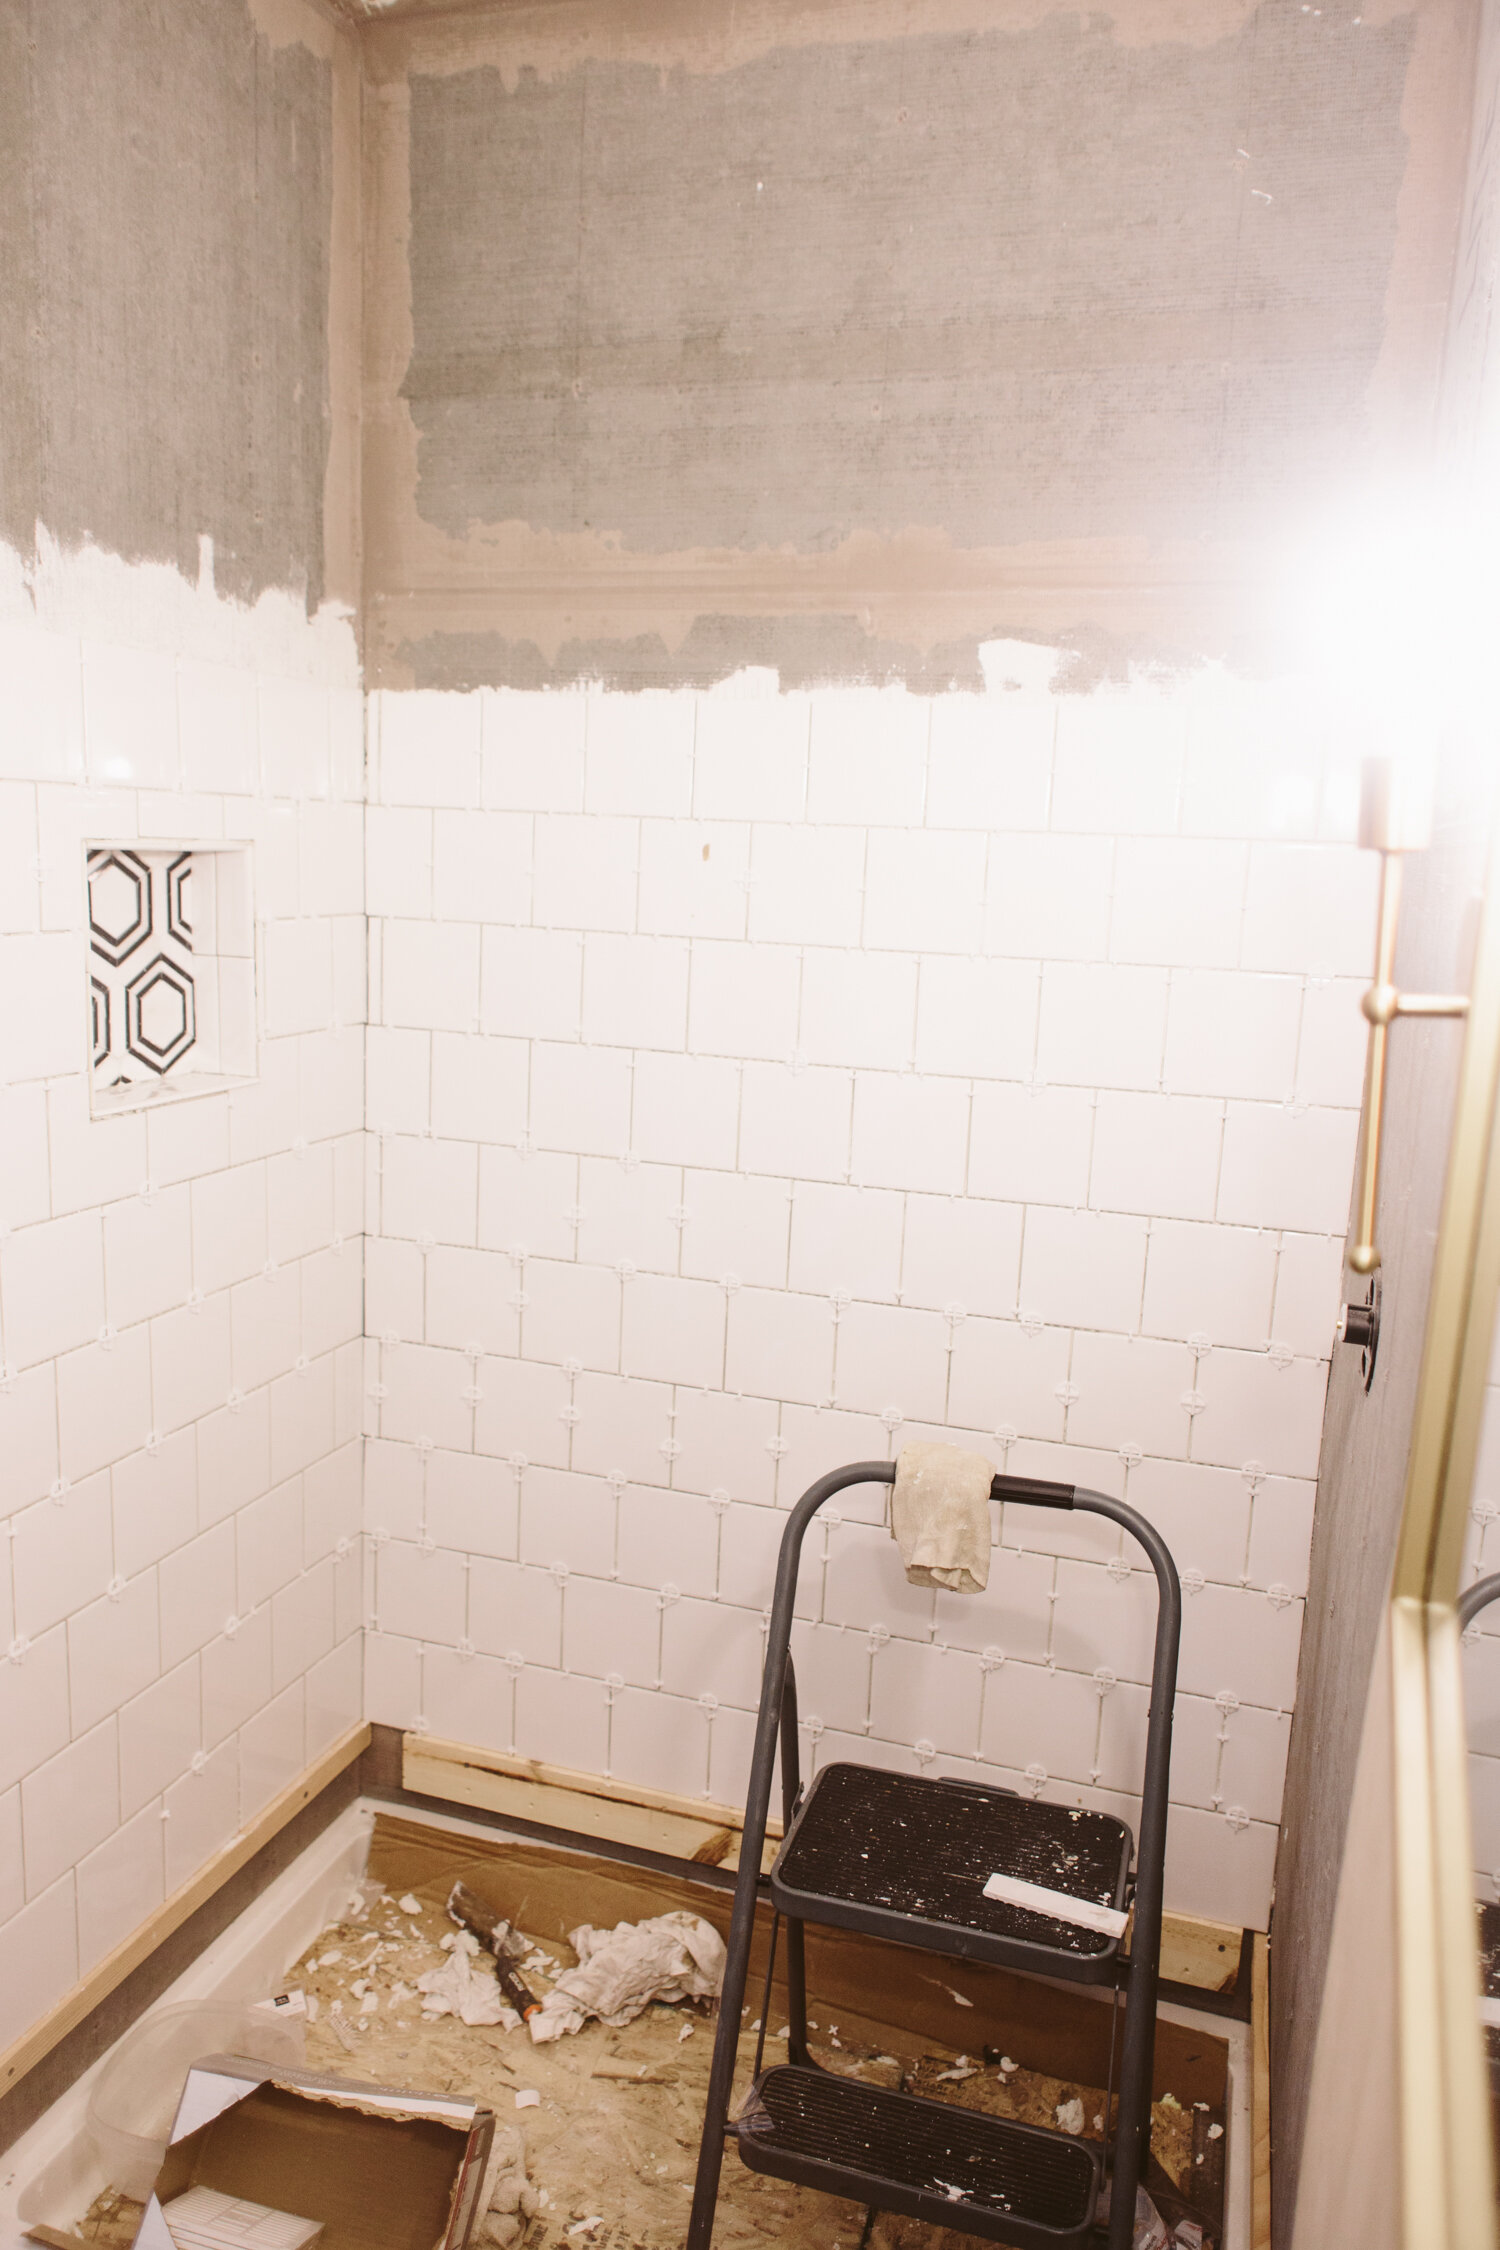
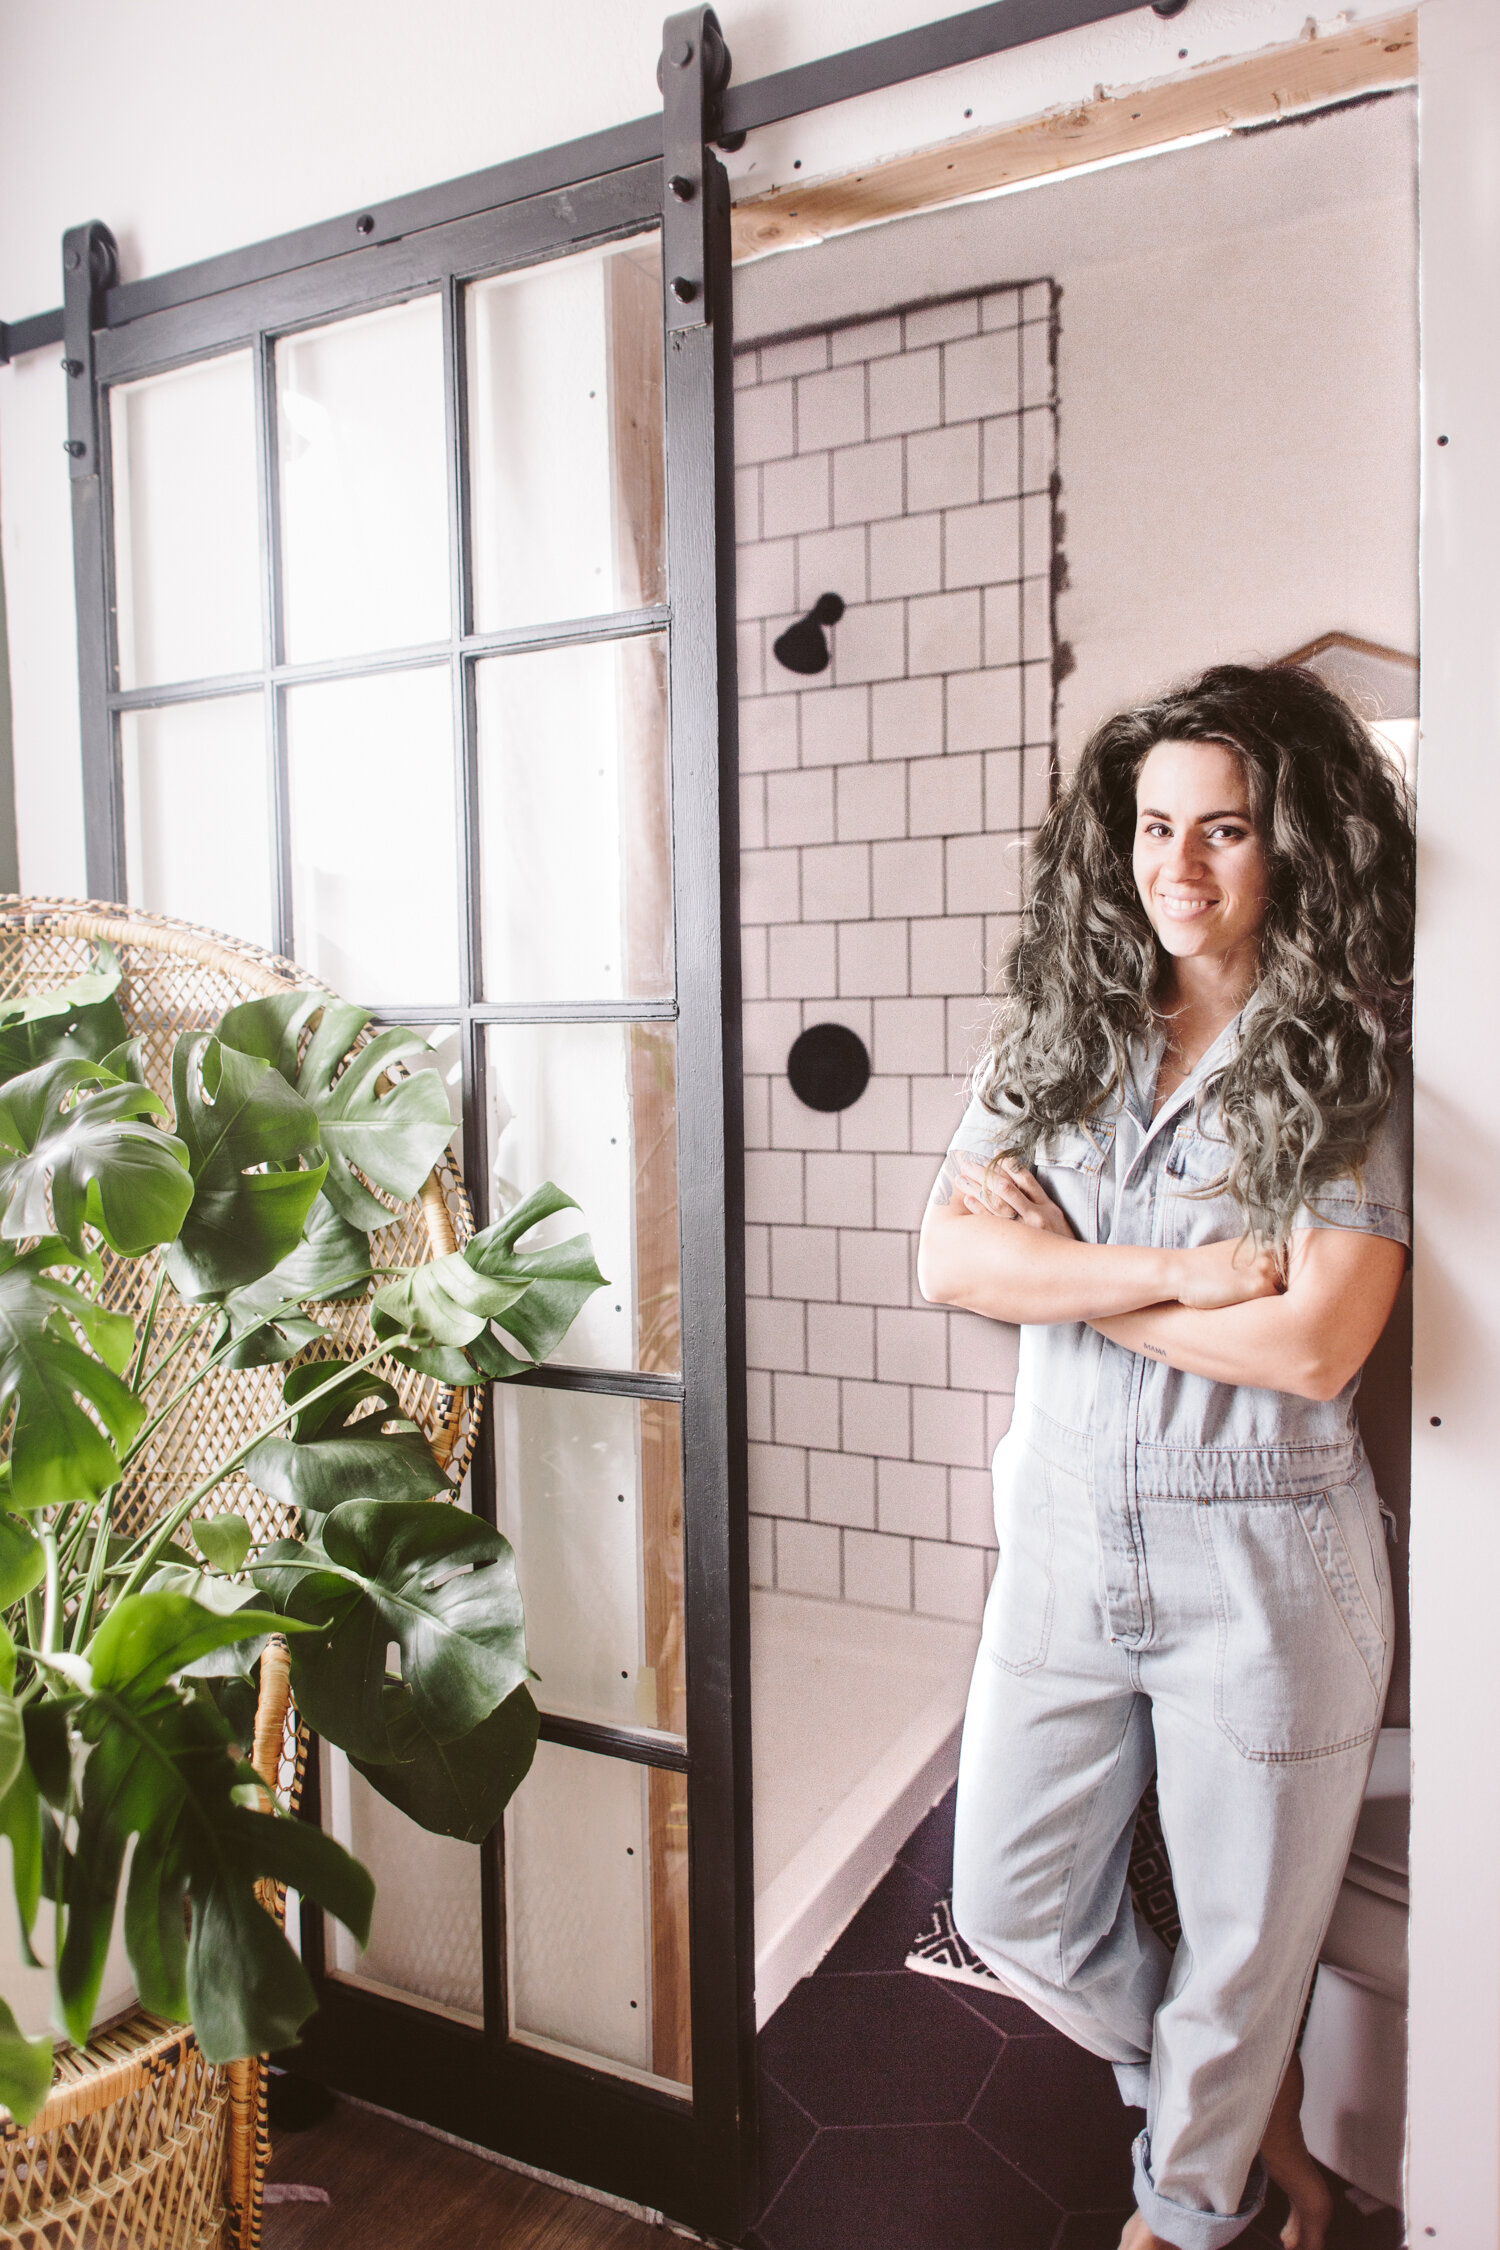
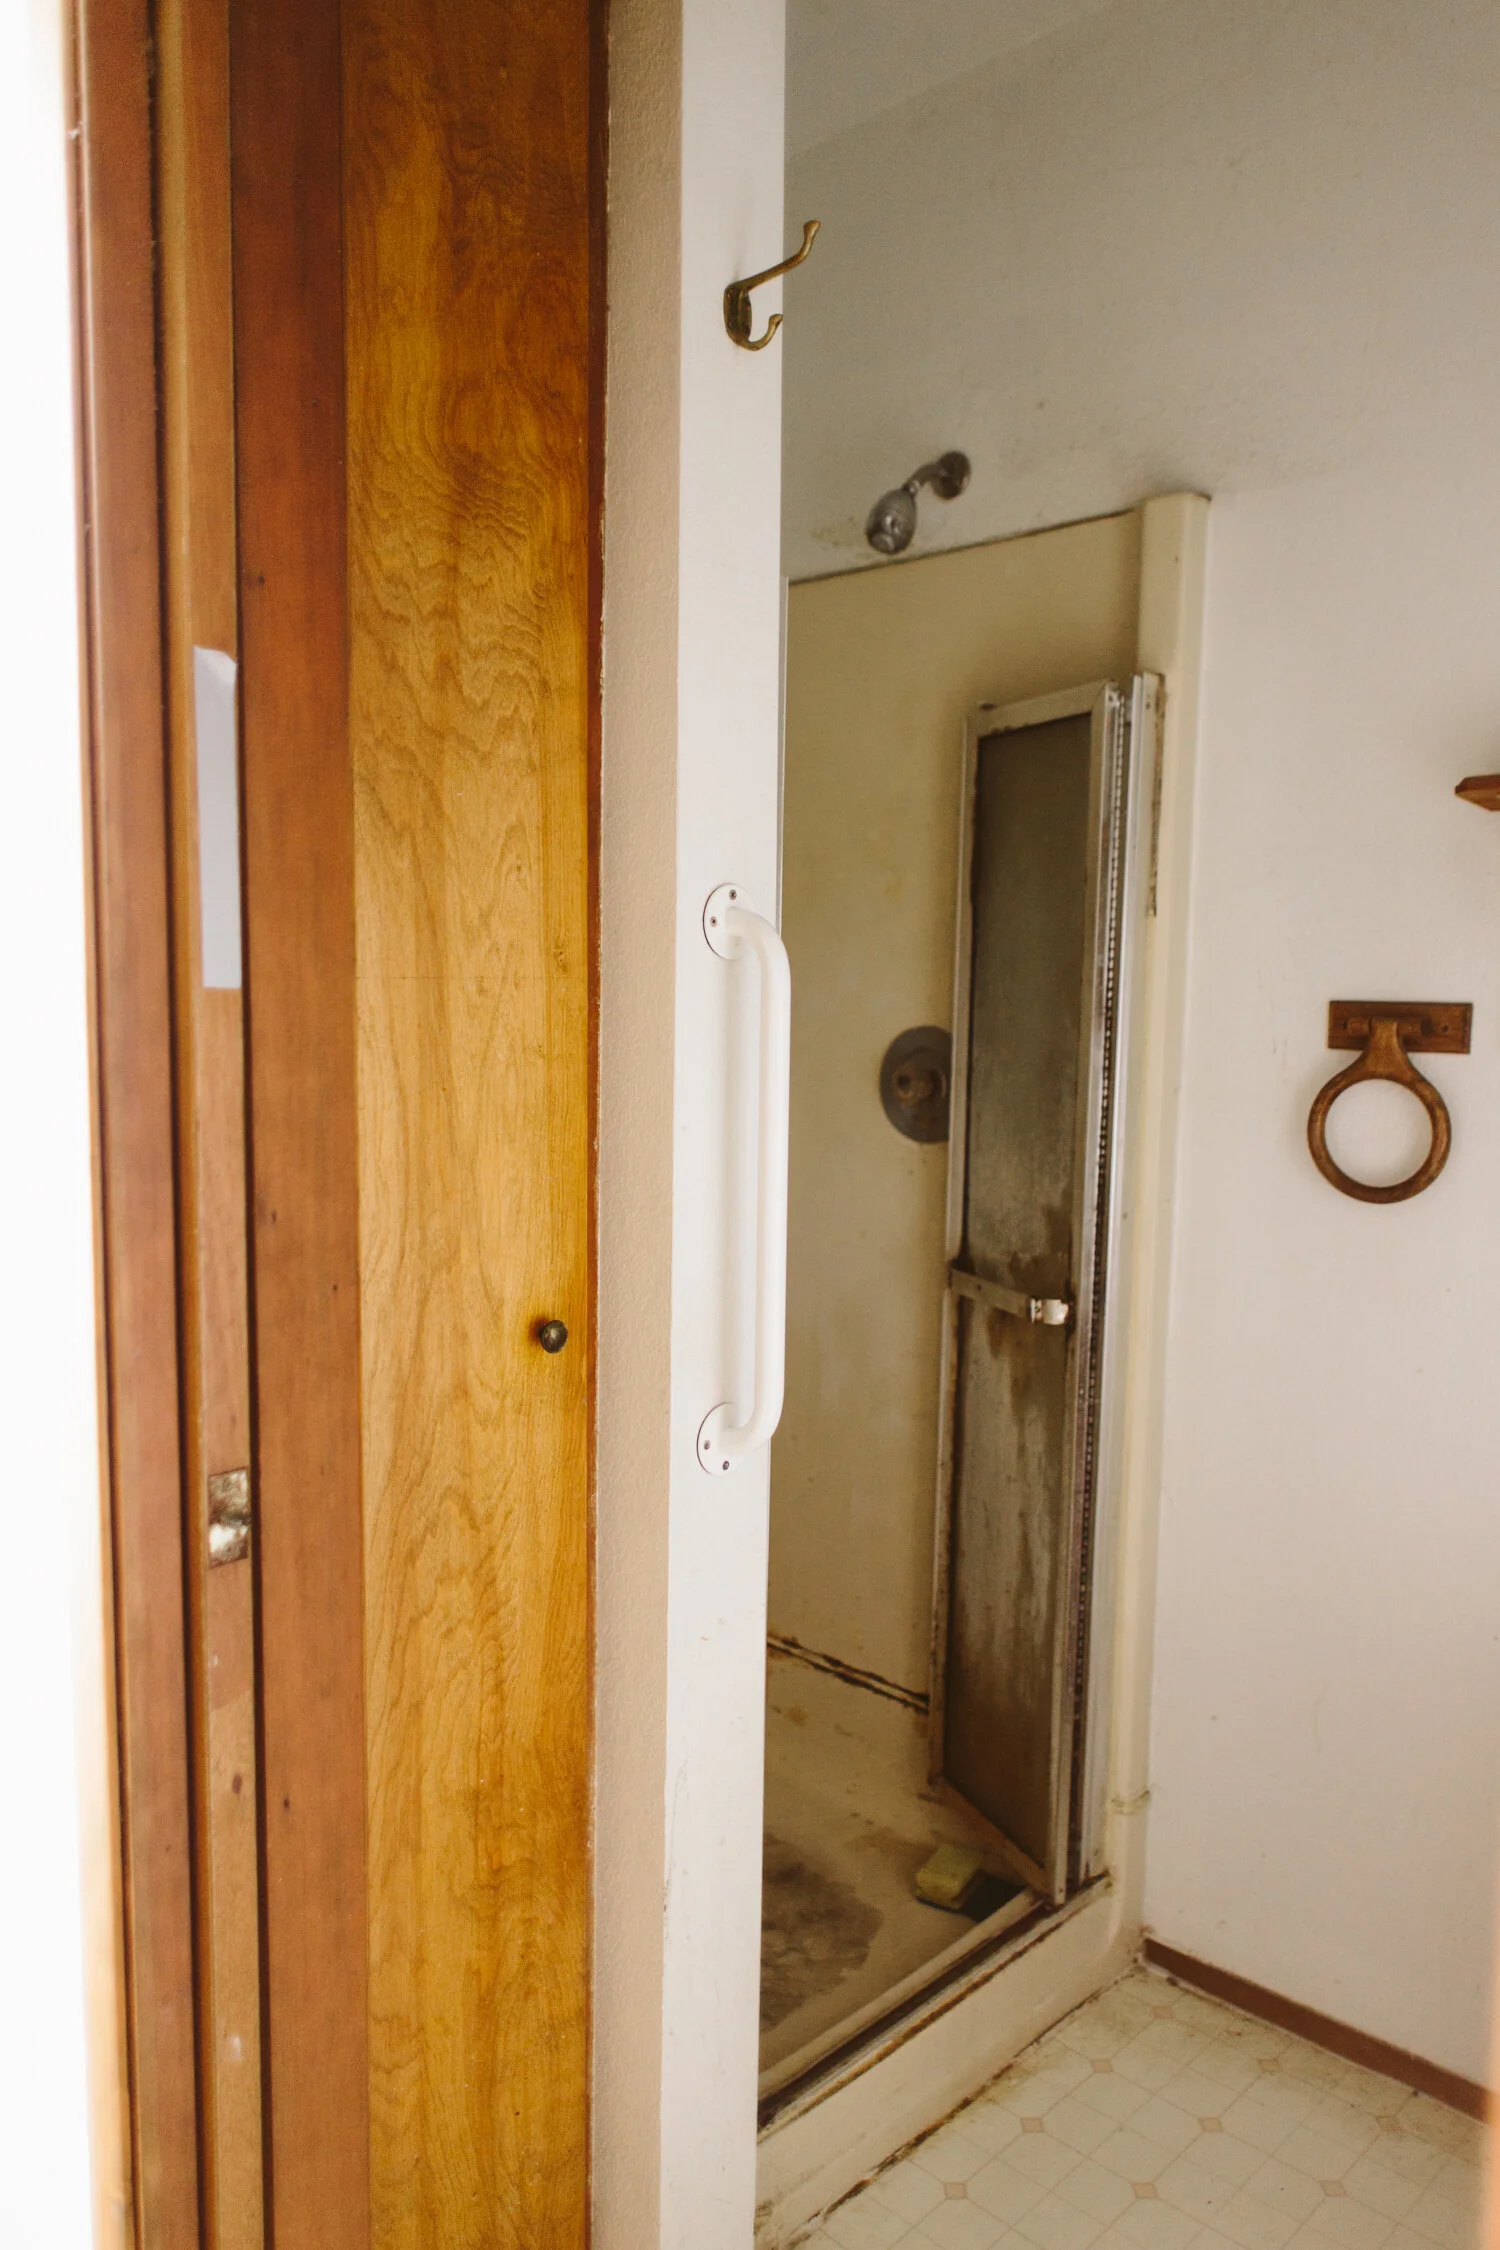
We have tile!!! If I’m being honest, the tile isn’t 100% done… I still have to clean up grout haze, grout the shower niche (I think I’m going to grout that with white grout, which I didn’t have on hand), and caulk everything. Details, details. I always drag my feet on the details.

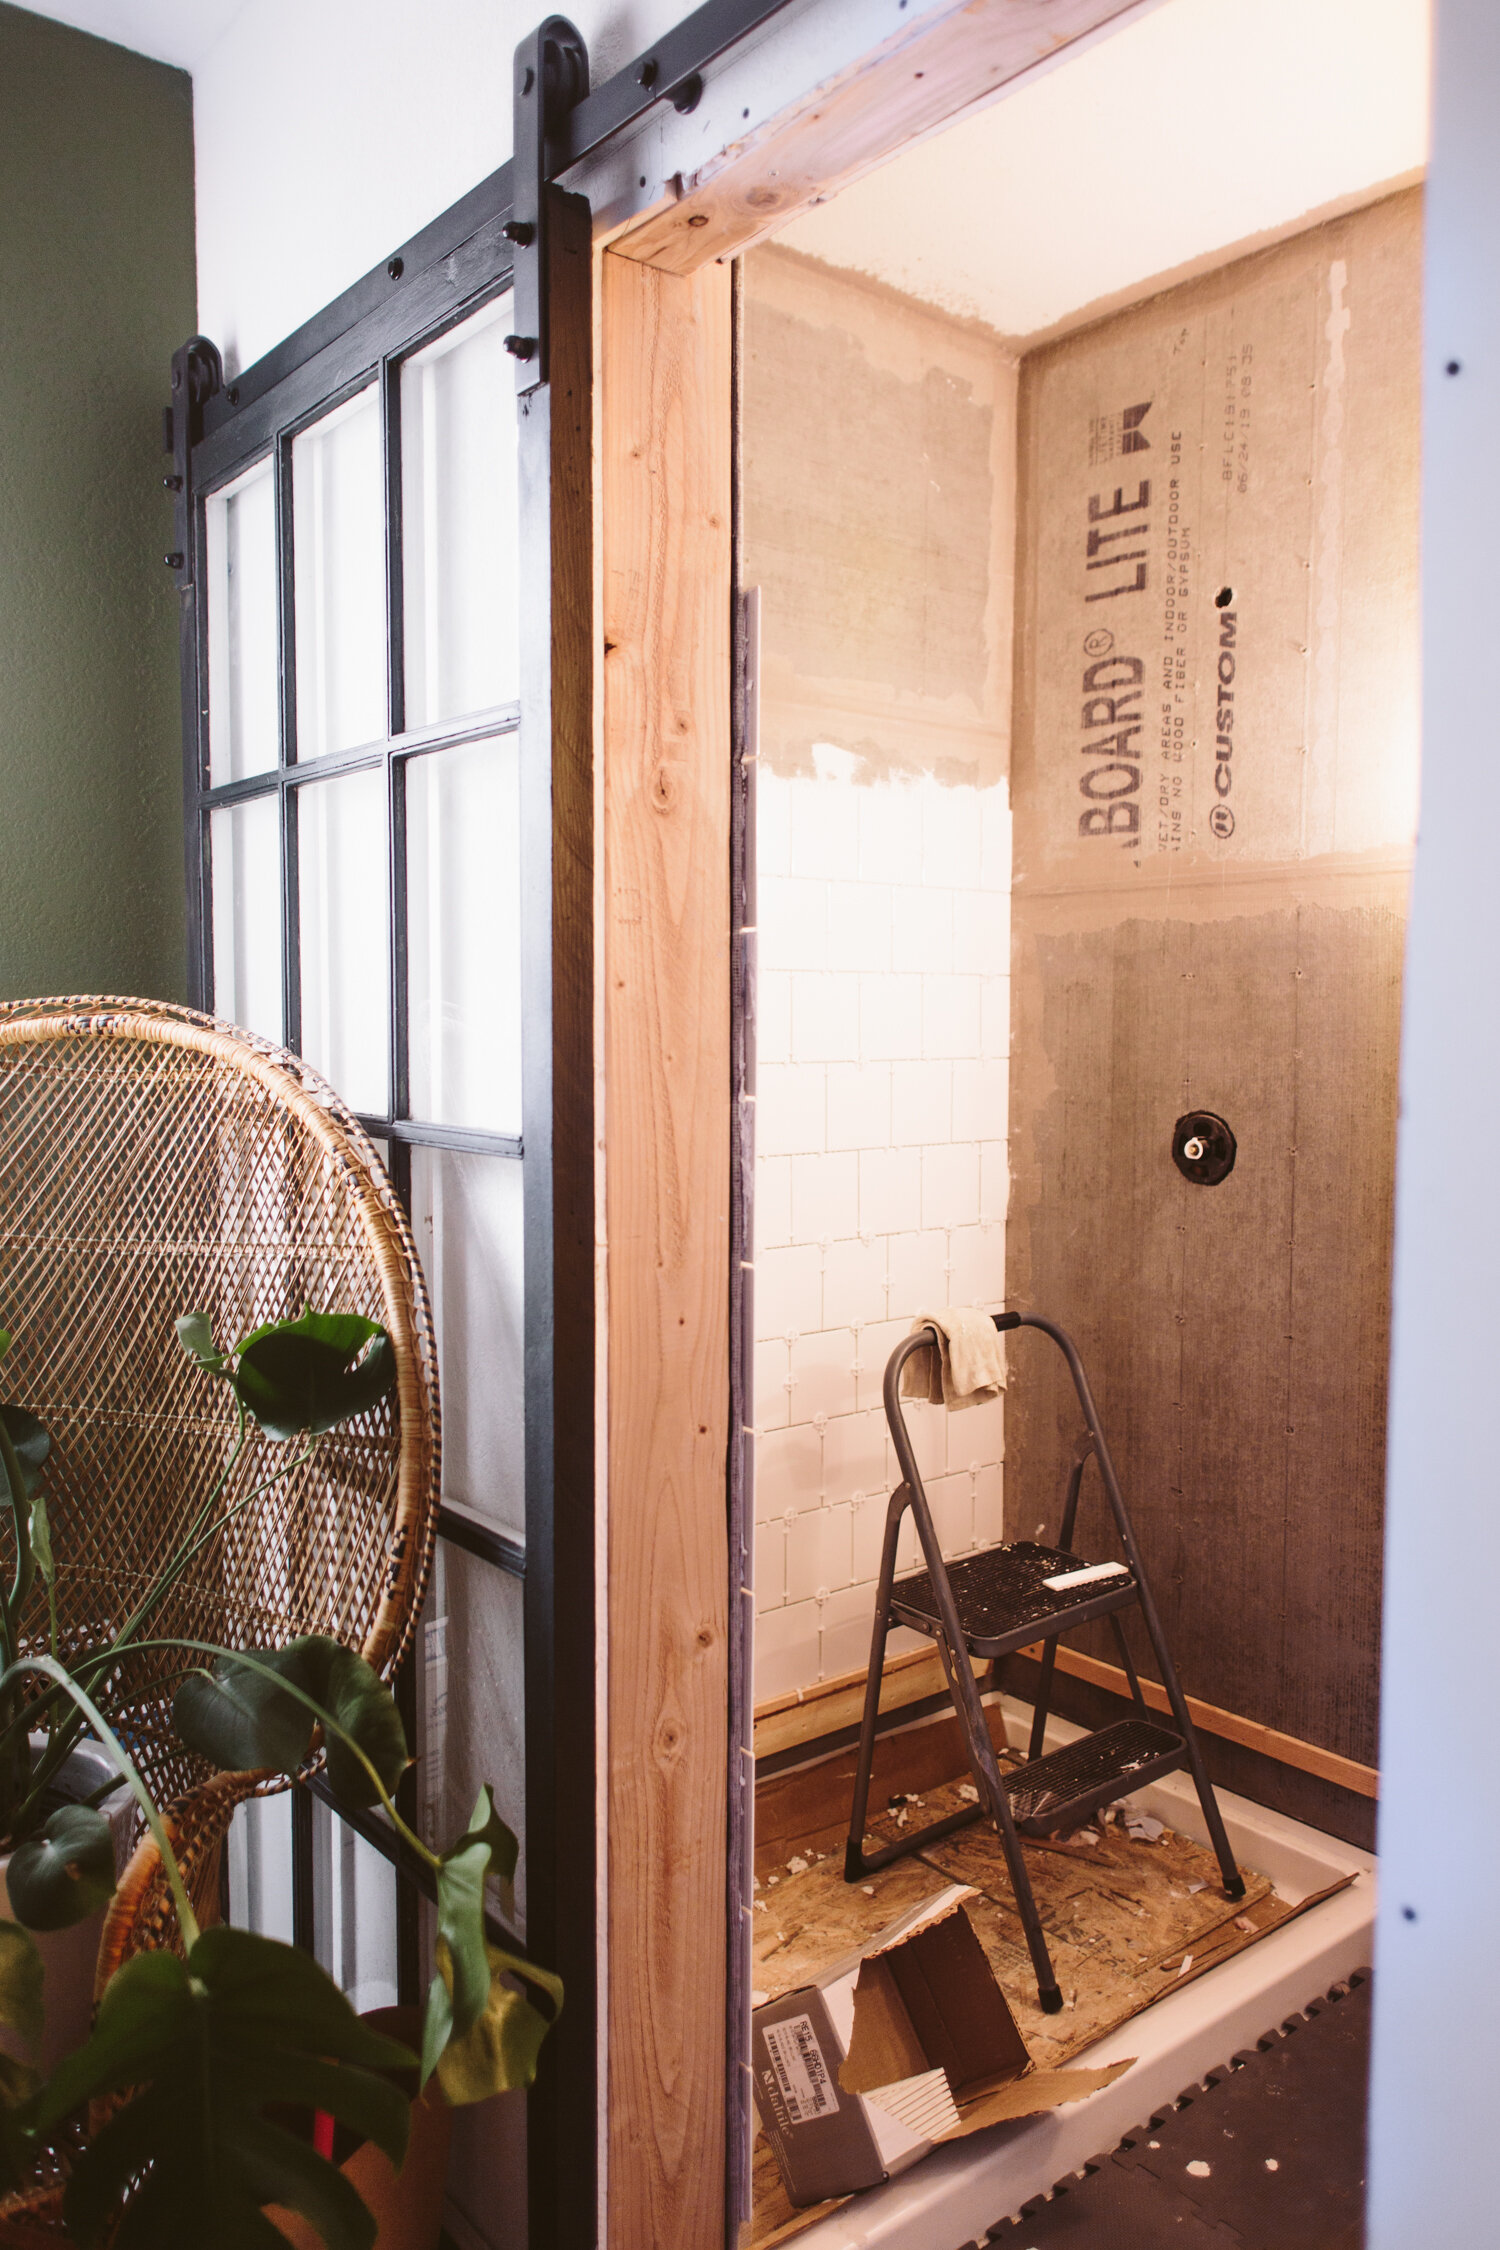
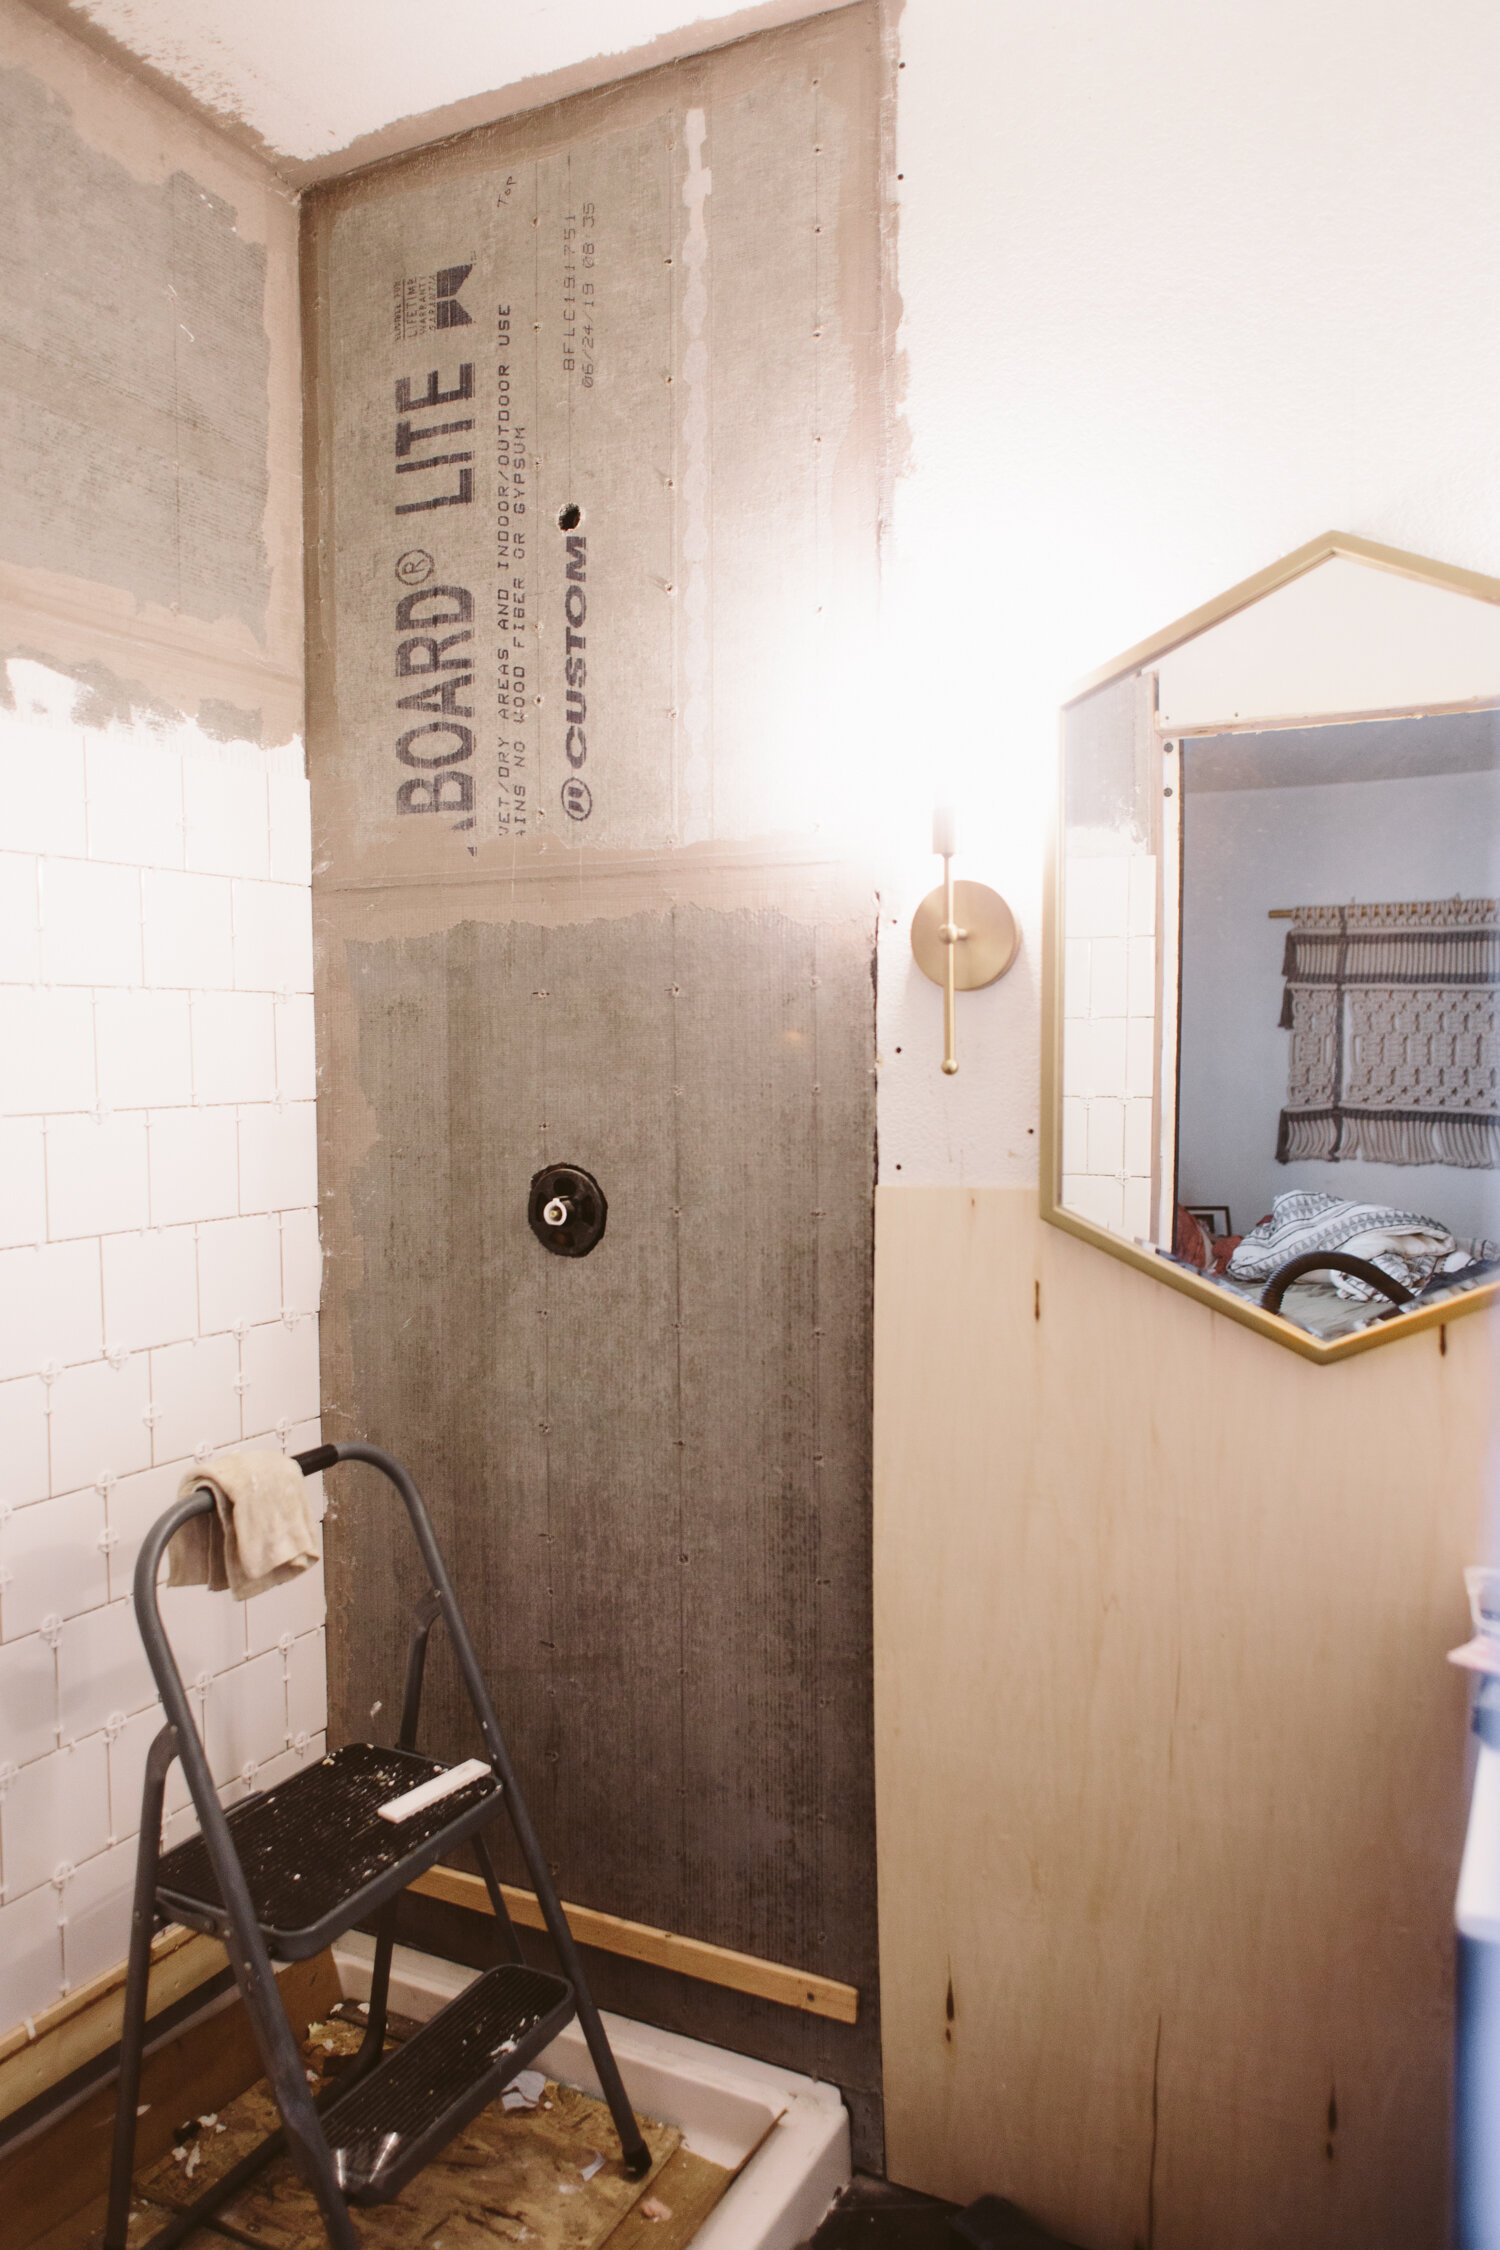
Tile was the biggest project in here, and the next biggest is to move plumbing, which I’m going to hire out. I’m moving the vanity to the wall under the mirror, so we need the sink plumbing to be there as well. Since we are in the midst of selling our other house, though, I may wait on that and try to button up some of the less daunting projects like finishing the drywall, installing shiplap on the ceiling, and re-doing the wall texture to feel more natural.

Make sure to check out all the other One Room Challenge participant projects here!

Jack's big kid room

IMG_1588.jpg

A little less than a year ago, shortly after we moved into this house, we transitioned Jack from a crib to a “big kid” bed. I got this Ikea bed planning on making it into a cute little house, but after sketching out a bunch of iterations, I realized that his bed needed to be a Winnie! Luckily by this time he was a little bit older and I flipped the bed into the loft configuration in order to turn it into his very own Mini Winnie! I had some plywood leftover from a project, cut it into the Winnie shape, cut out the windows, painted it, and then just screwed it to the side of the bed!

I hadn’t really set out on designing his room with a plan, but over time it turned into a sort of adventure room, which I love. I had a bunch of National Park posters from years past, so I put those up (still need to find some frames that fit them). I found a vintage map at a local vintage shop, and had the paper star lanterns from his newborn nursery (Jack’s middle name is Polaris, so his baby nursery had a subtle star theme).

There’s obviously some work to be done, we need to finish the trim throughout the house so his room is missing door and baseboard trim, but for the most part, everything else is almost there! I’d love to take the super dated ceiling fan down and do a DIY paint job that fits his room, maybe do a Hudson Bay blanket look on the fan blades? The yellow triangle was inspired by Erin Barrett (@sunwoven on insta, if you don’t follow, you must! Her house is gorg).

Like the rest of our house, most of Jack’s room is thrifted, with the exception of the Ikea bed and the rug, which is from Wayfair!

Sources:
Bed frame: Ikea Kura Bed | Rug: Wayfair | Red Ampersand : Modcloth (years ago, here are some similar options) | Letter Boards: Mini + Poet size from Letterfolk | Winnie Painting: by me | Shelving unit: thrifted (originally from Ikea) | Storage Bins: thrifted (similar metal bins) | Bookshelf: thrifted (similar) | Elephant Clothes Hamper: thrifted (similar) | Chairs: thrifted | Floor Pouf: c/o D+K Renewal

ORC Week 1: Our Master Bath Before!

 
ORC-Guest-400x218.png
 
Bathroom Before

Our Master bath was the one room that we really needed to gut completely and start from scratch. It had a disgusting 3x3ft shower, with a tiny linen closet next to it, an itty bitty vanity and the toilet sat smack dab in the door way. Whoever designed this space was completely insane. We didn’t have the budget to move a bunch of plumbing around, so we are working with what we’ve got for the most part (yes, including the toilet location).

Originally, this bathroom really didn’t feel at all like a “master” bath. It feels like the dingy basement bathroom from my college duplex, only less spacious. So while we couldn’t do a ton with the layout of the space, we could make it feel more like a nice bathroom that was designed in this decade.

IMG_3350.jpg

Like, you guys, it kind of even gives me the heebie-jeebies just looking at these pictures. There are so many things about this house that made me a little stunned that humans were living here right before we bought it, but this bathroom was definitely high on that list.

We’re also removing the pocket door, and moving the doorway slightly to the left so that the toilet isn’t RIGHT in the middle of the doorway. Look, I love my husband, but I’d rather not have a direct line of sight to him taking a dump while I’m laying in bed. But that’s just me. Taking out the pocket door also allows us to beef up that wall where the pocket was for the door, so it’s sturdy enough to take the tile that we’ll be putting on the shower surround. We still really need a sliding door since our bedroom isn’t very big and a traditional door will take up too much space, so we’re putting in a sliding barn door instead. I got a vintage french door, which I’ll be rehabbing and doing a faux mercury glass treatment on the glass panes for privacy.

bathroom before

Next to the shower was a tiny, 3ft deep linen closet which felt minimally useful, so we decided to tear out that whole side of the room and instead put a walk-in shower. Originally I wanted to do a penny tile floor for the shower, but it ended up being a lot of work to do all that ourselves, so instead we bought a pre-made shower pan that fit the space perfectly. It’s not fancy, so I’m going to make a teak slat floor for the shower that will fit right on top of the shower pan and make things feel way more “spa” like.

The flooring will be completely replaced with large black hex tile, and we are moving the vanity to be on the wall opposite the doorway, next to the shower. Since the shower entrance will now be where the linen closet used to be, we can utilize that wall for a vanity with way more counter space. We’re putting up a gorgeous brass hexagonal mirror and two brass sconces on either side of the mirror!

I’m so excited to have a functional bathroom in our master! We have a second full bath in the house, so we haven’t “needed” it, but it’s going to be SO nice to have a space of our own.

Check out the other One Room Challenge posts!

Our Dining Room Transformation!

IMG_0473.jpg

This space is still very much a work in progress, but I love being able to look back at what it looked like when we bought the house, and appreciate how far we’ve come. This room is * technically * the living room, but it’s smaller space and right by the front door, so having the entry there takes away some space too, so we decided to flip them, and put the living room next to the kitchen and move the dining room to the front of the house.

For us, having a dining table is nice for hosting friends, and doing crafts and projects, but we don’t use it on the daily, so moving the living room to the center of the home, right next to the kitchen, made way more sense. We use the living room and kitchen all the time, so putting them close together was perfect for us.

Because this wasn’t designed as a dining room we didn’t have a hardwired light over the table, so I found one at the thrift store for $5 and strung it up with a hook! It’s a plug in lamp so I plugged it into a smart plug so now we just tell Google to turn on the dining room light and it turns on! Way easier than going through the work to install a hardwired light. We may still eventually install one, but for now this works great!

IMG_0469.jpg
IMG_1637.jpg
IMG_3340.jpg

You can kind of tell, but the ceiling was sagging a bit, which is why the old faux beam they had up looks super weird and bent. We jacked the ceiling up and put up a lighter cedar faux beam. We also took out the pony wall that divided the two rooms, and another tiny pony wall that was right by the front door, which made that space extra claustrophobic.

The disgusting, dog scented, dog fur saturated carpet was the first thing to go. It was even more disgusting IRL, and yes, all the stuff in the house was left when we bought it as-is, so we had to fill a couple dumpsters with all that crap as well as the stuff we demoed.

IMG_0481.jpg
IMG_3342.jpg

I’ve got more projects up my sleeves for the dining room, but those are on the back burner with some more pressing projects in line first, but I’m so happy with how far we’ve come since those photos on the first day!

IMG_1632.jpg

Bottle brush tree holiday tablescape

sisal tree tablescape

I love creating fun tablescapes and the holidays are a perfect time to bring together a bit of creativity and joy for entertaining. One of the best parts of this tablescape is that everything can be reused as regular Christmas decor, which I definitely did after hosting my annual Friendsgiving.

Another awesome thing is that I already had most of the elements and just brought them together! The base is actually a macrame wall hanging that I just folded up, I had thrifted all the candlesticks previously, I had most of the bottle brush trees from last year (and bought a few more from the Target dollar spot to fill it out), and the felt trees were a DIY craft project I did last Christmas season!

A few tips for putting together a stunning tablescape:

  • Don’t skimp on the candles, they bring such a warm glow and instantly create atmosphere. I always have lots of candles when I’m entertaining.

  • Vary heights and create levels. When you vary the heights of items in your tablescape, it allows the eye to keep moving. I made sure to spread out the different sizes of trees so there were different levels throughout the vignette.

  • Add texture! While the macrame base was mostly hidden, it still added a lot of texture and warmth. The felt trees have a wonderfully cozy texture, and the bottle brush trees had their own unique texture and sparkle that complimented the other softer textile elements.

  • Greenery! Okay so this table doesn’t technically have greenery like most of my designs, but I grabbed some sparkly white faux branches from Michaels to bring in that natural plant-based element. Even though they’re totally obviously fake, they still read as a plant element. A super easy way to add real plants without breaking the bank or having to learn floral styling? Buy a bundle of eucalyptus branches and lay them in the middle of the table, interspersed with your other decor elements. It fills the space beautifully, adds a lovely touch of green, and bonus: you can dry it and keep it as year-round decor!