hair

The pink ... panther?

Eclectic Dining Room

Guess who finally said goodbye to bright yellow hair?! Probably the only person you know with bright yellow hair: me. I dunno guys! I was just feeling the winds of change and I actually made a snap decision to go pink after I’d been planning to go purple/grey for a while.

I used Arctic Fox hair color again, this time in Electric Paradise. The yellow was Cosmic Sunshine and it was a great color, very fade proof (almost … too fade proof? I was hoping I could get it to wash out so I could go silver/grey but alas, the dye is TOO good, lol). I’m excited to see how this one fades. I really like a faded pastel pink, so we’ll see how it looks after a month or two!

How to cut your own bangs

bangs.jpg

Bangs.  We love em.  Then we immediately hate them.  But then maybe we love them again.  No, we hate them.  Let's be real, bangs are a commitment.  A serious one.  The grow out period can be a huge pain in the ass if you decide you hate them.  But if you're ready to take the plunge and are willing to go against the advice of, well, almost every one out there, I'm here to empower you.  Are you ready to cut your own bangs?  Hell yeah you are.  Now let's break the rules and DIY that ish.

Obviously this comes with a warning, which is: not many people will advise you to cut your own bangs.  I've been cutting my own hair and my own bangs for many years, so while I'm no licensed hairstylist, I feel super comfortable wielding a pair of scissors near my hair.  I also have curly hair, which is rather forgiving in the haircut department.  My methodology of hair cutting has always been one that is for big, curly hair, so it may or may not work for you if you have a different hair texture.  That being said, I feel like my way of cutting bangs could definitely work for hair that isn't my same texture, but, you know, use your best judgment. 

Here's how I cut my bangs:

1. Separate the section of hair you want to cut into bangs.  I typically do a triangle shaped section with the point near my crown.  This will determine how thick your bangs are, so the bigger chunk of hair you grab, the thicker your bangs will be.  You also may want to take into consideration how thick your hair is, since the hair you take away to be bangs will no longer contribute to your hair's overall thickness. Once you have your bangs section separated, tie back the rest of your hair to keep it out of the way.

2. Flat iron your sectioned hair.  This may not be 100% necessary for some of you, but since I have curly hair, it is.  Most hair stylists will cut hair (and bangs) wet, but since my hair is curly and poofy, I prefer to cut my hair with it's poof and texture intact so I know how things will look.  When my hair is wet, it's way more limp and longer than it is when it's dry, so if I cut it limp and long, it gets shorter and poofier when it's dry and the cut doesn't look anything like it did when it was wet.  I never cut my hair wet, so this is just a personal preference.  

3.  Rough in the shape you want.  I typically do bangs that are on the long side and are tapered longer on either side.  Since I have curly hair I sometimes will wear my bangs with their natural curl and they appear much shorter when they're all crimped up in their natural curl.  Keeping my bangs as long as I can handle helps me style them curly (without them looking like I have a tiny 'fro on my forehead).  When roughing in the shape, leave the hair longer than you want it to be when you're done. You just want to get the general shape, then we can go back and perfect the shape.  Remember, you can always cut shorter, but you can't cut longer.  Always err on the long side, if you live in your bangs for a few days and decide you need them to be shorter, you can always go in and give them a little trim.

4. Make sure that both sides are the same length and hit your face at the same spot.  Then, from the middle, you can use your fingers to pull the hair down and match lengths as you trim down towards the longer sides (if you're doing a tapered bang like mine. If not, just use your fingers to pull the hair down and match the lengths of each piece you cut to the piece that you previously cut).

5. Instead of cutting perpendicular to the hair, cut at a slight upward angle.  Unless you're looking for a super blunt looking bang, a la Sia.  It'll be a little slower going because you're cutting fewer hairs per snip, but you'll get a much better, more natural looking cut than if you just go straight at it.

6. If you need to, you can go back in with the flat iron to give your bangs the shape/curve you want them to have to help you finalize your cut as you snip in your final shape.

7. Again, I'll advise you to cut them slightly longer than you might want, and then live in them for a day or two.  Unlike going to a salon, you don't have to have your bangs absolutely perfect when you're done.  Since you're the one cutting them, you can go back in at any time to edit them.  I cut mine a little long and I've been living in them for about a week and I feel like I probably need to cut a few millimeters off so they're perfectly out of my eyes.

Fringe upkeep is just a matter of repeating that final trim process when your bangs get too long! And make sure you have a decent pair of scissors.  Of course, this is coming from a girl who used to cut her own hair with paper crafting scissors back in college.  You can grab a nice pair of scissors from a beauty supply store, or even sometimes the beauty section of a store like Walgreens or Target.

Be patient with both the process of cutting bangs, and with getting to know your new cut!  Bangs can be a big change and it can take a while to get use to how to style them and wear them.  Have fun!
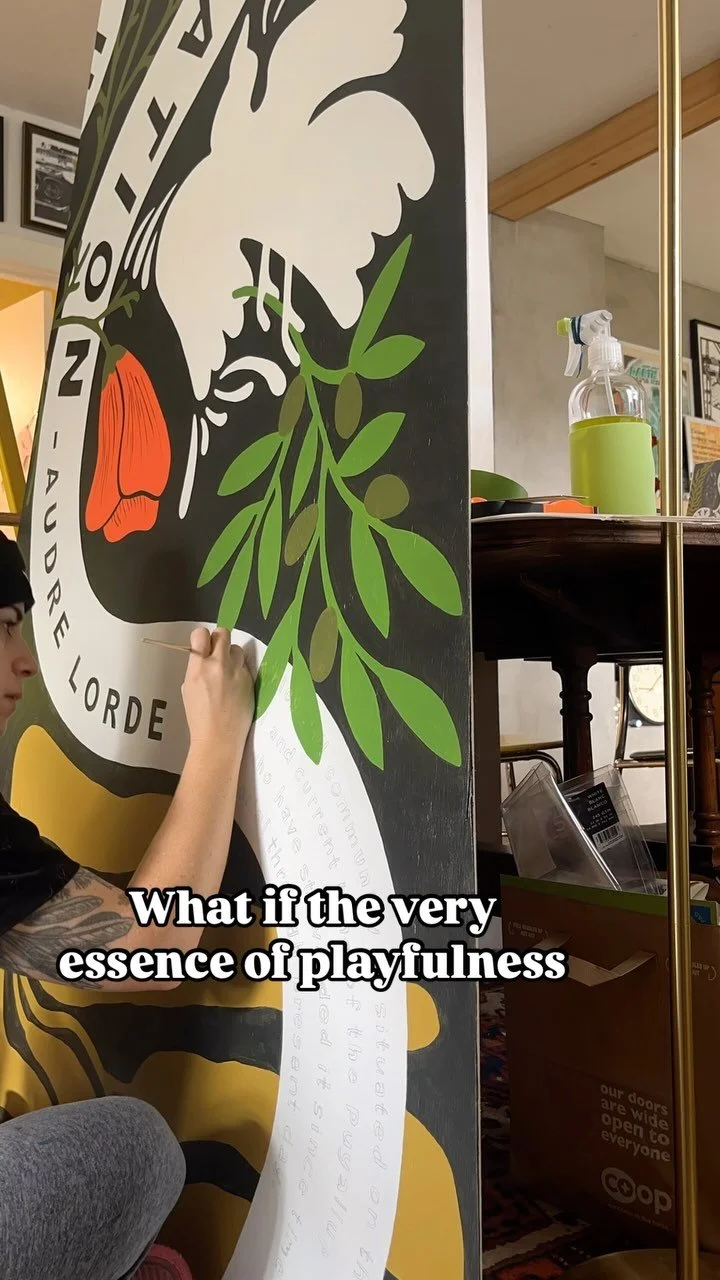
how to cut your own bangs

5 short hairstyle ideas for curly girls

Having natural curls is, most of the time, super awesome.  It's basically pre-styled every day, I don't have to wash it very frequently (and when I do, I just use water and conditioner), and it has natural body.  But it can also feel limiting when it comes to styles.  Other than a brief stint with shorter hair, of the bob/long-bob variety, a few months after I got married, I've almost always rocked long locks.  Now, don't get me wrong, I love big, long hair.  Part of me feels, well, not very "me" without my big hair, and I remember immediately regretting it after I did my post-wedding chop.  

But it's hard to keep from window-shopping, if you will, when it comes to other haircuts now and then.  Especially when you've been avoiding washing/detangling your hair for 3 days and keep it in the same messy ponytail for said days.  You might just find yourself getting on pinterest and doing a little pinspiration searching for more low-maintenance cuts.  

Finding inspiration for haircuts can be difficult because when it comes to cutting hair, you need your inspiration to have your hair texture. While I have naturally curly hair, oftentimes searching for "natural curly hair" can come up with much different textures than my own.  And other times it'll result in hair that obviously has no curly texture and is clearly curled with a curling iron.  These inspirations have a somewhat similar texture to my own, give or take a bit of curl or thickness, so into my pin-vault they went!

1. The Long Pixie
I love this look because it's clearly super easy to wear without any styling. Maybe a scrunch here or there and it's good to go.  It has great shape, and it's sexy!

2. The Curly Bob
This length is similar to when my hair was at it's shortest, post-wedding.  I remember not liking this style on myself, but I did have bangs at the time, and I feel like this style sans-fringe is a much more fresh looking style.

3. The Boy Cut
This style is one that I've had my eyes on for years.  Karla Deras, from Karla's Closet, is one of those original style bloggers from way back in the day when I first started blogging and she's rocked short, curly hair for years.  I remember always being envious of her curly, short locks, which felt carefree but chic in every post.  She's had a variety of shorter styles, but this one is a super-cute style that reminds me of a classic boy-cut.

4. The Long Bob (with bangs!)
I always find myself coming back to this style as one I love.  It still has some length and movement, but it also doesn't have the weight of long hair. Plus, cutting off all my processed ends sounds kind of lovely, my tips have been around through far too many hair color changes.  From red, to teal to blonde... they'd probably be happy to be put out of their misery.

5. The Undercut
I've never had a cut similar to this one, save a short time in elementary school when I eschewed any and all things girly and convinced my mom to let me get a boy haircut.  Lets just say it was not anywhere near as cool as these girls' undercuts.  I've dreamed of this haircut many a time, but is so drastic, I've always chickened out.  I love the longer, curly top, maintaining a bit of feminine spunk. Maybe someday I'll take the plunge!

Do you have any curly hair inspiration?  Favorite curly haired bloggers?

Sources: 1 // 2 // 3 // 4 // 5 // 6

love your curls


Naturally Curly Hair


 recently shared this link on my facebook page, and while I did a fist pump in the air for pretty much every single post shared in that article, this one struck a chord with me:

http://womenaresociety.tumblr.com/post/115394923469/wesley-crusher-radical-as-fuhk-why-dont-we

Growing up, I had no curly hair role models, especially not in pop culture or media.  In every single makeover plot line, the girl who gets made over has curly, unruly, big hair and then they straighten her hair to look like the classic Disney princess hair, slap on some makeup, pluck her eyebrows, ditch the glasses, and voila!  Now you're pretty.  Because you couldn't possibly be pretty with all that big, curly, frizzy hair.  It's... unkempt.  It's... untamed.  It's... uncomfortable. 

I was never the girl who could wake up hours before school to straighten her hair, put on makeup, and put in effort to look cute.  It was all I could do to get up 15 minutes before I had to be out the door.  I wasn't a primper, managing my big mane was a low-key affair and it was a constant battle.  I battled with the cut, spending too many years getting out of the stylist's chair with my curly hair shaped like a triangle because they cut it like it was straight hair.  I battled with being able to style it myself at home and using products (unwittingly) that were designed for the complete opposite type of hair: straight, think, limp.  It wasn't until my junior year of high school that I finally started to feel like I was getting the hang of it, and I was out of college when I got around to feeling super confident with my hair.  Now, I wouldn't trade it for anything, except maybe bigger and curlier hair!

Naturally Curly Hair
Naturally Curly Hair Naturally Curly Hair
Naturally Curly Hair

I wear my hair natural and curly 99.5% of the time.  I don't work in an industry where I feel pressured to wear my hair in a "professional" way (whatever that means), but I know plenty of women with naturally curly and ethnic hair who work in more professional environments have felt a lot of pushback and criticism regarding wearing naturally curly hair.  When I posted that first link on my facebook I got quite a few comments echoing that sentiment.  It's like, there's nothing said outright, just a general vibe that curly hair, worn naturally, is not professional.  It's "messy."  Unless you have nice, neat, soft curls made with a curling iron. 

I don't know how it is for girls now, but I grew up in the 90's and early 00's when everybody was into pin straight hair.  "The Rachel" cut was all the rage, and there was no way in hell my hair would ever be anything like Rachel's even if I had a stylist give me her cut.  Even if I straightened it, the texture is too coarse and I don't have that shiny sleekness that Jennifer Aniston has.  All my friends had that hair.  They could go to the stylist and get the styles they wanted.  And there I was.  With poofy hair that would explode into a mess of poofy frizz if I brushed it dry, and tangled moments after getting it combed out in the shower.  I got my curly hair from my Dad.  My mom, while her hair is thick and gorgeous, had no clue how to deal with my curls, other than desperately trying to detangle it.  I had no culture of curly haired women around me to help me learn the ins and outs of naturally curly hair.  Now, with the internet, online communities of natural curly girls are banding together, forcing the status quo of straight=normal to finally shift, slowly but surely.

I don't have a daughter yet, but if I do (and she's blessed with the gift of big, curly hair), I feel a lot more positive about the how culture will view and approach her curly hair.  Campaigns like Dove's Love Your Curls are encouraging and eye opening when it comes to revealing how our culture can affect little girls with curly hair.  Dove also has created a fun little Love Your Curls book, and you can download the e-book and customize it for the curly girl you love.  It's a perfect gift for the little curly girls who are likely to feel discouraged or frustrated about their curly hair.  Full of little encouraging poems and prose about curly hair, it would've been great to have had something that actively praised my wild mane as a little girl.  I would've died of happiness for a Disney princess like Merida!


By and large the majority of hair products seem to be designed for the masses, and curly hair's needs are ignored.  In conjunction with their Love Your Curls campaign, Dove has also created a line of curly hair products, Quench Absolute, which they designed just for curly hair to help nourish and shape curls.  They sent me the Quench Absolute line to try out, and while I was disappointed that the shampoo contained Sodium Laurelth Sulfate, which is definitely on the no-go list for curls, based on my research (and I'm also a no-poo advocate, so I was disinterested in the shampoo to begin with),  I tried the Restoration Mask, Nourishing Conditioner, and Créme Serum and felt that the products did and okay job, but I wasn't blown away.  I would need to try it for a couple more months to really get a feel for how well it works.  Since I only wash my hair once or twice a week, the process of trying out products, for me, takes longer.  I'm a fan of much more natural products, and big companies like Dove tend to swing further into the chemical realm when it comes to their products, but that being said I'm glad that companies are finally wising up to the needs of curly hair and working to create products with our specific needs in mind.  Curly hair often needs a lot of moisturizing, conditioning, and protection, since the bends of the curls can weaken the hair if not protected.  Dove designed the Quench Absolute line to help moisturize and keep curly hair healthy and manageable.  I haven't gotten the best results from the products, compared with other products designed by companies whose main focus is curly hair and curly hair only, but I'm excited to see more companies realizing the special needs of curly hair and working to normalize and embrace naturally curly hair.

Naturally Curly Hair
Naturally Curly Hair Naturally Curly Hair
Naturally Curly Hair
Naturally Curly Hair Naturally Curly Hair

I learned to love my curls because I was entirely too lazy (and SO not enough of a morning person) to go through the work to straighten it every morning, but I know so many curly women who felt forced to straighten, either out of obligation or frustration, and while it's not something I've had to deal with, I know that wearing your hair naturally, for women of color, has a racial issue component as well.  There are a lot of social, racial, and cultural forces that can affect curly girls from a very young age and hopefully with campaigns like Love Your Curls and the support of online and local communities, we can help encourage our daughters and other curly girls to love their hair as it is naturally.  I used to only wear my hair naturally because I was too low maintenance to bother with styling it straight, but now I feel like wearing my  hair naturally, not only because I love my curls, but because I want to encourage other girls with big, "unruly," curly hair to embrace the mane and let it do it's amazing, natural thing.  I've gotten emails over the years from curly girls who were encouraged by my blog to put down the straightener and start wearing their hair naturally and I get so excited when I get messages like that.  Rock it, curly girls!  #LoveYourCurls!

I was selected for this opportunity as a member of Clever Girls and the content and opinions expressed here are all my own. 

flower crown workshop at urban outfitters seattle

seattle flower crown workshop

 few weeks ago Urban Outfitters contacted me and asked if I'd be interested in leading a flower crown workshop in their Seattle store.  I leapt at the opportunity because I've actually been wanting to lead a flower crown workshop for months, so it was the perfect excuse to kick my butt in gear and actually do it!  I think flower crowns are a super fun accessory and, while perfect for festival season, something that you can add to your everyday outfits for a spark of bohemian flair.

This past Saturday I headed up to Seattle for the workshop and it ended up being so much fun!  We had about 30 people show up, and we split the workshop into two groups, one from 1-2 and the other from 2-3, so it was easier to show the process.  I can't wait to teach another one!  Everyone's crowns turned out so unique and gorgeous!  We even had a little pup flower crown (and now I'm convinced Dusty needs a flower crown collar, SO cute).  

seattle flower crown workshop

dress(

similar

)/courtesy of

modcloth

:: necklace(

similar

)/

free people 

bracelets/thrifted + courtesy of

lulu's

:: flower crown/handmade

seattle flower crown workshop

I've done a

flower crown diy tutorial

on the blog before, some time ago actually, but I've been thinking of doing an updated one with a video to help show the process better, would you guys be interested in that?  And, if any of you are in the area and want to come to an in-person flower crown workshop, let me know!  I'm working on getting another one scheduled, so hopefully I'll get one or two going in the next couple months!

Thanks to everyone who came out and made crowns!  It was so much fun and I'm glad you all got to leave with a brand new flower crown that

you

made!  

seattle flower crown workshop

photos of me via urban outfitters // all other images by me