beauty

What's in my everyday makeup bag

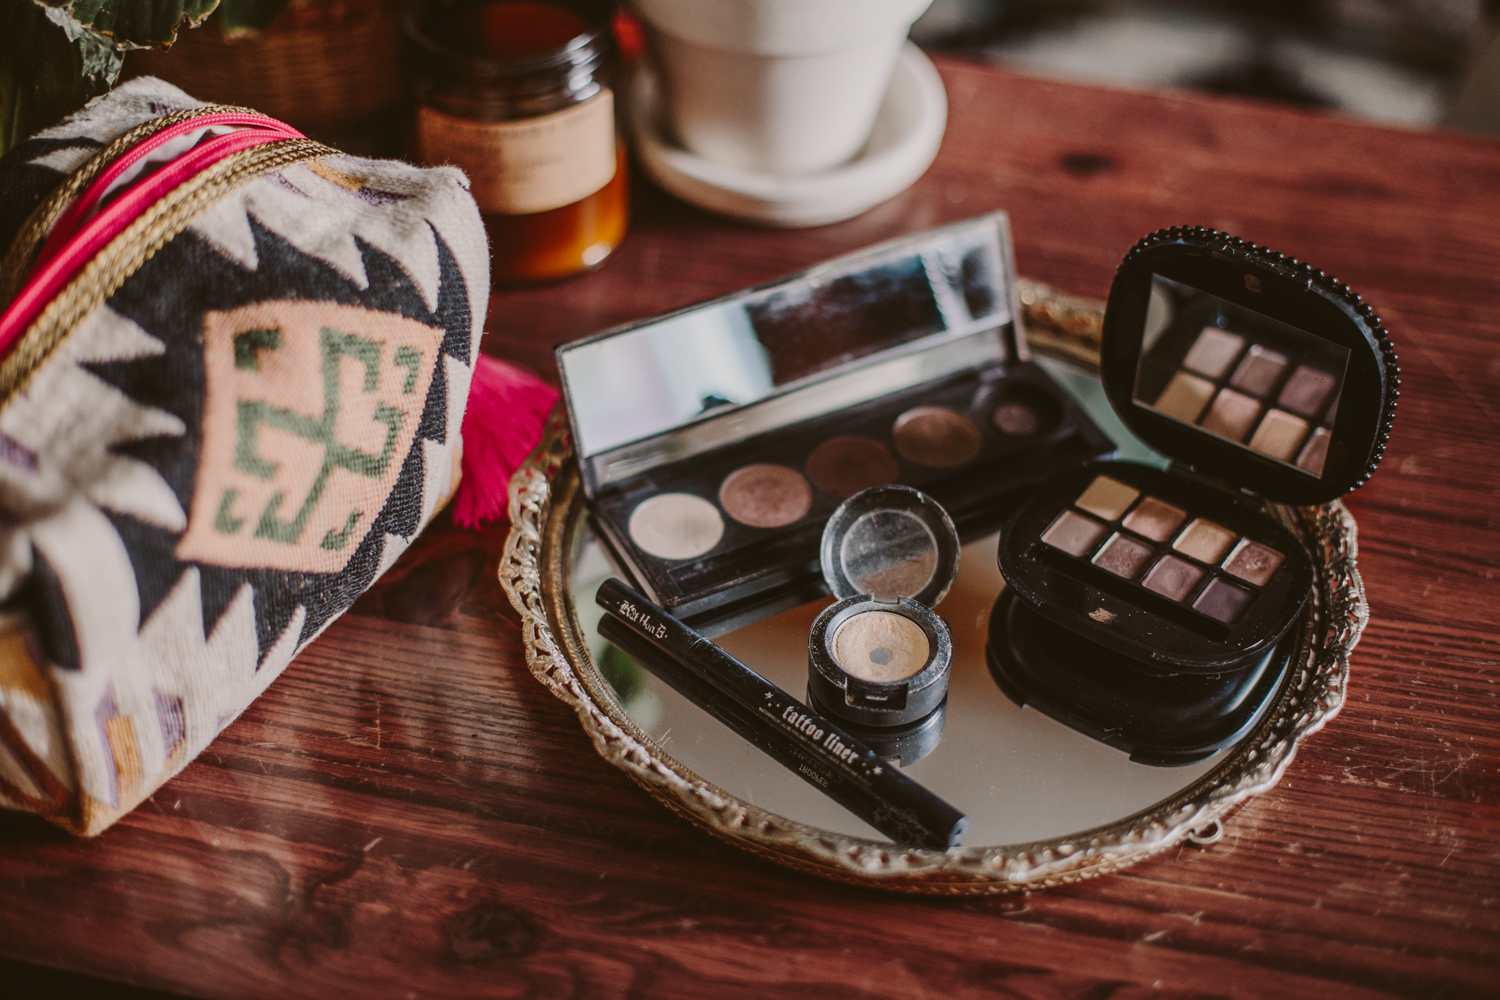
My makeup bag is pretty basic and minimal.  Other than my trusty eyeliner, there's not much that I wear every day.  If I'm going out of the house I typically do eyeliner, foundation, and blush, with a bit of lipliner/chapstick.  Or if I'm super lazy... just eyeliner.  If I'm feeling super not lazy, I do a subtle brown smoky-ish eye shadow with a bit of shimmer to it.  

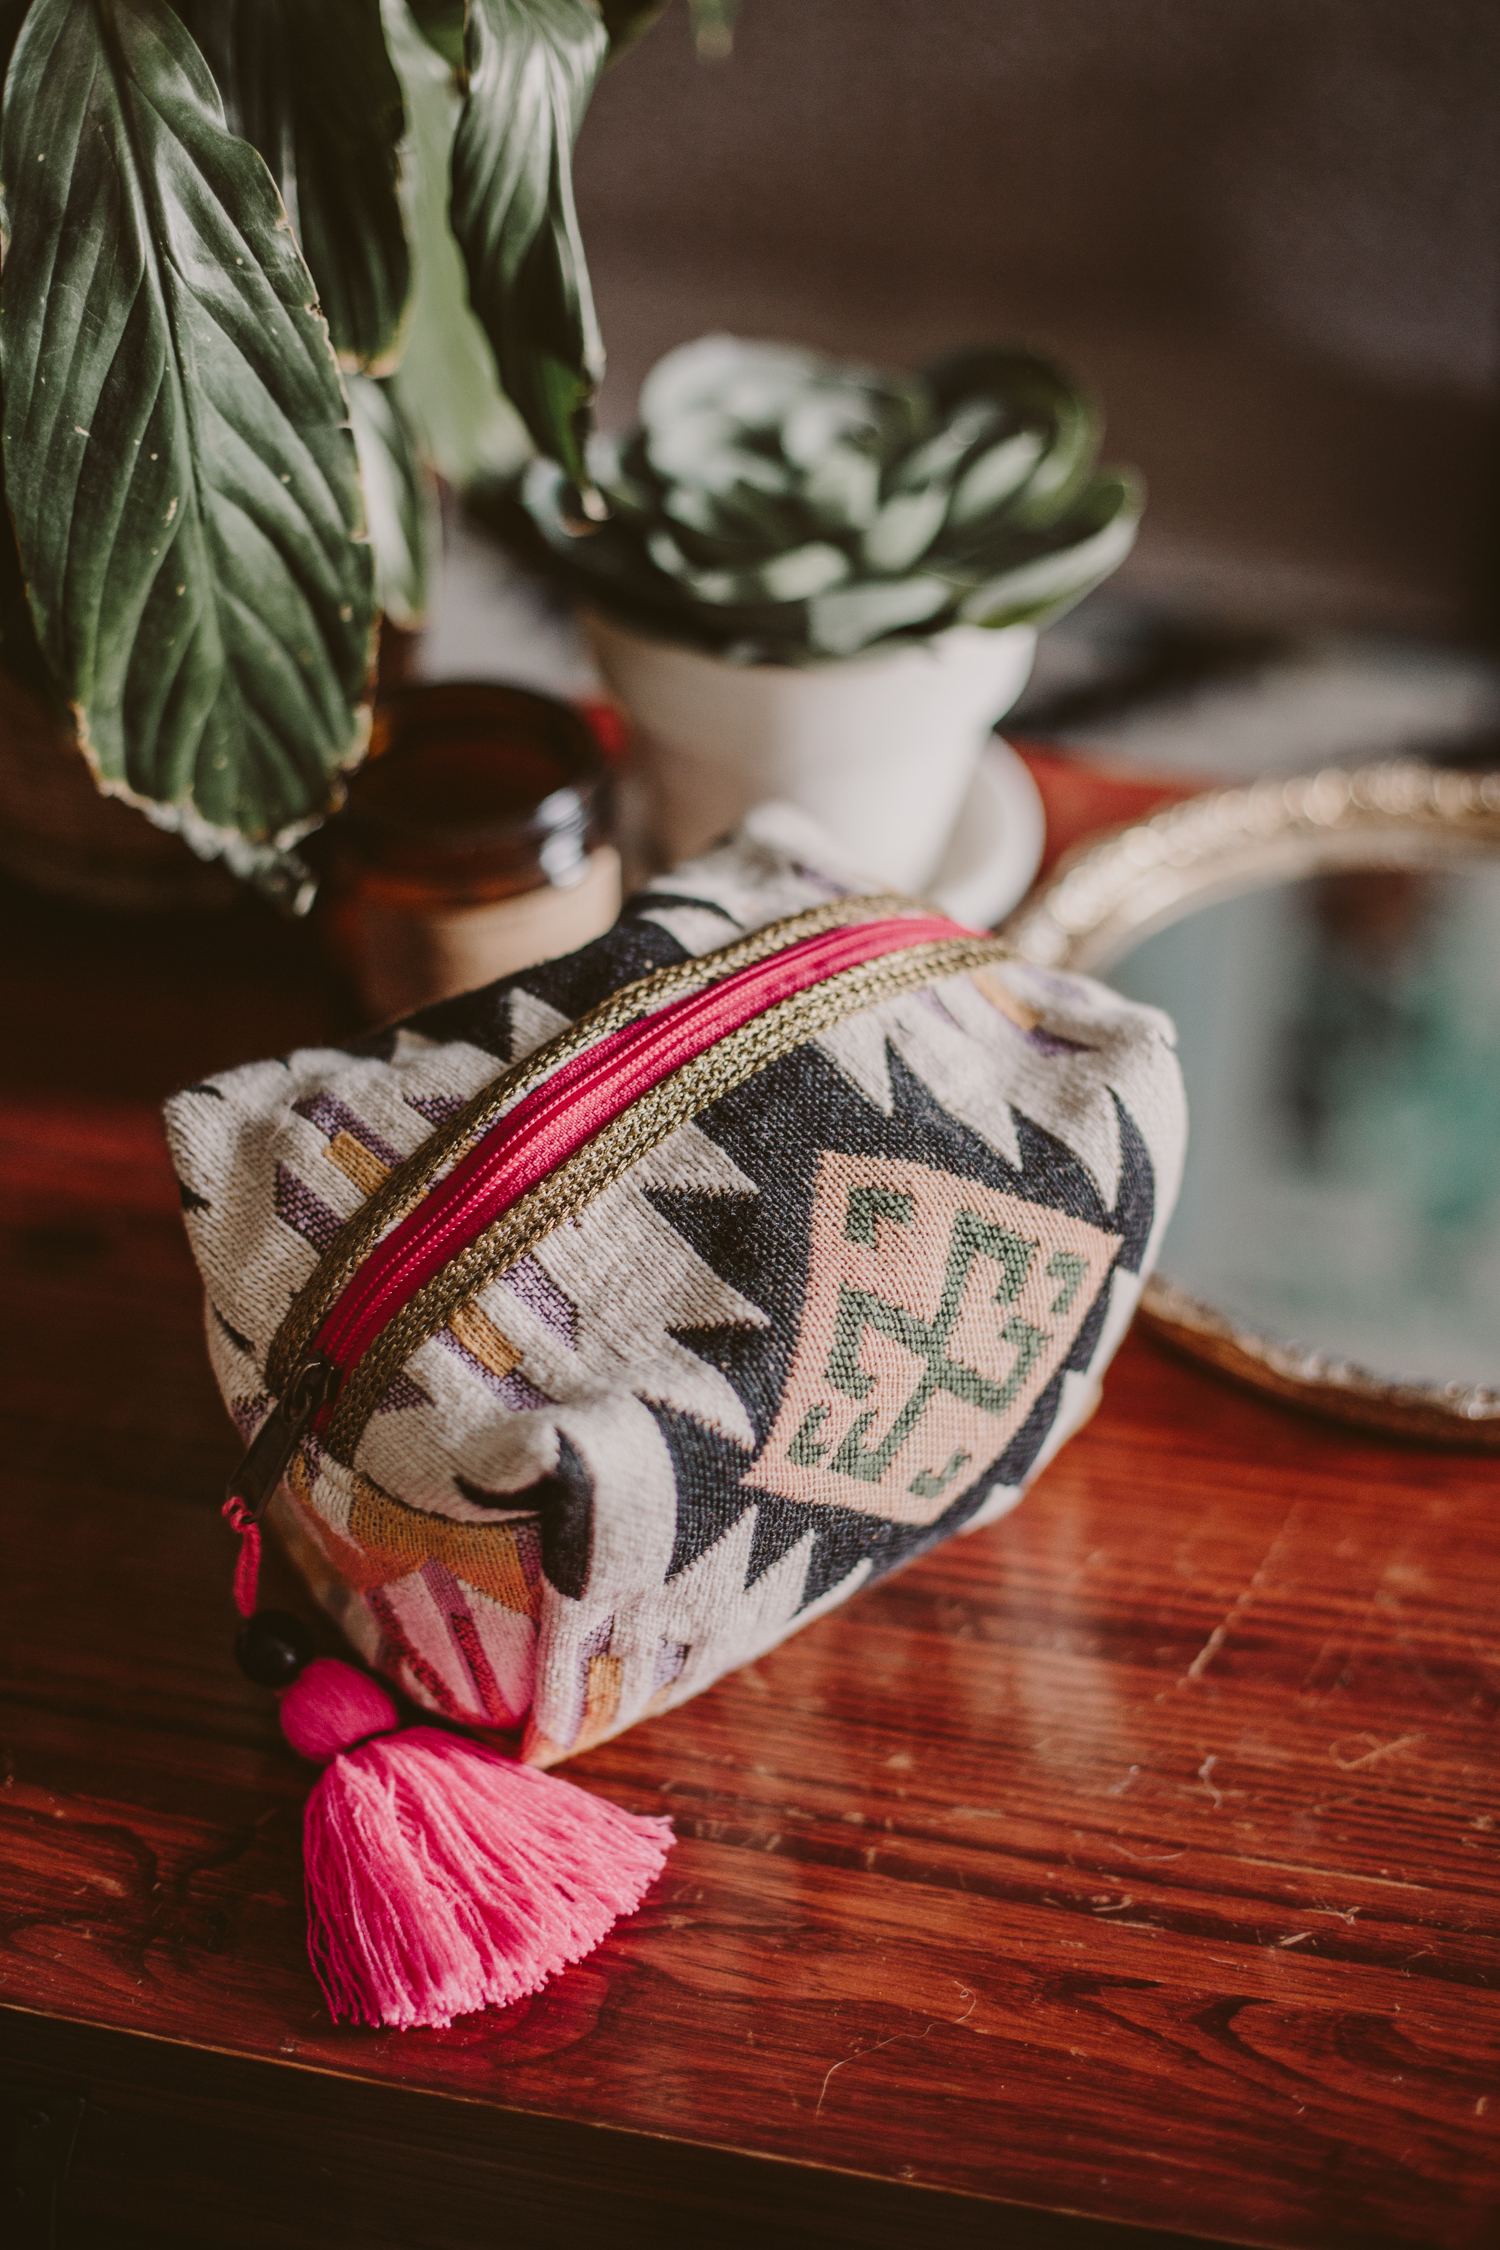
While I have lots of more crazy makeup (bright colors, lots of glitter, giant false lashes, etc.) in my make up case for burlesque shows and other non-casual outings, this is the makeup I keep on my counter for every day use.  And now that I have a super cute little pouch to keep it in from Moorea Seal, it's even more organized!

One thing I've been wanting to do lately is start to transition my makeup products to be more natural and organic.  I've tried making my own cosmetics in the past and was *meh* about the results, but I know there are quite a few cosmetic companies out there dedicated to making eco-friendly, natural products without loads of weird chemicals and I've been on the hunt, so that as I run out of my current products I can replace them with more healthy versions.  Let me know if you guys have any natural makeup brands that you swear by!  I'm all ears!

Makeup Bag c/o Moorea Seal

Eyes:
Kat Von D Tattoo Liner in Trooper
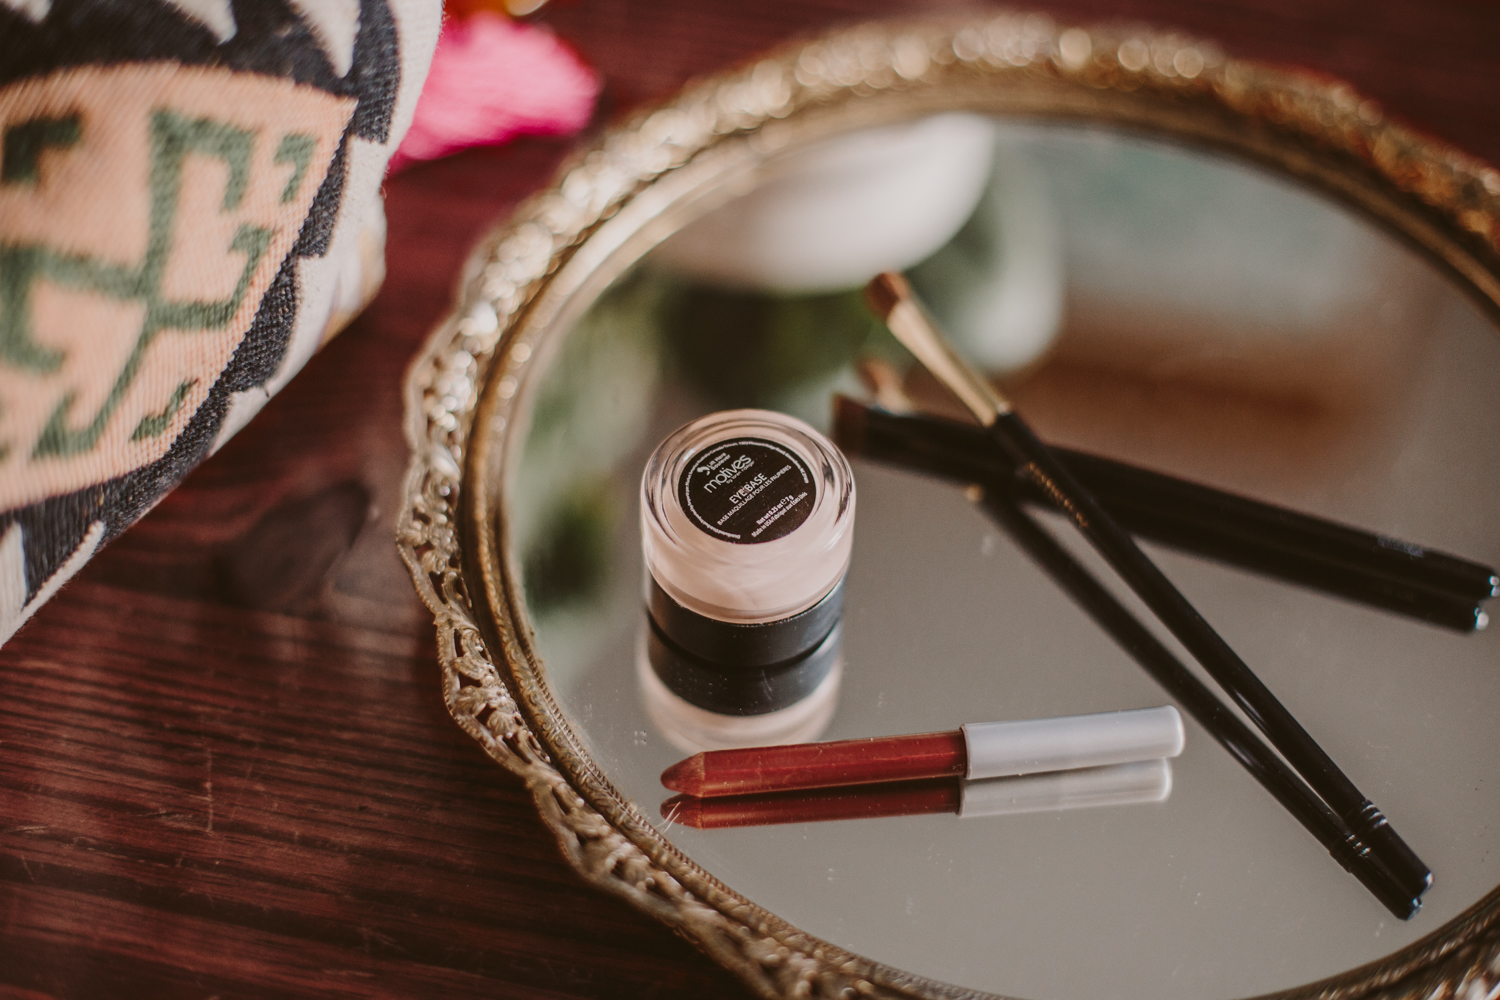
Motives Eyebase
Mac Keepsakes Beige Eyes Palette
Motives custom eyeshadow palette
(creme fresh, sequins, steamy night, hot chocolate)

Face: 
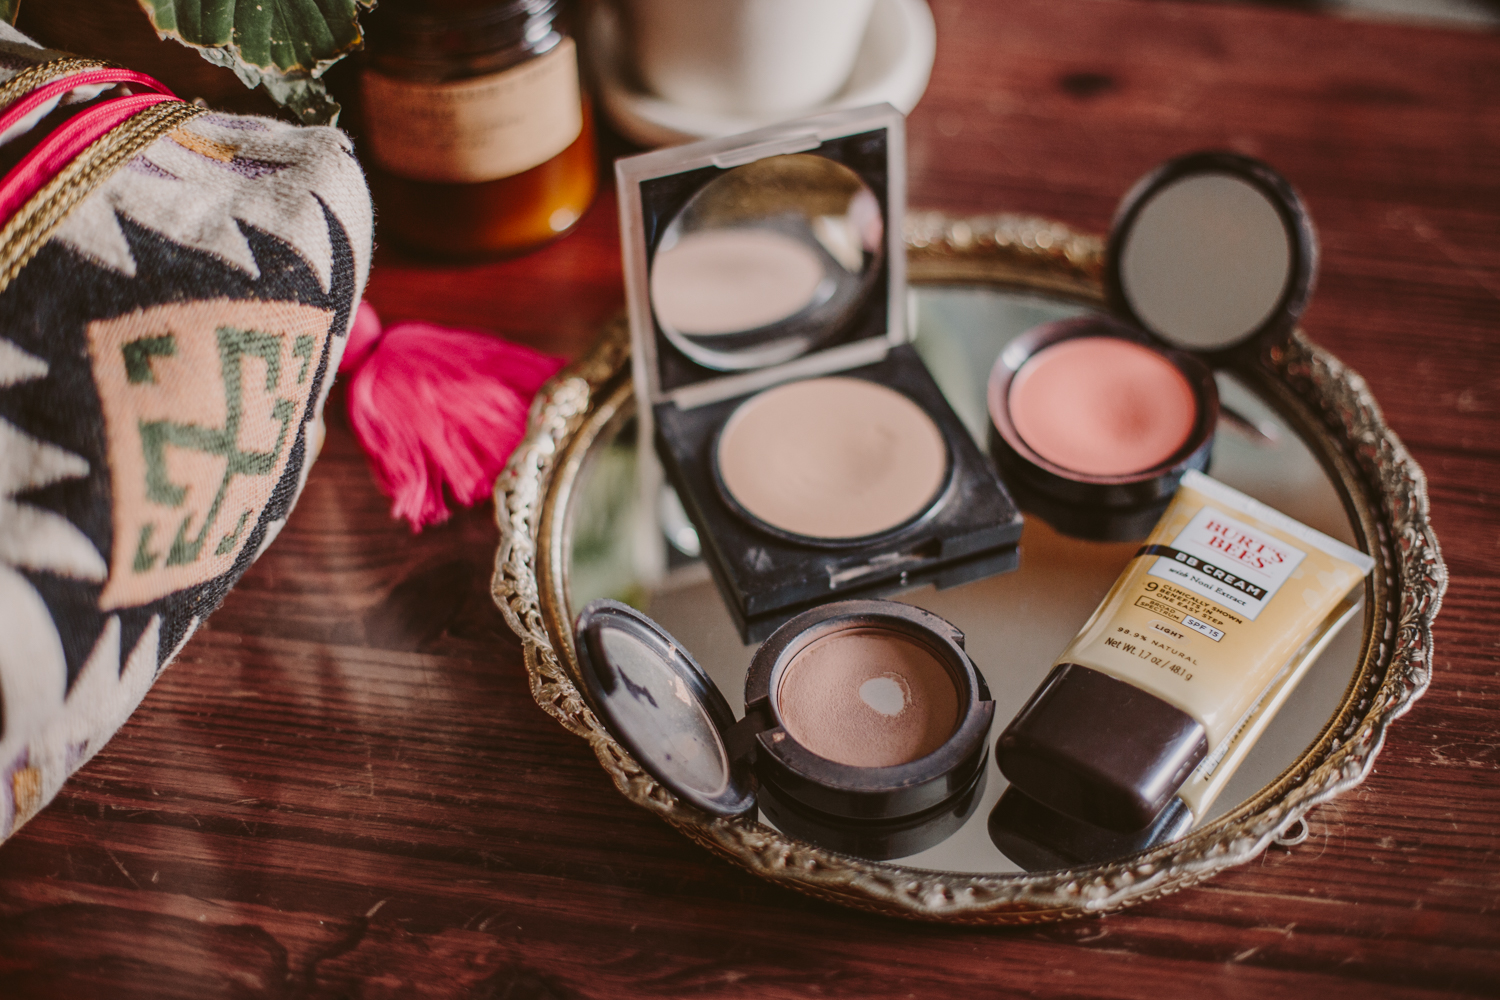
Burt's Bees BB Cream in Light
Motives Pressed Powder in Neutral
Mac Powder Blush in Emote (discontinued, but NYX's Taupe blush is a good replacement)
Face Atelier Ultra Blush in Tangerine

Lips: 
Palladio Lipliner in Spice

How to cut your own bangs

bangs.jpg

Bangs.  We love em.  Then we immediately hate them.  But then maybe we love them again.  No, we hate them.  Let's be real, bangs are a commitment.  A serious one.  The grow out period can be a huge pain in the ass if you decide you hate them.  But if you're ready to take the plunge and are willing to go against the advice of, well, almost every one out there, I'm here to empower you.  Are you ready to cut your own bangs?  Hell yeah you are.  Now let's break the rules and DIY that ish.

Obviously this comes with a warning, which is: not many people will advise you to cut your own bangs.  I've been cutting my own hair and my own bangs for many years, so while I'm no licensed hairstylist, I feel super comfortable wielding a pair of scissors near my hair.  I also have curly hair, which is rather forgiving in the haircut department.  My methodology of hair cutting has always been one that is for big, curly hair, so it may or may not work for you if you have a different hair texture.  That being said, I feel like my way of cutting bangs could definitely work for hair that isn't my same texture, but, you know, use your best judgment. 

Here's how I cut my bangs:

1. Separate the section of hair you want to cut into bangs.  I typically do a triangle shaped section with the point near my crown.  This will determine how thick your bangs are, so the bigger chunk of hair you grab, the thicker your bangs will be.  You also may want to take into consideration how thick your hair is, since the hair you take away to be bangs will no longer contribute to your hair's overall thickness. Once you have your bangs section separated, tie back the rest of your hair to keep it out of the way.

2. Flat iron your sectioned hair.  This may not be 100% necessary for some of you, but since I have curly hair, it is.  Most hair stylists will cut hair (and bangs) wet, but since my hair is curly and poofy, I prefer to cut my hair with it's poof and texture intact so I know how things will look.  When my hair is wet, it's way more limp and longer than it is when it's dry, so if I cut it limp and long, it gets shorter and poofier when it's dry and the cut doesn't look anything like it did when it was wet.  I never cut my hair wet, so this is just a personal preference.  

3.  Rough in the shape you want.  I typically do bangs that are on the long side and are tapered longer on either side.  Since I have curly hair I sometimes will wear my bangs with their natural curl and they appear much shorter when they're all crimped up in their natural curl.  Keeping my bangs as long as I can handle helps me style them curly (without them looking like I have a tiny 'fro on my forehead).  When roughing in the shape, leave the hair longer than you want it to be when you're done. You just want to get the general shape, then we can go back and perfect the shape.  Remember, you can always cut shorter, but you can't cut longer.  Always err on the long side, if you live in your bangs for a few days and decide you need them to be shorter, you can always go in and give them a little trim.

4. Make sure that both sides are the same length and hit your face at the same spot.  Then, from the middle, you can use your fingers to pull the hair down and match lengths as you trim down towards the longer sides (if you're doing a tapered bang like mine. If not, just use your fingers to pull the hair down and match the lengths of each piece you cut to the piece that you previously cut).

5. Instead of cutting perpendicular to the hair, cut at a slight upward angle.  Unless you're looking for a super blunt looking bang, a la Sia.  It'll be a little slower going because you're cutting fewer hairs per snip, but you'll get a much better, more natural looking cut than if you just go straight at it.

6. If you need to, you can go back in with the flat iron to give your bangs the shape/curve you want them to have to help you finalize your cut as you snip in your final shape.

7. Again, I'll advise you to cut them slightly longer than you might want, and then live in them for a day or two.  Unlike going to a salon, you don't have to have your bangs absolutely perfect when you're done.  Since you're the one cutting them, you can go back in at any time to edit them.  I cut mine a little long and I've been living in them for about a week and I feel like I probably need to cut a few millimeters off so they're perfectly out of my eyes.

Fringe upkeep is just a matter of repeating that final trim process when your bangs get too long! And make sure you have a decent pair of scissors.  Of course, this is coming from a girl who used to cut her own hair with paper crafting scissors back in college.  You can grab a nice pair of scissors from a beauty supply store, or even sometimes the beauty section of a store like Walgreens or Target.

Be patient with both the process of cutting bangs, and with getting to know your new cut!  Bangs can be a big change and it can take a while to get use to how to style them and wear them.  Have fun!
how to cut your own bangs

a truly outrageous halloween

Jem costume

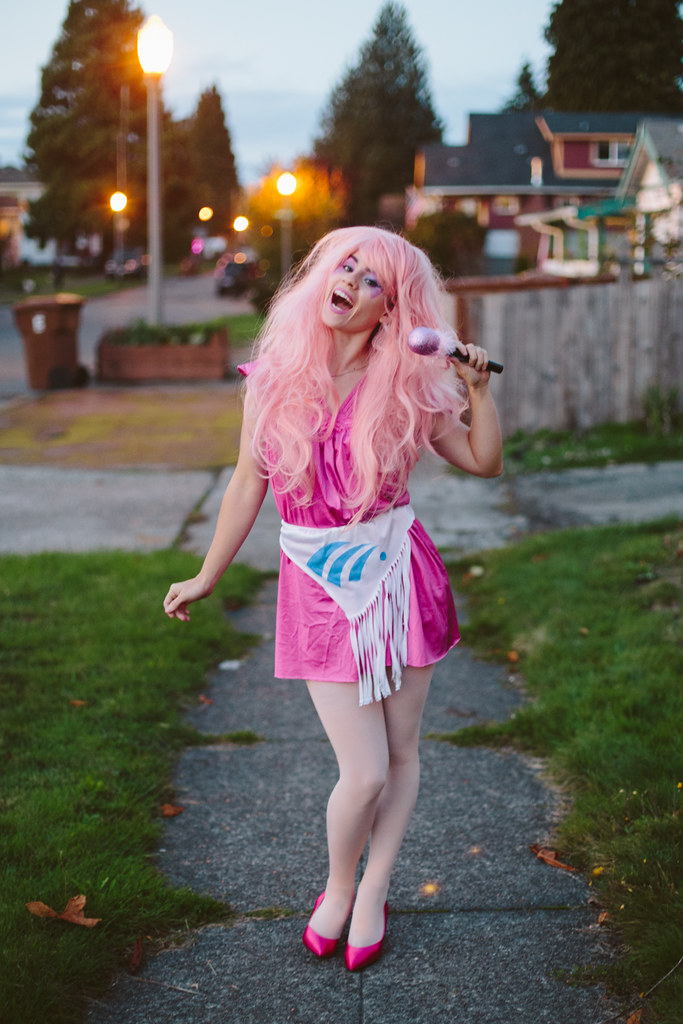
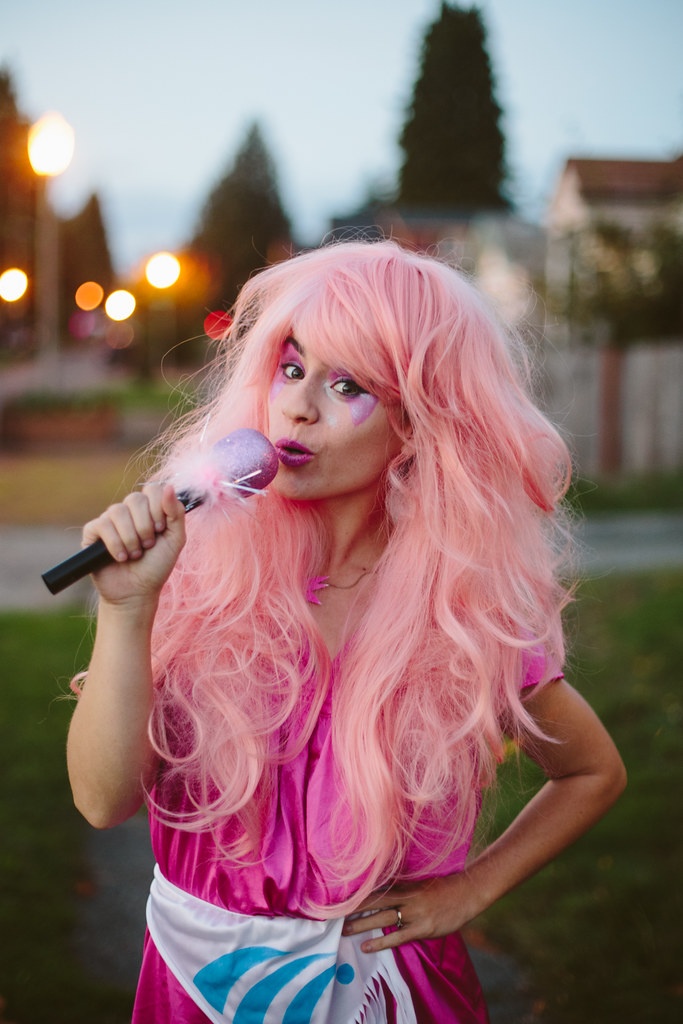
o, I was planning on being Wonder Woman for Halloween, but as I lay in bed the night before Halloween, I remembered that I had the perfect Jem-pink wig and that a Jem costume could be pretty easy to pull together last minute.  Dan and I went to Value Village yesterday and I found a pink night gown and shoes that were the perfect pink, and I grabbed a slip which I cut into Jem's fringe belt and then painted with the blue design.  We found the microphone at Goodwill and I was set!  The make up was super fun, I used Lime Crime's Centrifuchsia for both my lips and for Jem's signature eye makeup.  On top of the lipstick I brushed on some of Sugarpill's Magentric loose eyeshadow and then some loose MAC glitter all over.  A little black liner and some dark bold brows and the make up was done!  It was a really fun costume and I'm glad I decided to go for Jem.  I'm still itching to wear my Wonder Woman costume, though!  A friend has a Halloween party up in Seattle tonight, so I might end up going to that, which will give me the perfect excuse to dress up again.

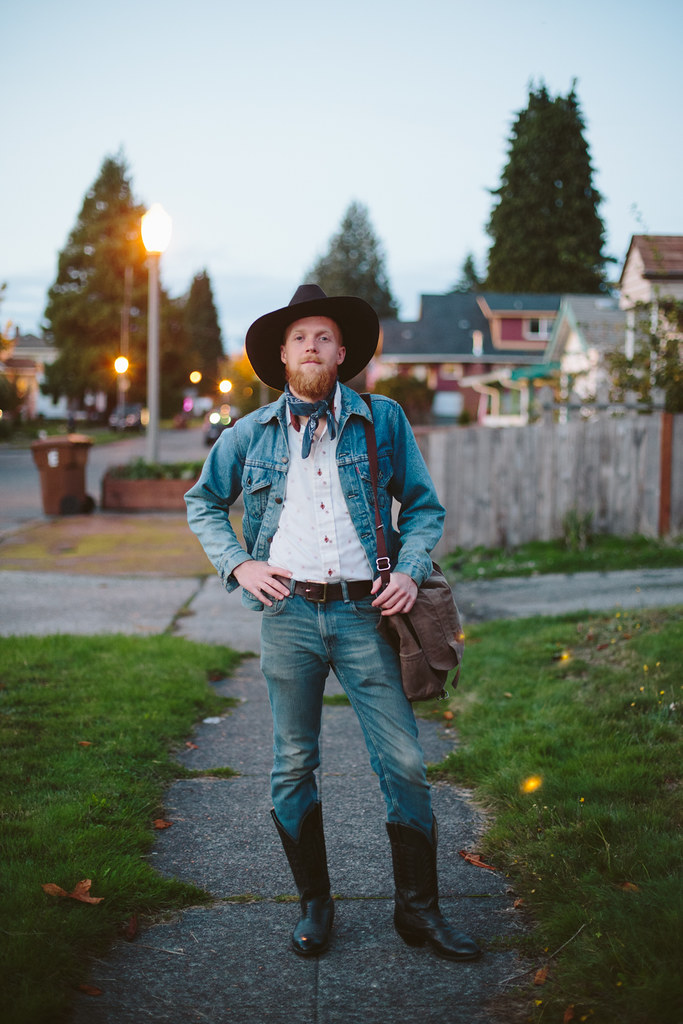
Oh, and Dan was a cowboy!

Jem costume
Jem costume Jem costume
Jem costume
Jem costume

my natural skincare routine


Whenever I see the word "natural" I pronounce it in my head the way Matthew McConaughey does in The Wedding Planner, "Nat-chu-raaalll".  Anyone else?  Just me?  Okay, moving on.  I still don't really feel like I have a proper routine when it comes to my skin care.  My progress in this area has moved at about sloth-like pace since I was 15.  I still don't wash my face at night, and pretty much never take my make up off (I like to think that because I don't wear too much it doesn't matter, right?  Right), but I'm trying to get better.  Slowly.  Anyway, I've never had terrible skin, so I've gotten away with being lazy in regards to skin care, but as I get older I want to be nice to my skin because it's the only skin I've got and it has to last me hopefully a lot more decades.  

Back in high school my extremely limited skin care was limited to trying to use astringent whenever a zit showed up, but I never really liked the feeling of the alcohol on my skin.  I have pretty dry skin and growing up in Alaska really exacerbated this because the air is the most dry of anywhere I've ever been.  I have a bit of Keratosis Pilaris, which mostly presents on my upper legs and upper arms, but it gives my cheeks a bit of ruddiness too.  In high school it mortified me and didn't really know what do to about it except feel upset that I didn't have the soft, smooth, beautiful leg skin that all the other girls had in gym class.  Any time I'm somewhere more humid than Anchorage (basically anywhere, really), my legs and arms get so much more smooth.  When I'm somewhere super humid, like Hawaii, it basically disappears completely.  I should've realized that moisturizing like crazy would've helped, but I could barely get myself to shower consistently back then, much less have any sort of skin care regimen.  


So, fast forward to now.  Or, a couple years ago, really.  I wanted to moisturize my skin but wasn't really interested in putting a bunch of products made in labs with a bunch of chemicals I could barely pronounce on my skin.  I looked into more natural alternatives to make my skin happy and started using a bit of olive oil as moisturizer (because I already had it in my kitchen).  I also discovered the oil cleansing method, and decided to try doing that.  For a longer explanation of OCM, click here, but the basic concept is, you massage your oil into your face, soak a clean washcloth in warm-hot water, and then cover your face with it. Allow it to stay until it cools, wipe the oil gently away and rinse the washcloth well in hot, running water. You repeat this two or three more times.  I'm usually too lazy to do the full oil cleansing method, but when I do, my skin is super happy.  I sometimes do a quick version of the oil cleansing method when I'm in the shower and it's all steamy.  I currently use Avocado oil mixed with Castor oil for my OCM oil.

Because my skin is super dry after I get out of a shower, I usually just put my Avocado oil on my face as a moisturizer without doing the whole OCM.  For the rest of my body, I moisturize with lavender infused olive oil (you can find a tutorial for that here).  My skin loves it.  I also have some Burt's Bees body lotion that I use sometimes too when I'm not feeling like slathering myself up with olive oil.  I find that the olive oil really isn't all that oily because my skin does soak it up, but it's easier to apply lotion than oil, so I switch between the two depending on my mood that day.


I also have a coconut oil mixture that I was given by a yoga instructor a few months ago, but I totally forget what else is in there other than coconut oil, I want to say maybe tea tree oil?  I use that pretty frequently as a face moisturizer too.  It's nice because it's a bit lighter than my avocado oil.  I love the smell too!  Once I run out I'm going to make my own with some essential oils.  

And speaking of essential oils, those are a part of my skin care now too!  I use both YL Frankincense and YL Lavender with my Avocado Oil.  I've been trying to do this morning and night more recently and I can tell that my skin is so much less flaky and much more happy than it was just a month ago.  I had some awful chapped lips last week, like to the stage of having little strips peeling off and cracking and almost bleeding.  I was trying my Burt's Bees chapstick but that really wasn't doing much, so after a little research I saw that lavender and frankincense help with chapped lips.  Lavender essential oil was my savior.  I put a bit of avocado oil on as a carrier oil and then rubbed a couple drops of lavender over my lips and I had instant relief from the pain of the cracked skin.  I reapplied a couple more times throughout the day and by the next morning my lips were completely healed and it's possible they were actually more luscious than normal.  Yes, I said luscious.  


I don't get blemishes too frequently these days, but every once in a while one or two will pop up.  I saw that a friend uses a dab of YL Purification essential oil blend on any blemishes that she has pop up, so I thought I'd give it a try.  I happened to have a stubborn little cluster of red spots that wasn't going away, so I rubbed a bit of Purification on there and by the next day they'd nearly disappeared.  Yay!  Not looking forward to having another blemish, but I am looking forward to seeing how well Purification works on more blemishes with a little more personal research.  
I also tend to get flaky skin so something that helps with that is this scrub/mask.  I also add a bit of sugar for extra exfoliating power, and coconut oil for moisturizing sometimes.  I recently did this and then did the full oil cleansing method afterwards and my skin was amazing.
I've been having a lot of fun incorporating essential oils into my daily life.  I made a lavender and frankincense lotion for a friend who needed something for her super dry hands and she's in love with it!  I'll definitely be sharing that fun (and ridiculously easy) recipe soon, as well as a few others I've been creating!  It's like an essential oil Breaking Bad laboratory at my house, complete with a Winnebago in the driveway for ultimate authenticity.
I absolutely love having totally natural skin care products.  It feels really nice to know that there aren't any crazy weird chemicals going on my skin and I'm pretty sure I have better skin now than I ever have!  Plus, it's empowering to know that I'm not beholden to the corporate skincare industry for my skincare needs.  I love being able to find recipes for skincare products that I can make on my own in my own kitchen!
// With any health or body care routine, make sure to do your own research and consult with any doctors or dermatologists you feel will help you make a decision on how to best care for your body.  This is just my story, but make sure your story is informed and healthy for you! //