

Can I just say how awesome it is to be taking up this little post space on Delightfully Tacky? When I started reading three years ago, I was smitten. More so when I found out that Elizabeth is a PNW dweller like myself. I have loved watching the blog grow and change over the years, and find it crazy that I get to stand on this proverbial mountaintop and say, "Hey!"
Elizabeth once jokingly told a friend that she was responsible for convincing David, my husband, and me to move to Tacoma. It's admittedly mostly the truth. Now here we are sharing a city, which I can confidently say we all love.
David and I run a coffee review blog called Purista and are a special breed of coffee enthusiasts. We're also in the midst of launching a coffee roasting business which Elizabeth is creating the logo for. Emailing back and forth about design work she asked if we'd be interested in sharing a cold brew recipe, so here we are.


Realizing that we're working with a lot of fancy schmancy equipment that most at home coffee drinkers don't possess, I decided to make this recipe as kitchen friendly as possible.
This recipe should yield 1 and 1/2 cups of cold brew concentrate, which you can dilute and doctor to your preference. It takes 12-24 hours.
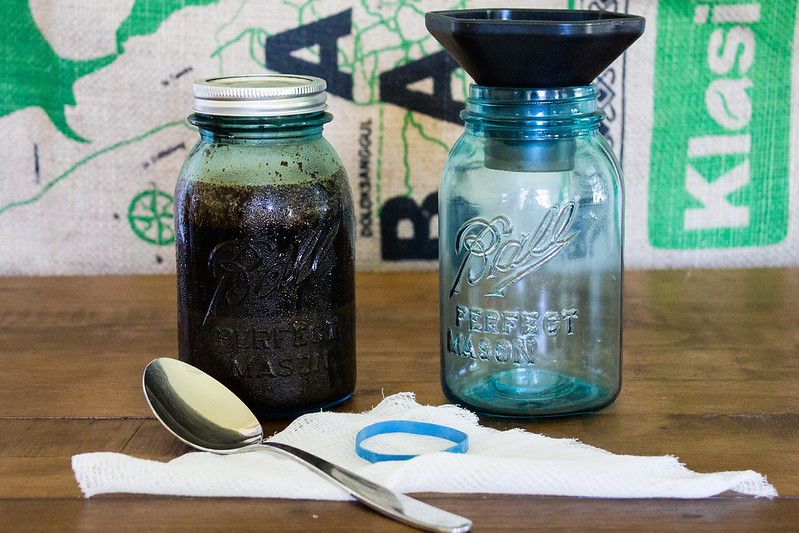
What You'll Need
A One Quart Jar or Container w/Lid
Cheesecloth
Rubber Band
Measuring Cups
Coffee* (1 and 1/3 cup whole bean if you have a grinder, 1 and 3/4 coarsely ground if not)
3 cups cold, filtered or spring water (not distilled!)
Patience!
*A note on coffee: It is advisable to buy whole bean and grind at home immediately before use, but if you don't own a grinder your local shop or roastery will grind it for you to your specification. Tell them you want it coarse for cold brew.
Step One
Measure out your coffee and water. If you have your own grinder and are starting with whole beans measure them whole, 1 and 1/3 cups, then grind. In the event that you are using pre-ground coffee it will take up more space in the cups, so measure out 1 and 3/4 cups.
Step Two
Add your grounds in the jar/container. This can be messy, and most funnels would take forever with their narrow openings. The funnel we have is wider at the bottom and comes with the Aerobie AeroPress, an awesome coffee brewing device that anyone can use and everyone loves.


Step Three
Pour in the water, stir it, cap it, and put it in the fridge.
Step Four
Take it out of the refrigerator. We do 24 hour brews for fully developed flavors in the concentrate, but if you can't wait 12 hours should suffice. Give it another good stir. Cut a one layer piece of cheesecloth to fit over the opening and secure with the rubber band.
Step Five
You'll definitely want a funnel for this step. Pour through the cheesecloth. At some point liquid will stop moving through the cloth, but still be in the jar. This is because there is air stuck behind the grounds. Once it stops you can use a spoon, or your fingers (messy!), to gently press at the front of the cheesecloth repeatedly until all of the liquid has made it through.
Enjoy!
You will end up with approximately 1 and 1/2 cups of concentrate which you can dilute to your taste, sweeten, and/or add milk or cream to. We generally dilute the water with a 1:1 ratio or add unsweetened almond milk in a 2:1 concentrate to milk ratio.
I hope this recipe keeps your energy levels up and your body temp down this summer! If you're feeling the coffee vibes check us out on IG as both @Purista and @TerminusCoffee. Peace! - Mae


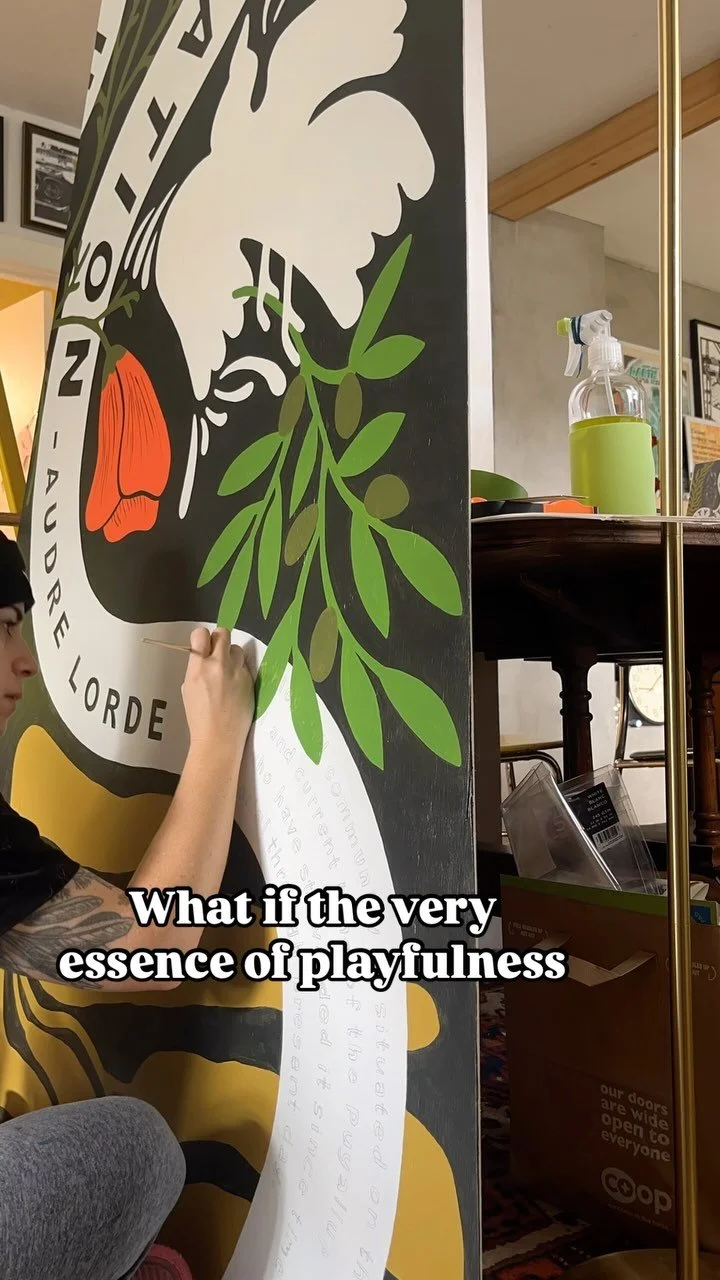

![This print feels even more relevant today. We all joke about the dumpster fire of [insert year here], but the important message of this image to me is that *we persist* through the horrors. We stand, we fight— maybe for ourselves, maybe for oth](https://images.squarespace-cdn.com/content/v1/574dddd6d51cd4bc35c1609a/1730935170369-03GPKQ5NF73VAE65RHO6/image-asset.jpeg)


