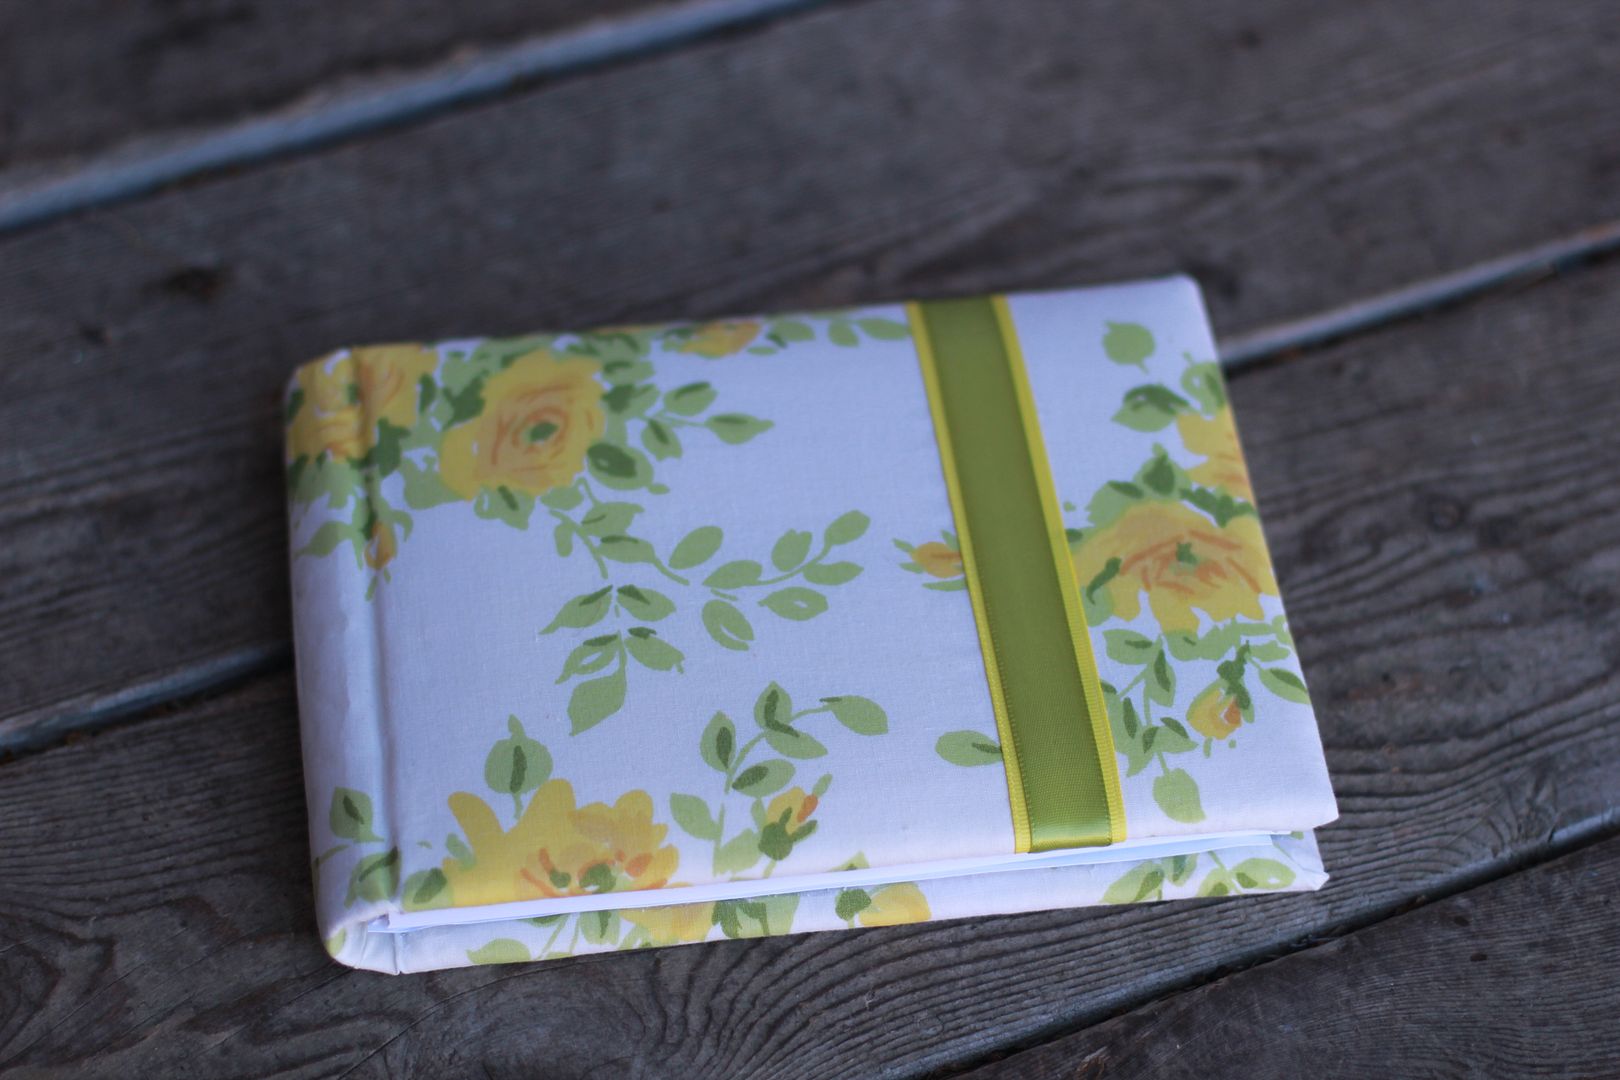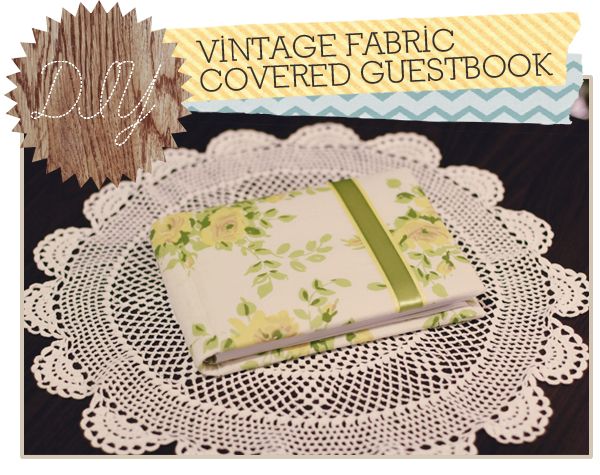
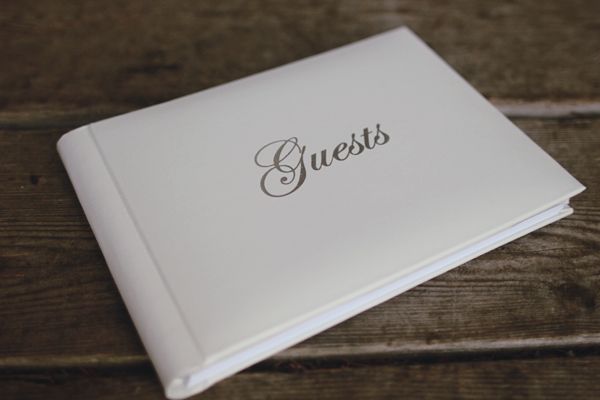
This is sort of wedding related, though you could do this little DIY for any book that is similar, maybe a photo album or something. I got really tired of all the ugly stock guest books that didn't match my wedding look & feel whatsoever, so I took an evening to fix mine to match my decor.
What you'll need:
2 felt sheets
glue gun
fabric
scissors
ribbon
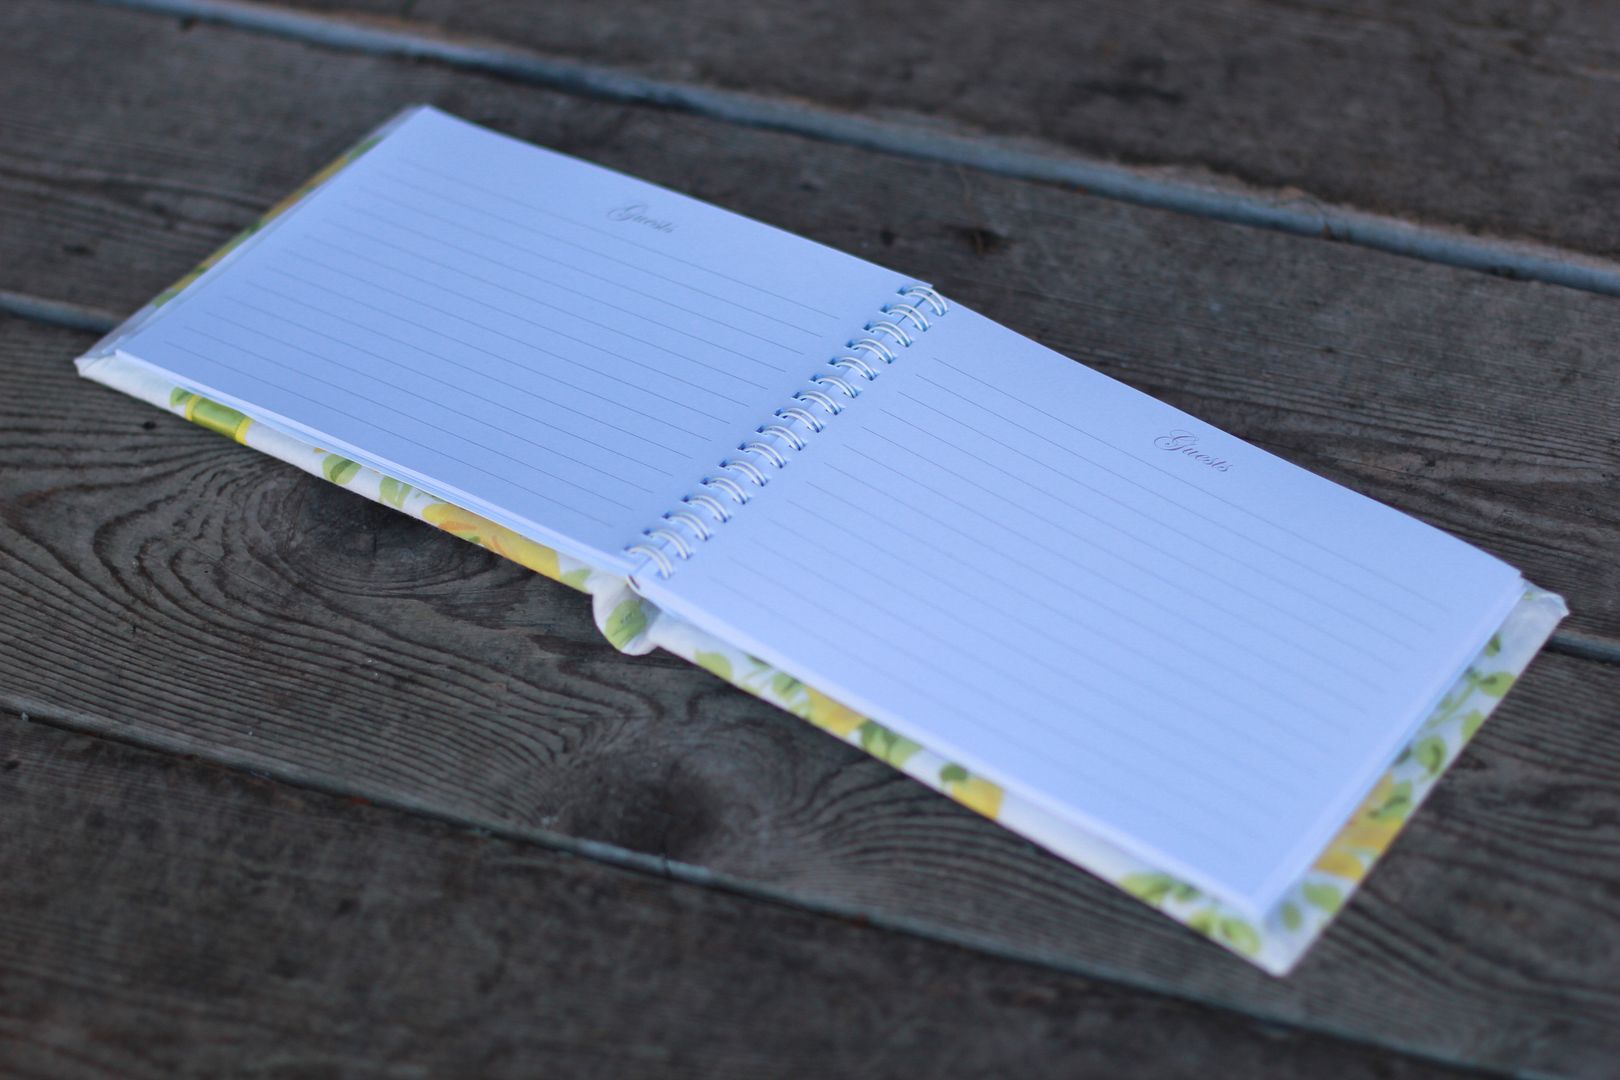
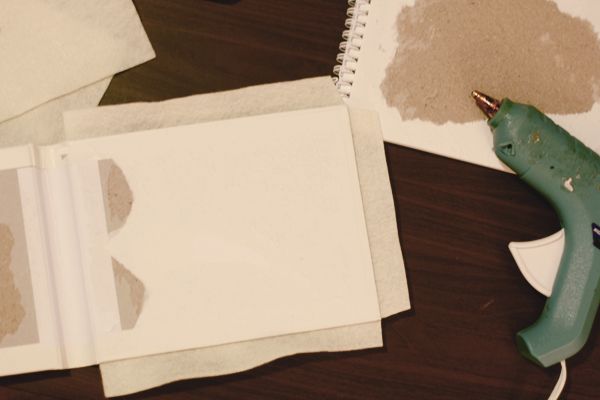
This first step can be optional. I carefully tore the spiral bound insides off of the cover, so I could re-glue it in later to cover up the work I did attaching the felt, fabric and ribbon. This isn't really necessary, however, especially since you don't really see that first page.
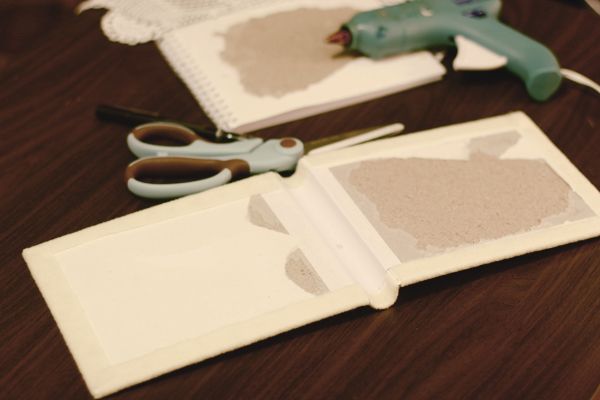
I used felt to make mine a little bit more plush and to hide the "Guests" that was on the front from peeking through the fabric. Just cut the felt to a bit bigger than the size of your front & back, and then use your glue gun to attach it to the cover.
Notch the corners of the felt so they don't overlap when you fold them over to the inside of the cover, and then glue those down as well. Do this on both sides and the spine.
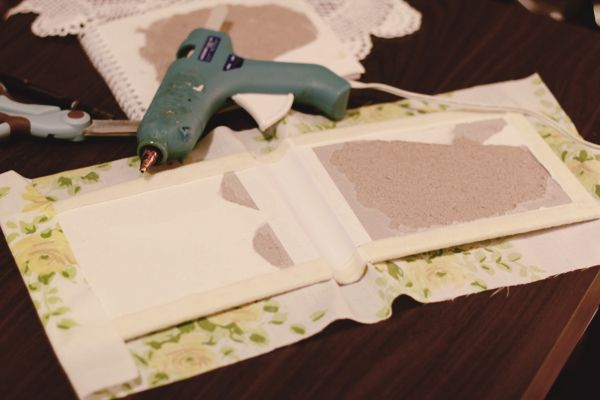
Cut your fabric to an inch or two wider & longer than the cover. Instead of gluing the front of the cover this time, like we did with the felt, just stretch the fabric around the outside and glue it on the inside, so it's nice and smooth. I glued the fabric in the notches where the covers meet the spine as well, so it would form nicely around the spine. I didn't cut the corners off of the fabric like I did the felt simply because the fabric was thinner and the overlap wasn't noticeable.
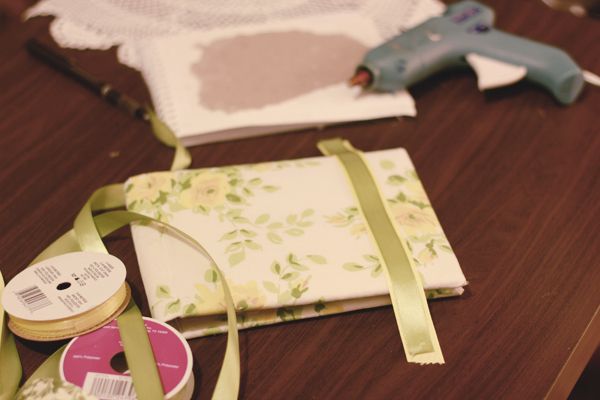
Now you can take your ribbon and put it on near the edge of the front cover. This is totally optional but I liked how it added a little detail. I layered a green ribbon on top of a yellow ribbon to match the fabric. Wrap the ribbon around the cover and glue on the inside.
Now you can glue the spiral bound guest book back into the new pretty cover you made! So much better than the boring stock guestbook we started with!