food + drink

How to make edible paint with Everclear

IMG_0425-Edit-2.jpg

Let’s be honest, parties are all about being a little EXTRA.
There are tons of occasions for making pretty desserts so I wanted to figure out a way to make something super fun that would stand out from the crowd when it’s sitting on the table, so I decided to make a brushstroke cake! Did you know you can make edible PAINT with Everclear and food coloring? Amazing right?

To make edible paint that you can brush on with a regular paintbrush, all you need to do is put a few drops of food coloring into a small bowl, and then pour in a bit of Everclear (use more for a more “watercolor-y” look, then dip your brush into your mixture and paint directly onto your frosting (in my case I used fondant icing).

The Everclear evaporates, leaving the food coloring behind! Since Everclear doesn’t leave behind any odor, color, or flavor, it’s the perfect medium to make your edible paint. It was a perfect technique for my brushstroke painted cake.


I love how many different ways you could utilize this technique: making a watercolor cake, an ombre cake, painting iced sugar cookies, or even painting a scene! Please enjoy responsibly.

Holiday charcuterie board with Tillamook

Thank you Tillamook for sponsoring this post. Try Tillamook Maker’s Reserve! Available at Costco.

Holiday Charcuterie Board

One of my favorite things about the holidays is all the get-togethers with family and friends… and all the delicious food at said get-togethers. It can feel a little overwhelming to whip something elegant and fancy up, on top of hosting a party, so my favorite thing to do is put together a charcuterie and cheese board. It’s always a crowd pleaser, and you can make it look super lush and inviting without a lot of work! And the best part is you don’t have to cook anything!

IMG_8715.jpg
Holiday Charcuterie Board

For this spread I partnered with Tillamook to feature their Maker’s Reserve 2013 Vintage White Cheddar. Here in the Northwest we’re pretty big Tillamook eaters, and I’ve actually been to the Tillamook factory in Oregon twice! Watching all those blocks of cheese getting cut and wrapped in the factory is kind of mesmerizing!
I’m a fan of sharp cheddars so this cheese hit the spot for me. The Maker’s Reserve line of cheddars are bold with the flavors unique to the year they come from (2013 in this case).

If you want to add some to your own holiday charcuterie board, you can find Maker’s Reserve 2013 Vintage White Cheddar (18oz.) can be found at select Costco stores in the Pacific Northwest and San Francisco Bay Area (search at https://www.tillamook.com/where-to-buy.html to see if your local store has it!).

Not sure what to include in your Charcuterie + Cheese board?
Here’s a list of some of my favorite things to plate up!

  • Cheese- You can get a variety and get a couple more exotic types of cheese, or stick with something classic and widely enjoyed, like a cheddar or brie

  • Rustic Mustard- This is great for spreading on crackers or bread, and is a little fancier looking than your standard mustard.

  • Fig Jam or Honey- I like having something a bit sweet to counteract all the savory that goes on with a Charcuterie board

  • Olives- There are lots of varieties, and some grocery stores even have an olive buffet so you can pick out a bunch of different kinds!!

  • Prosciutto/salami- There are lots of different kinds you can get, pick your favorite or get a few different types

  • Fruit- Pear slices always make it onto my board, but I also like to pick something seasonal. When I saw Pomegranates in my grocery store, I picked one up to include on this board!

  • Sliced bread/crackers- Gotta have a delivery system for all your cheese! I like to pick a rustic bread, slice it up, bake it with a bit of butter spread on each until they’re slightly golden, then cut a garlic clove in half and swipe it on each little toast- it gives them the perfect bit of garlic flavor!

  • Nuts- Marcona Almonds are my favorite to include, but you can choose whatever you like! Specialty or gourmet grocery stores will usually have some fancy nuts to choose from.

Now you’re ready to party! Grab a plate or a big cutting board to arrange all your items on, and your guests will flock to it! Happy holiday partying!

Apple Rustic Tart

Rustic Apple Tart

My best friend came over today with her little month old baby and we got to spend the afternoon baking! My dad brought some apples from my parents’ house where they have a few apple trees so I had a ton of apples to use for recipes (I made this applesauce last week too!). My pie pans have disappeared since our move last October, so instead of making apple pies, we decide to make Apple Rustic Tarts. This recipe says that the prep is about 30 minutes but if you’re also watching a baby and a toddler it takes like 3x that long…

Apple Rustic Tart

Prep Time: 30 Minutes
Cook Time: 1 Hour

Ingredients

For the Crust

1-1/2 cups all-purpose flour
1/2 tsp salt
2 tbsp granulated sugar
1-1/2 sticks (12 tbsp) cold unsalted butter, cut into 1/2-inch pieces
1/4 cup cold water

For the Filling

1 -1/2 lbs apples (appx 3 large)
1/3 cup sugar
1 tsp cinnamon
1 tsp vanilla extract
2 tbsp unsalted butter, melted
1/8 tsp salt

For Assembly

1 tbsp all purpose flour
1 egg, beaten
2 tbsp brown sugar
1 tbsp apricot preserves, for glaze

Instructions

Prepare the crust:

  1. Line two baking sheets with parchment paper.

  2. In a food processor, combine the flour, salt and sugar and pulse briefly to mix.

  3. Add the cold butter and process just until the butter is the size of peas, appx 5 seconds. Then, add the ice water to the mixture and process just until moistened and very crumbly, about 5 seconds.

  4. Place the dough on a lightly floured surface and knead it until it comes together into a cohesive ball, just a few times. Split the dough into two equal balls.

  5. Flour your work surface again and sprinkle one of your dough balls with flour, as well. Using a rolling pin, roll the ball into a circle appx 12 inches in diameter, turning and adding more flour as necessary so the dough doesn’t stick. Transfer the dough to the parchment-lined baking sheet and refrigerate while you prepare the filling. Repeat with the second ball of dough.

Make the filling:

  1. Peel, core, and cut the apples into 1/8-inch-thick slices (you should have about 4 cups) and place in a large bowl.

  2. Add the sugar, vanilla, cinnamon, melted butter, and salt; toss to combine.

Assemble the tart:

  1. Sprinkle the flour evenly over the pastry. Arrange the apple slices on top in overlapping concentric circles to within 2 inches of the edge. Work quickly so the dough doesn’t get too warm. Fold the edges of the dough over the apples, working your way around and creating pleats as you go.

  2. Using a pastry brush, brush the pleated dough evenly with the beaten egg. Sprinkle the brown sugar over the crust and apples. Chill the assembled tart in the fridge for 15 to 20 minutes. Prepare the second tart and place it in the fridge as well.

  3. Preheat the oven to 350°F and set an oven rack in the center position.

  4. Bake for 55 to 65 minutes, or until the apples are tender and the crust is golden and cooked through.

  5. While the tart bakes, make the glaze. In a small bowl, mix the apricot jam with 1-1/2 teaspoons hot water. About 2-3 minutes before your tarts finish baking, remove them, brush the tarts with the apricot glaze, and put them back in the oven for the final two minutes. Remove and let cool.

  6. Transfer the tart to a serving plate or cutting board. Slice and serve warm or at room temperature. The tart is best served on the day it is made, but leftovers make for a delicious breakfast treat the next day!

Moroccan Inspired Blessingway

Moroccan Blessingway Party

What is a "Blessingway," you might be asking? A blessingway is kind of like a baby shower for the new mama.  In our culture there's a lot of importance and pomp and circumstance given to a new baby.  Which is fair enough, a new human is exciting and should be celebrated!  But in all the hullaballoo about the baby, the fact that this other new creature is also being birthed-- the mother-- is forgotten and ignored.  We just expect women to shift into this new, completely life-altering role, as if it was like changing a pair of underwear.  

But it's not.  It IS life altering.  It IS important and deserving of creating a sacred celebration for.  Mothers deserve honoring, just as much as a new baby.  And that's what a blessingway is-- a celebration and honoring of the woman making the huge transformation from regular human to mother human.  I was given a blessingway by my best friends when I was 36 weeks pregnant and it was so lovely, so I wanted to do the same for them, now that they are both in their final month of pregnancy!

I'll pop the sources for everything I can link to down at the bottom of this post if you're wanting to throw a similarly styled party!  A lot of the stuff is either DIY or craigslist/thrifted, so some things I won't be able to link, but hopefully you can find something similar!

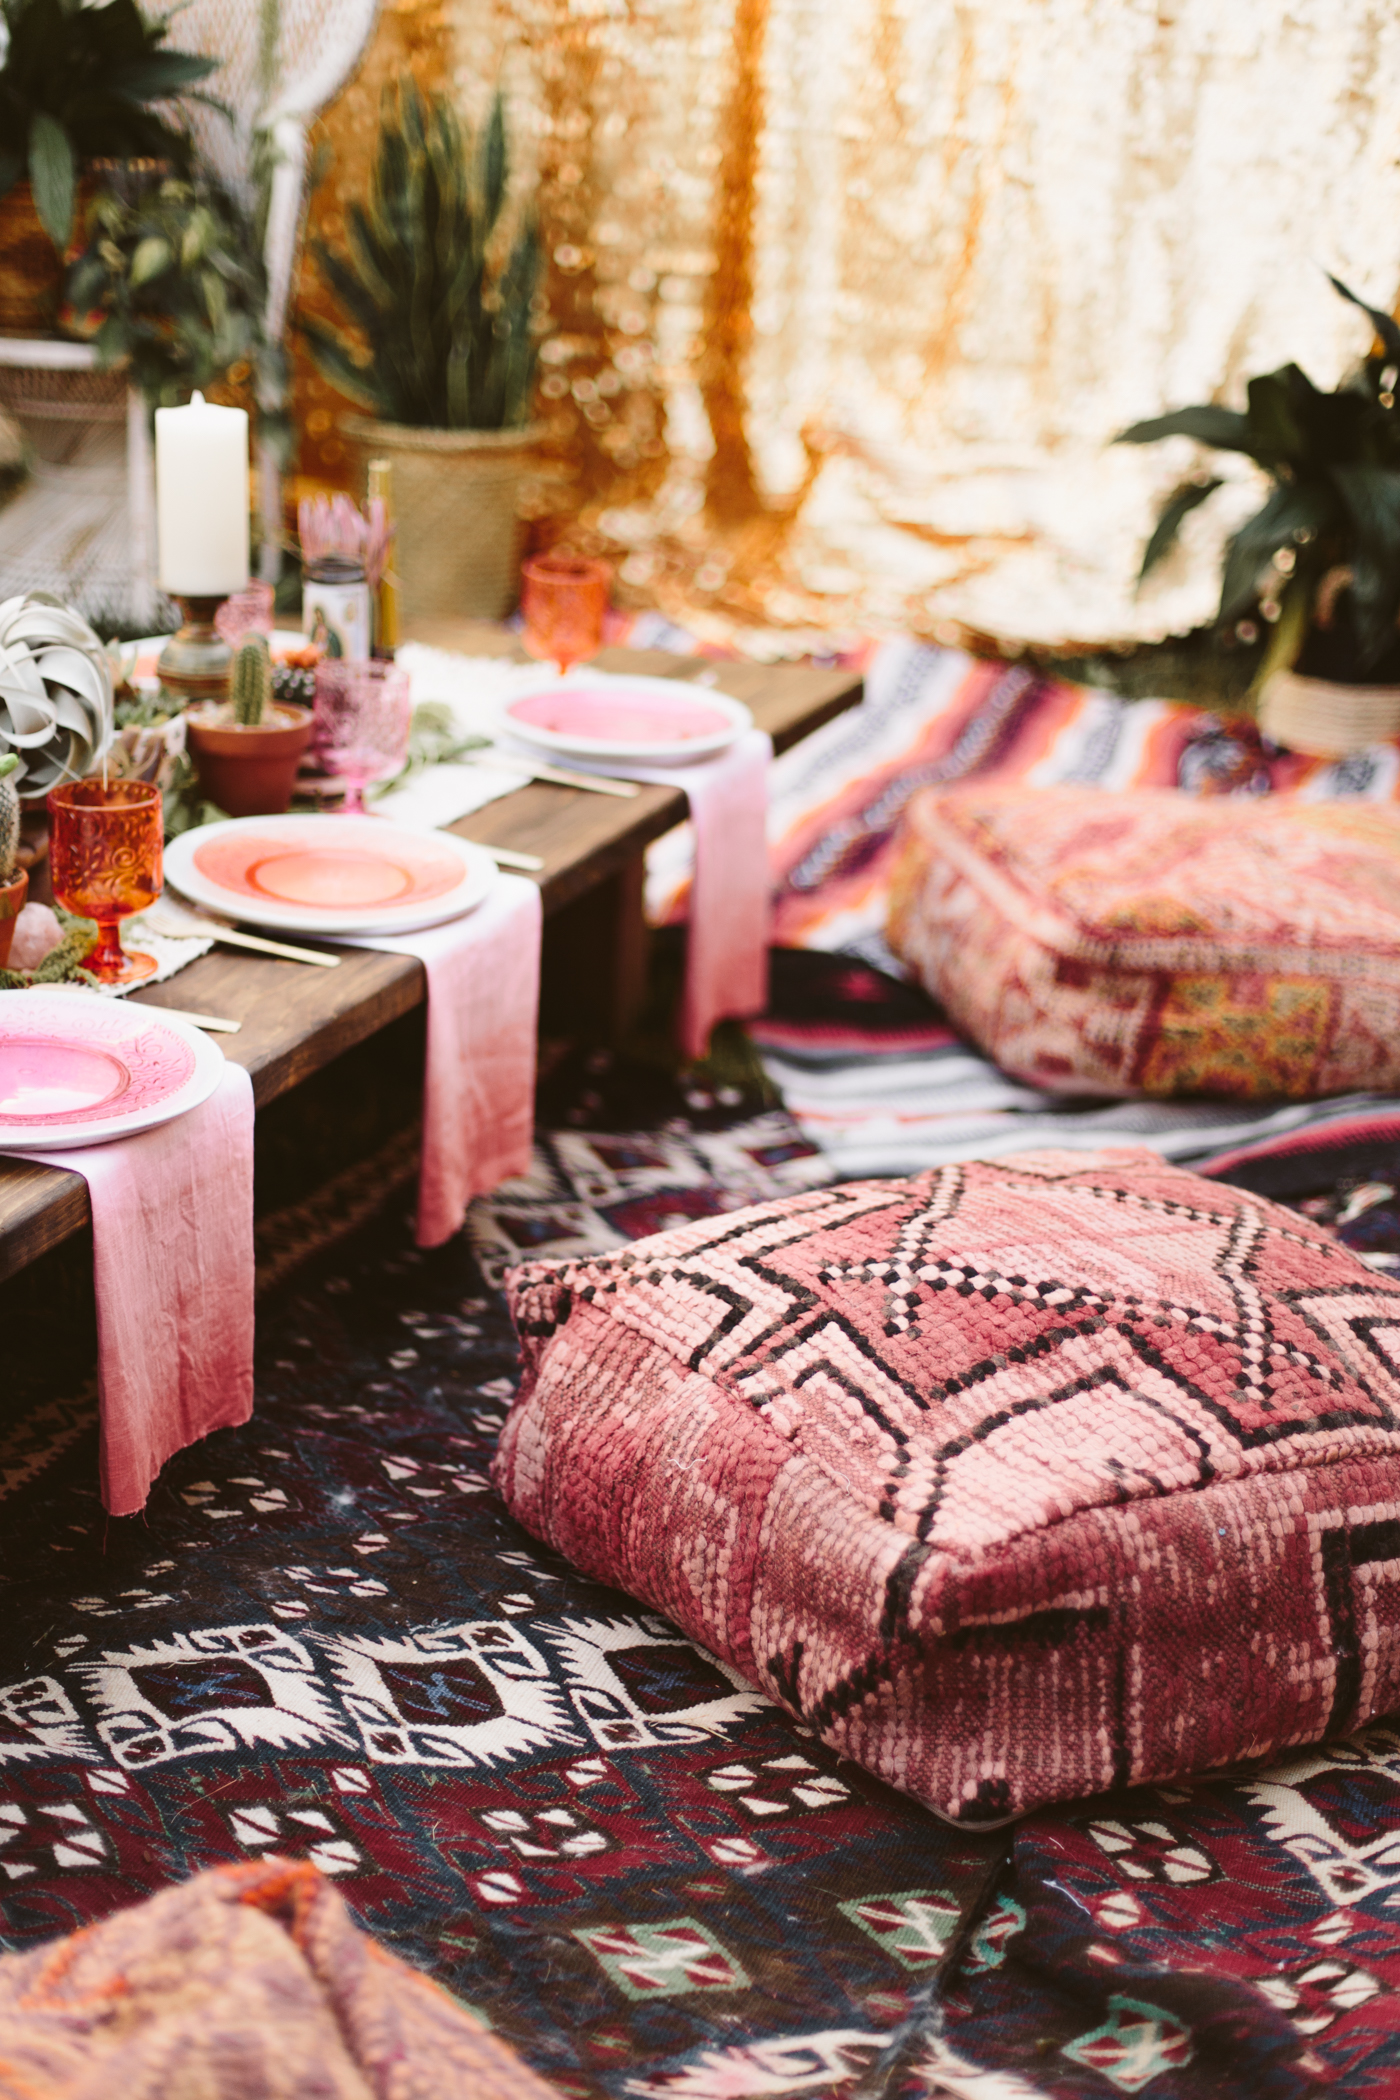
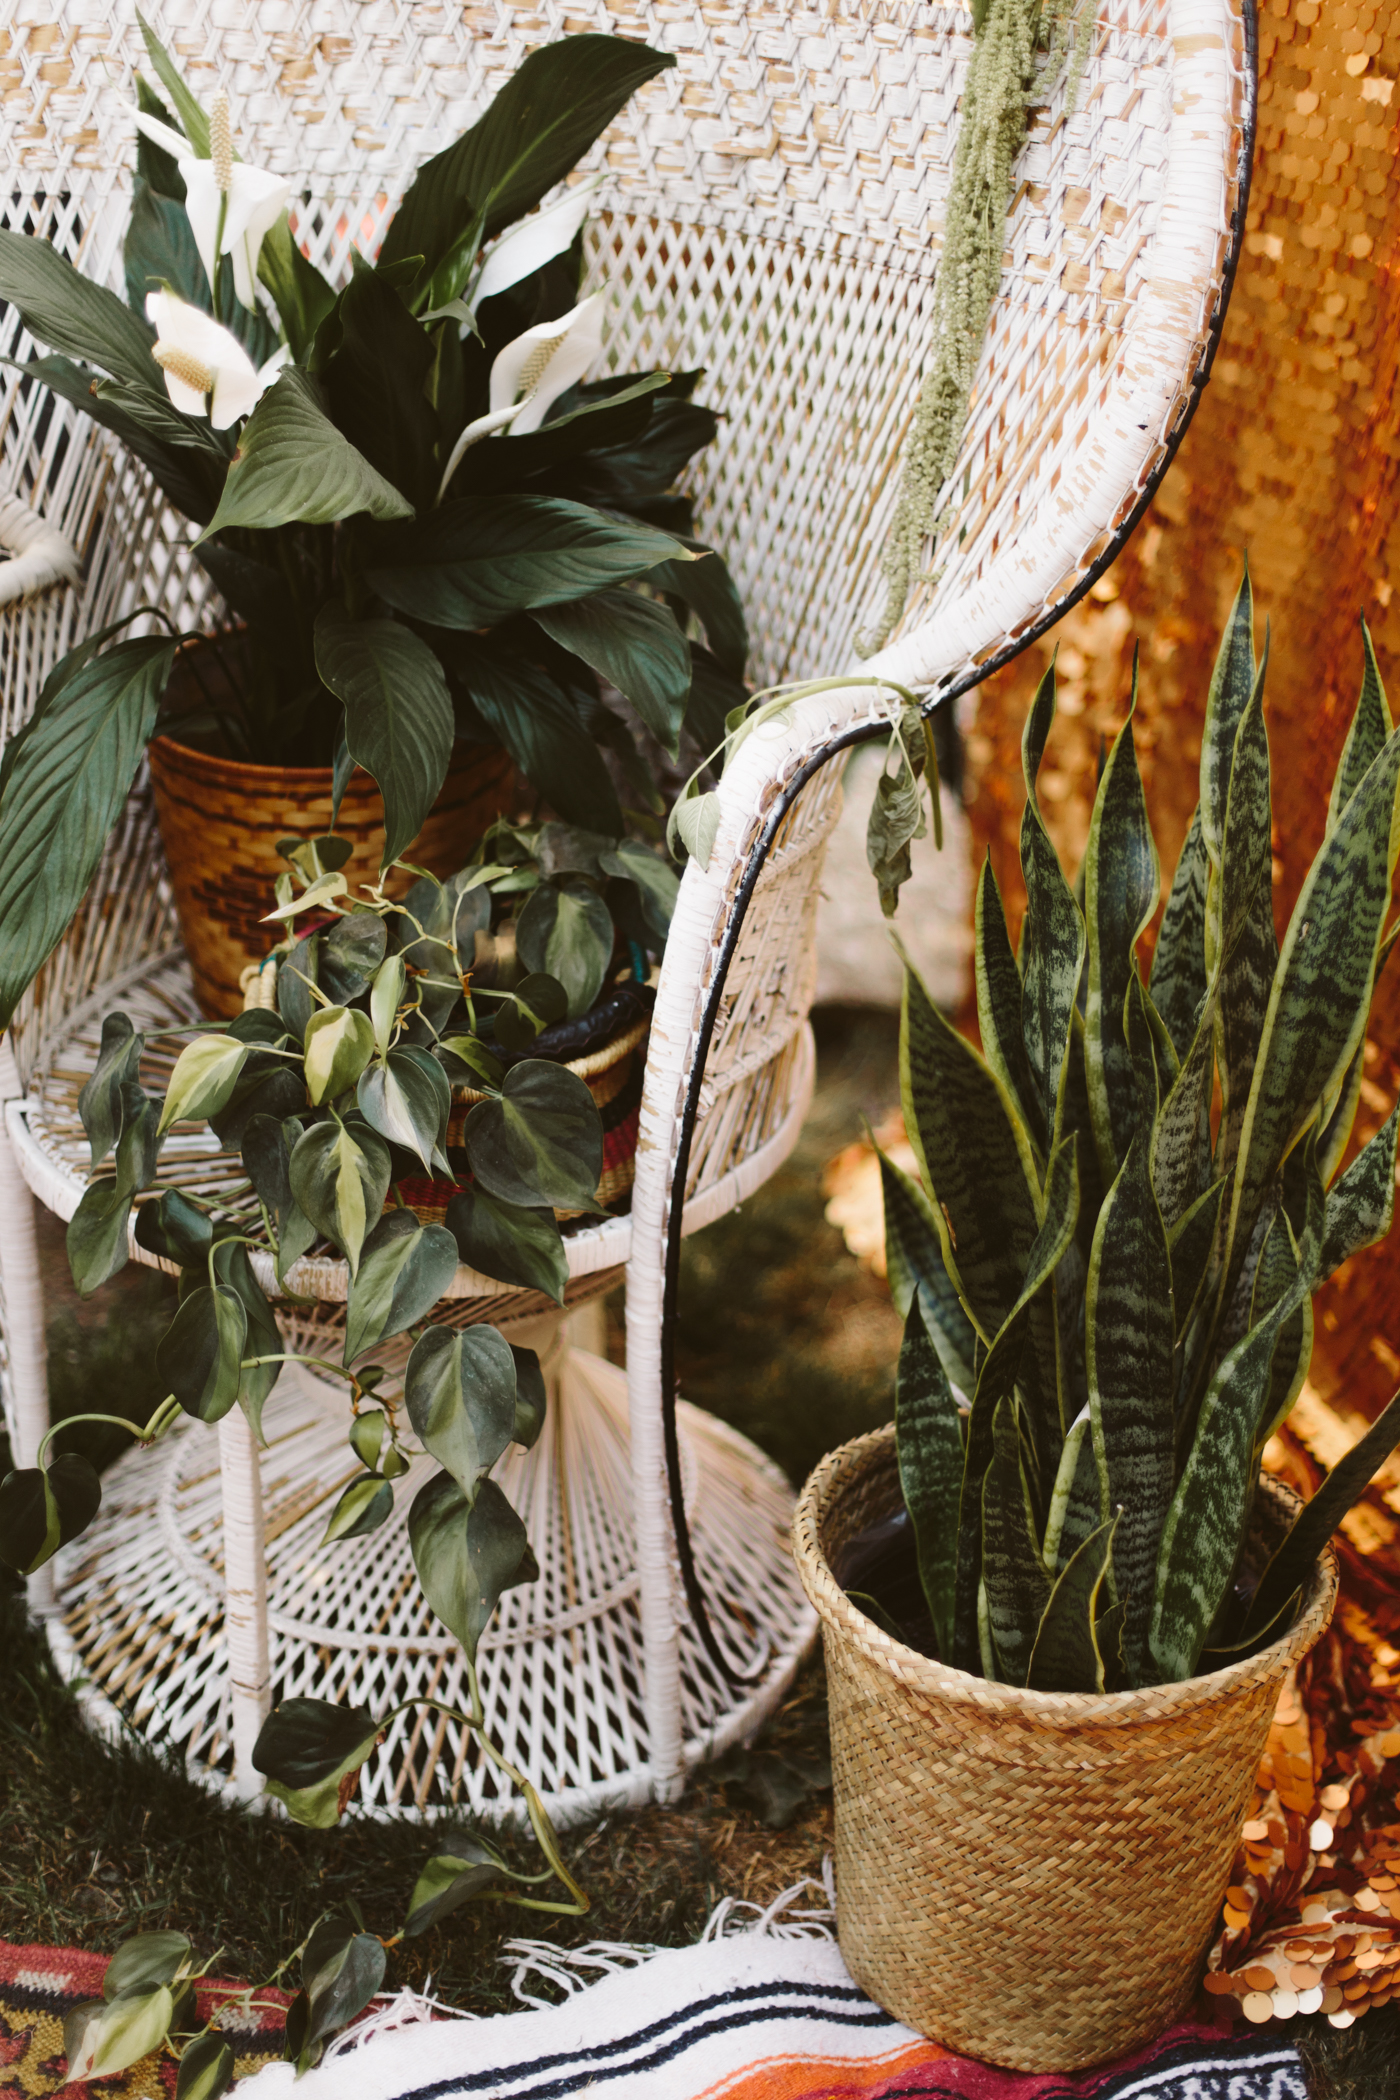
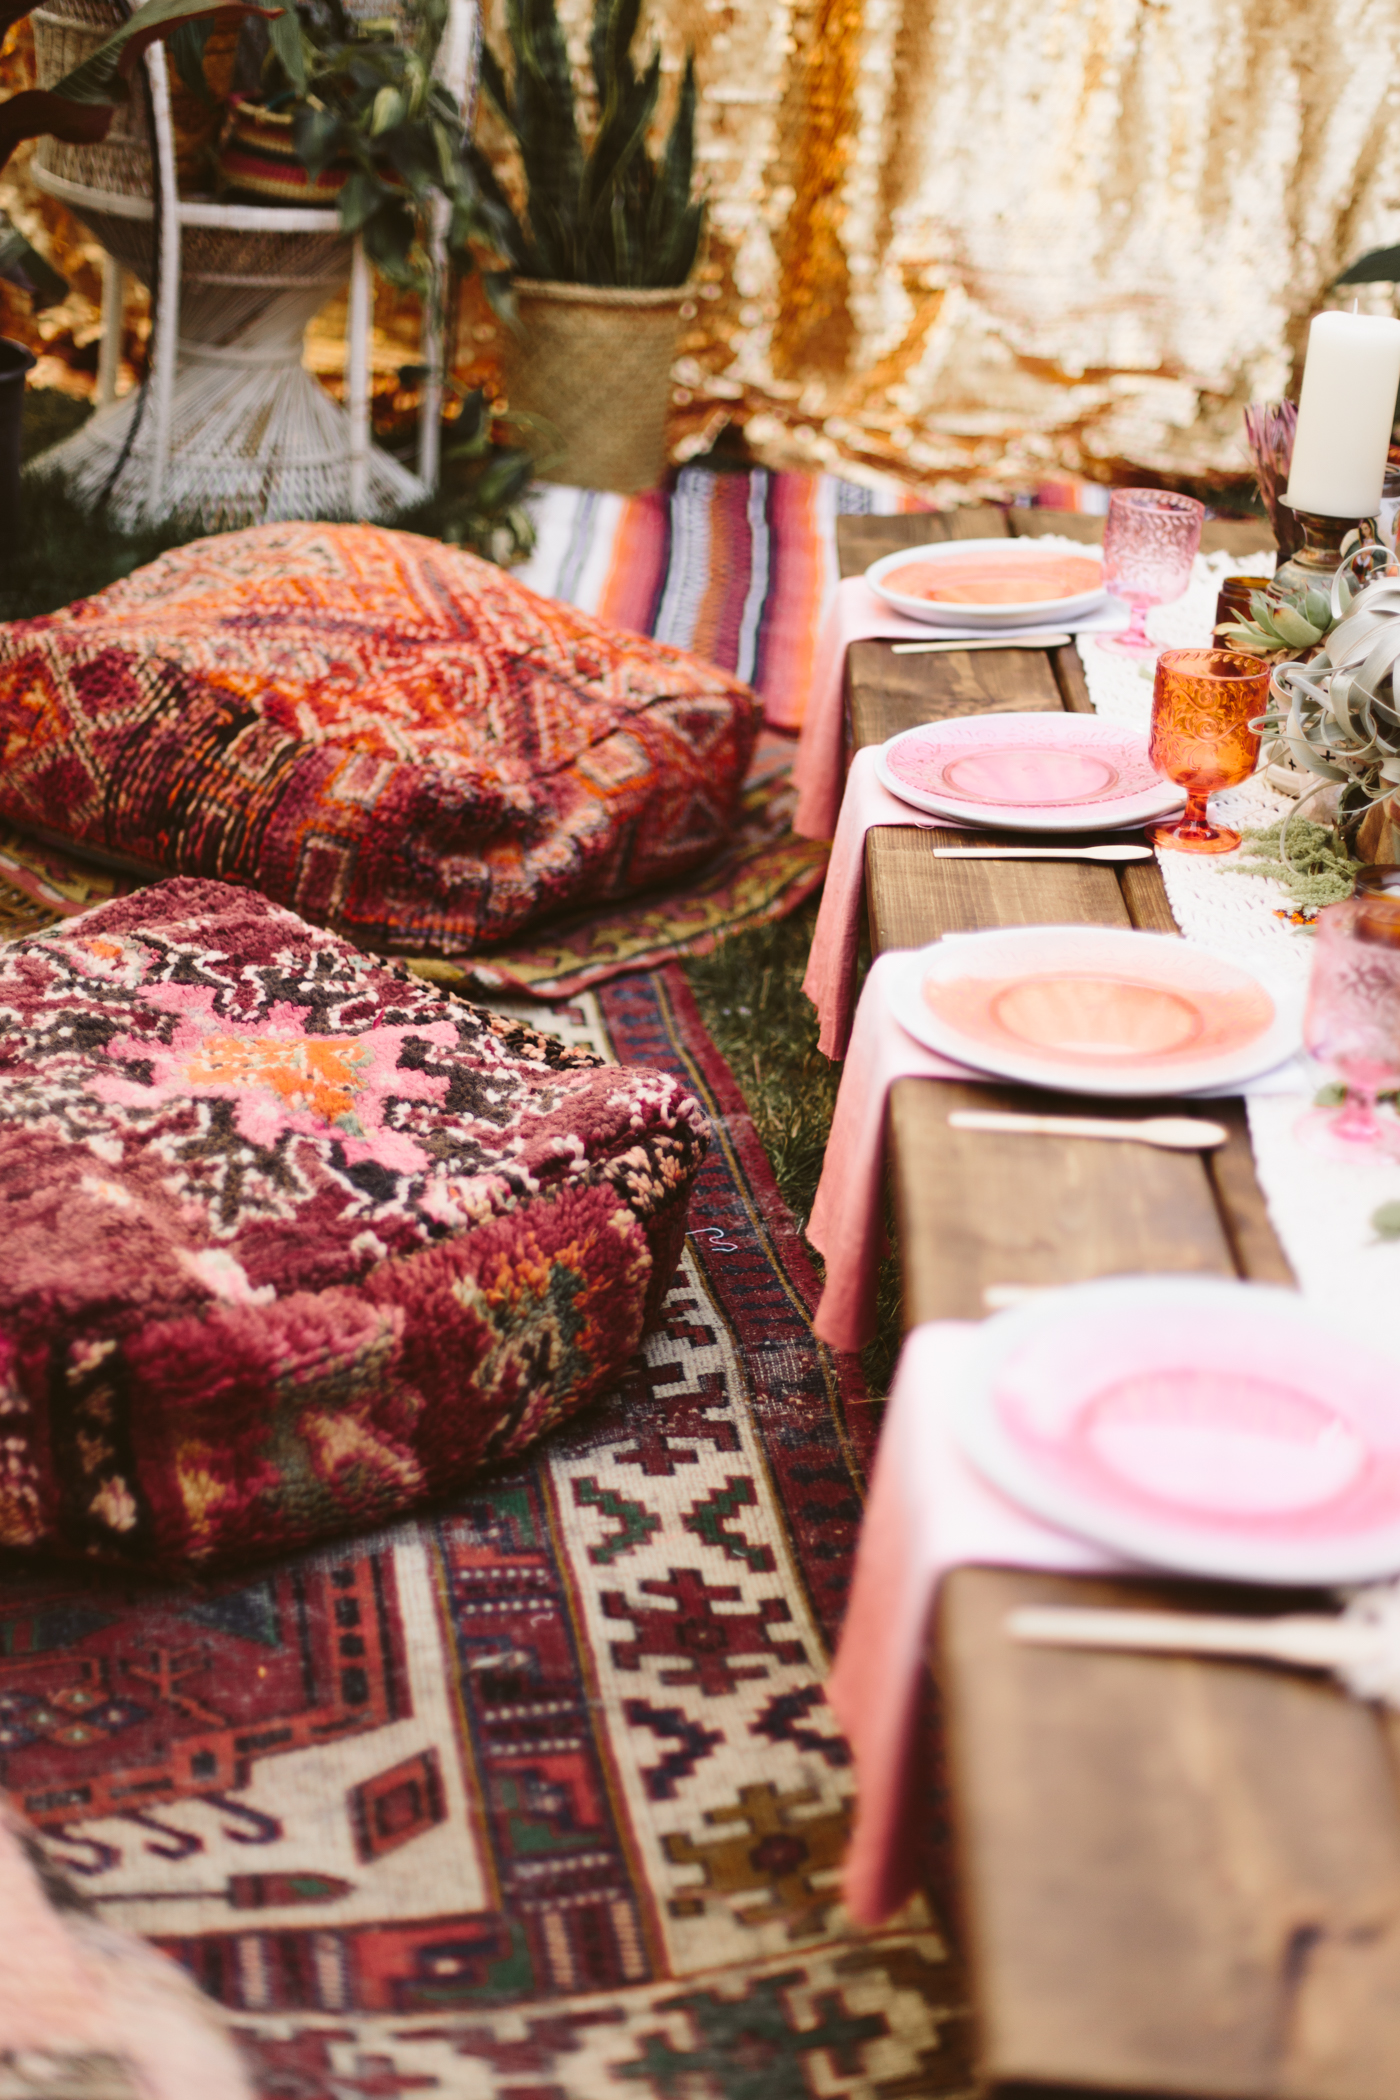
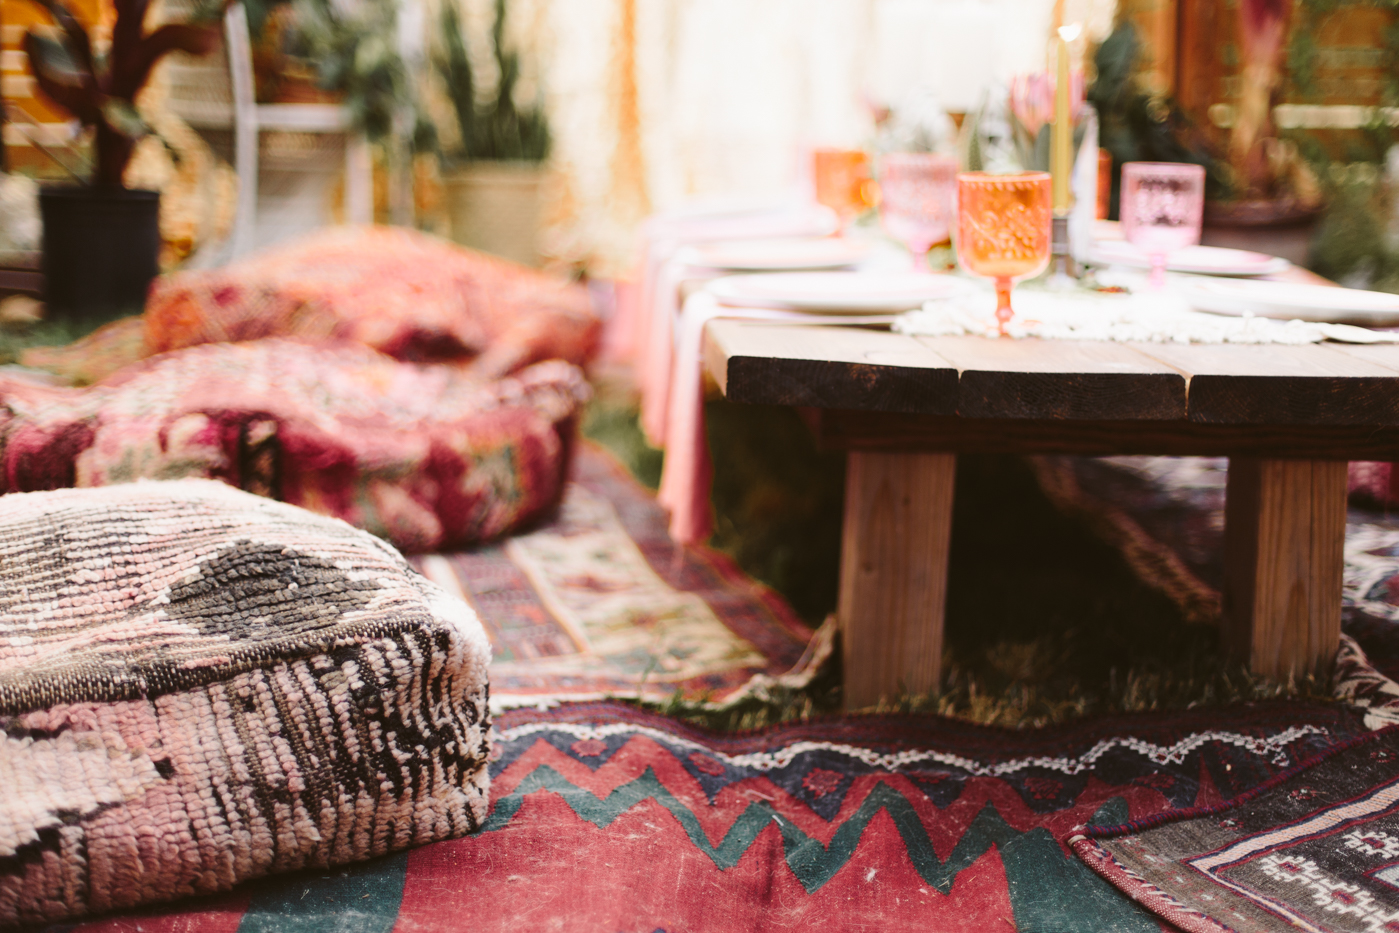
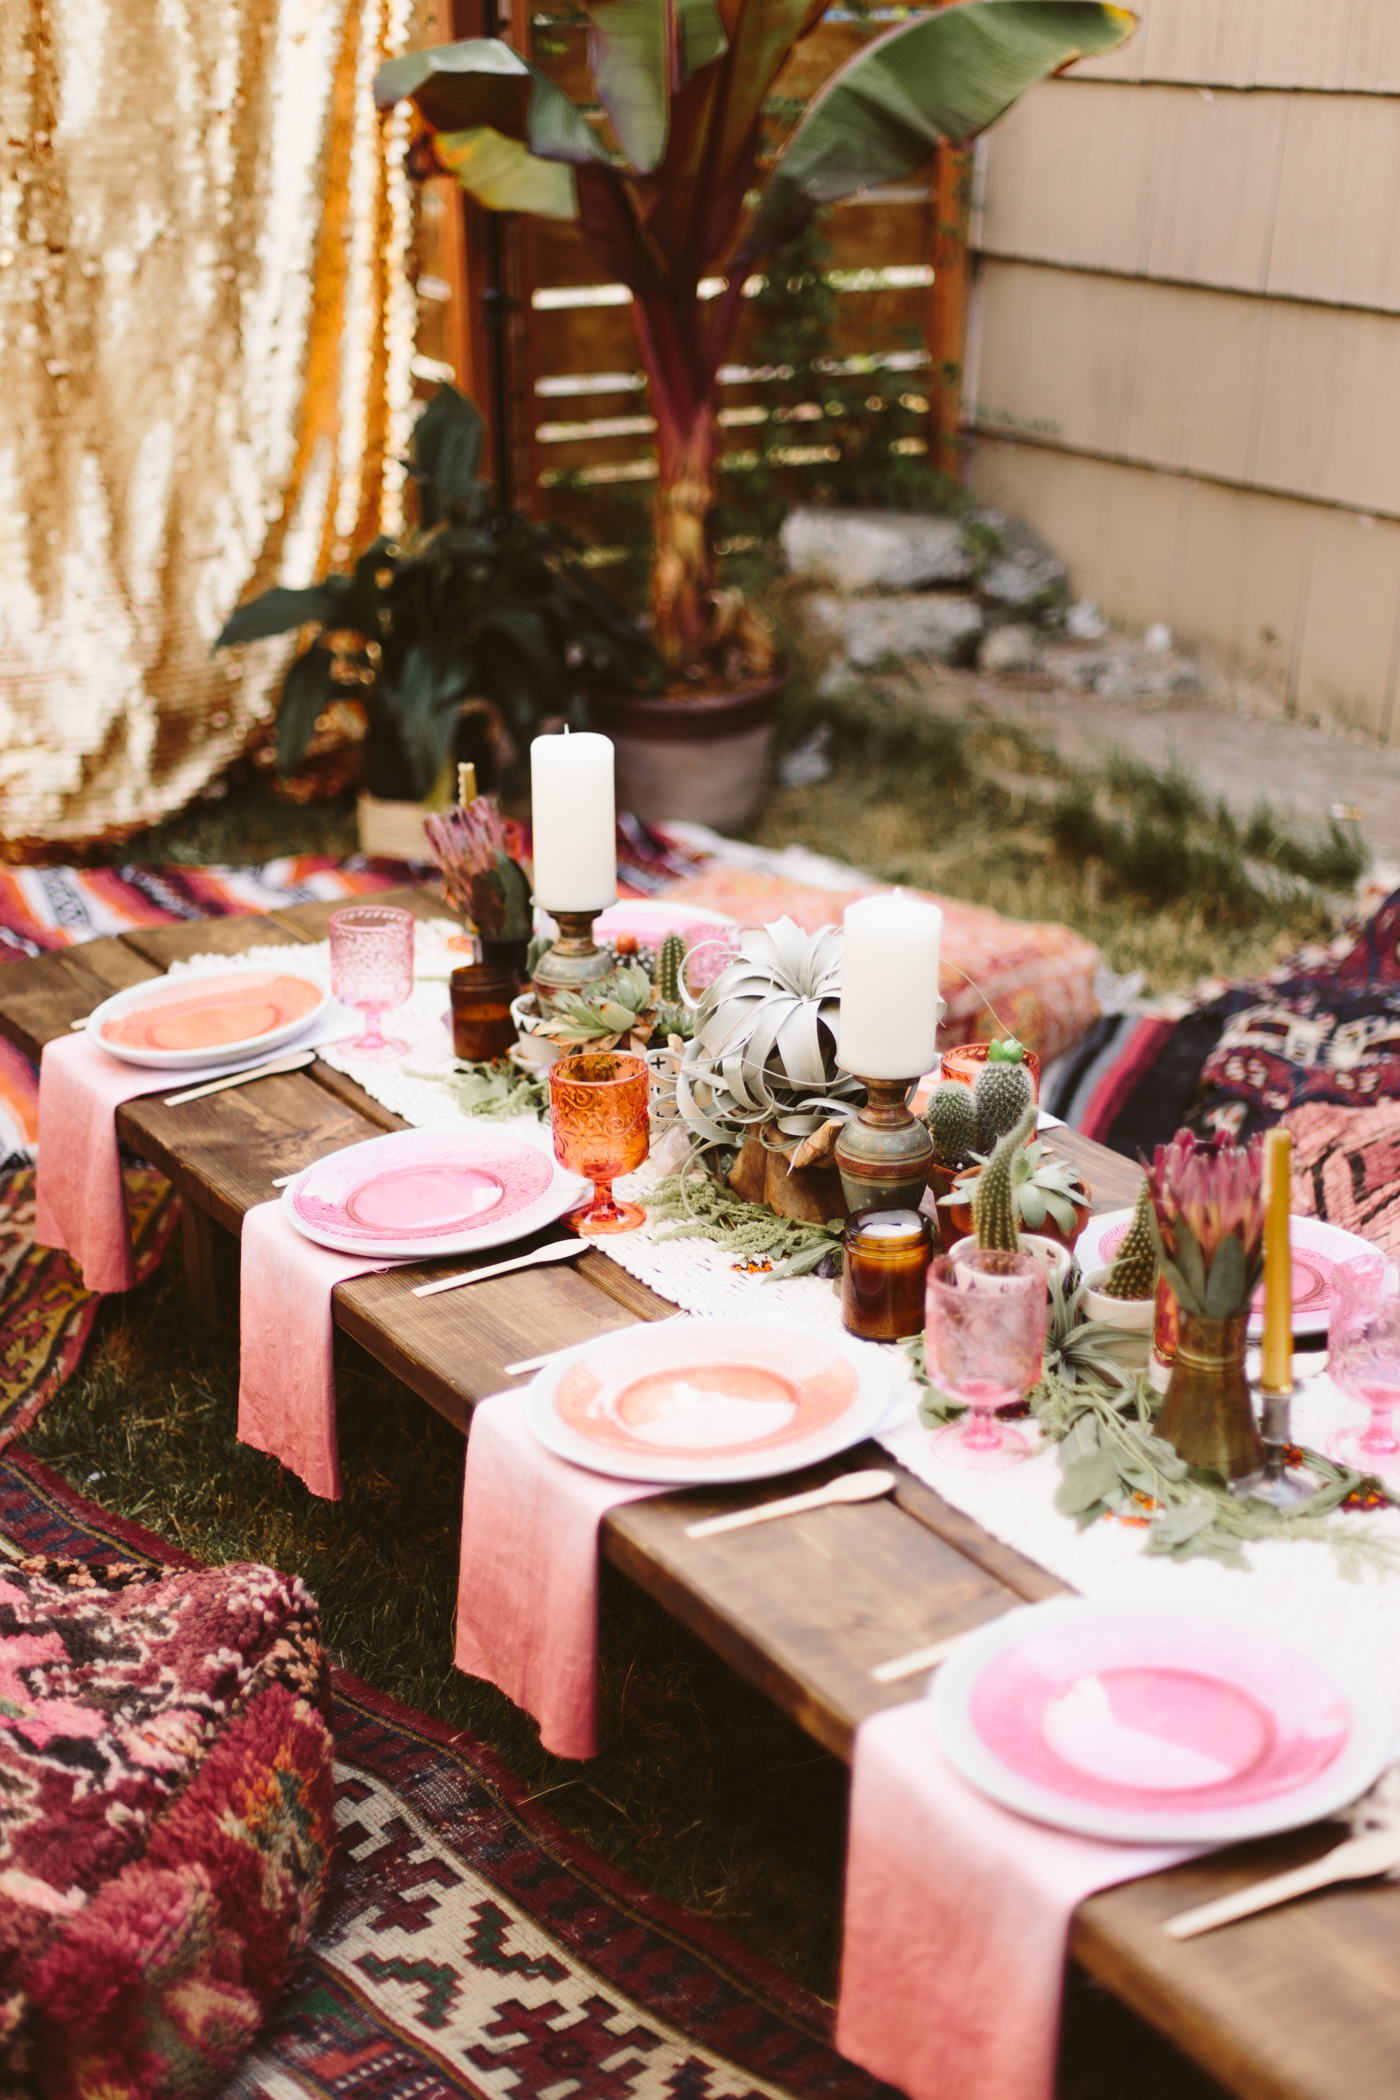
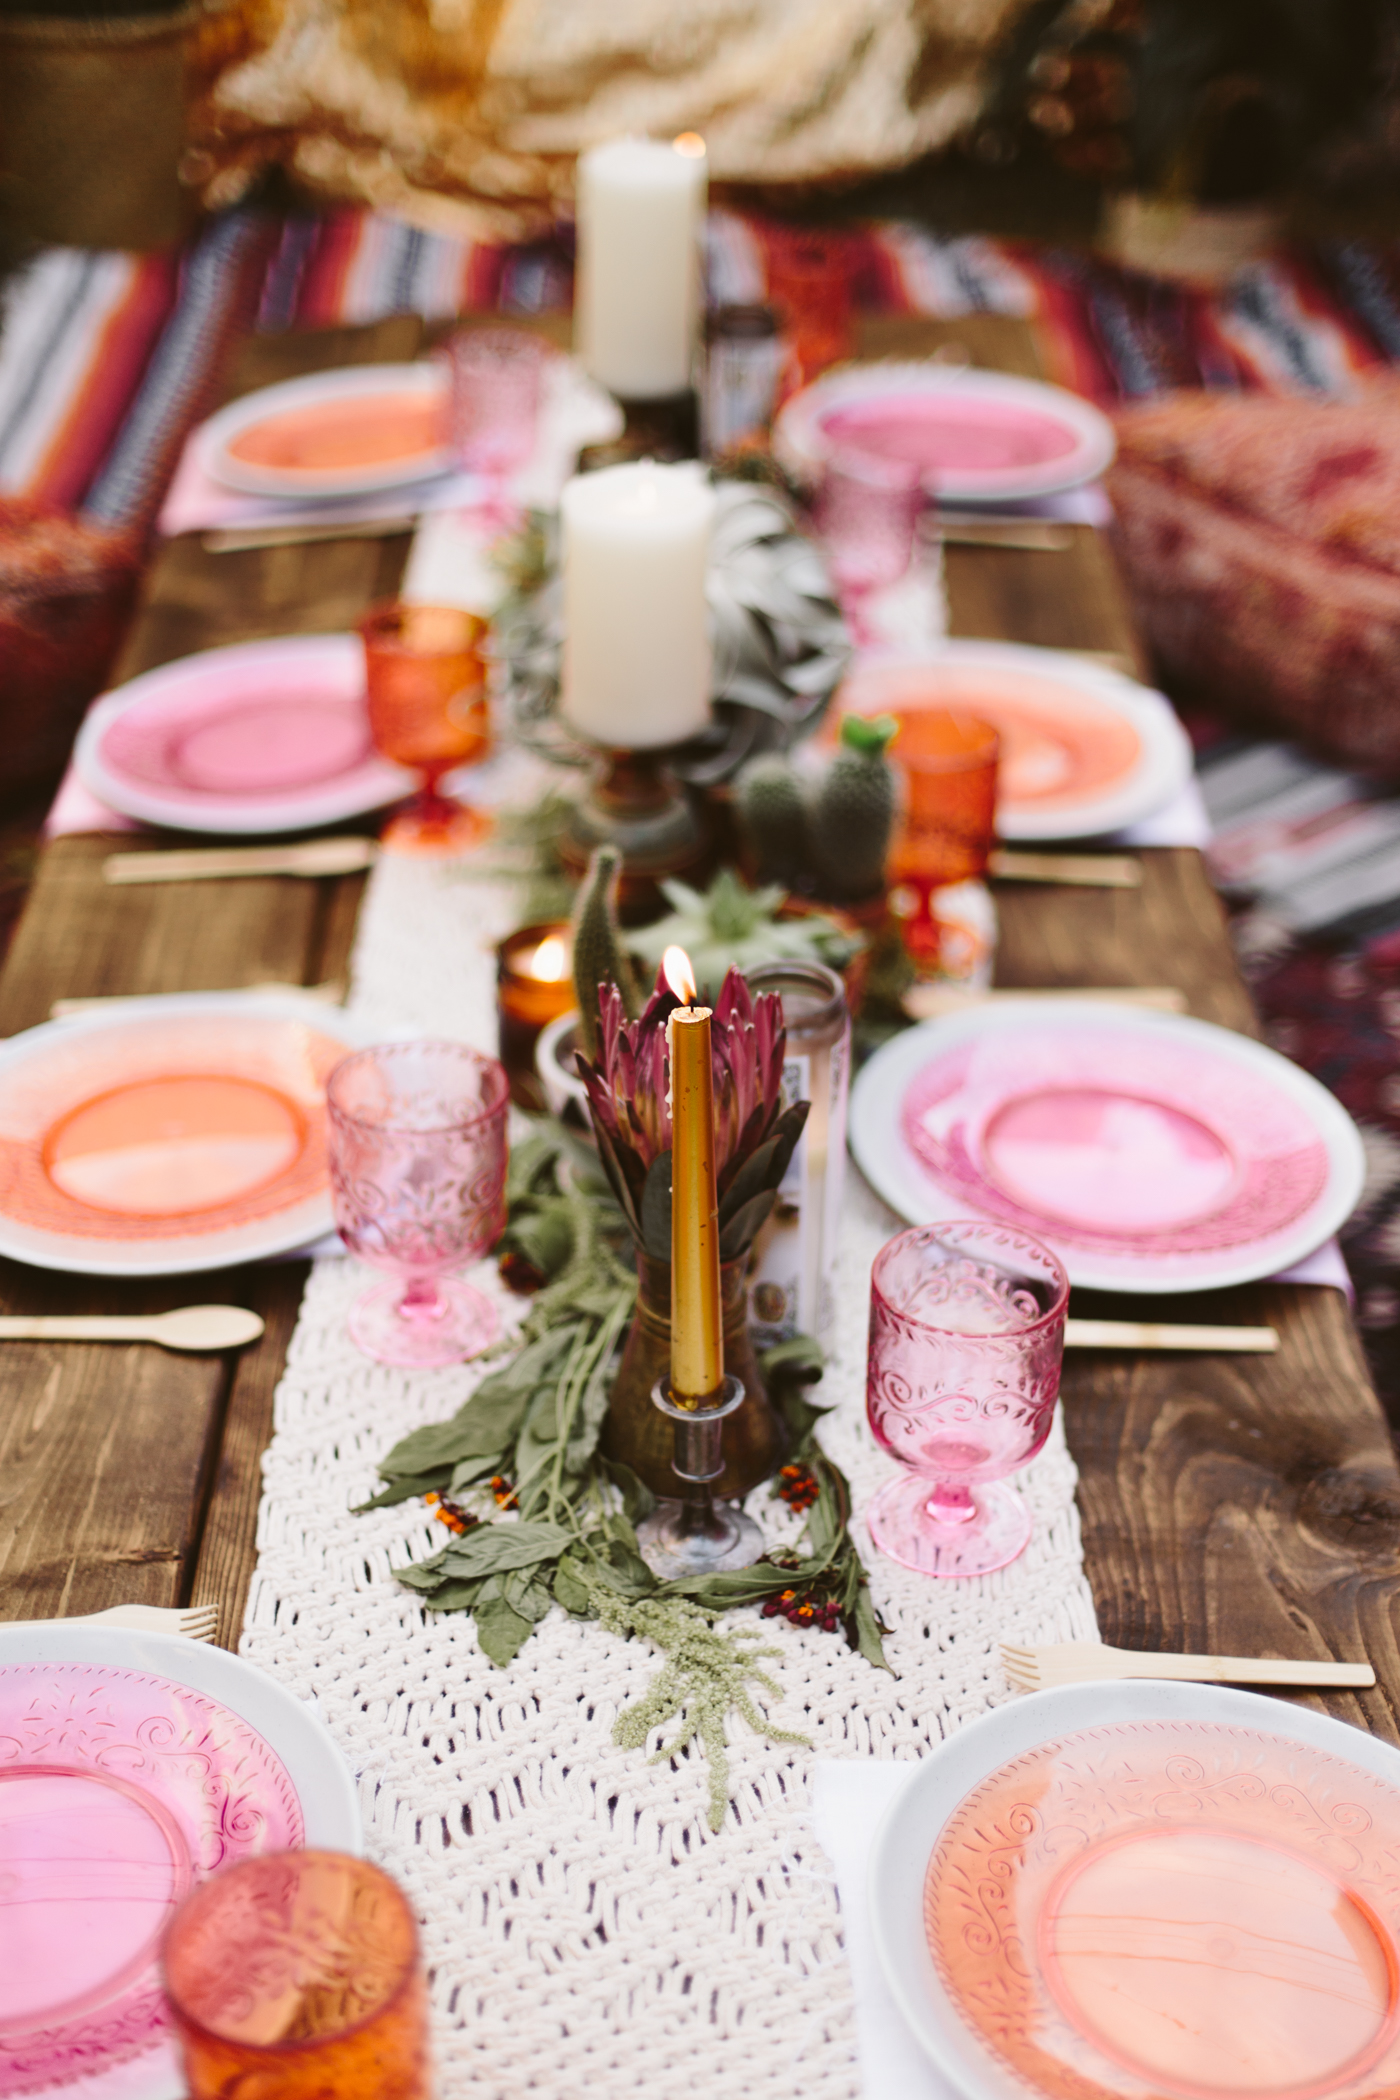
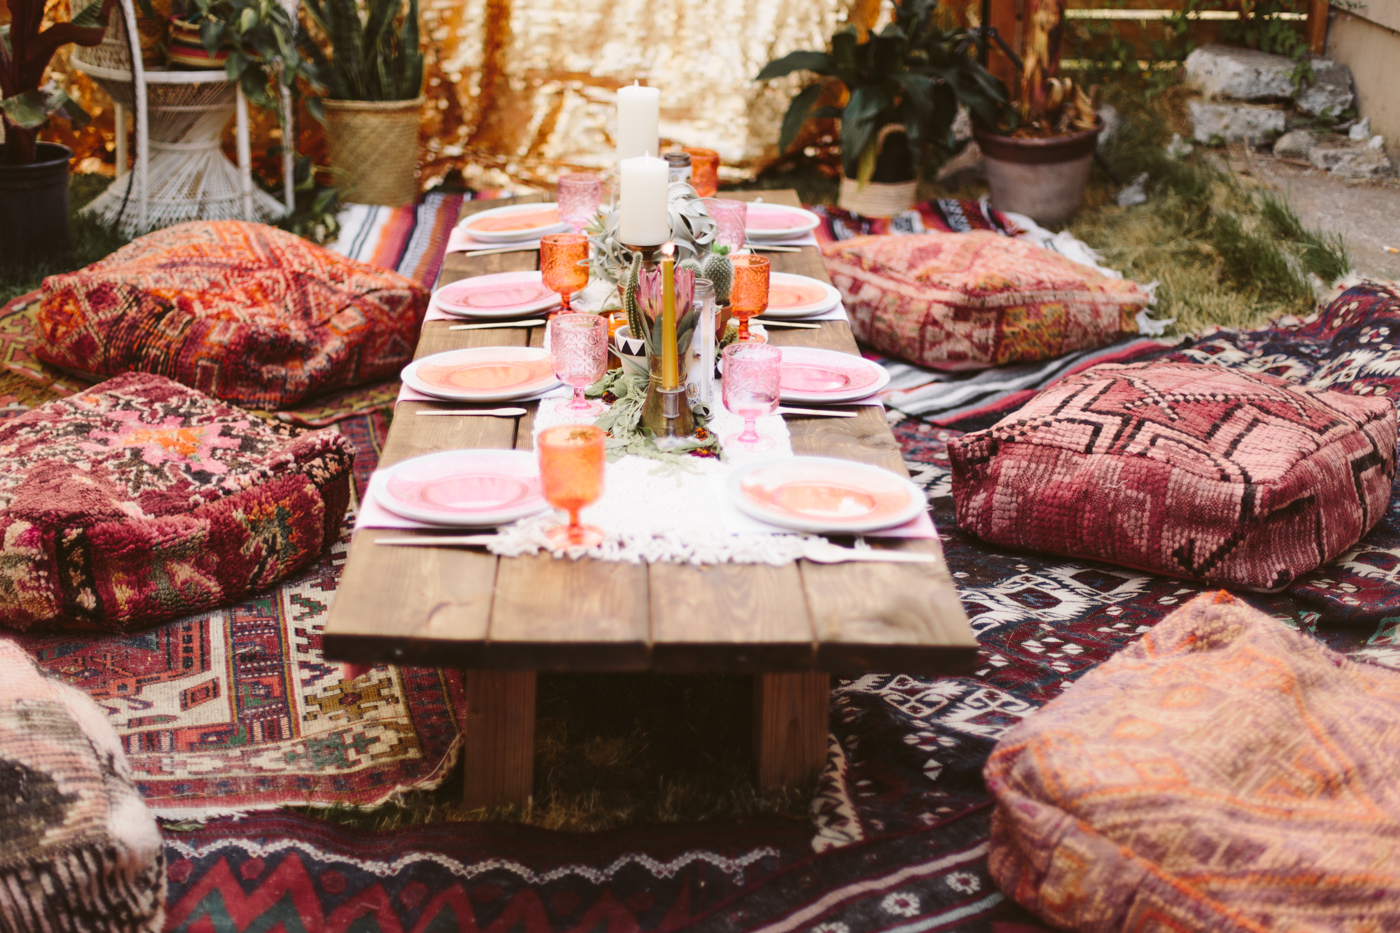
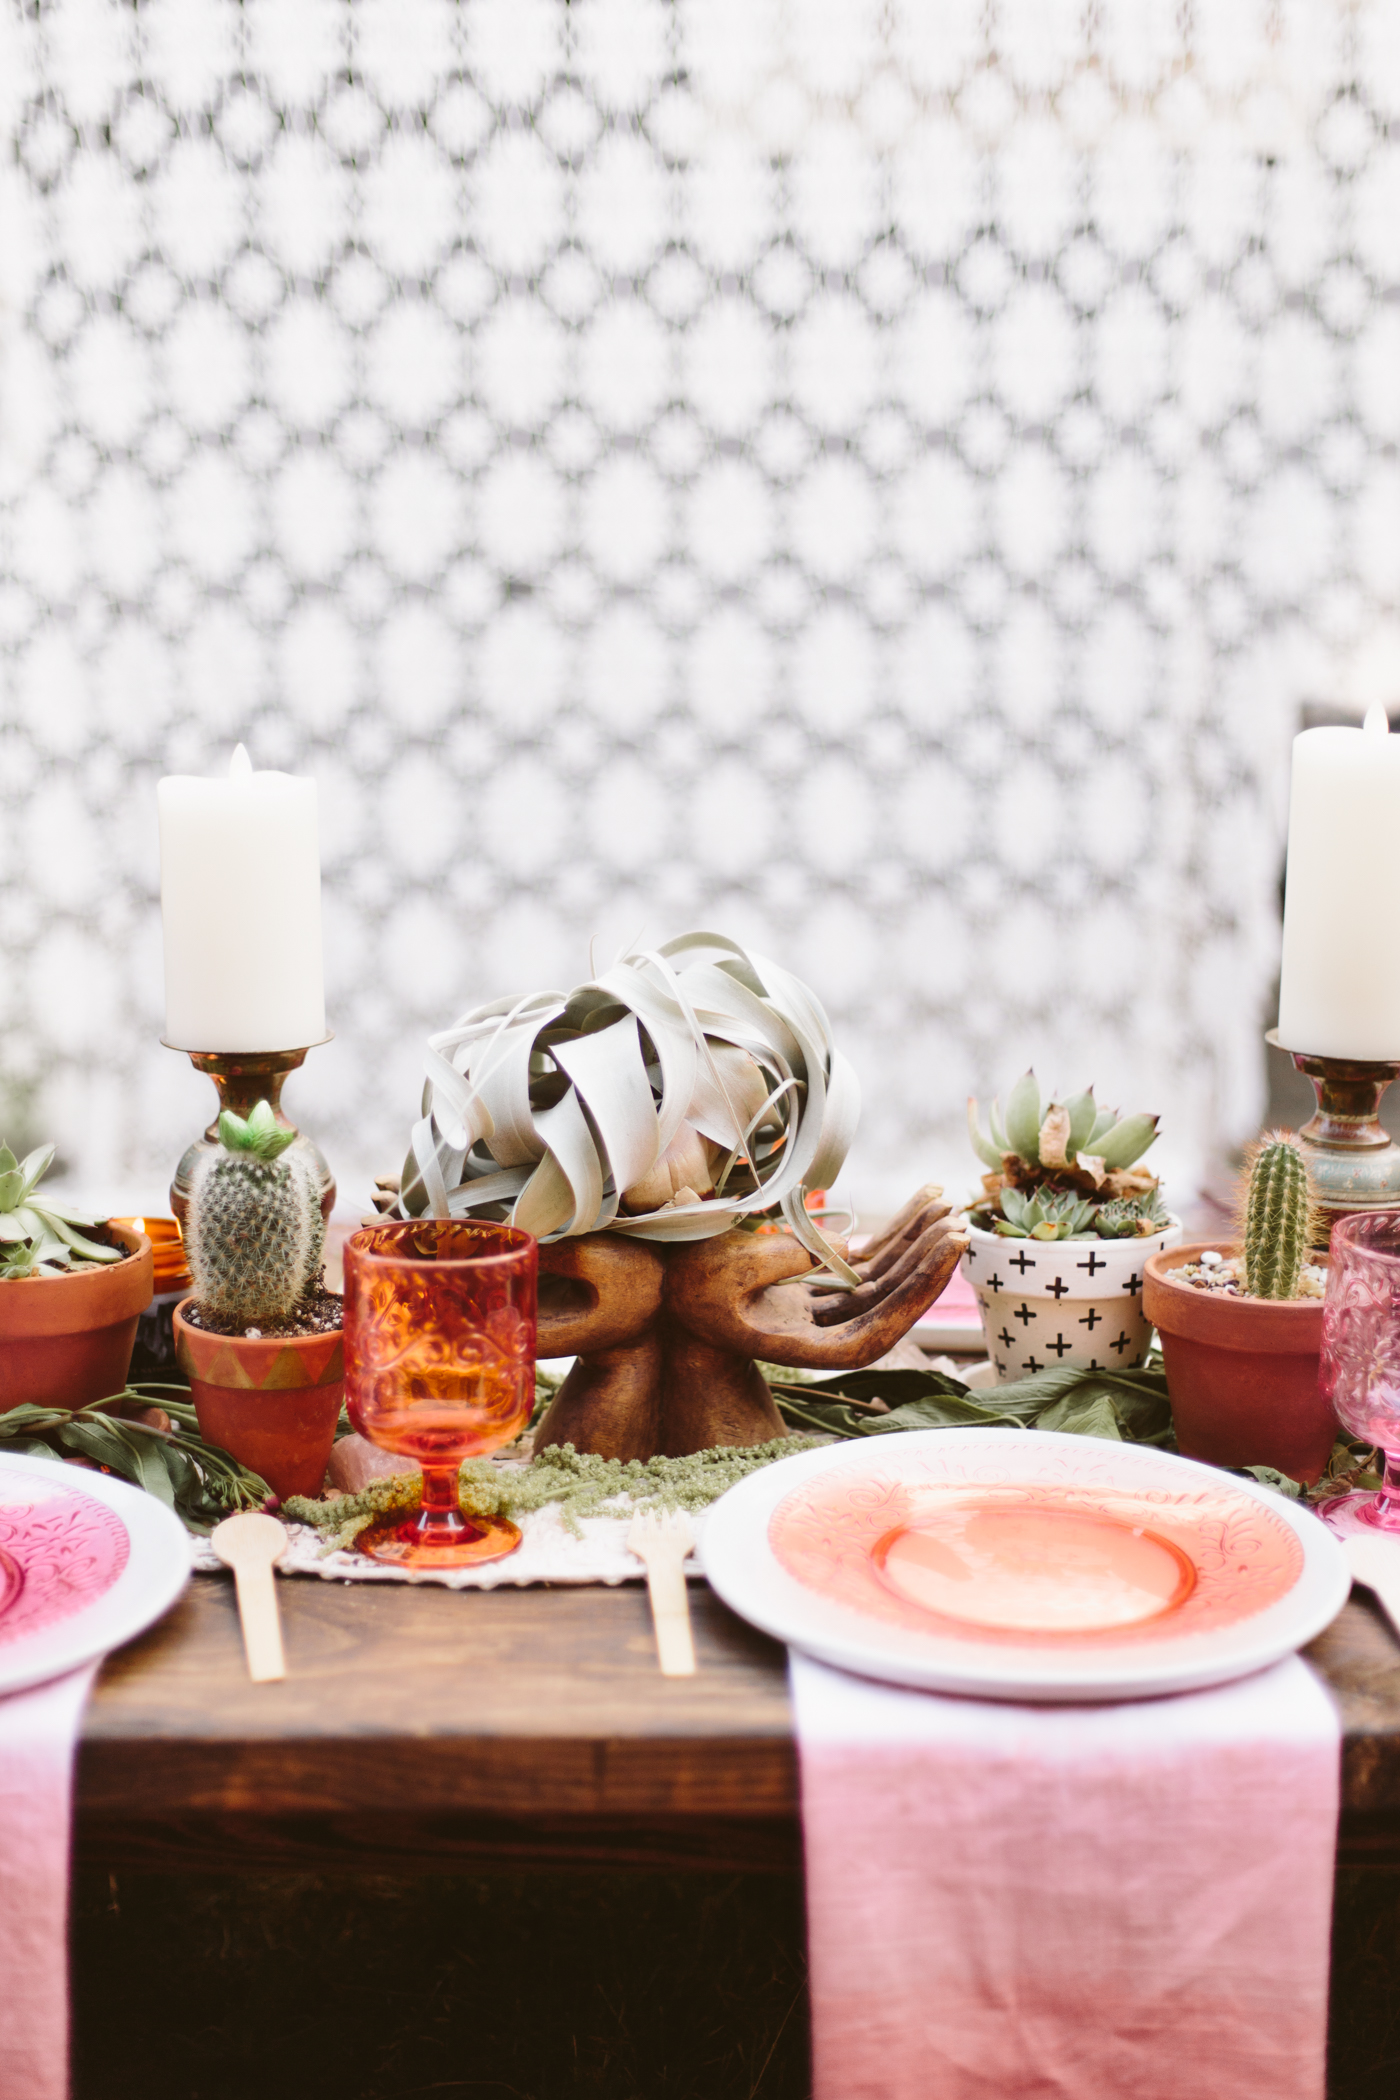
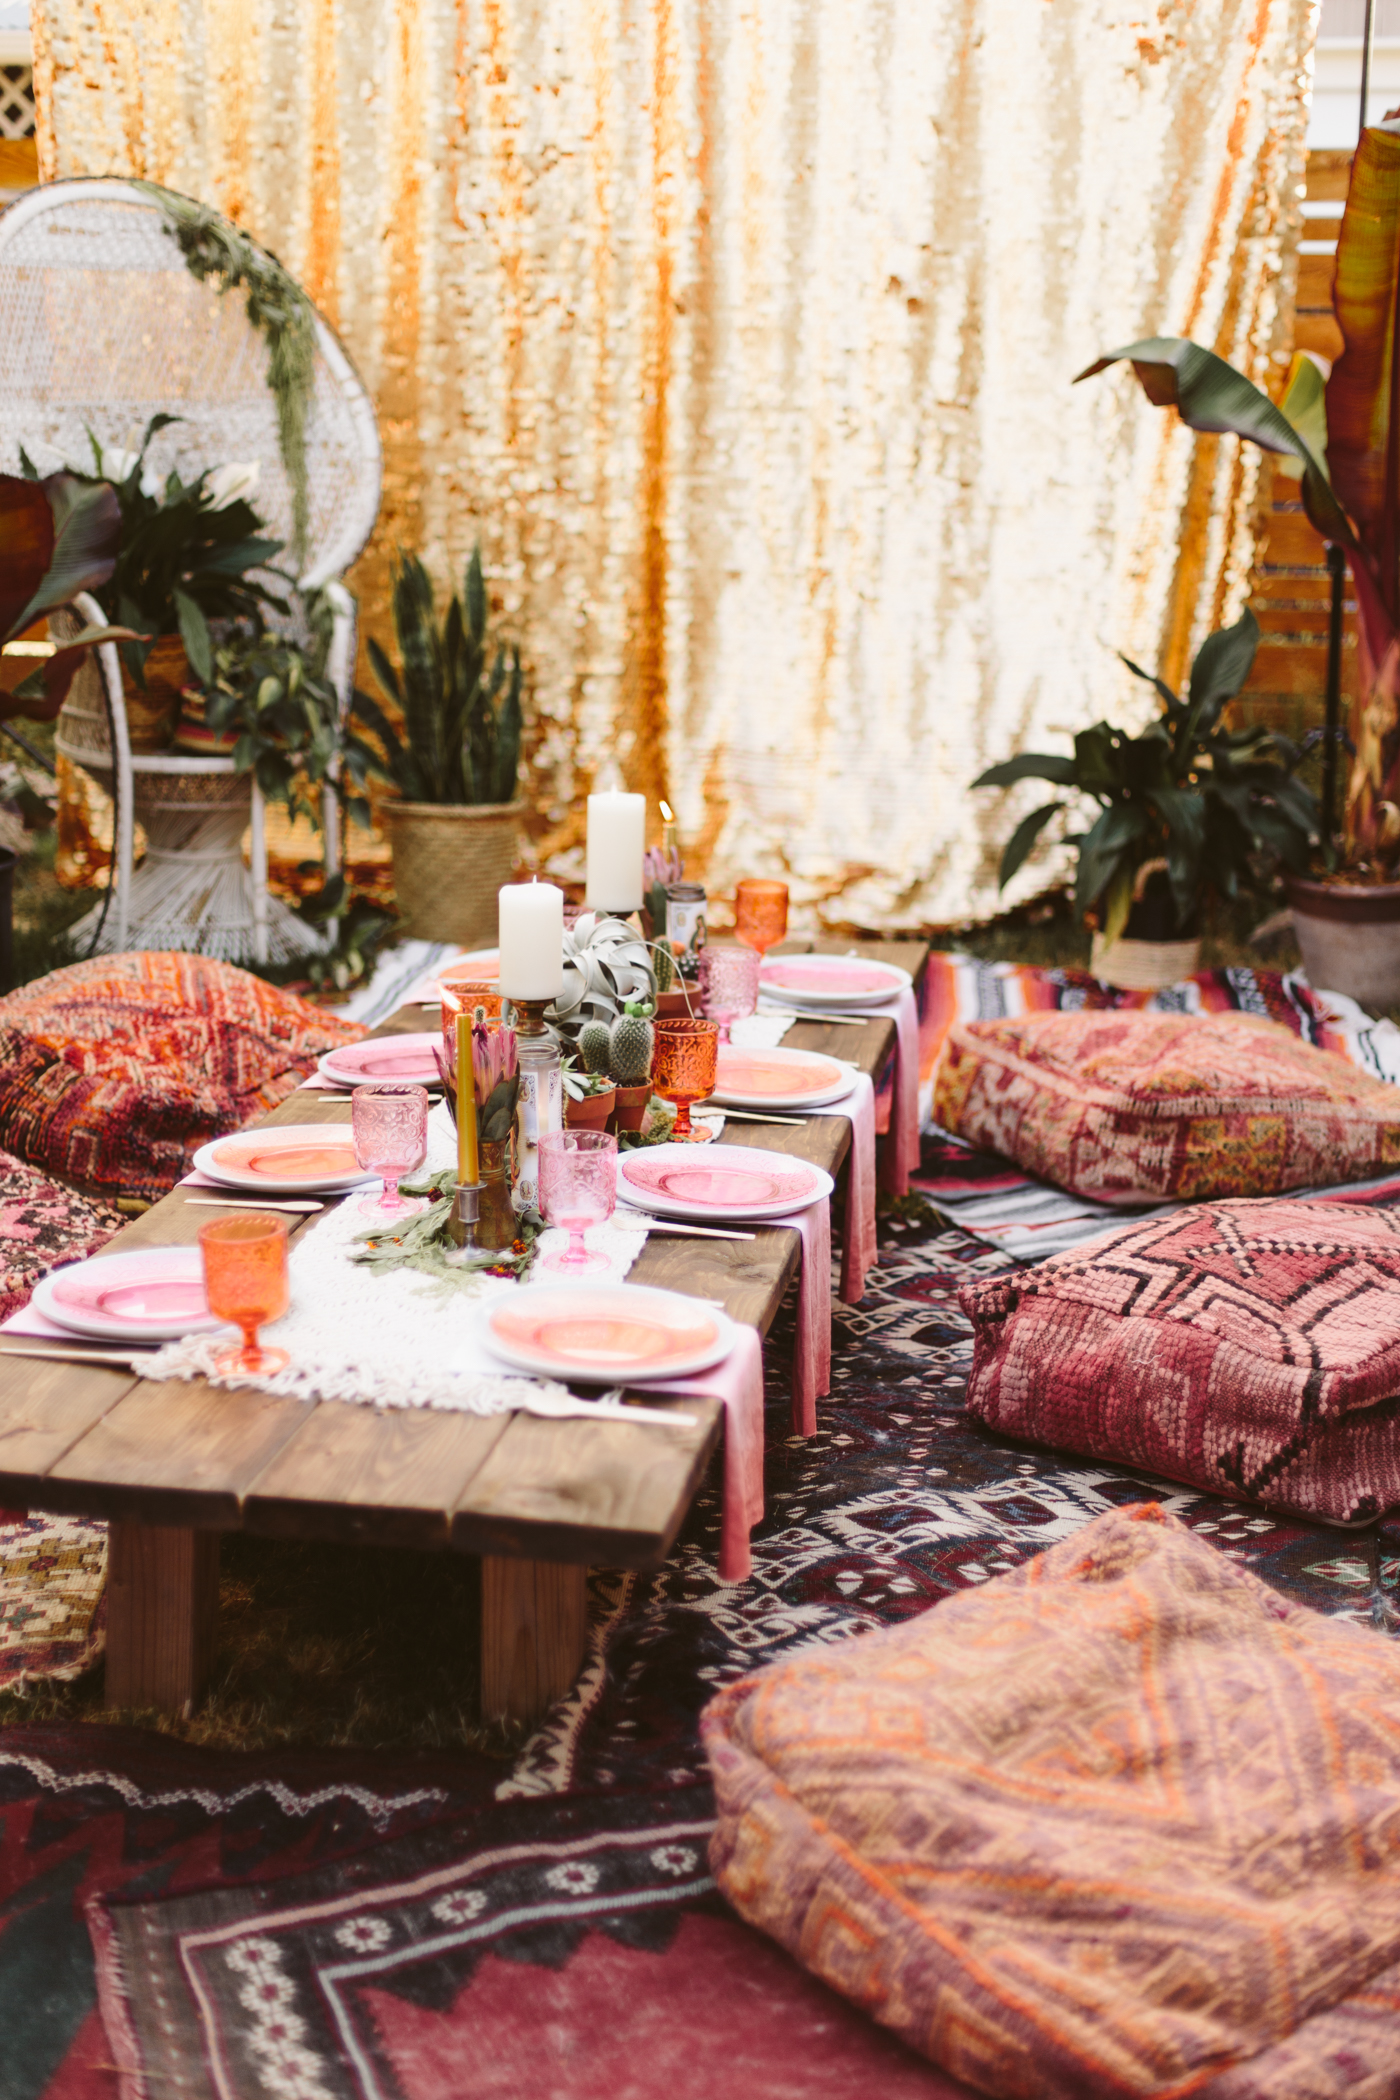
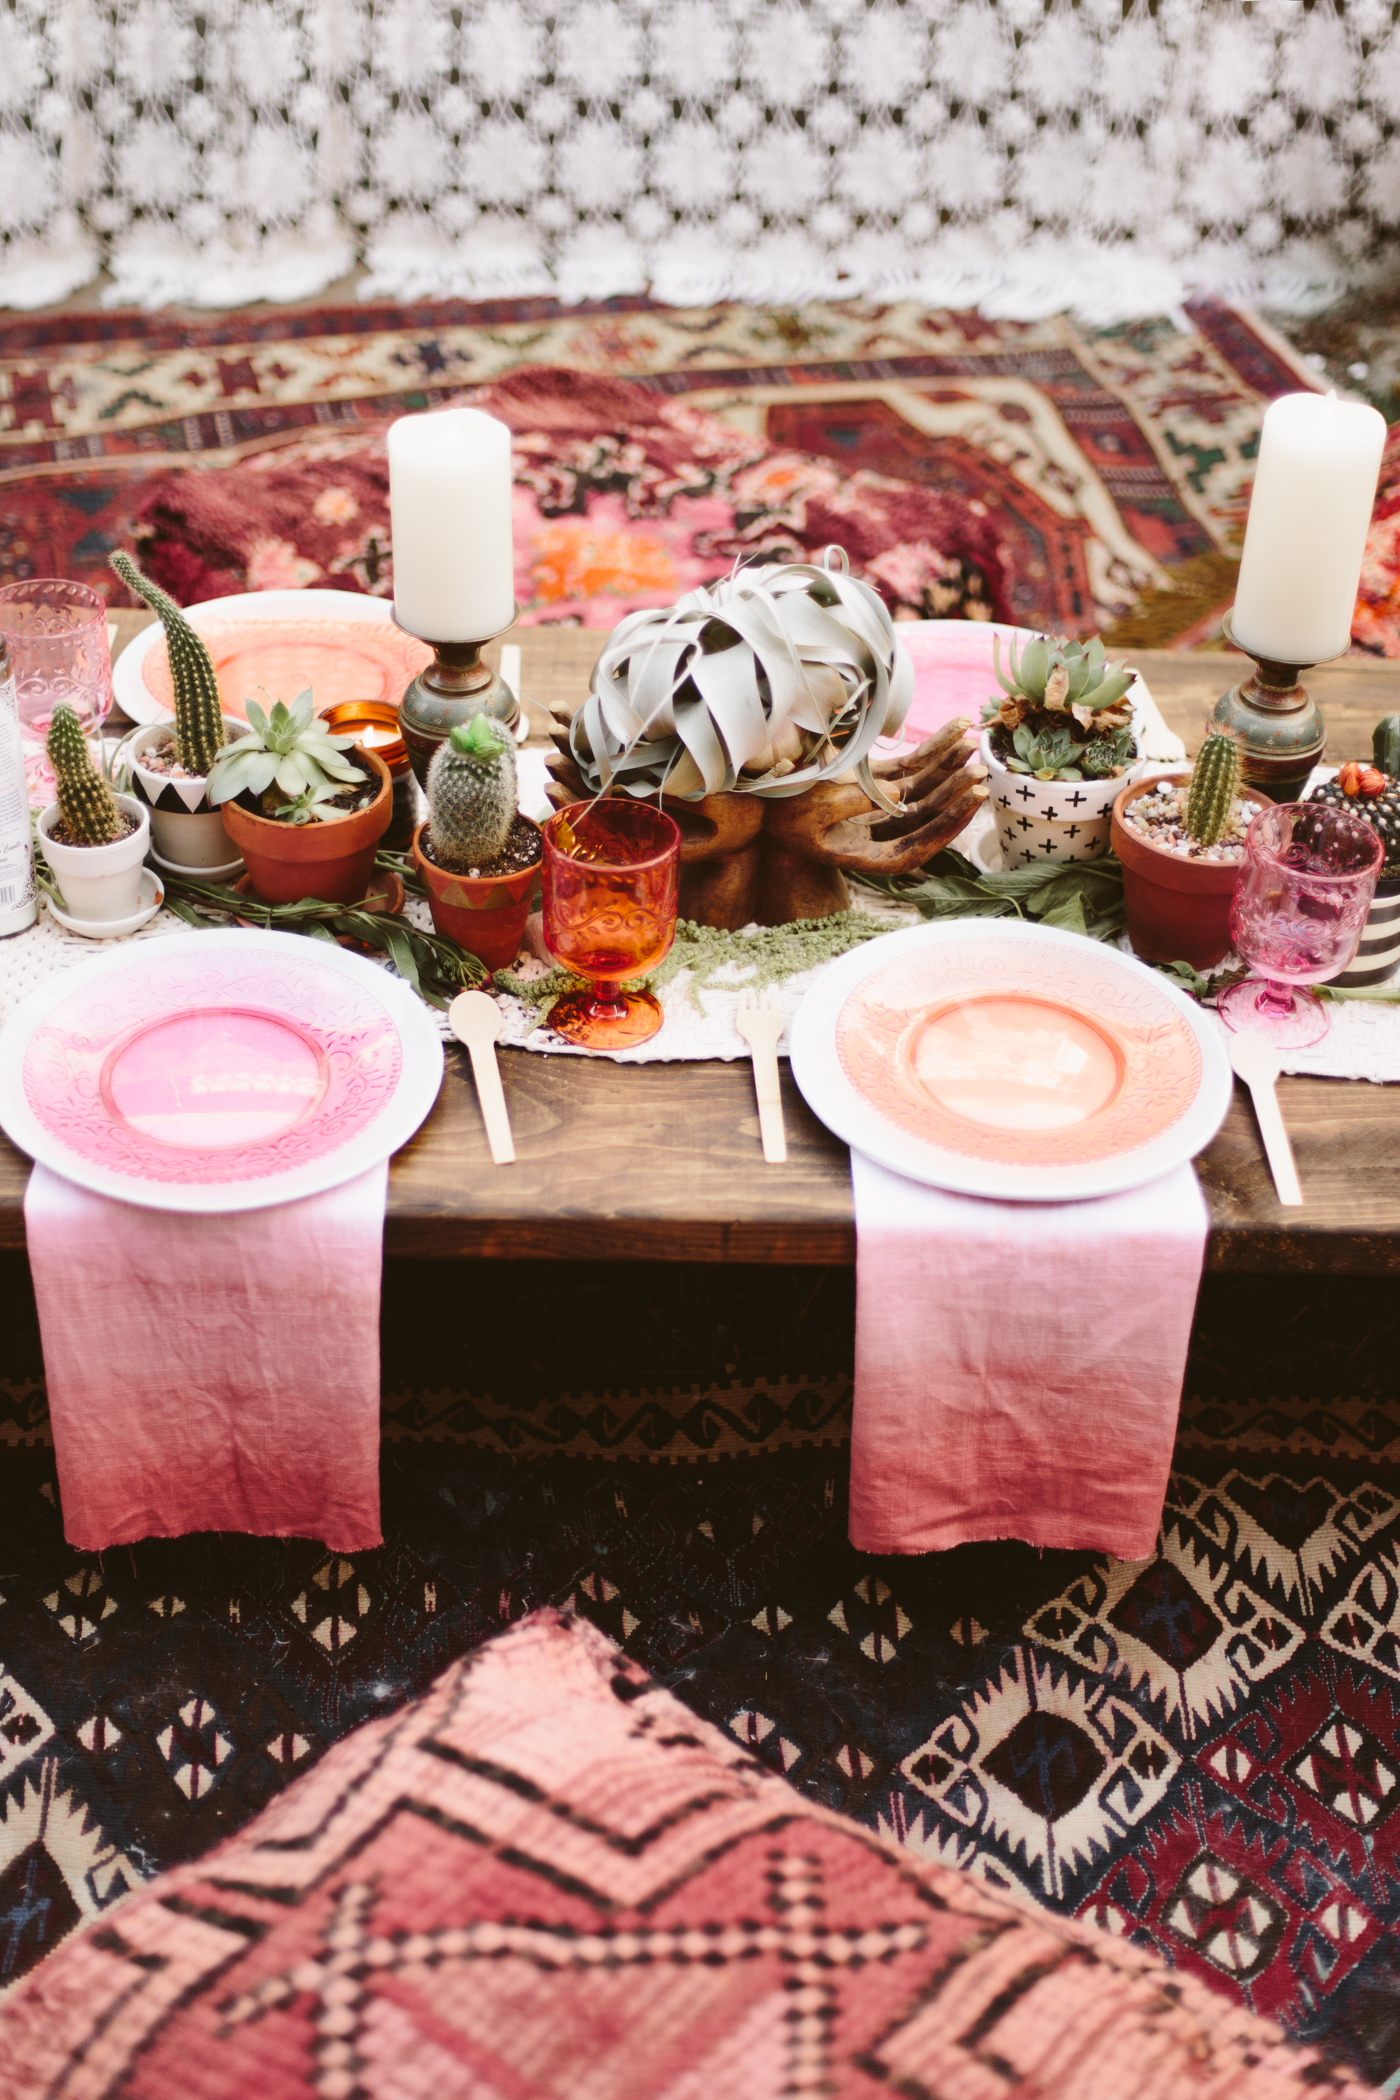
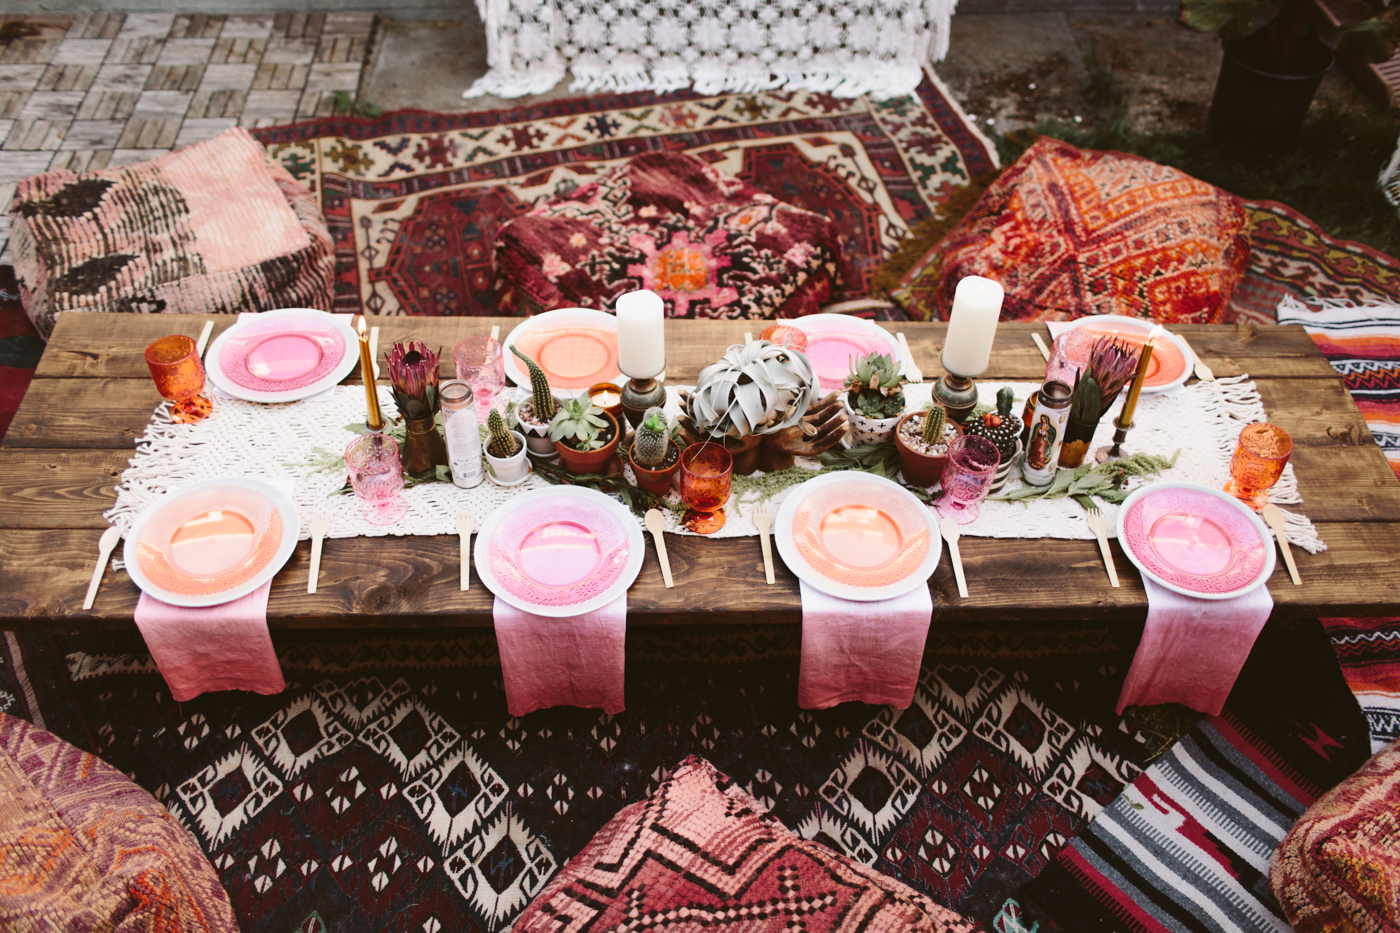
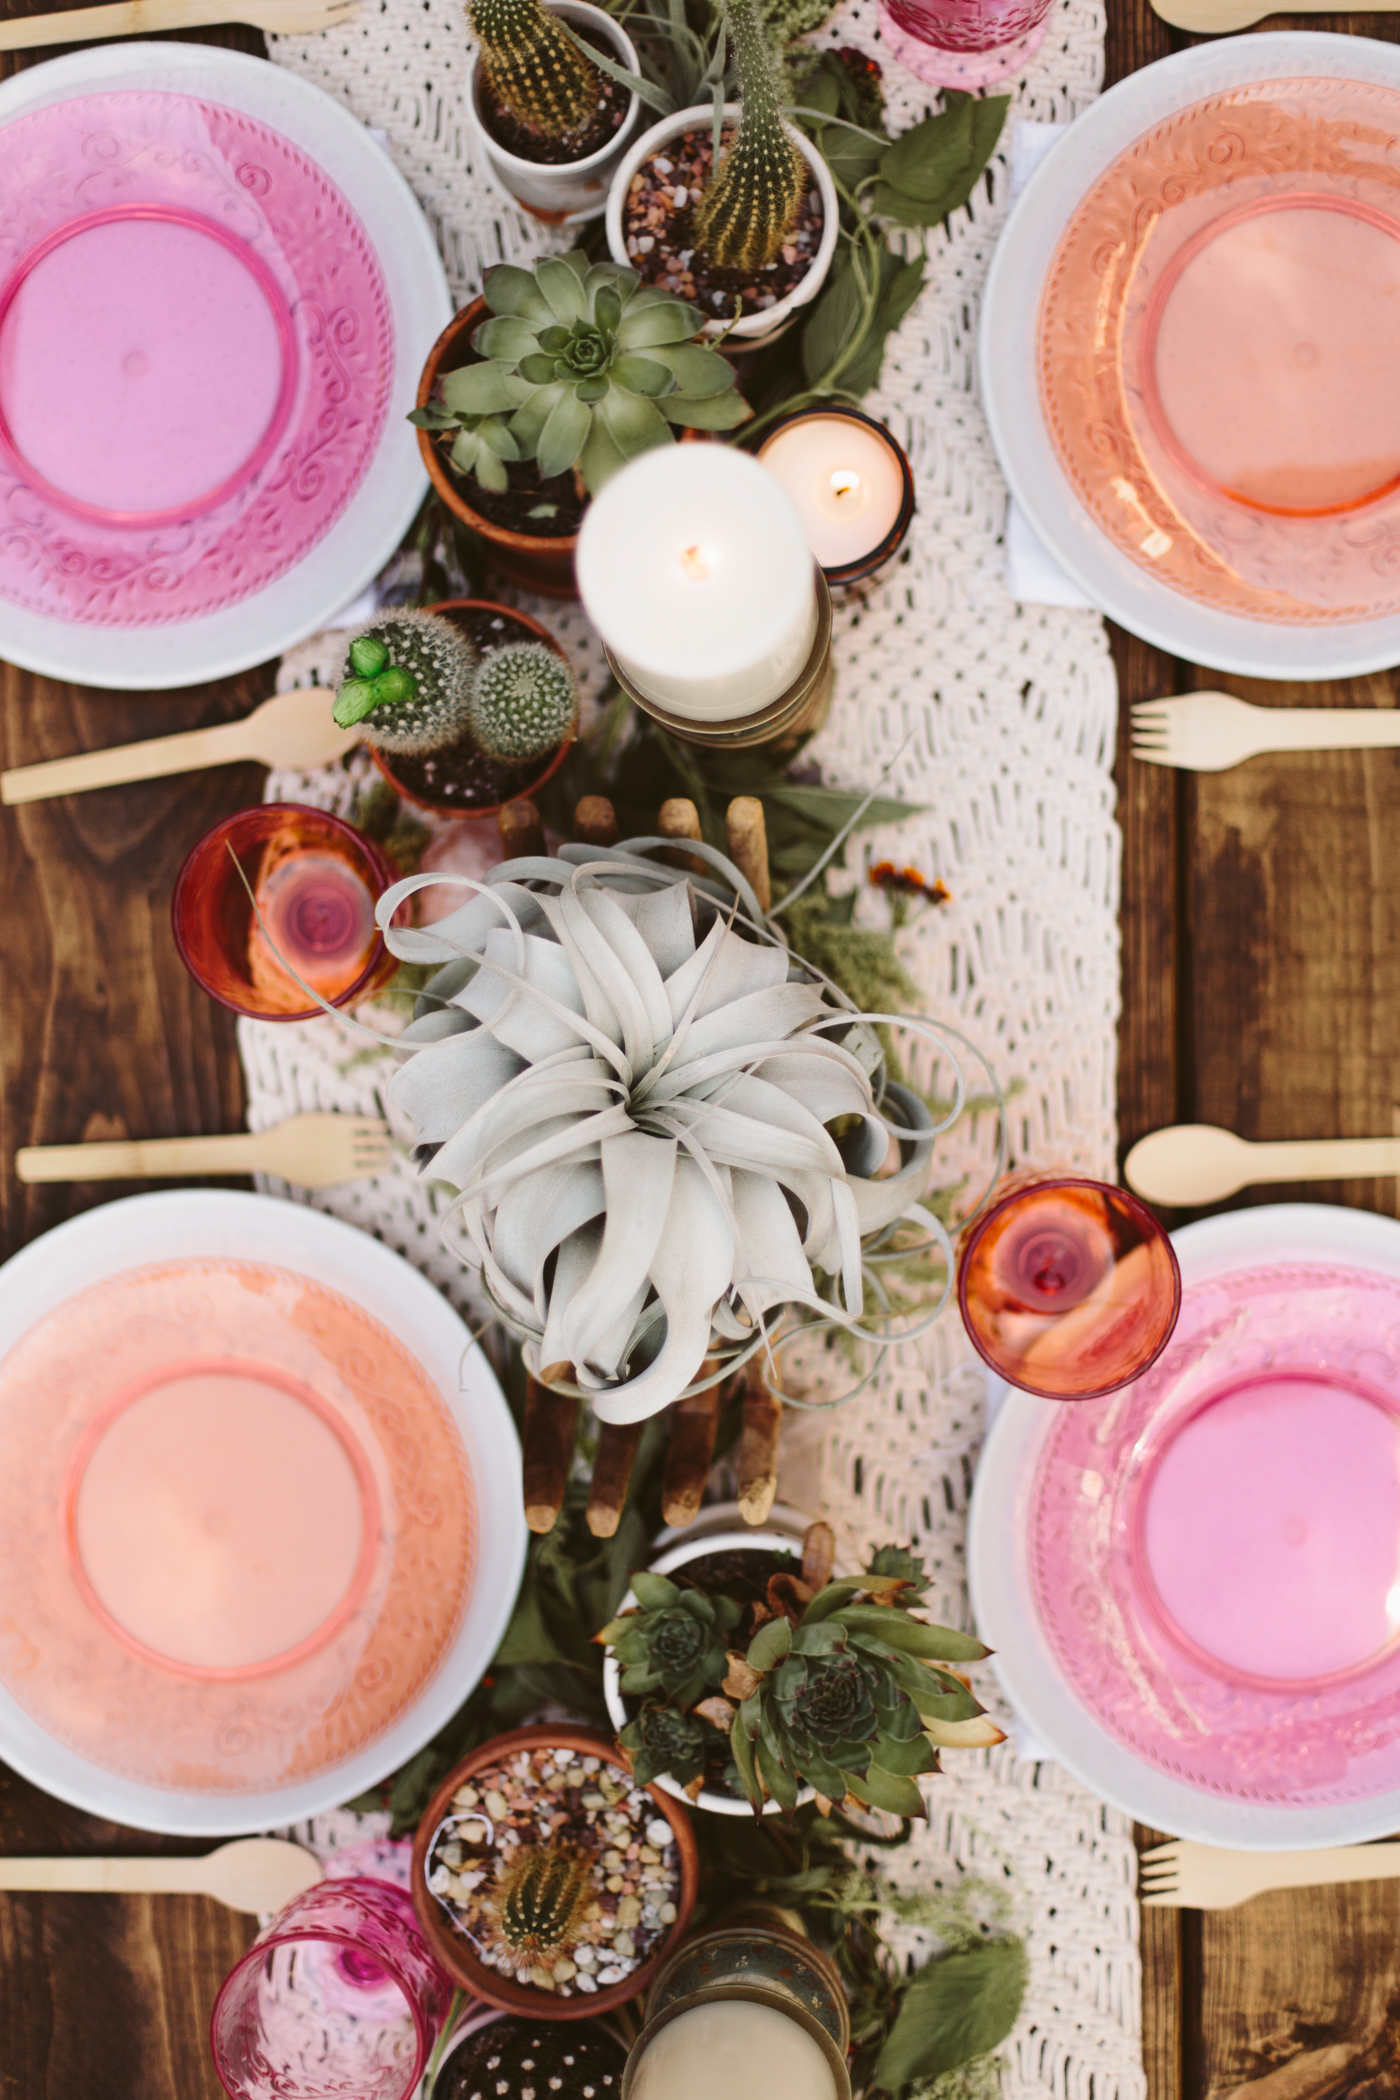
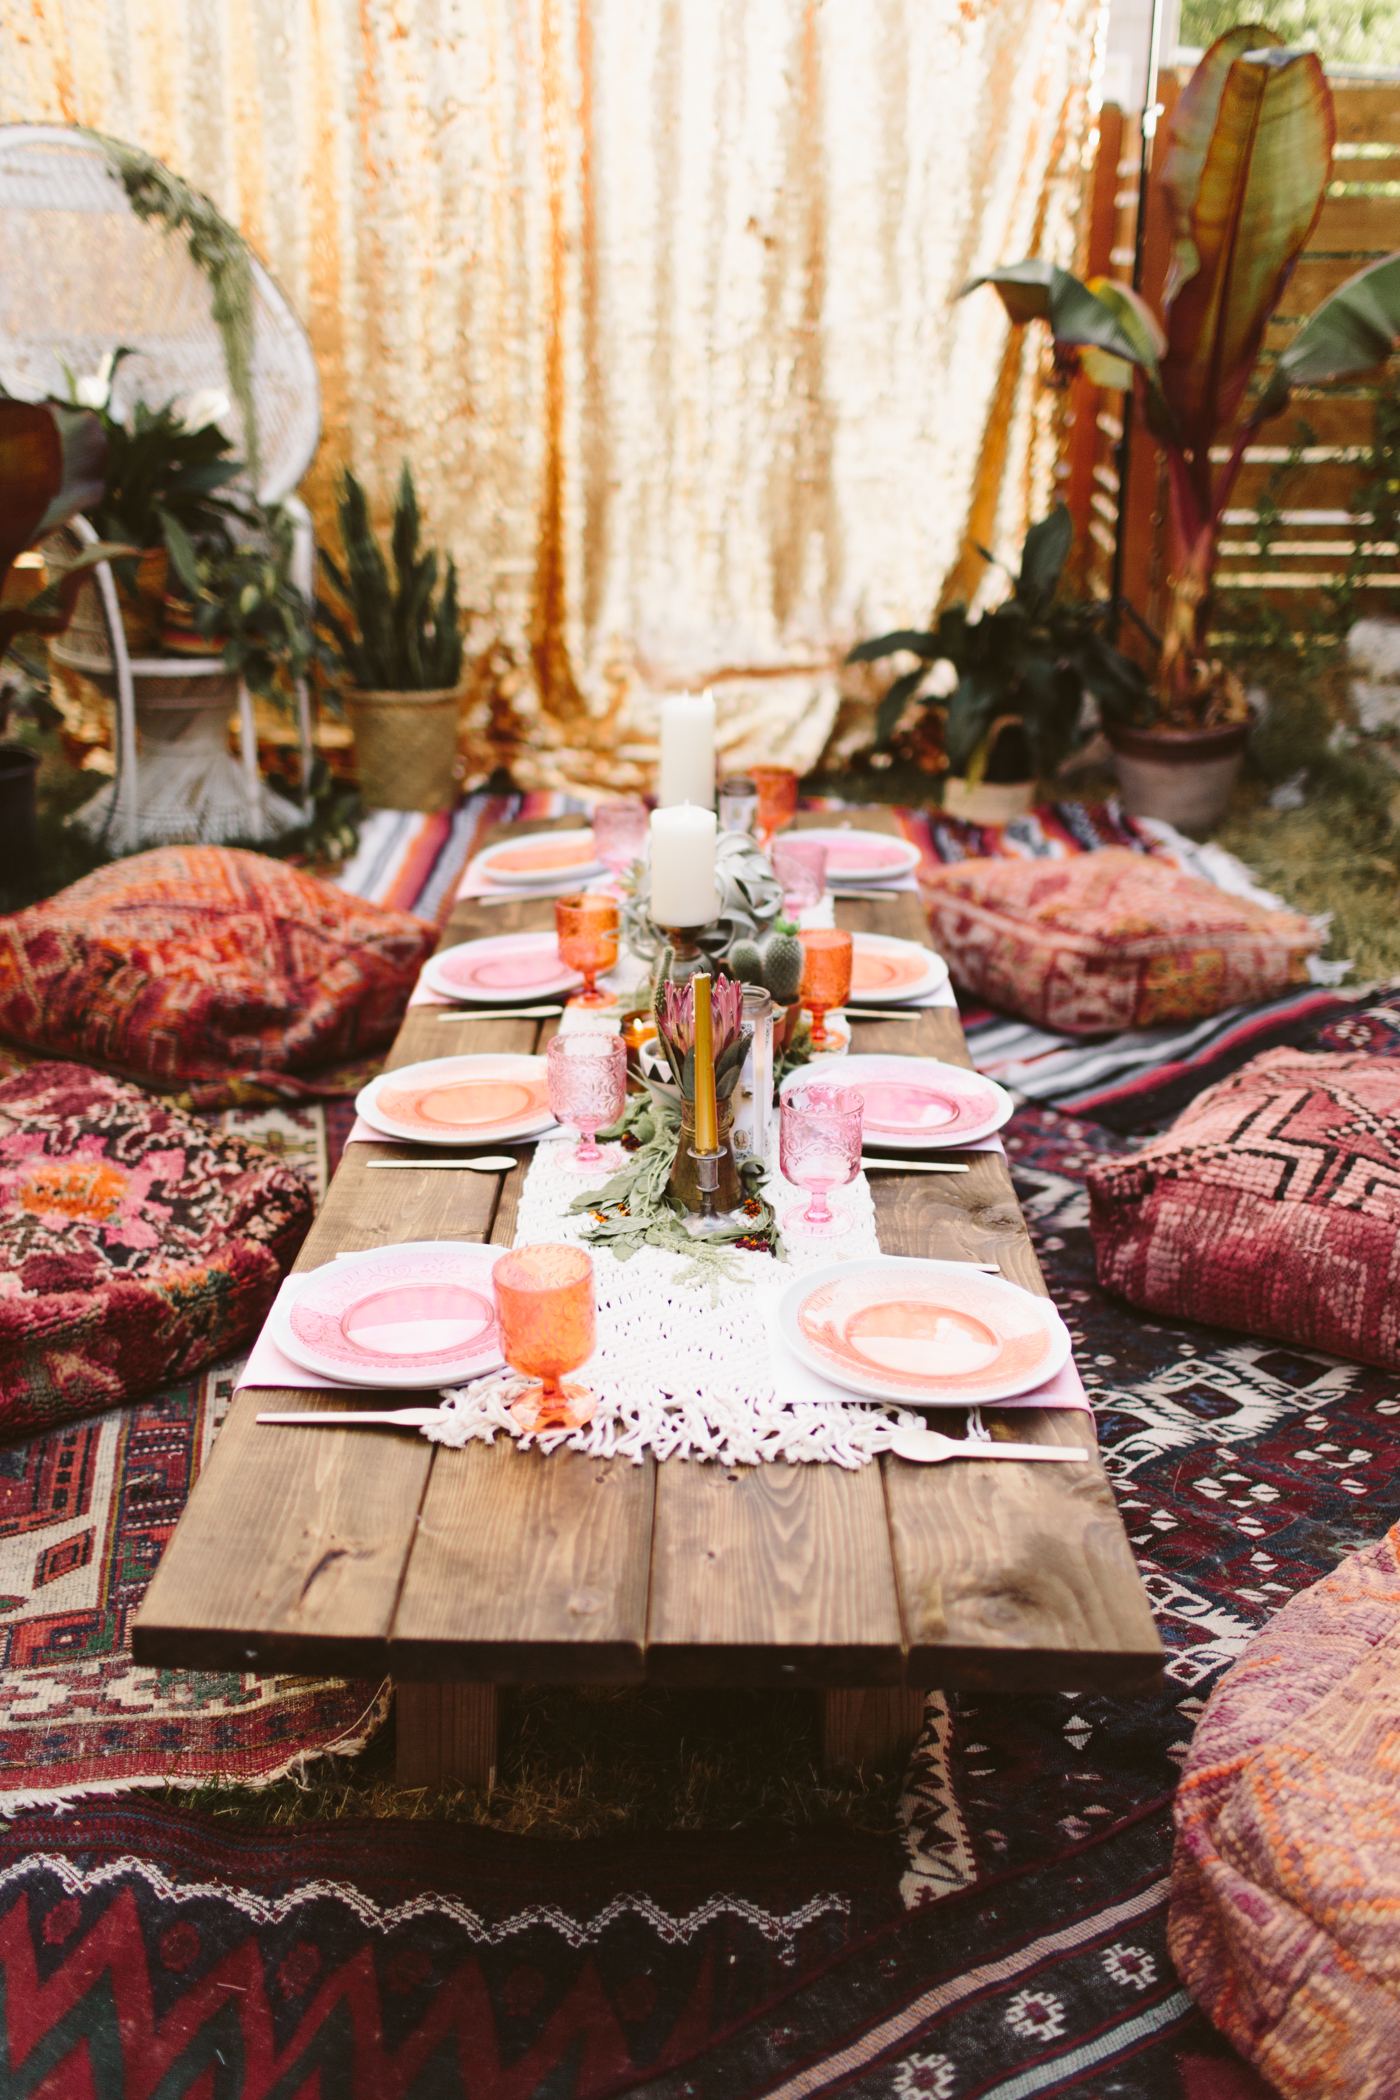
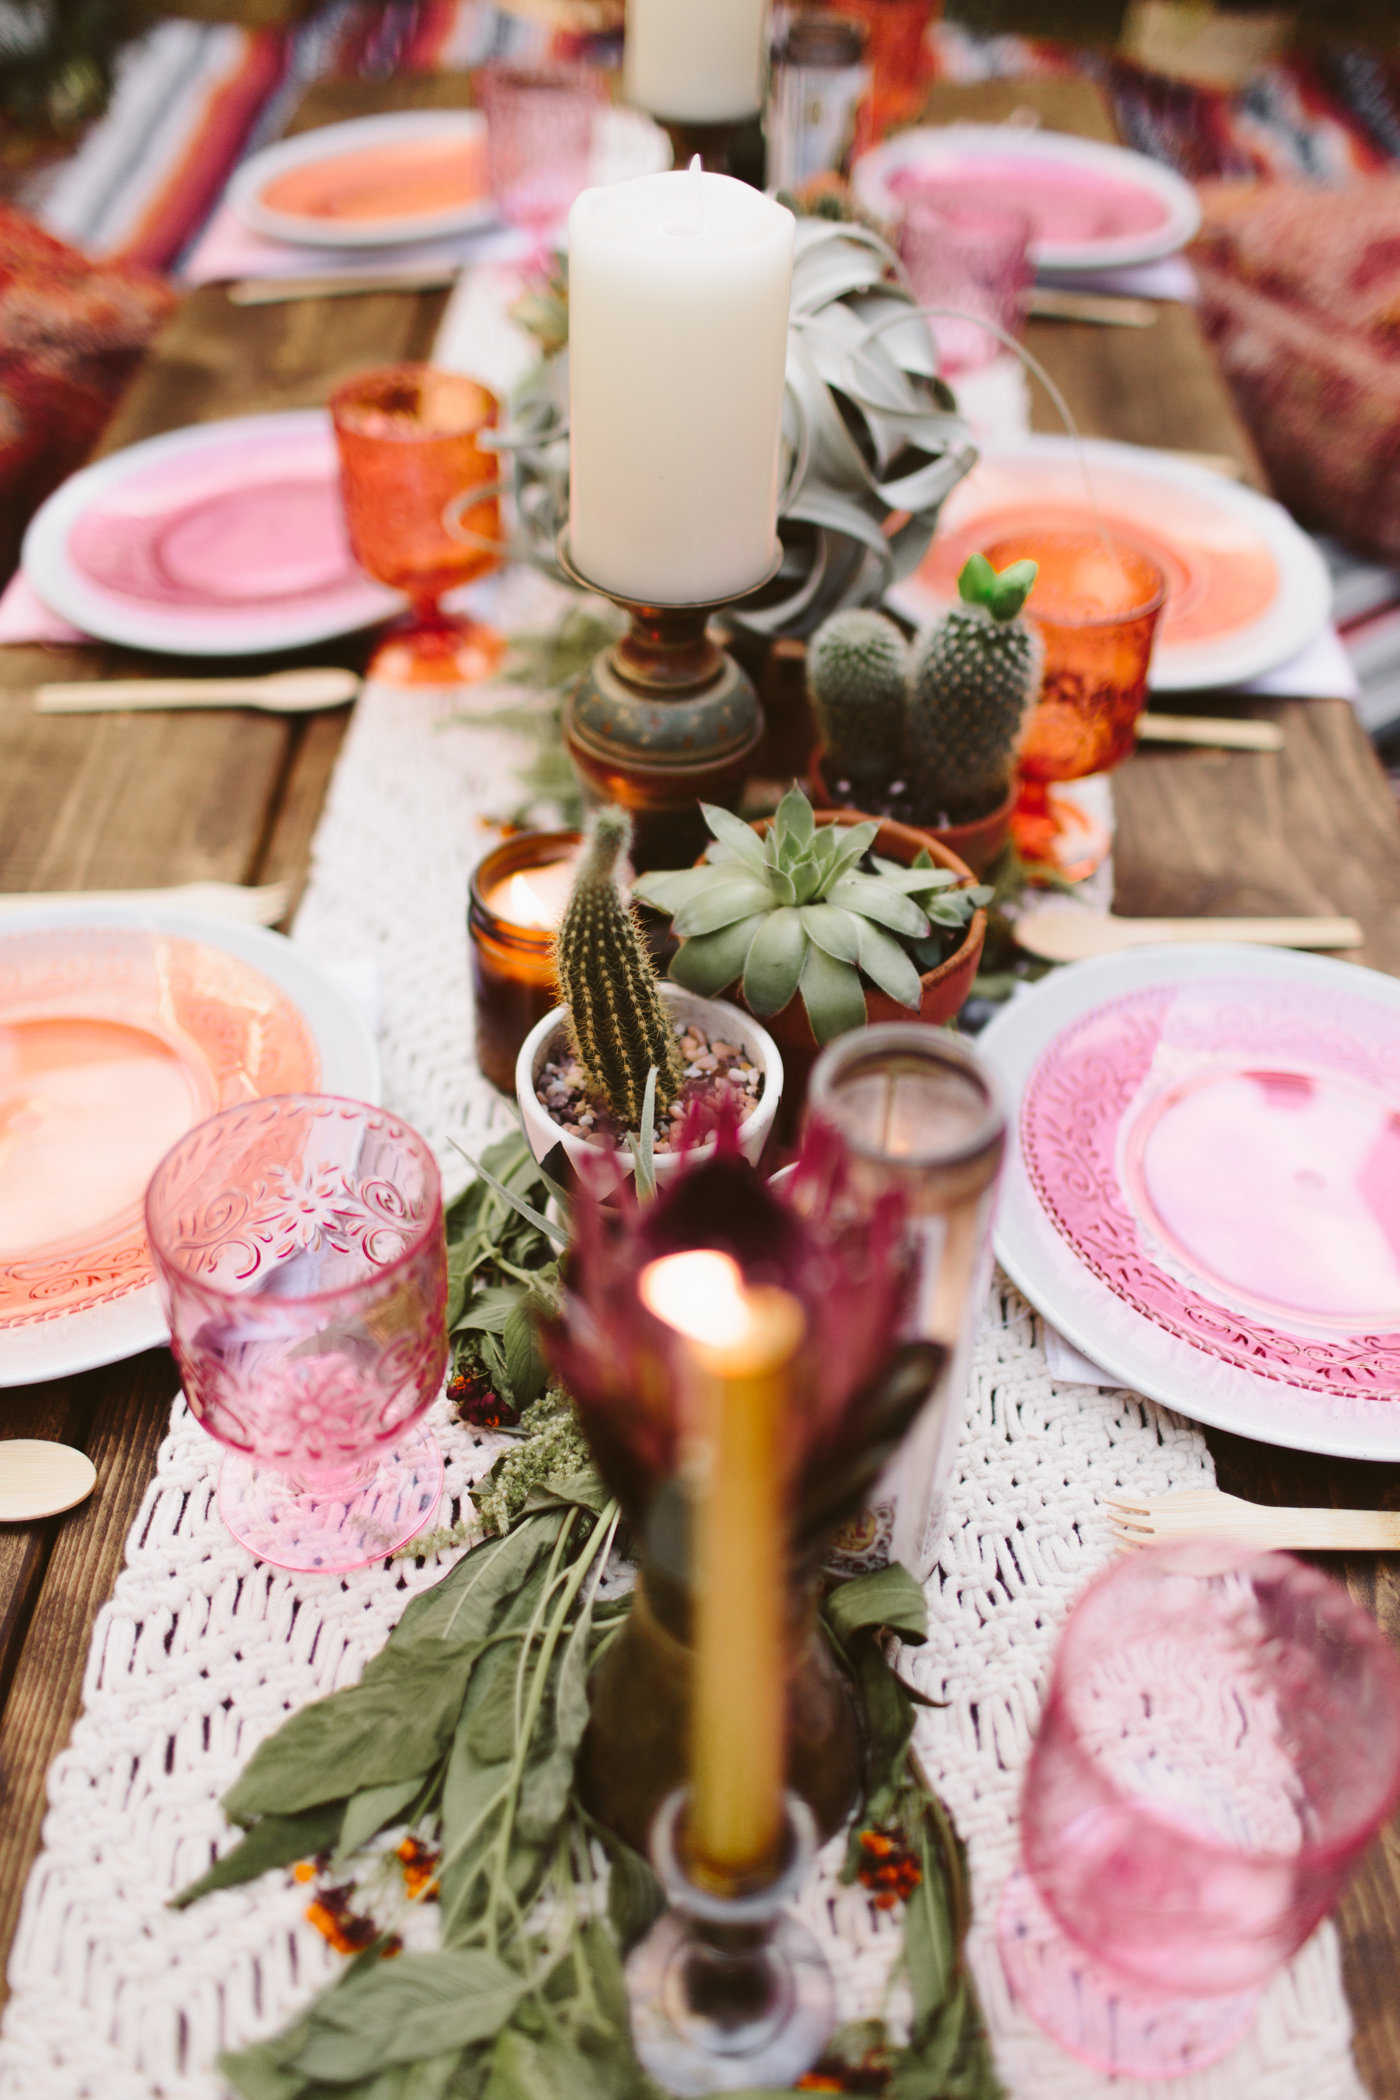
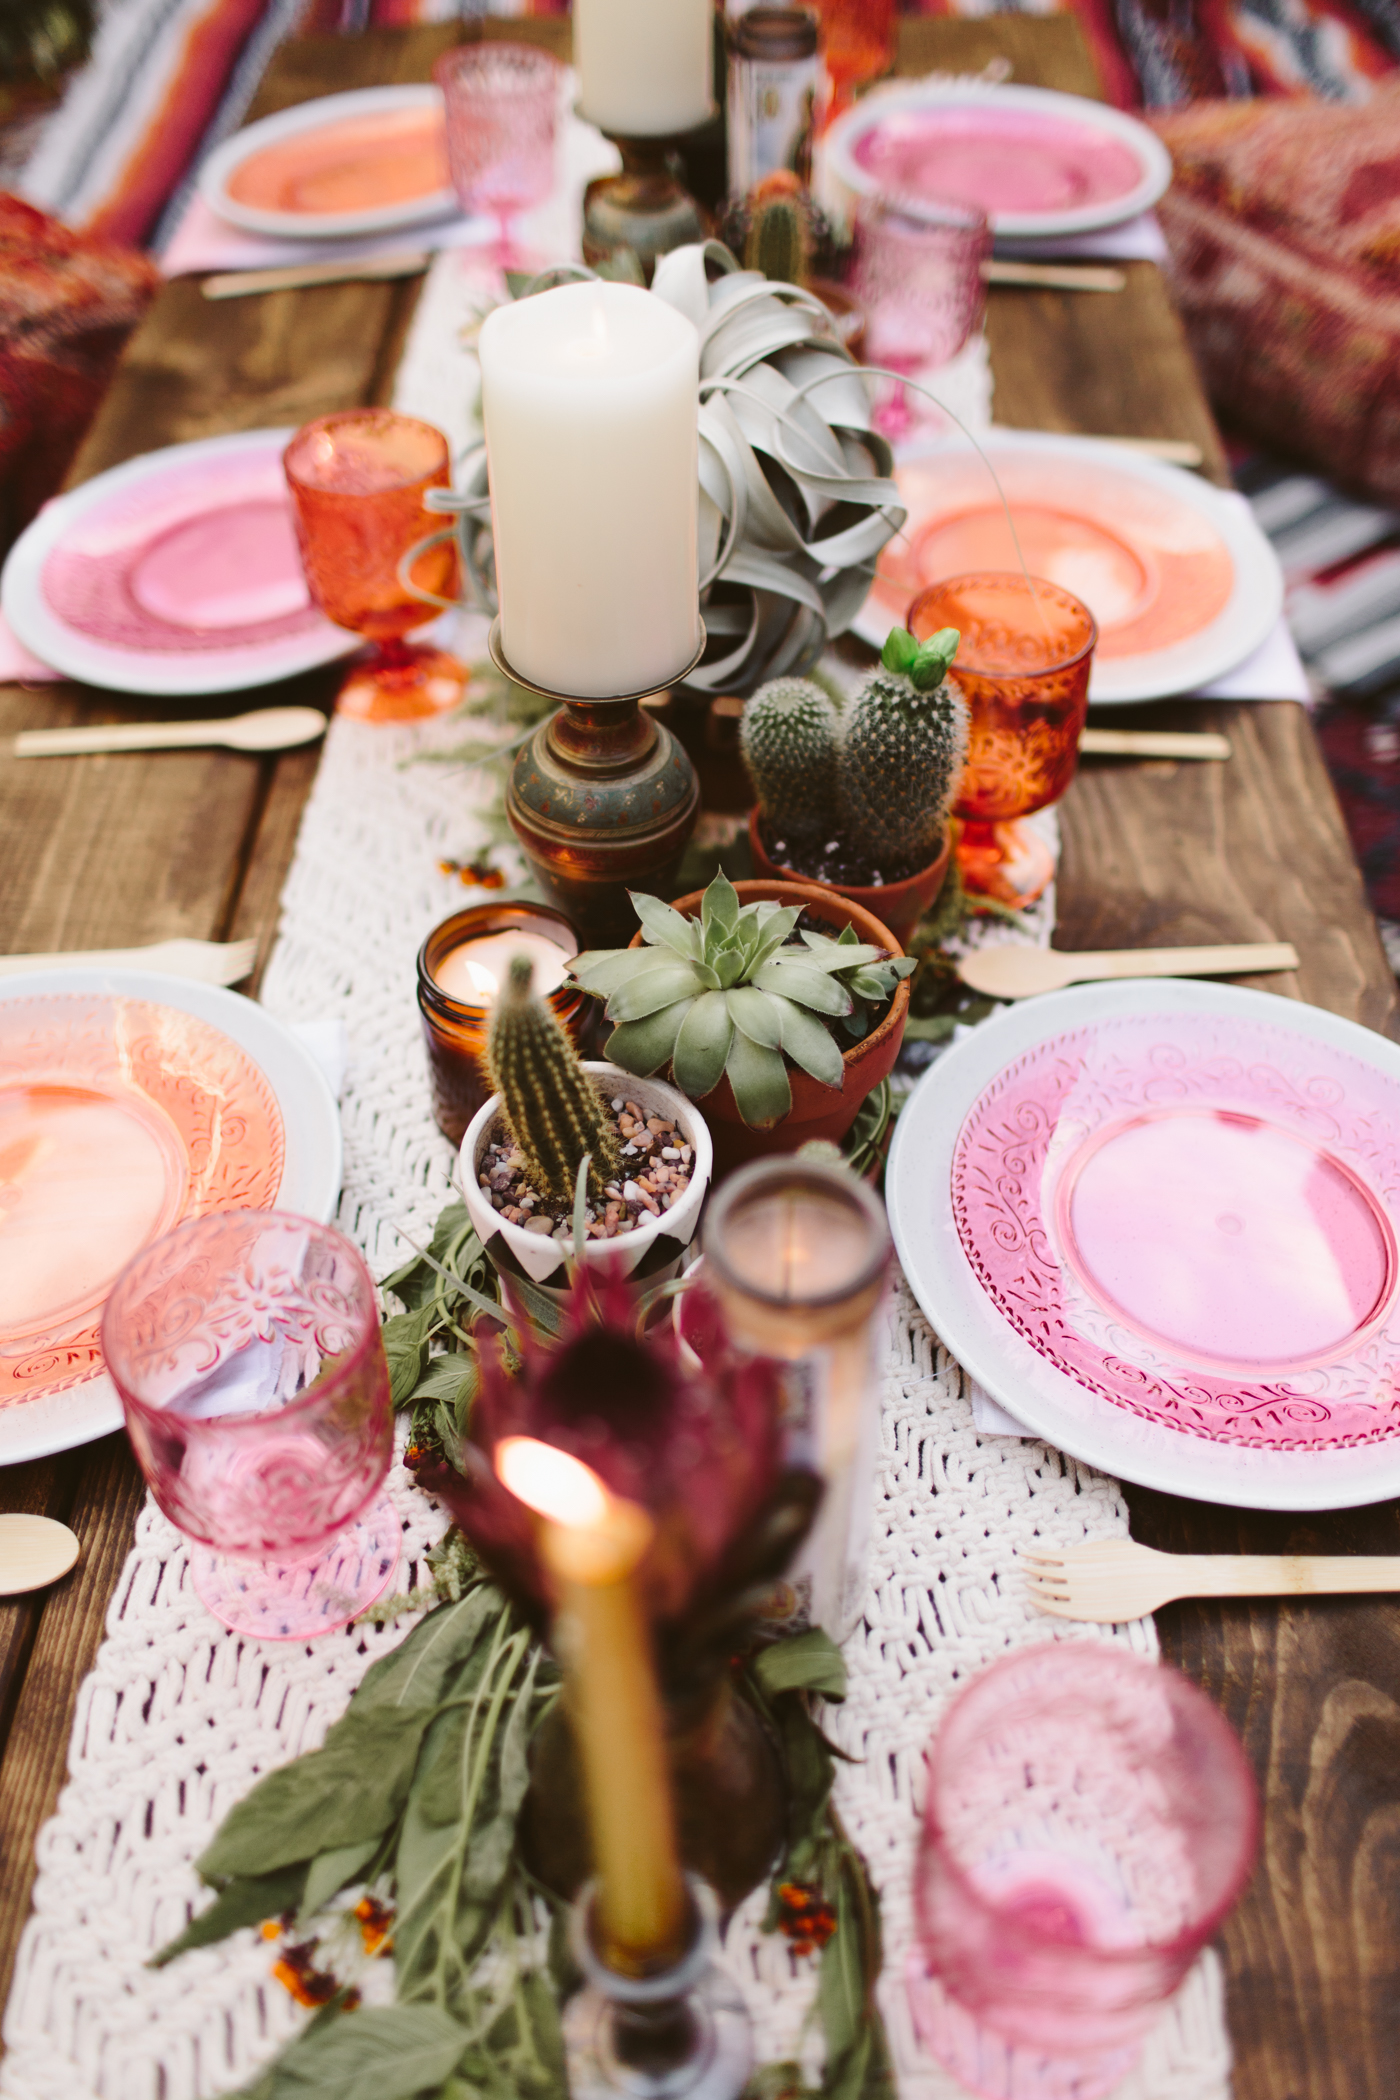
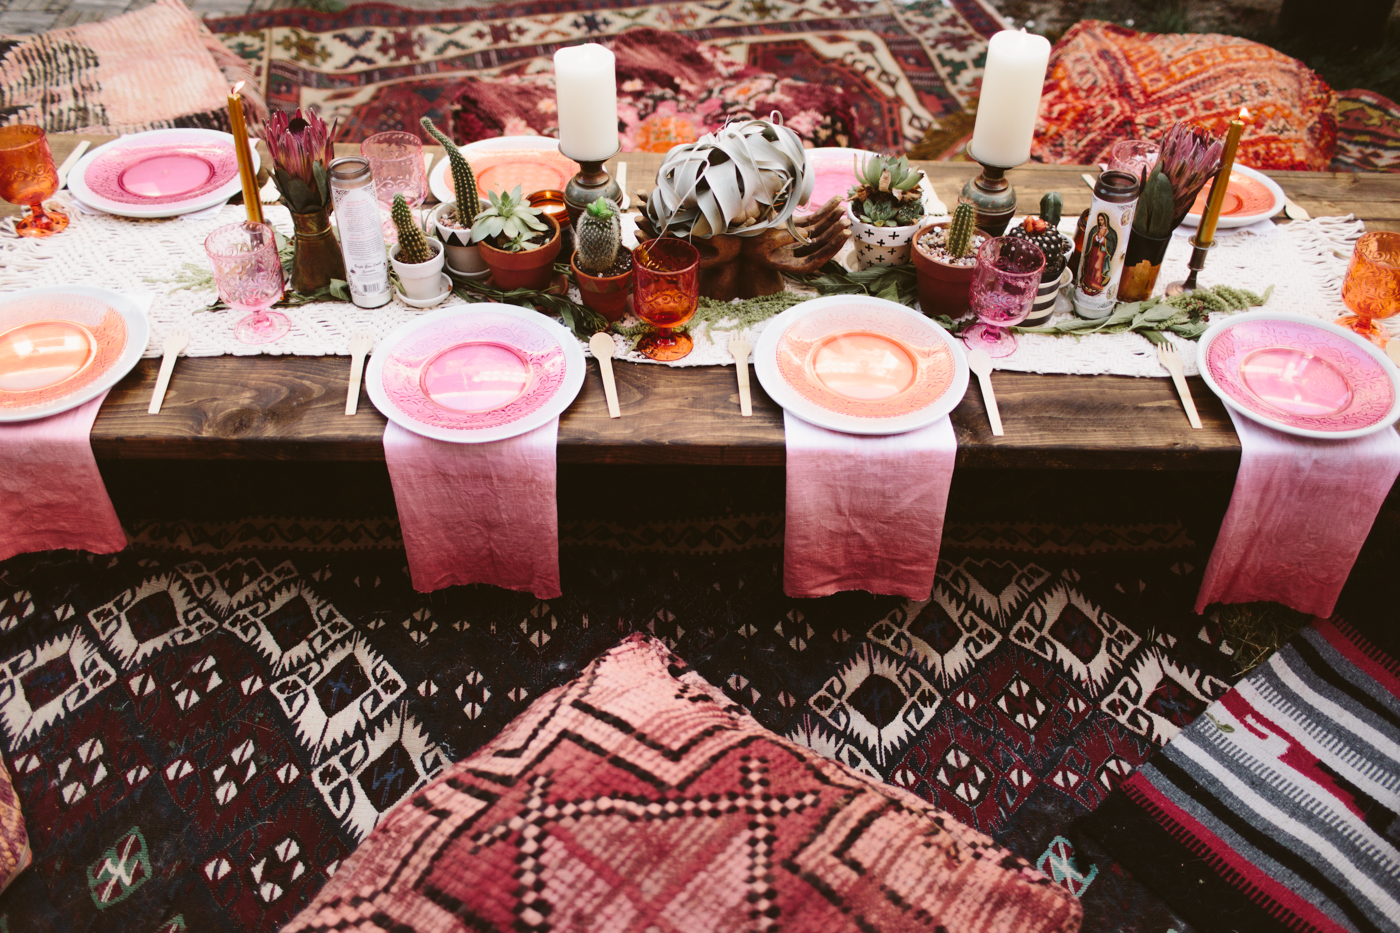
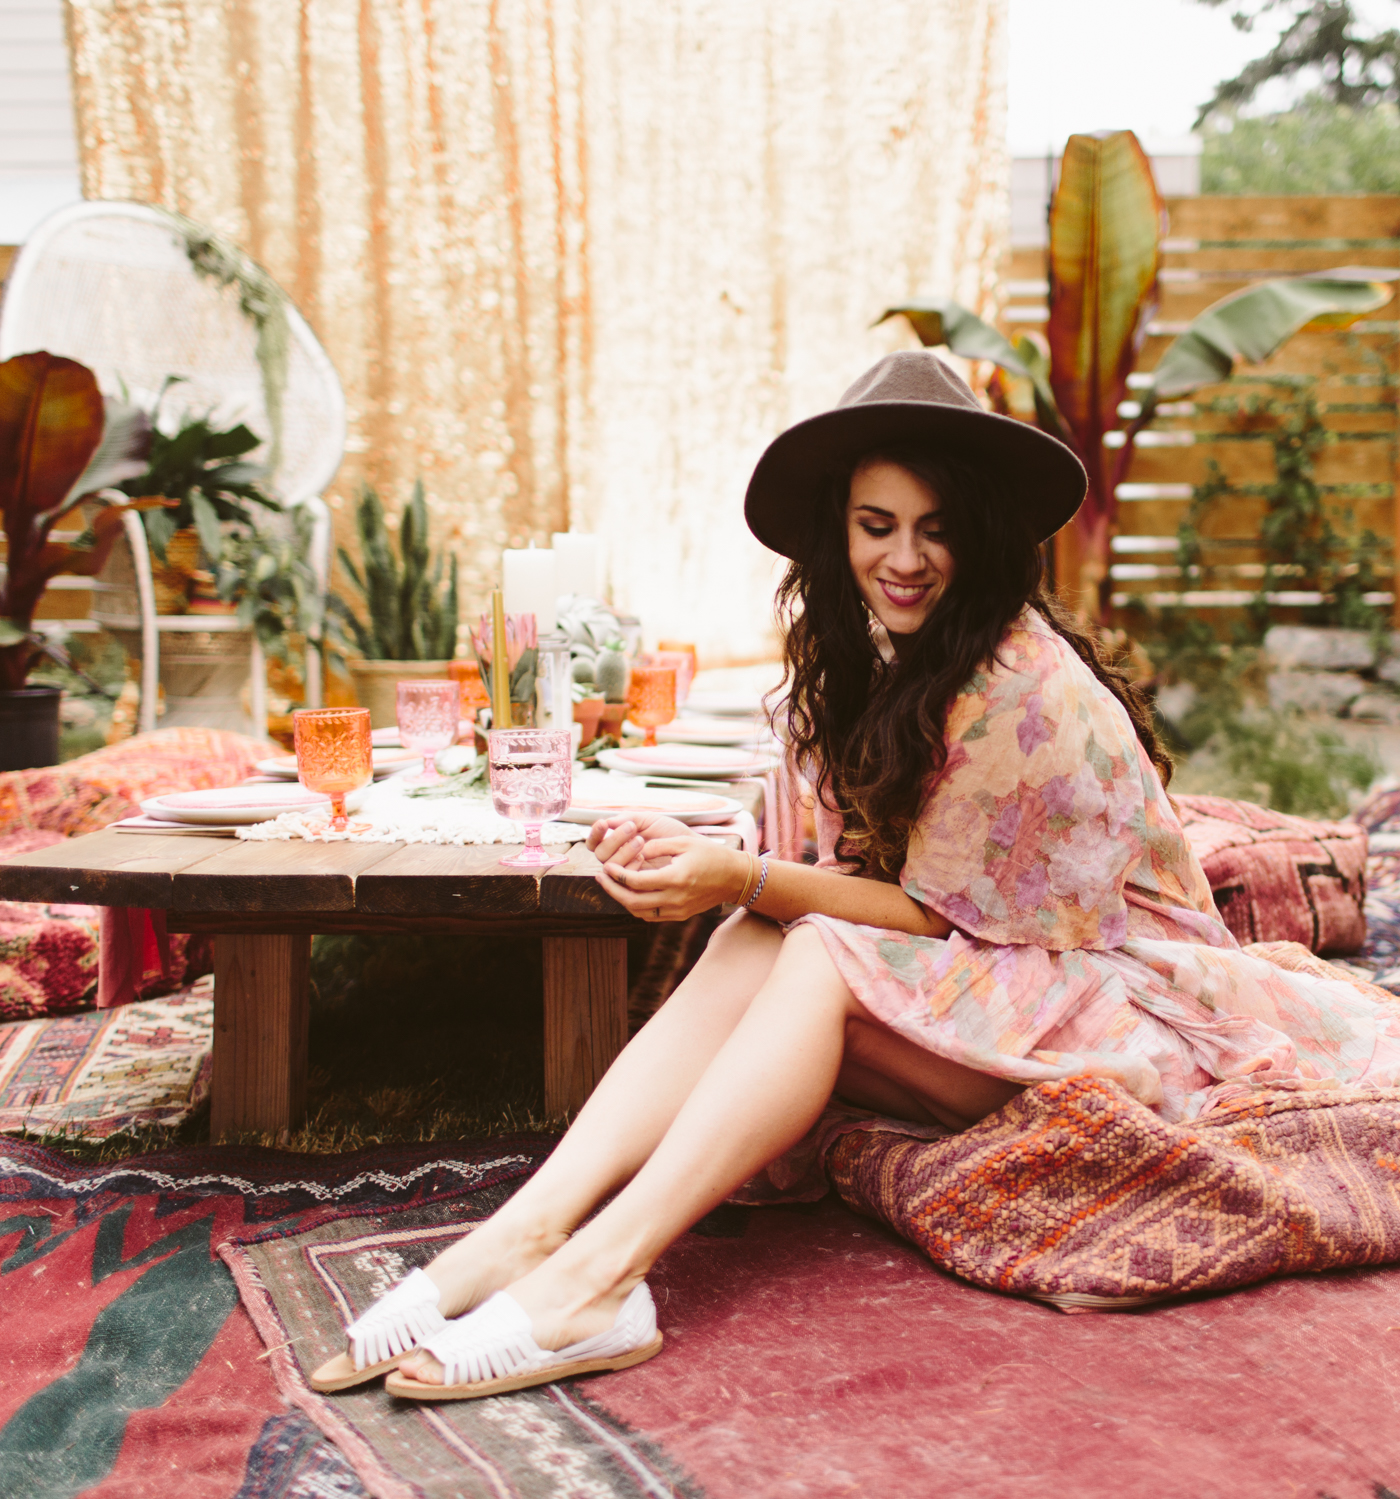
So what does one do at a blessingway?  Want to throw one for your pregnant mama friend? Here are some ideas for blessingway activities!  I'm not into the hokey activities that often accompany a baby shower, and thankfully blessingway activities are much more beautiful and simple.  Obviously you can come up with your own way to celebrate the new mother, but if you're looking for somewhere to start, here are some great things to incorporate:

Labor Bracelets
Get a long piece of string/twine.  Long enough to go around everyone's wrists in a circle.  Have everyone stand in a circle, and then pass the string around to everyone, wrapping the string around each wrist once or twice.  With everyone connected, have each person give the mother an affirmation or blessing, then cut the string between each person and have them tie it into a bracelet.  The bracelet stays on until the new mama goes into labor and then you cut it off!

Mother affirmation bead necklace
You can either have each person bring a bead to the blessingway, or have some beads ready if you don't want to make people procure a single bead.  Each person adds a bead to the new mama's empty necklace string/cord and as she adds it, gives an affirmation for labor or motherhood.  The mama can wear this or bring it to her labor so she can remember the affirmations as she's laboring.

Foot soak
Get a little tub big enough for the mama to put her feet in, put hot water in and some epsom salt and/or essential oils (make sure they are safe for a pregnant woman).  You can also get some oil and rub her feet after she's done soaking

Belly Henna
I had this done at my blessingway and it was so fun!  If you're decent at henna, you can get some henna and do a henna belly mandala design yourself, or find a local henna artist and have her do a gorgeous belly henna!
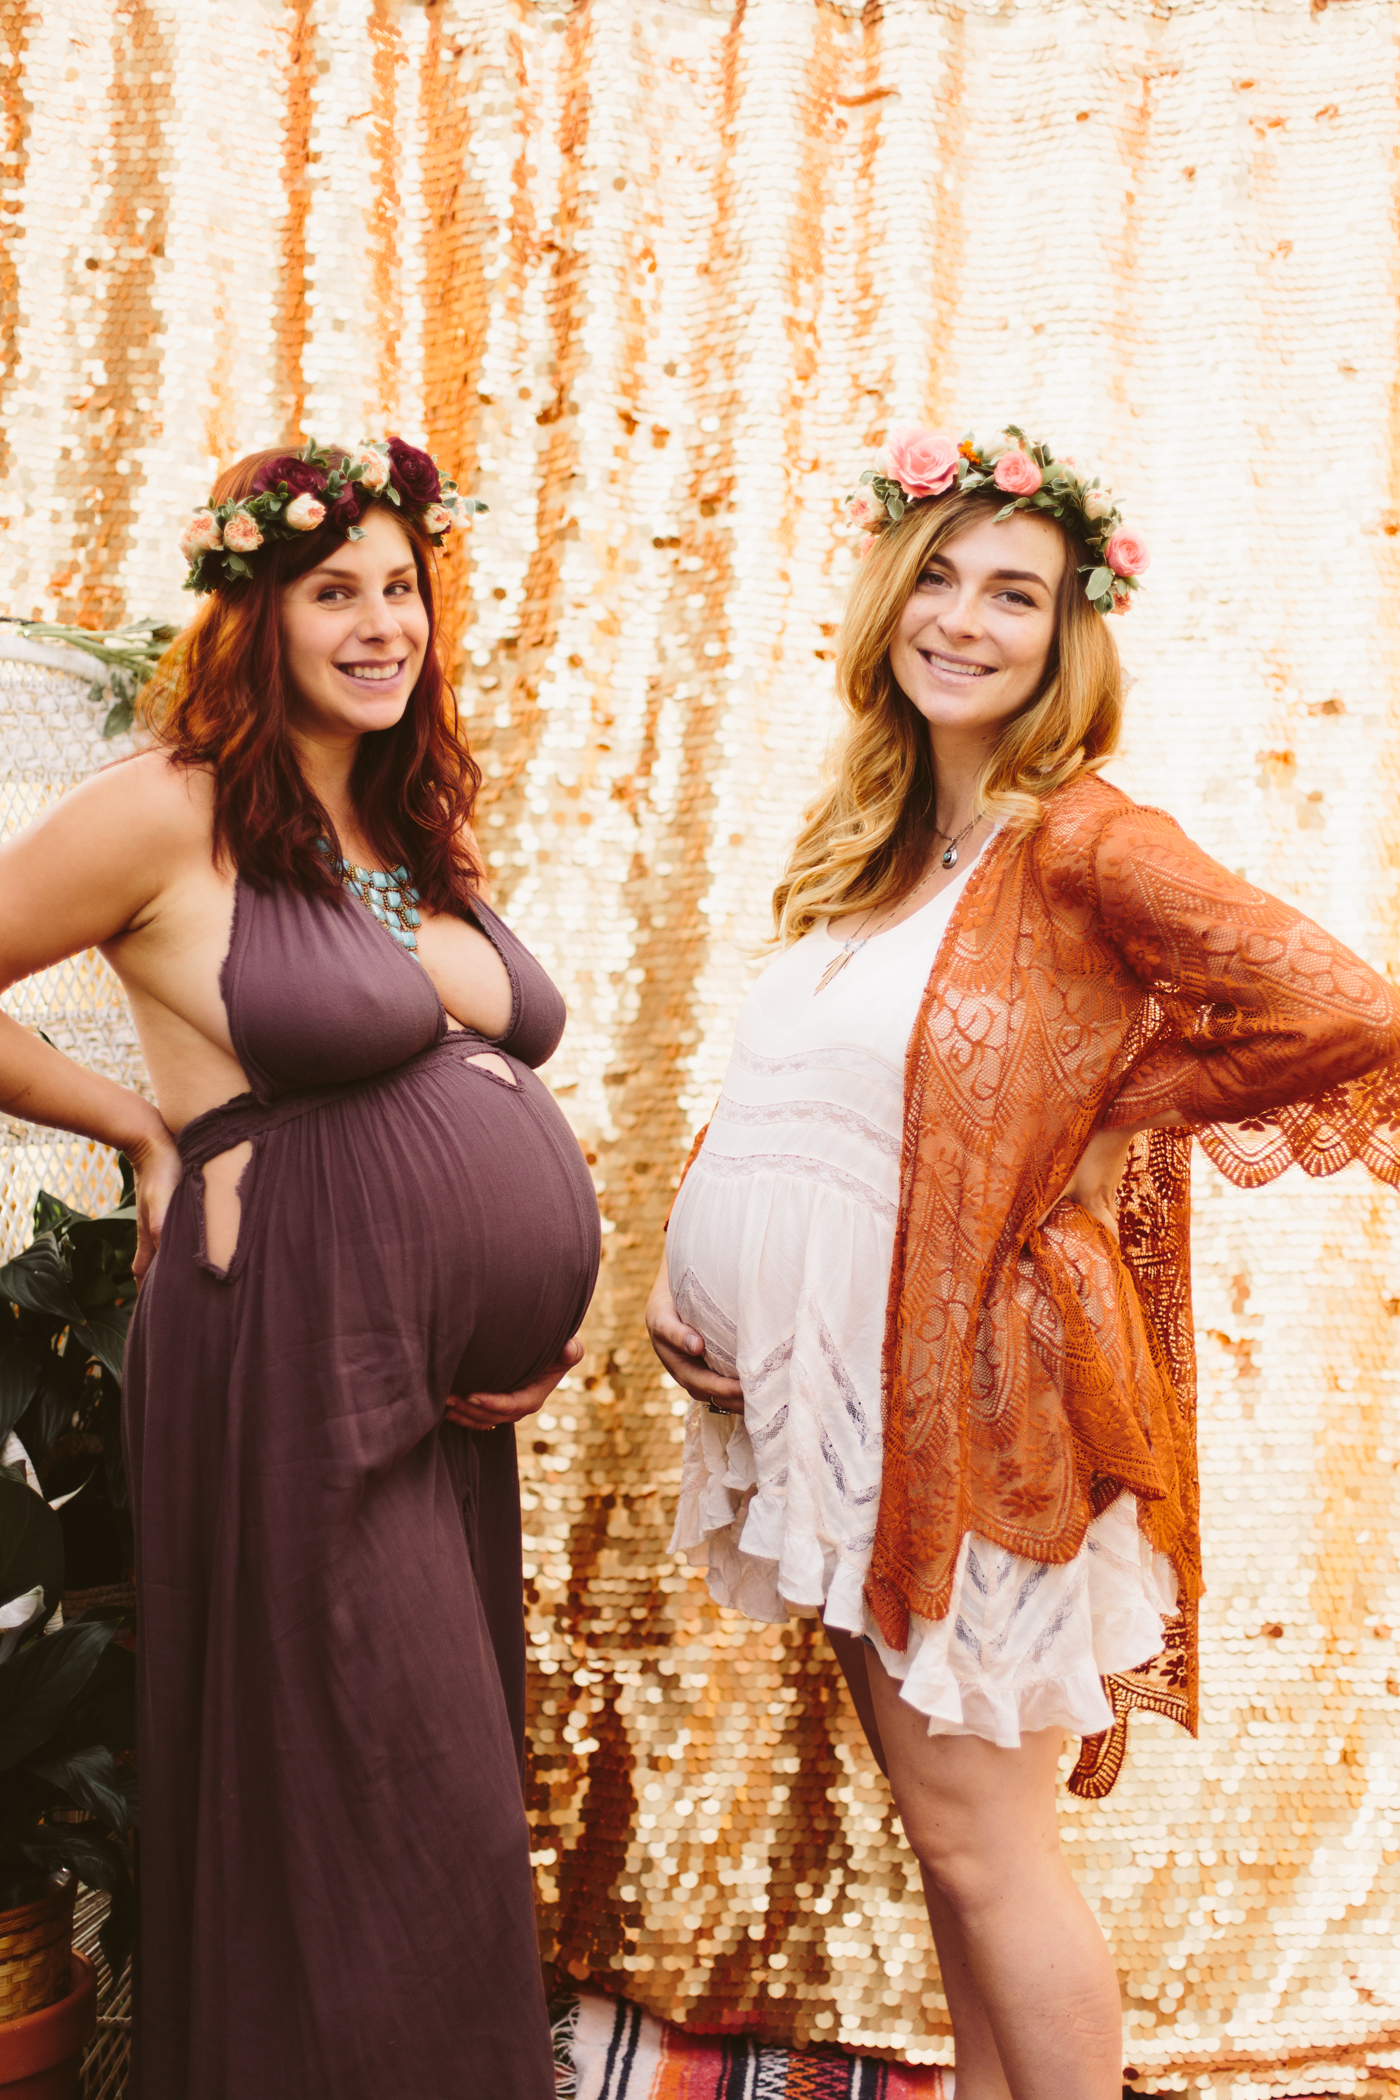
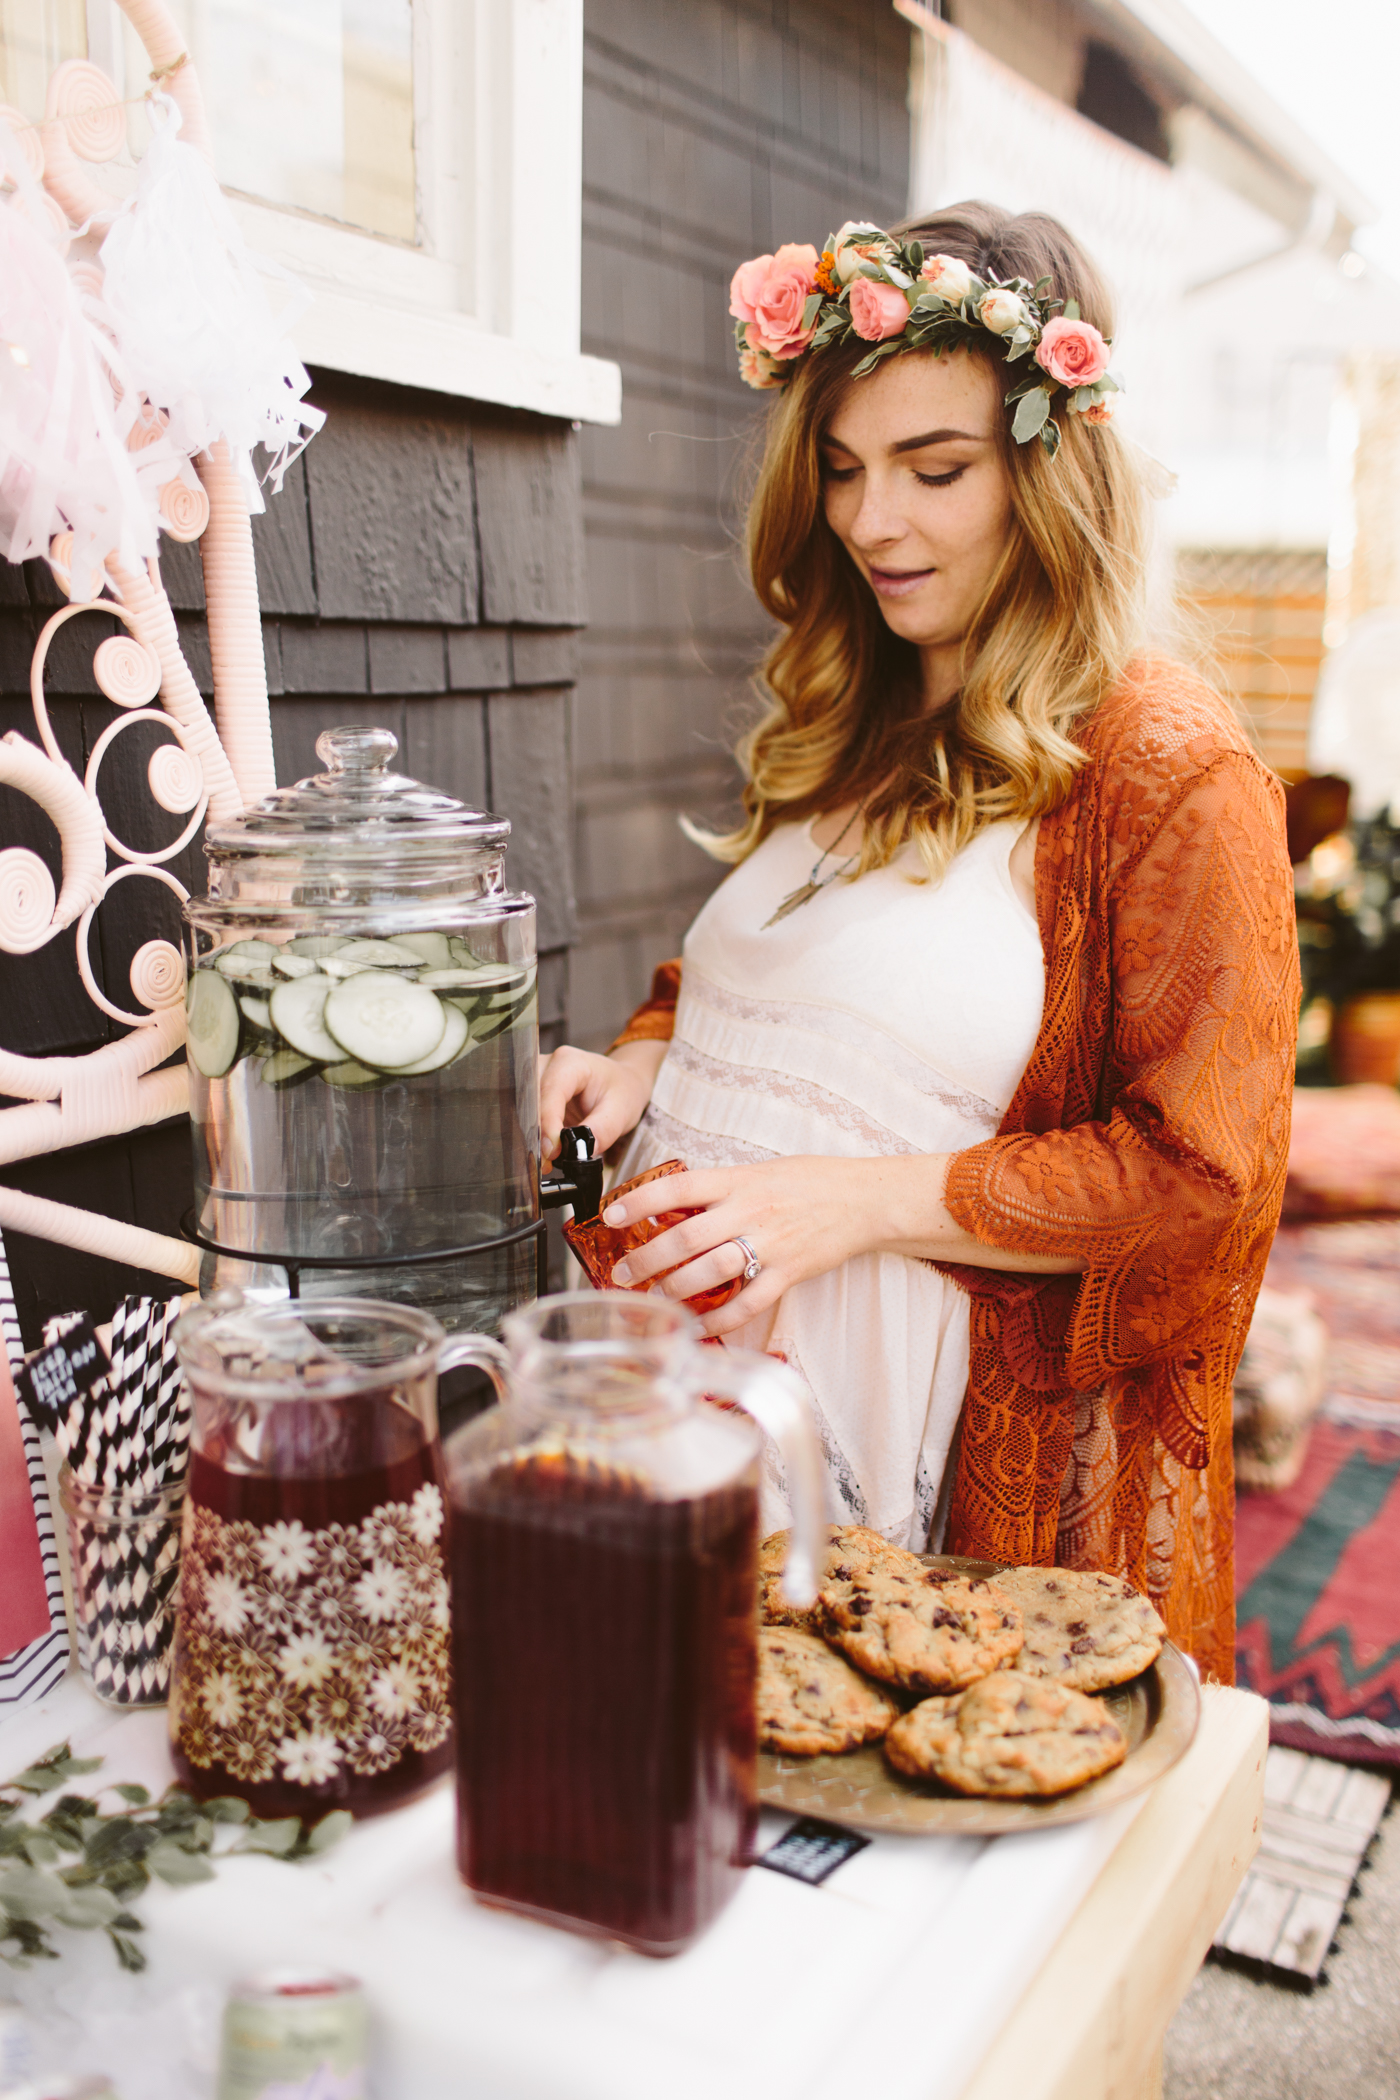
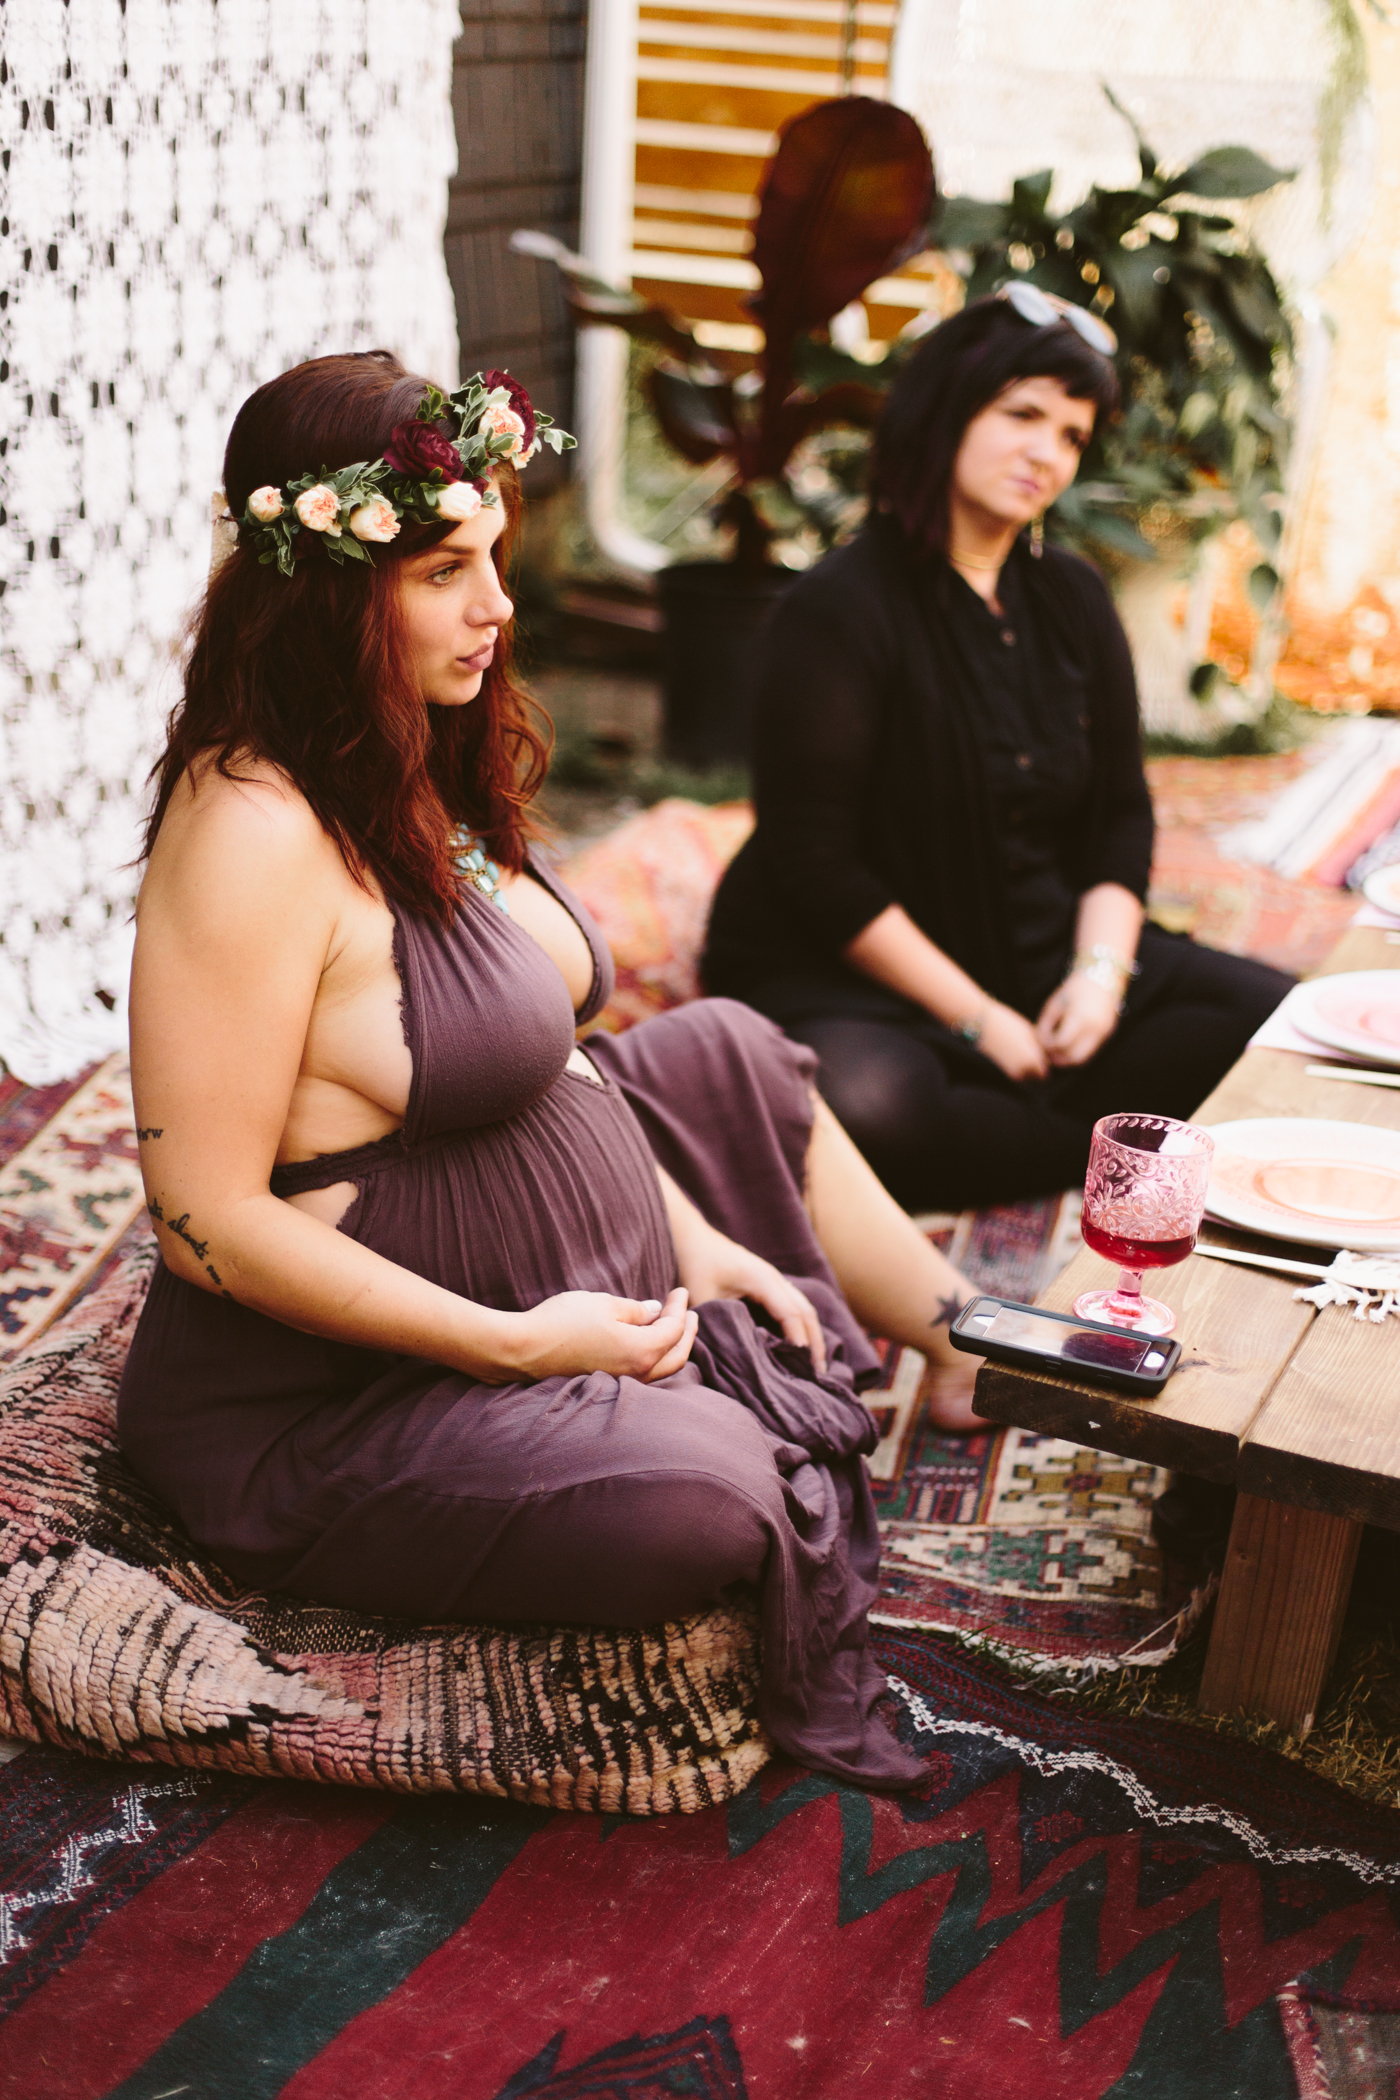
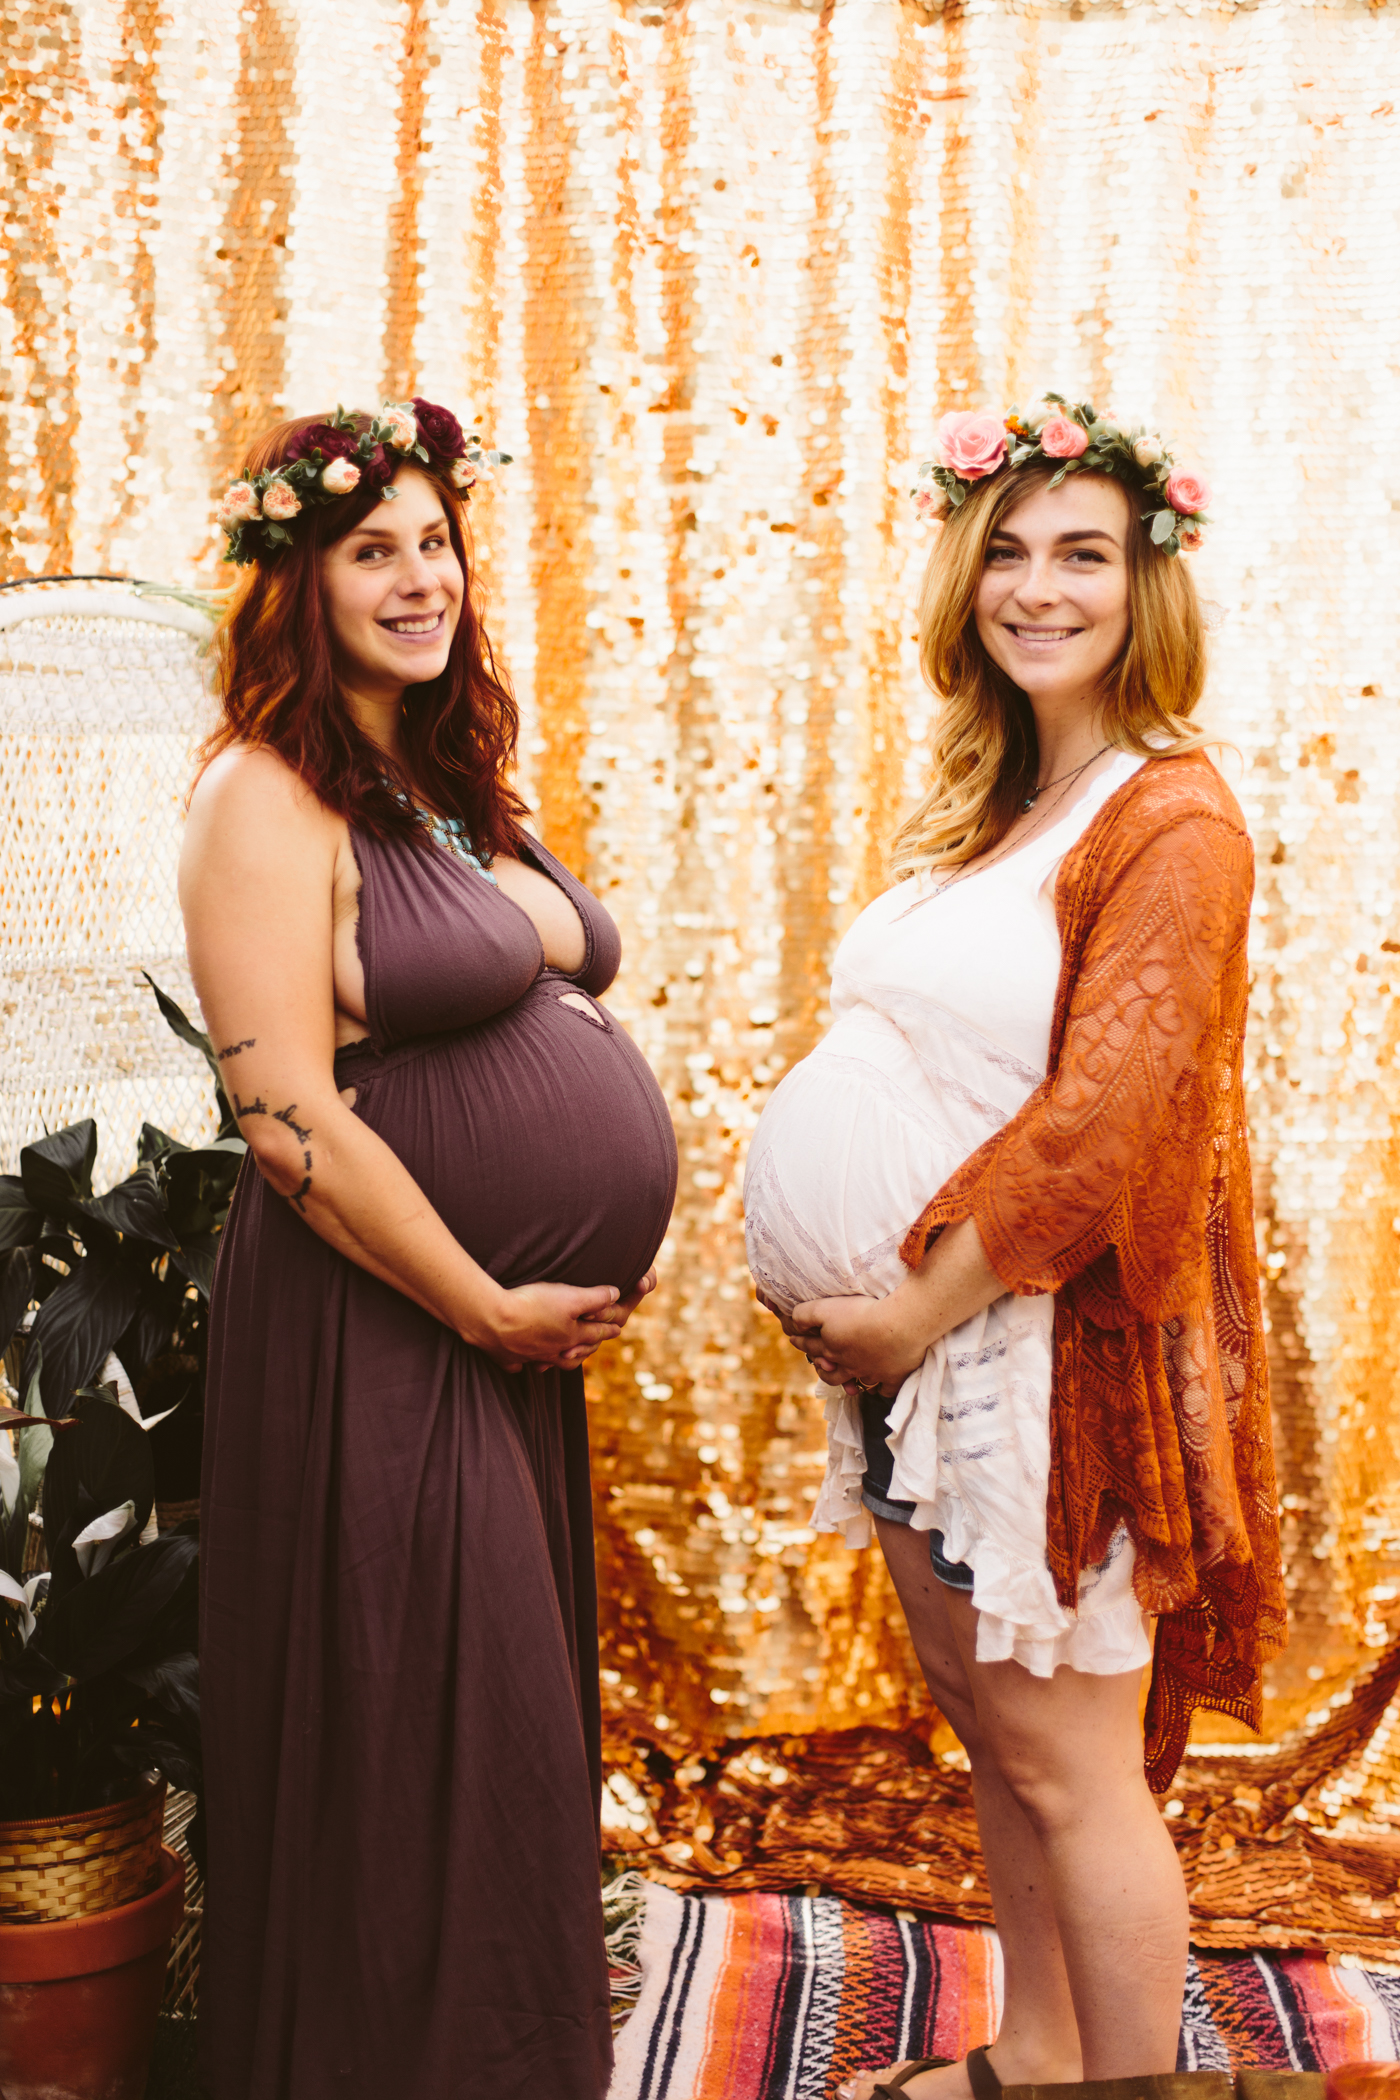
Flower crowns
This one is just for fun, but I love flower crowns.  At my blessingway they just got a bunch of flowers and the stuff to make flower crowns and we all made one.  For the blessingway I just threw I decided to just make two custom flower crowns for the two new mamas so they felt special and like mother goddesses. I've got a faux flower crown tutorial you can use, it works the exact same for real flowers.

Labor affirmation prayer flags
This is something I tried to do at my own baby shower actually, but it just didn't quite pan out. You can create some square blank prayer flags using just fabric, rope, and hem tape (you can use my bunting tutorial, this is exactly how I made the flags for the blessingway I just threw-- it's no sew!).  I just created white, blank flags, and we all went around writing labor affirmations on them, so they can hang the flags in their labor/birthing space and look at it while laboring. Labor affirmation examples are: Your body was made for this, Your body knows how to do this, Breathe, I am choosing love not fear, each wave has a purpose, open open open, my body opens easily and naturally, my breath surrounds my baby and opens the way out, I trust my intuition.

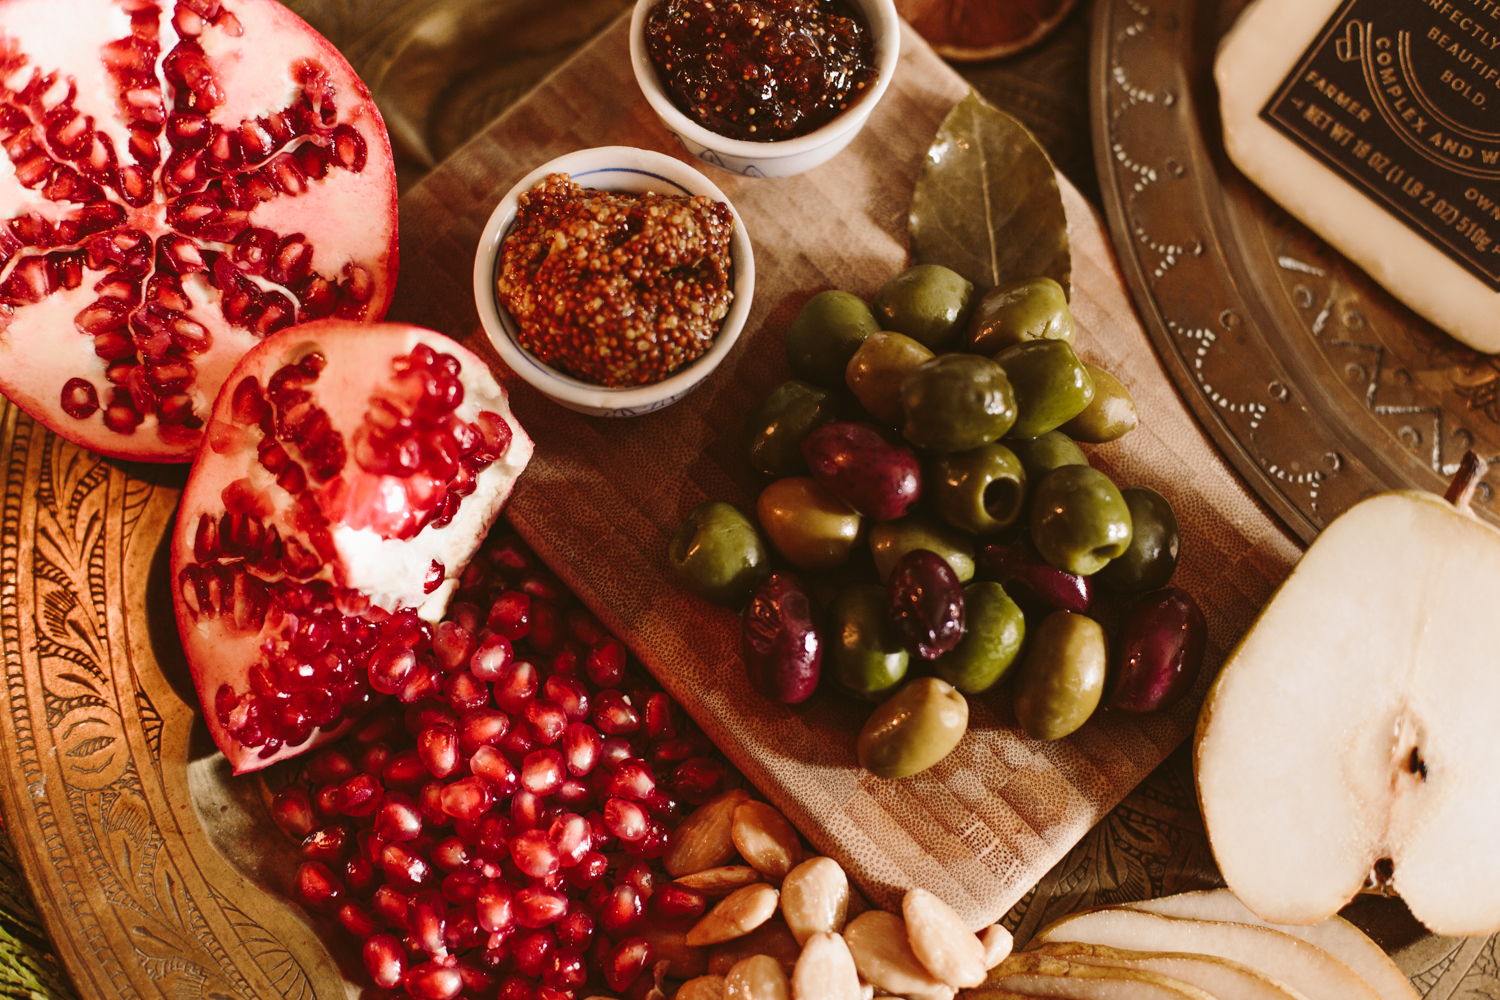
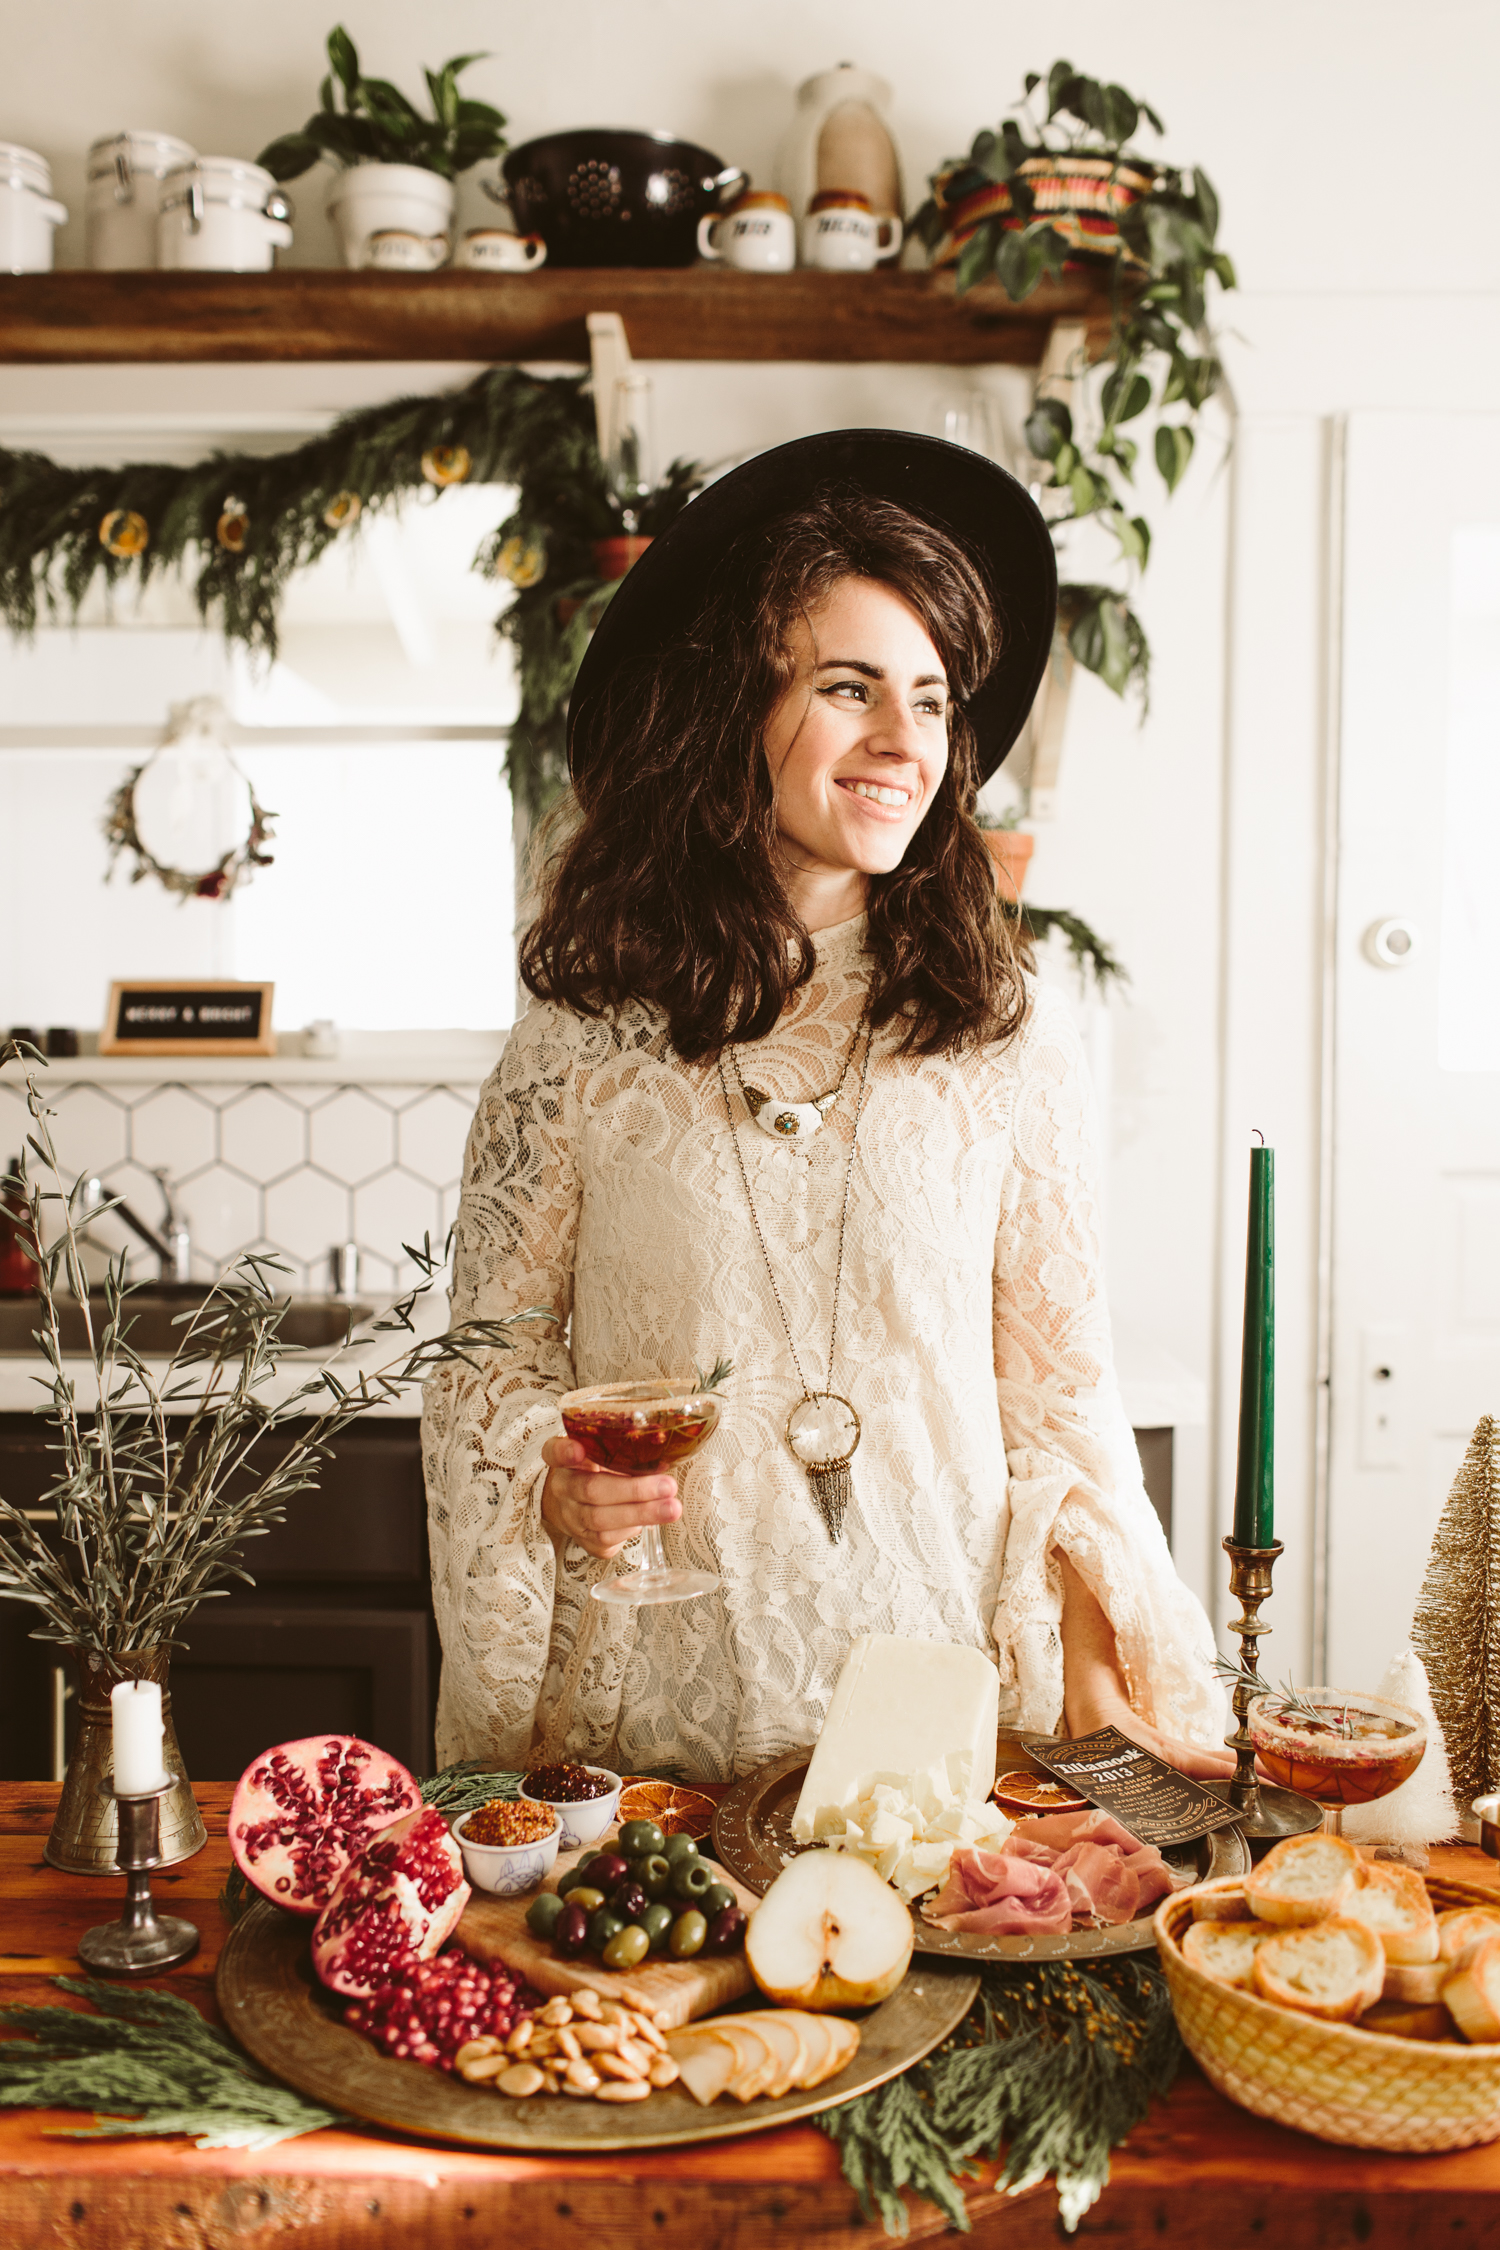
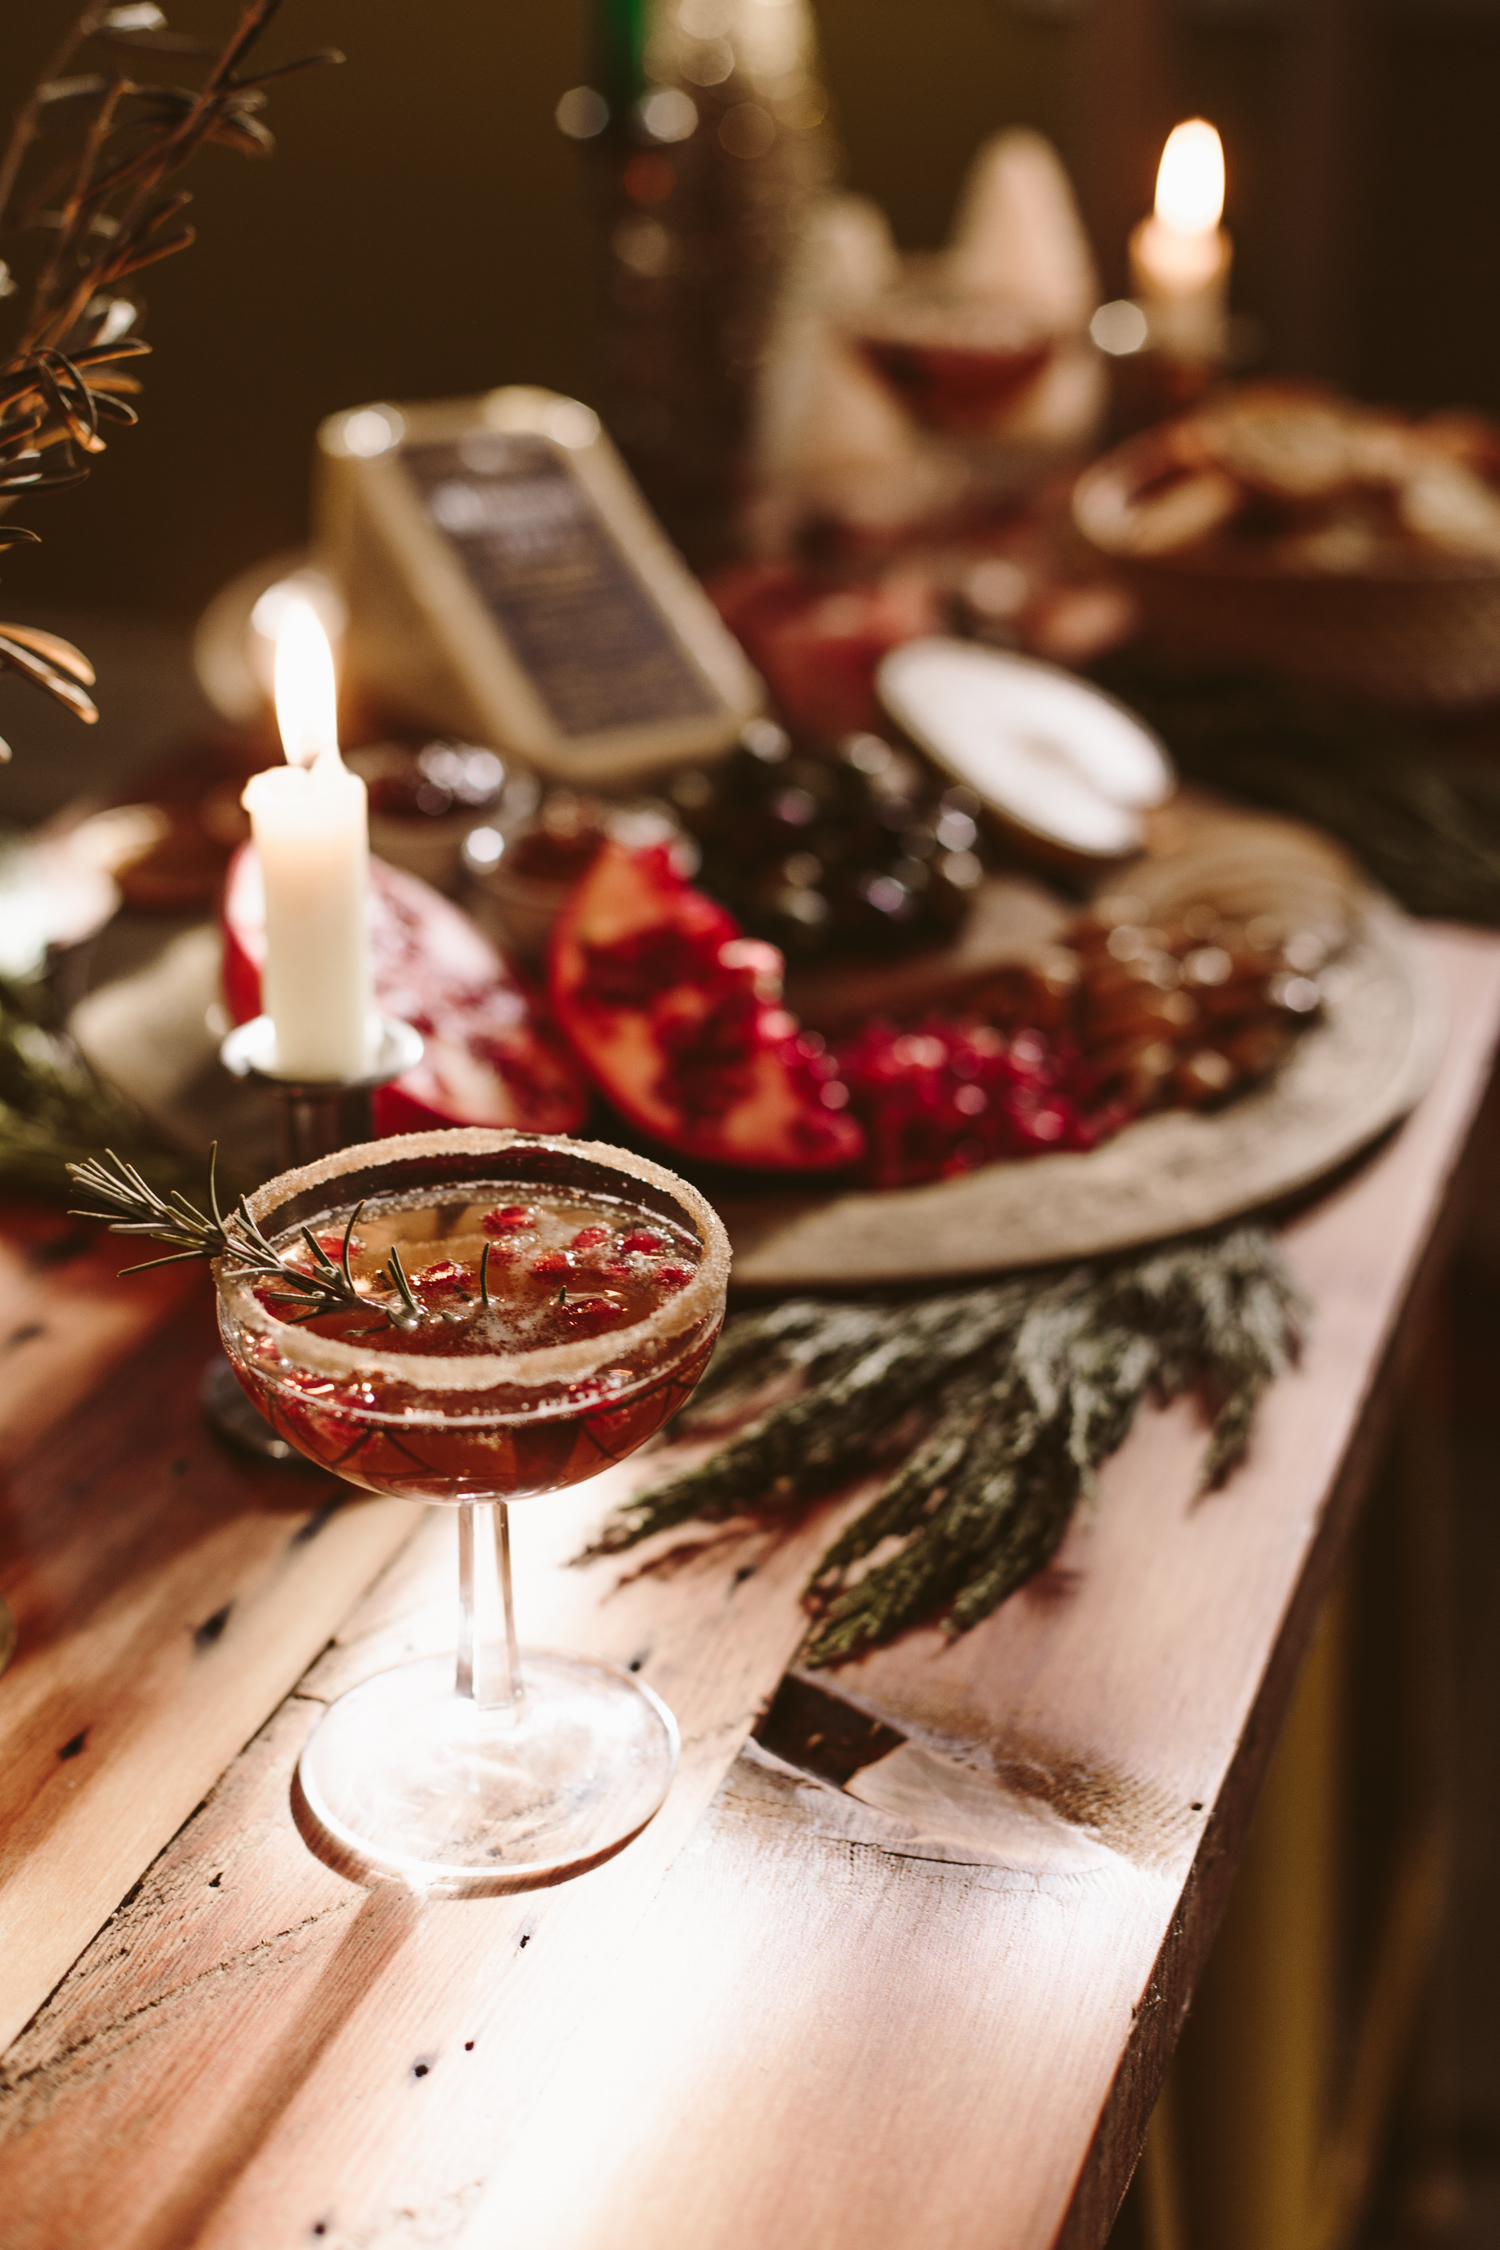
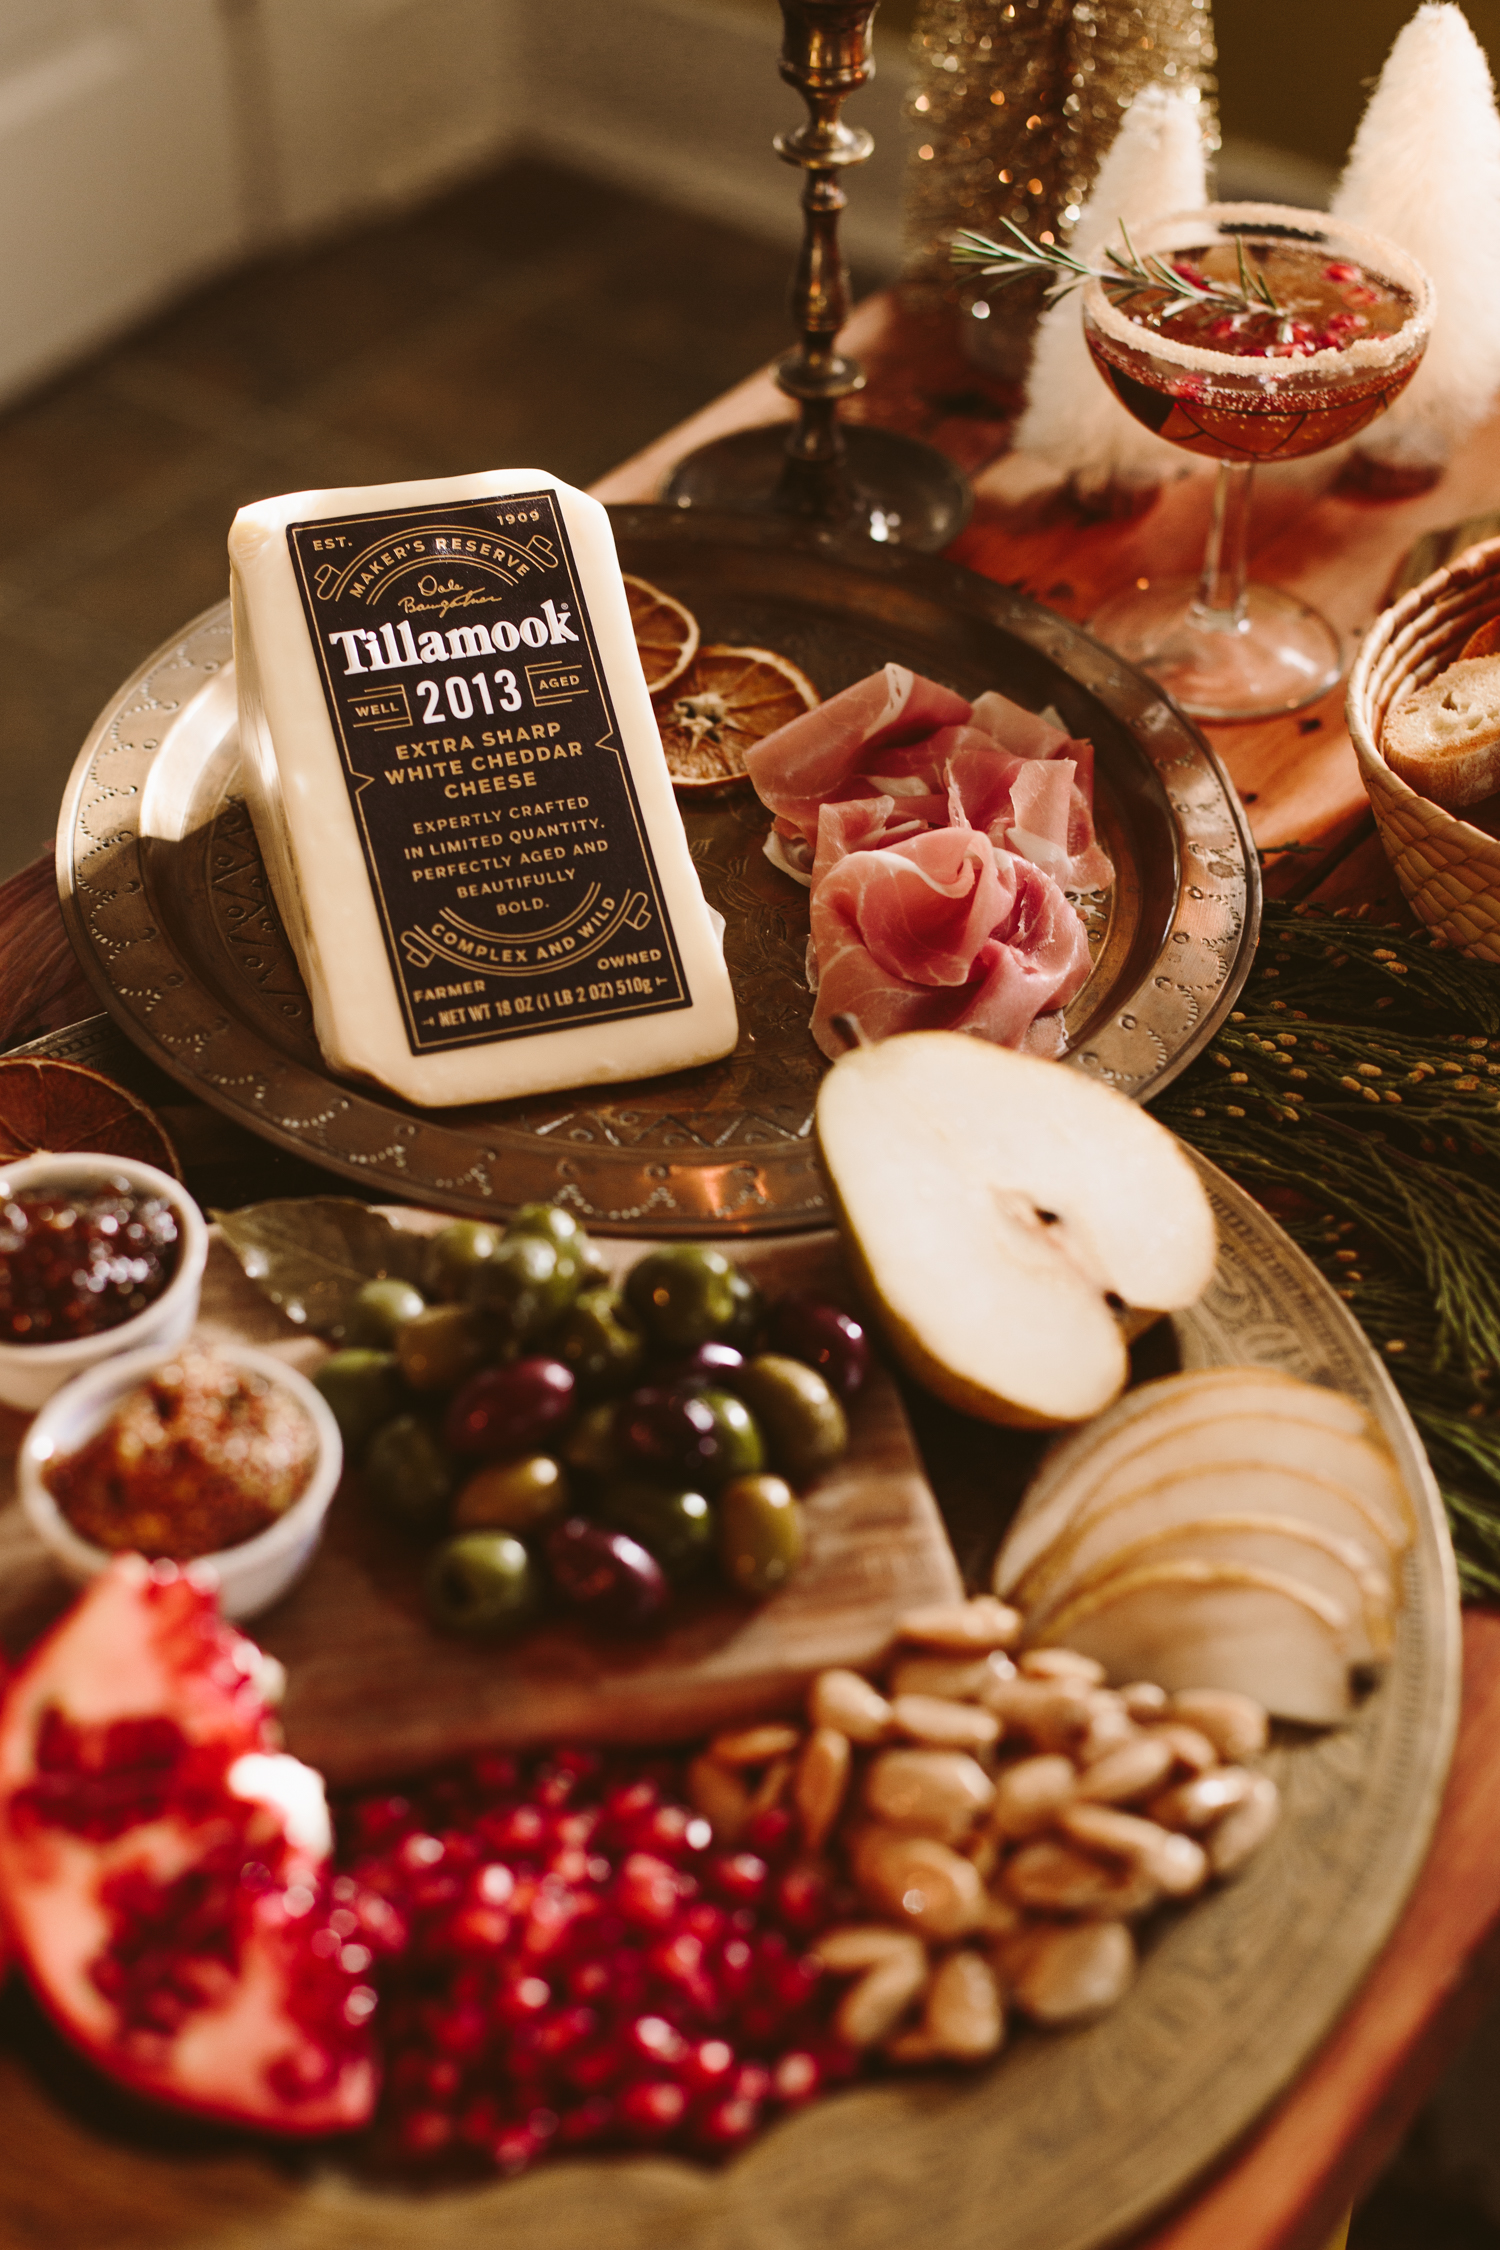
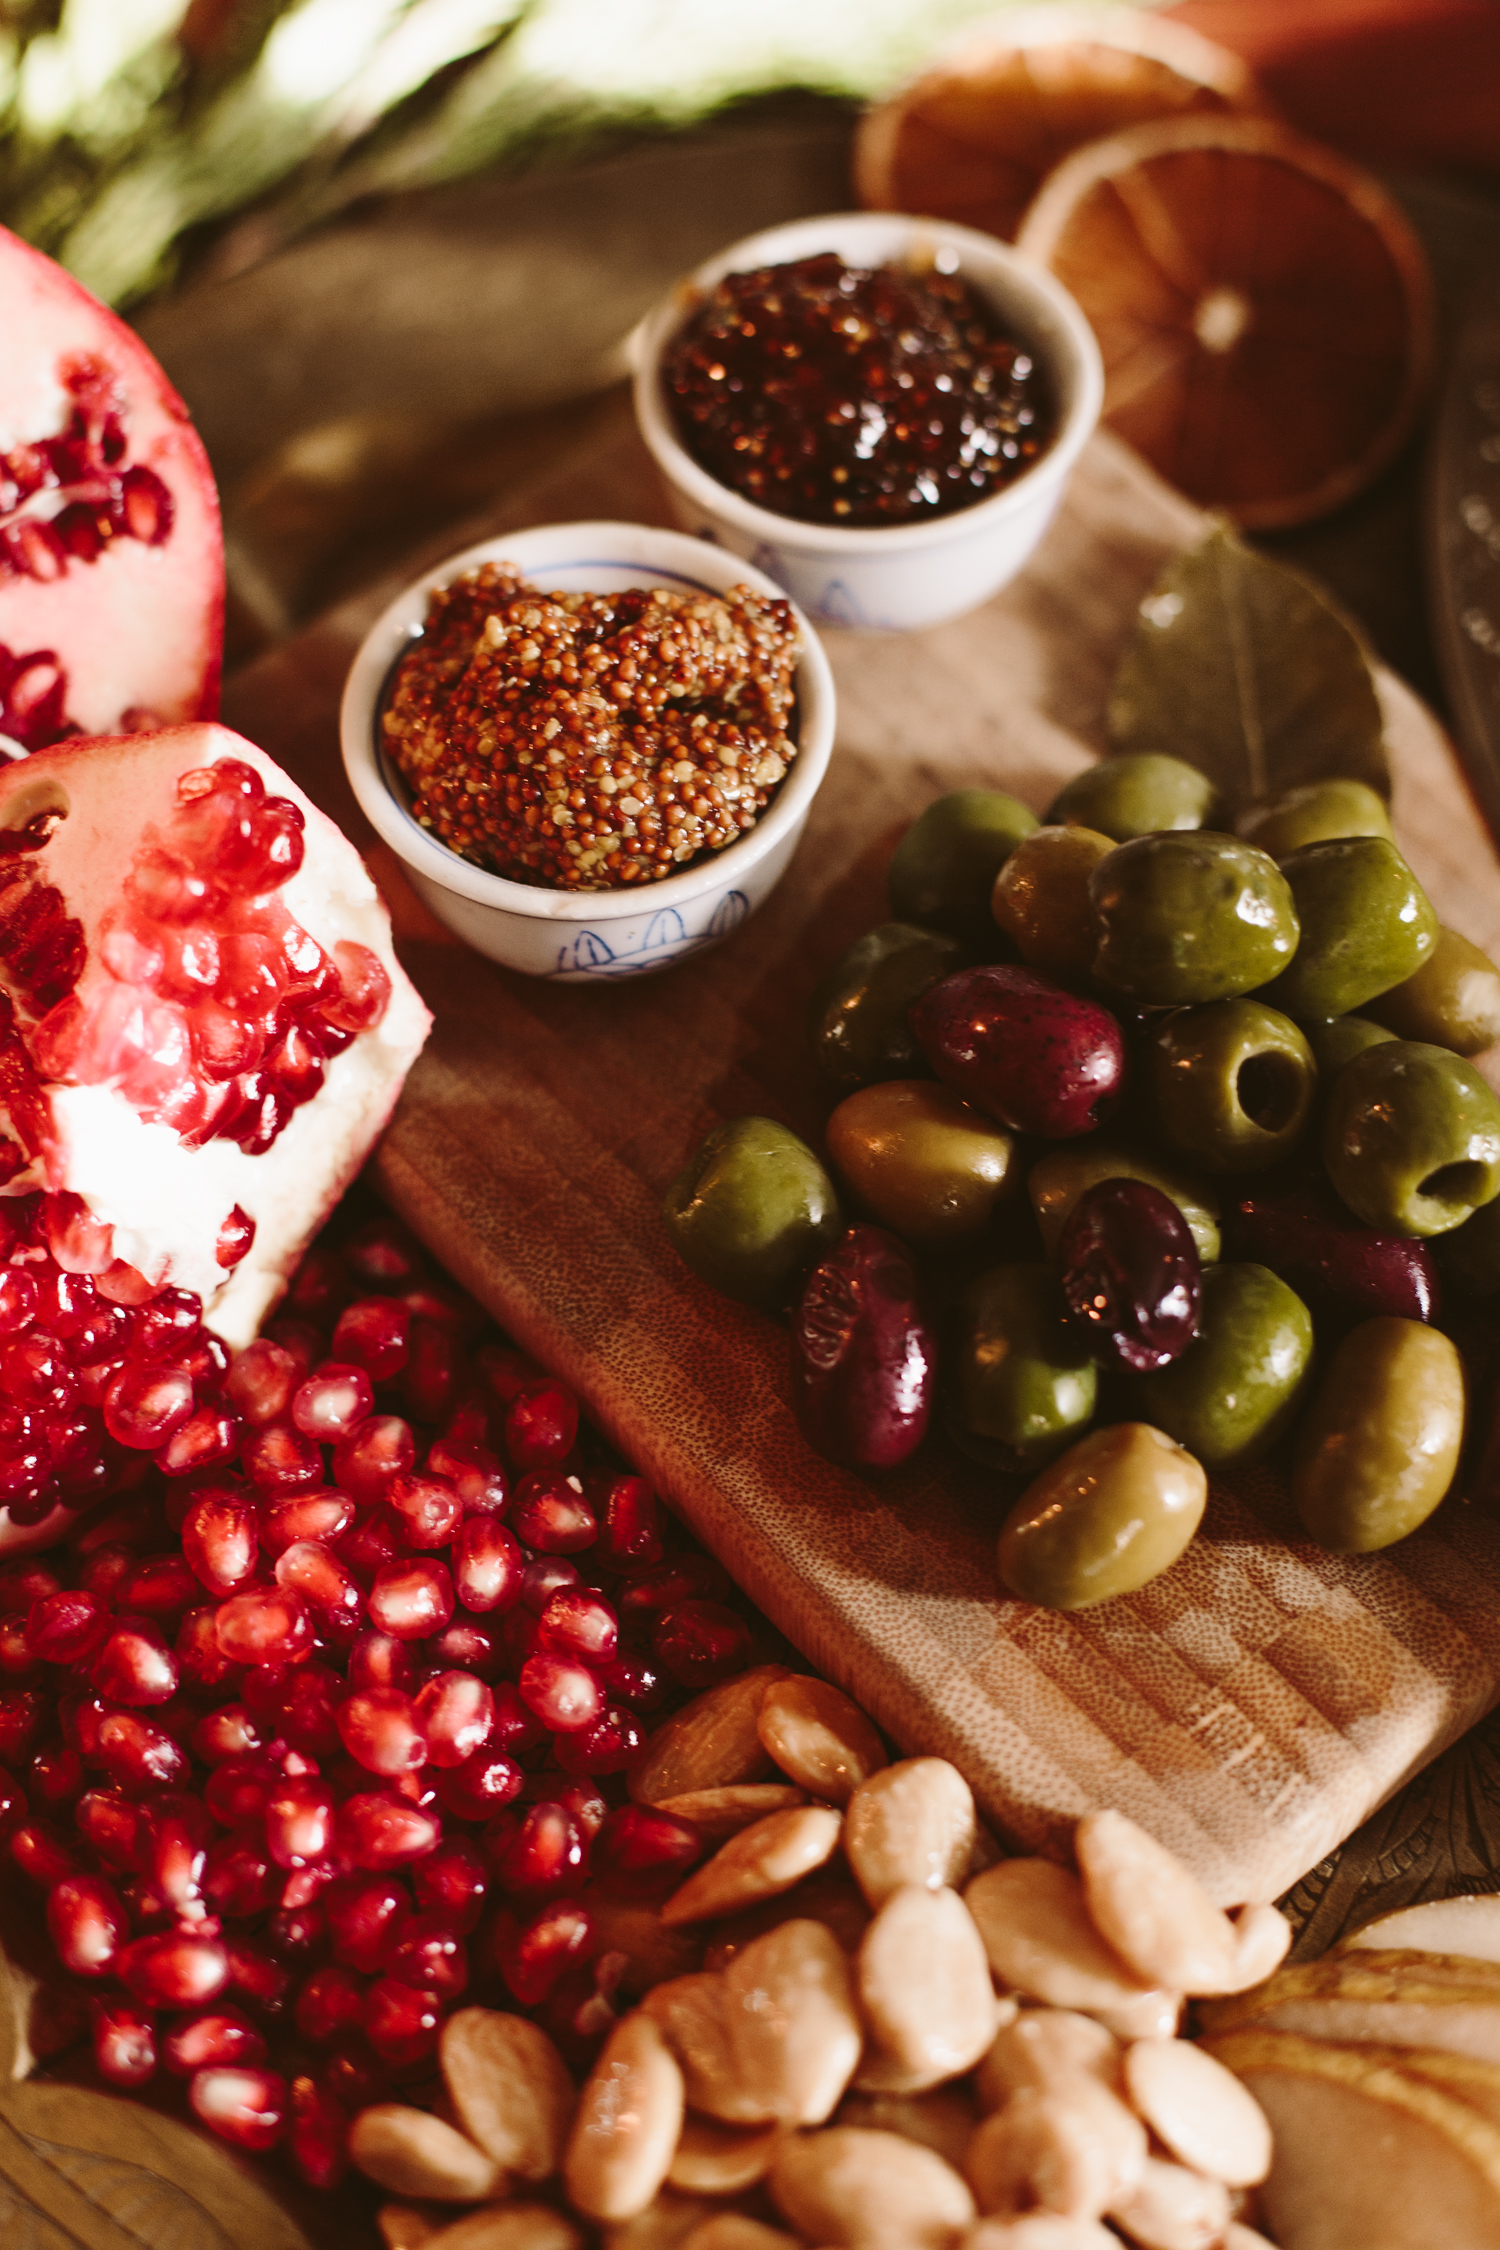
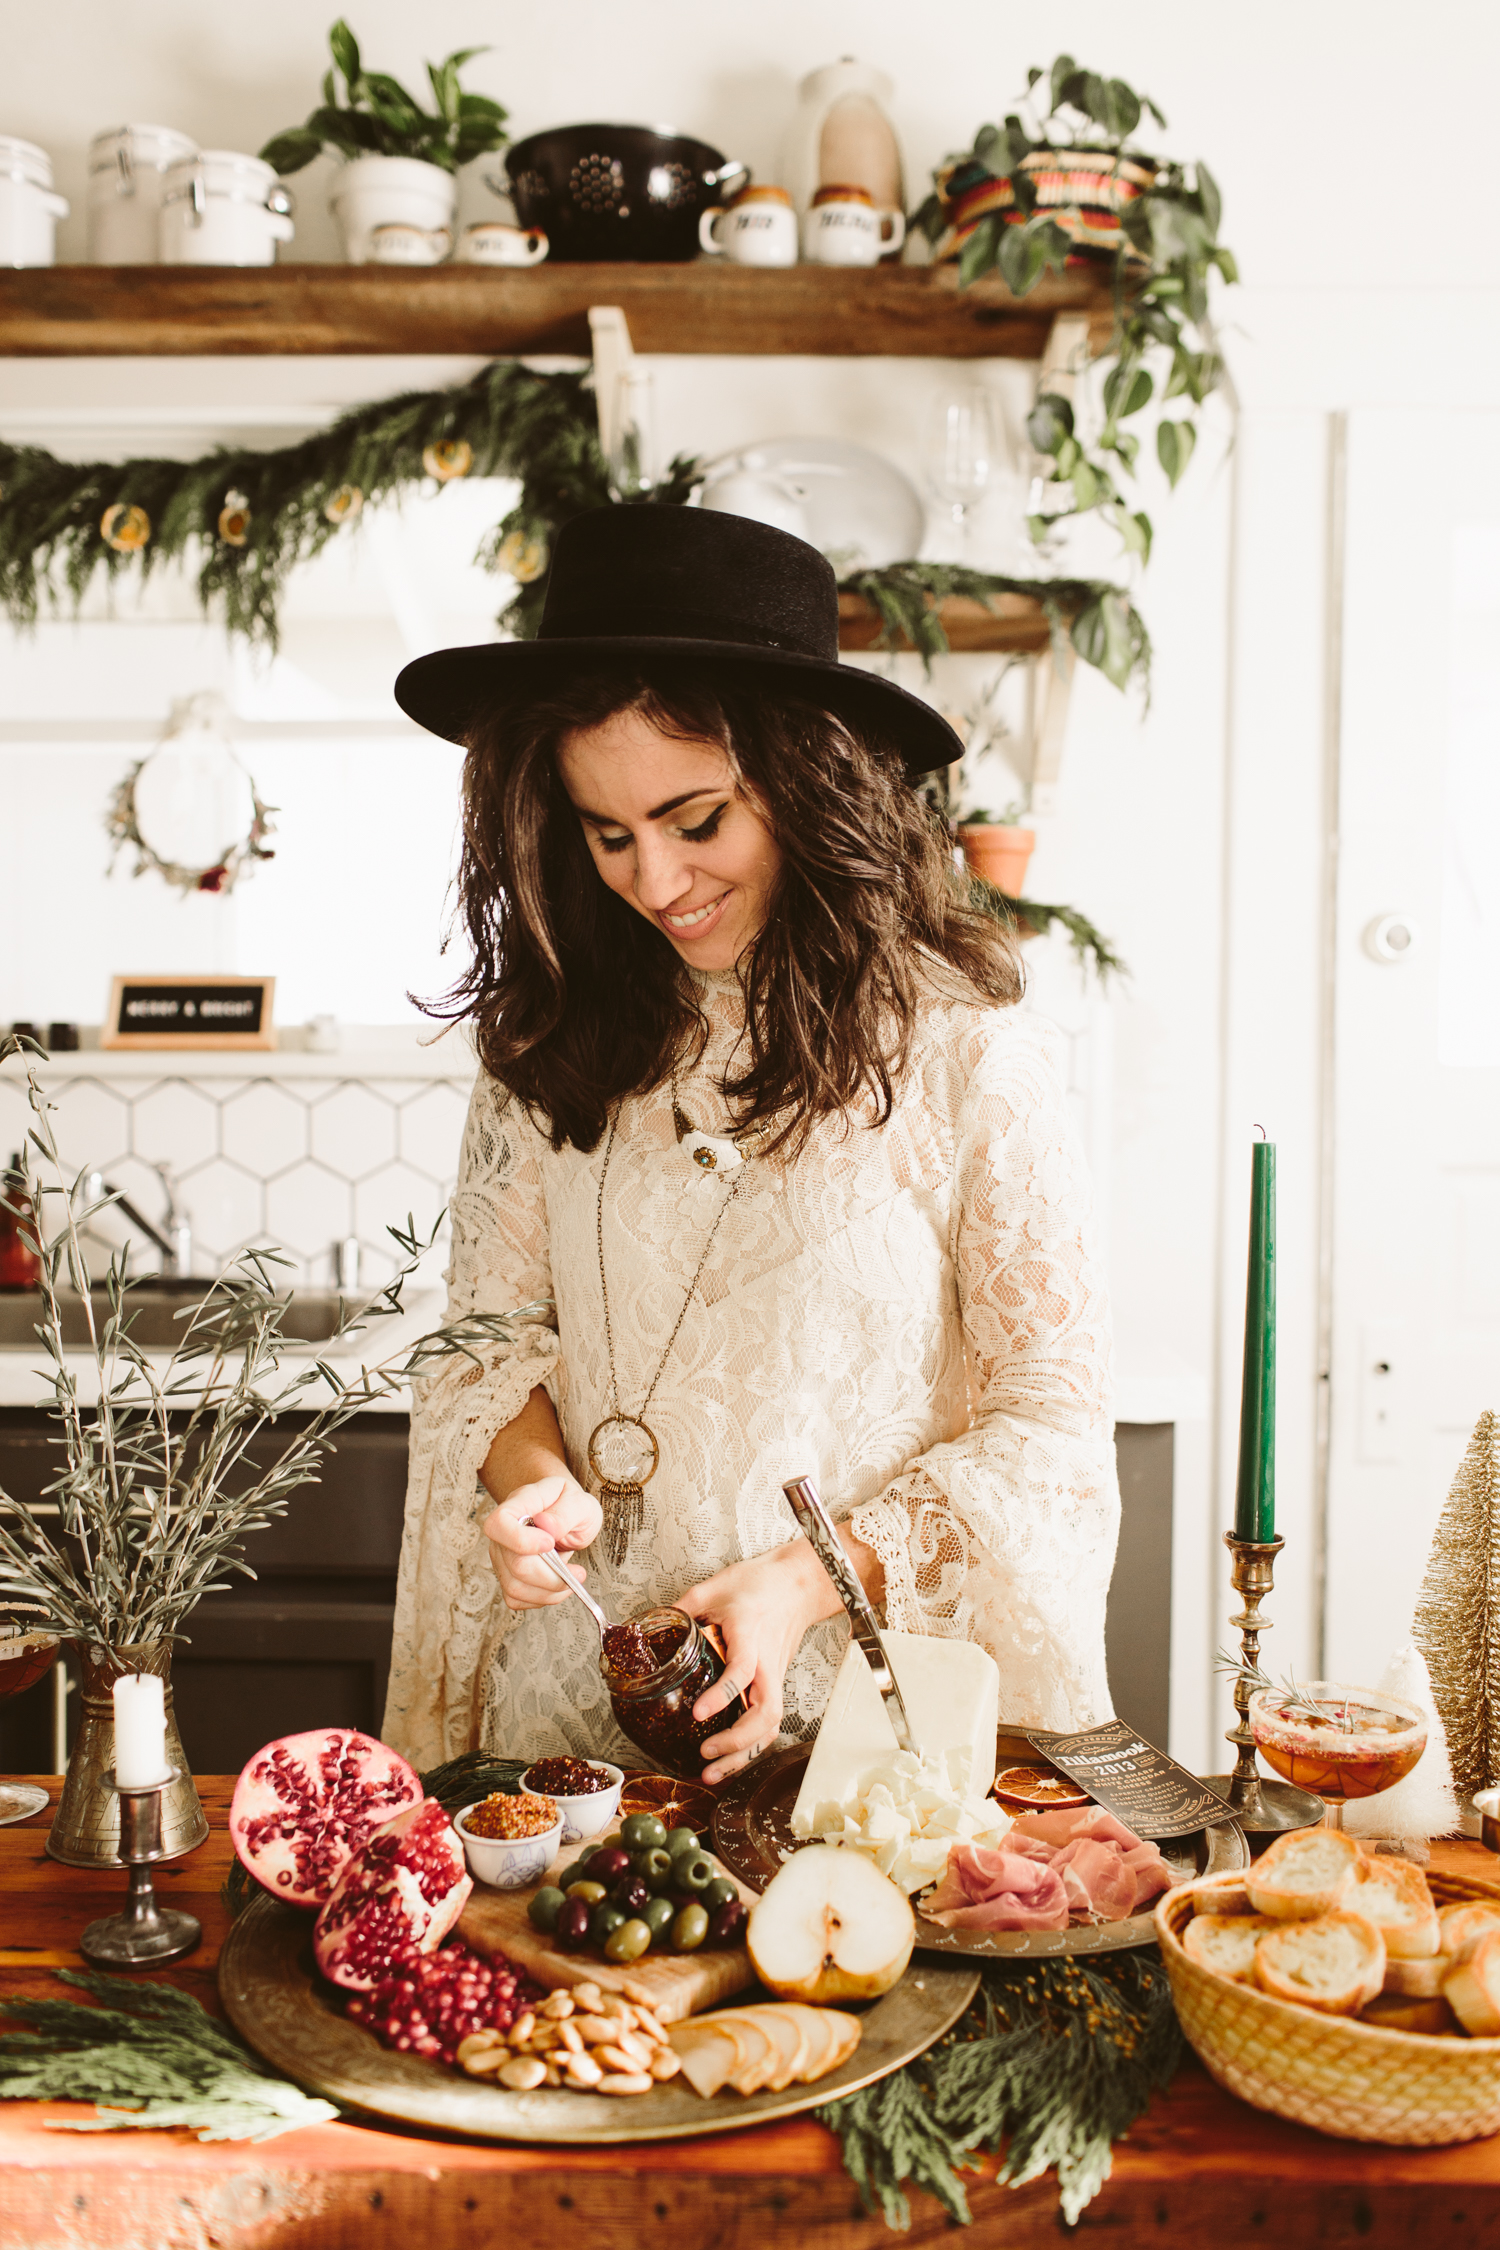
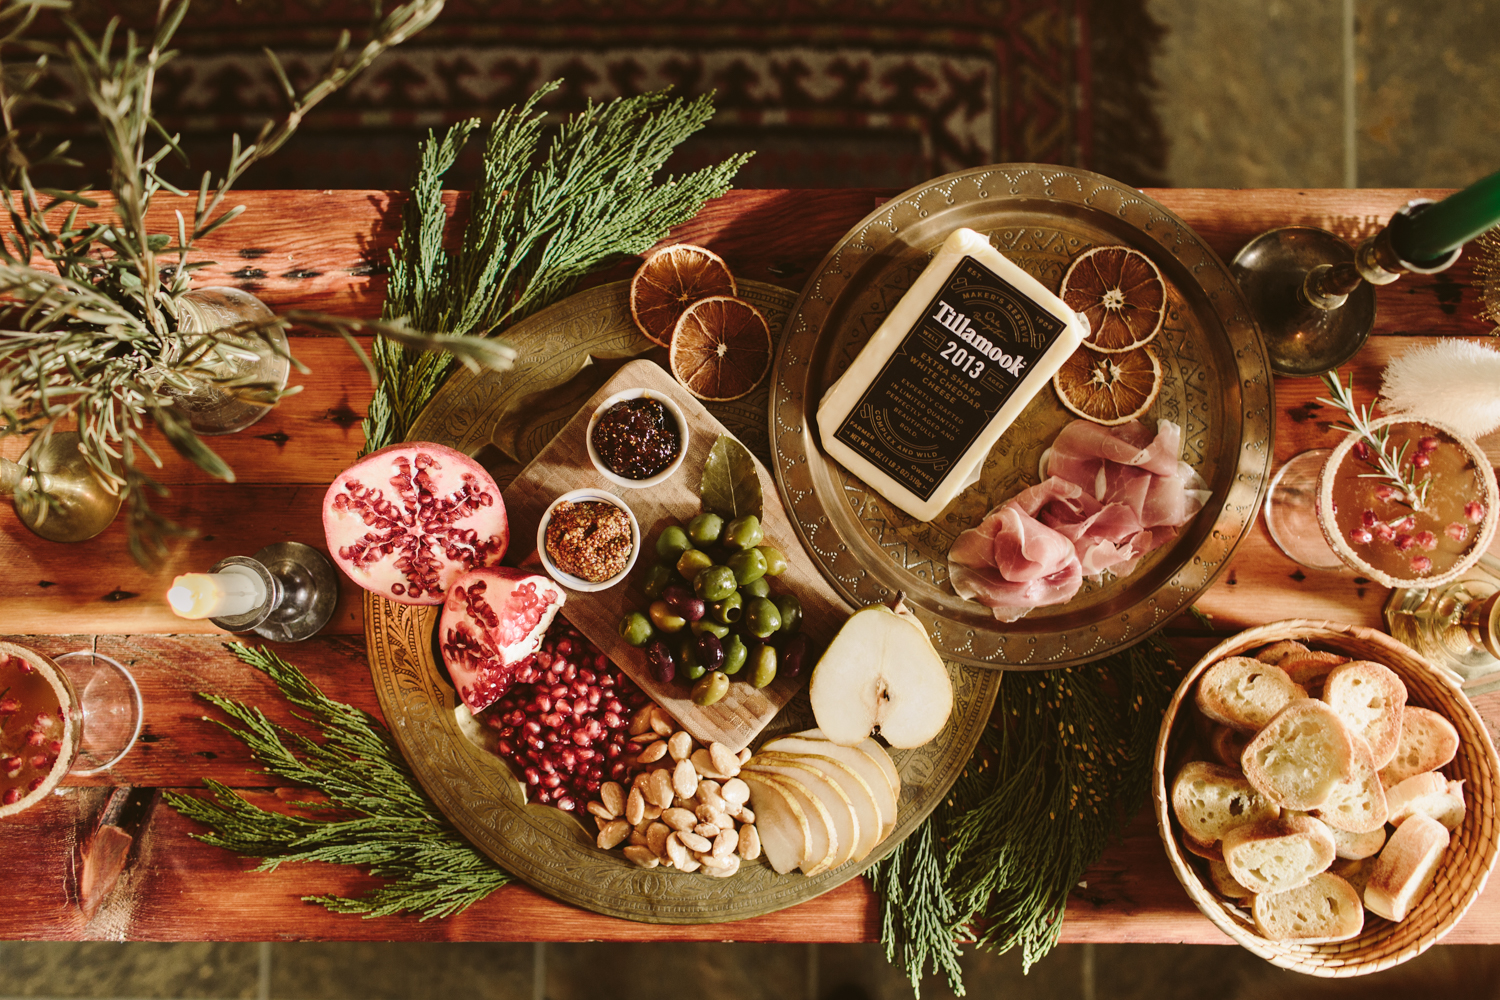
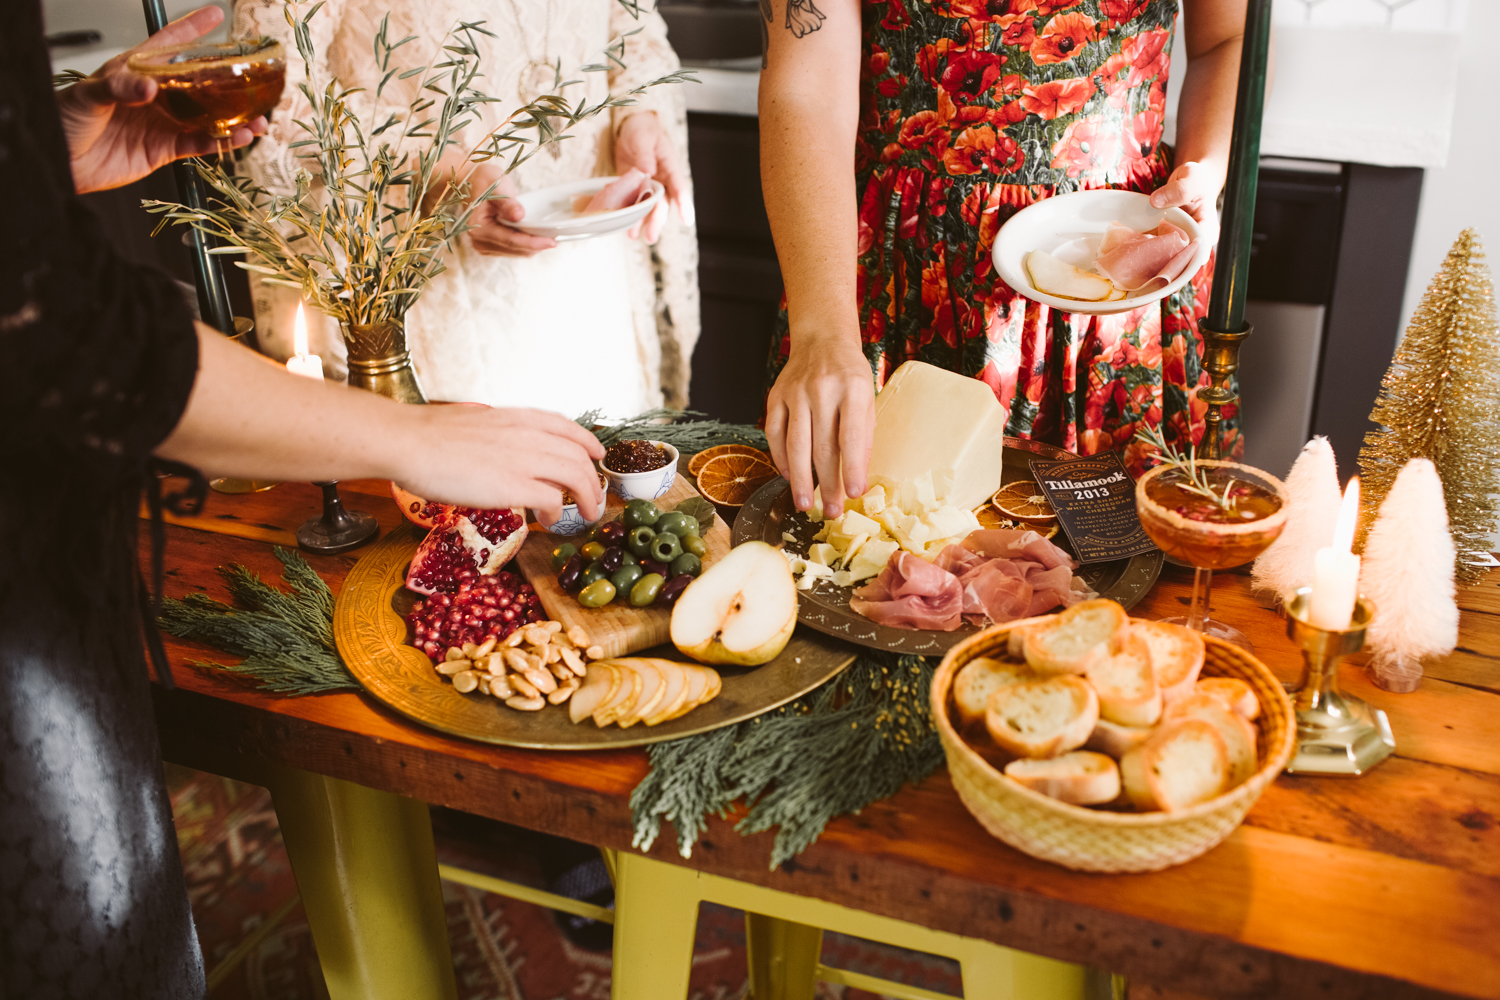
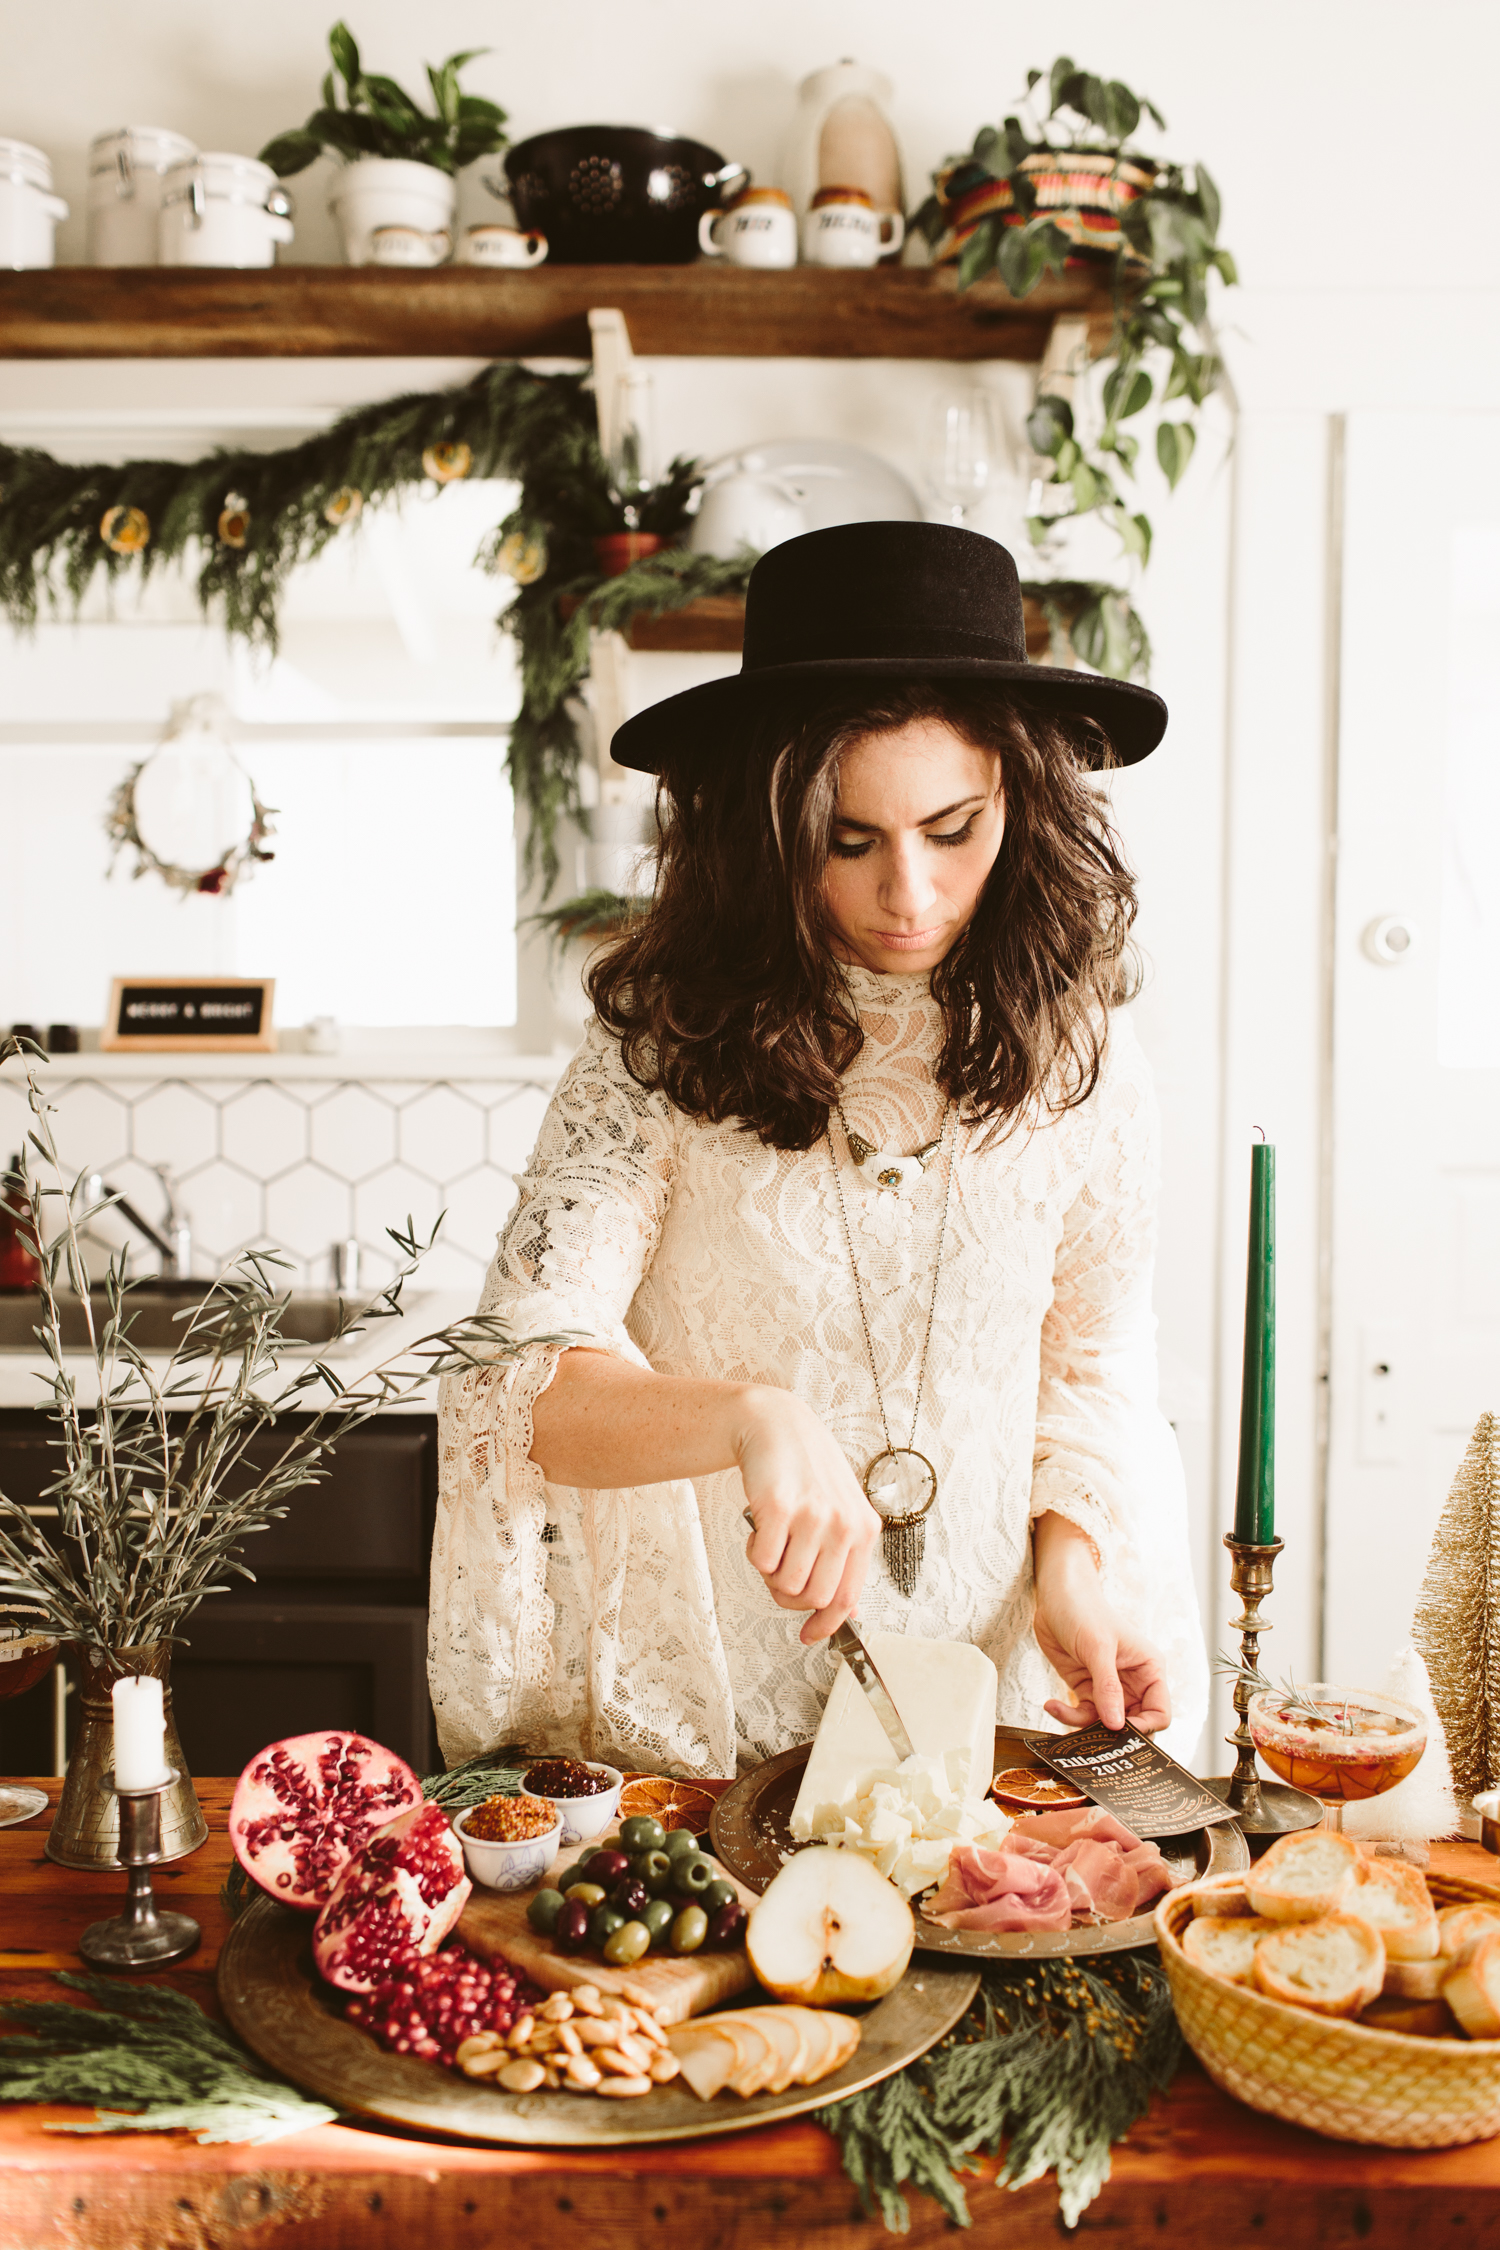
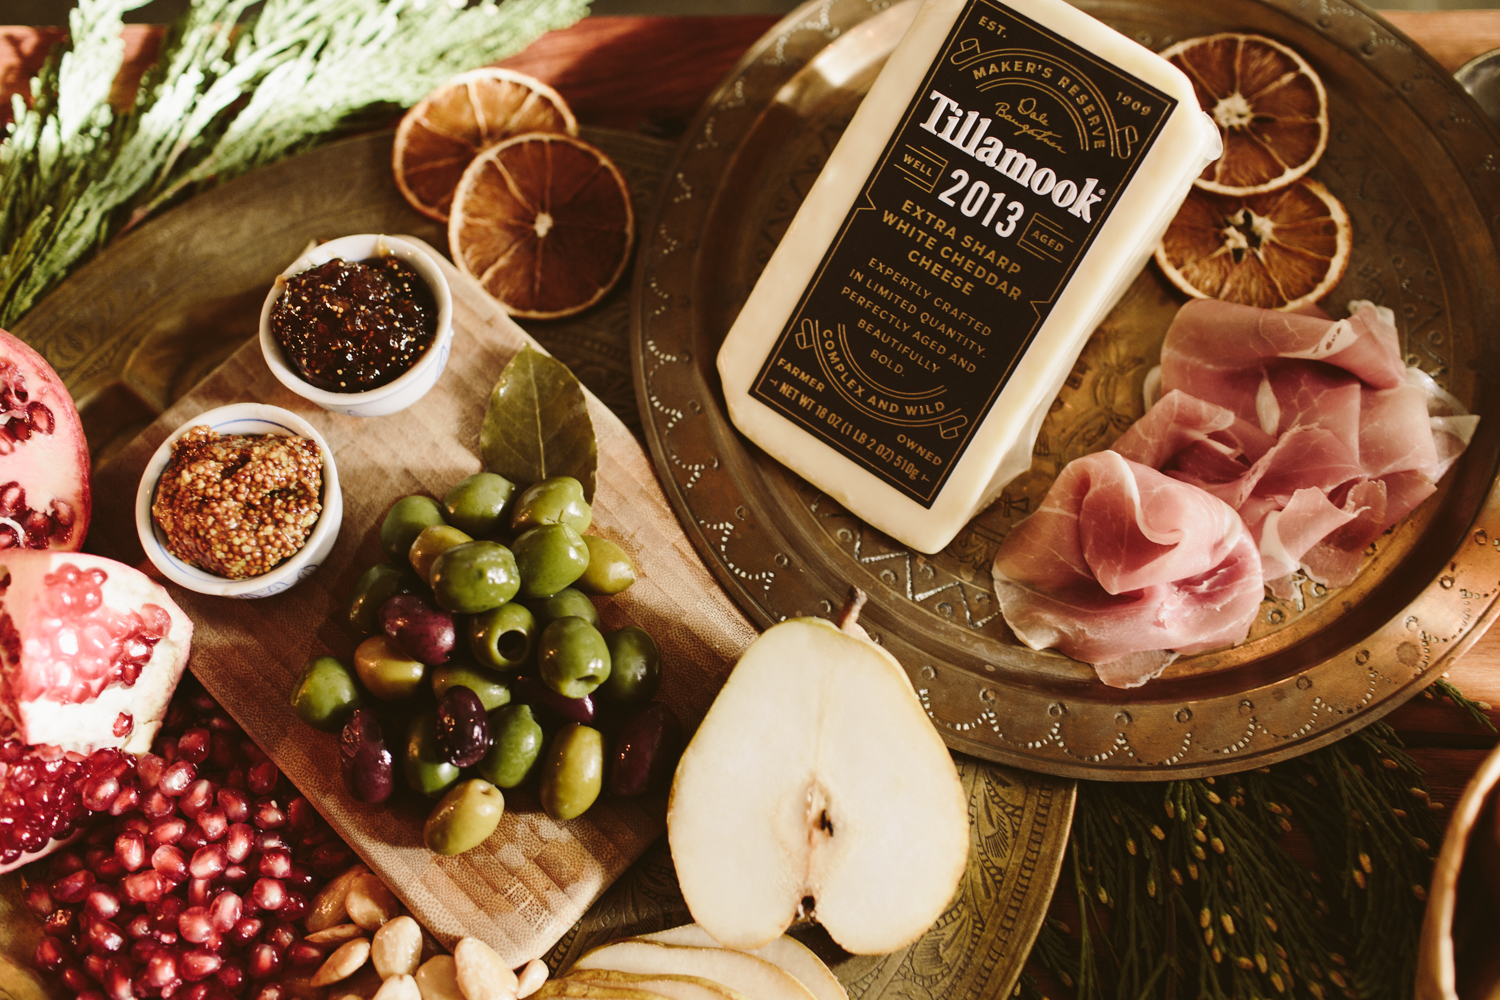
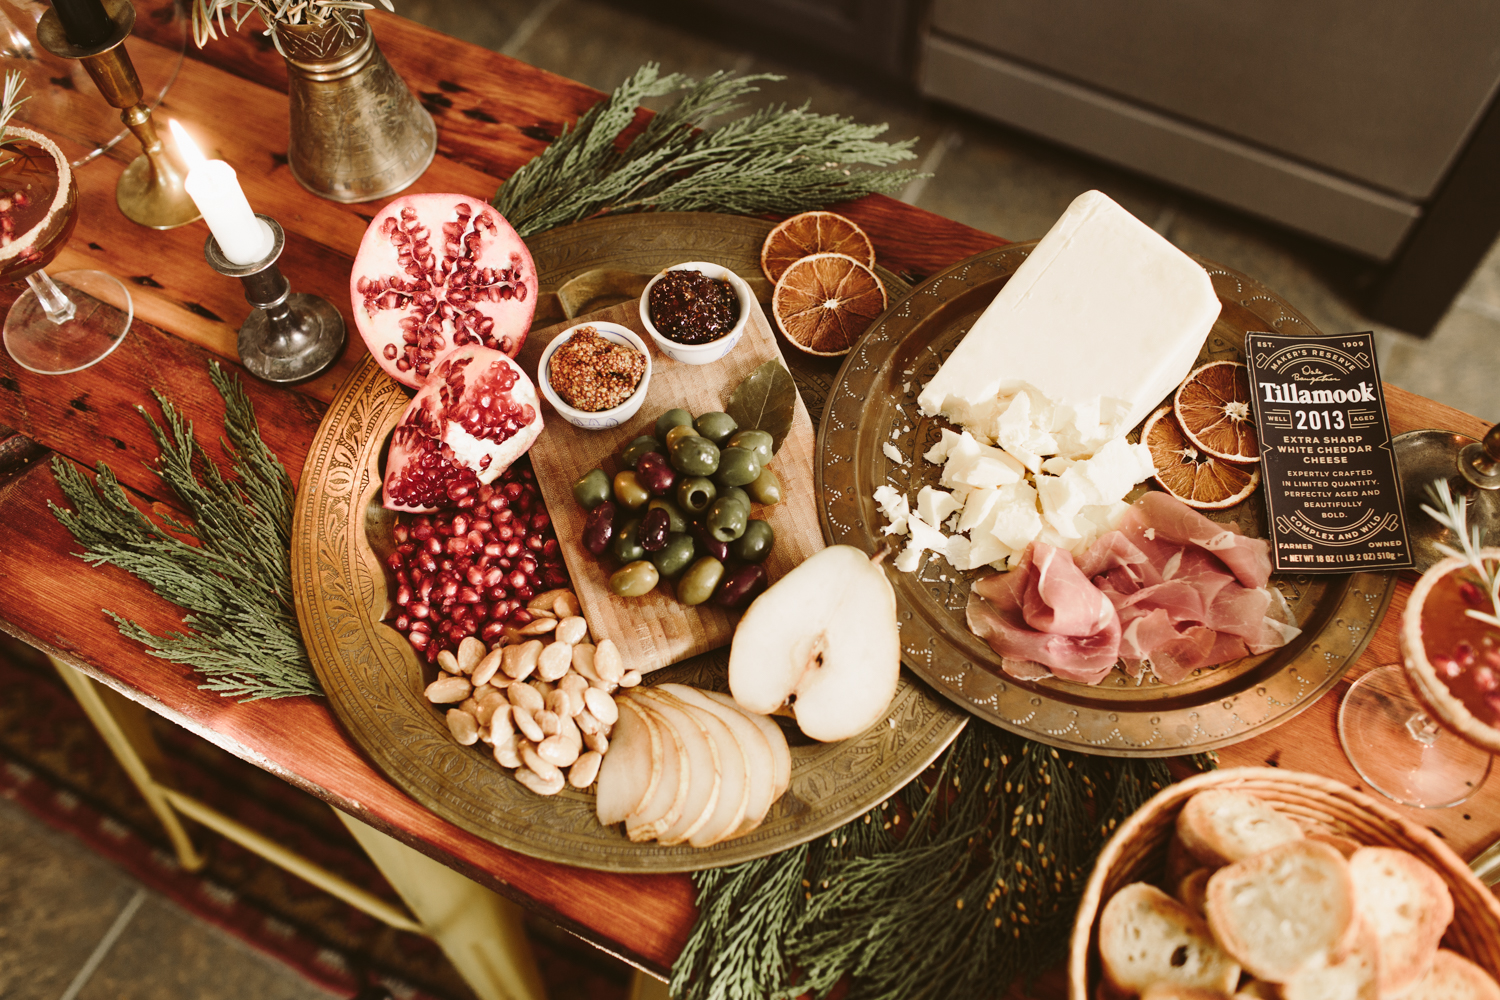
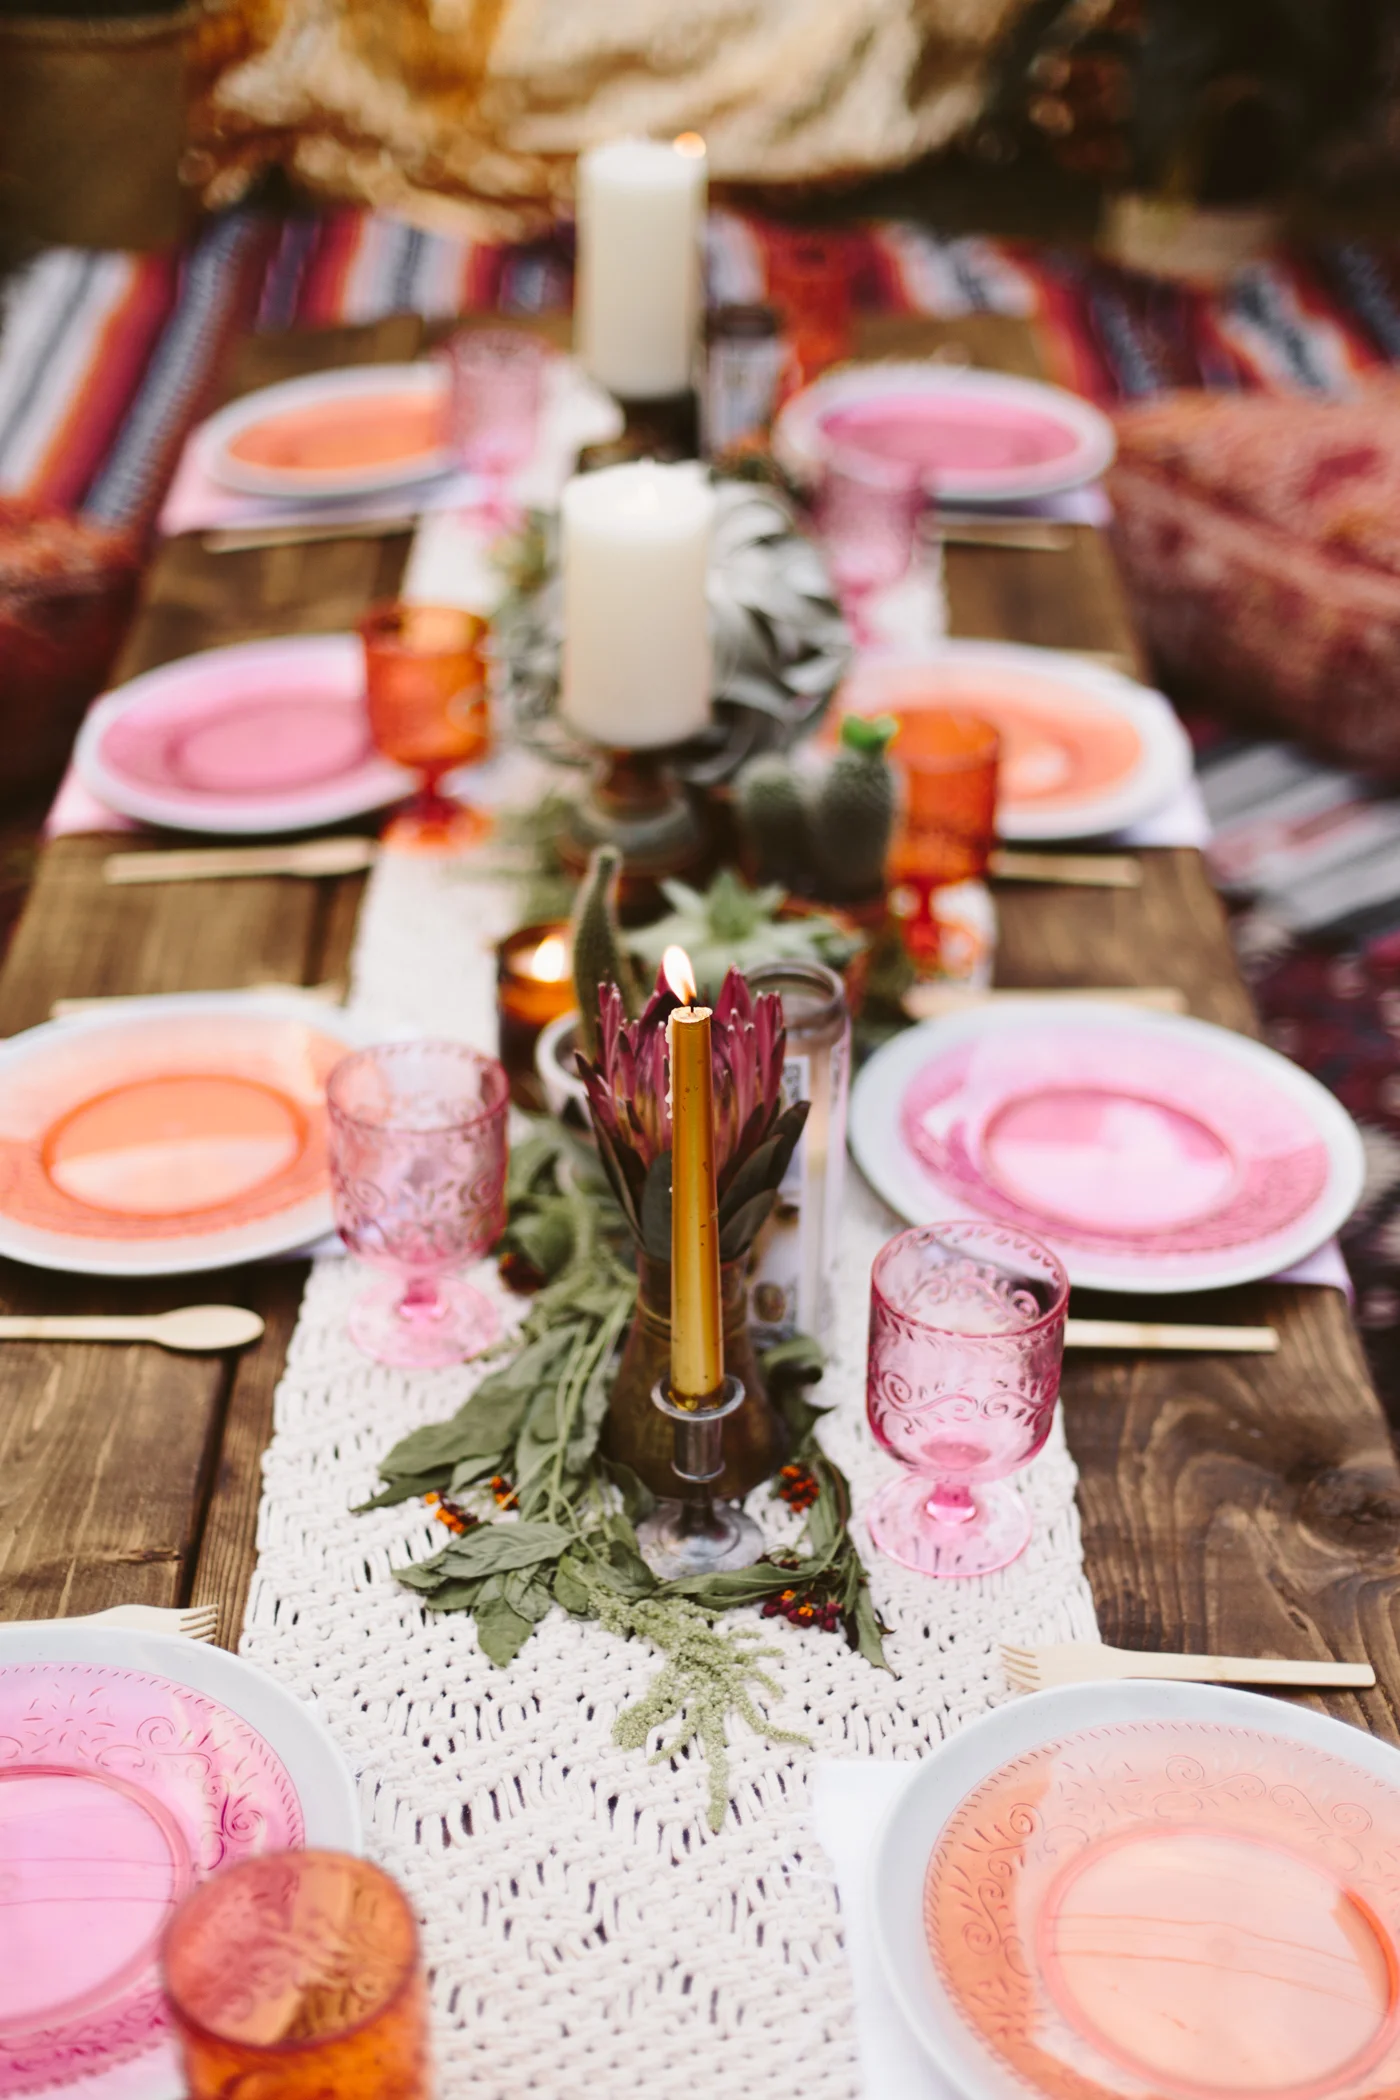
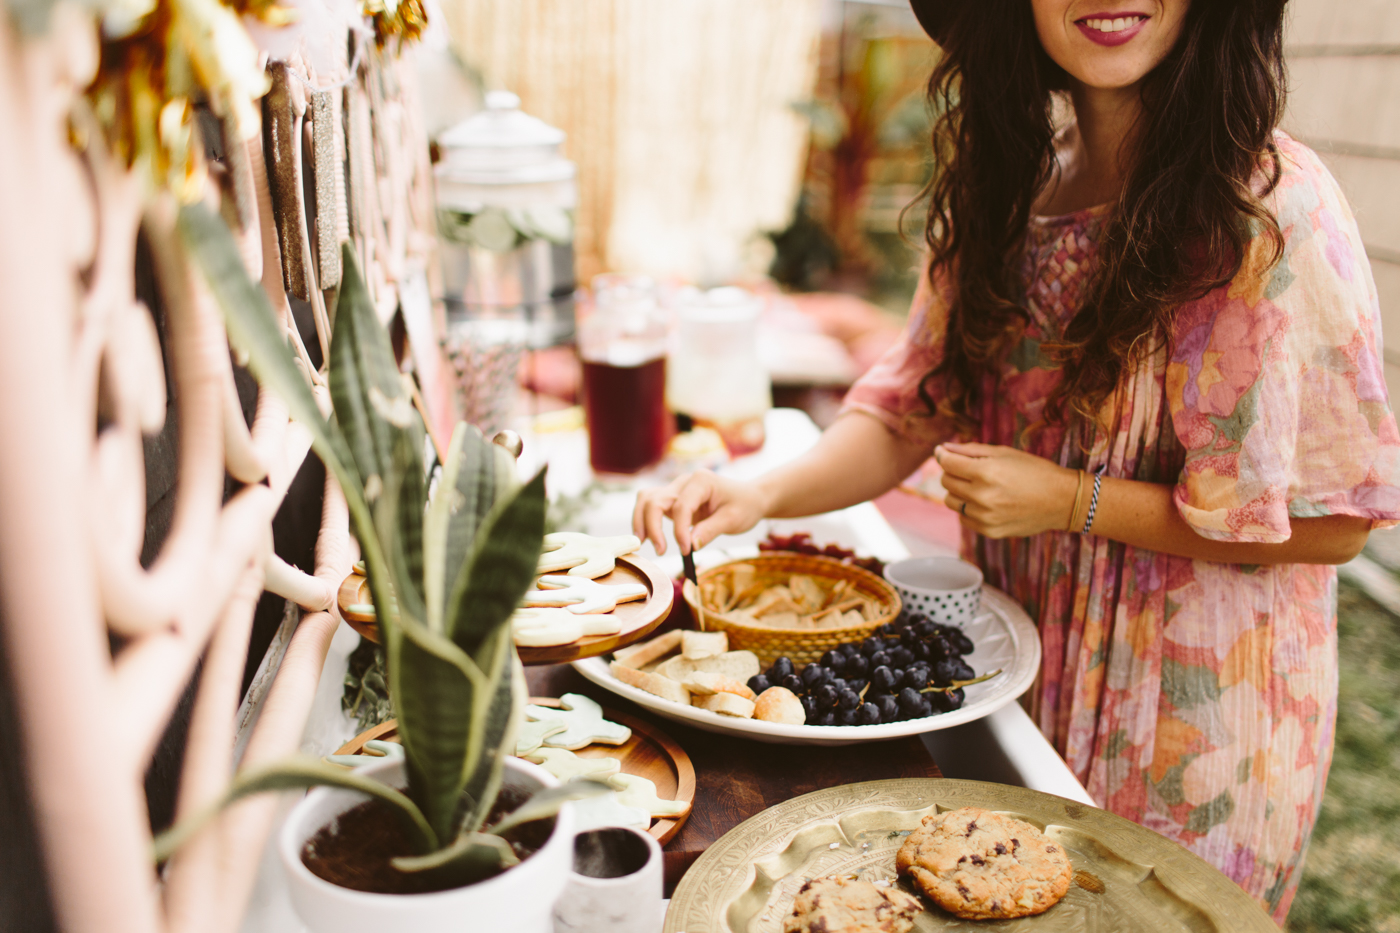
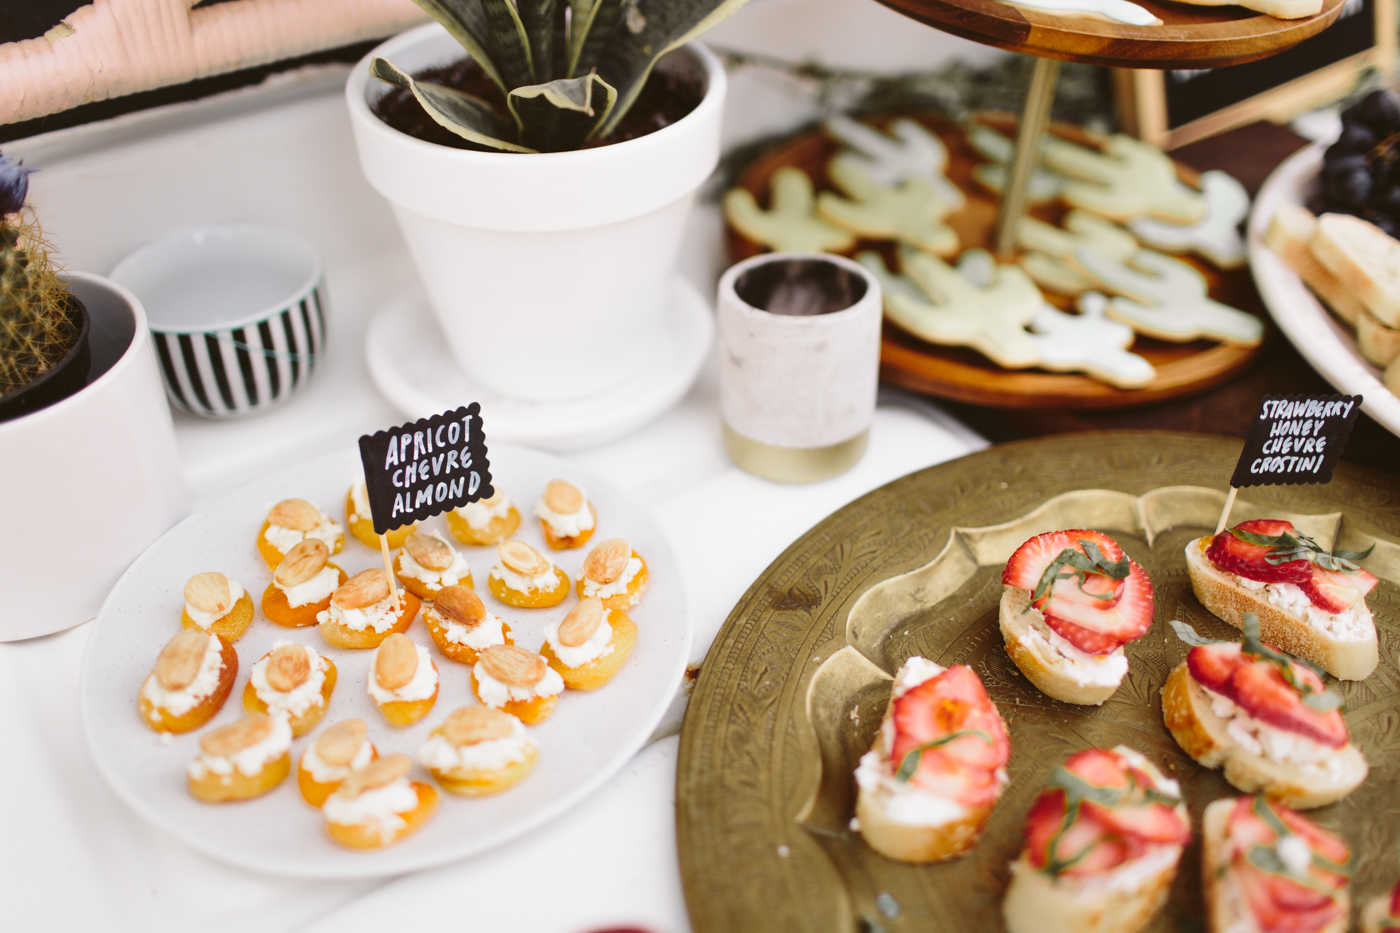
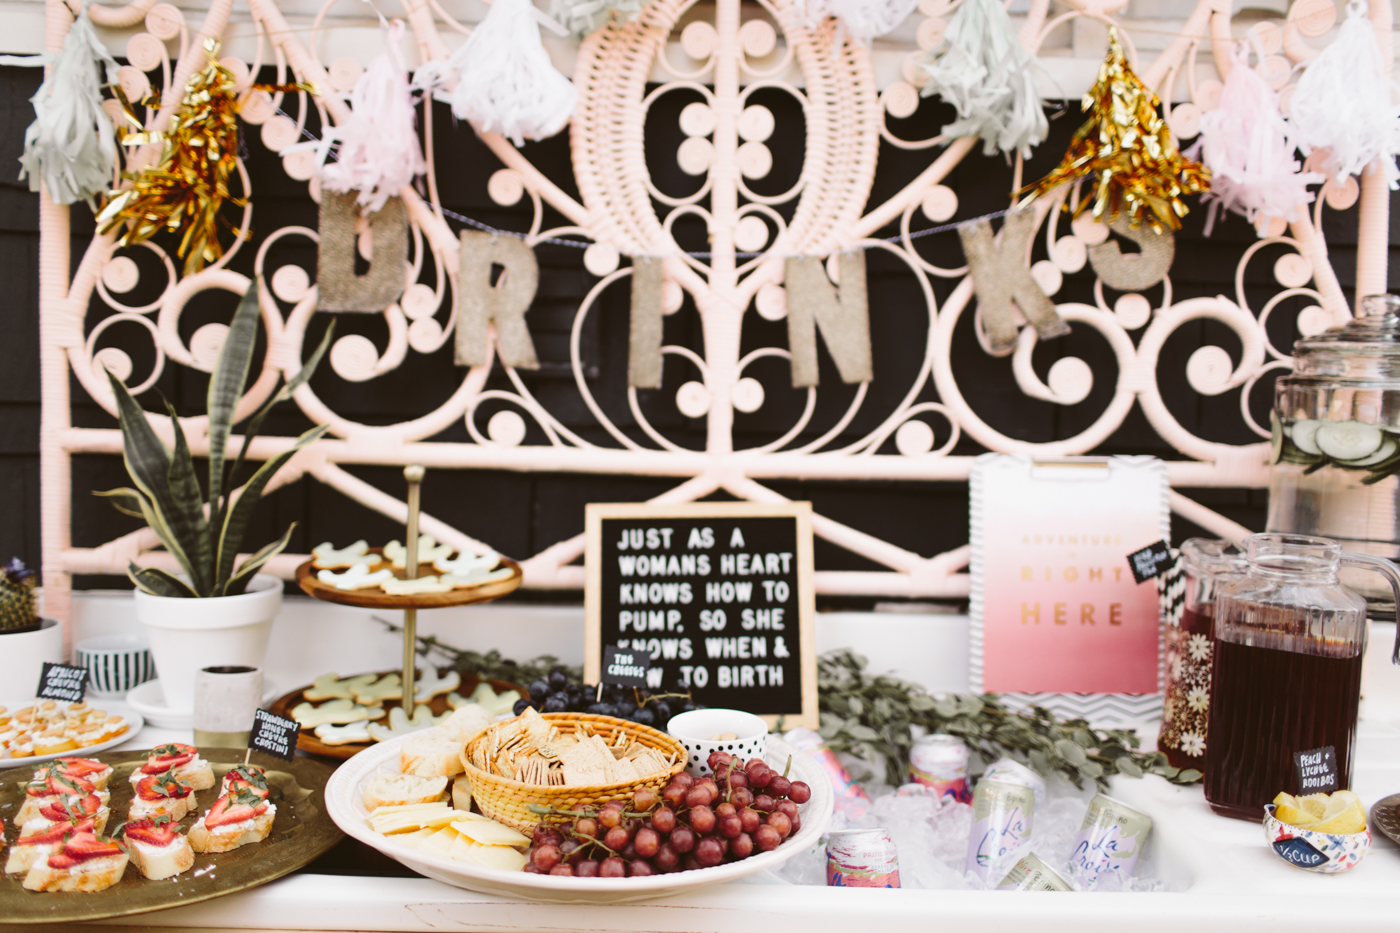
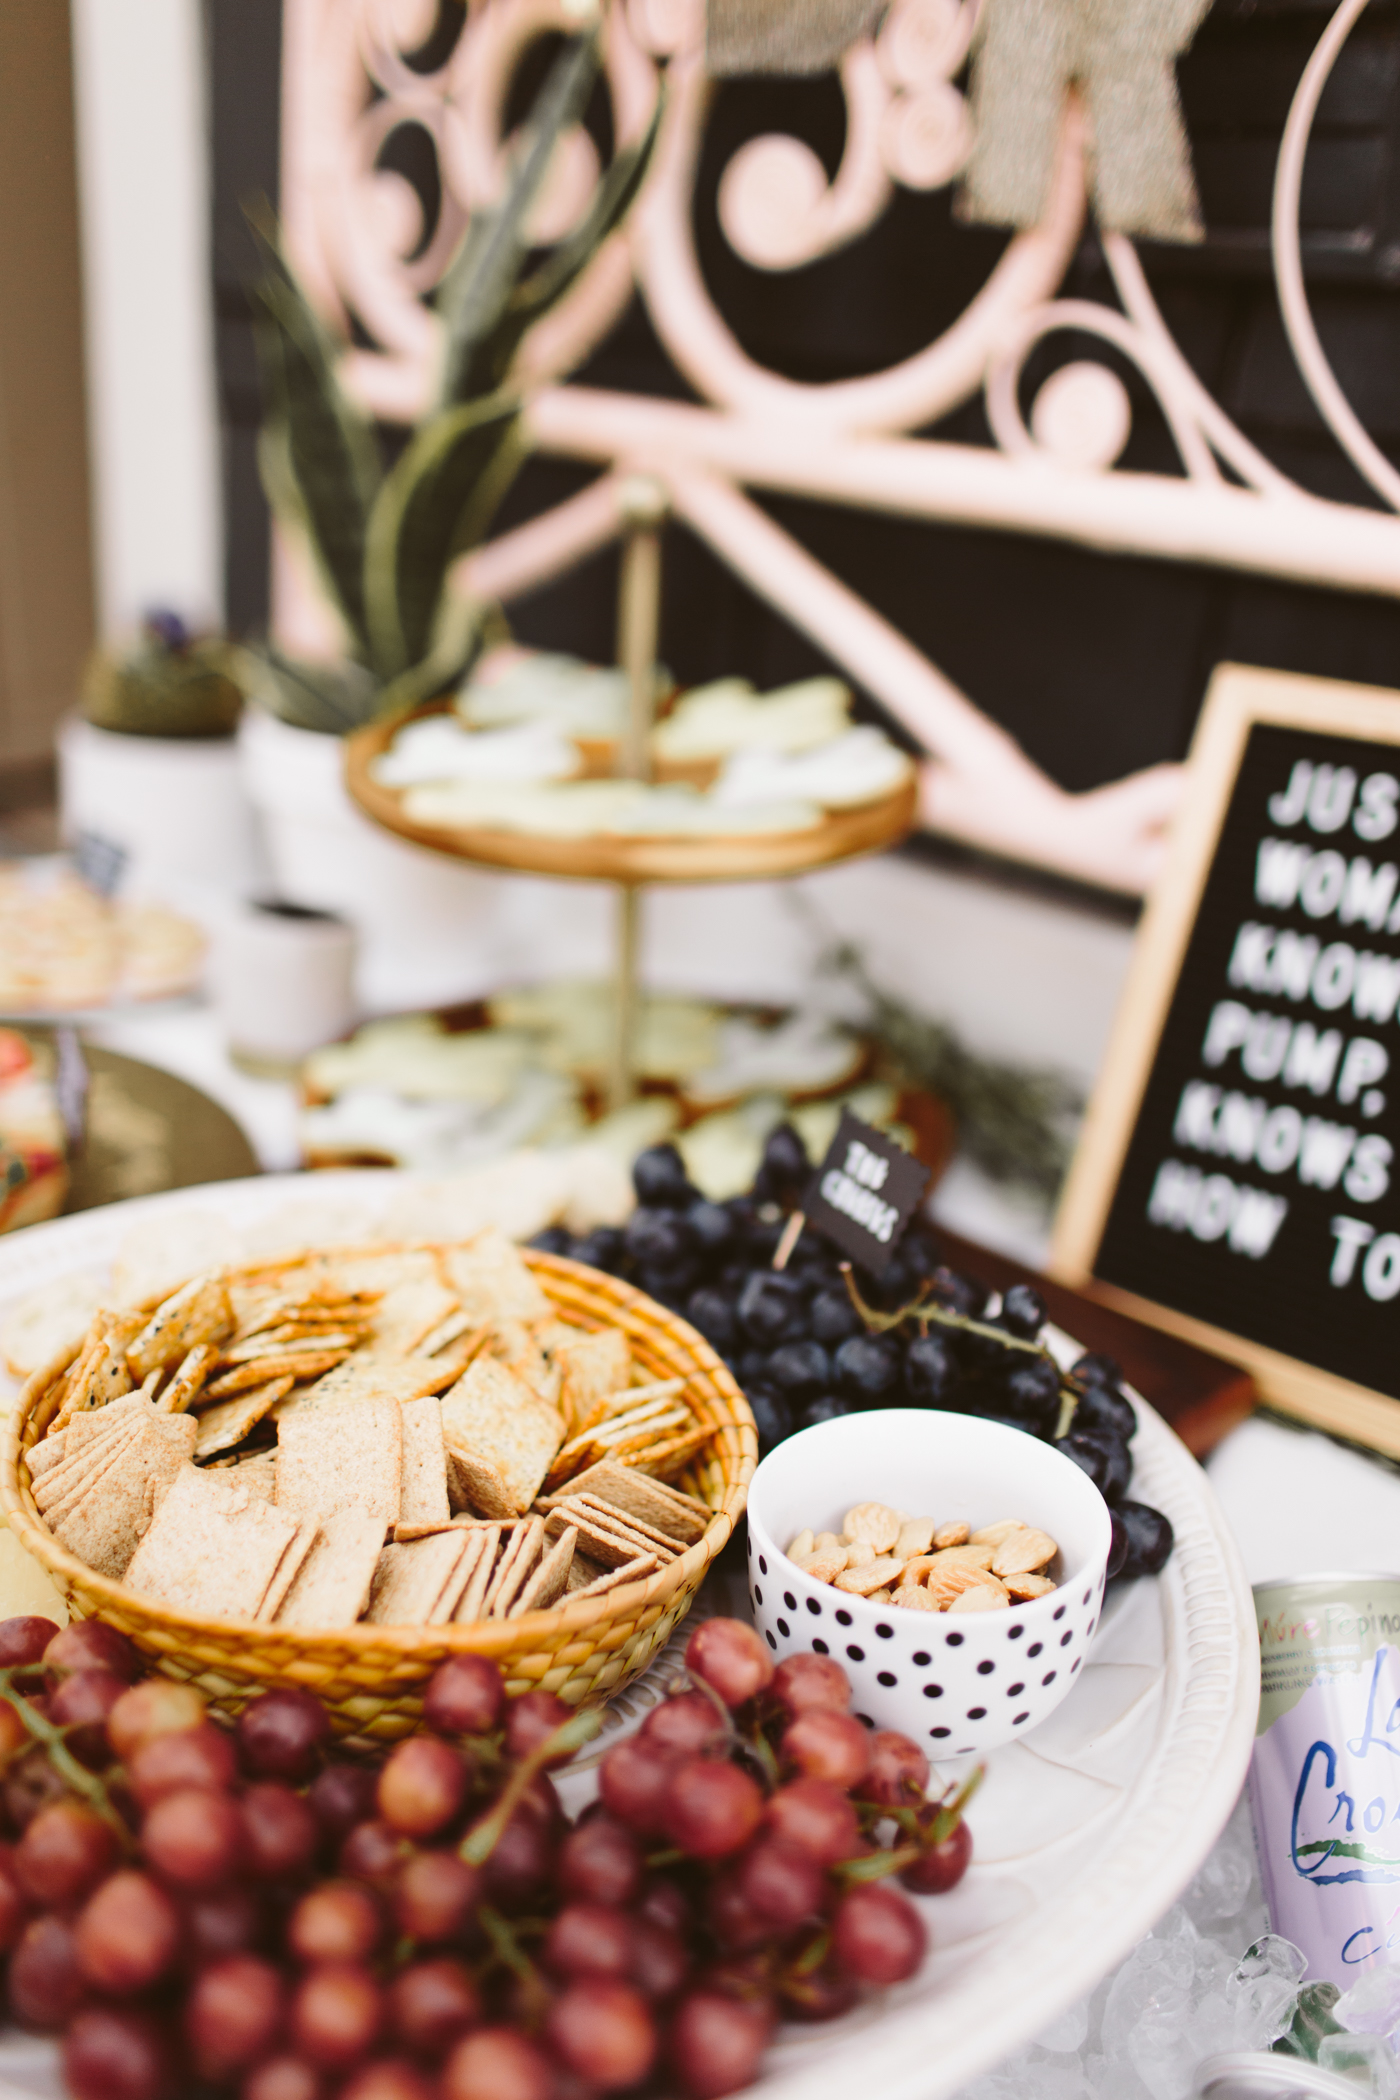
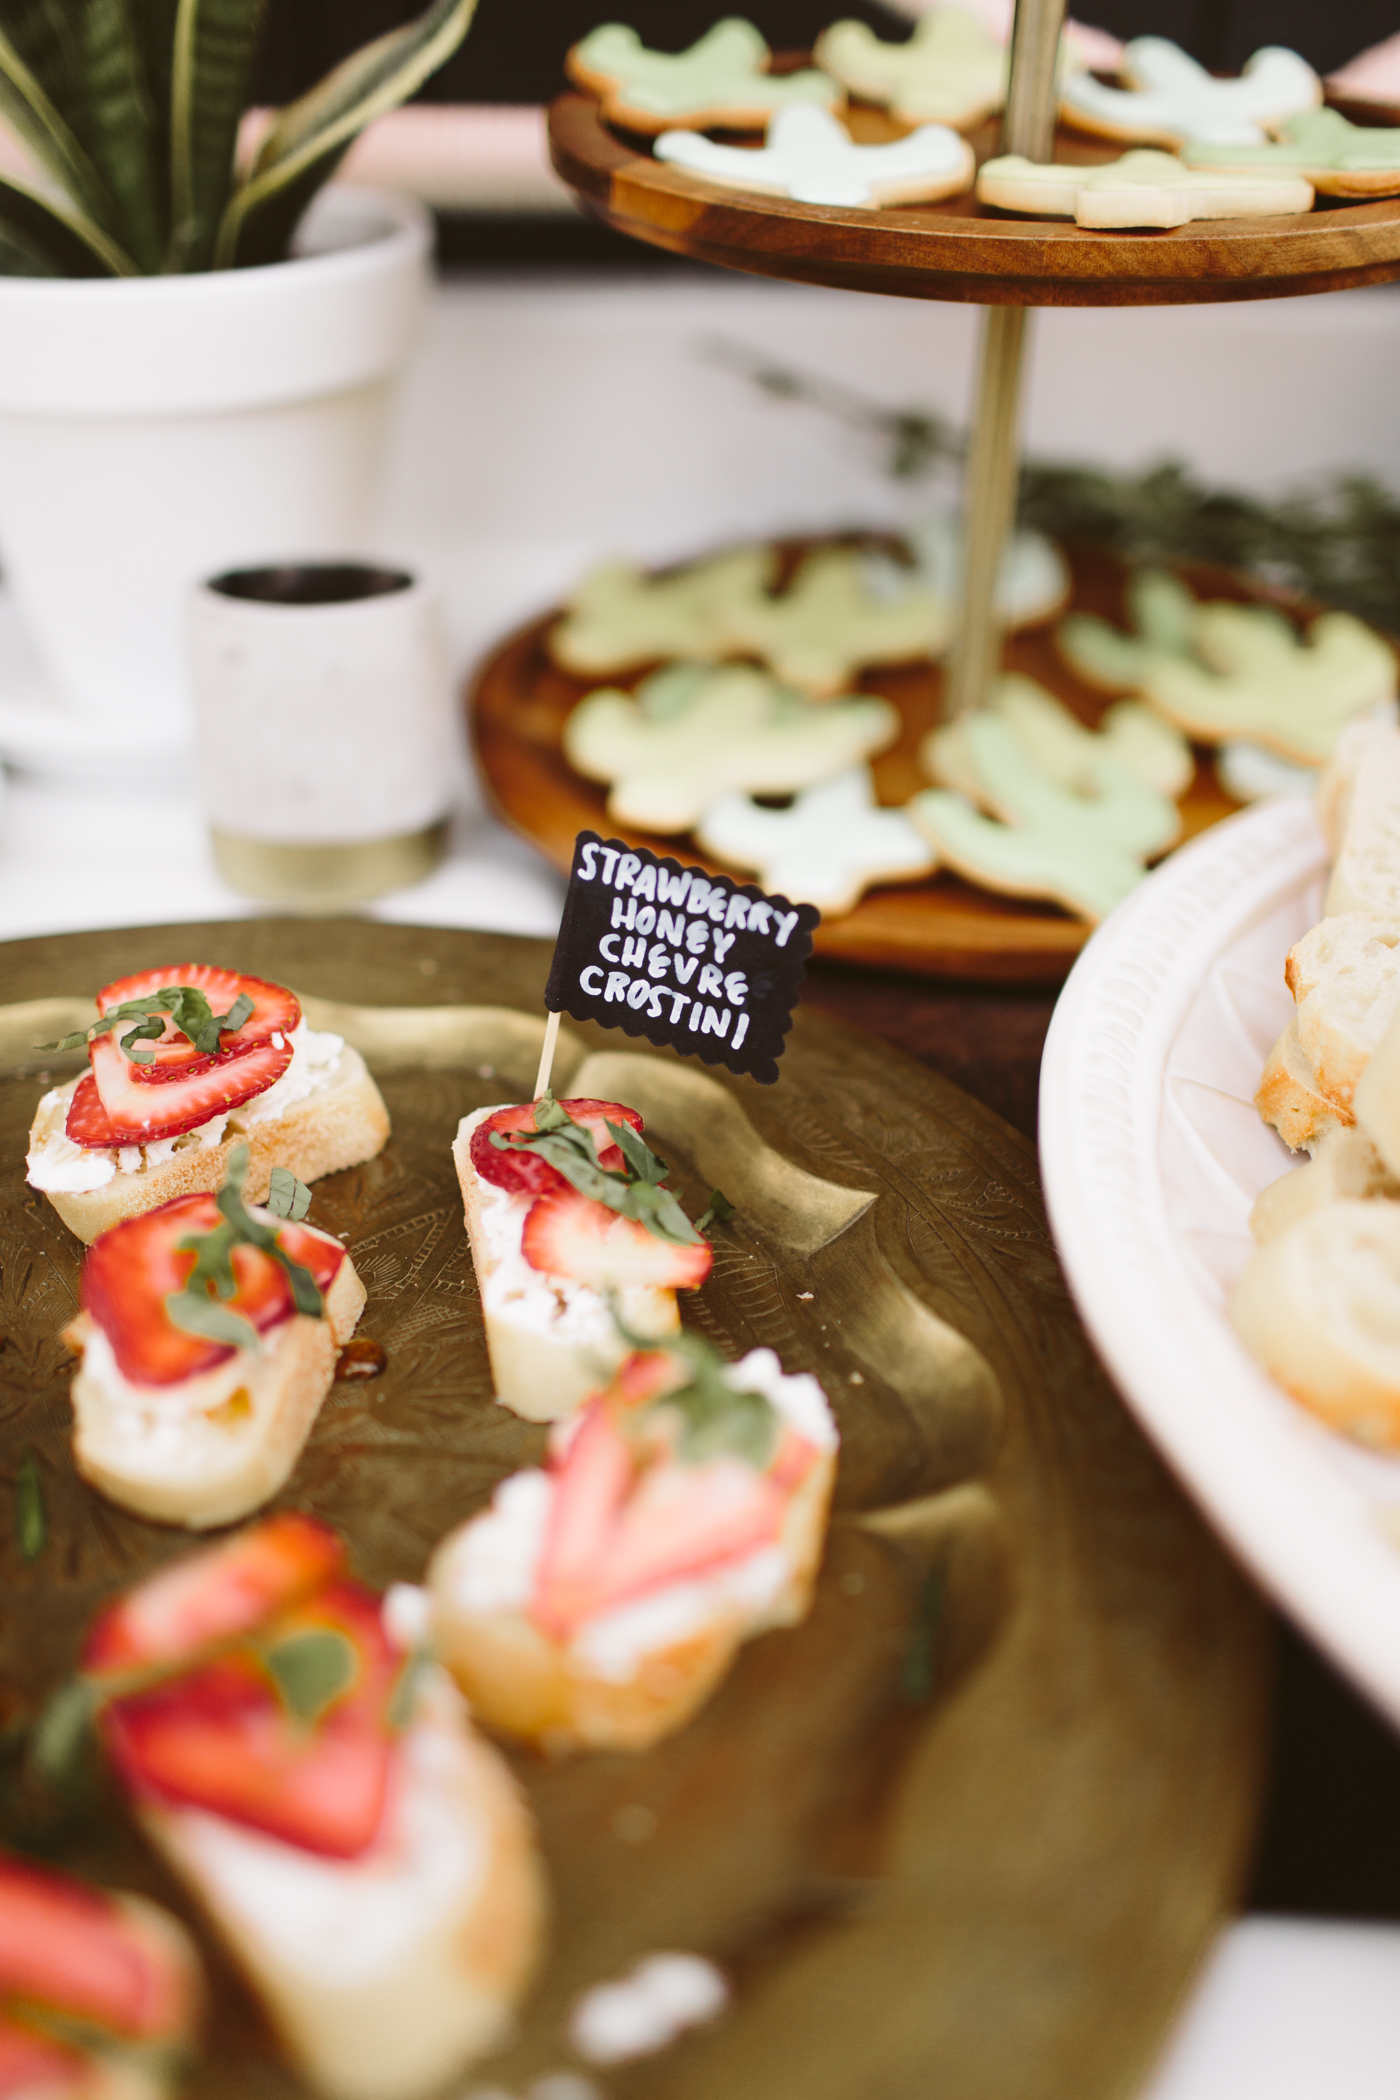
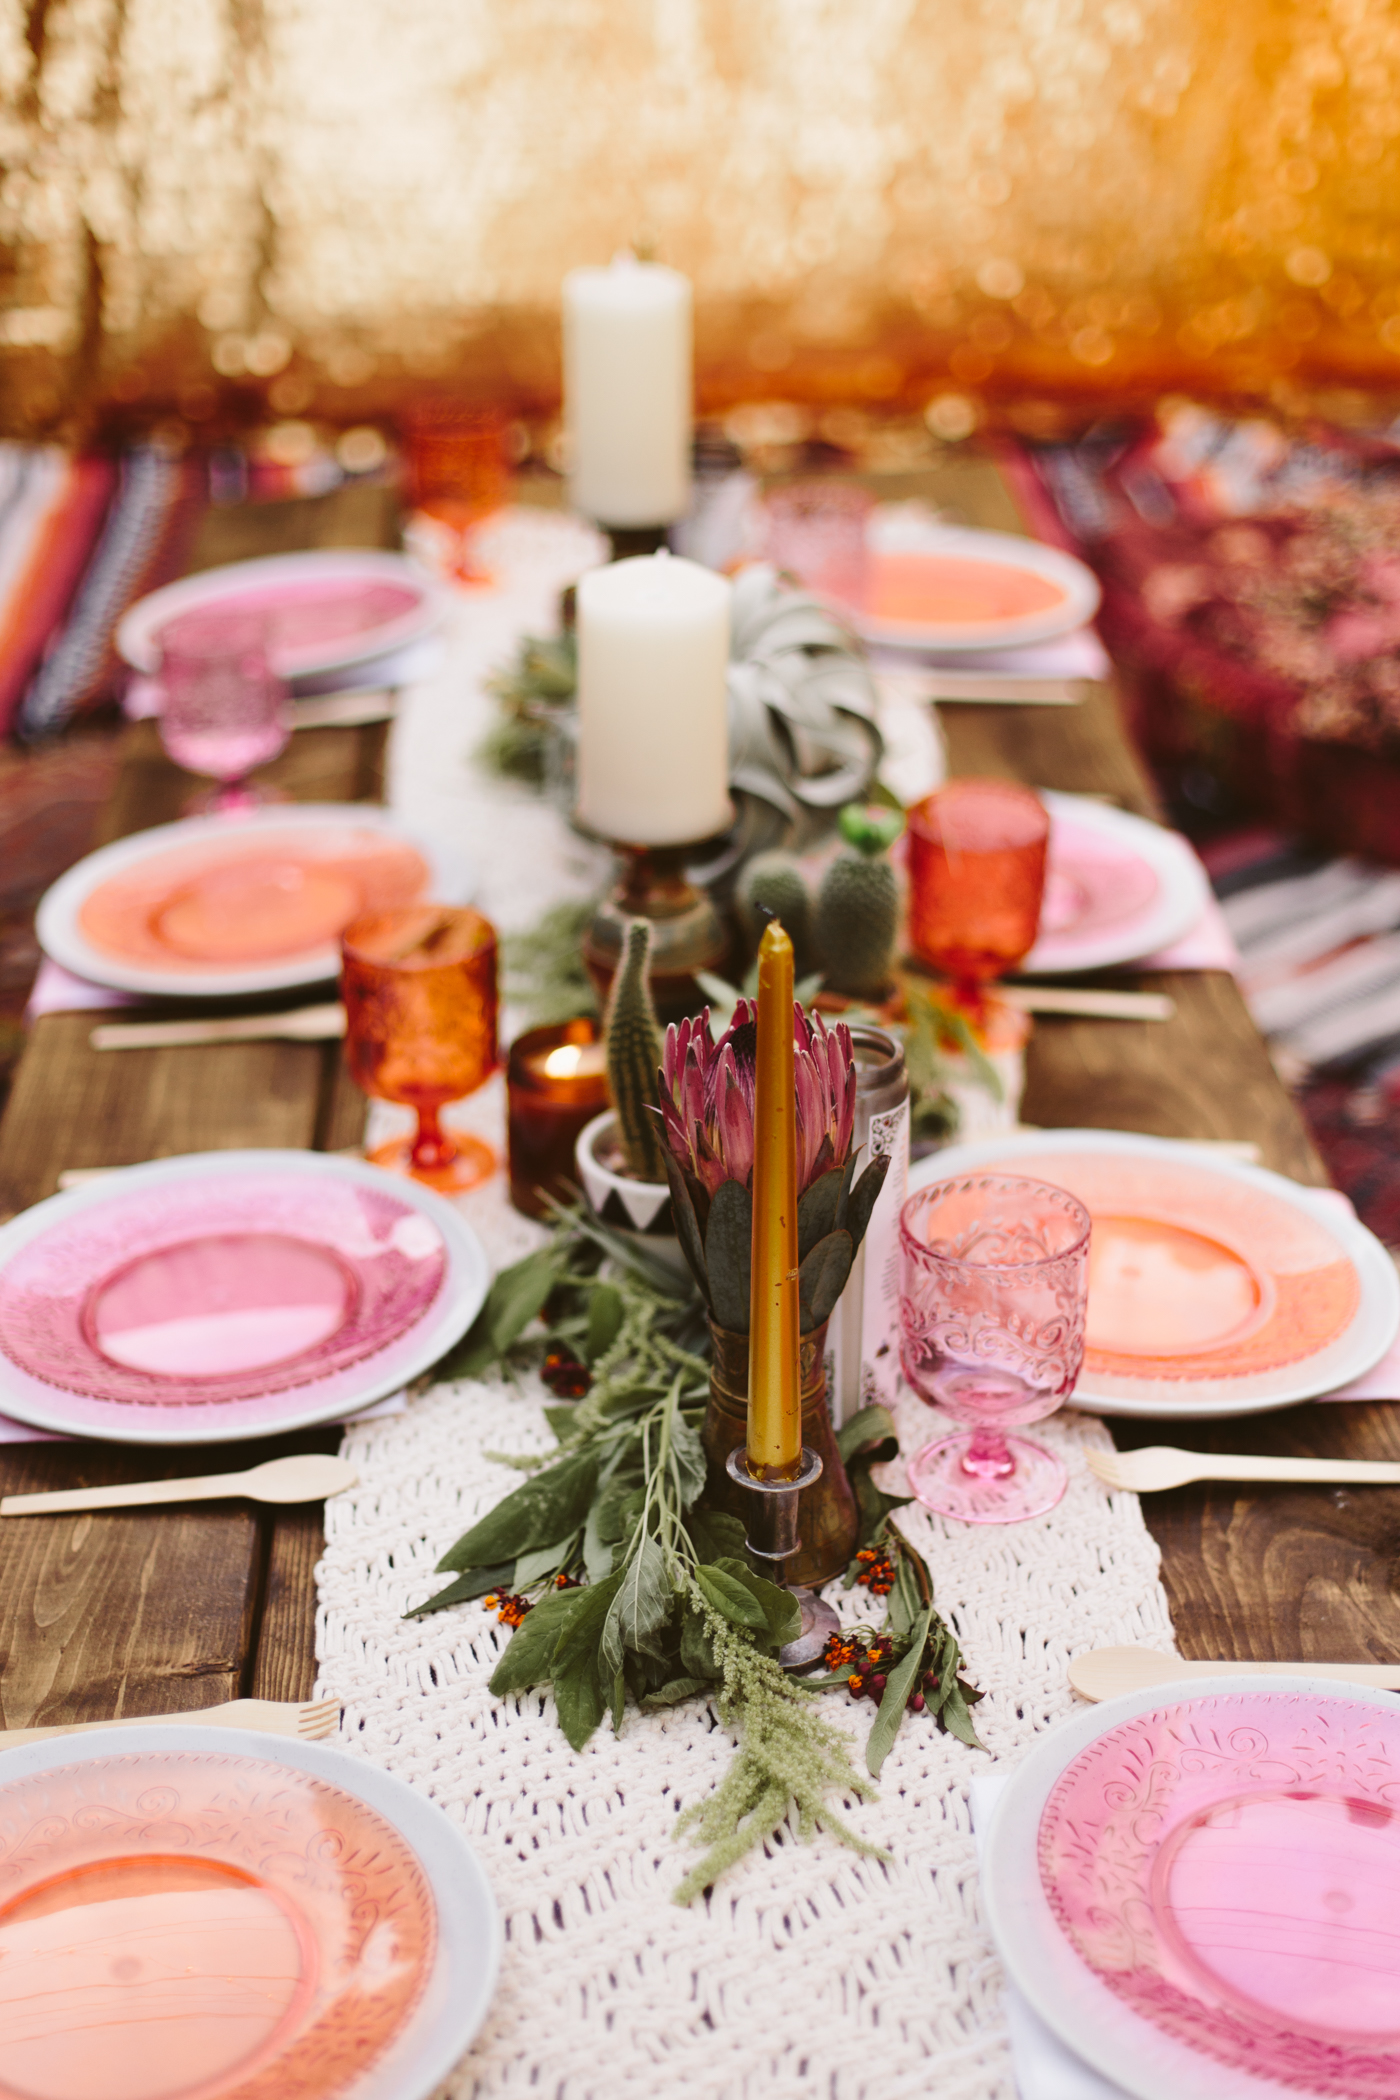
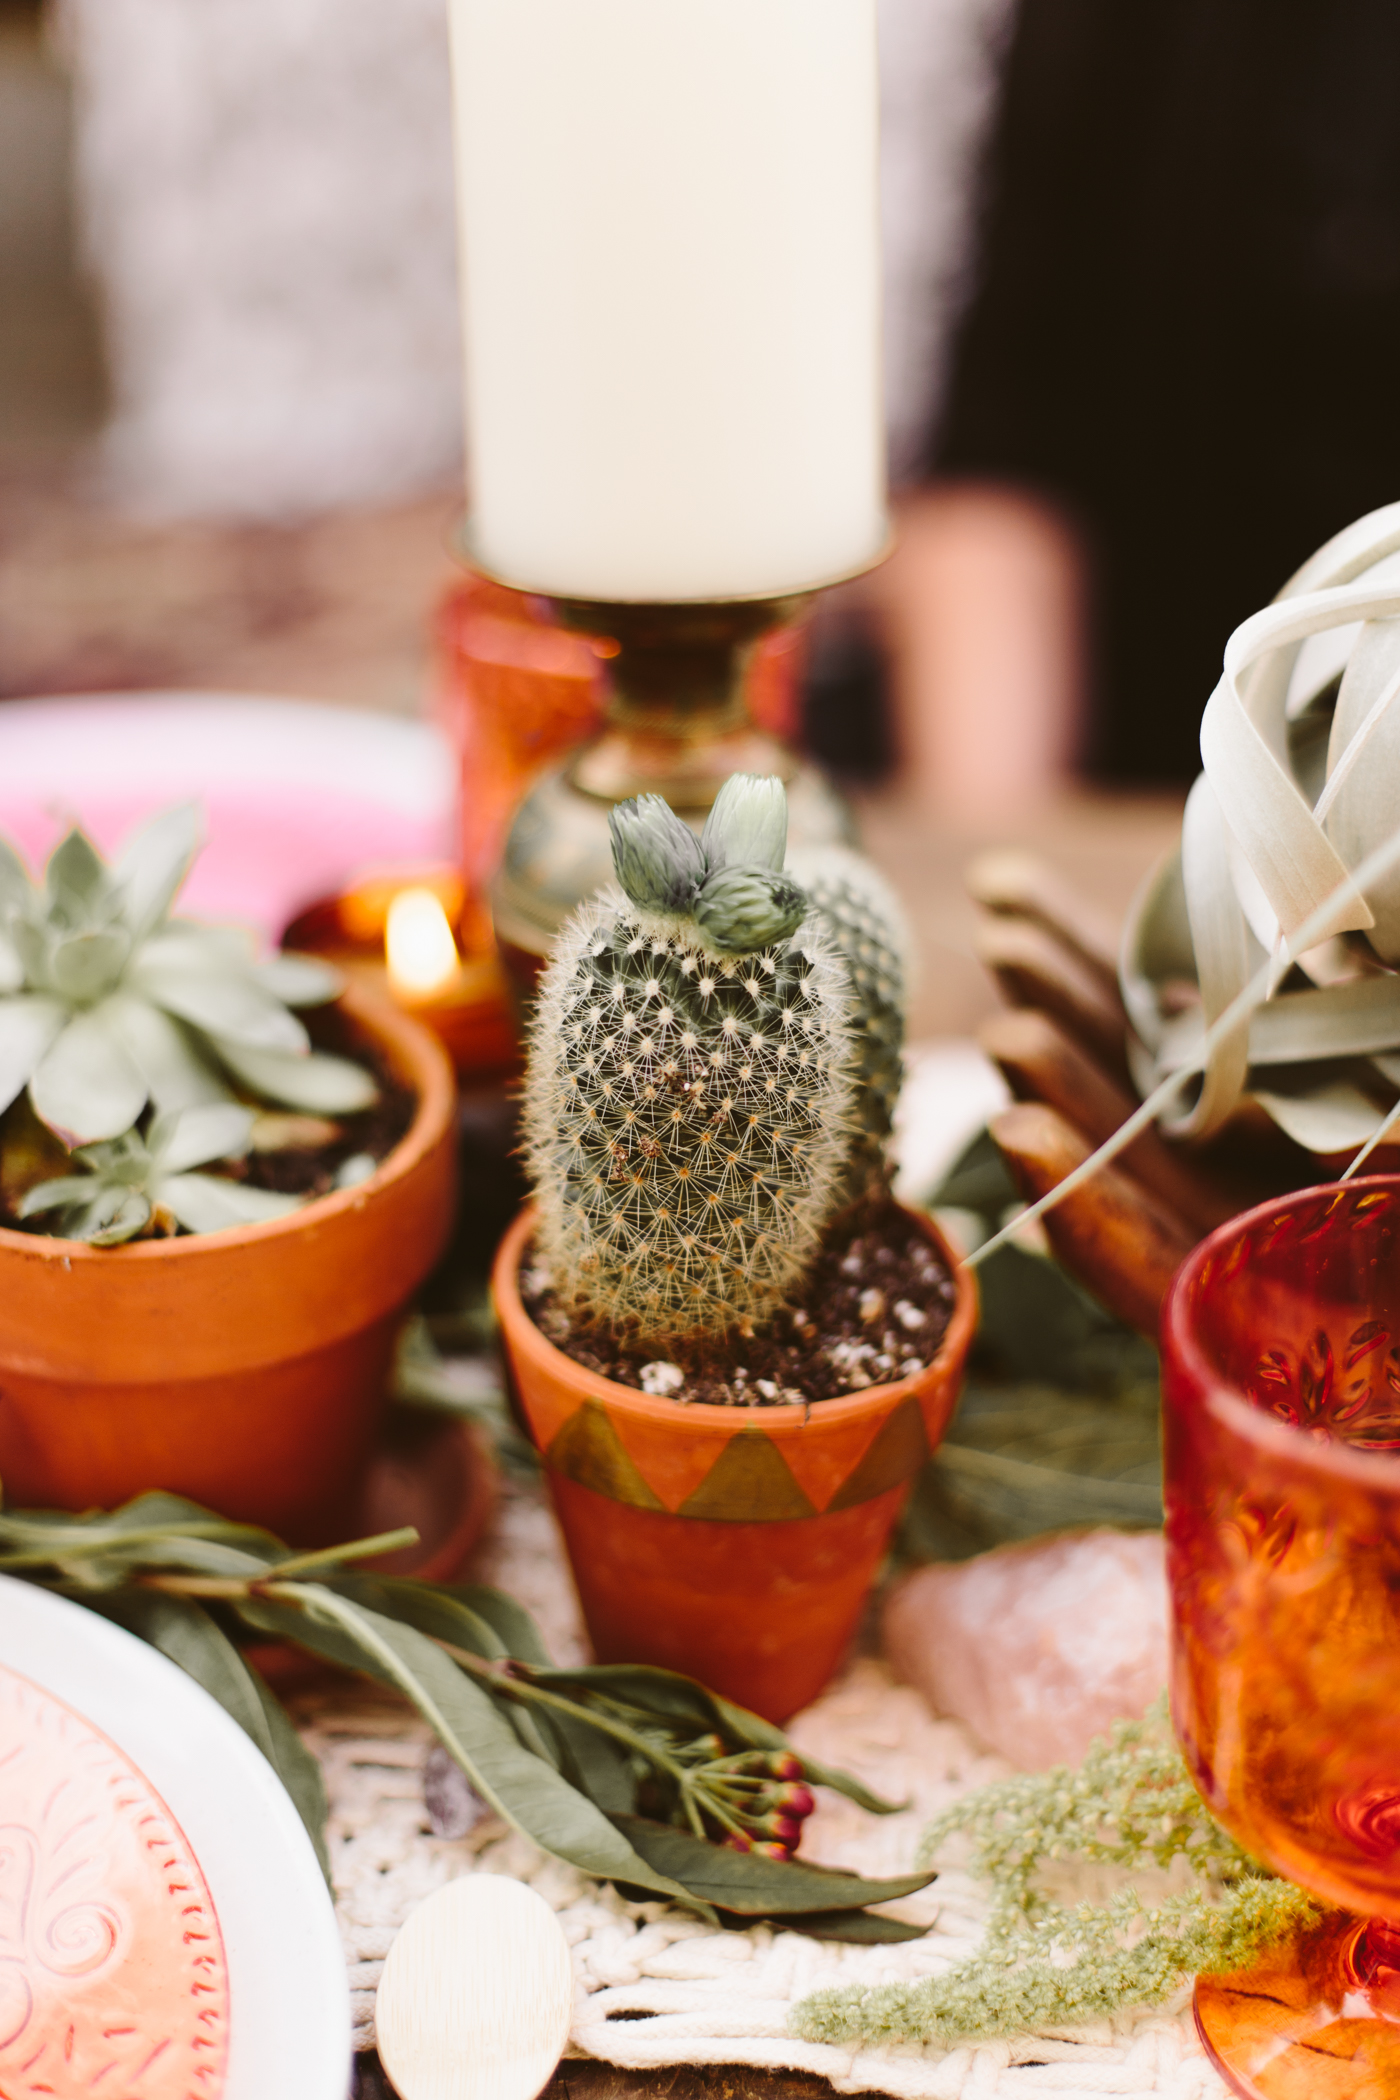
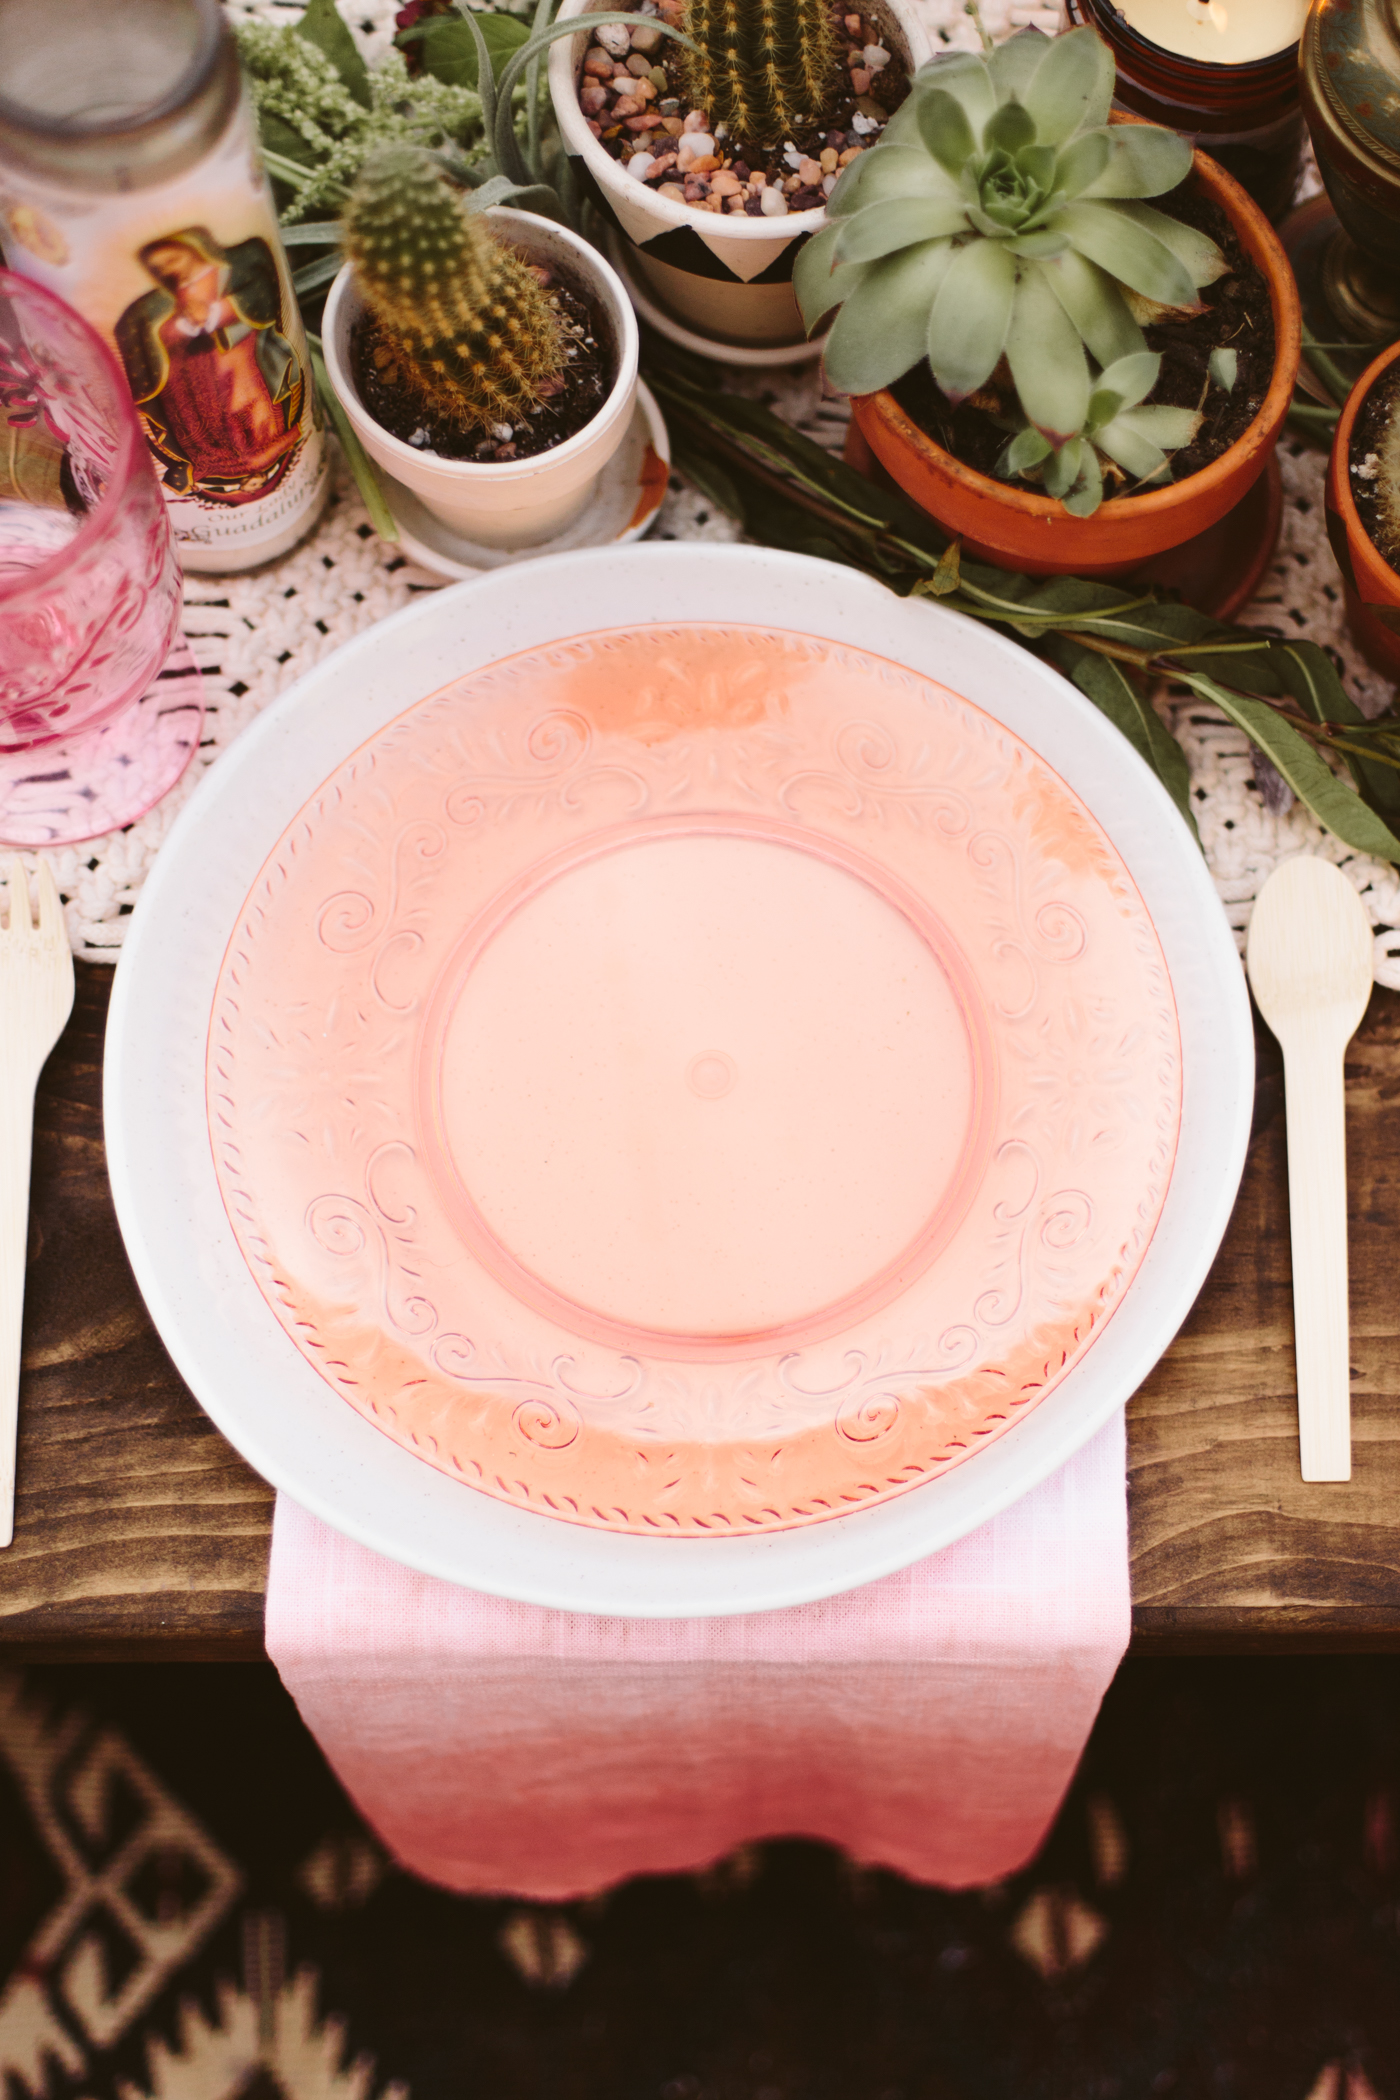
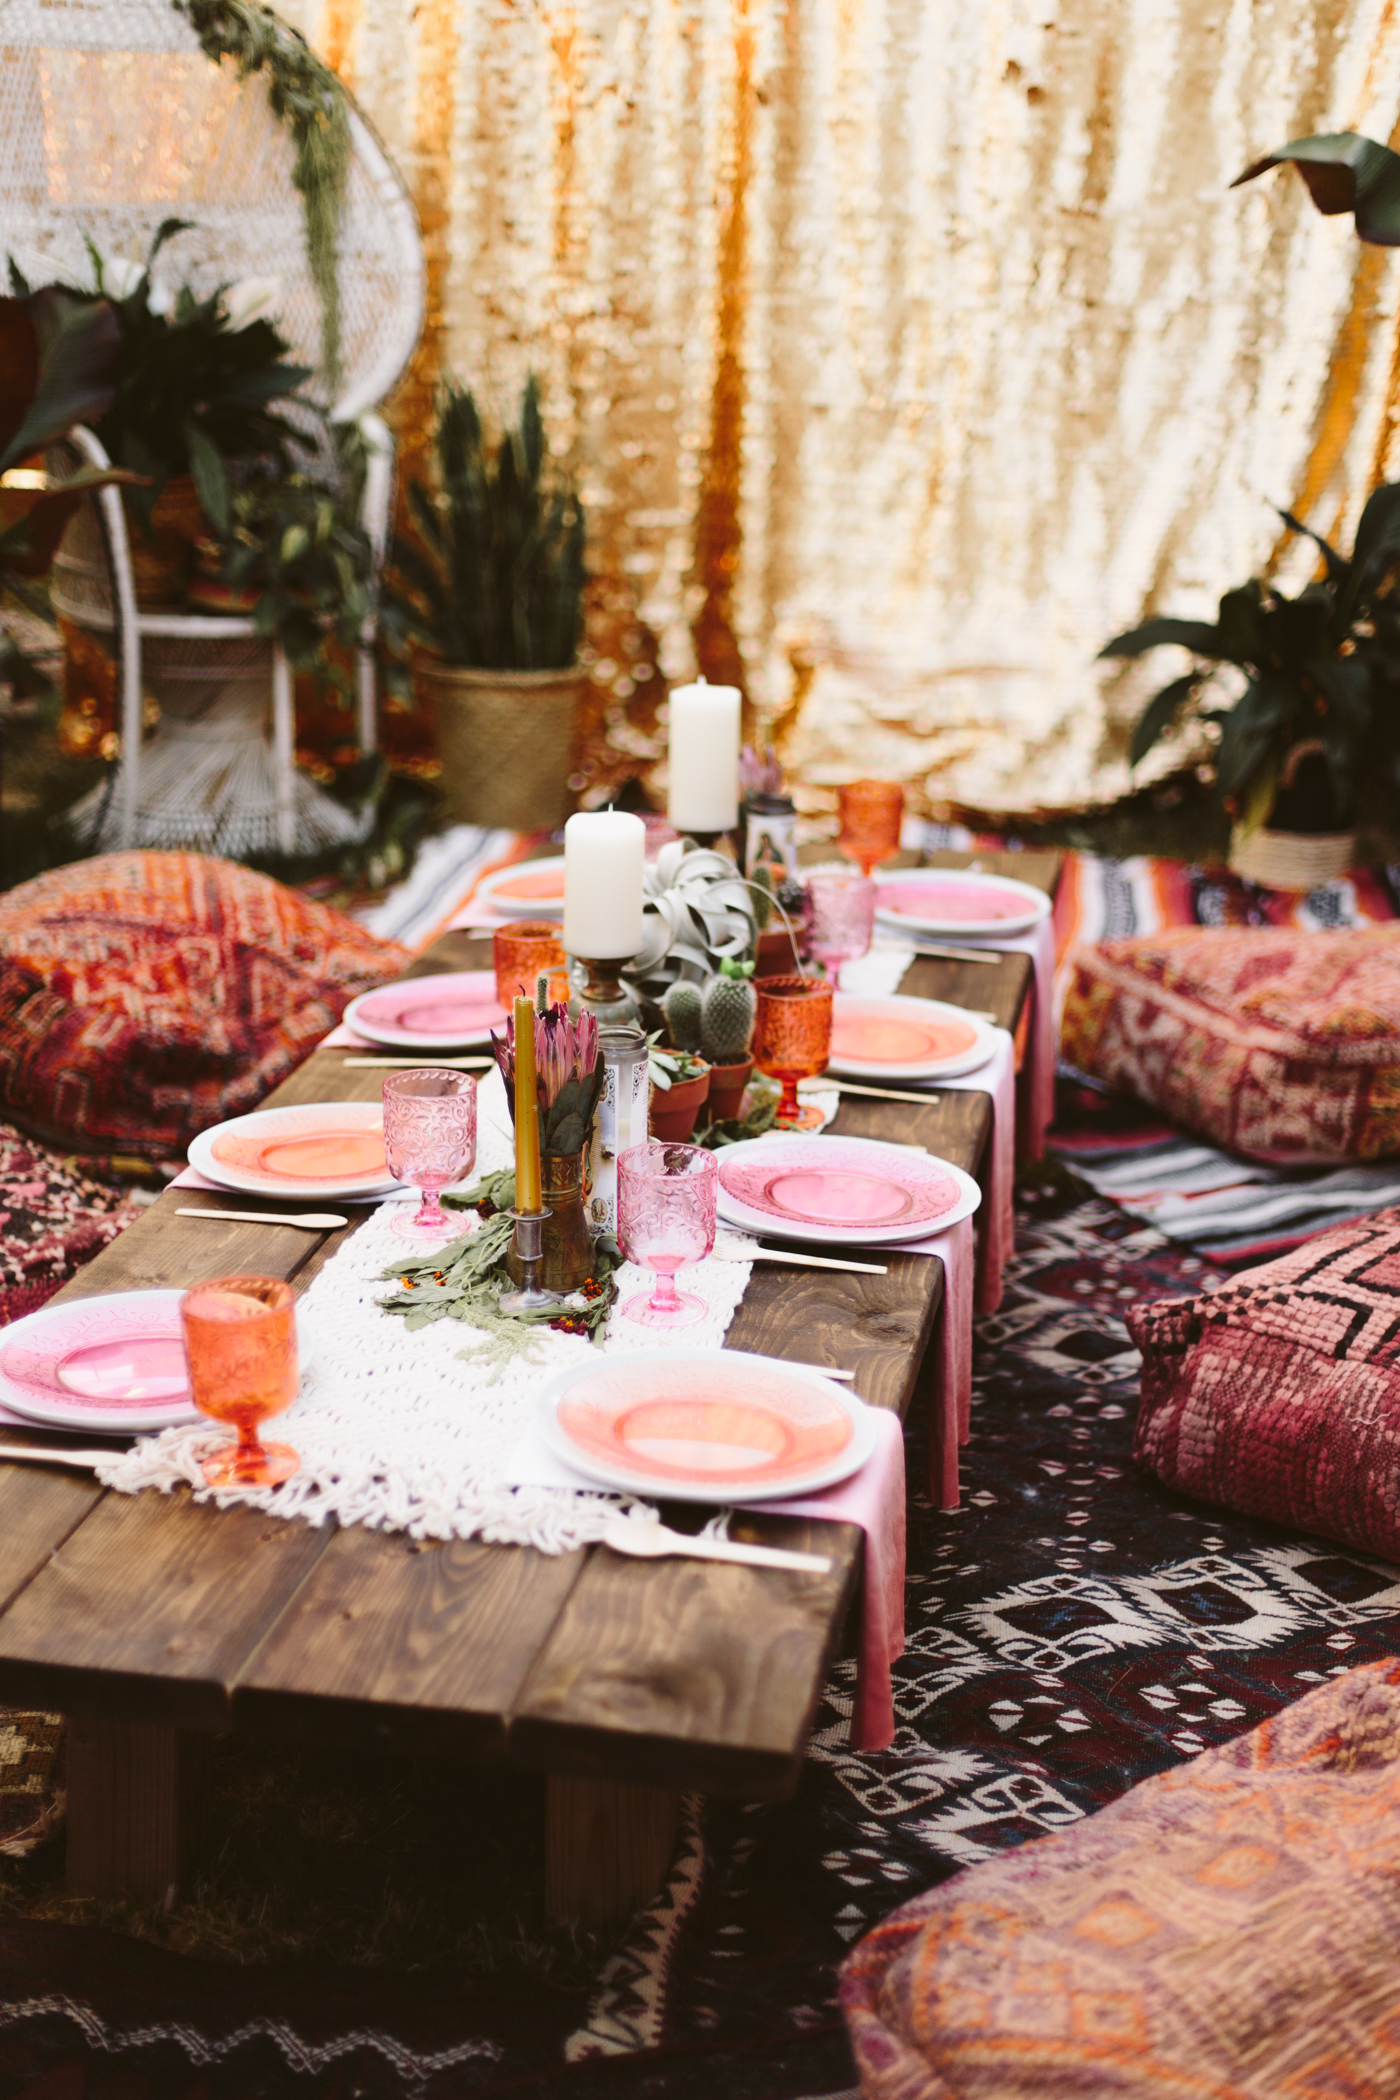
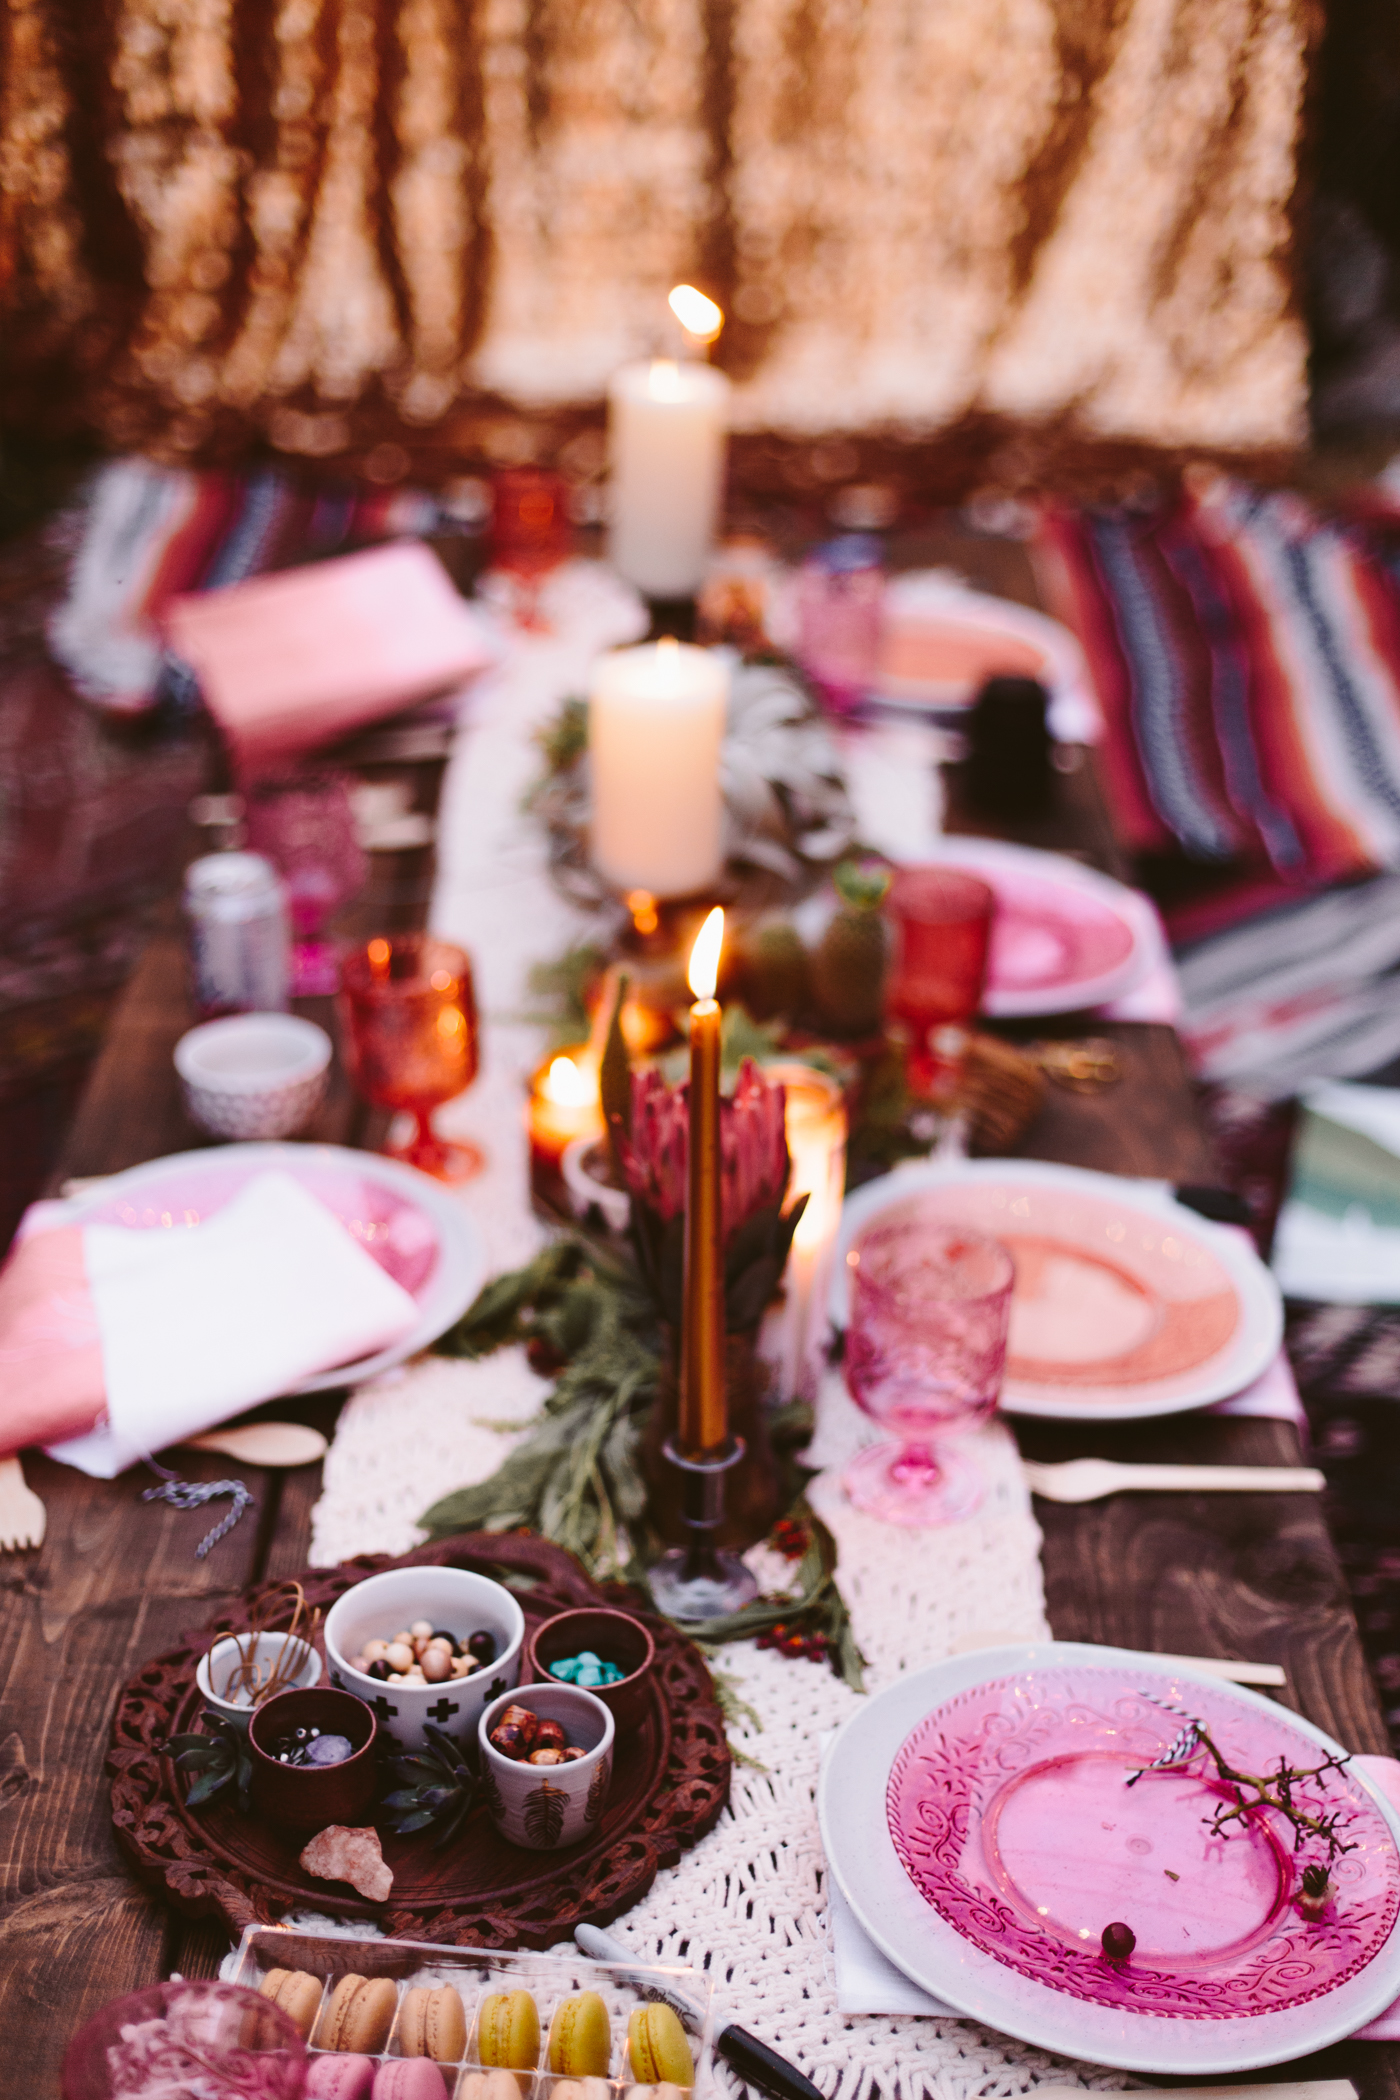
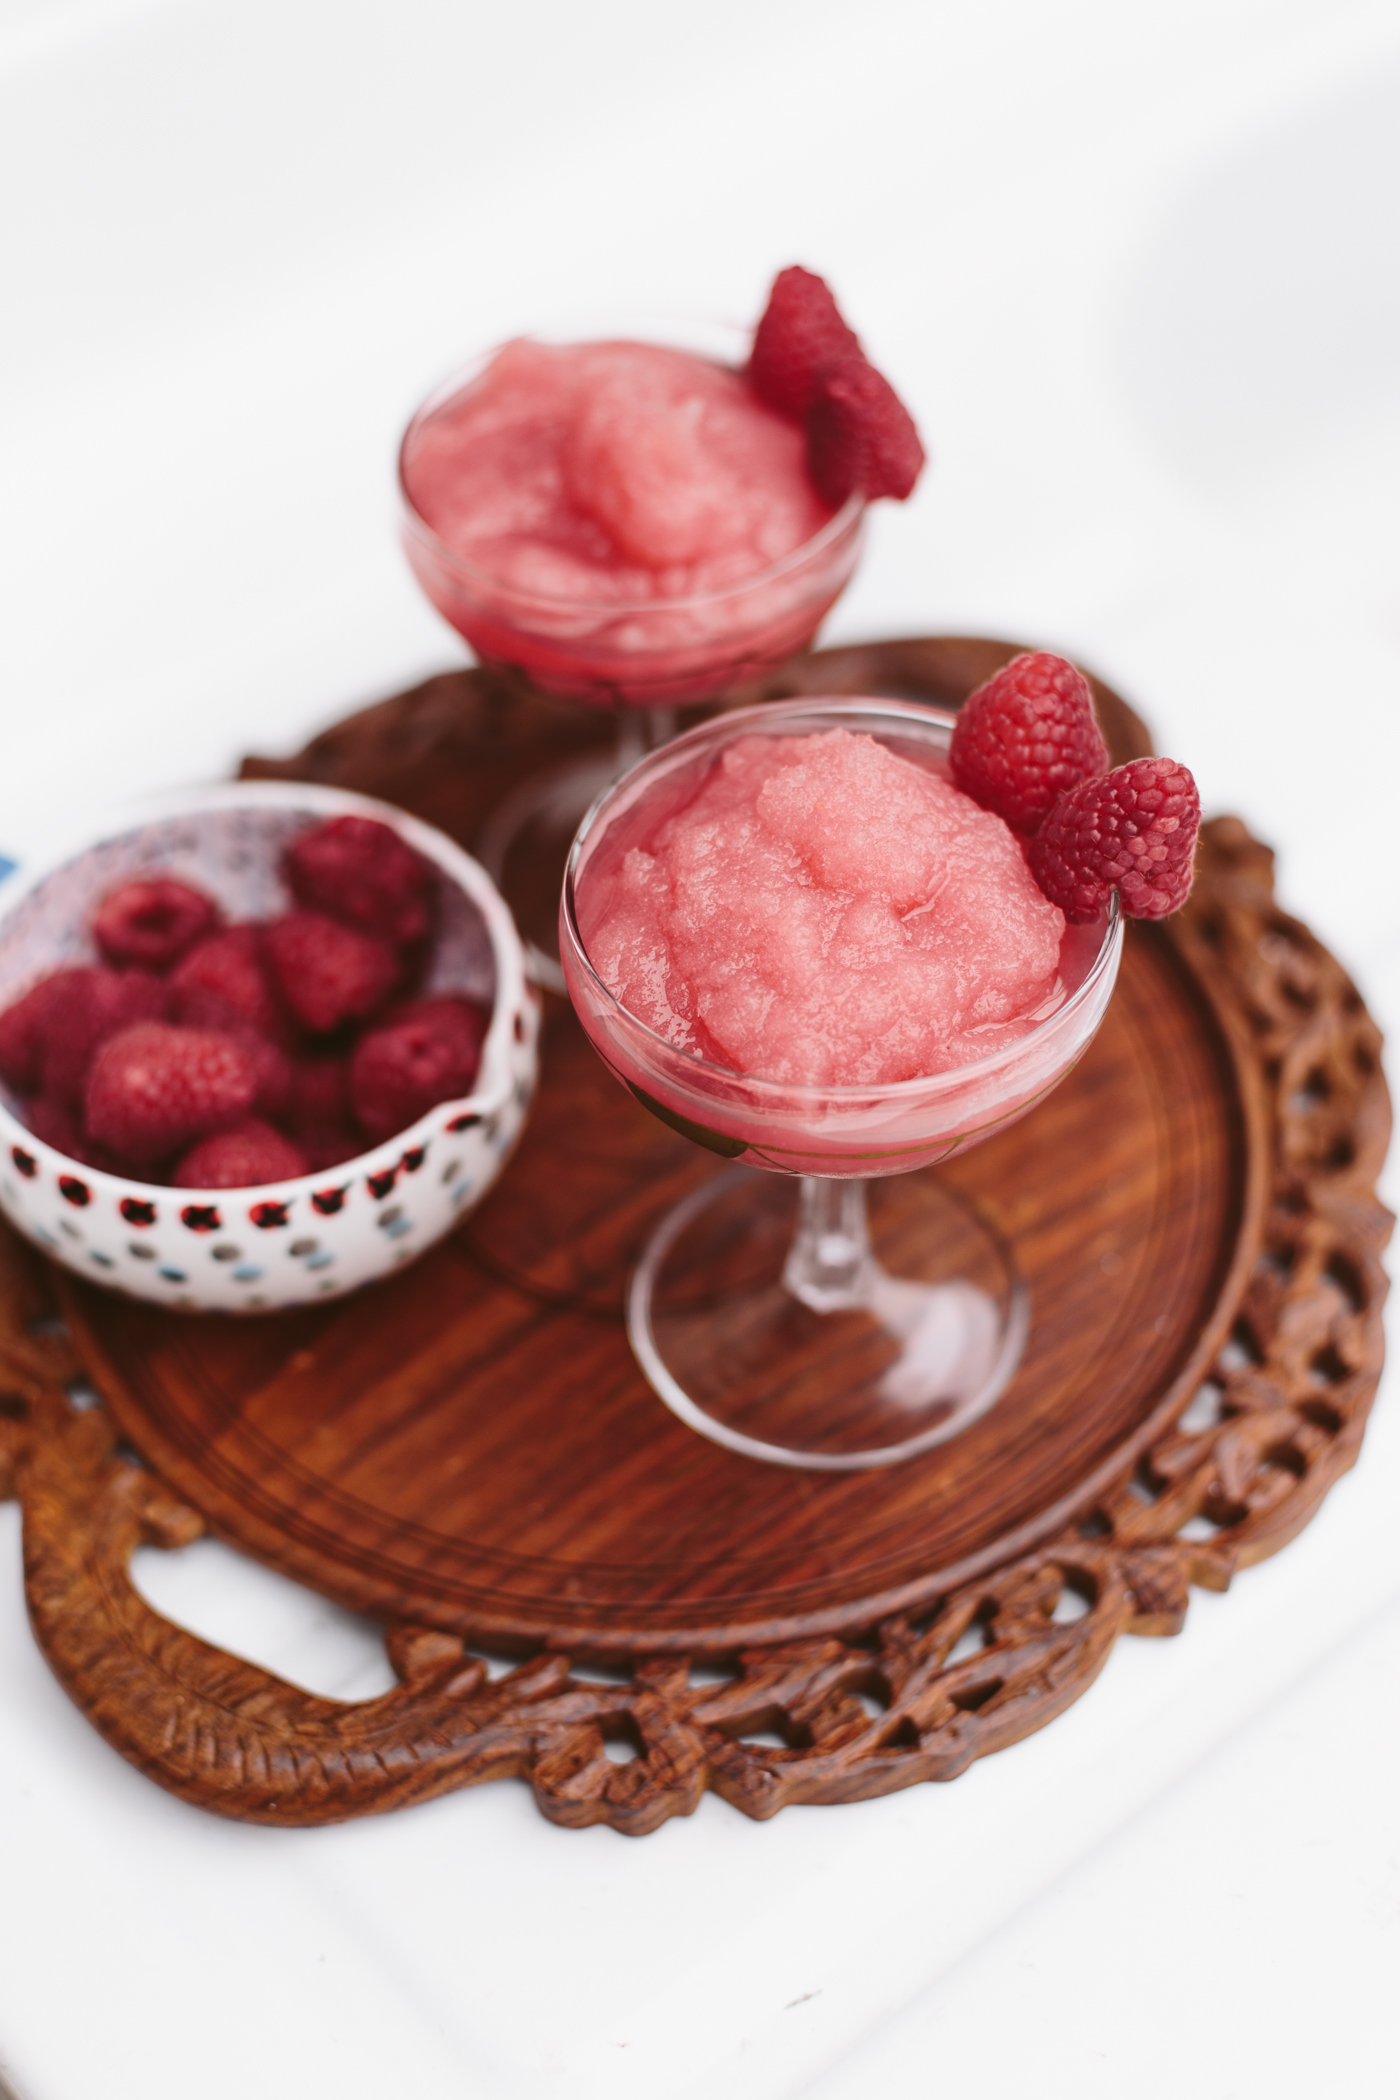
Oh, and make tasty snacks because everyone loves tasty food.  And hopefully your pregnant buddy has enough room in her torso still to eat lots of tasty things.

Macrame Table Runner : World Market | Colorful plates + cups : Michaels | White plates : Crate + Barrel | Poufs : D+K Renewal | Wooden Flatware : Amazon | Gold Sequin Backdrop (similar) : Drop it Modern | Table : DIY | Peacock Chair (similar) : Facebook Marketplace | Dip Dye Ombre Napkins  (similar, similar) : DIY | Rugs : Craigslist
 

Outfits: 
Kristina's Dress: Free People
Amy's Top: Free People
My dress : Thrifted | my shoes : c/o Modcloth | My hat (similar) : Forever 21


You might also like

Perfect Summer Raspberry Frosé Recipe

Raspberry Frosé Recipe

So I'm sure it's no secret that I'm loving rosé (along with everyone else, right?), and since hot summer days are nigh, I wanted to try my hand at some Frosé!  When Stevia In The Raw contacted me to see if I'd be interested in partnering up for a fun summer cocktail recipe, it felt like the perfect time to try making Frosé. 

Since I've been trying to keep my sugar intake down on Keto, Stevia seemed like a great way to give my Frosé some sweetness without the extra carbs, and it's a zero-calorie sweetener which contains extracts from the sweet leaves of the stevia plant.  It comes in convenient 1g packets, so you can easily pop one in your iced tea to add some guilt-free sweetness!  I wanted to add a little something fun to this recipe, so I included raspberries, but if you want to stay really low-carb, nix the raspberries in this recipe!

Raspberry Frosé Recipe

3 cups Rosé wine (I used Ruza from Winc!)
2 cups Fresh Raspberries
Juice of 1/2 a lemon
Stevia In The Raw Simple Syrup

01/ In a blender, blend the Rosé, raspberries, and lemon juice.  Pour the mixture through a strainer or cheesecloth to remove the berry seeds.

02/ Pour the mixture into ice trays and place in the freezer to freeze for a few hours.  Since there's alcohol in the mixture, it won't ever freeze solid (which is actually perfect for the texture!)

03/  Make Stevia In The Raw simple syrup by heating 1 cup of water with 1/8 to 1/4 cup Stevia In The Raw (1 packet of Stevia In The Raw® is as sweet as two teaspoons of sugar, so keep that in mind!).  Let cool.

04/ When you want to make your Frosé, empty the "ice cubes" into the blender and add 2 tsp Stevia In The Raw simple syrup (you can add more to taste). Blend it all together, (it'll quickly get a slushie texture) and pour!  Makes appx 4 servings.

I actually tried the Frosé with and without the simple syrup added, just to see how it changed the flavor, and I definitely prefer it with that little bit of sweetness added!  This is the perfect summer grown-up slushie, and I plan on spending the next hot day on my patio with a glass of Frosé!  The nice thing about this recipe is that you can keep it in the freezer until you're ready, so it's great if you want to prep for a party beforehand, or if you just want to keep it on hand for yourself!

Want more Stevia In The Raw recipes? Check out these summery recipes:

Raspberry Frosé Recipe

The product, information, and gift card have been provided by the makers of In The Raw® so that I could try the product and share my thoughts and information about Stevia In The Raw®. The opinions expressed in this post are my own and do not reflect the opinions of the makers of In The Raw® sweeteners.