food

How to make edible paint with Everclear

IMG_0425-Edit-2.jpg

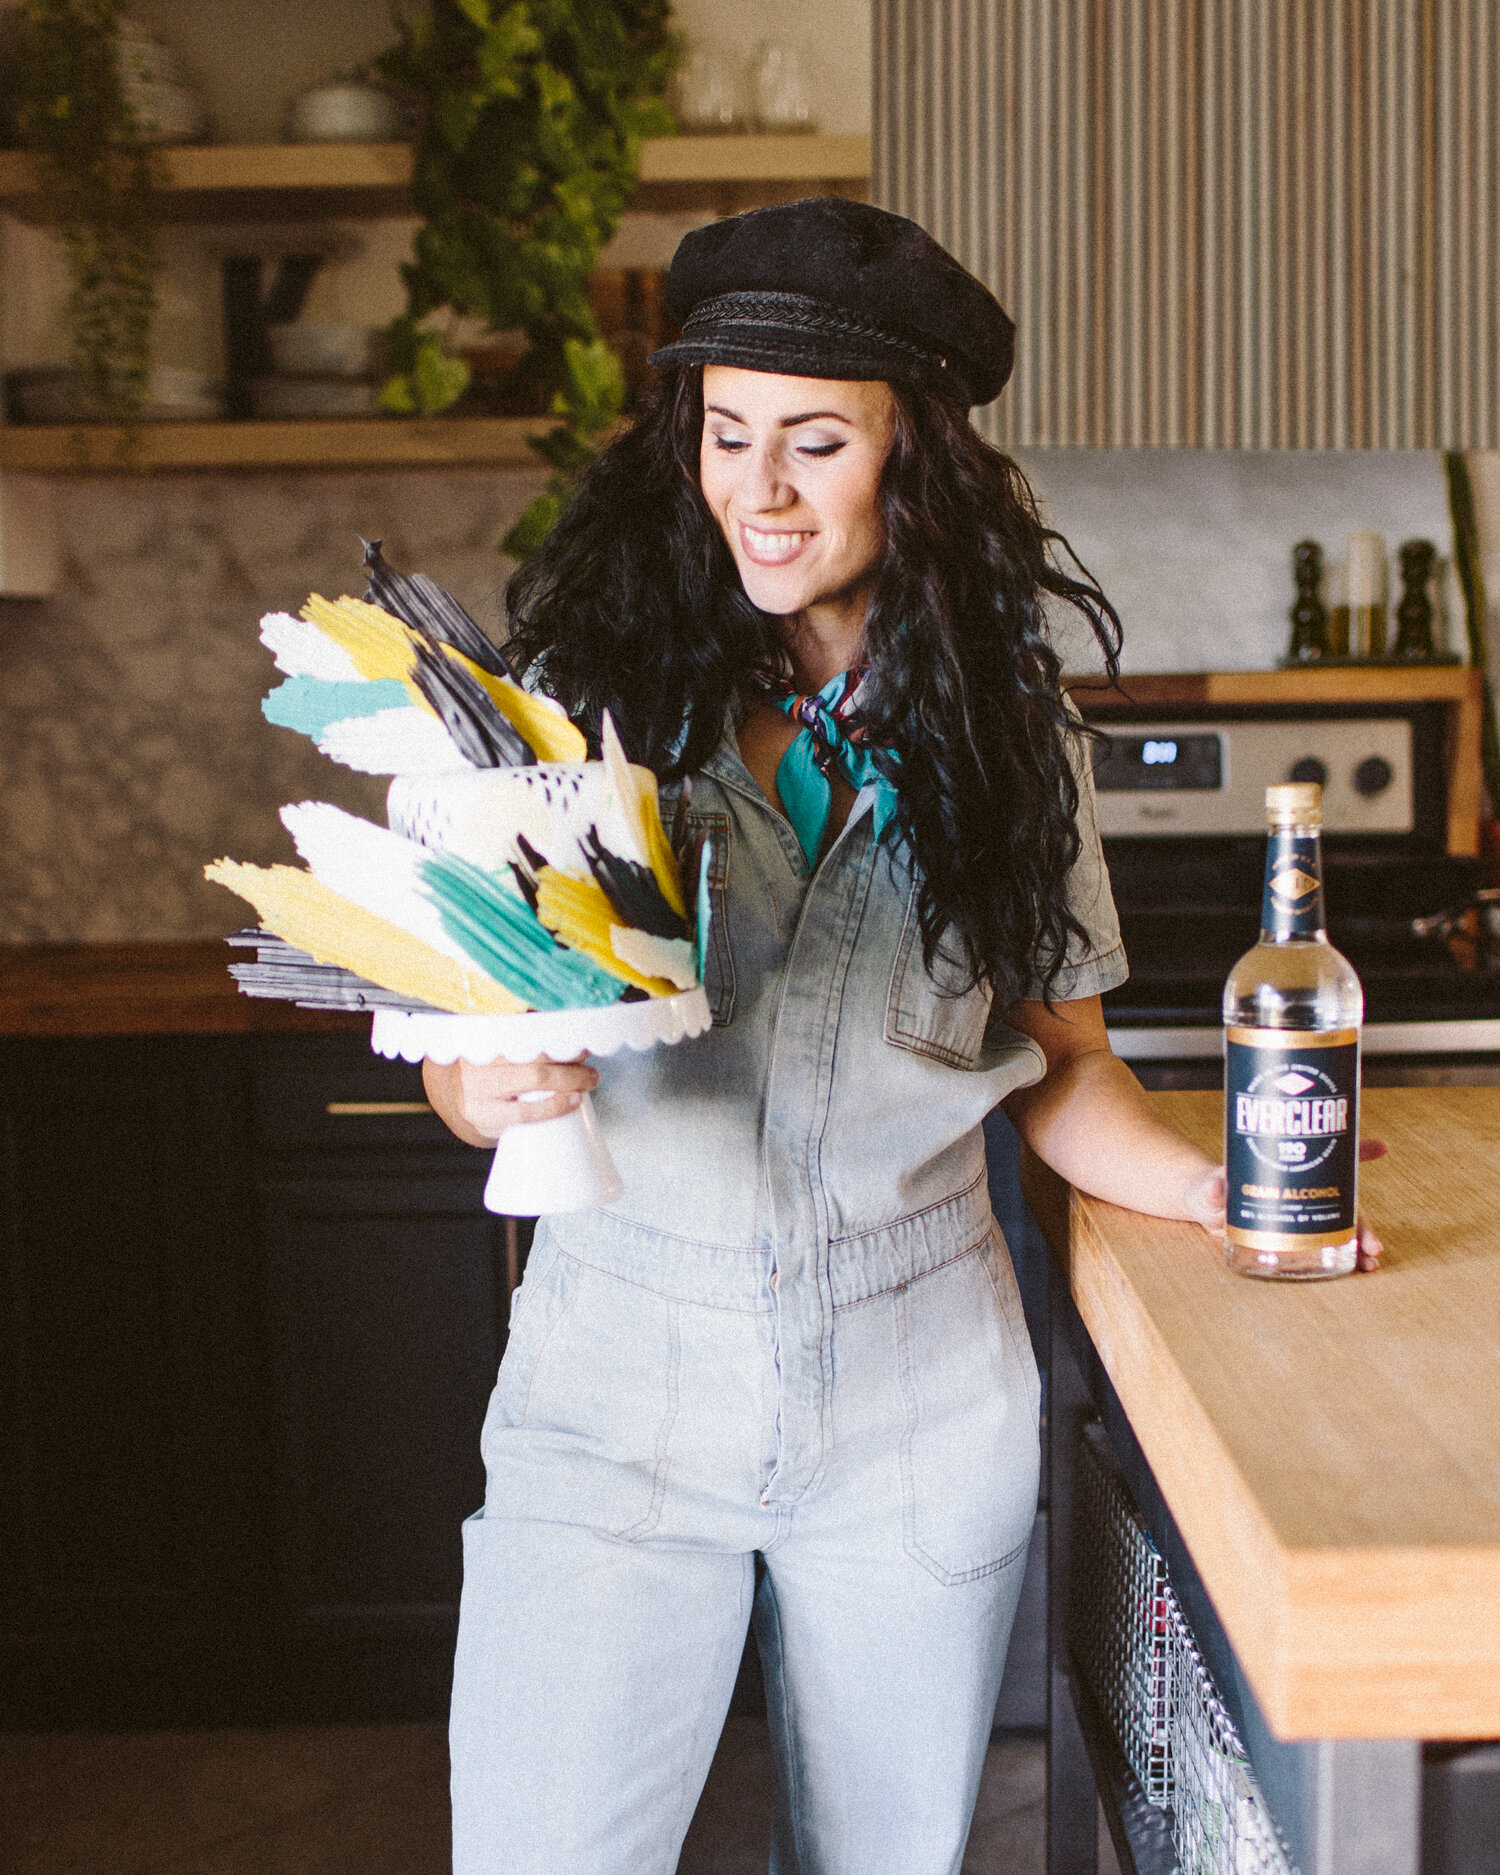
Let’s be honest, parties are all about being a little EXTRA.
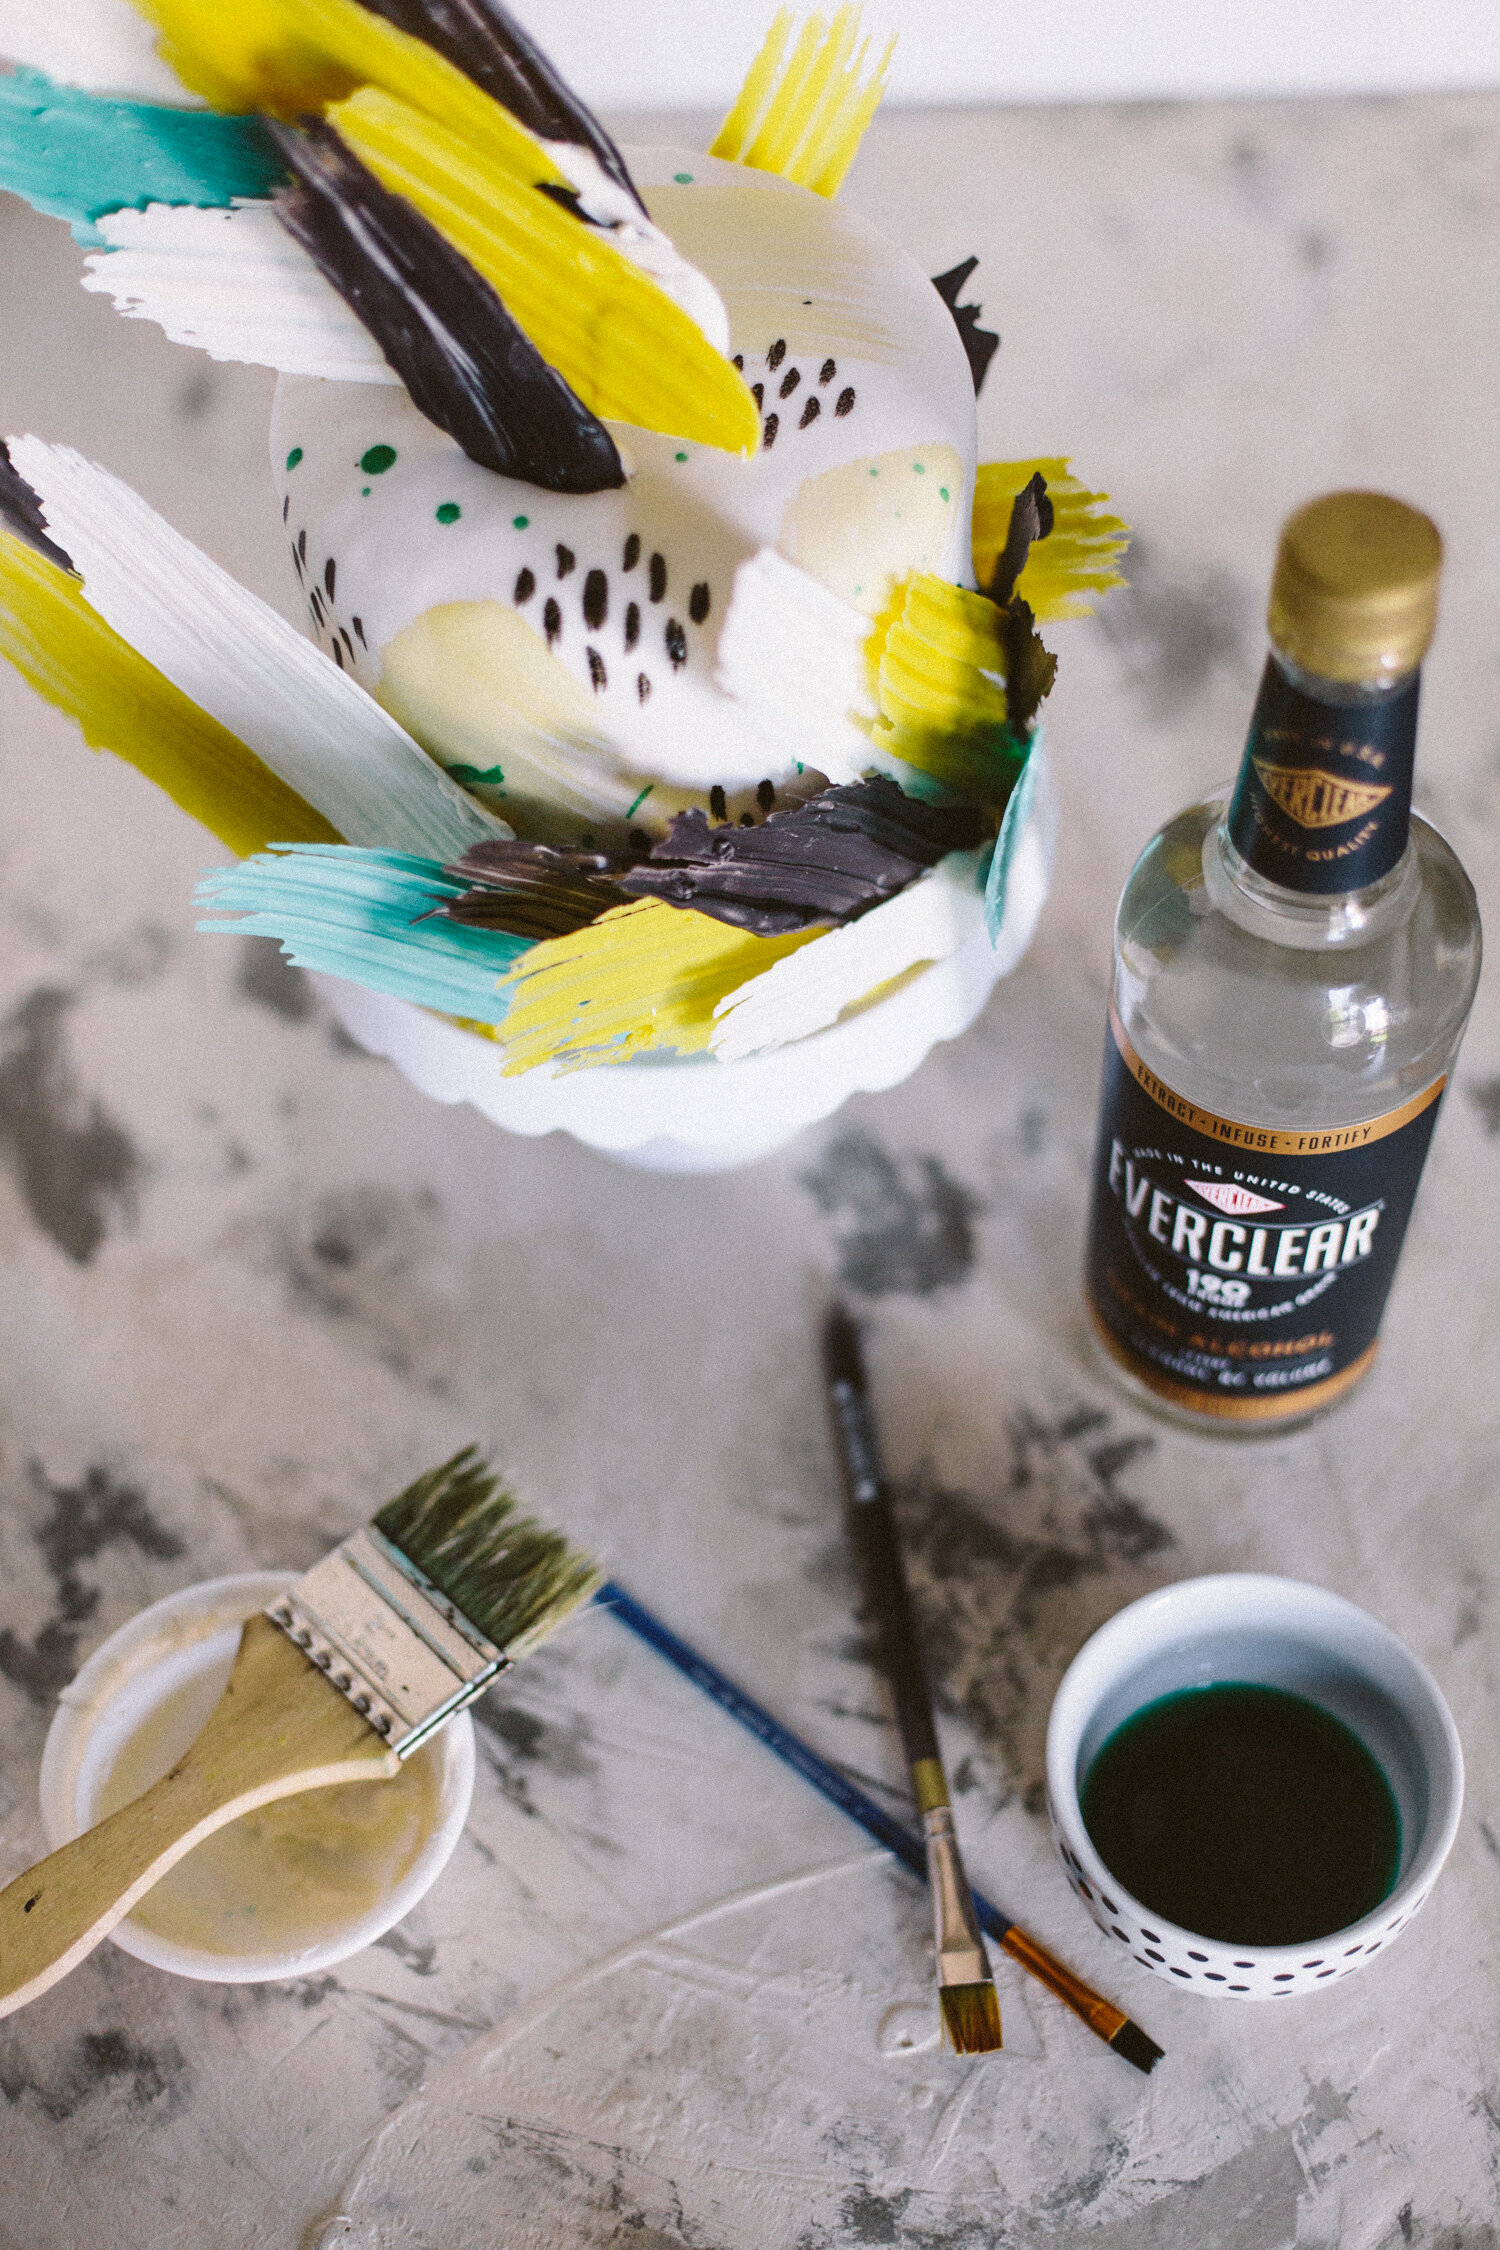
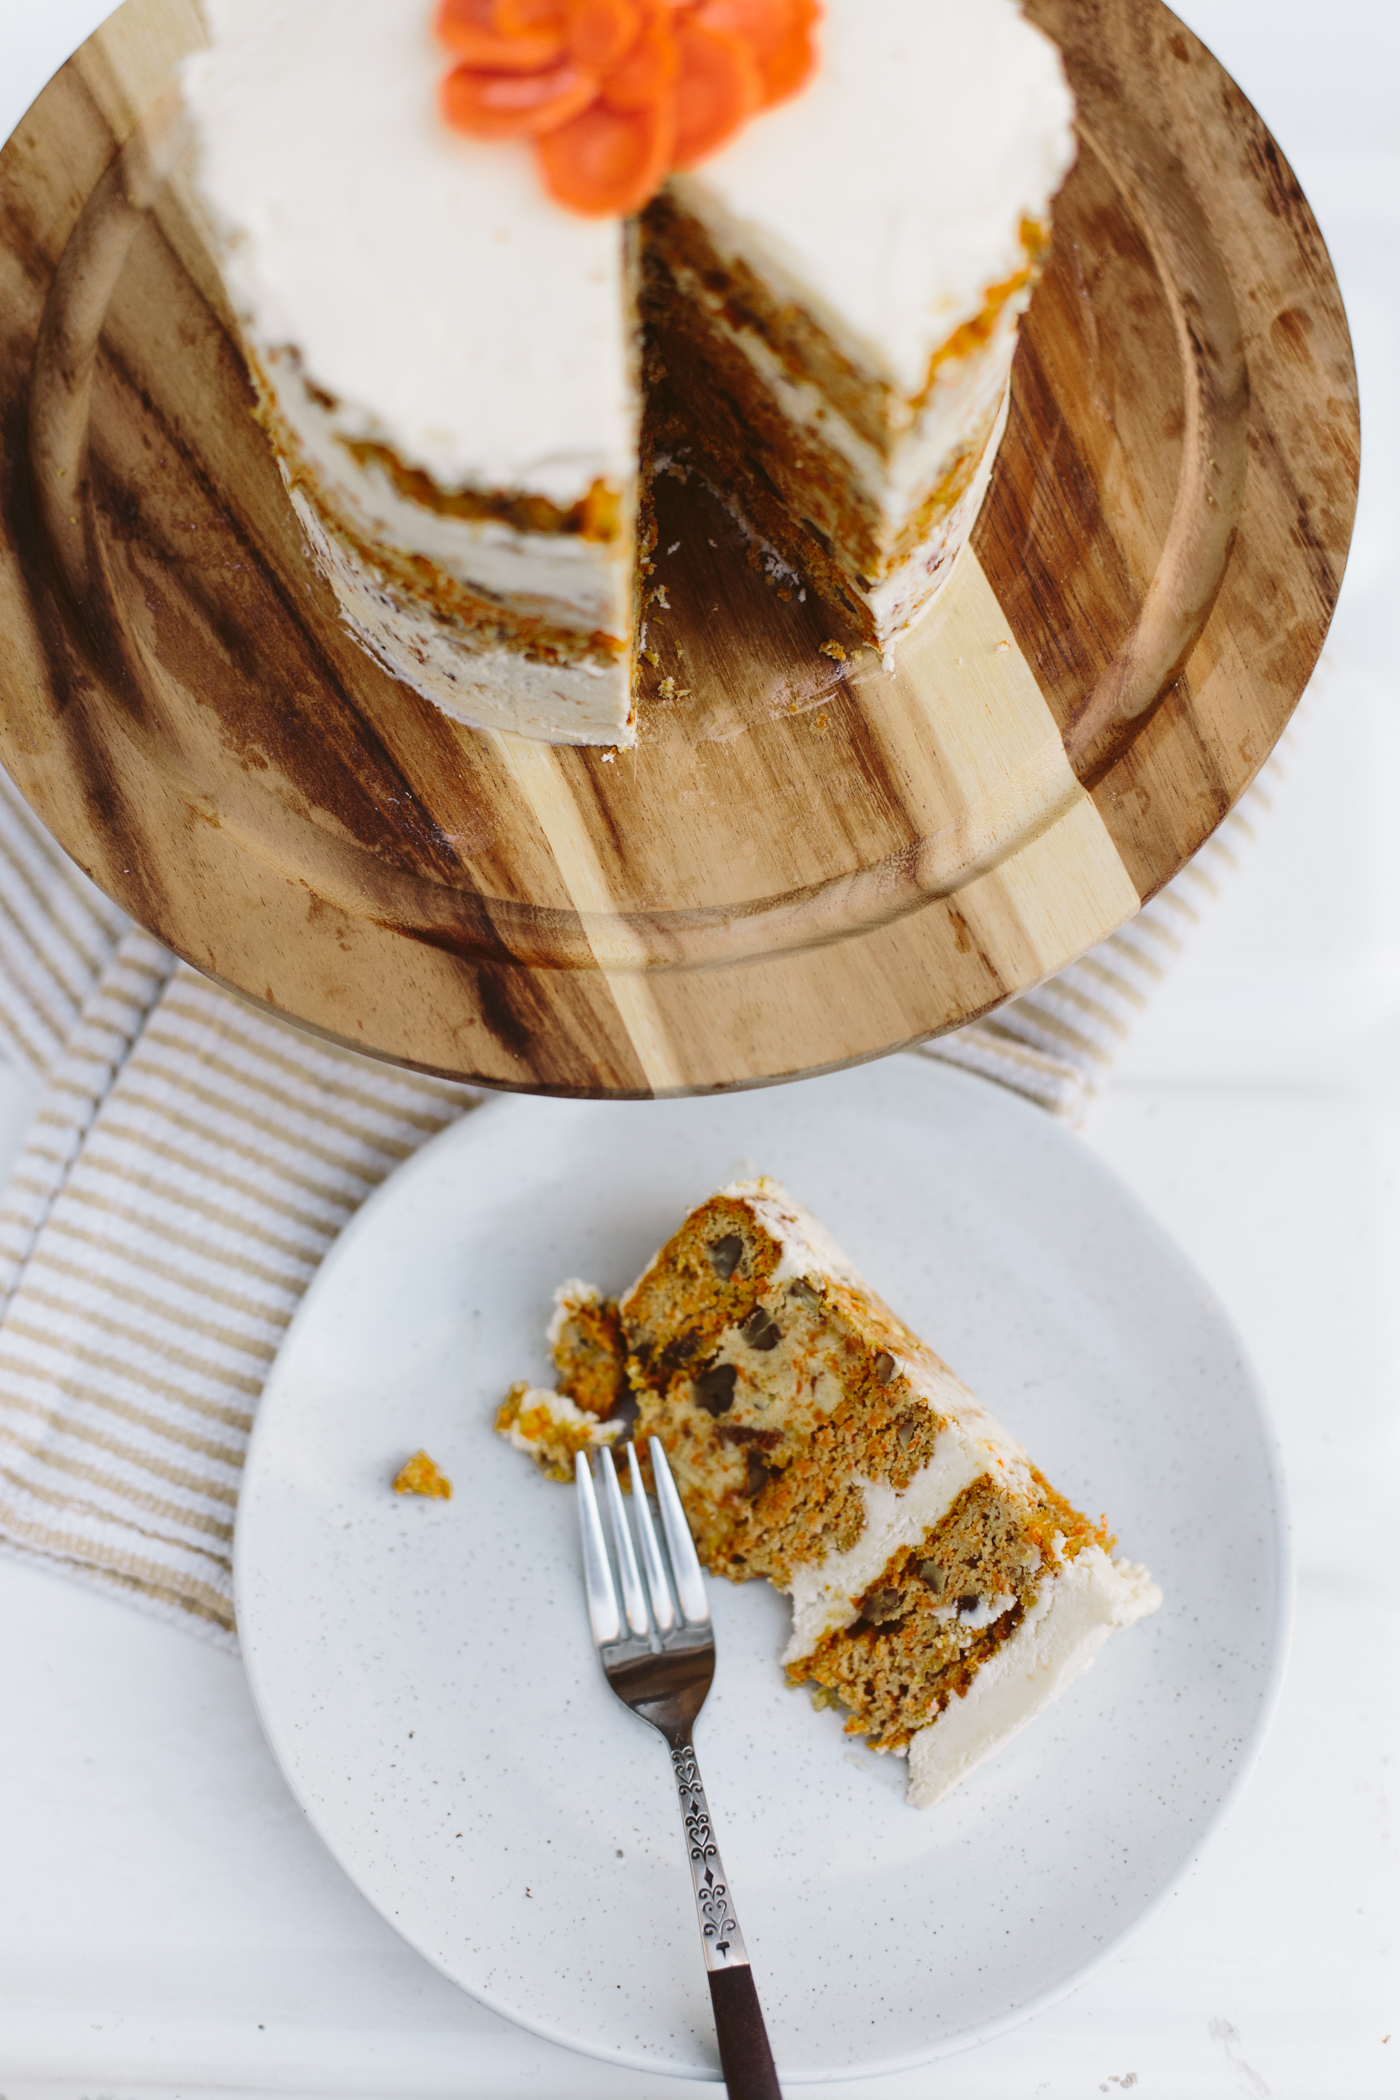
There are tons of occasions for making pretty desserts so I wanted to figure out a way to make something super fun that would stand out from the crowd when it’s sitting on the table, so I decided to make a brushstroke cake! Did you know you can make edible PAINT with Everclear and food coloring? Amazing right?

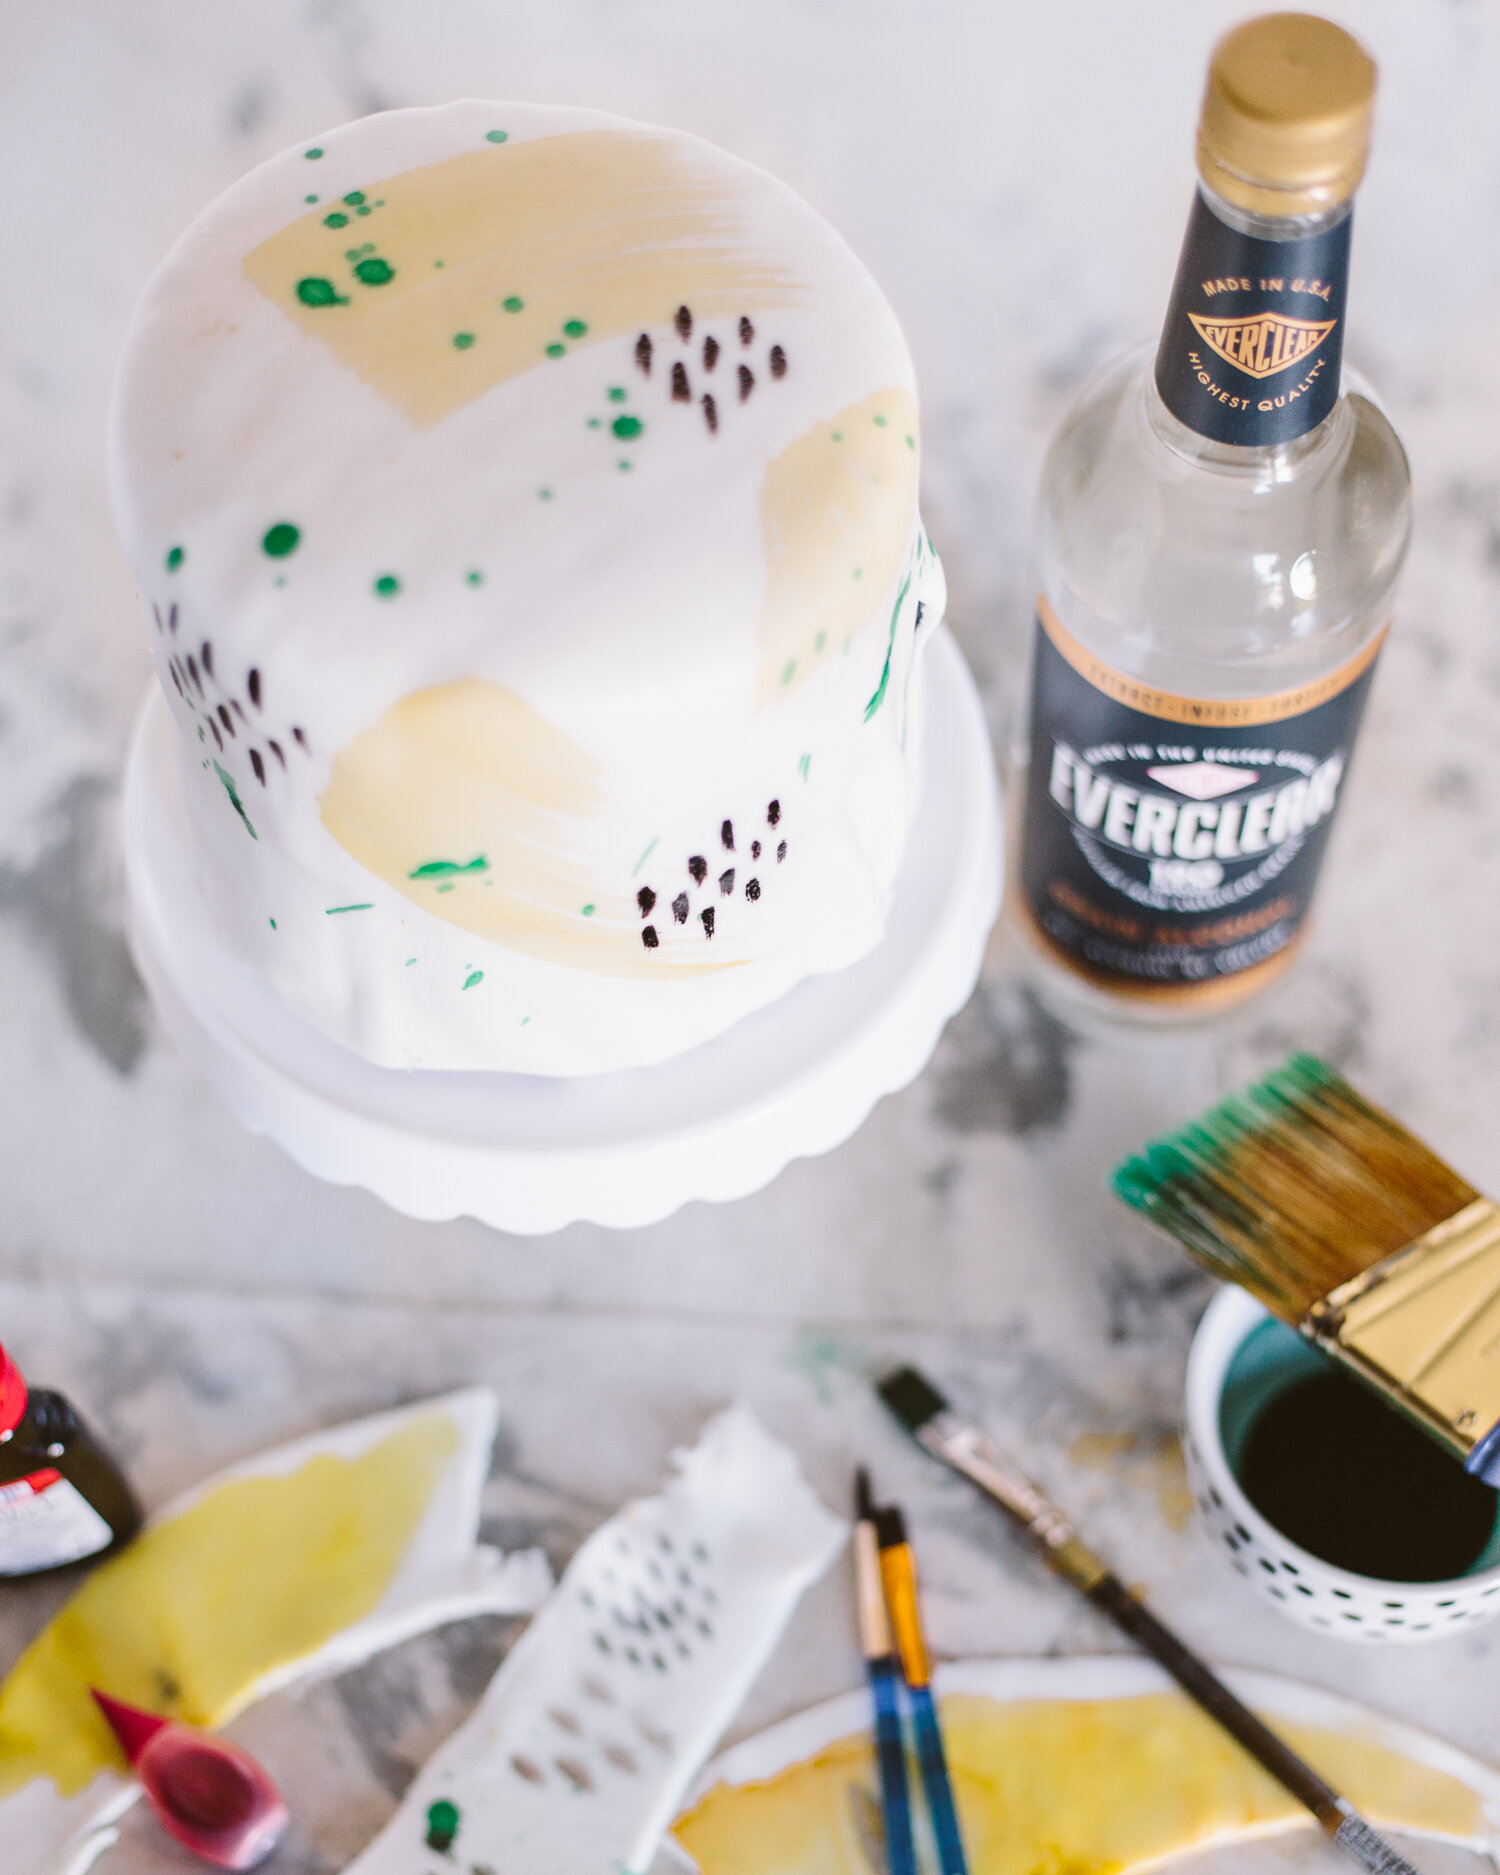
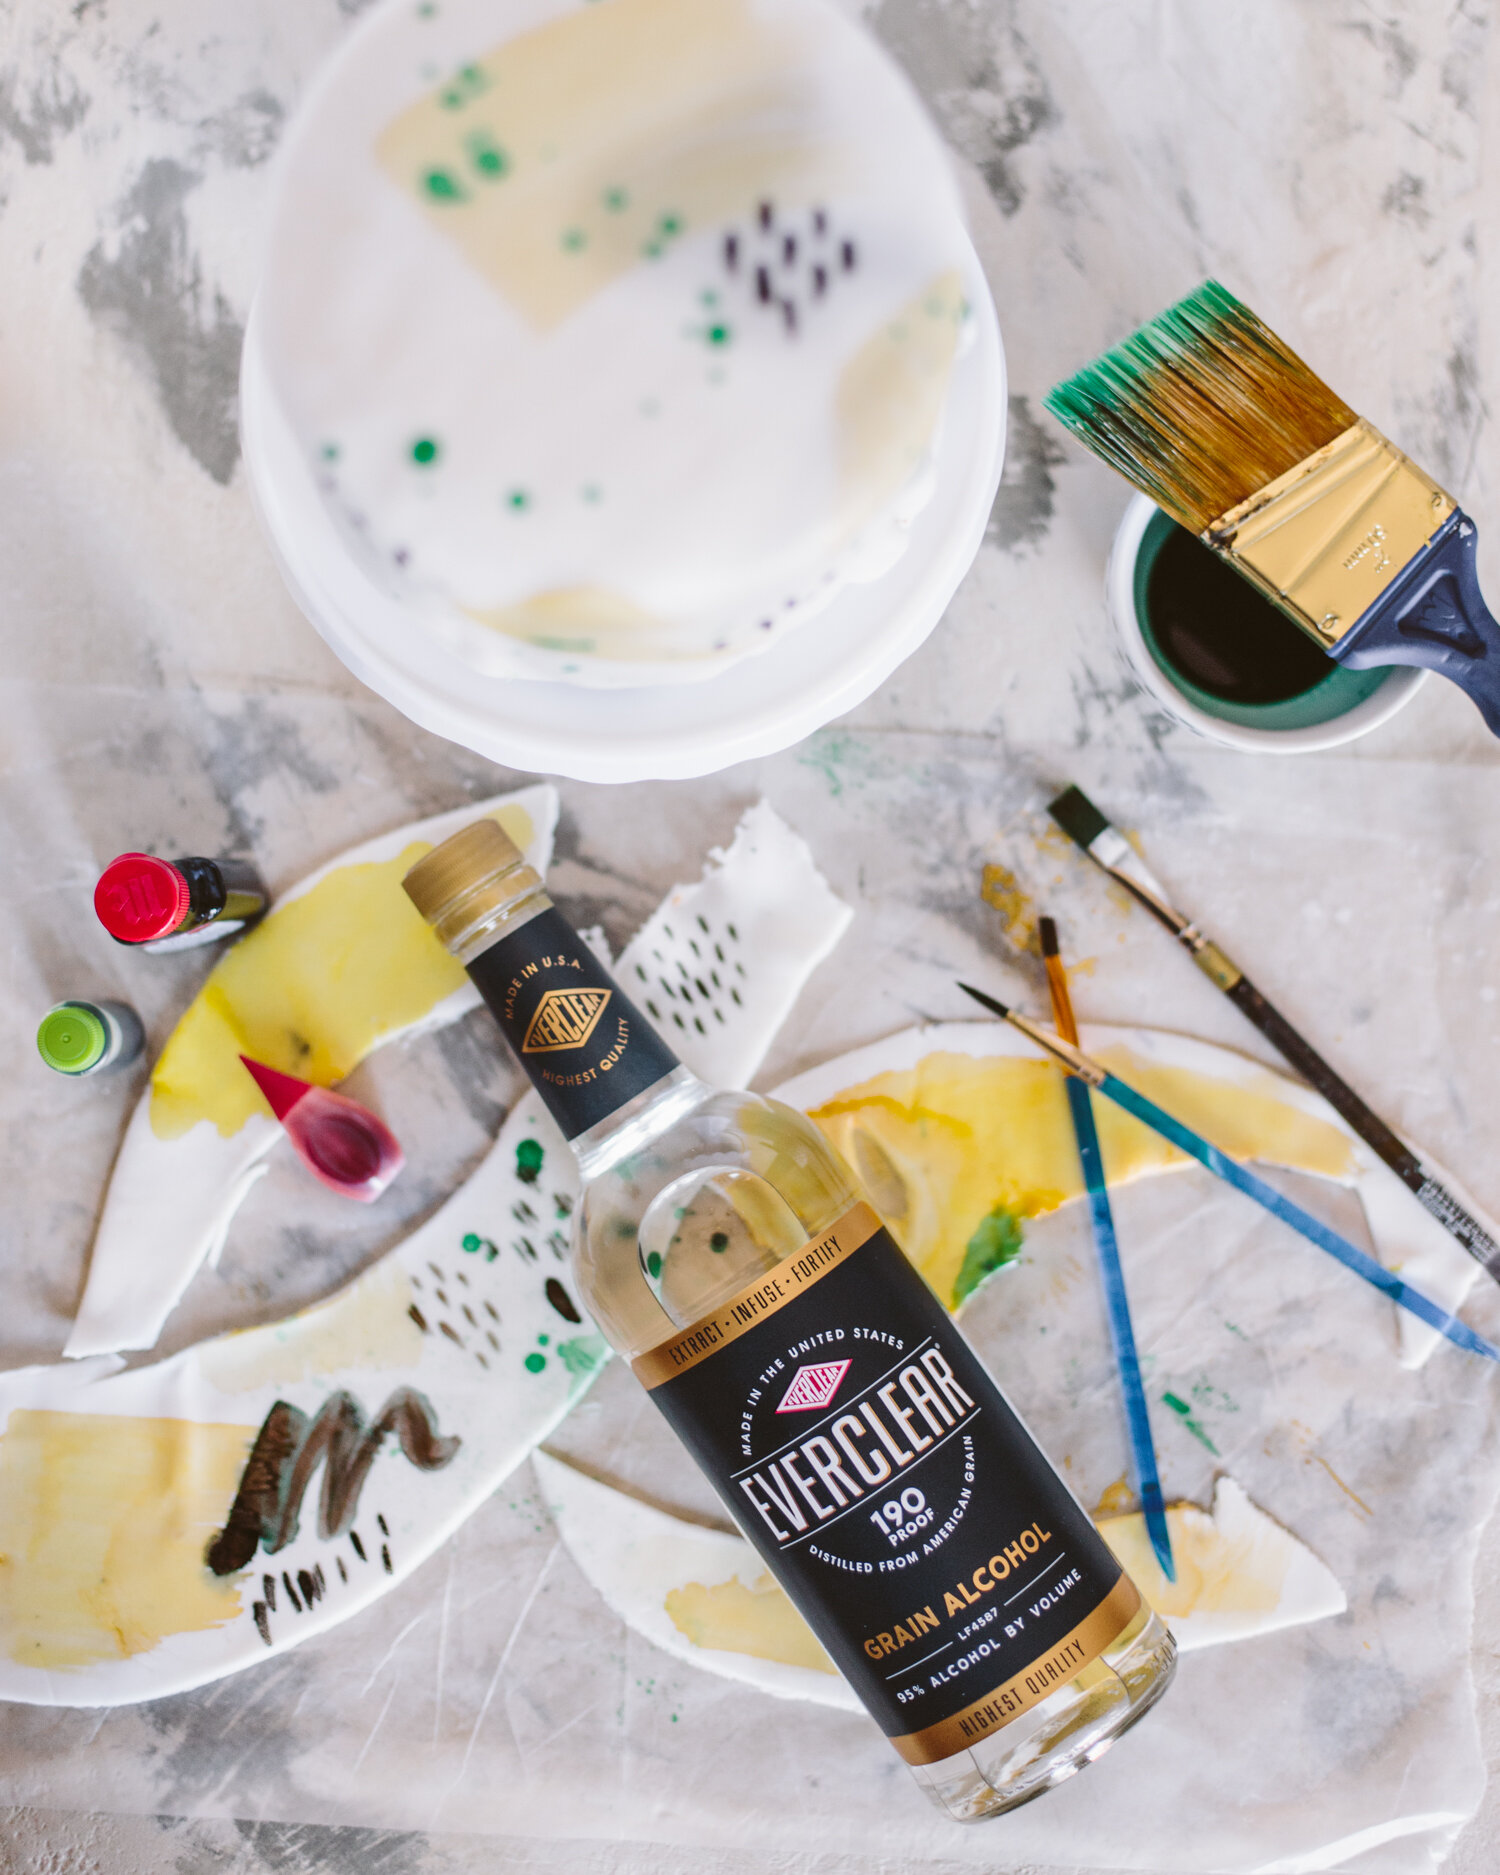
To make edible paint that you can brush on with a regular paintbrush, all you need to do is put a few drops of food coloring into a small bowl, and then pour in a bit of Everclear (use more for a more “watercolor-y” look, then dip your brush into your mixture and paint directly onto your frosting (in my case I used fondant icing).

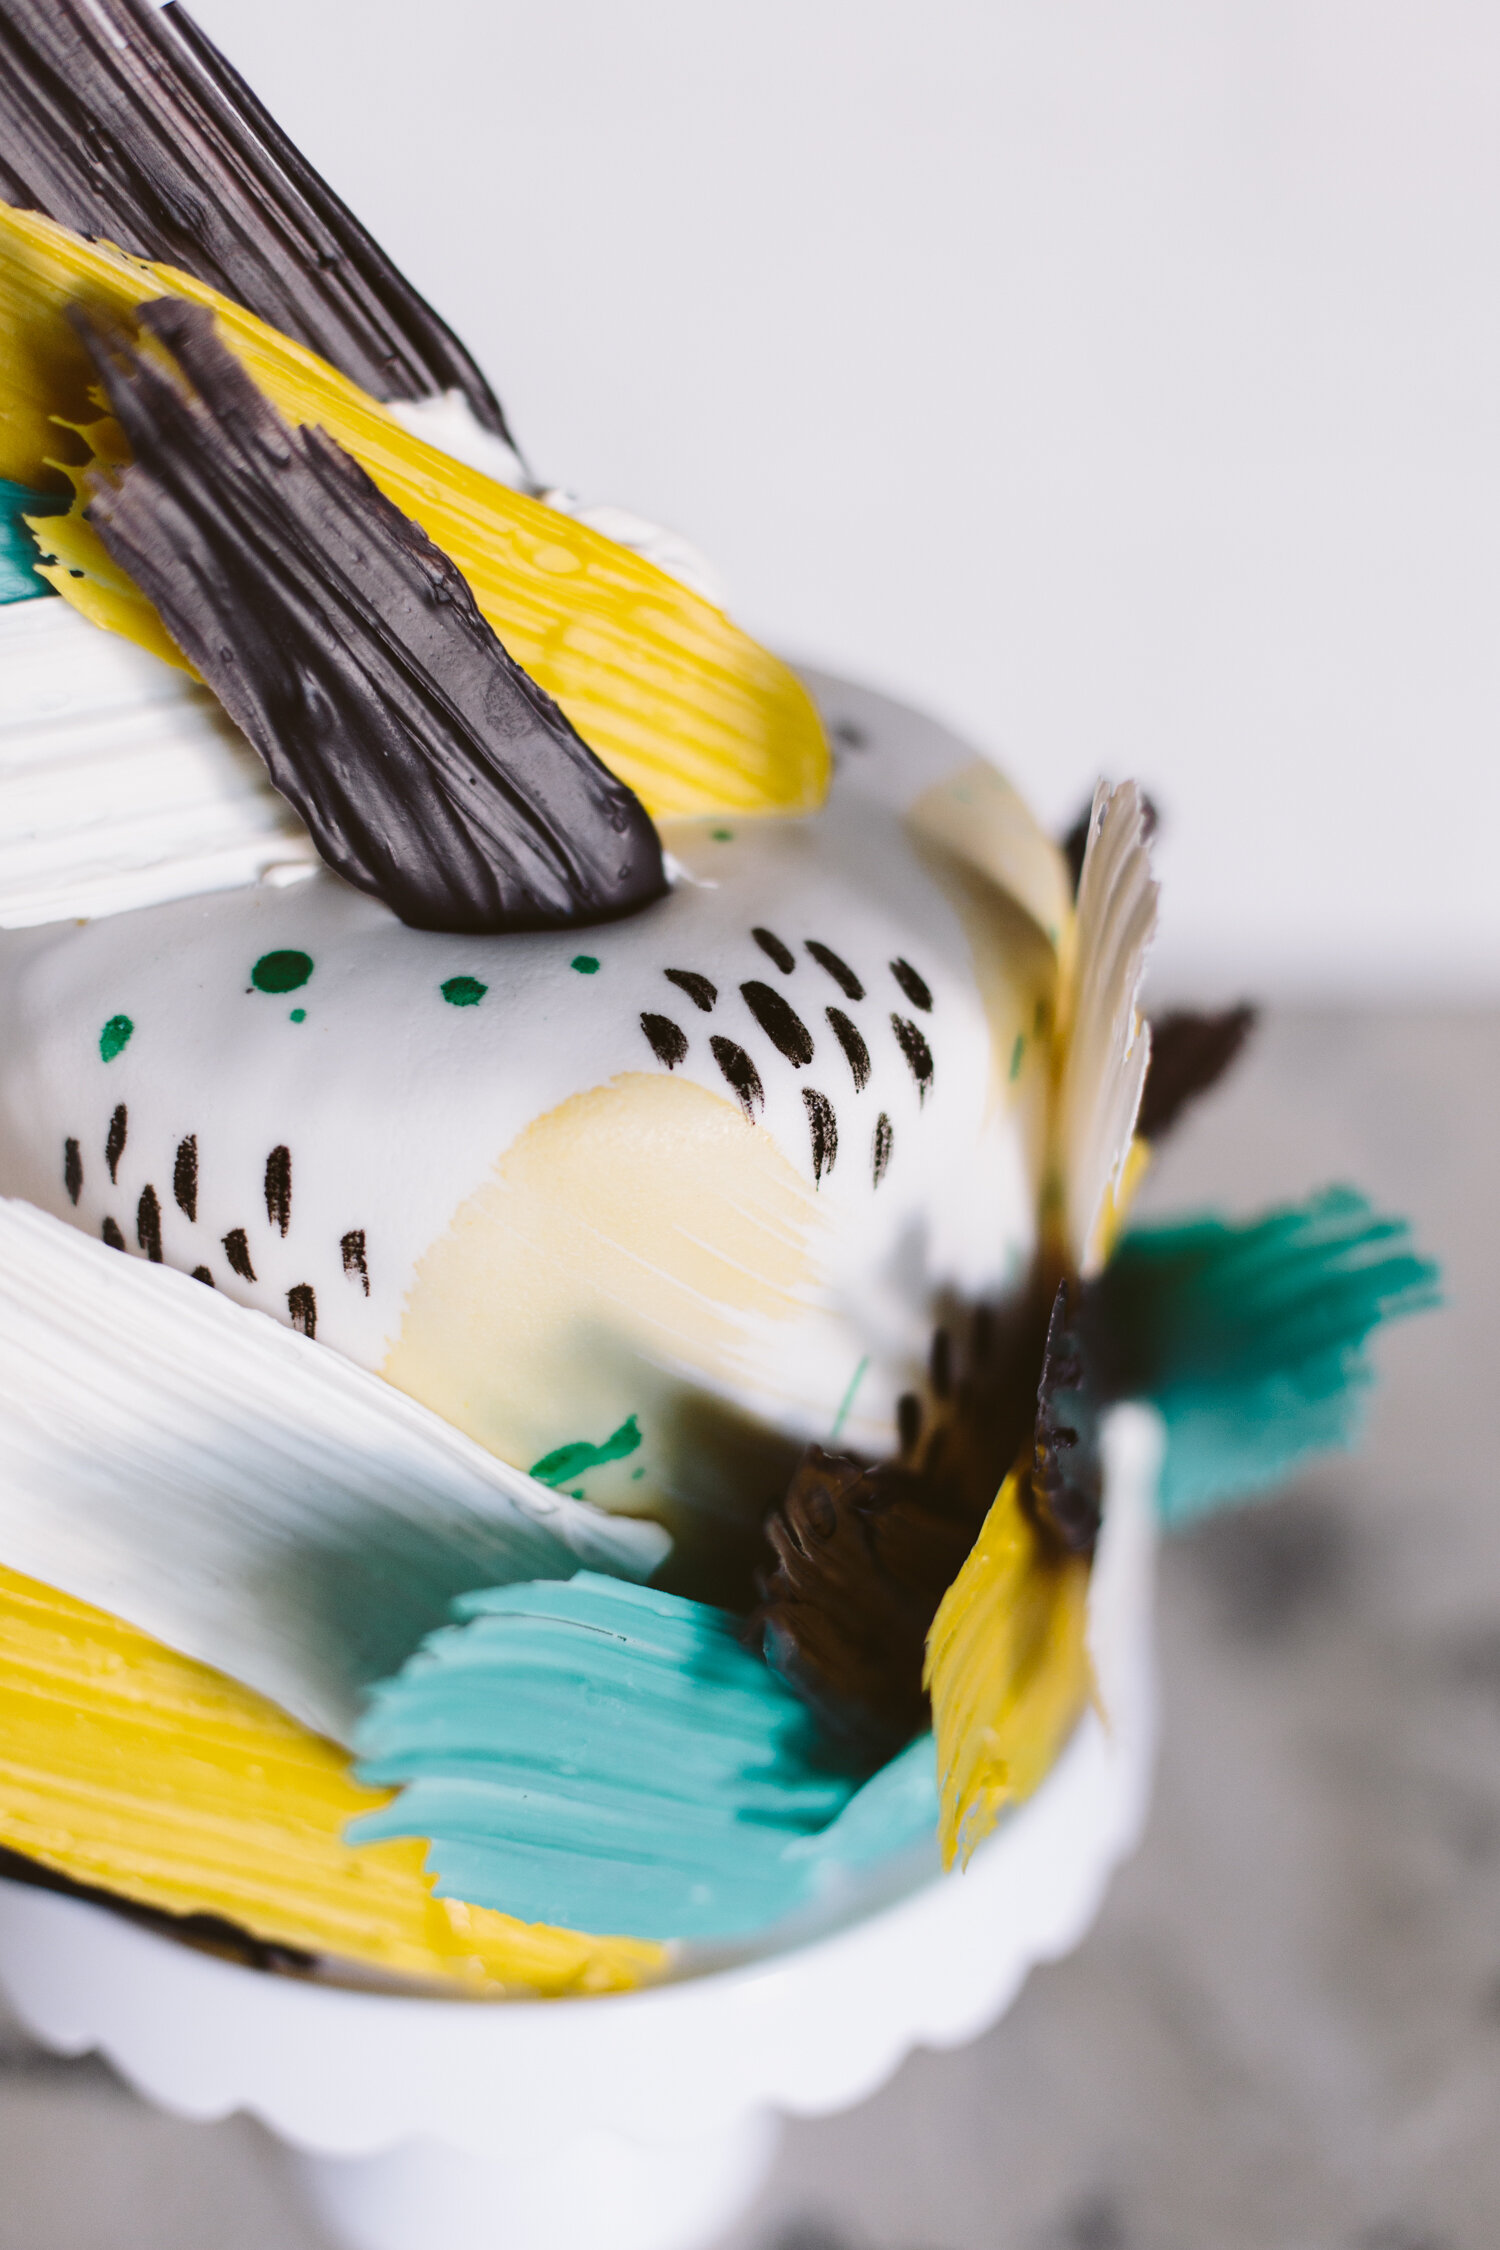
The Everclear evaporates, leaving the food coloring behind! Since Everclear doesn’t leave behind any odor, color, or flavor, it’s the perfect medium to make your edible paint. It was a perfect technique for my brushstroke painted cake.


I love how many different ways you could utilize this technique: making a watercolor cake, an ombre cake, painting iced sugar cookies, or even painting a scene! Please enjoy responsibly.
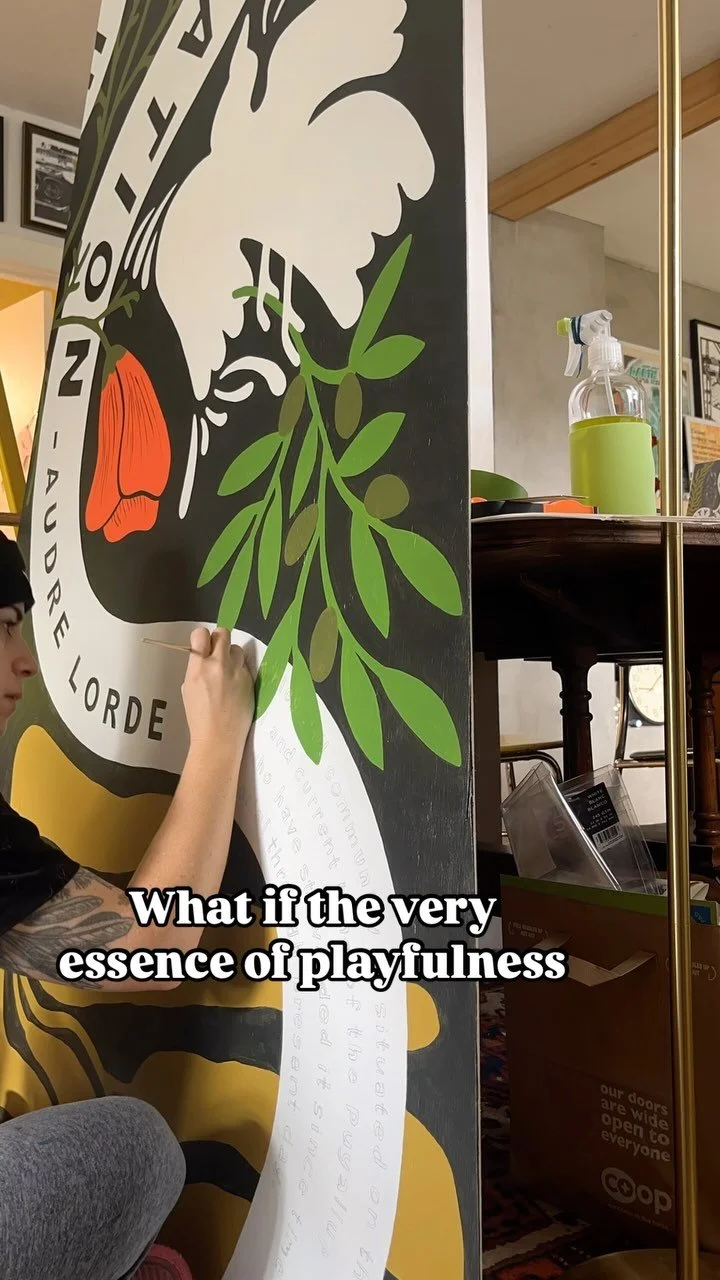
Making messes and memories

Thank you Vanity Fair® Napkins for sponsoring this post. Take on everyday messes with Vanity Fair® Extra Absorbent Napkins!

IMG_9092.jpg

Growing up, on special occasions like a birthday, my Dad would make “Daddy’s Special Pancakes” or DSP’s.  They were always Swedish Crepes, and he would fling them to us from the pan, across the island, and we’d try to catch them on our plates. I still love making DSP’s (though I guess if I make them, they’re MSP’s right?), but for Jack’s little birthday morning we just went with the old classic stack of fluffy buttermilk pancakes. I haven’t yet introduced him to the joys of chocolate chip pancakes, we’ll save that for a later birthday. The amount of sugar he got in the syrup alone was more than enough for a boy of only two.  But oooh boy, you’re gonna be excited about chocolate chip pancakes one day. And blueberry ones too (or booburies as he calls them right now).

Jack was a huge fan of pancakes, and he kept asking me to do “mo’ snow, mama!” with the powdered sugar.  Making a pancake breakfast with a toddler, though, holy cow, talk about a sticky mess. I think I used like ten Vanity Fair® Extra Absorbent Napkins just to clean up spilled syrup and pancake batter by the time the morning was over. Normal napkins die a horrible death at the hands of a toddler, so the paper-towel thickness and toughness of the Vanity Fair® Extra Absorbent Napkins is perfect for our mealtimes, and a welcome break from having to wash a bajillion dish towels a day.

Vanity Fair® Extra Absorbent Napkins  are “made for life’s unexpected mealtime surprises” but really, with a two year old, mealtime surprises and messes are anything but unexpected.  Even if my kid doesn’t eat his food, it’s still all over the place.  

Trying to avoid a messy life with a kid is a fool’s errand, and the antithesis to learning and fun in my opinion. Having lots of clean-up is the name of the game, but the memories and the joy will be the lasting impression, at least for them. I’ll probably remember all the cleaning up I did, though I’m sure the giggles will overshadow the cleaning when I look back on days like this.

I can’t believe my little baby is such a kid now.  He’s chattering up a storm all the time, loves reading books, and will sit and play creatively with legos while I drink my morning coffee now, which is a godsend.  Just watching him sit on the counter and nom on pancakes like a grown up boy was such a surprising moment. It’s so weird how the time flies by and also moves slower than molasses.  The first 18 months were the hardest of my life, but now that he’s playing and talking, I’ve found my groove in the mother role. I know there are a lot more messes to be made, a lot more tears to cry, a lot more tantrums to be thrown, but I’m looking forward to this next year as he grows into a bigger kid.  And hopefully those sticky messes like this one will come along with fun, happy memories that make the hard days worth it.

Holiday charcuterie board with Tillamook

Thank you Tillamook for sponsoring this post. Try Tillamook Maker’s Reserve! Available at Costco.

Holiday Charcuterie Board

One of my favorite things about the holidays is all the get-togethers with family and friends… and all the delicious food at said get-togethers. It can feel a little overwhelming to whip something elegant and fancy up, on top of hosting a party, so my favorite thing to do is put together a charcuterie and cheese board. It’s always a crowd pleaser, and you can make it look super lush and inviting without a lot of work! And the best part is you don’t have to cook anything!

IMG_8715.jpg
Holiday Charcuterie Board

For this spread I partnered with Tillamook to feature their Maker’s Reserve 2013 Vintage White Cheddar. Here in the Northwest we’re pretty big Tillamook eaters, and I’ve actually been to the Tillamook factory in Oregon twice! Watching all those blocks of cheese getting cut and wrapped in the factory is kind of mesmerizing!
I’m a fan of sharp cheddars so this cheese hit the spot for me. The Maker’s Reserve line of cheddars are bold with the flavors unique to the year they come from (2013 in this case).

If you want to add some to your own holiday charcuterie board, you can find Maker’s Reserve 2013 Vintage White Cheddar (18oz.) can be found at select Costco stores in the Pacific Northwest and San Francisco Bay Area (search at https://www.tillamook.com/where-to-buy.html to see if your local store has it!).

Not sure what to include in your Charcuterie + Cheese board?
Here’s a list of some of my favorite things to plate up!

  • Cheese- You can get a variety and get a couple more exotic types of cheese, or stick with something classic and widely enjoyed, like a cheddar or brie

  • Rustic Mustard- This is great for spreading on crackers or bread, and is a little fancier looking than your standard mustard.

  • Fig Jam or Honey- I like having something a bit sweet to counteract all the savory that goes on with a Charcuterie board

  • Olives- There are lots of varieties, and some grocery stores even have an olive buffet so you can pick out a bunch of different kinds!!

  • Prosciutto/salami- There are lots of different kinds you can get, pick your favorite or get a few different types

  • Fruit- Pear slices always make it onto my board, but I also like to pick something seasonal. When I saw Pomegranates in my grocery store, I picked one up to include on this board!

  • Sliced bread/crackers- Gotta have a delivery system for all your cheese! I like to pick a rustic bread, slice it up, bake it with a bit of butter spread on each until they’re slightly golden, then cut a garlic clove in half and swipe it on each little toast- it gives them the perfect bit of garlic flavor!

  • Nuts- Marcona Almonds are my favorite to include, but you can choose whatever you like! Specialty or gourmet grocery stores will usually have some fancy nuts to choose from.

Now you’re ready to party! Grab a plate or a big cutting board to arrange all your items on, and your guests will flock to it! Happy holiday partying!

Apple Rustic Tart

Rustic Apple Tart

My best friend came over today with her little month old baby and we got to spend the afternoon baking! My dad brought some apples from my parents’ house where they have a few apple trees so I had a ton of apples to use for recipes (I made this applesauce last week too!). My pie pans have disappeared since our move last October, so instead of making apple pies, we decide to make Apple Rustic Tarts. This recipe says that the prep is about 30 minutes but if you’re also watching a baby and a toddler it takes like 3x that long…

Apple Rustic Tart

Prep Time: 30 Minutes
Cook Time: 1 Hour

Ingredients

For the Crust

1-1/2 cups all-purpose flour
1/2 tsp salt
2 tbsp granulated sugar
1-1/2 sticks (12 tbsp) cold unsalted butter, cut into 1/2-inch pieces
1/4 cup cold water

For the Filling

1 -1/2 lbs apples (appx 3 large)
1/3 cup sugar
1 tsp cinnamon
1 tsp vanilla extract
2 tbsp unsalted butter, melted
1/8 tsp salt

For Assembly

1 tbsp all purpose flour
1 egg, beaten
2 tbsp brown sugar
1 tbsp apricot preserves, for glaze

Instructions

Prepare the crust:

  1. Line two baking sheets with parchment paper.

  2. In a food processor, combine the flour, salt and sugar and pulse briefly to mix.

  3. Add the cold butter and process just until the butter is the size of peas, appx 5 seconds. Then, add the ice water to the mixture and process just until moistened and very crumbly, about 5 seconds.

  4. Place the dough on a lightly floured surface and knead it until it comes together into a cohesive ball, just a few times. Split the dough into two equal balls.

  5. Flour your work surface again and sprinkle one of your dough balls with flour, as well. Using a rolling pin, roll the ball into a circle appx 12 inches in diameter, turning and adding more flour as necessary so the dough doesn’t stick. Transfer the dough to the parchment-lined baking sheet and refrigerate while you prepare the filling. Repeat with the second ball of dough.

Make the filling:

  1. Peel, core, and cut the apples into 1/8-inch-thick slices (you should have about 4 cups) and place in a large bowl.

  2. Add the sugar, vanilla, cinnamon, melted butter, and salt; toss to combine.

Assemble the tart:

  1. Sprinkle the flour evenly over the pastry. Arrange the apple slices on top in overlapping concentric circles to within 2 inches of the edge. Work quickly so the dough doesn’t get too warm. Fold the edges of the dough over the apples, working your way around and creating pleats as you go.

  2. Using a pastry brush, brush the pleated dough evenly with the beaten egg. Sprinkle the brown sugar over the crust and apples. Chill the assembled tart in the fridge for 15 to 20 minutes. Prepare the second tart and place it in the fridge as well.

  3. Preheat the oven to 350°F and set an oven rack in the center position.

  4. Bake for 55 to 65 minutes, or until the apples are tender and the crust is golden and cooked through.

  5. While the tart bakes, make the glaze. In a small bowl, mix the apricot jam with 1-1/2 teaspoons hot water. About 2-3 minutes before your tarts finish baking, remove them, brush the tarts with the apricot glaze, and put them back in the oven for the final two minutes. Remove and let cool.

  6. Transfer the tart to a serving plate or cutting board. Slice and serve warm or at room temperature. The tart is best served on the day it is made, but leftovers make for a delicious breakfast treat the next day!

Keto Carrot Cake Recipe

Keto Carrot Cake Recipe

Father's Day wasn't a big to-do around our house this past Sunday but I wanted to do something special for Dan, so I decided to make his favorite cake: Carrot Cake.  But Keto!  I always tend to give keto versions of delicious non-keto foods the ol' side-eye but this cake was seriously delicious. And with only 5.5 net carbs per slice, I can eat a slice for breakfast, ain't no thang!  

Keto Carrot Cake
Recipe slightly adapted from WholesomeYum


Cake Ingredients

  • 3/4 cup Erythritol (I use Swerve Confectioners)
  • 3/4 cup Butter (softened; I use Kerrygold)
  • 1 tsp Vanilla extract
  • 4 large Eggs
  • 2 1/2 cup Almond flour
  • 2 tsp baking powder
  • 2 tsp Cinnamon
  • 1/2 tsp Sea salt
  • 2 1/2 cup Carrots (grated, measured loosely packed after grating)
  • 1 cup Pecans (chopped; divided into 1 cup and 1/2 cup)

01/   Preheat the oven to 350 degrees F. Line two 9 in round cake pans (springform is best) with parchment paper.  Grease the sides.

02/   In a large bowl, cream together the butter and erythritol, until fluffy. Beat in the vanilla extract, then beat in the eggs, one at a time. Set aside.

03/   In another bowl, mix together the almond flour, baking powder, cinnamon, and sea salt. Stir the dry ingredients into the bowl with the wet ingredients.

04/   Stir in the grated carrots. Fold in the chopped pecans.

05/   Transfer the batter evenly among the two prepared baking pans. Bake for 30-35 minutes, until the top is spring-y.

06/   Let the cakes cool in the pans for 10 minutes, then transfer to a wire rack to cool completely.


Keto Carrot Cake Recipe

Frosting Ingredients

  • 8 oz Cream cheese (softened, cut into cubes)
  • 4 tbsp Butter (softened, cut into cubes)
  • 1 cup Powdered erythritol (again, I use Swerve)
  • 2 tsp Vanilla extract
  • 2 tbsp Heavy cream (or more if needed)

01/   Use a hand mixer to beat together the cream cheese and butter, until fluffy.

02/   Beat in the sweetener and vanilla, until well incorporated.

03/   Add cream and beat again, until creamy. You can adjust the amount of cream to desired consistency.

Keto Carrot Cake Recipe

Put it all together

If you aren't looking to make a fancy lookin' cake, you can just frost the two 9in. cakes like you normally would, with frosting between the layers and then on the top and sides.

I wanted my cake to have a little more style to it so I tried something new! I recently watched the Milk Bar episode of Chef's Table (if you aren't craving sweets, you absolutely will after watching it), and I loved how she used a plastic sheath mould thing (you can see what I'm talking about here) to create her naked cakes, and I also like how she deconstructed cake, mixed it with frosting and pressed that in to the mould to create layers. 

Keto Carrot Cake Recipe

So that's what I did.  I took my two 9 inch cakes and cut 6 inch rounds out of them, then used the remaining pieces of cake and frosting mushed together and pressed that into the mould to make layers.  And I frosted it in a more "naked cake" style.  I think it definitely was more delicious with the layers that were frosting/cake mixed together than a standard cake-frosting-cake situation. 

I didn't feel like putting chopped pecans on the top, so I made a little carrot round flower instead, but if you want a more classic topping, cut up 1/2 cup more pecans and add those to the top!

If you want to get the nutrition info on this cake, head over to Wholesome Yum, the info might be slightly different as I didn't include a couple of the ingredients she used but it should be about the same!

Keto Carrot Cake Recipe

You might also like