

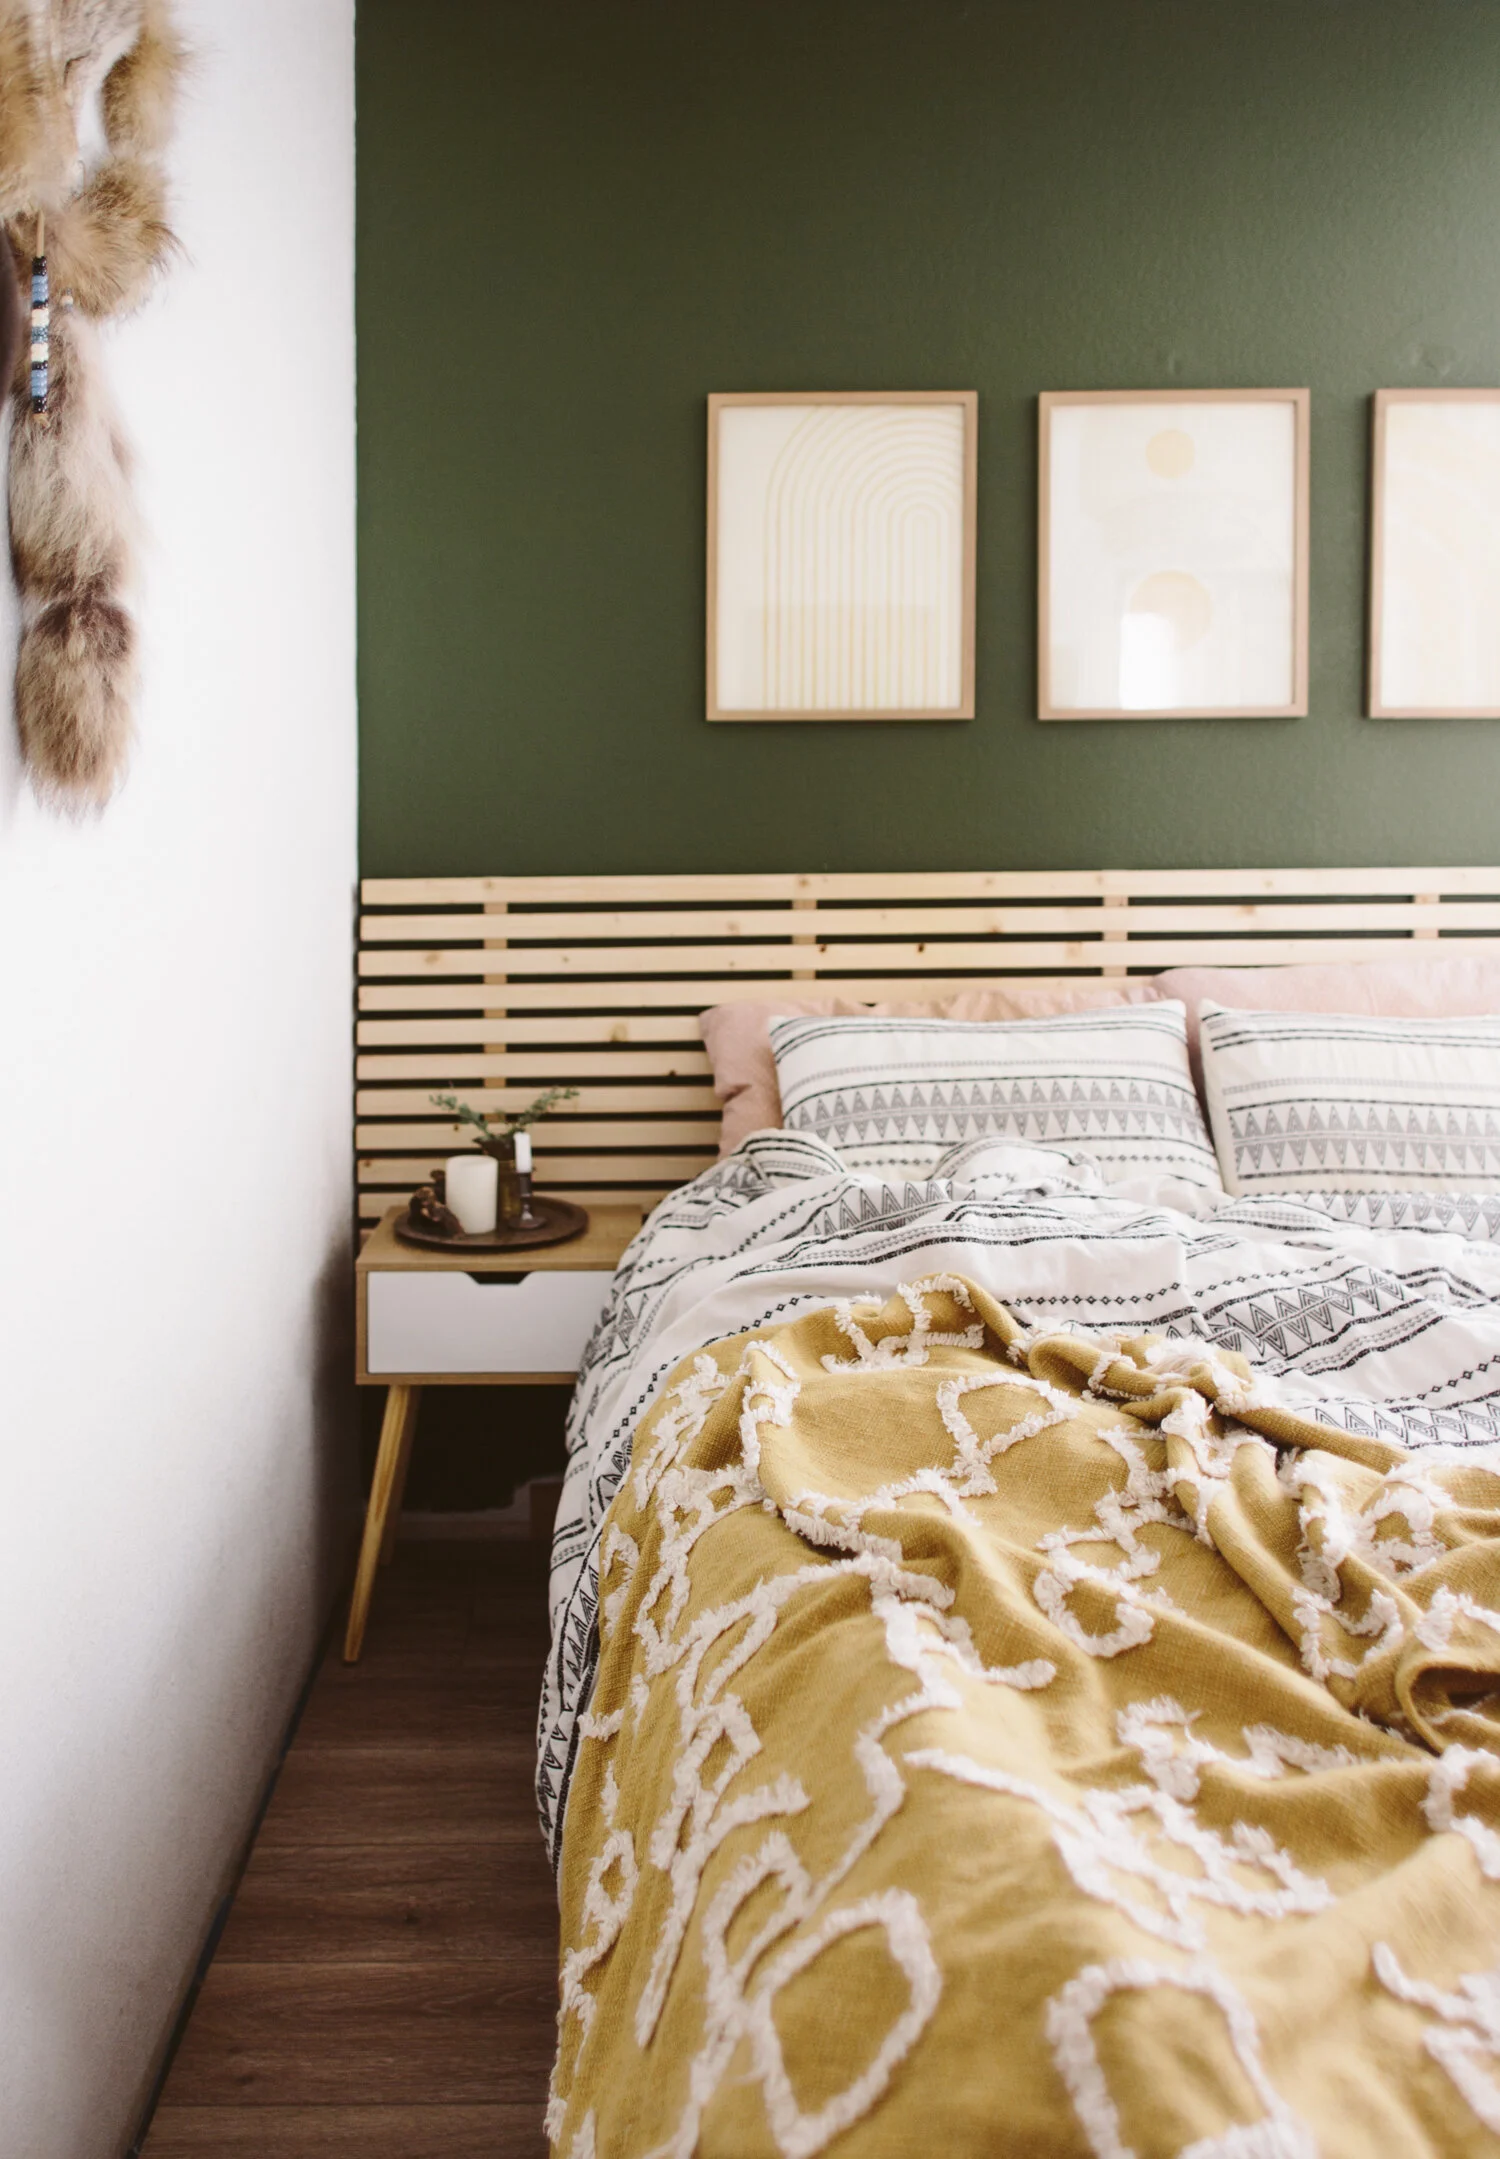
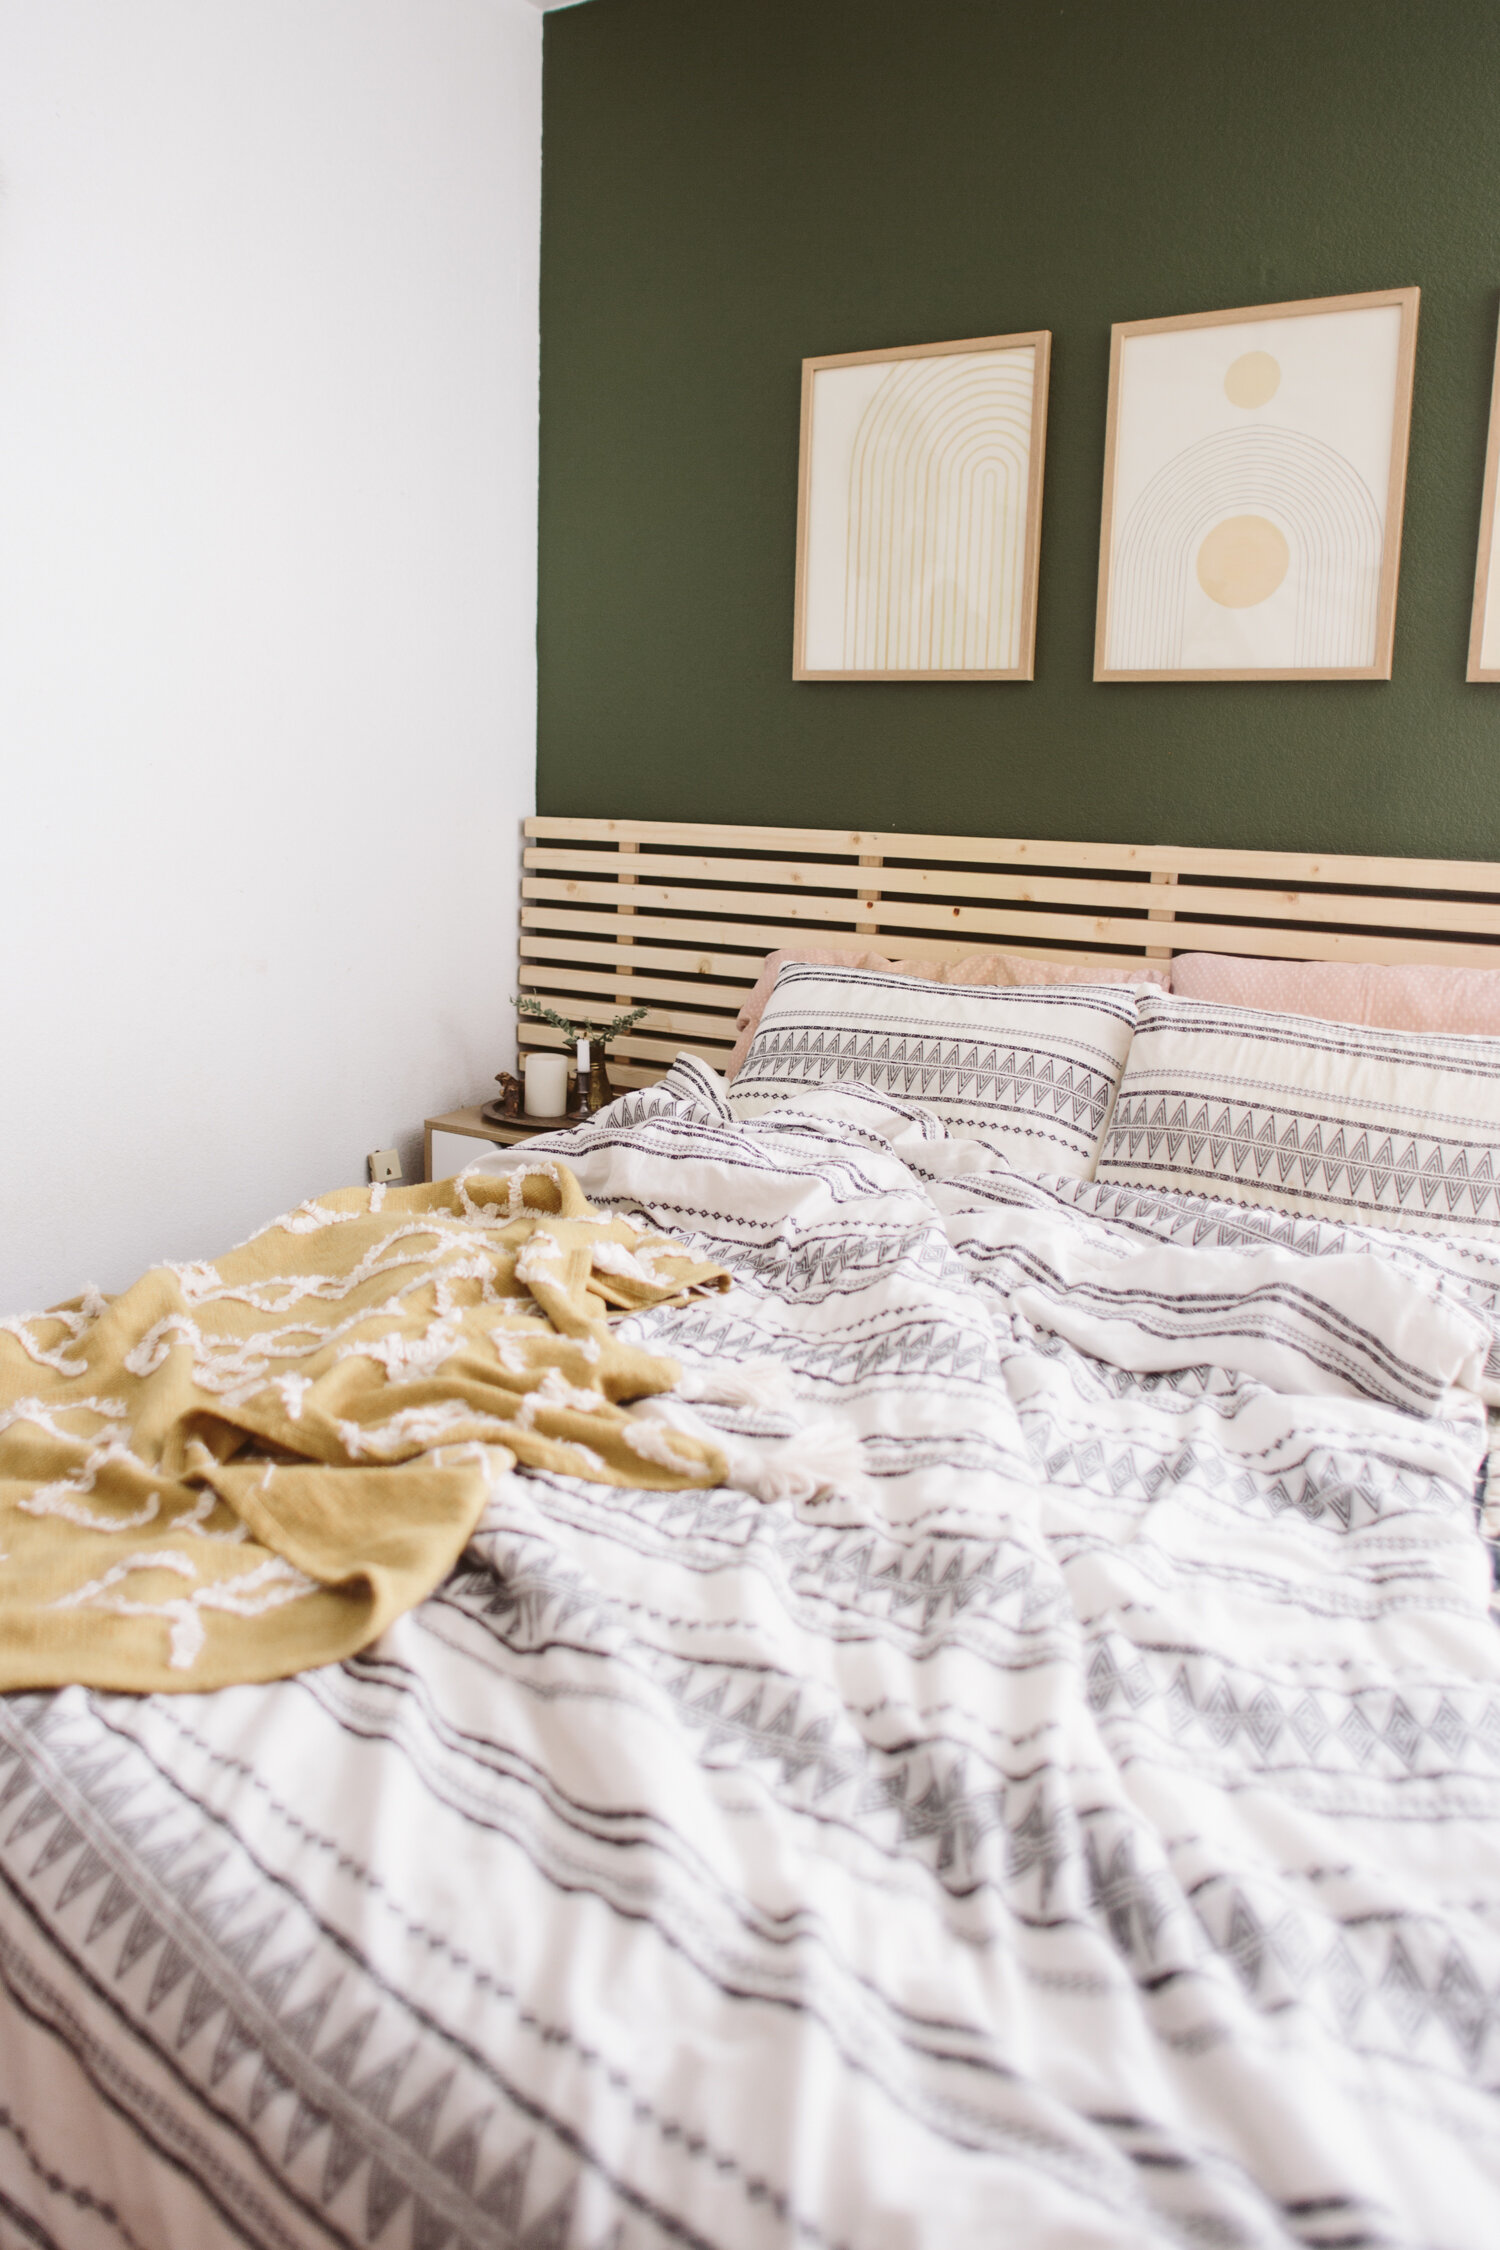
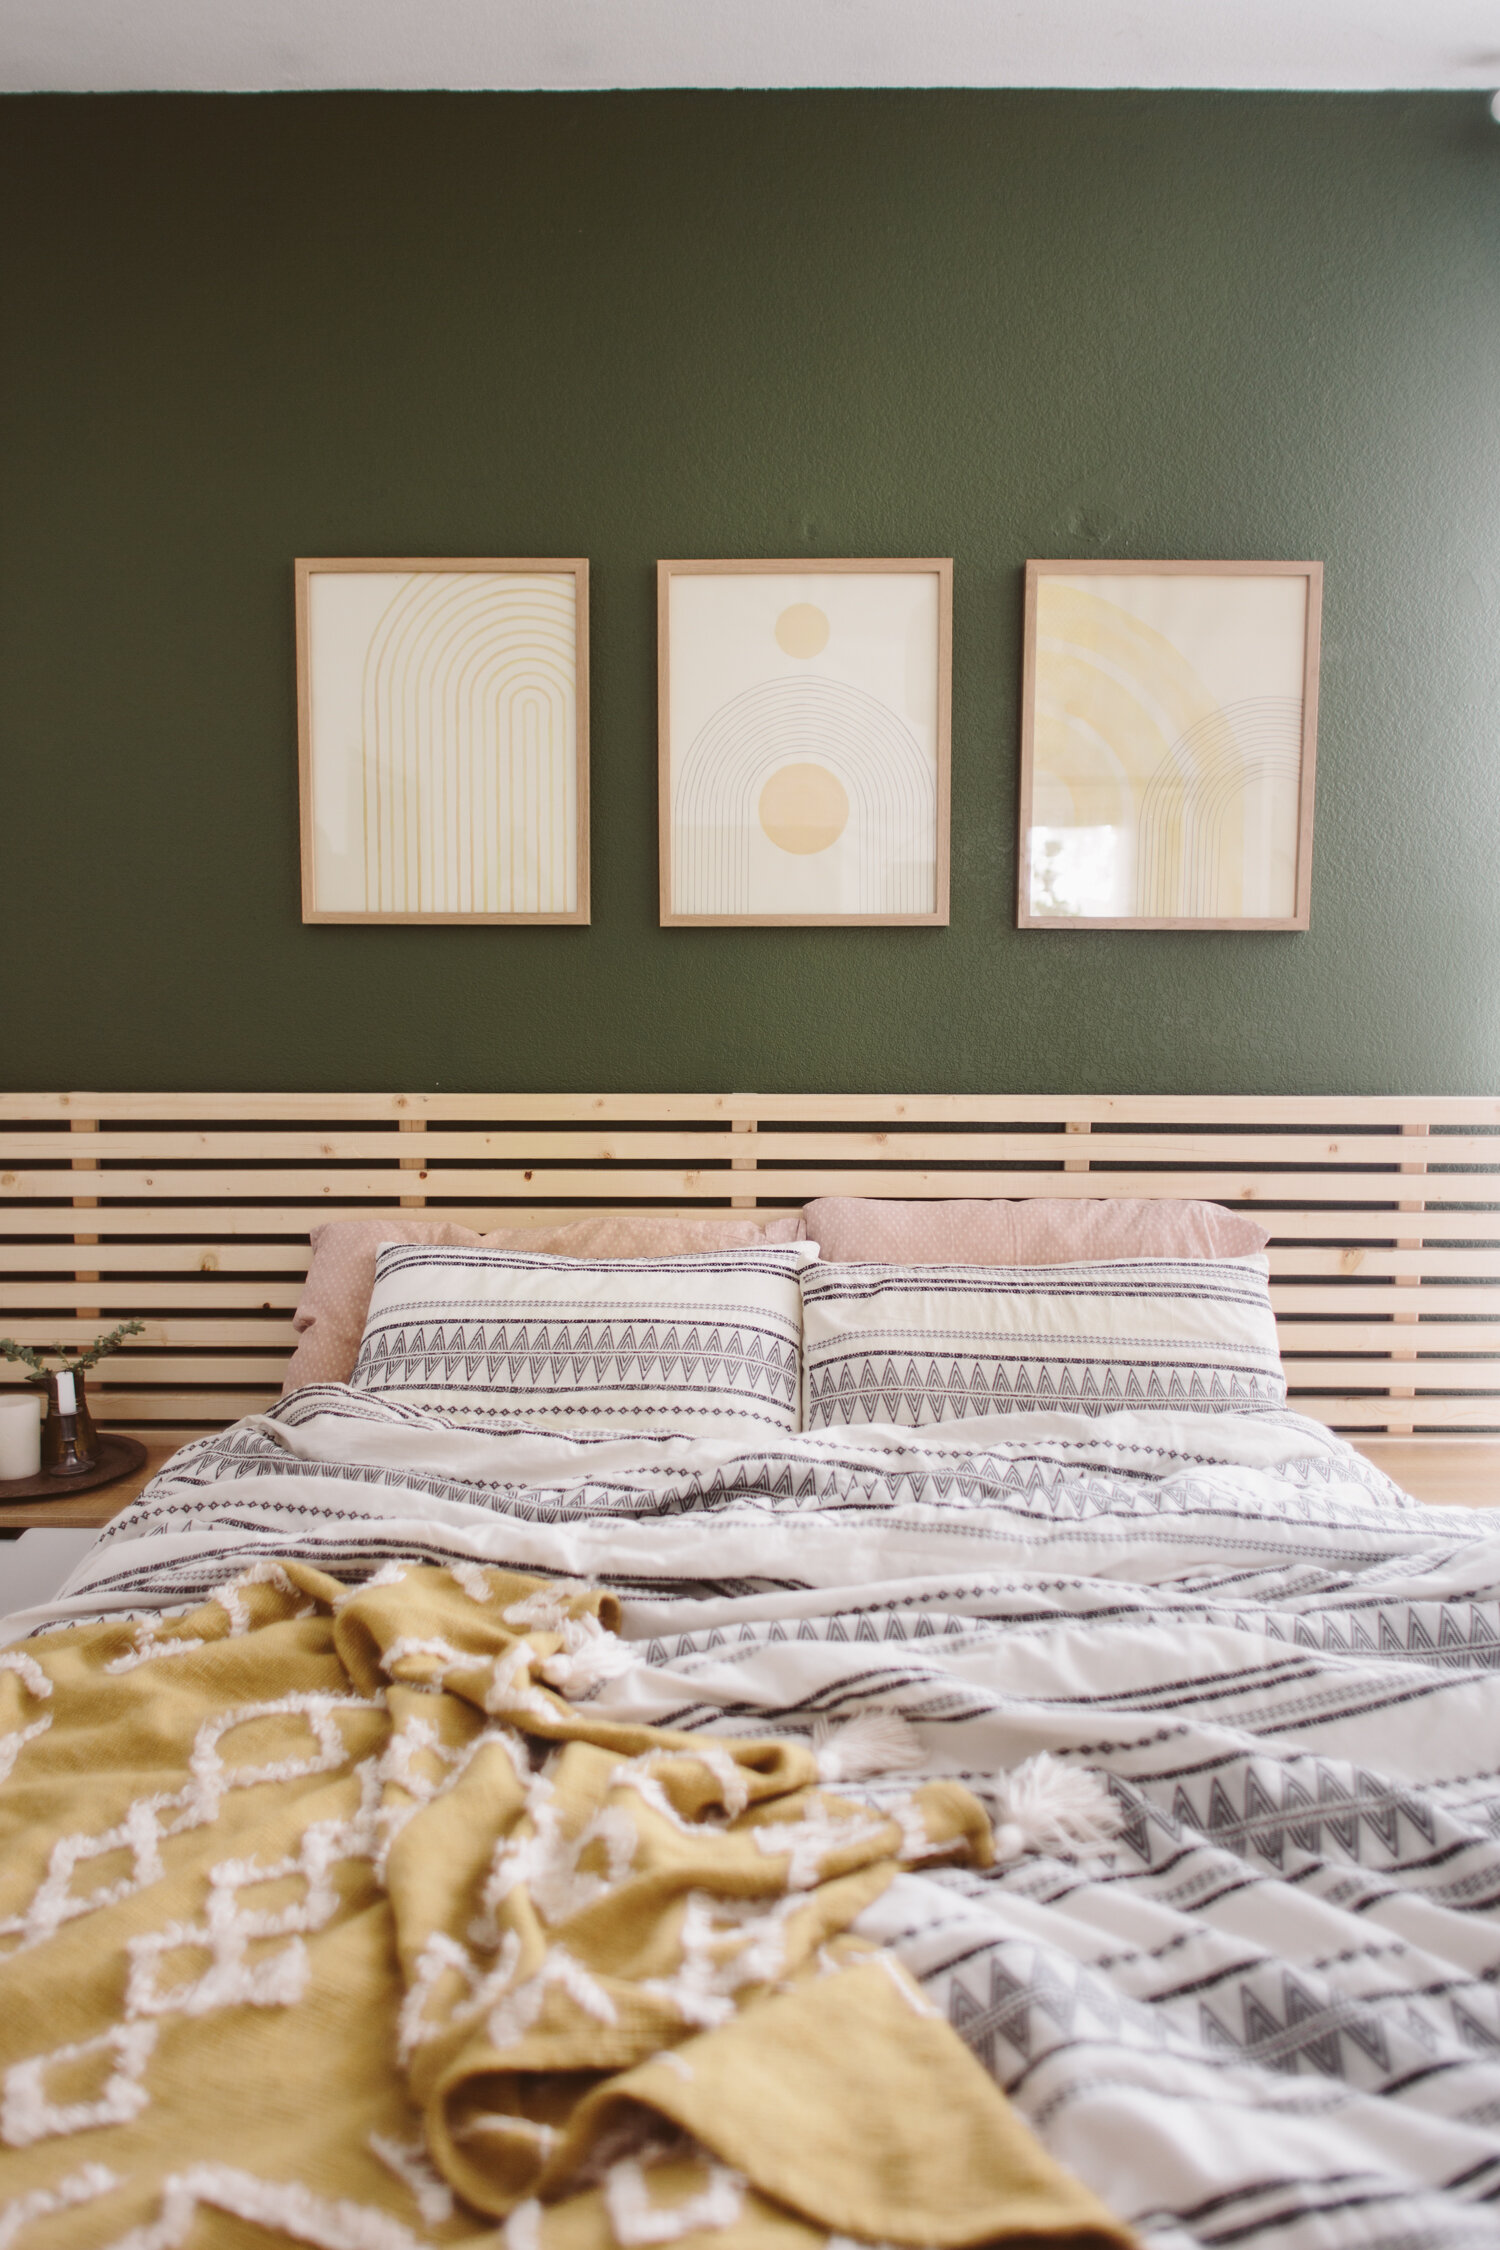
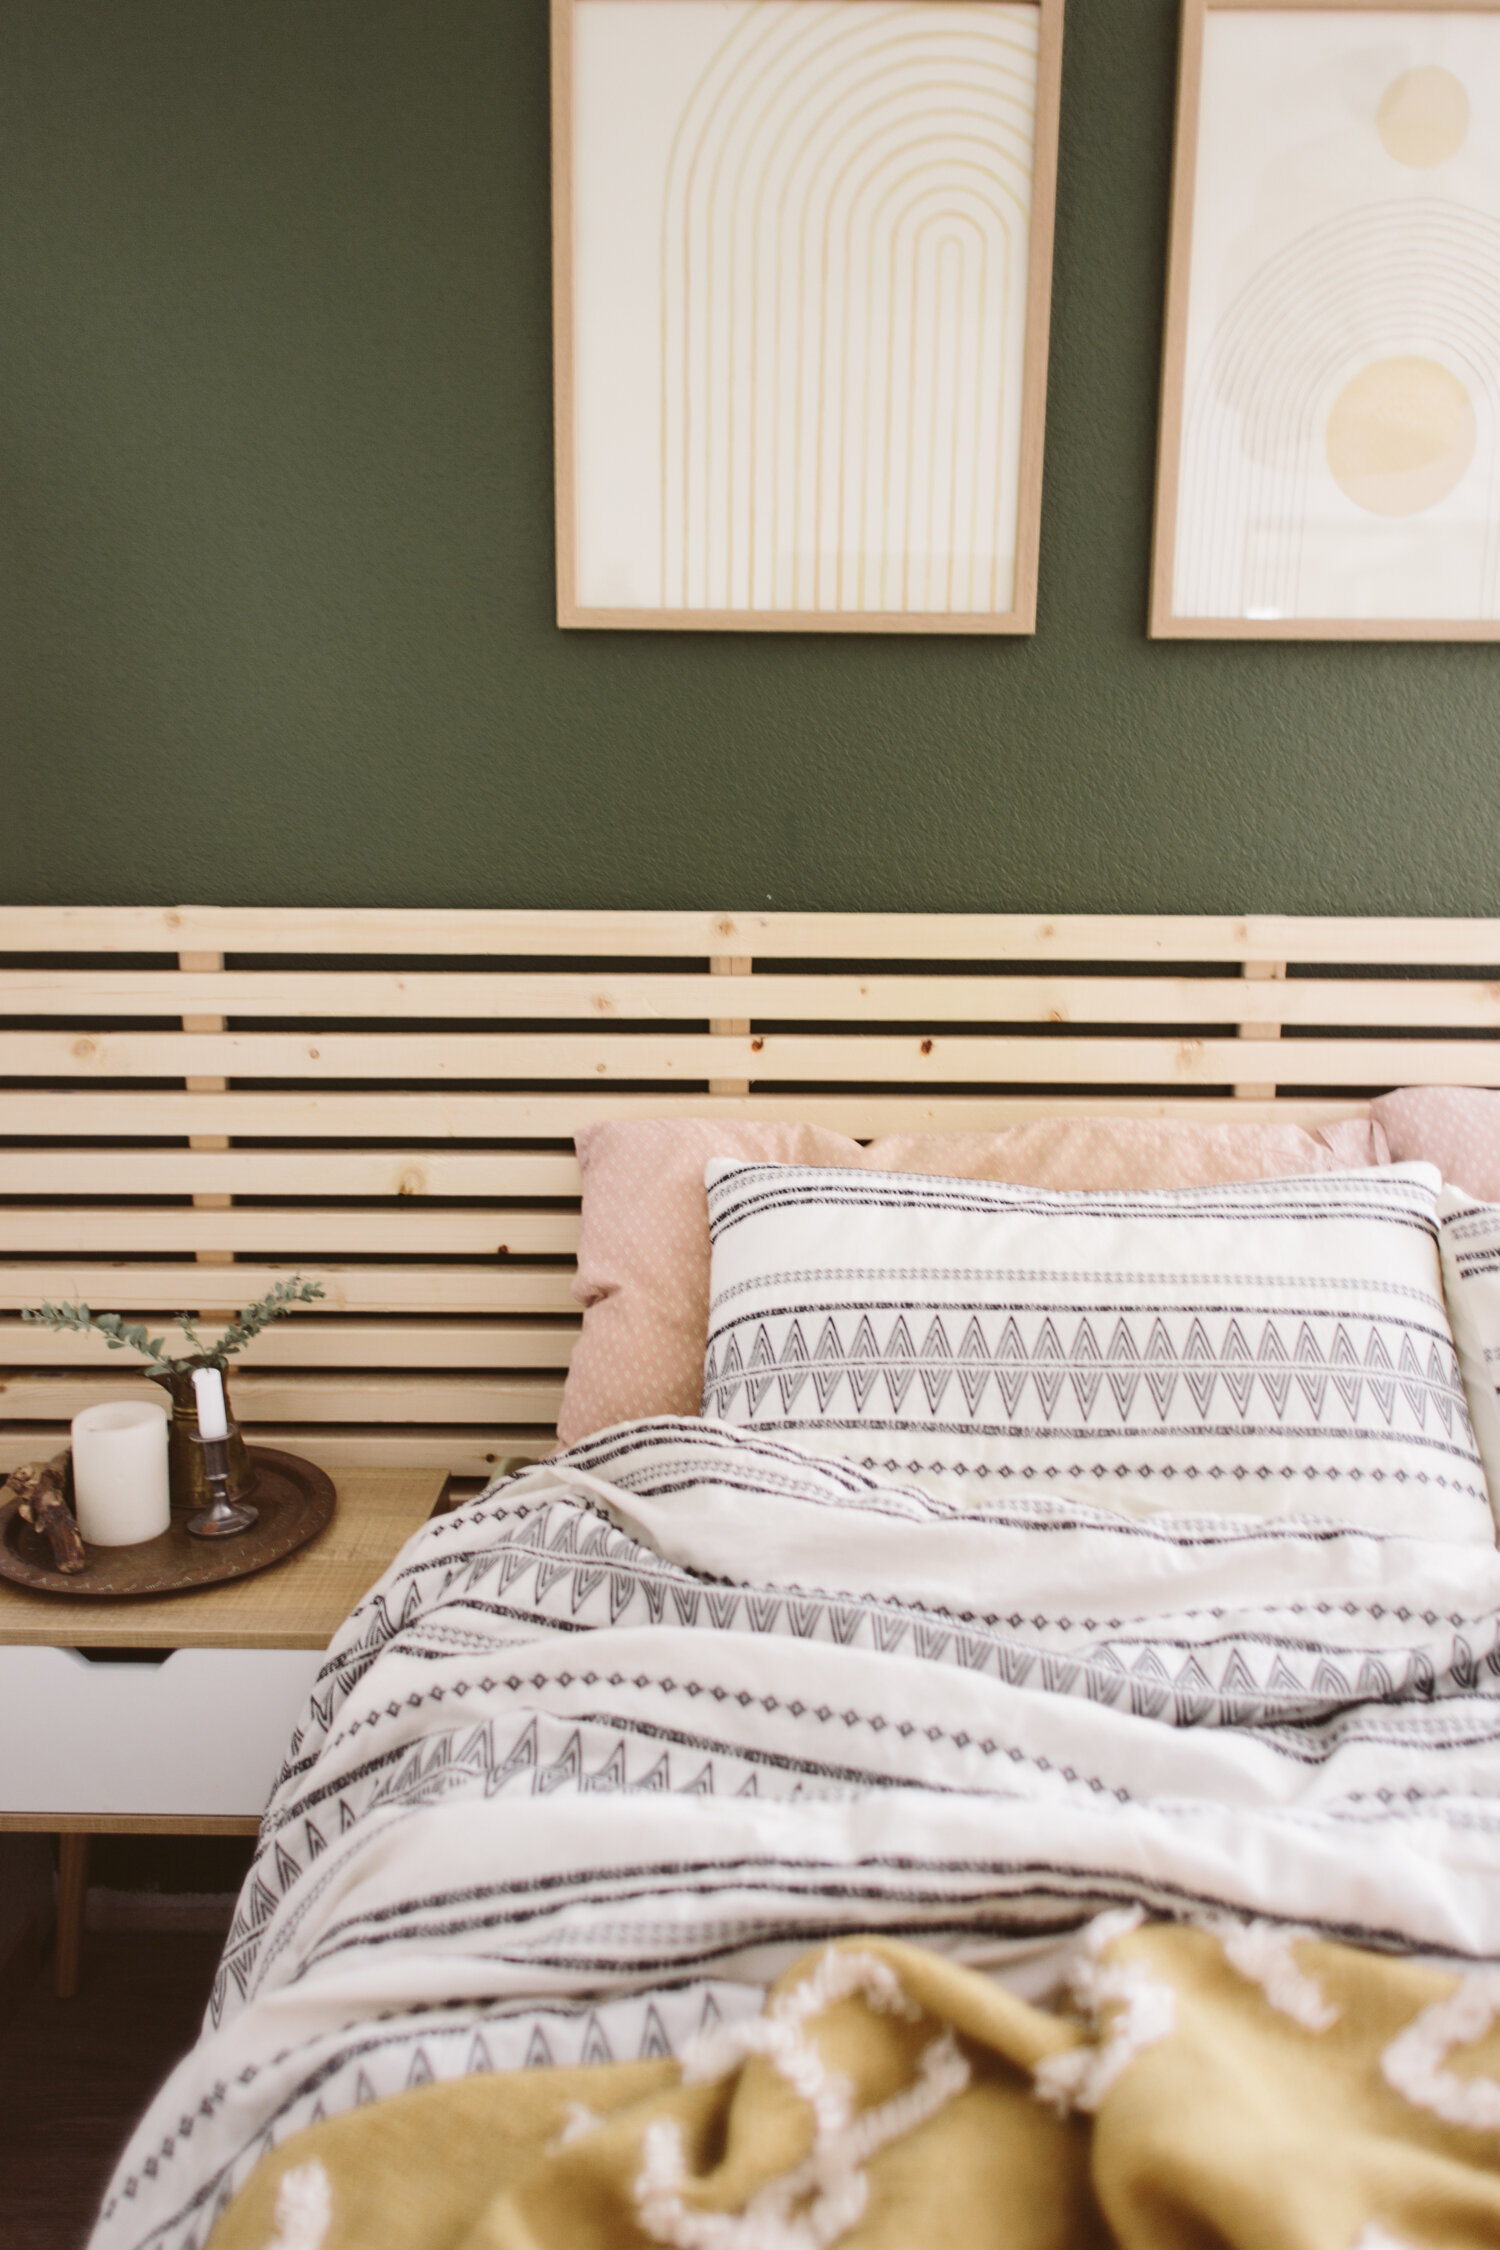
When we moved into the flip house, we left pretty much all our furniture at the other house so it could be a fully furnished Airbnb. We ended up getting an old Ikea Hopen bed frame for free from a friend who didn’t need it anymore, but I knew I wanted to replace the headboard with something unique and more scandinavian-inspired. I’d seen a slatted Ikea headboard before, but upon some research found out it was discontinued, so I set out to make my own! I figured it’d be pretty simple since it was just wood slats, and it was!
What you’ll Need:
12 8ft 2x2’s
2-3 8ft 1x2’s
1.5in wood screws
If you want to make this very affordably, get 2x2 furring strips. They’re usually under $3 each, but furring strips are made of pretty low quality wood, so you’ll need to dig through them to find ones that aren’t warped, cracked, or with a bunch of knots. If you want fancier wood, you can find pine 2x2s in the trim section that can be more like $11-12 each. I wanted to make this on the cheap so I opted for the furring strips.

Depending on how wide you want your headboard, you may need to cut the 1x2’s down. I wanted mine to be 8ft so I didn’t need to cut my 2x2s shorter.
Cut your 1x2s down. I cut mine down to 3 ft so they would stick down below the slats about 6 inches and sit behind the back of my bed frame between the frame and the wall to keep the headboard in place. I kept the middle three 1x2s 3 ft long, and trimmed the ones closest to the end on each side down so those two didn’t stick out below the bottom slat. If you don’t have a bedframe where this method would work, you can cut the middle 1x2s so they go from the top of the headboard, all the way to the floor, appx 44in.
If you want the 1x2 verticals to disappear more, you can paint them the color of the wall behind your headboard before attaching them.

3. Lay out your 2x2s how you want them for your headboard and make sure the ends are all even. I spaced them out about 3/4 inch, using a piece of 1x2 to space the 2x2s evenly.

4. Once all the 2x2s were set up, I placed my 1x2s on top, starting with the one right in the center, then spacing the others 18 inches apart. I used pencil to draw a line along each side of each 1x2 marking where they went (in the illustration I drew four 1x2s, but I realized later that I actually used five).
5. Start by screwing the two outside 1x2s onto the 2x2s. I’d recommend pre-drilling the 1x2s, as I was lazy and didn’t and had a bit of splitting on a couple of my 1x2s. as I was screwing, I put the spacer 1x2 between the 2x2s as I was screwing to make sure they were spaced exactly.
6. With the two outside 1x2s attached, the spacing will be set and you can screw the remaining three 1x2s on, and you’re done! Flip it over and put it behind your bed! I didn’t anchor mine because it’s pretty well stuck between my bed and the wall, but you can also screw the 1x2’s to the wall between the slats in a few spots to make sure it stays put.


![As per usual I’m pushing right up against a deadline and have hyperfixated on this painting all week to finish in time.
Chikayaasix̂ [Fireweed] Transplanted- acrylic on wood.
Every generation my family has moved farther and farther from ances](https://images.squarespace-cdn.com/content/v1/574dddd6d51cd4bc35c1609a/1714708076216-UAPXPXK9DVDBP7F1C65E/image-asset.jpeg)

