
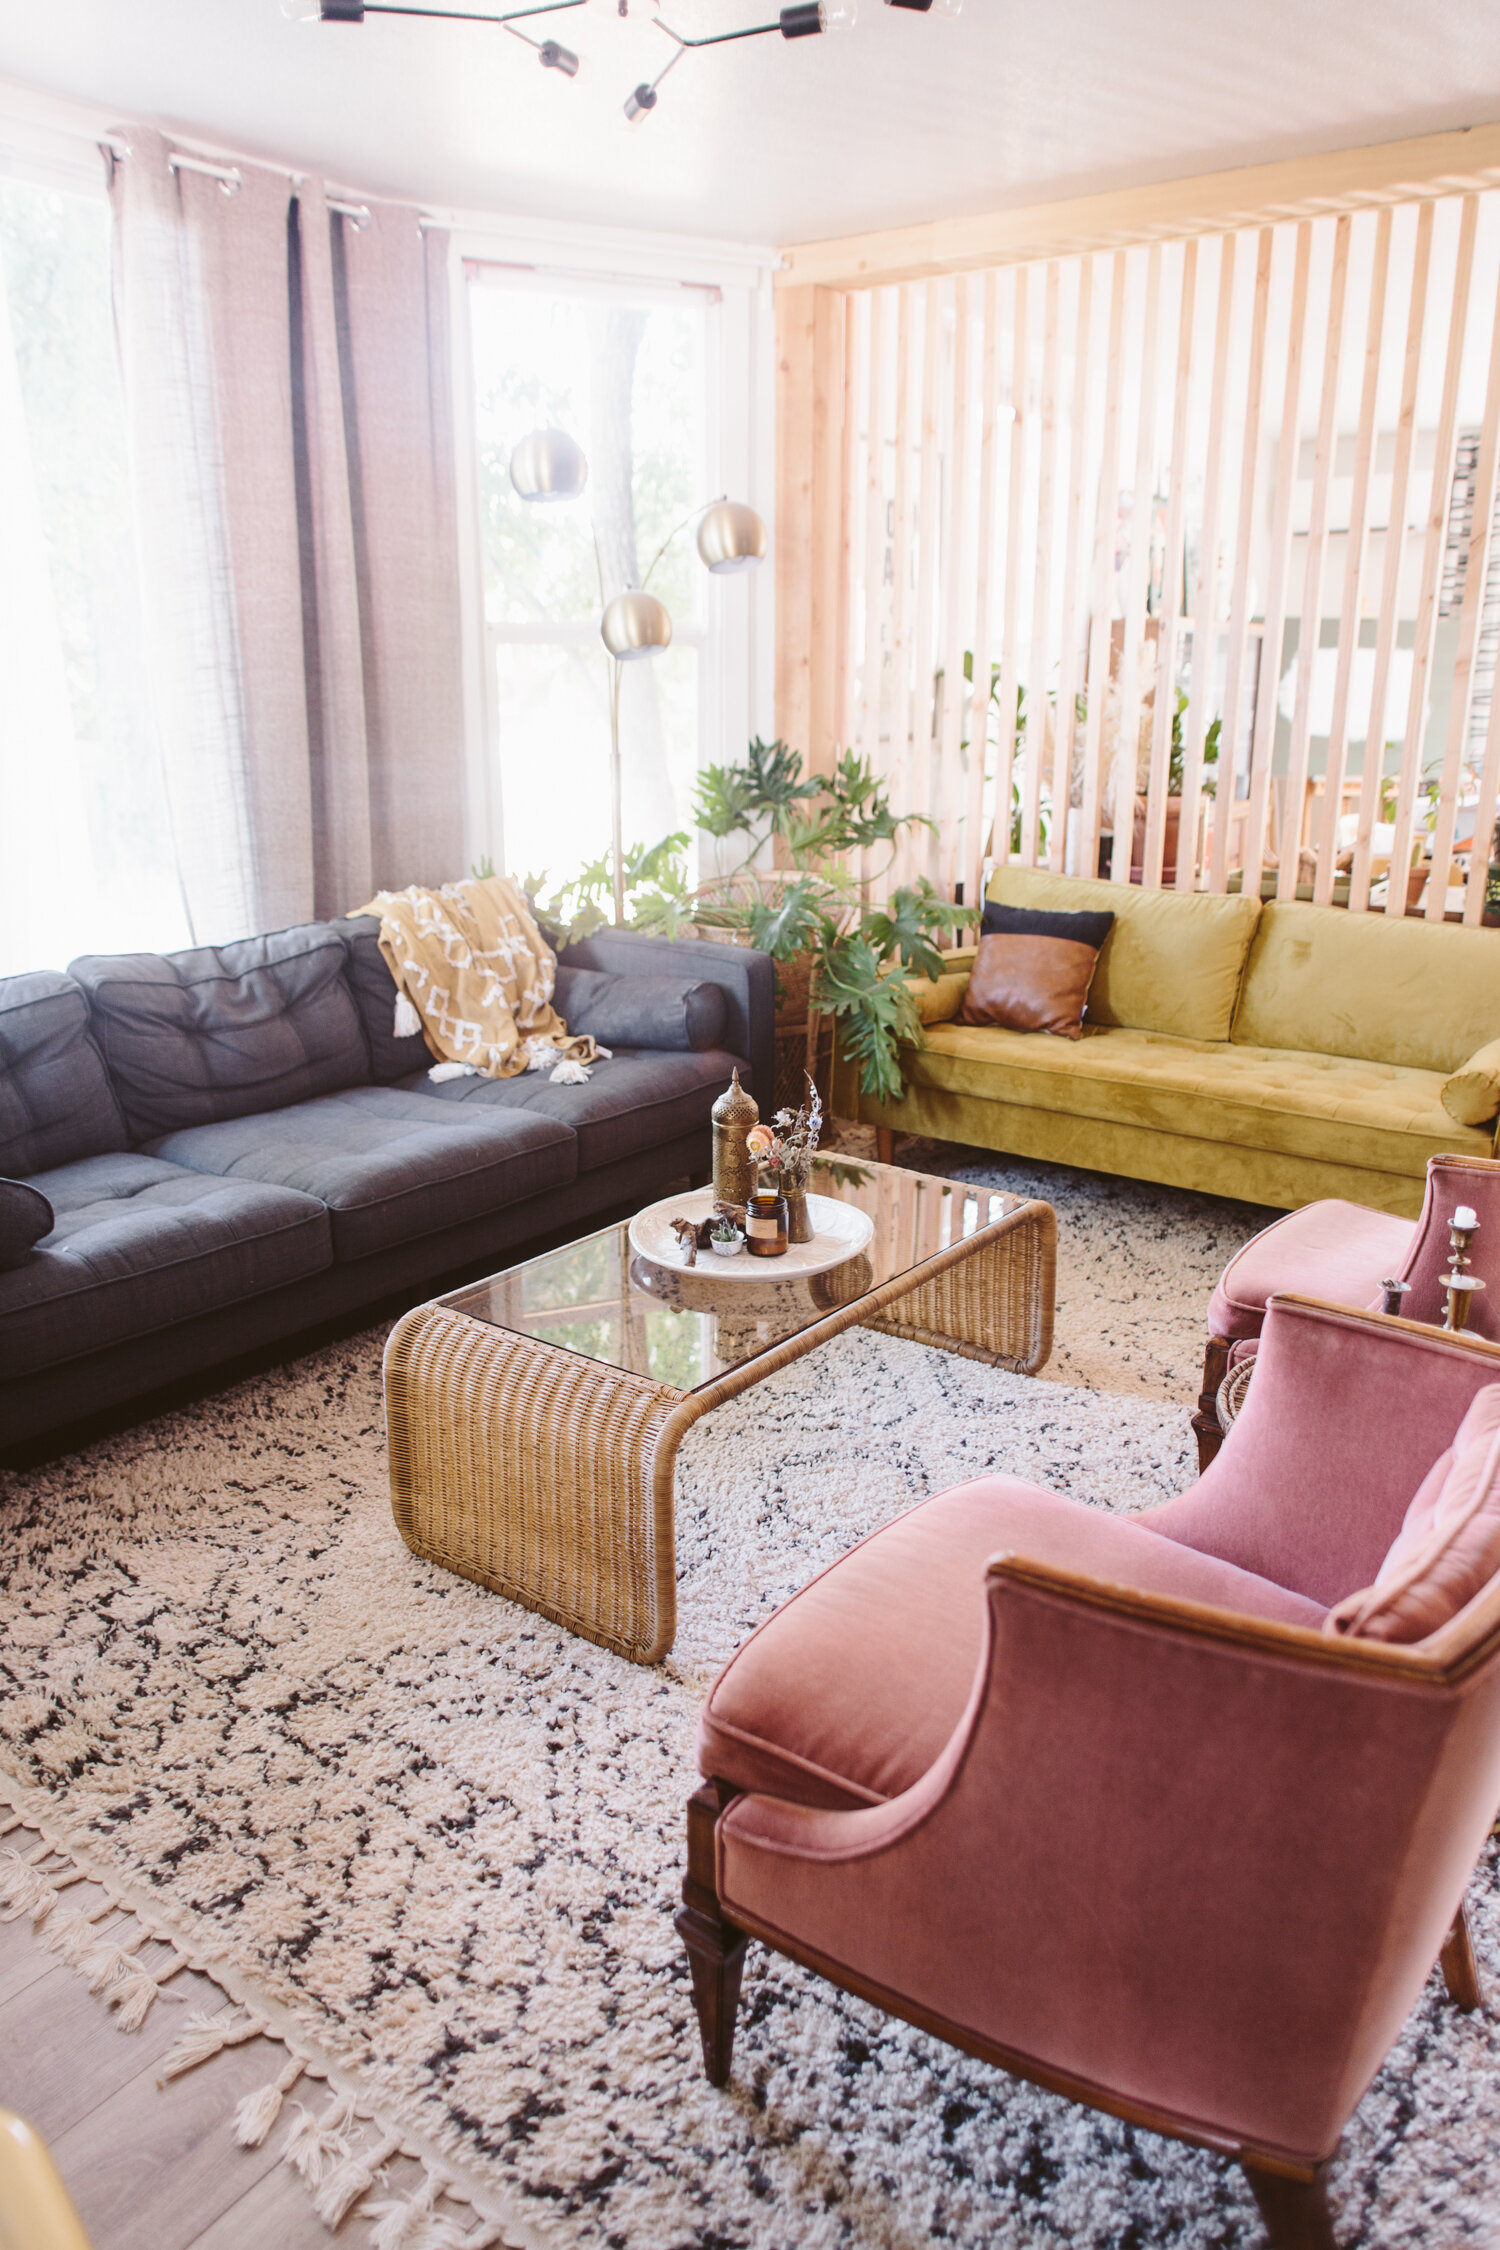
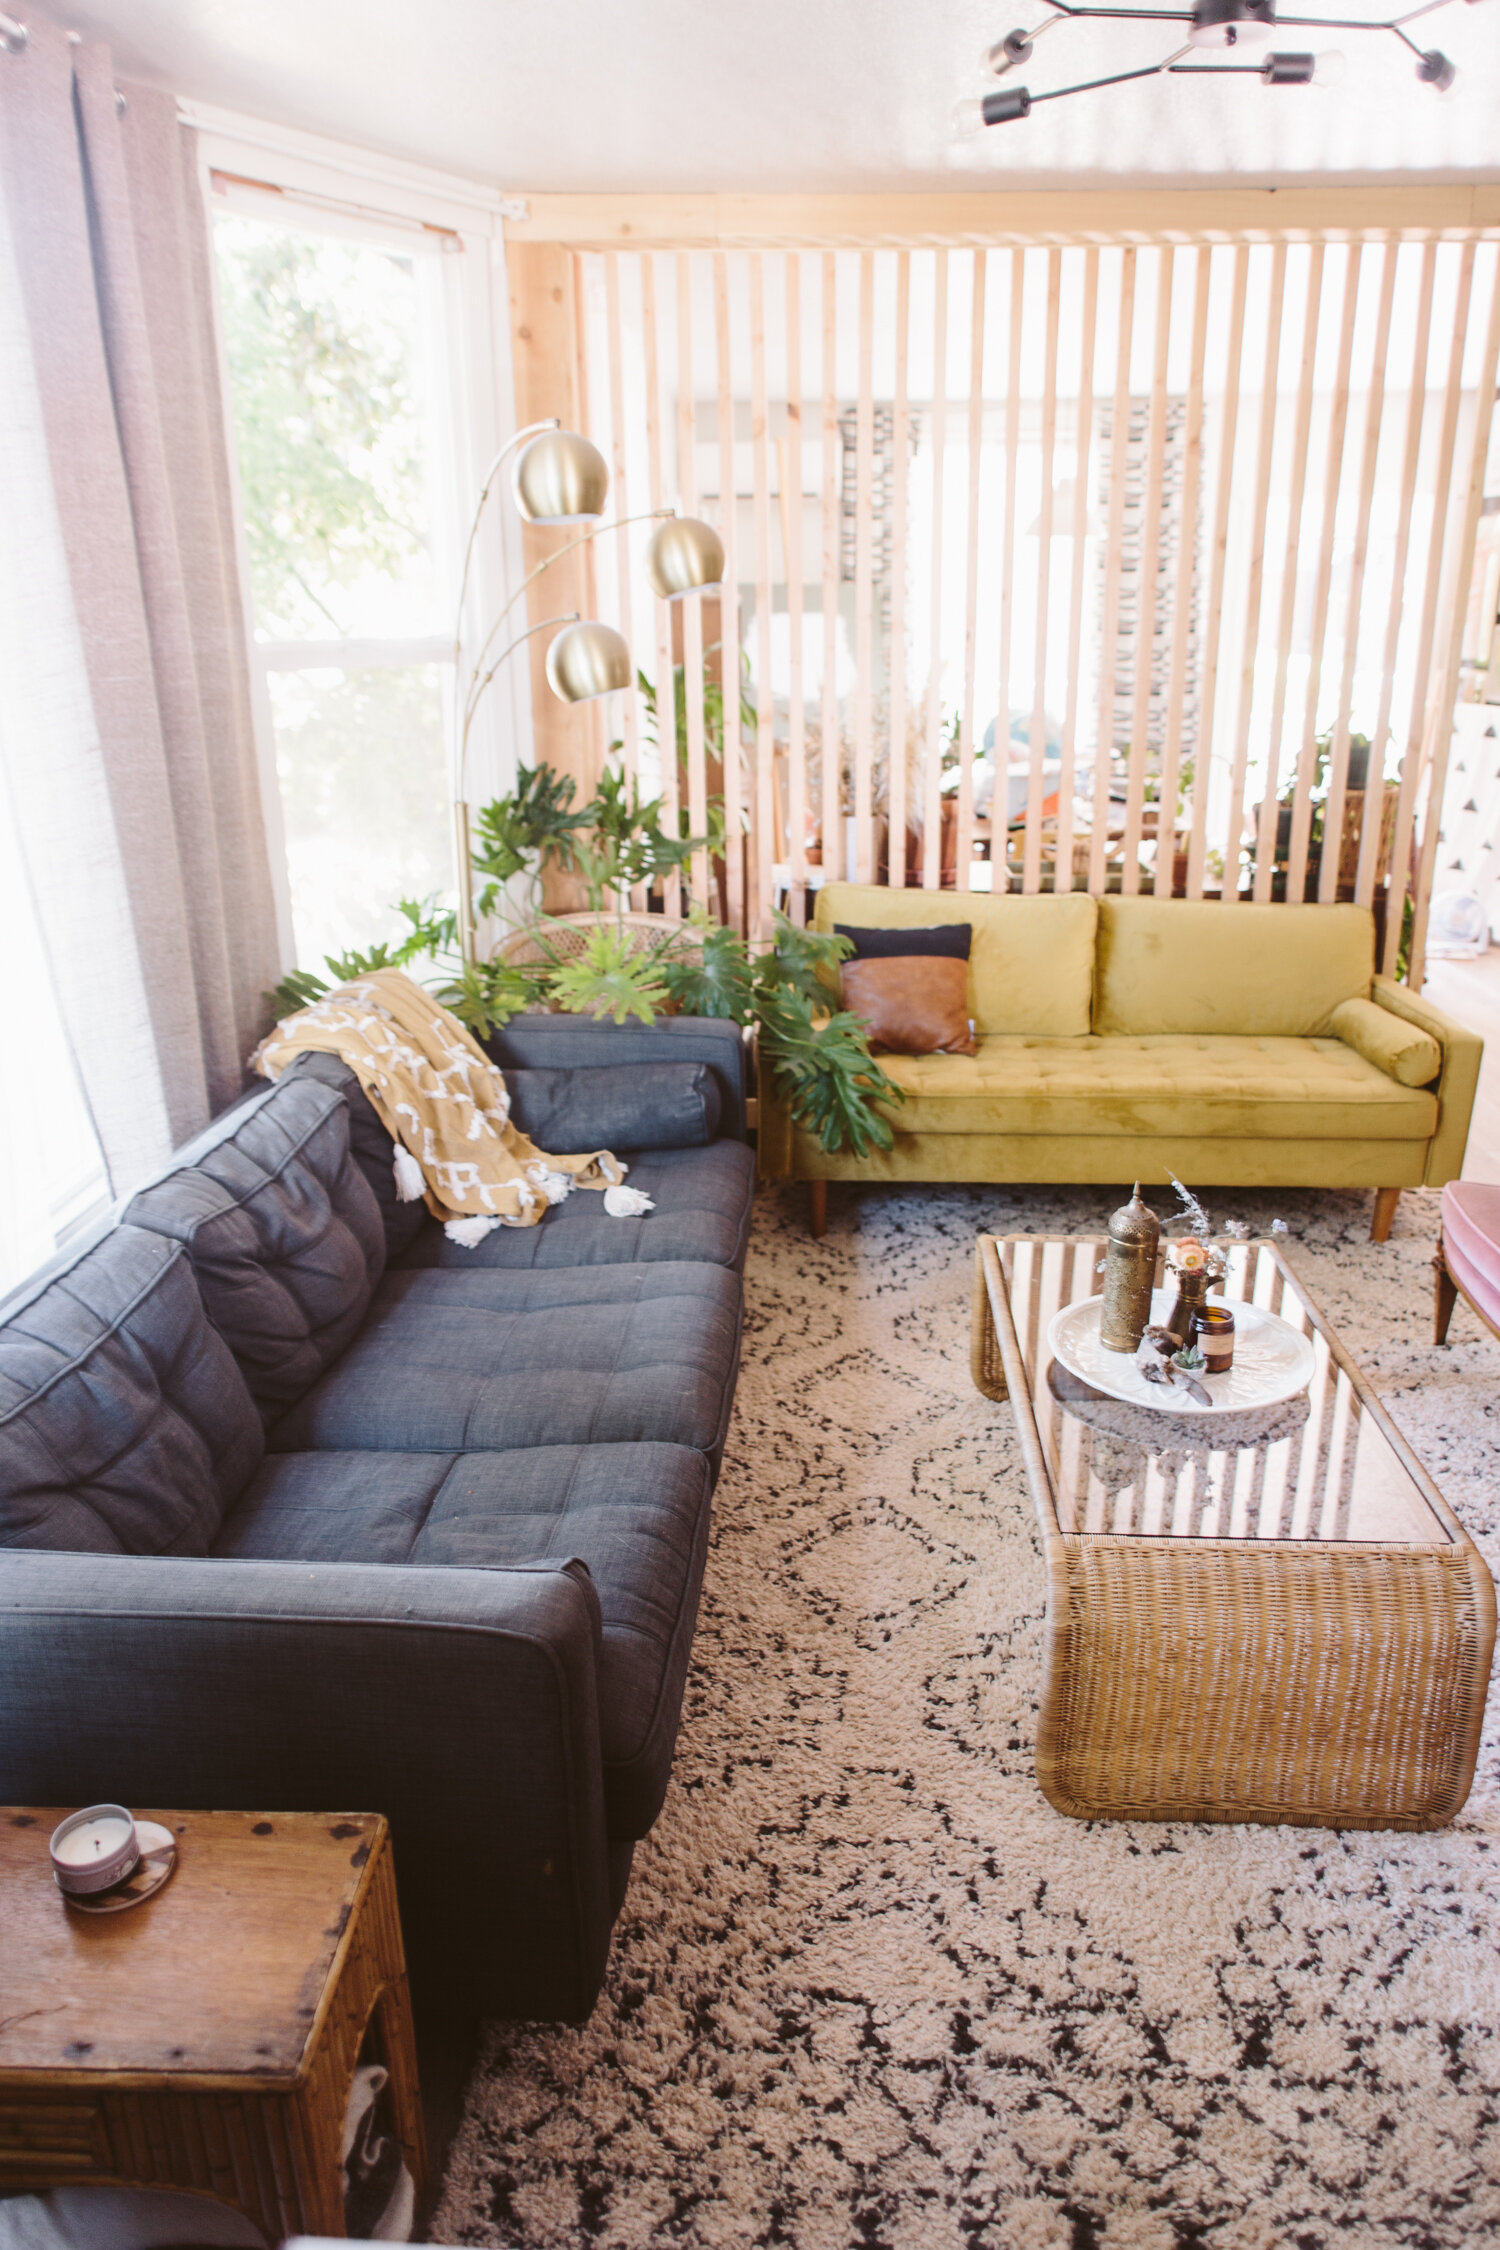
I get tons of questions about my slat room divider and I’m super excited to share with you guys how easy it was to put together! It’s also an extremely affordable way to create a defined space without making things feel closed off. In our home I love how it allows the light to come through from the large windows in the dining room, but it still gives the living room a cozy feeling.
Depending on how big your room divider is, you may need to build it in the space, as it will be too large to build and then fit it through a doorway. I assembled mine in my living room. Since we had a little beam going across right where I wanted my room divider to be, I built mine slightly differently than I’m going to describe (I didn’t sandwich the top with 1x4’s, I just put a 1x4 on one side and then used that to screw through into the beam) so that it will look nice attached to a plain ceiling with no beam.


You’ll need:
2x2’s (amount depending on how large your room divider will be)
Six 1x4’s (length depending on the width of your room divider)
1 1/4 in screws
Tools: Tape measure, Drill, Circular Saw/Miter Saw, Table Saw (optional)


1/ Measure the height of your room, from floor to ceiling.Subtract 1.5 inches from that measurement (you’ll be adding 3/4in to the top and bottom later). Cut your 2x2 lumber to that measurement. Check the floor to ceiling height in a few different spots where your room divider is going, just to make sure it’s the same all the way across. You may have some slight variations you’ll need to adjust for since older homes aren’t always 100% square. To decide how many 2x2’s you’ll need you’ll need to determine how far apart you want your slats to be. Mine are 2 1/4in apart.
2/ Cut six 1x4’s the total length of your room divider. Take one and screw your 2x2 slats to it at one end, making sure you maintain a uniform distance between your slats (again, mine were 2 1/4 in apart). I used 1 1/4 in screws and did two on each slat, one at the top of the 1x4 and one at the bottom. Do the same on the other end of your slats. If you want a more clean, finished look, you can use a finish nailer instead.
3/ Flip the slat wall over carefully (you may need a friend to help, depending on how large yours is), and then screw in the other two 1x4’s to the opposite side, sandwiching the 2x2’s in the middle. I put one screw in this side so the screw goes in between the ones you did on the other side. Again, repeat for the opposite end of the slats, so that both ends are sandwiched between 1x4s.
4/ Rip the final two 1x4’s down to 3 inches wide, and attach these two to the top and bottom of the slat wall, creating a top and bottom plate for your wall. (if you don’t have a table saw you can skip this step, the top and bottom plates will just extend 1/4 in beyond either side, since the total width of the sandwiched top is 3in, and a 1x4 is 3 1/2 in wide)
5/ Tilt your room divider up, and screw up into the ceiling in a few places to secure it. If you want to screw it into your floor as well for a more permanent wall, you can do that. I didn’t want to damage my flooring so I didn’t attach mine at the bottom. You can also screw into the wall through the slat on the end too, to secure it more thoroughly.
Watch me build mine below!


![As per usual I’m pushing right up against a deadline and have hyperfixated on this painting all week to finish in time.
Chikayaasix̂ [Fireweed] Transplanted- acrylic on wood.
Every generation my family has moved farther and farther from ances](https://images.squarespace-cdn.com/content/v1/574dddd6d51cd4bc35c1609a/1714708076216-UAPXPXK9DVDBP7F1C65E/image-asset.jpeg)

