I was bummed to get rid of our cute yellow file cabinet when we moved, but I knew that trying to fit a big ol' file cabinet in our tiny Uhaul was just going to take up space we needed for more important stuff. I figured it'd be easy to find another cheap second-hand file cabinet when we got to Anchorage and that spending 20 bucks on a file cabinet was worth not trying to shove it in a Uhaul trailer that was already going to be packed to the gills.
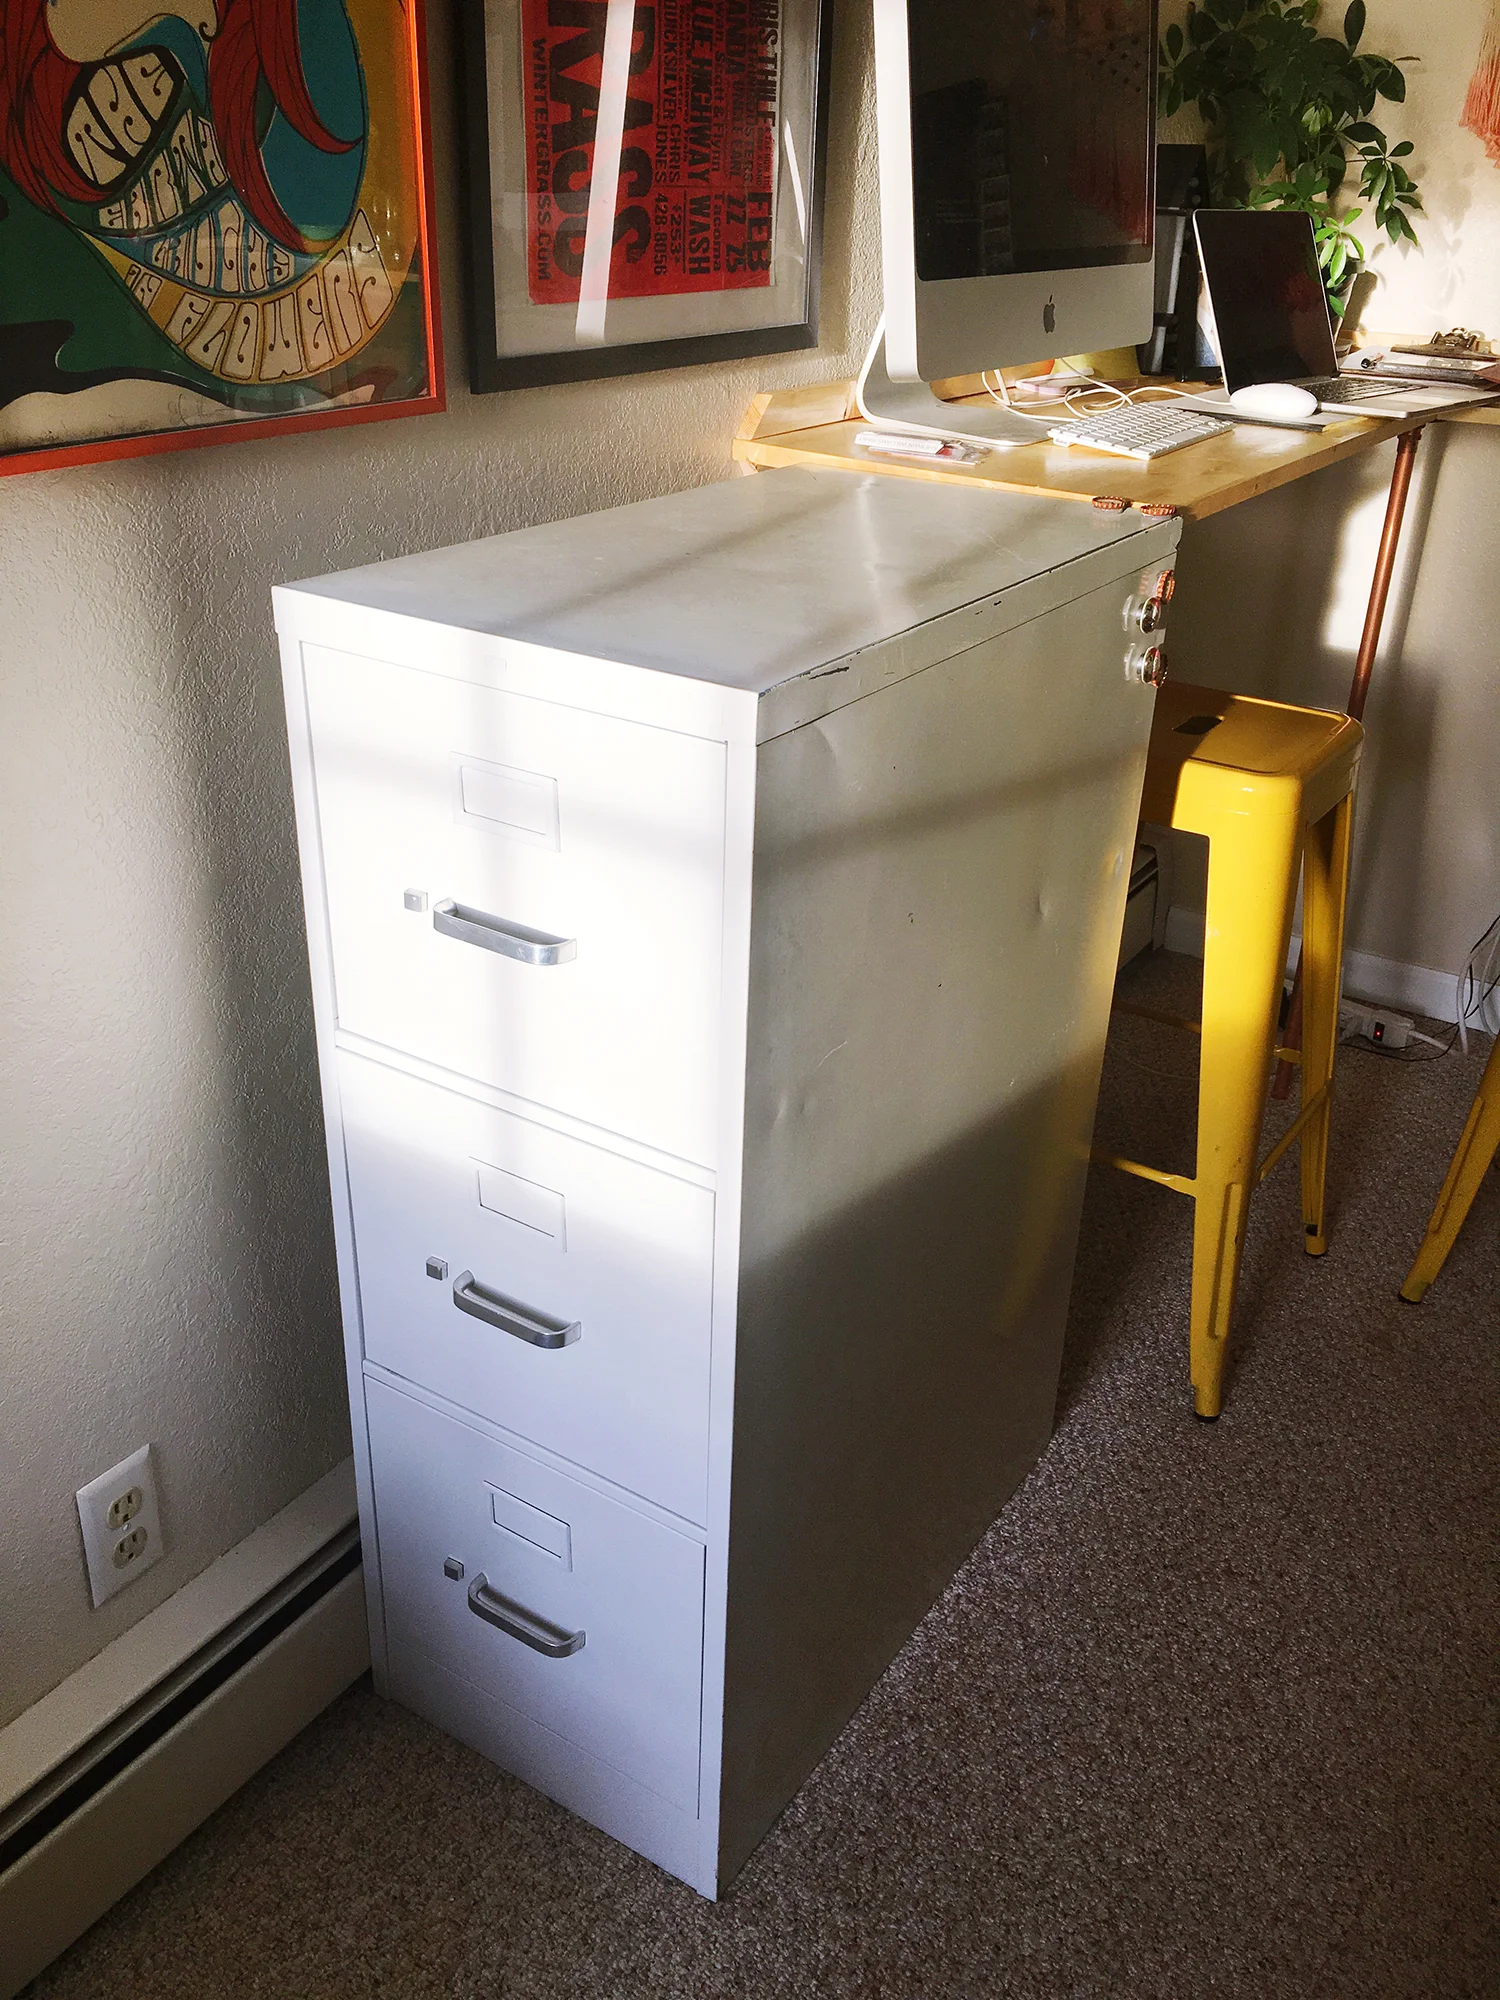
I'm actually glad we ended up getting a new file cabinet because we needed a 3-drawer one anyway, as our 2-drawer one was getting a little too full. I found the cabinet below at Value Village for only 12 bucks and knew it'd be a great candidate for a makeover.
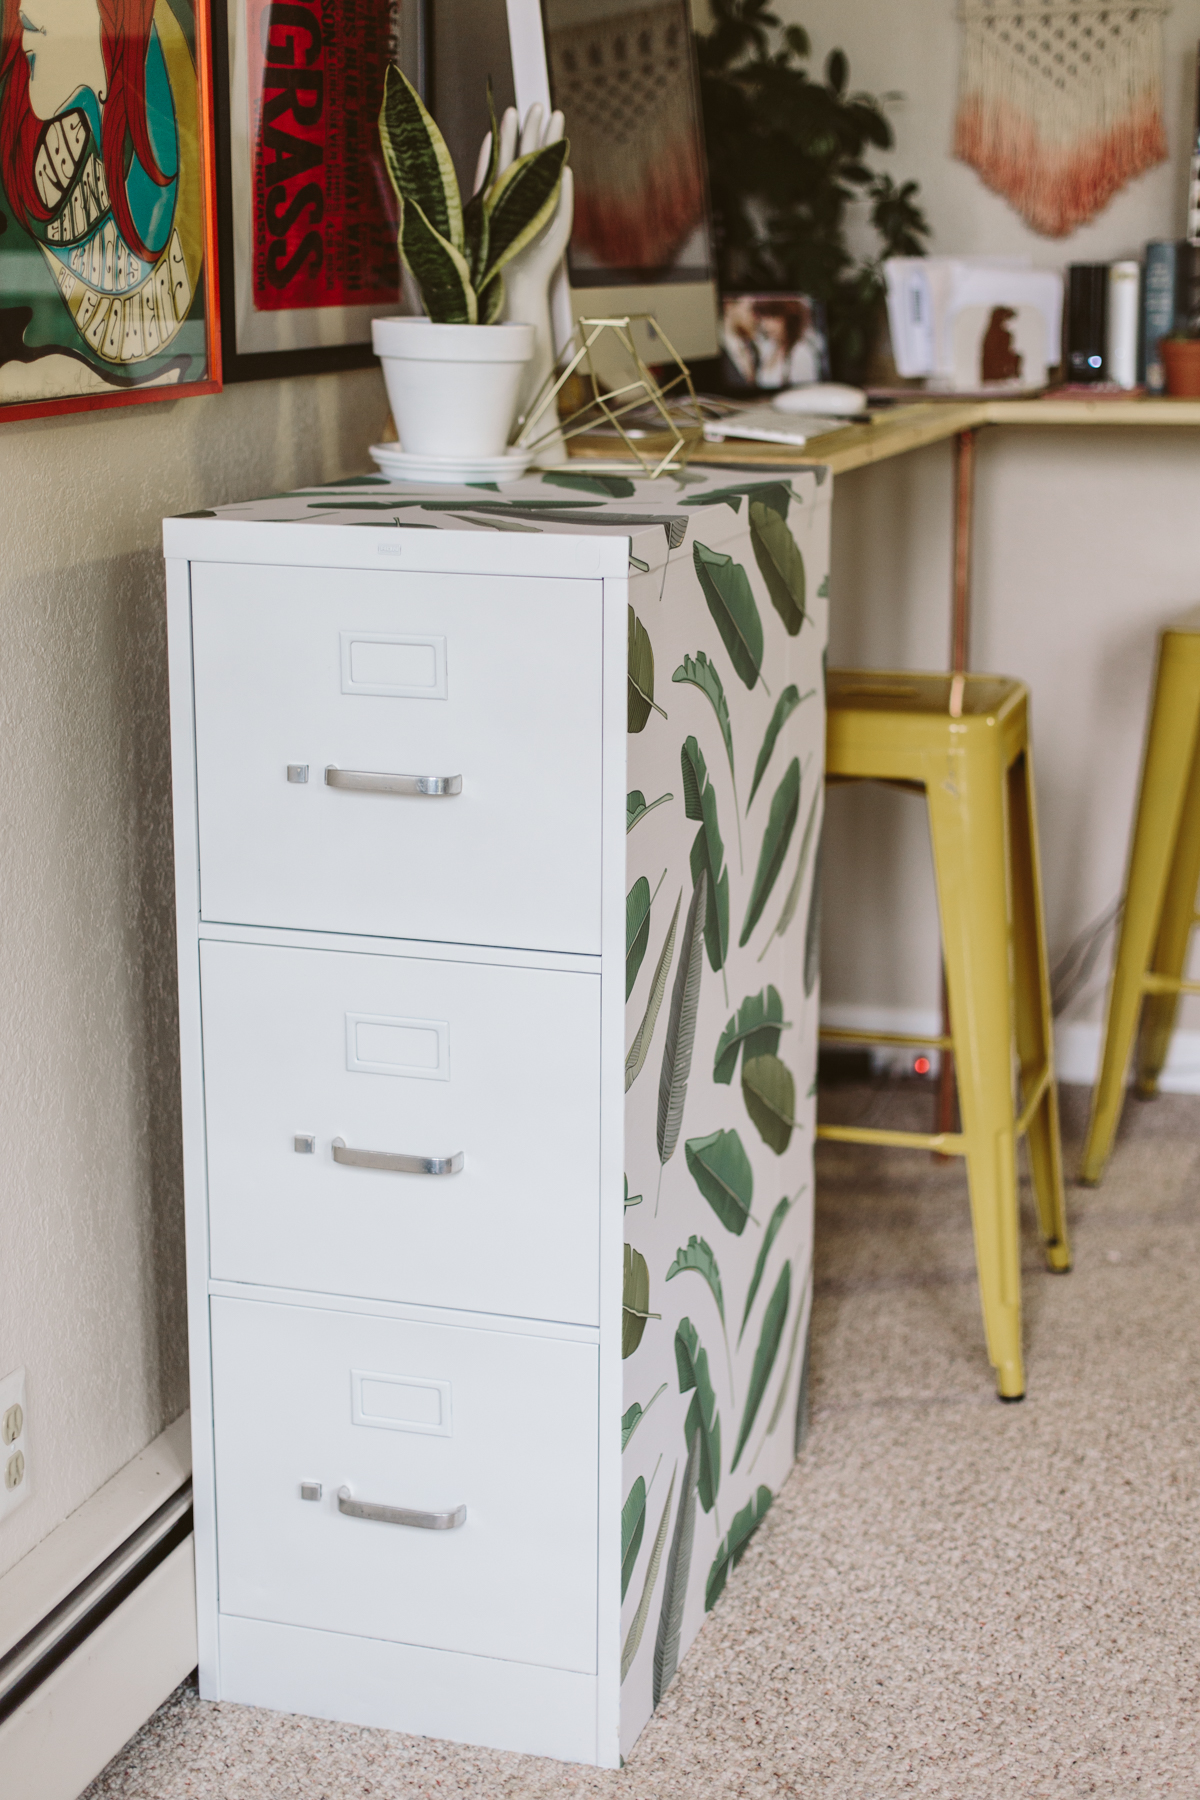
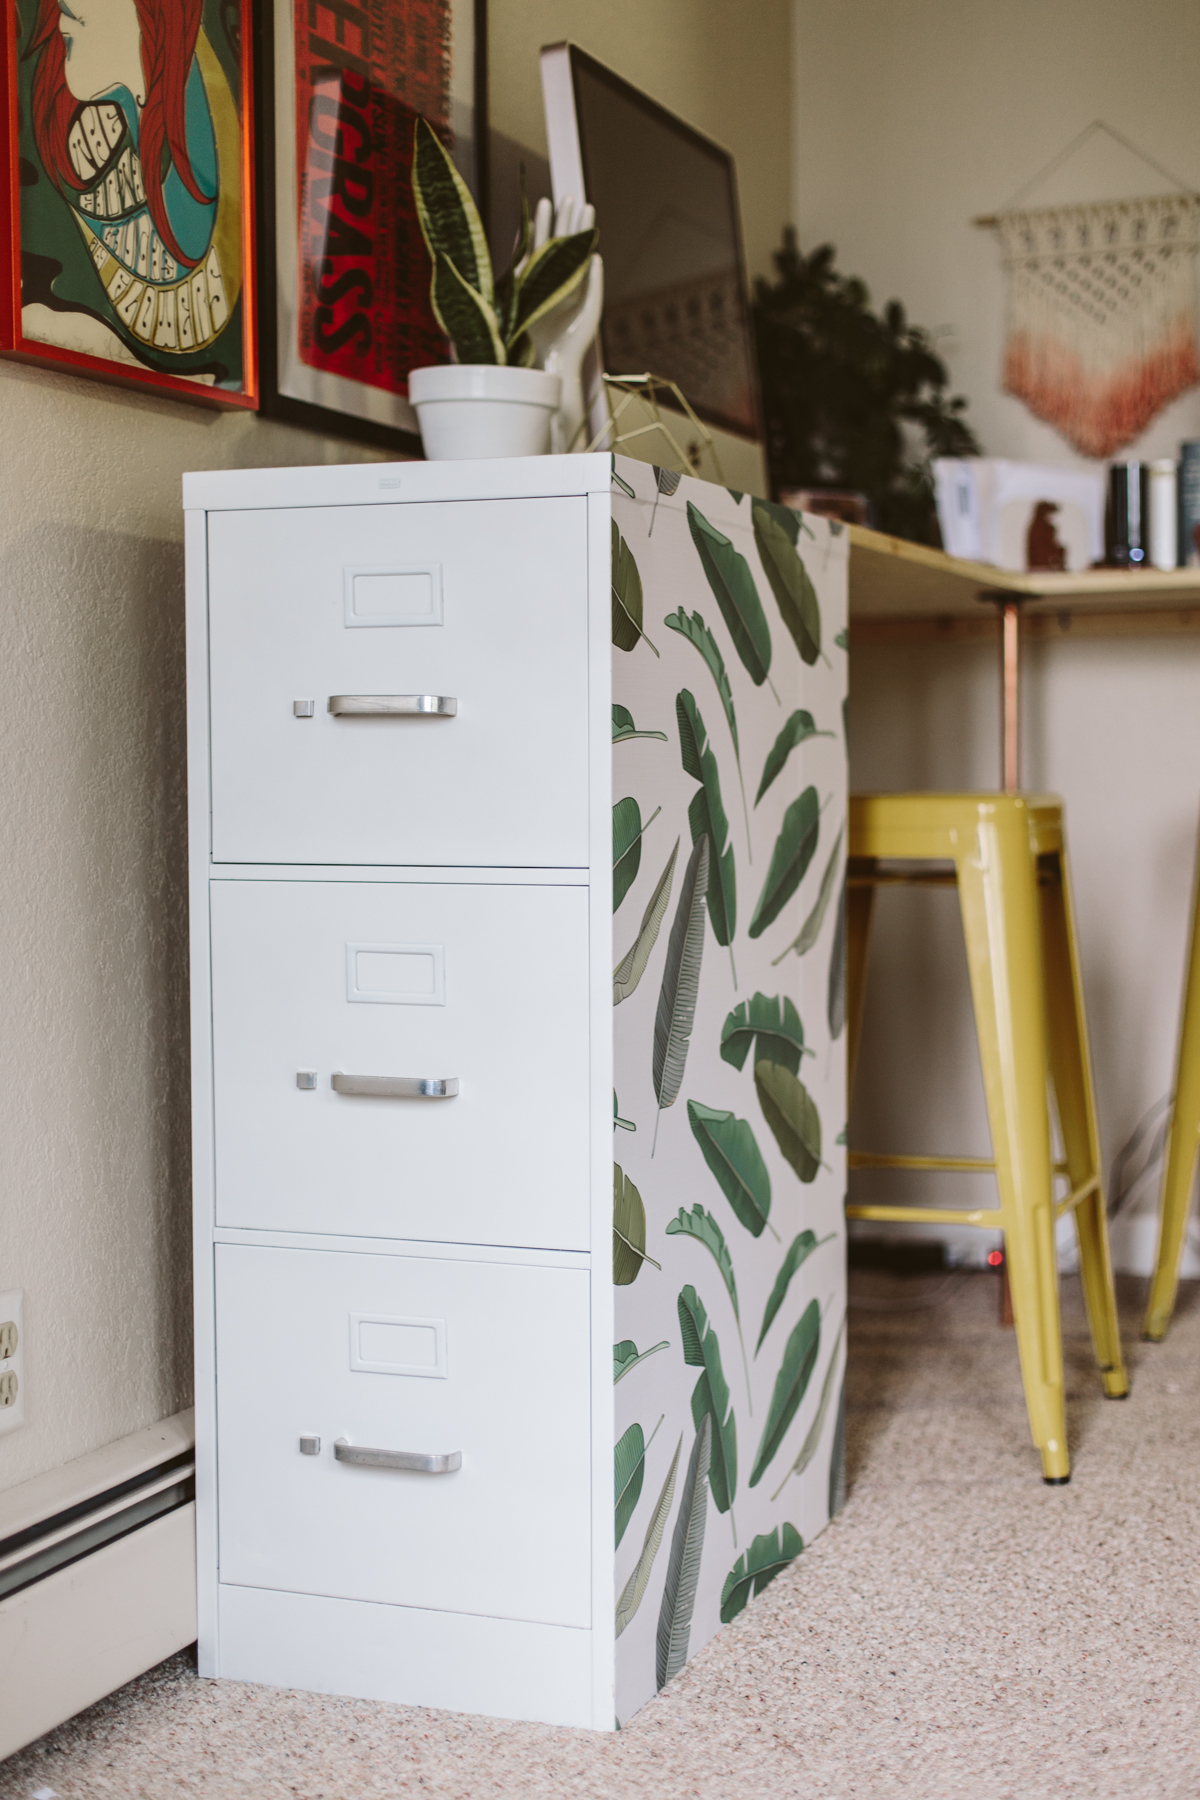
It was a little dented, a *meh* shade of beige, slightly scuffed, and had some stickers stuck to the top. Originally I had planned on painting it for the makeover, but I realized I had some leftover removable wallpaper from Wallsneedlove that I never got around to using for my Winnie, and it ended up being the perfect amount of wallpaper necessary for the project!
What you'll need:
Spray paint/primer
Masking tape
Removable Wallpaper or Contact Paper
If you need to change the color of the front, which is the only part of the cabinet that shows after you cover the sides, you'll need to paint it. I used Valspar Project Perfect paint + primer in white to freshen up the front of the cabinet so it would match the wallpaper better. The photo above isn't a true "before" pic because I already sprayed the front, so it looks much cleaner and nicer than it did when I bought it. You'll want to either remove the hardware (pull handles and such) or mask them off. I am too impatient during DIY projects, so I just masked them off.
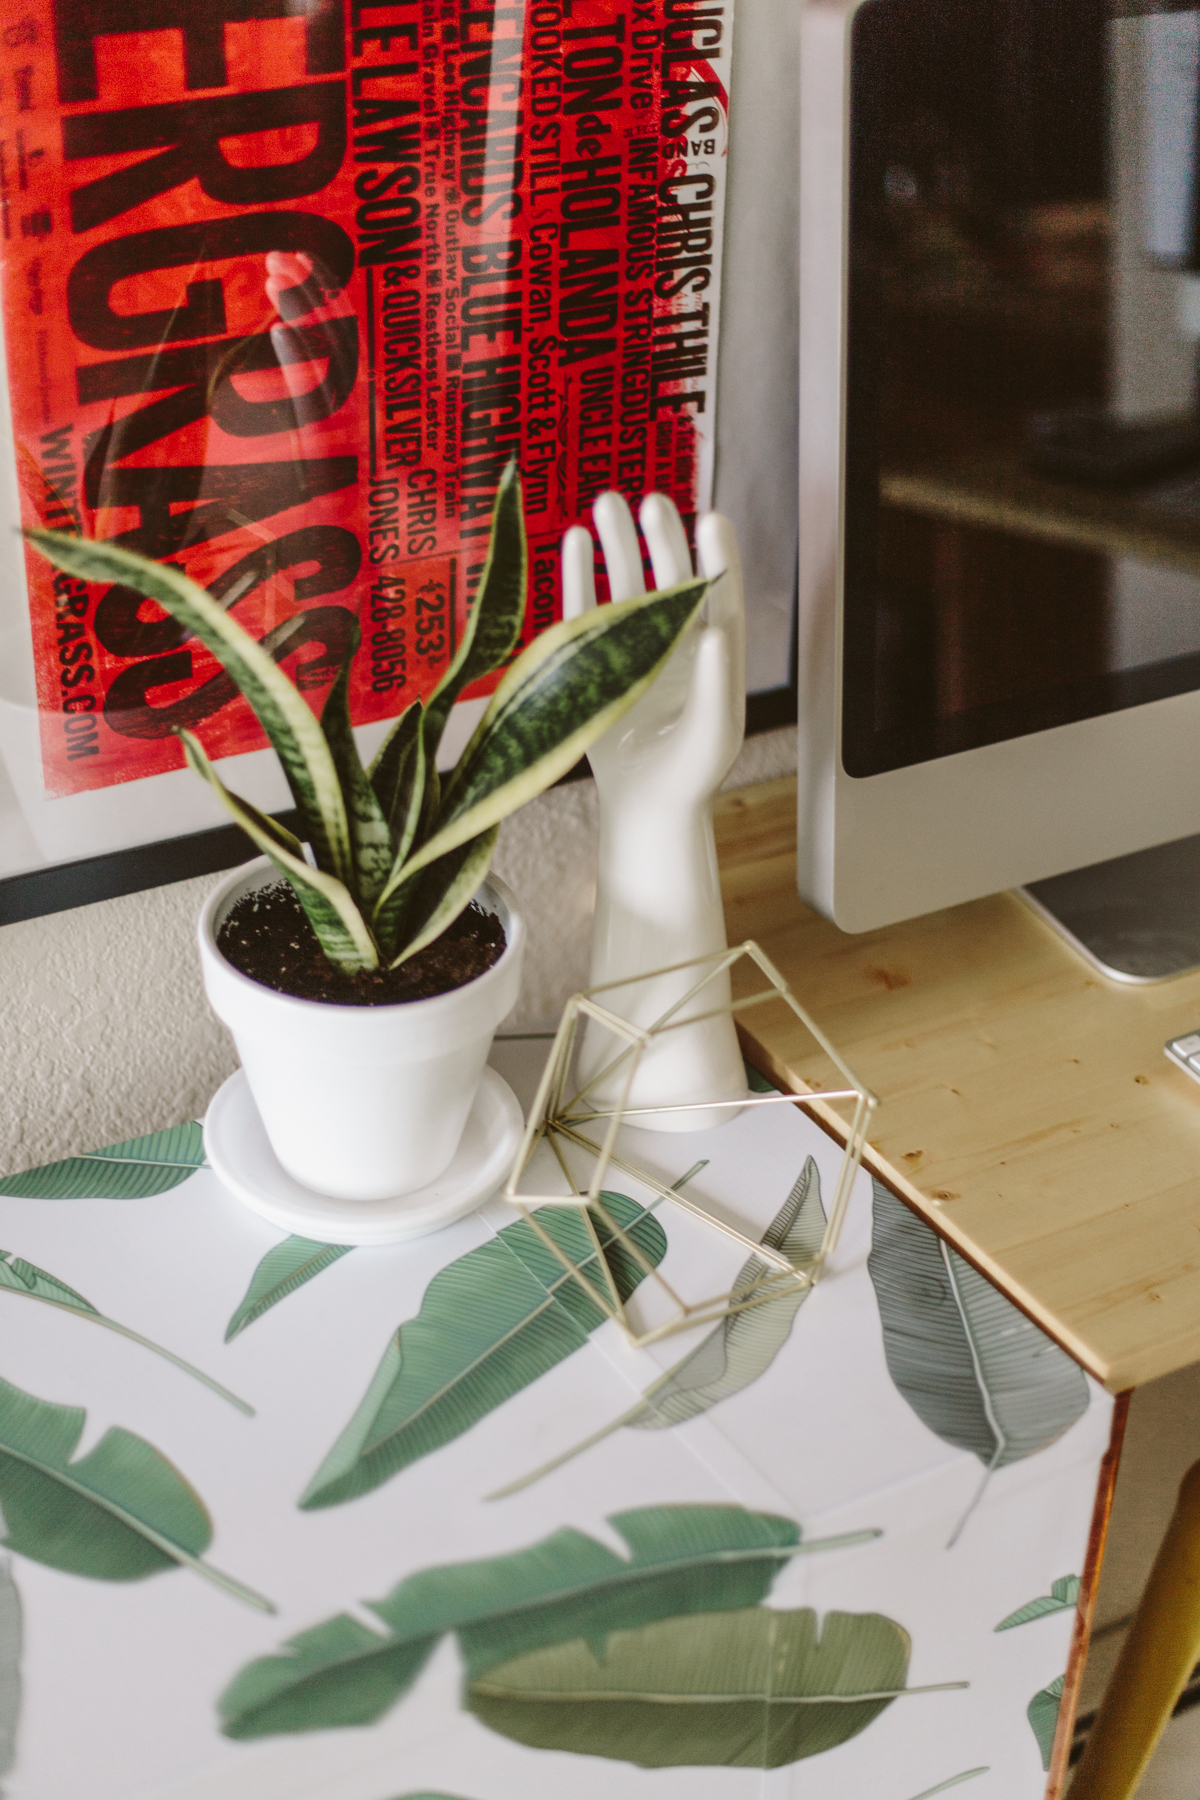
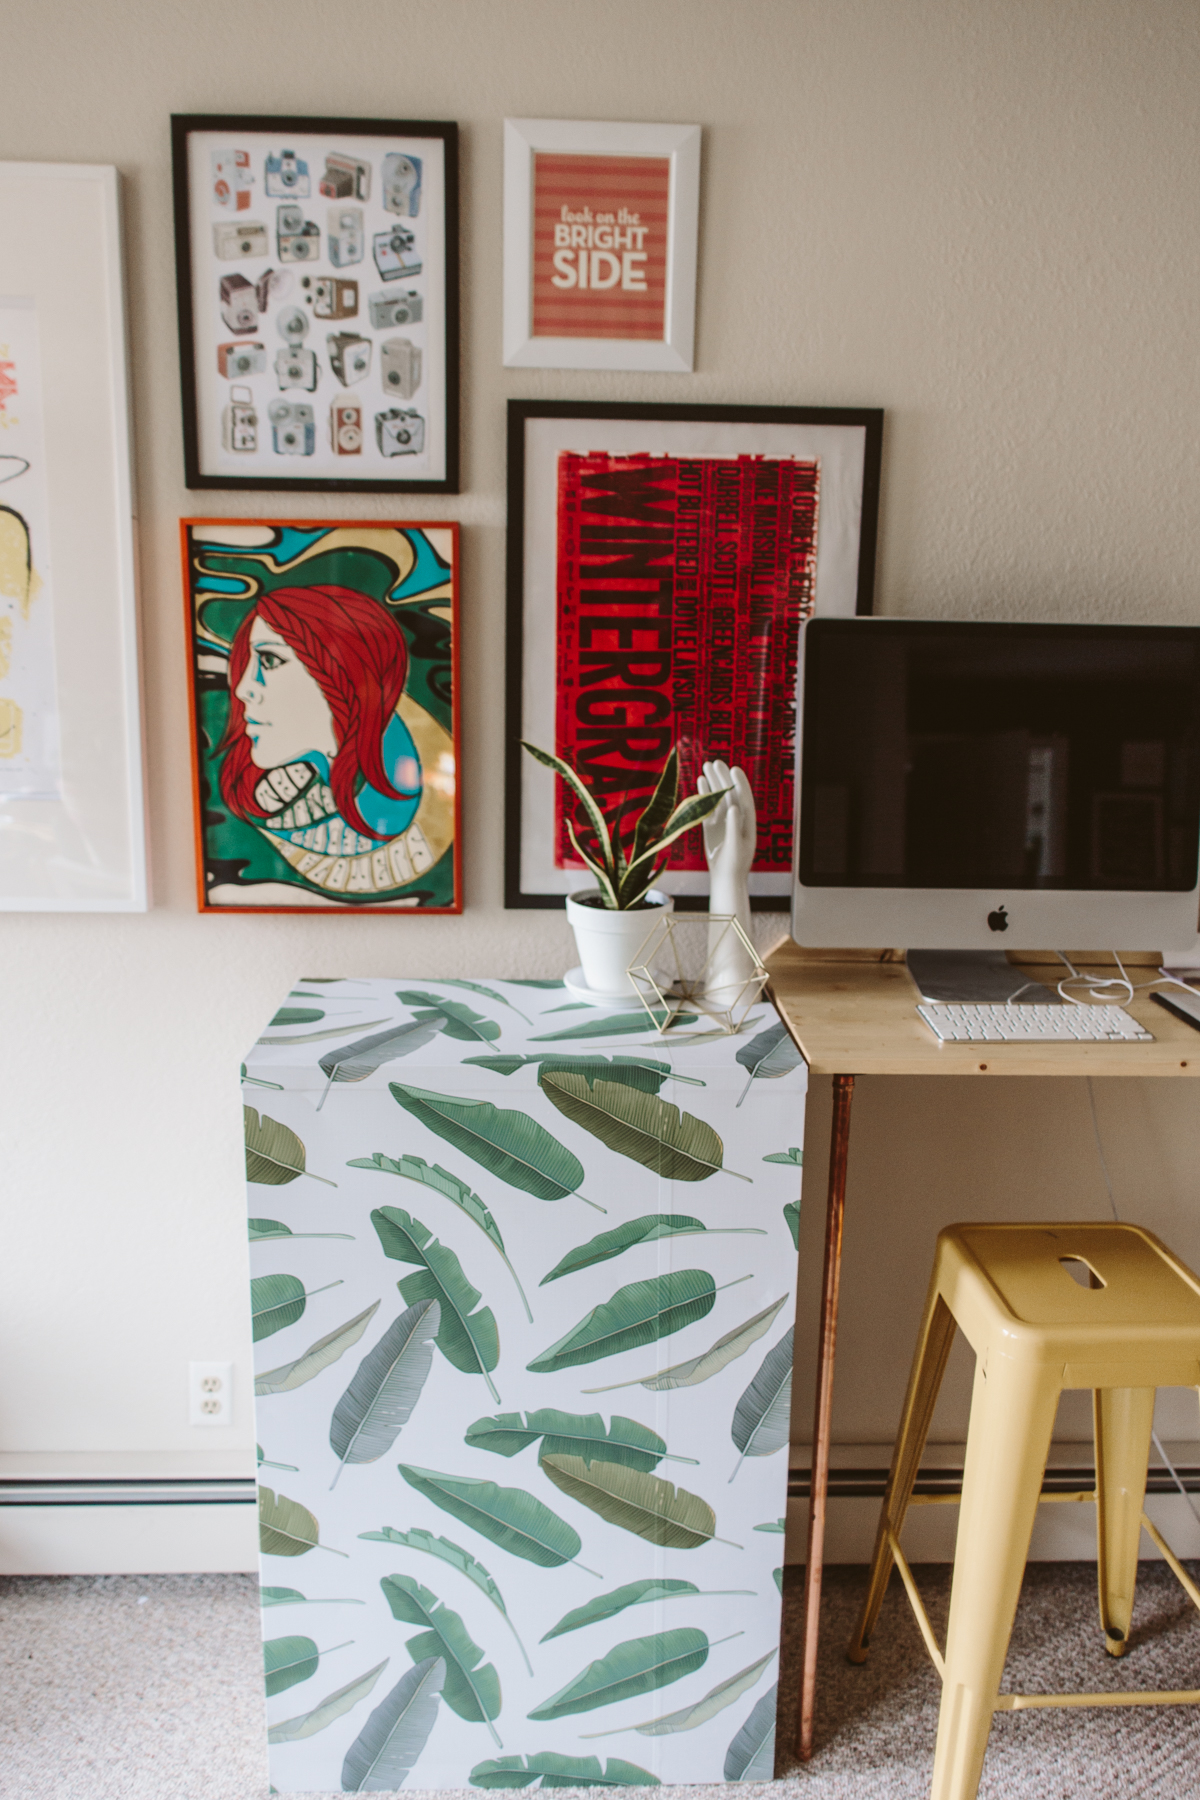
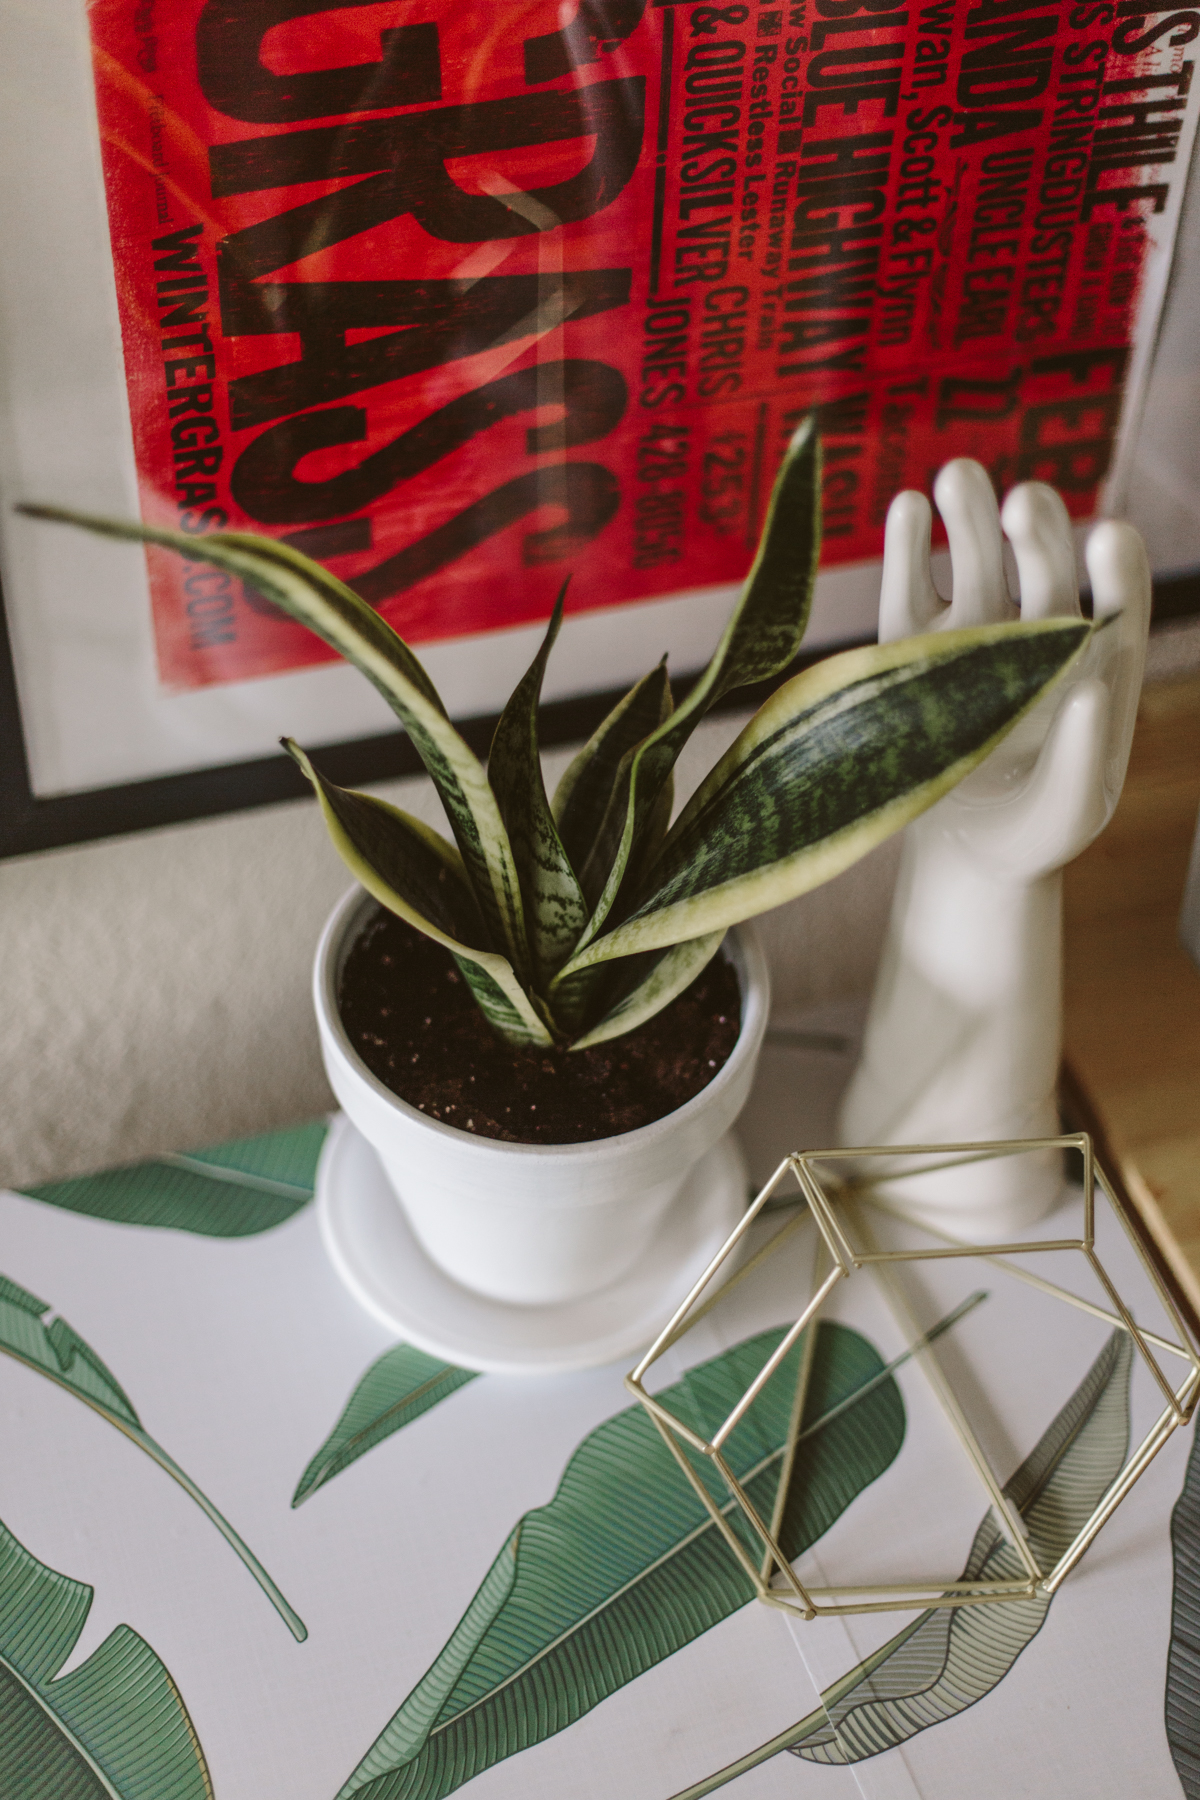
Once your front is the color you'd like, you can apply the wallpaper or contact paper. I used the Banana Leaf wallpaper from Wallsneed love (and they have hundreds of other designs that would look amazing for this project!), but you could also use contact paper! I've covered fridges before with chalkboard wallpaper and faux wood wallpaper, and I think marble contact paper would look super amazing on this DIY!
The file cabinet will be too deep for just one width of wallpaper/contact paper. I ended up needing about 7 more inches to finish the back, so make sure you calculate how much you'll need to cover the area you want to cover. I actually didn't cover the side against the wall or the back because a) you don't see them and b) I didn't have any more wallpaper.
I think this is one of my favorite DIY makeovers ever! Covering ugly things with cute wallpaper is my favorite. It's so easy and has a HUGE impact. My next thing to cover is our fridge because it is a super ugly old ivory color (BORING). I haven't lived anywhere in the past 5 years without covering my fridge in contact paper, actually! Haha! Seriously, If your fridge is boring, just go out and get yourself some contact paper and wham-bam-thank-you-ma'am fix that 'ish. I did a DIY tutorial many years ago for this DIY and it's super easy. Go do it and thank me later.



![This print feels even more relevant today. We all joke about the dumpster fire of [insert year here], but the important message of this image to me is that *we persist* through the horrors. We stand, we fight— maybe for ourselves, maybe for oth](https://images.squarespace-cdn.com/content/v1/574dddd6d51cd4bc35c1609a/1730935170369-03GPKQ5NF73VAE65RHO6/image-asset.jpeg)


