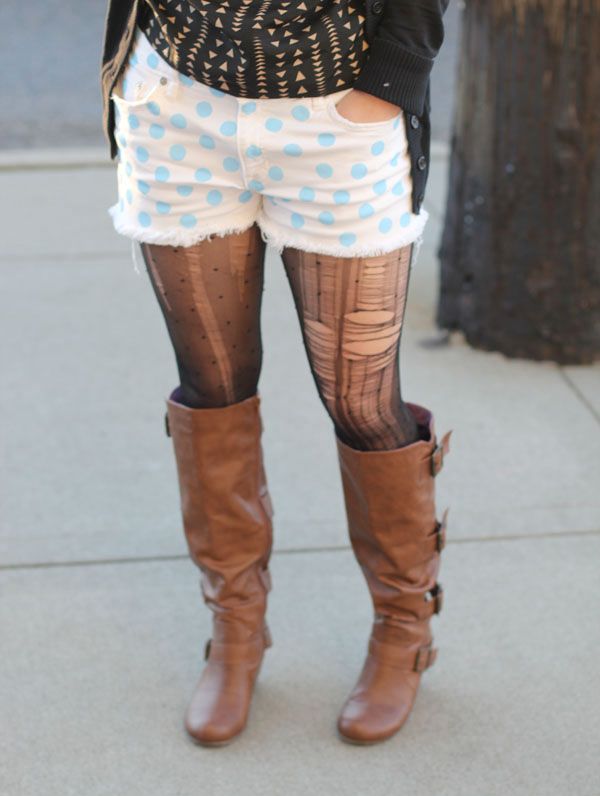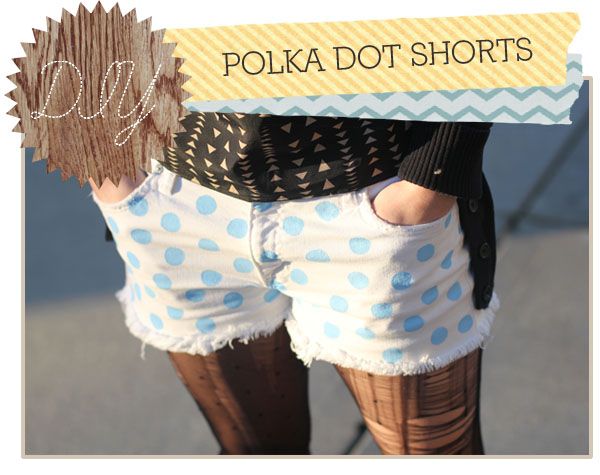
This is a really easy and fun way to add a bit of pizzaz to a pair of shorts, a top, or really any blank article of clothing that needs a little personality. Polka dots are so easy to do and they instantly liven up your outfit.
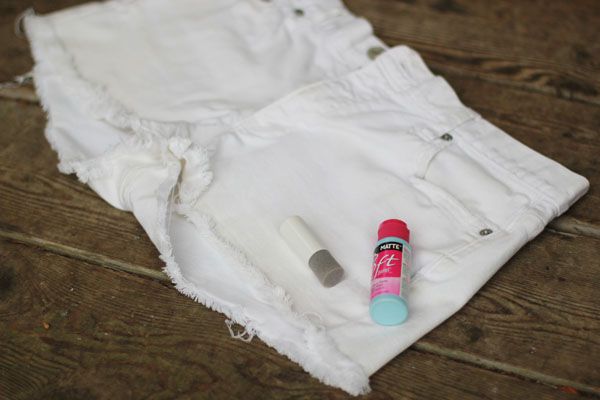
What you'll need:
A round craft sponge painting sponge (I got mine at Michael's)
A small paintbrush
Fabric paint
A pair of shorts (or really any blank clothing item)
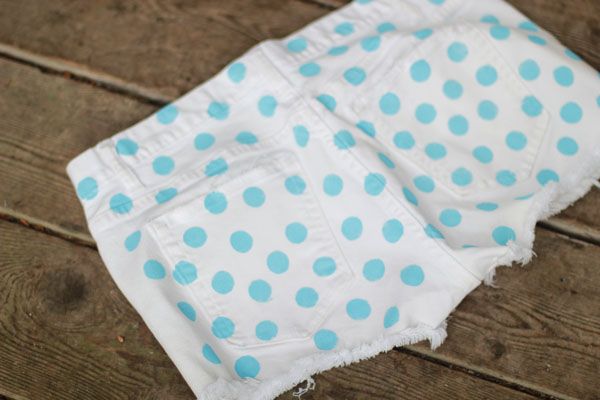
First decide how big you want your dots to be and how you want to arrange them. I wanted mine to be medium sized and evenly spaced out. Just start dabbing your sponge into some of your paint (making sure there's not so much paint in the sponge that it'll squish out the sides of your circle when you stamp it). Don't worry if your circles aren't getting completely filled in with the sponge. You probably won't get perfectly filled in polka dots from using the sponge, but it does create a nice good circle, after which you can use your small paintbrush to cover the areas inside the circle that didn't get completely filled in. Do about 5-10 circles and then go back and fill in the insides with your paintbrush. You probably won't need to even put any paint on your brush because the sponge will leave enough paint in the circle, so the brush will essentially just move the paint around inside the circle to cover the area evenly.
Once you finish with one side of your garment, let it dry before flipping it over and moving on to the next side. If you're painting on a thin fabric, it's always a good idea to put a piece of cardboard between the two sides of your garment so the paint doesn't bleed through. If you're doing something thick like denim, though, this is unnecessary.
Now, repeat the process on the other side of your shorts and you're done! Make sure to read your fabric paint's label to see how to set the paint before washing.