

The final step of my bathroom doorway “remodel” is installing the barn door. Part of me hates to call this a “barn door” because it’s not farmhouse-y at all. I found this french door at a local salvage shop and knew it’d be perfect for the bed/bathroom. When we started the remodel on the en suite bathroom, we took out the pocket door so we could make sure the wall framing was strong enough to handle the new tiled shower wall, but the bedroom is very small so a standard swinging door was a hard no. A sliding “barn” door was the solution!
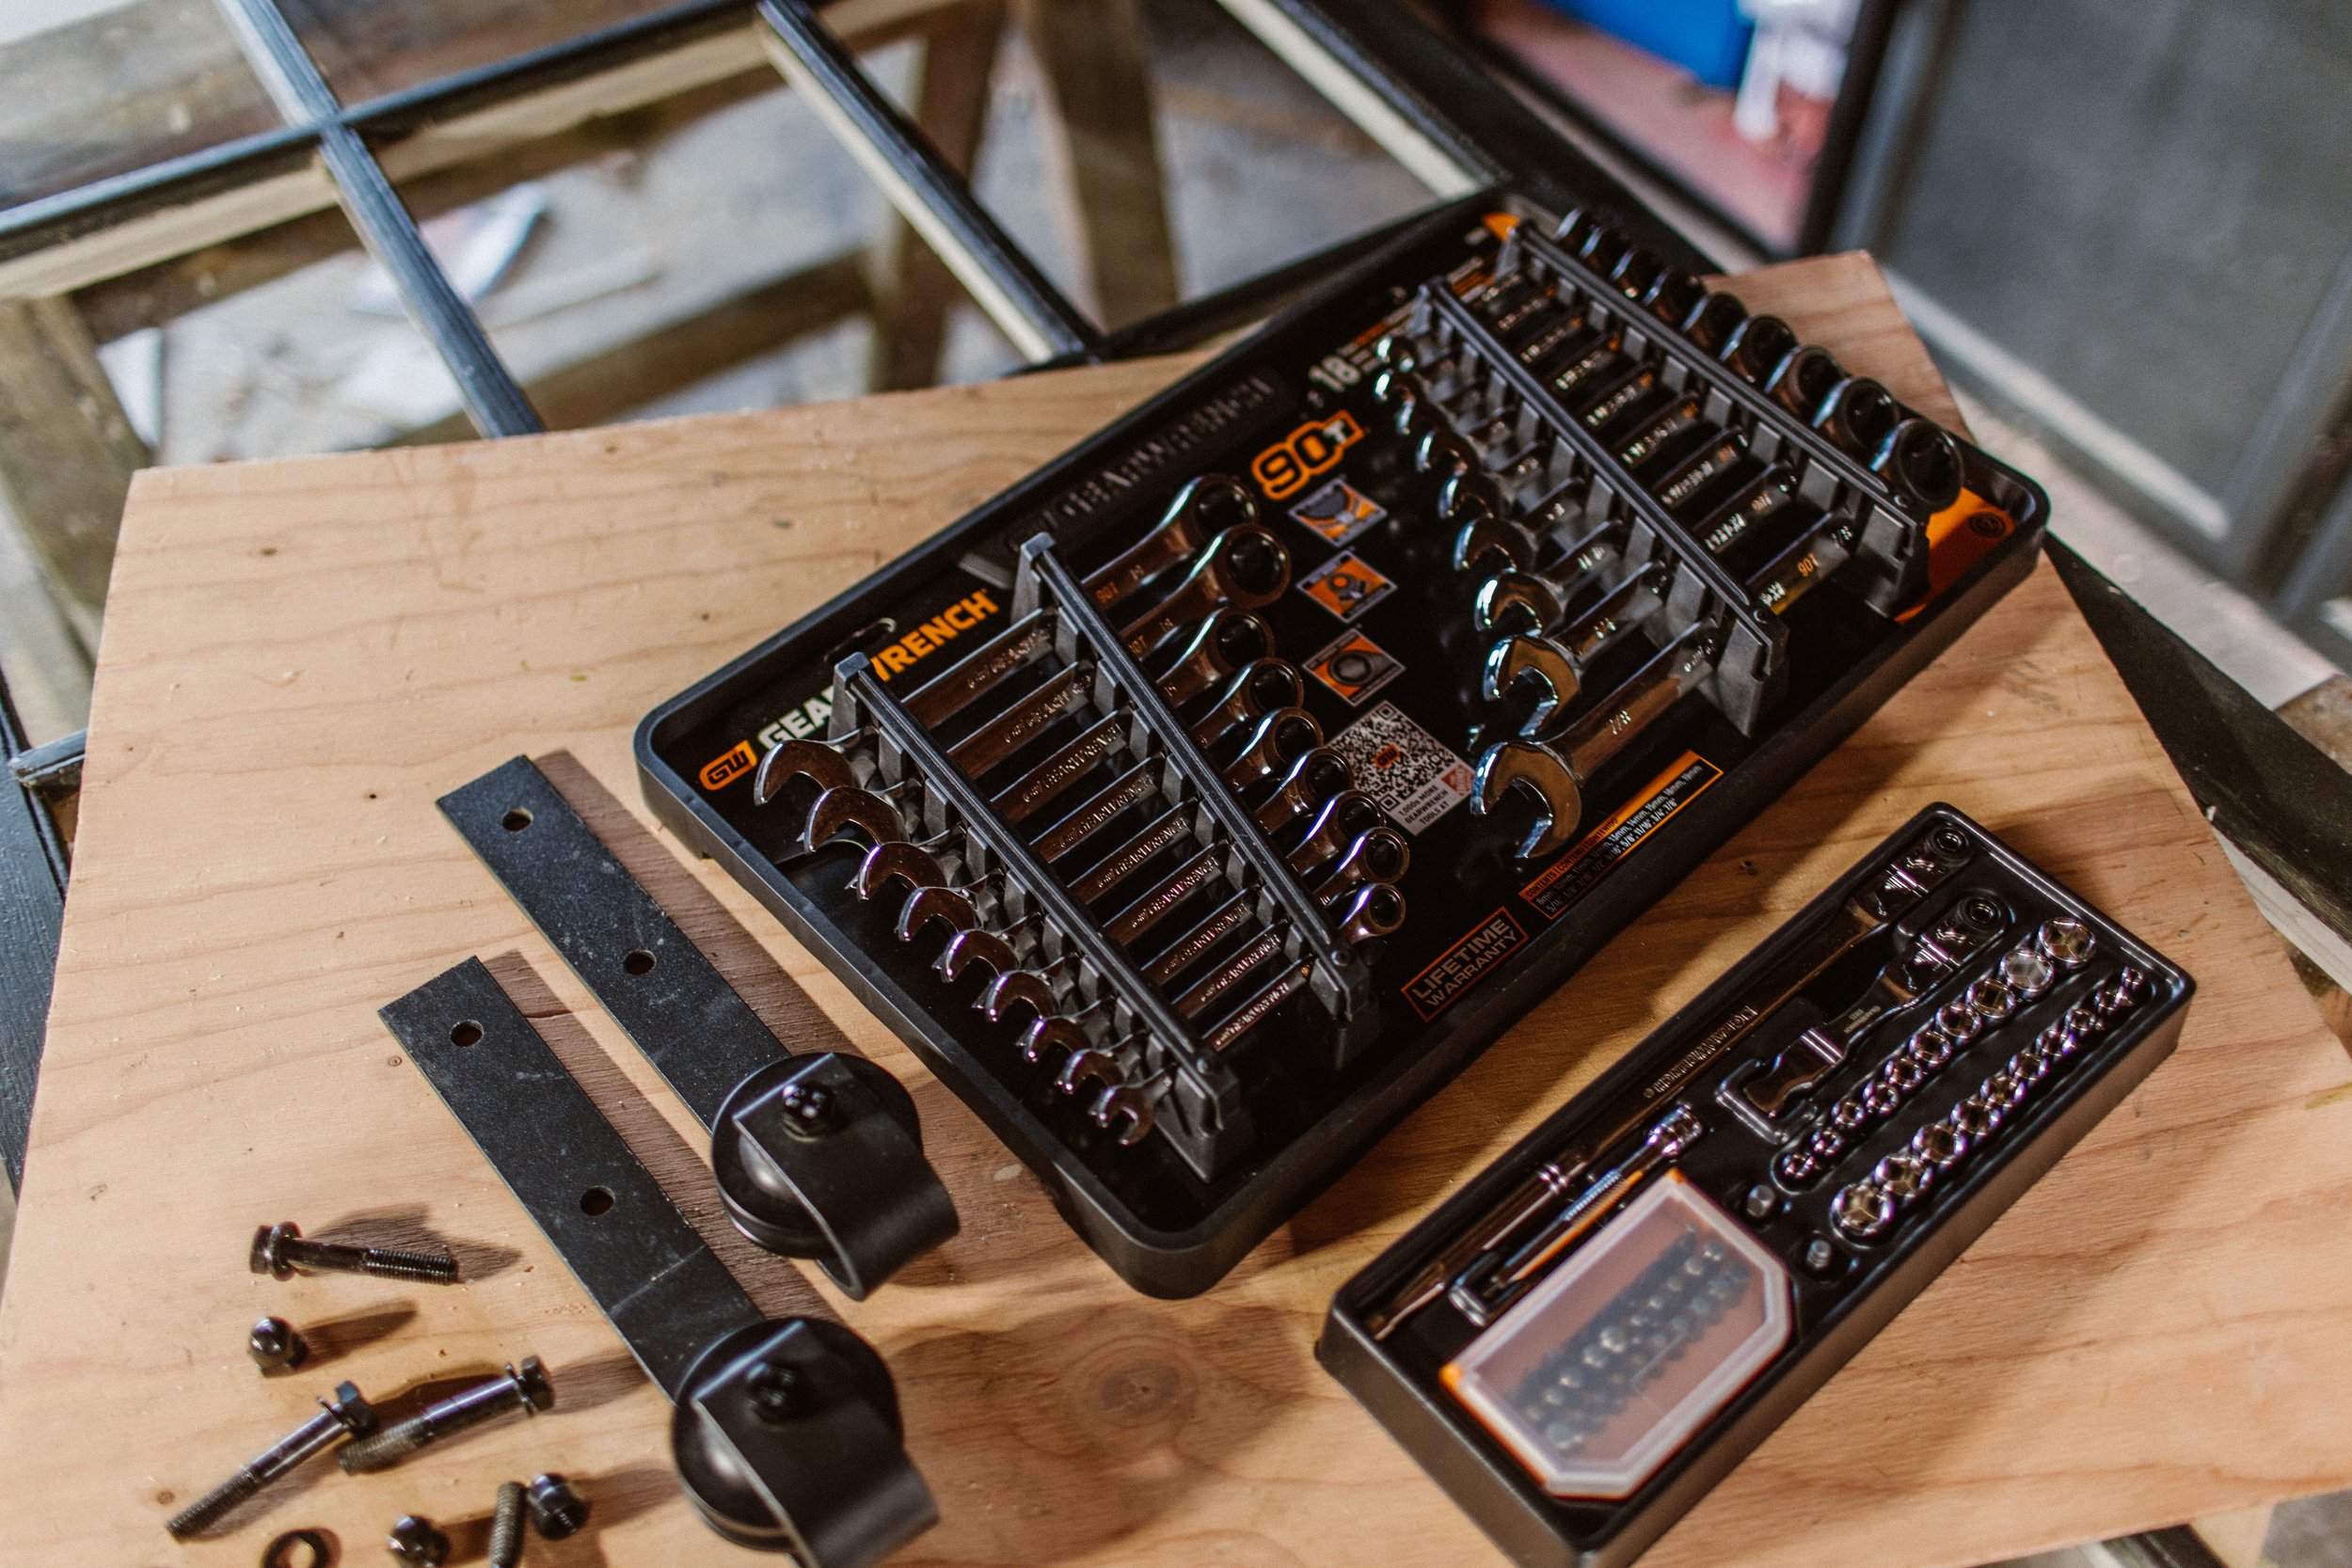
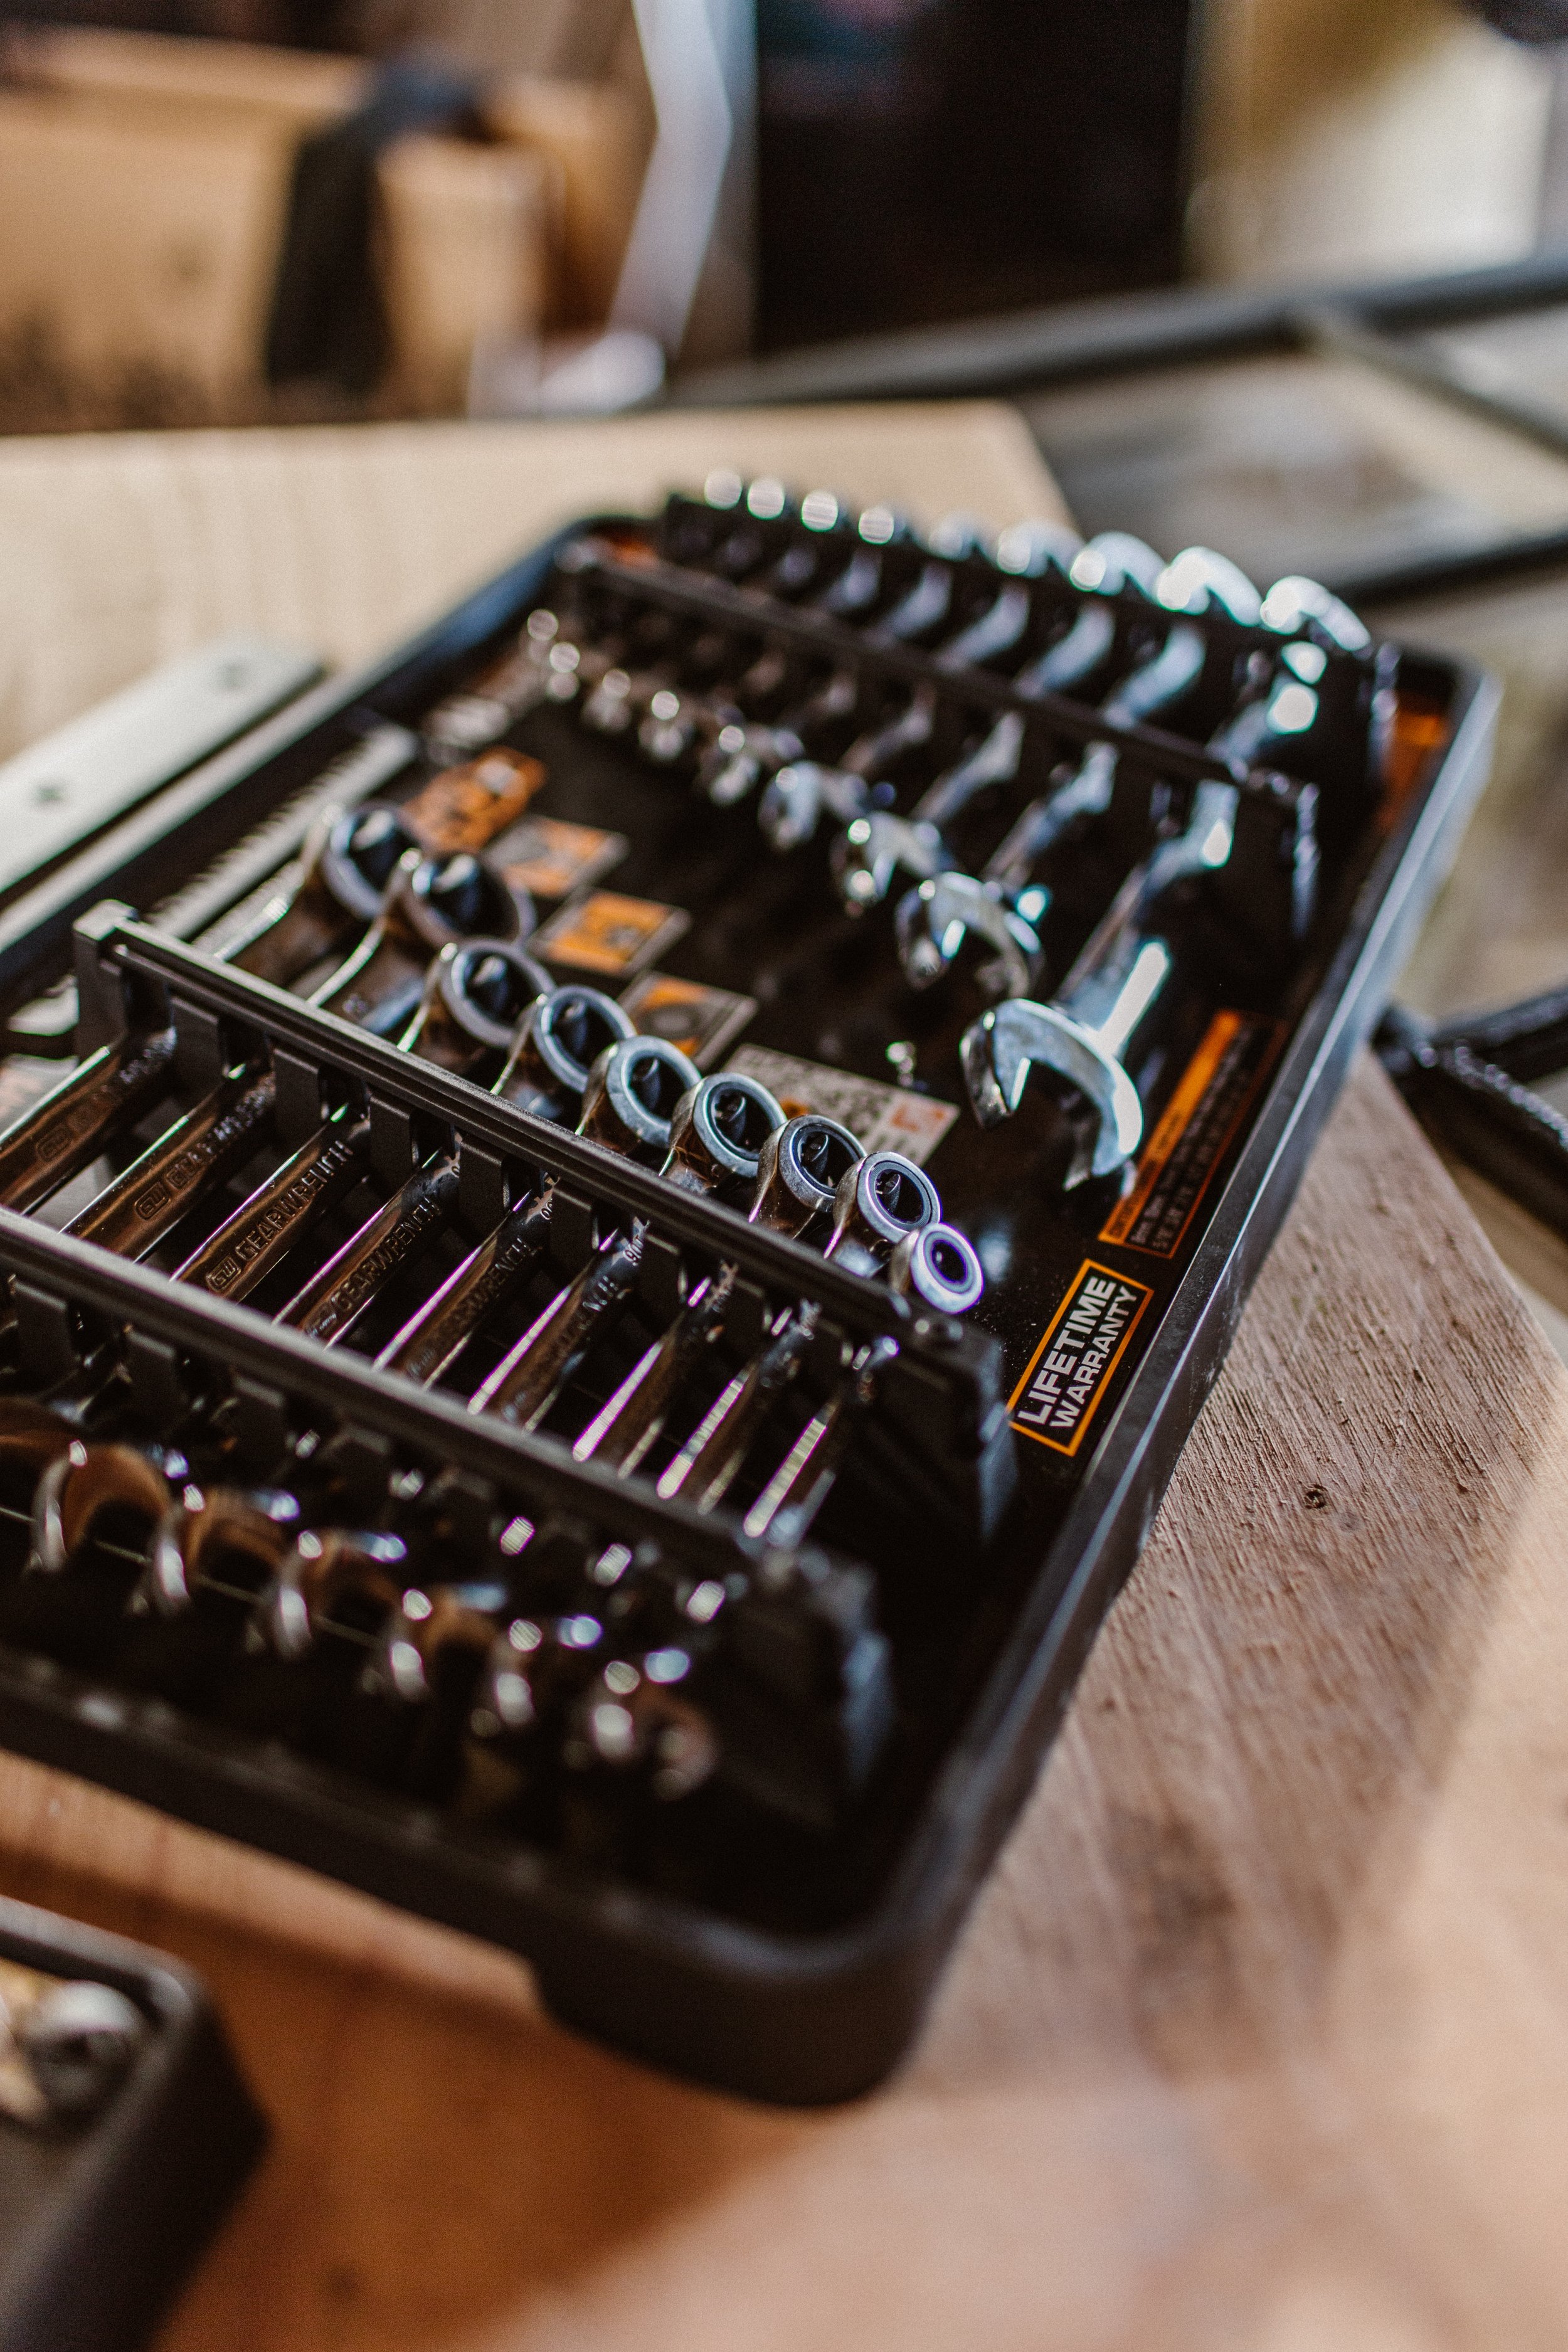
The install on these types of doors is actually super easy and straightforward. Home Depot recently sent this Gearwrench 90-Tooth Pro Combination Ratcheting Wrench Tool Set and it was just the right tool for the install of this door! I love having a open-ended wrench set on hand, not only for projects around the house like installing this door, but it’s also something I use all the time when I’m tinkering on my older cars. Owning two 70’s vehicles, and a 20 year old van means I’m always fixing something or other. Anyone who has a house and/or car should definitely consider grabbing a wrench set to have on hand.
Okay, back to the sliding door. You can find the hardware here, and you can use it with any door that you can drill through to attach the top wheels, but something solid wood is ideal. The only power tool you’ll need to install this is a drill to make the holes for the bolts to go through to attach those top wheel pieces.
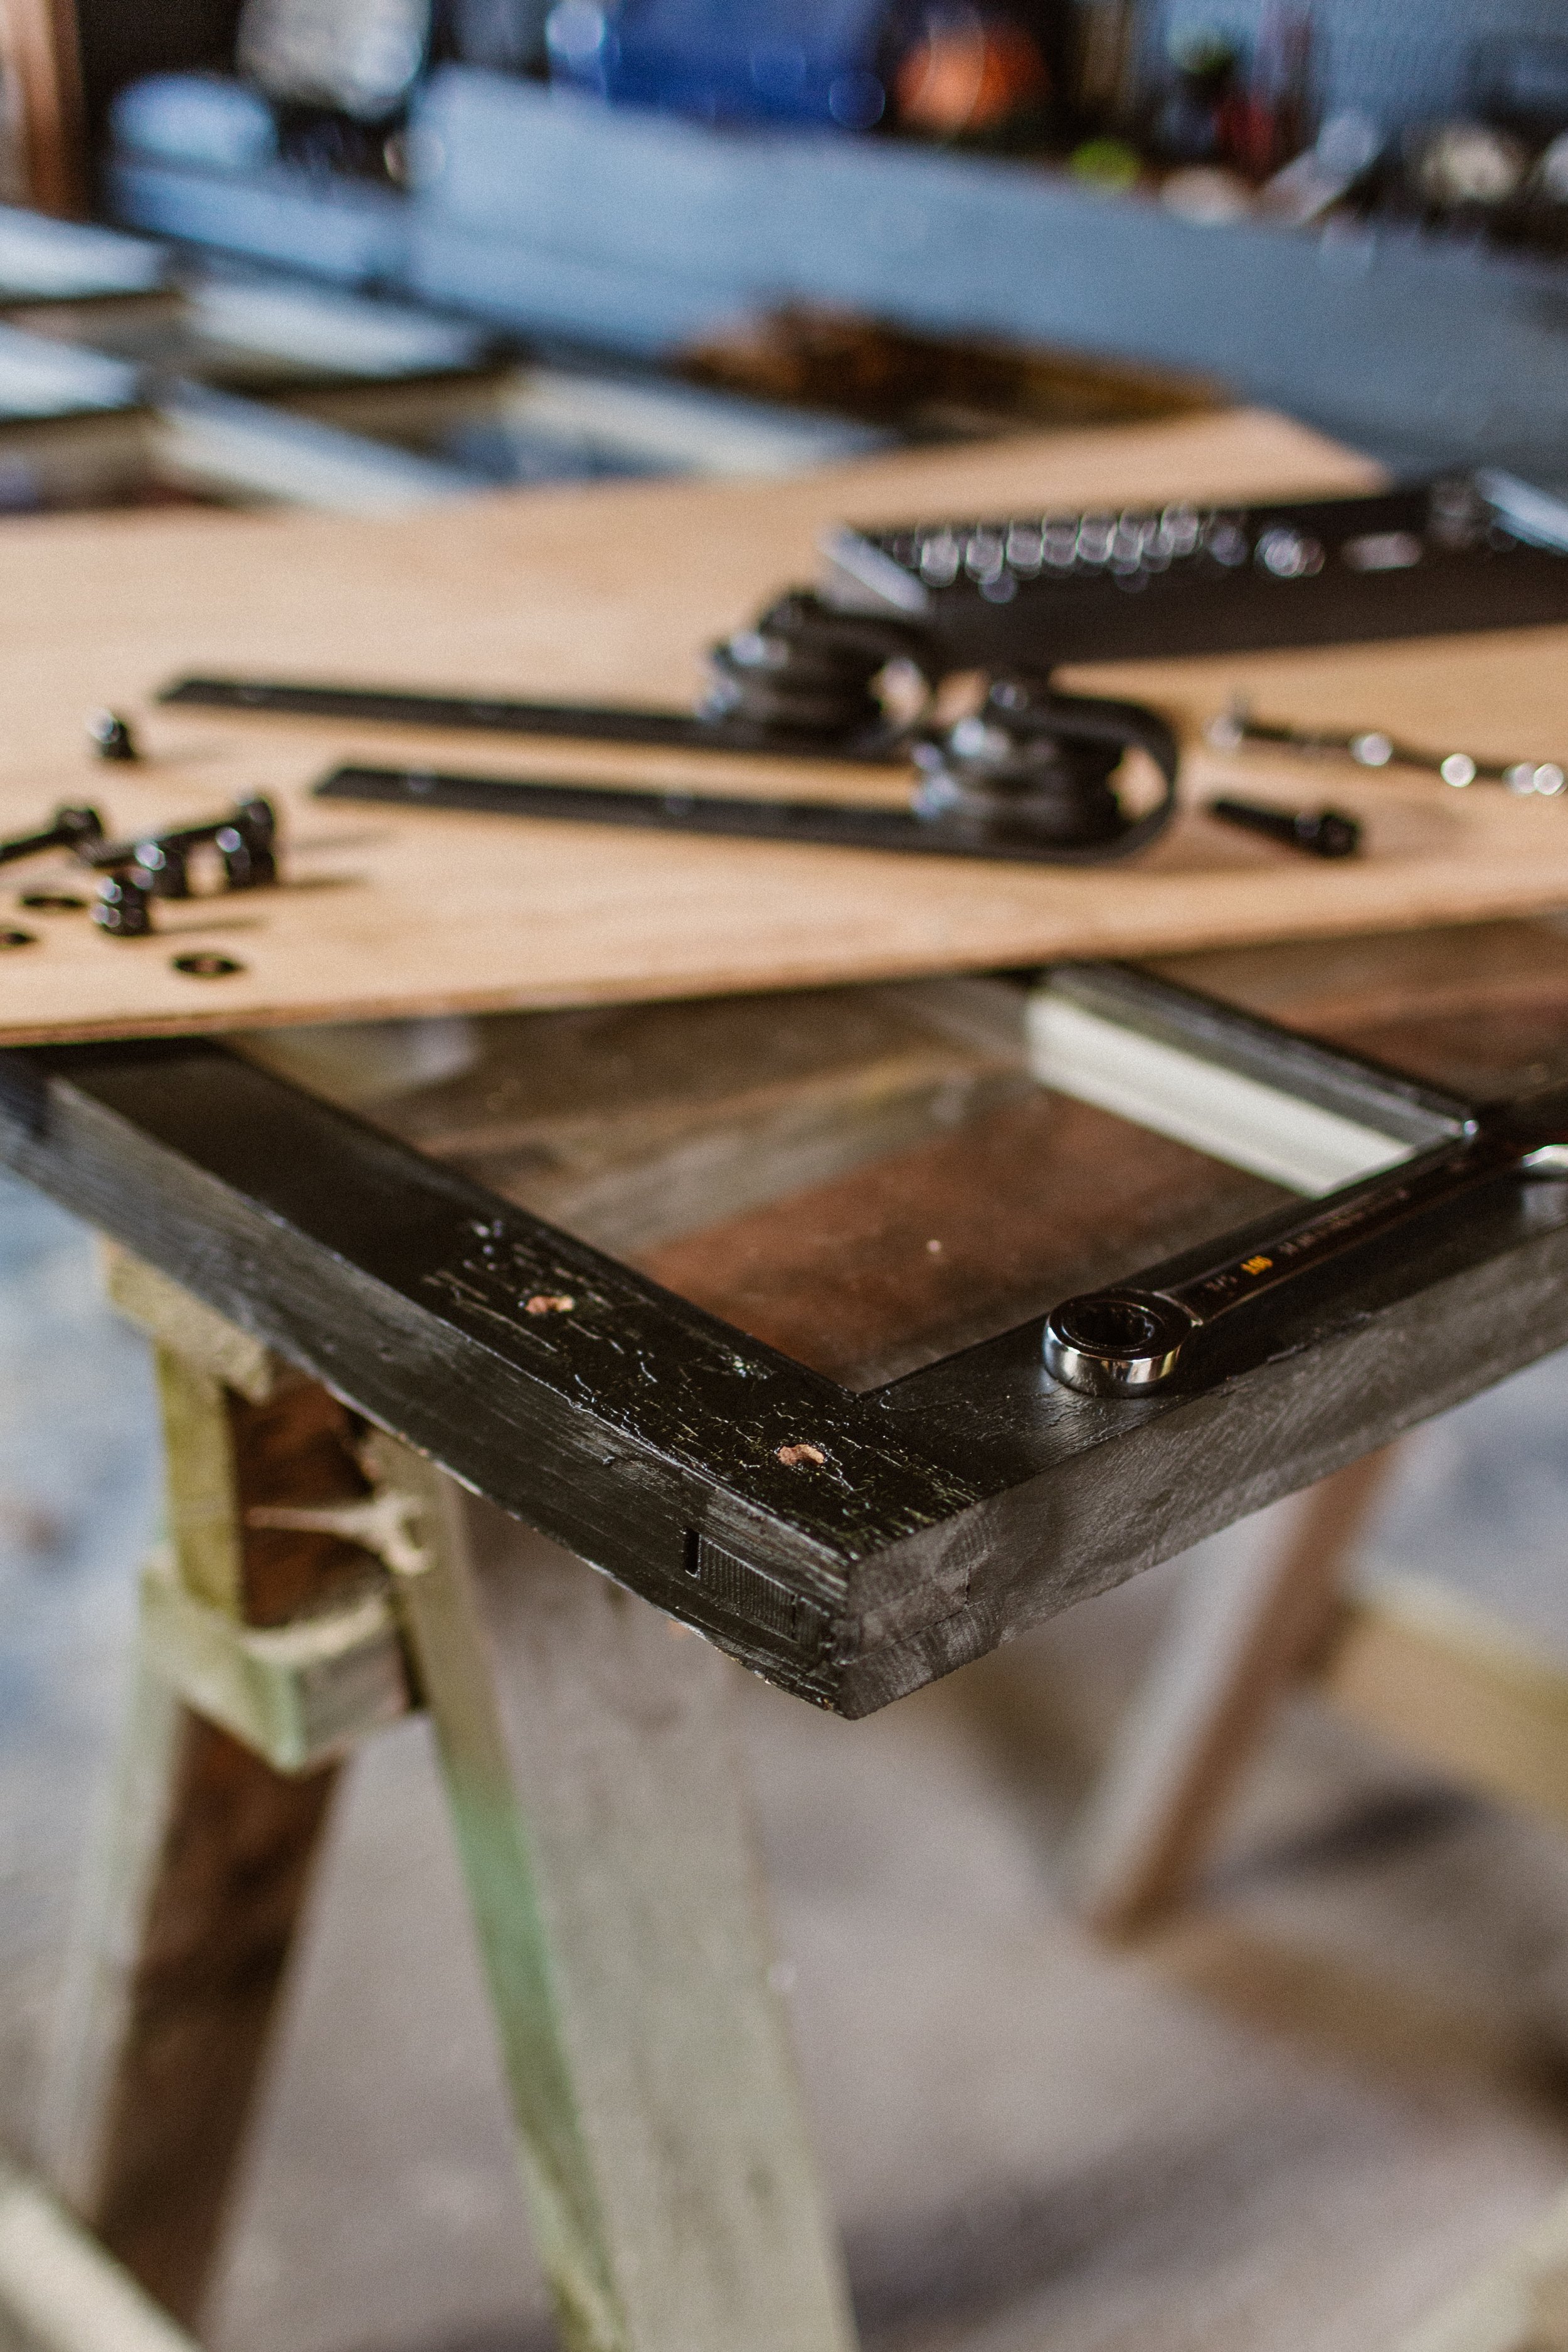
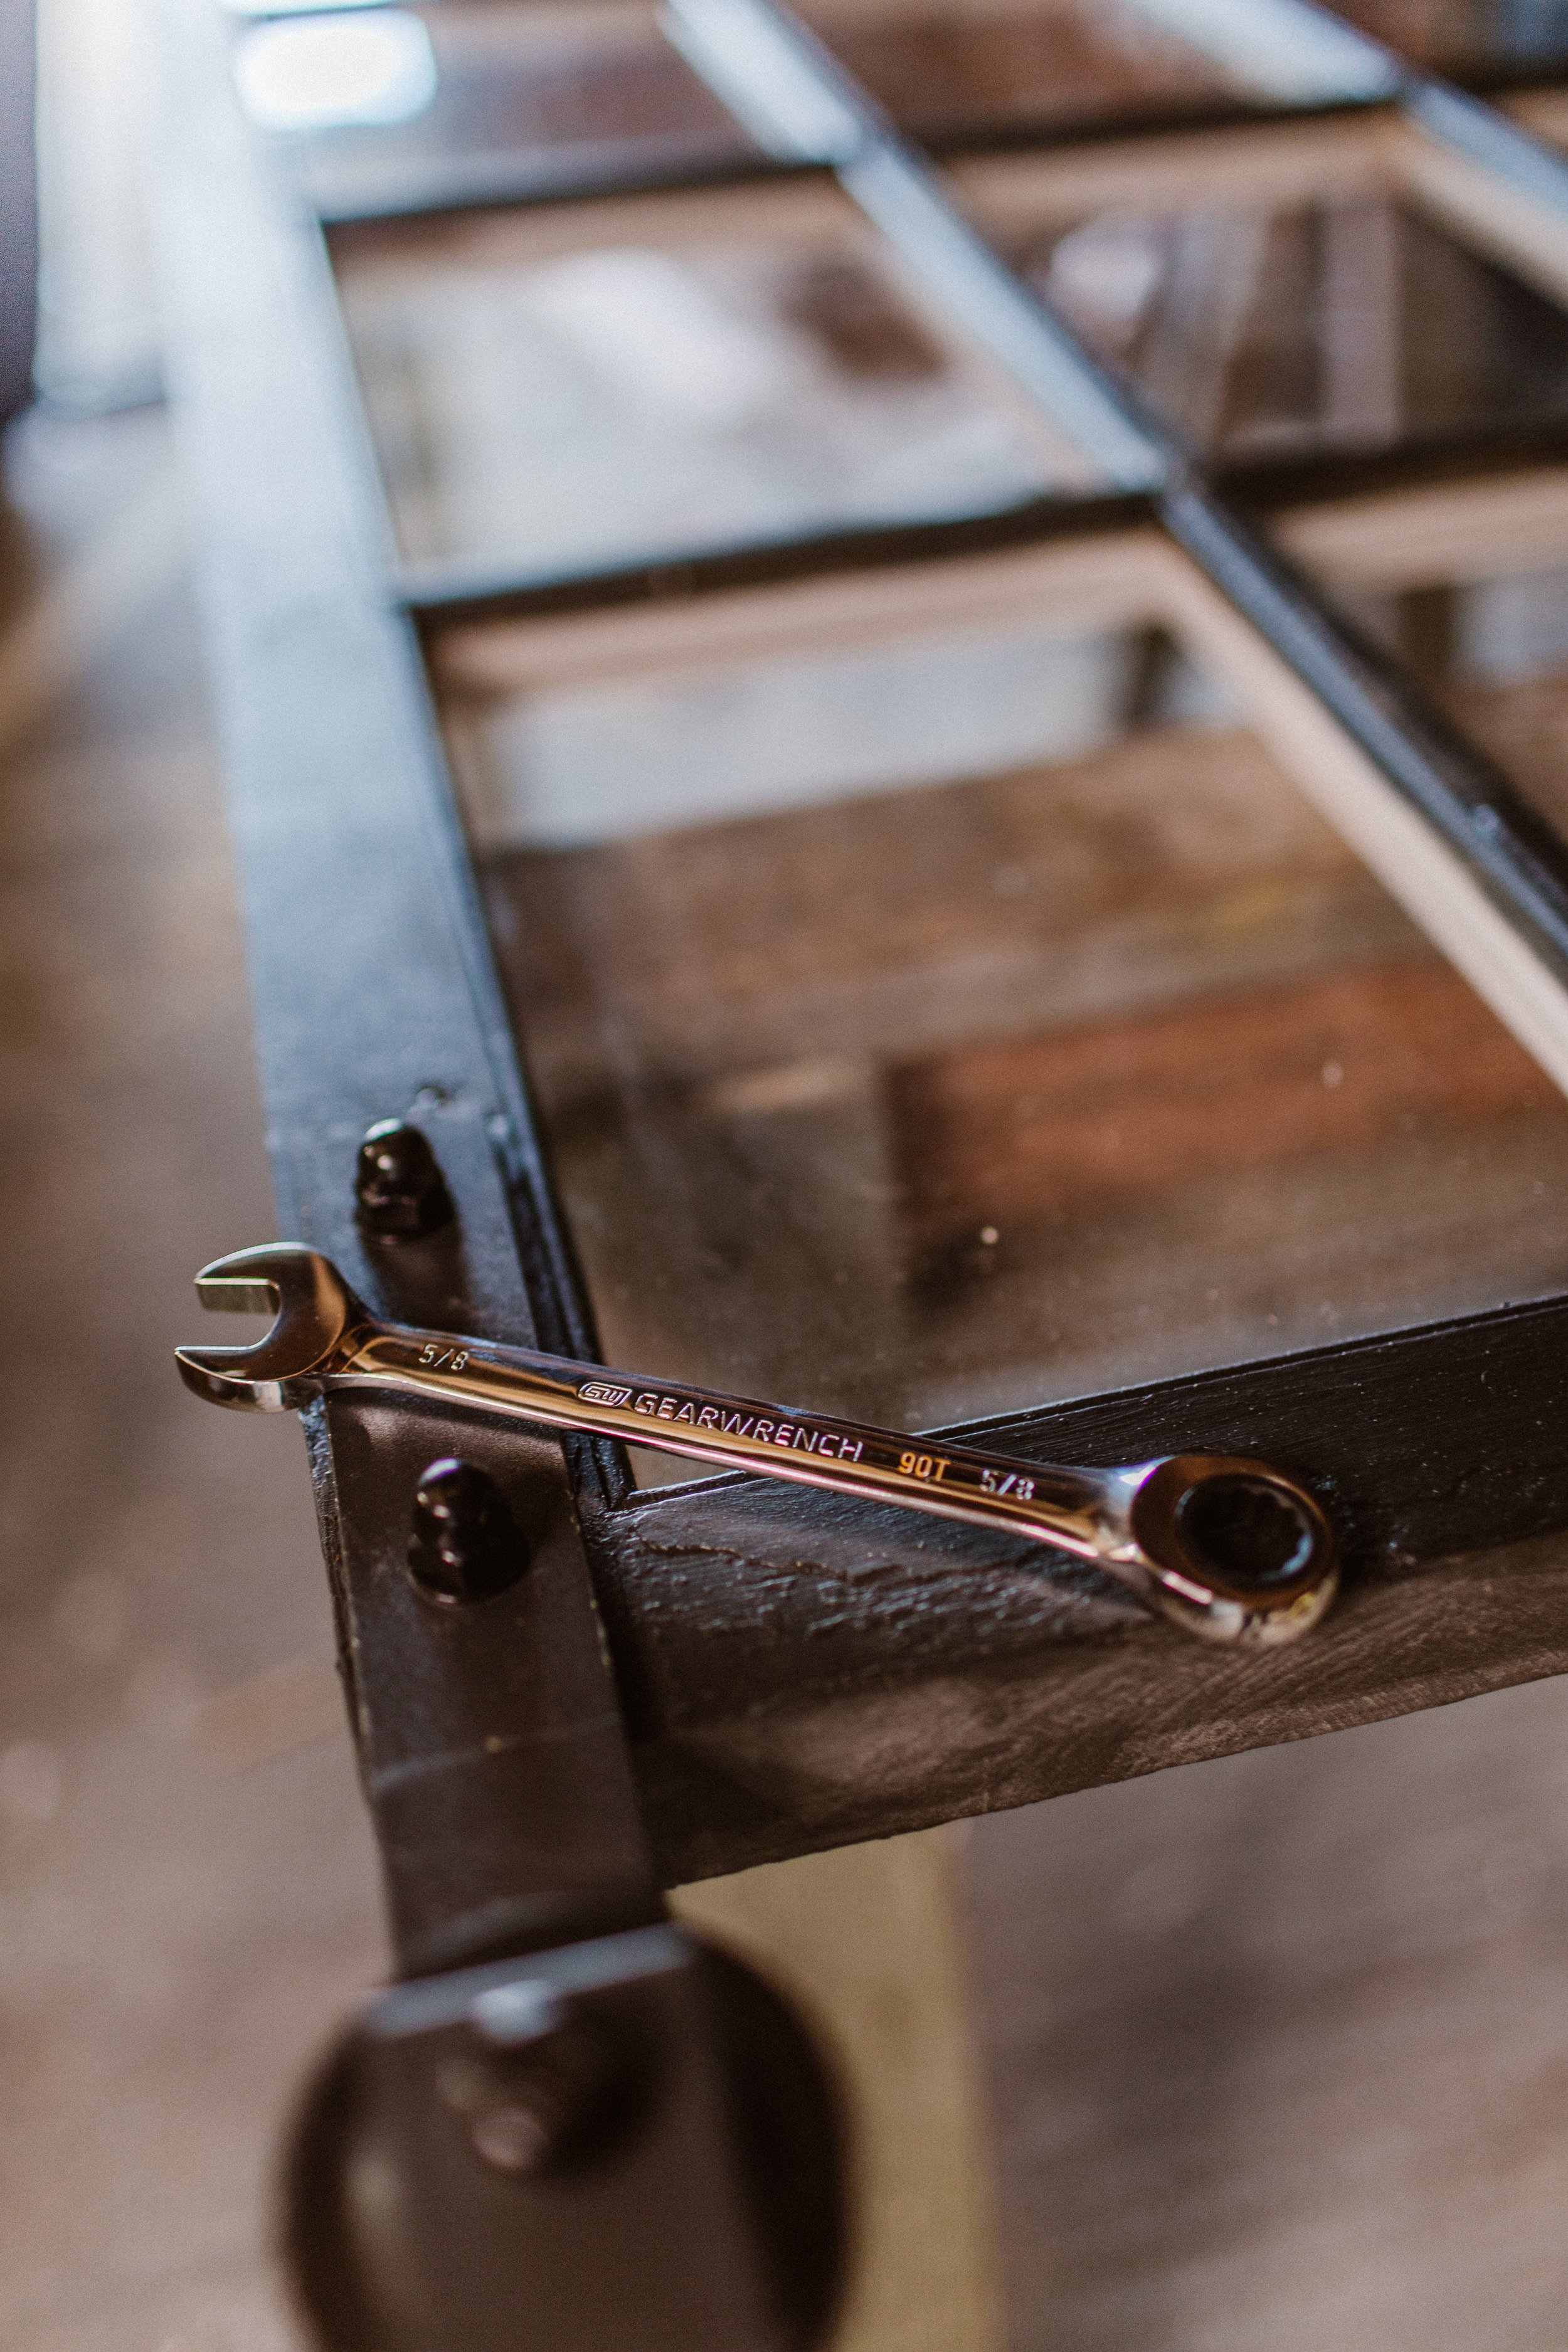
Your sliding door hardware will come with instructions on the measurements for where to drill those holes and what size bit to use. Mark the spots, then drill two holes on either side of the top of your door. Then, grab a wrench and a socket in the correct size (mine used 5/8in) and attach the wheel brackets with the nut and bolt. I loved these Gearwrench ratcheting wrenches, they made super quick work of attaching these brackets, plus, the ratcheting end of the wrench has a 4º swing arc, which means you can work in tight spaces (something that would’ve come in super handy when I was crammed into my minivan engine compartment fumbling with my old wrench). I’ve only ever had non-ratcheting wrenches before, and I can’t tell you how nice a ratcheting wrench is. Game changer!


That was easy right? Having the right tools for projects can save a lot of time and headache, and this new wrench set was the exact right tool for the job. I have regular wrench sets that don’t ratchet and while they work fine, having the ratcheting feature made popping this hardware on the doors go so quick. While I didn’t need them for this job, the set comes with a set of metric wrenches as well, so if you’ve got a non-American car or purchase materials made that use metric fasteners, you’re ready to go!
Stay tuned for part 2 where we install the rail in the wall and get the door hung!


![This print feels even more relevant today. We all joke about the dumpster fire of [insert year here], but the important message of this image to me is that *we persist* through the horrors. We stand, we fight— maybe for ourselves, maybe for oth](https://images.squarespace-cdn.com/content/v1/574dddd6d51cd4bc35c1609a/1730935170369-03GPKQ5NF73VAE65RHO6/image-asset.jpeg)


