Spring Cleaning my Wood Floors

Thank you Swiffer for sponsoring this post.

IMG_1034.jpg

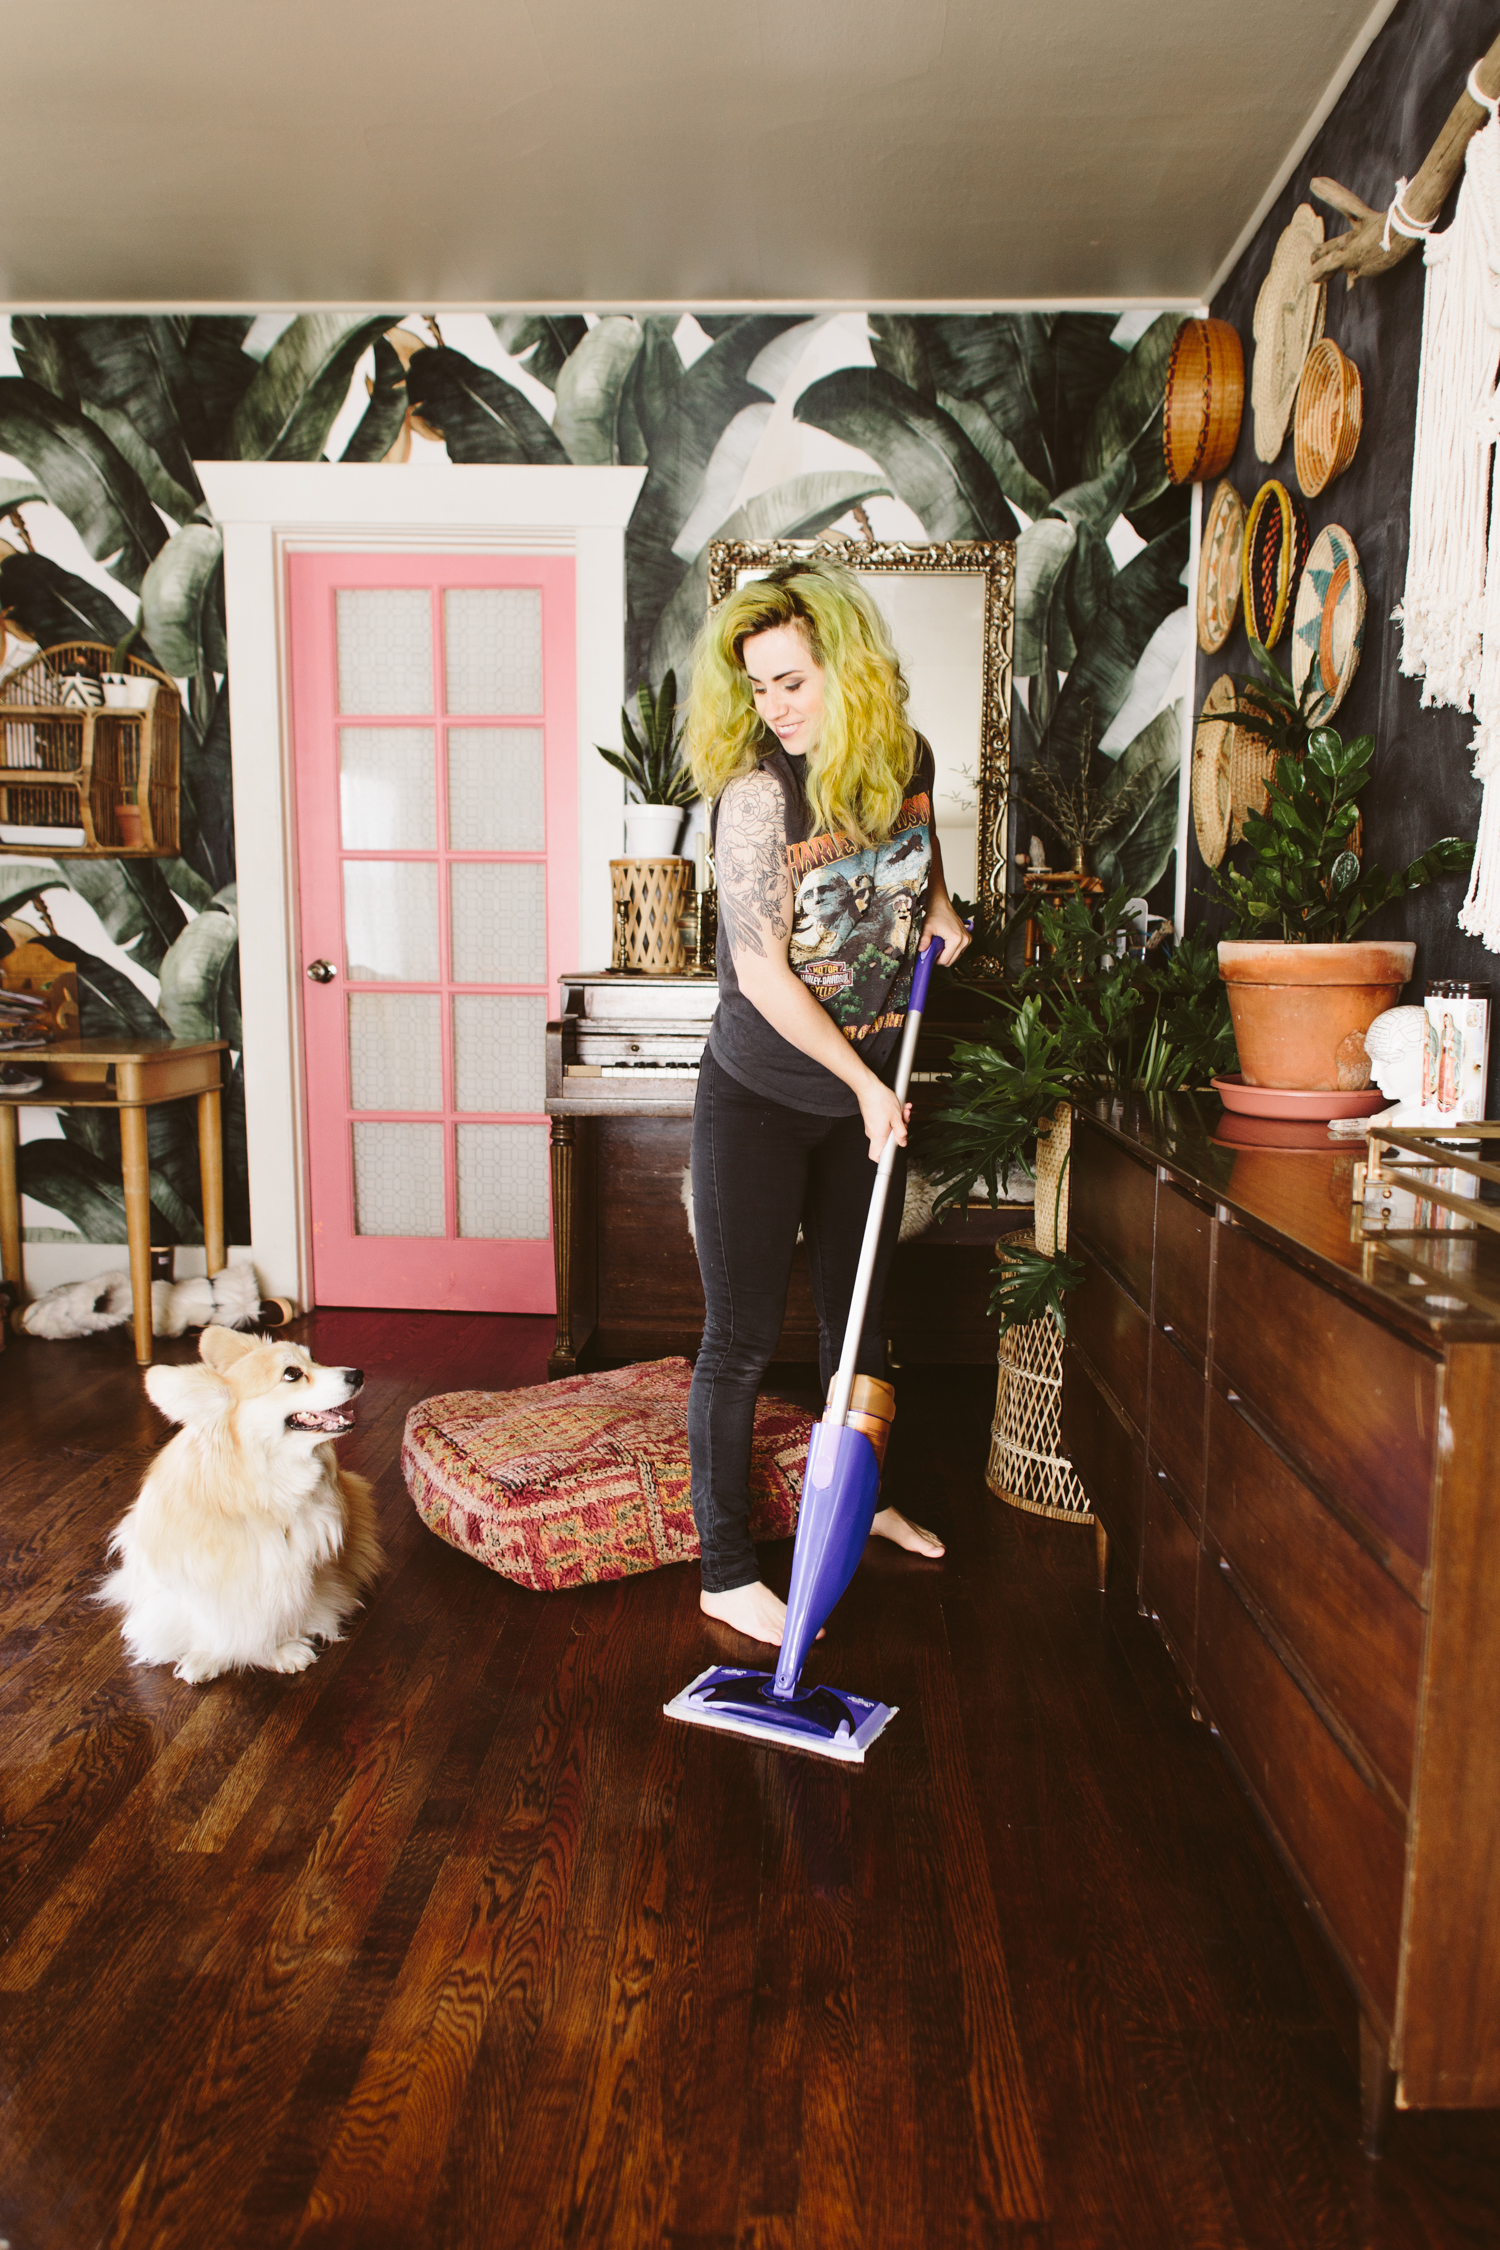
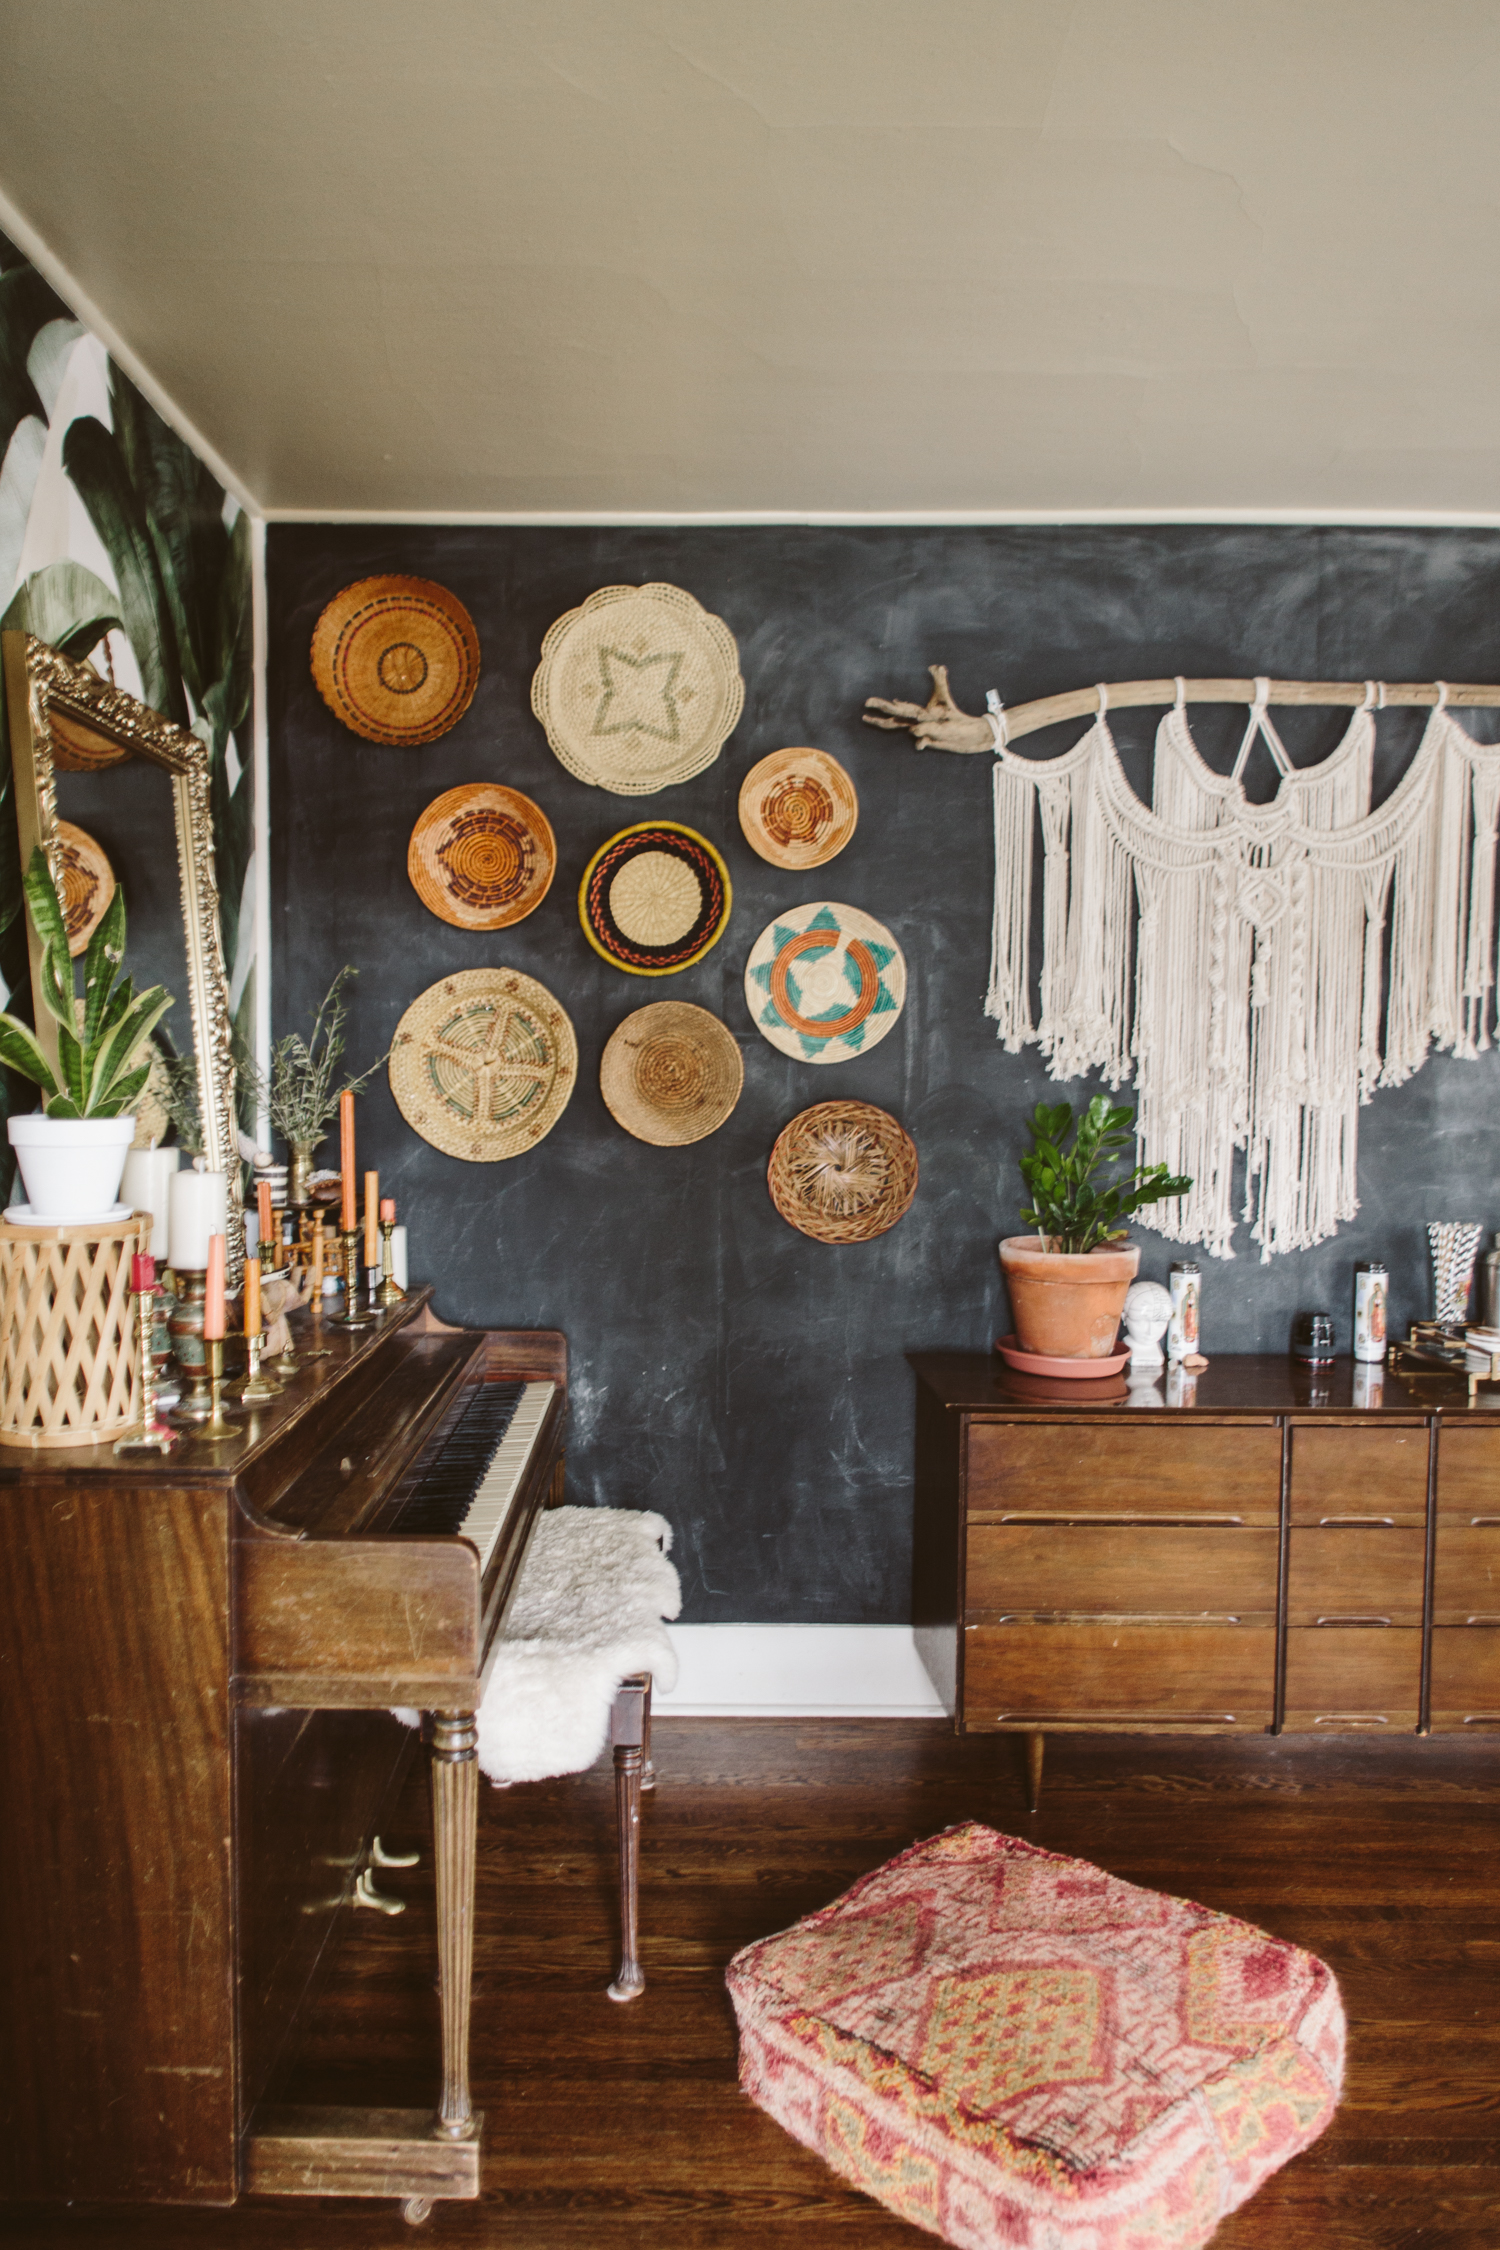
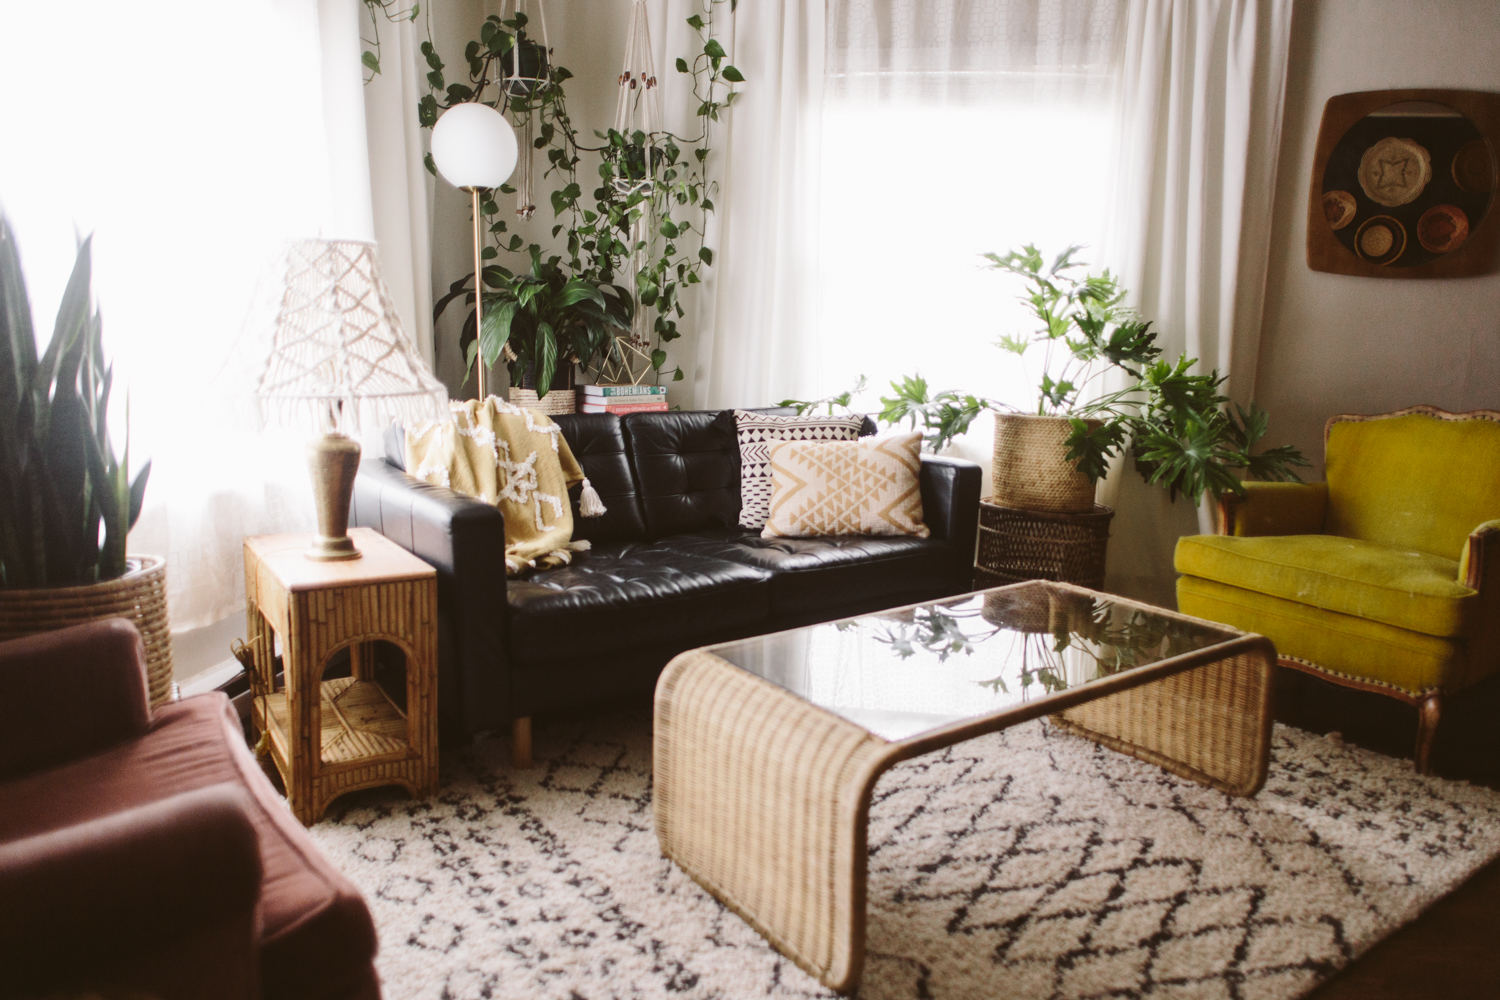
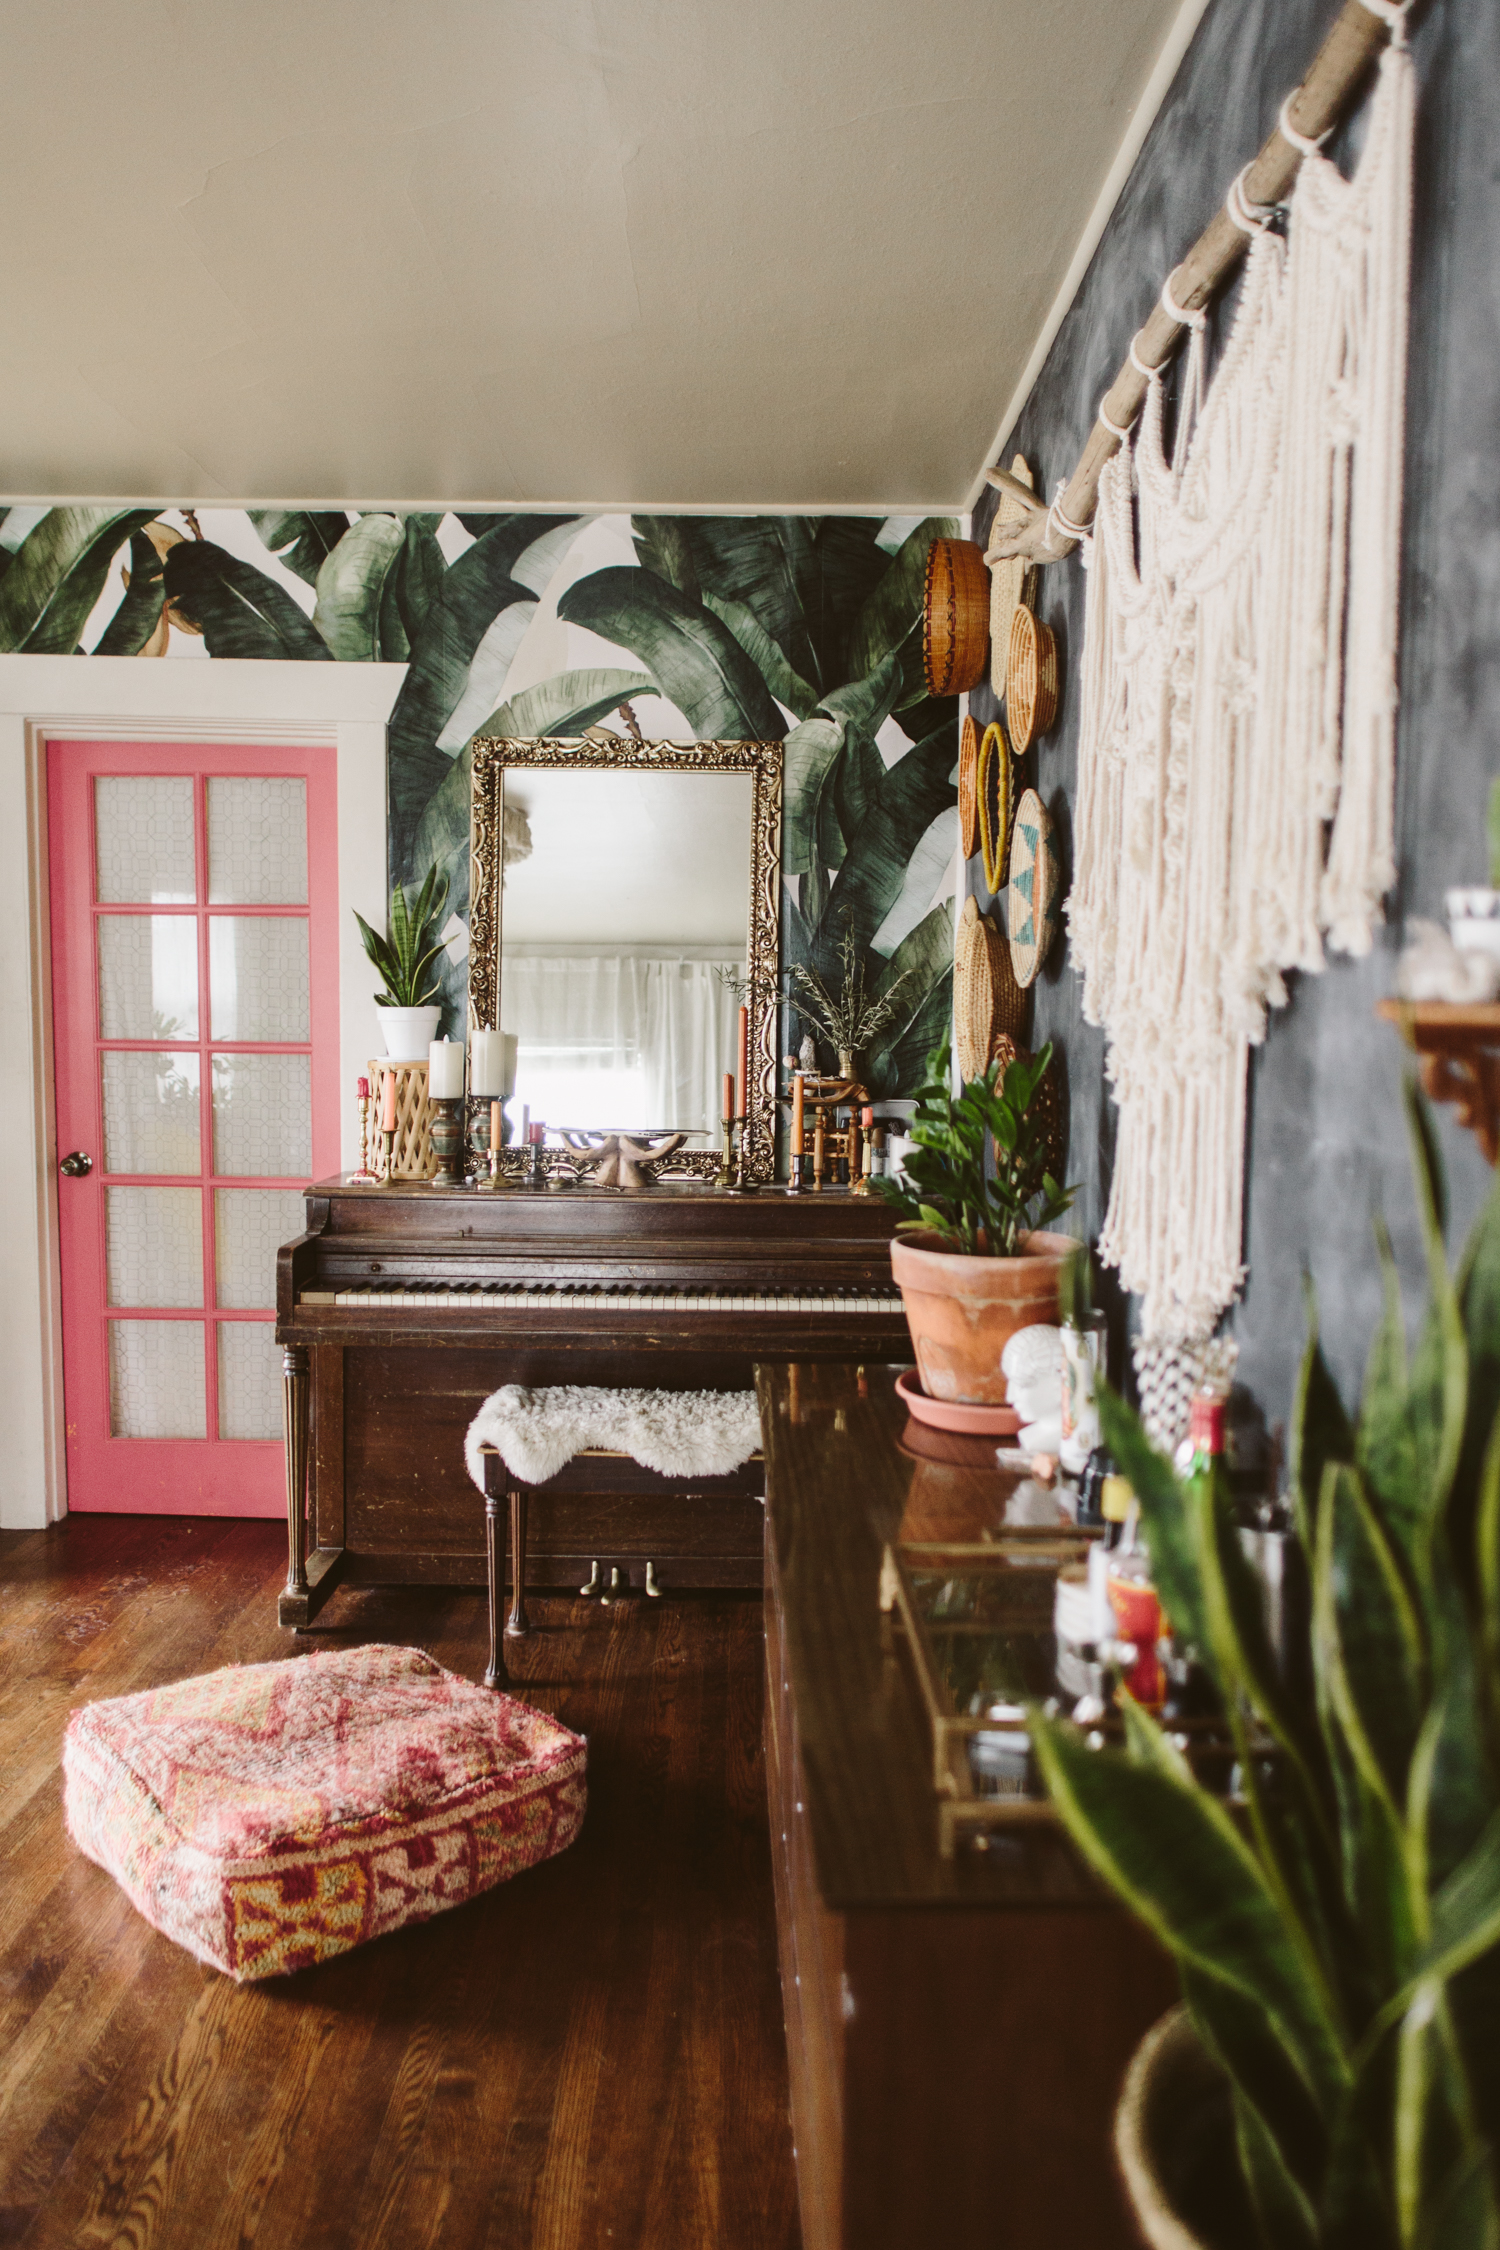
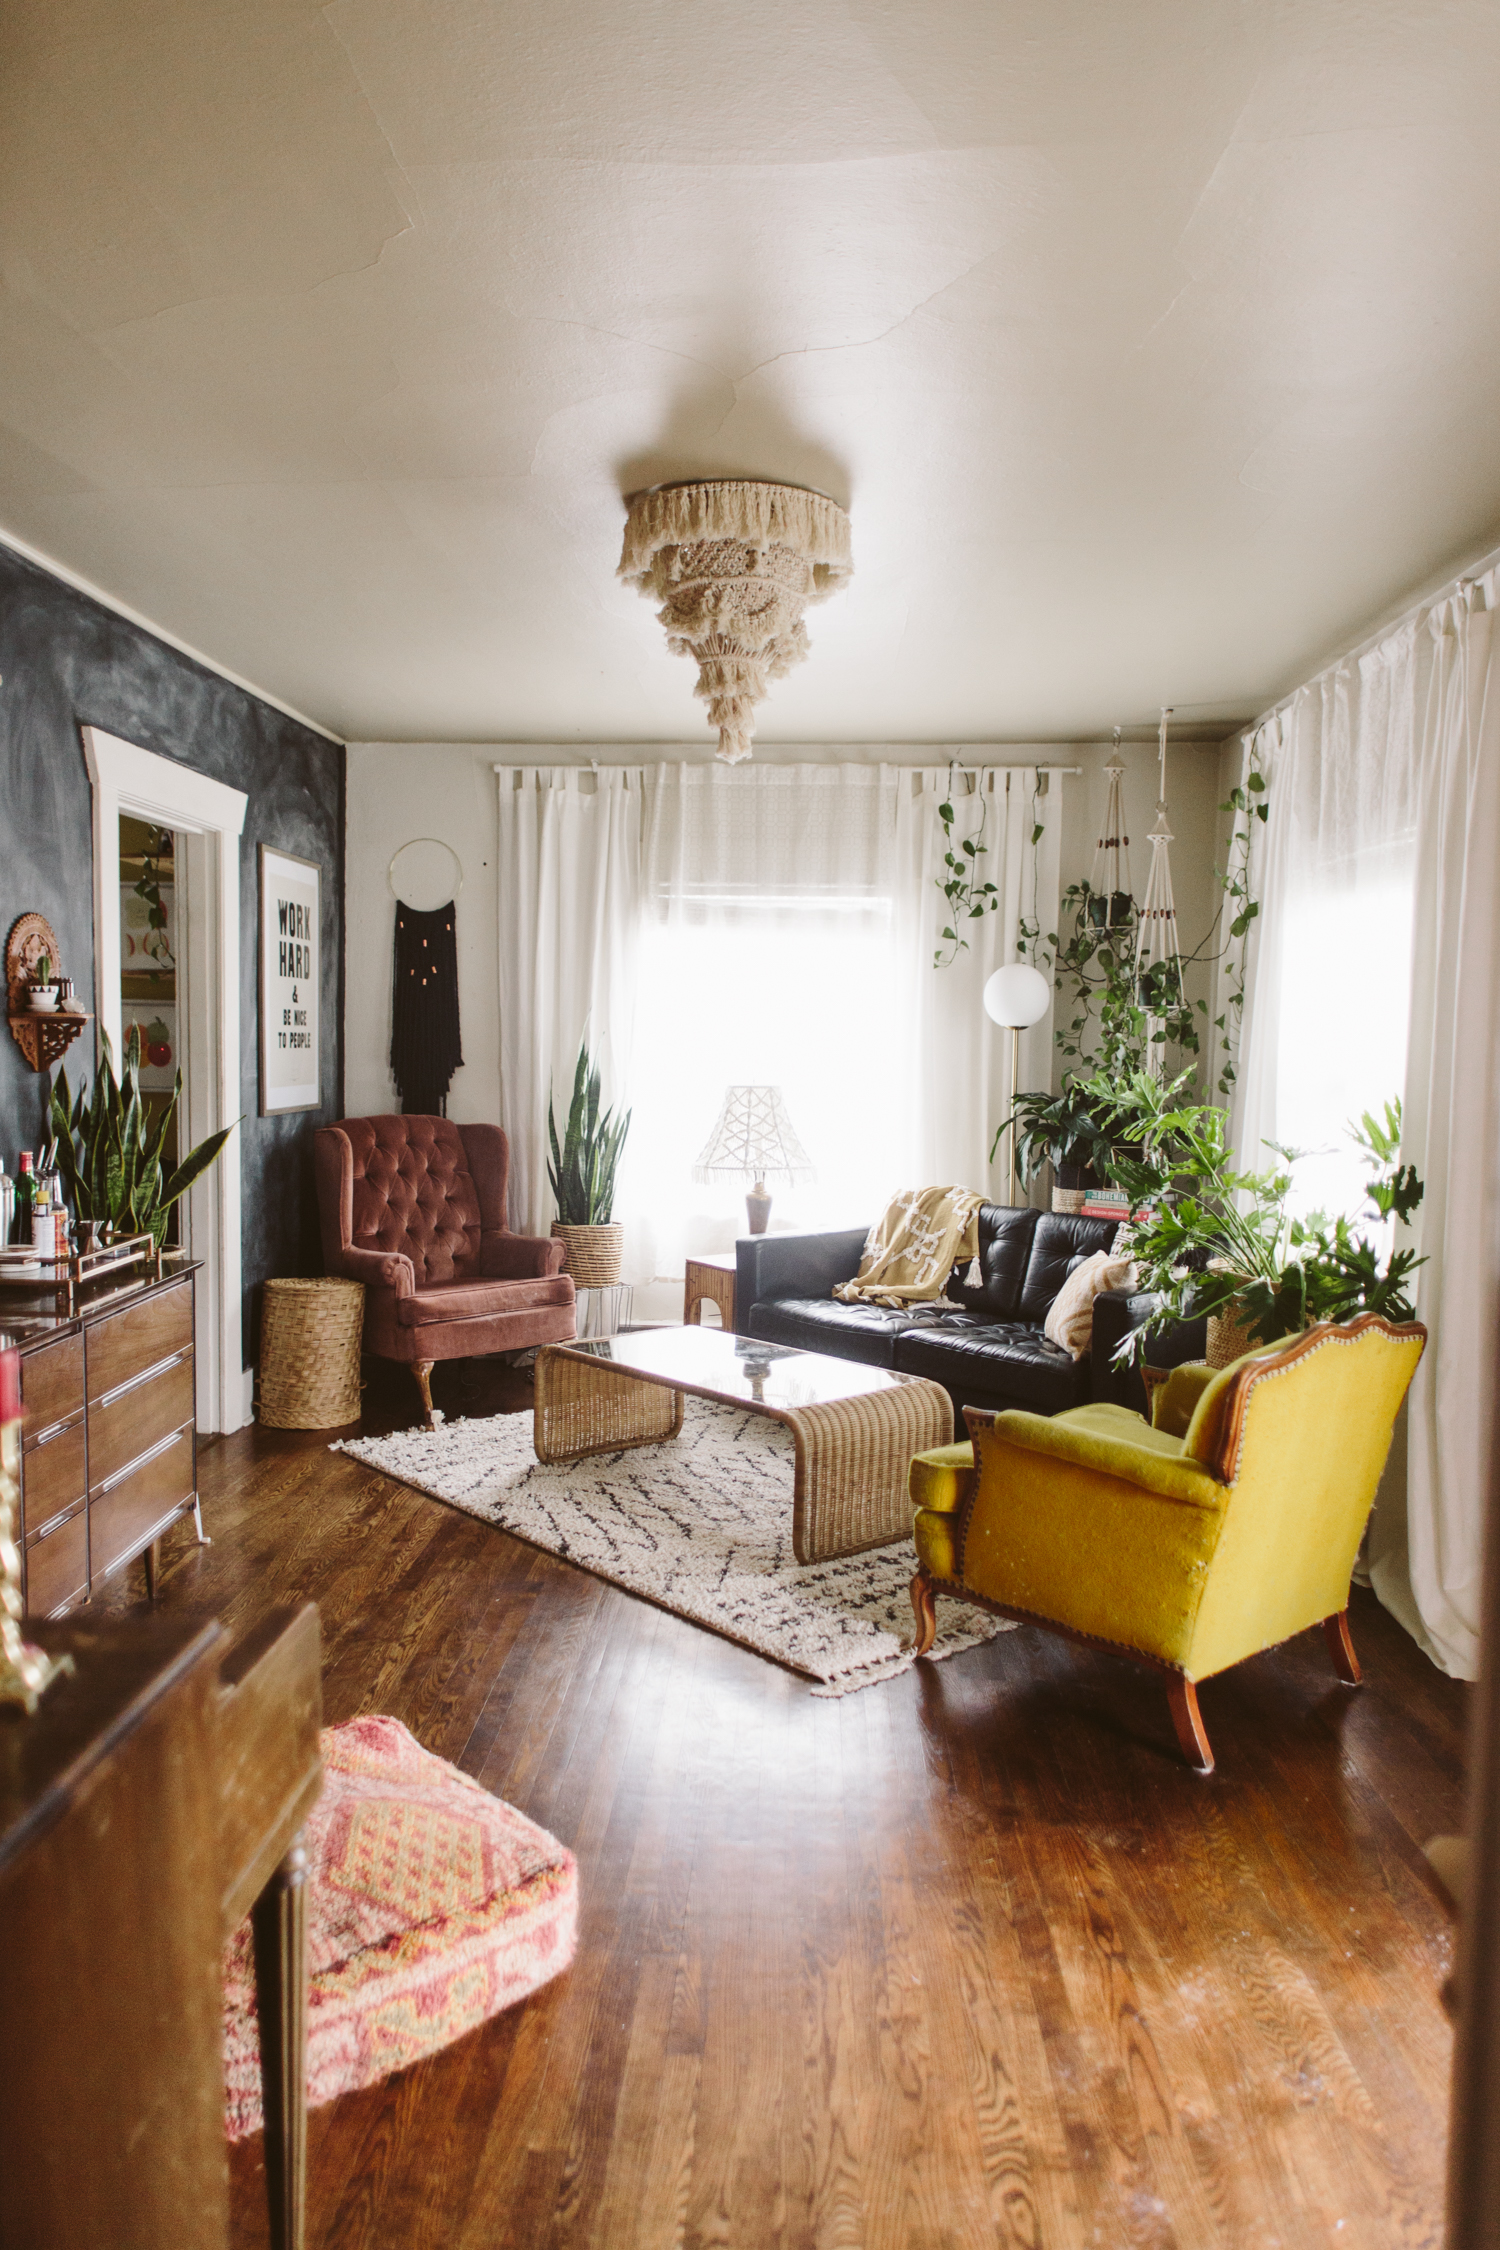
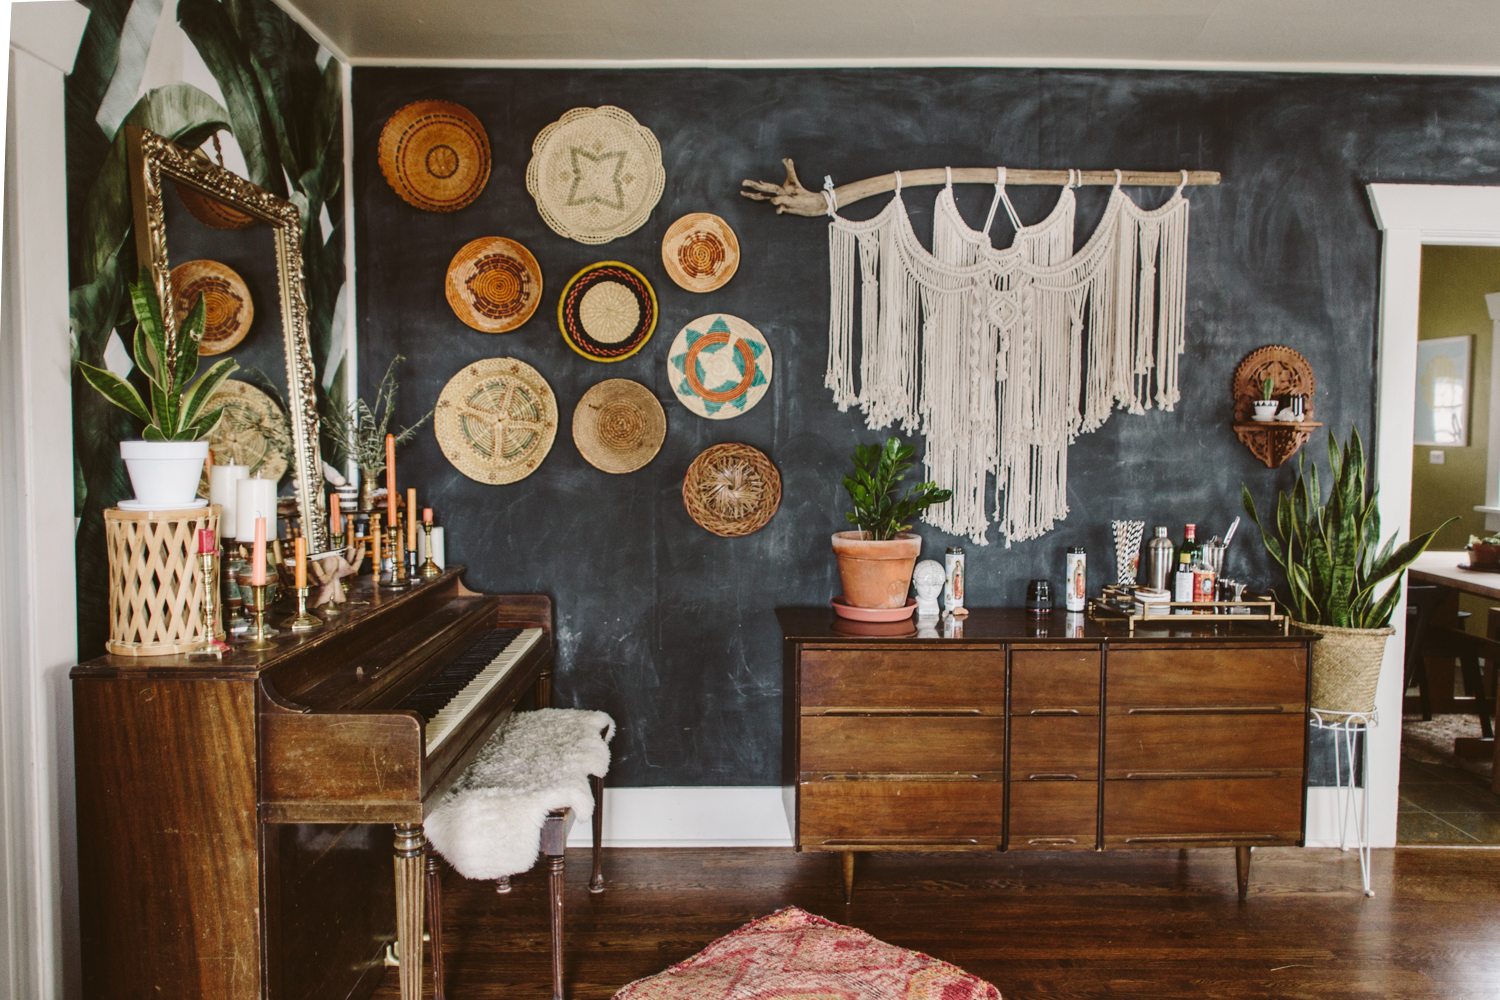
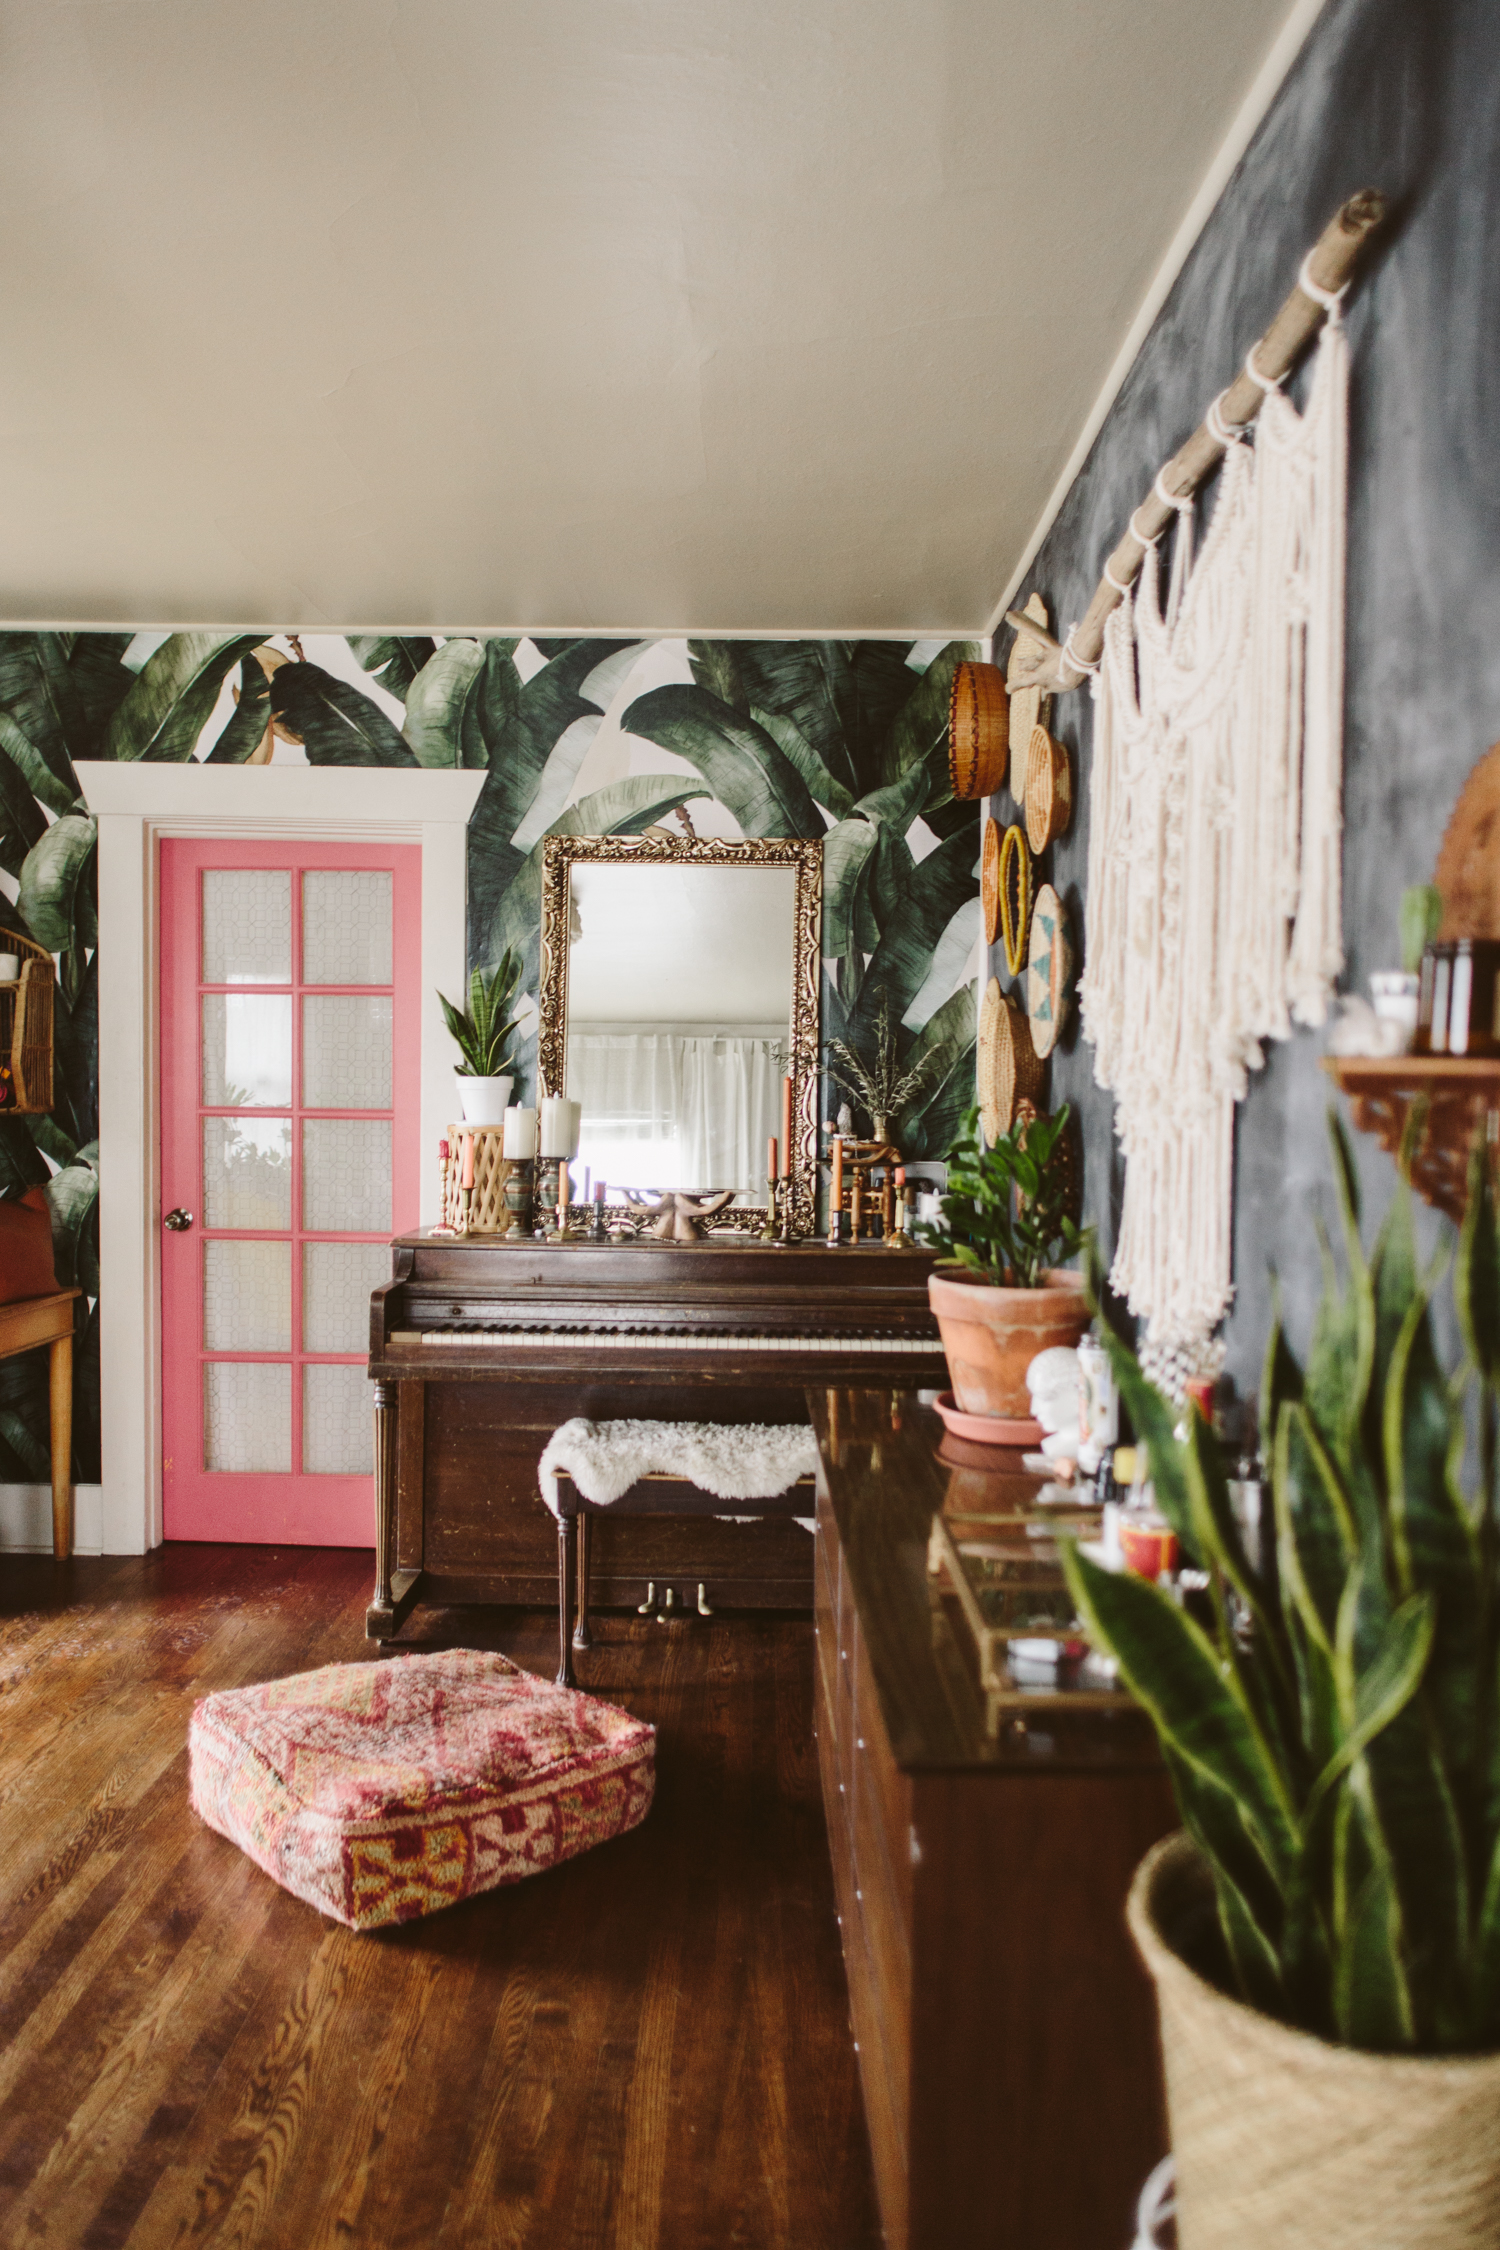
I think we can all agree that hardwood floors are pretty much everyone's jam these days.  I love our wood floors, but Pacific Northwest winters are definitely not gentle on them. Our front door opens into our living room, which means that all the mud, wet shoes, and other grossness from the soggy outdoors gets tracked right in, directly onto our floors.  I’ve been impressed with how they’ve held up over the years, but I also have been wanting to give them a little extra love since we’re (fingers crossed) moving out of the nastiness of winter and into the slightly less nastiness of PNW springtime.

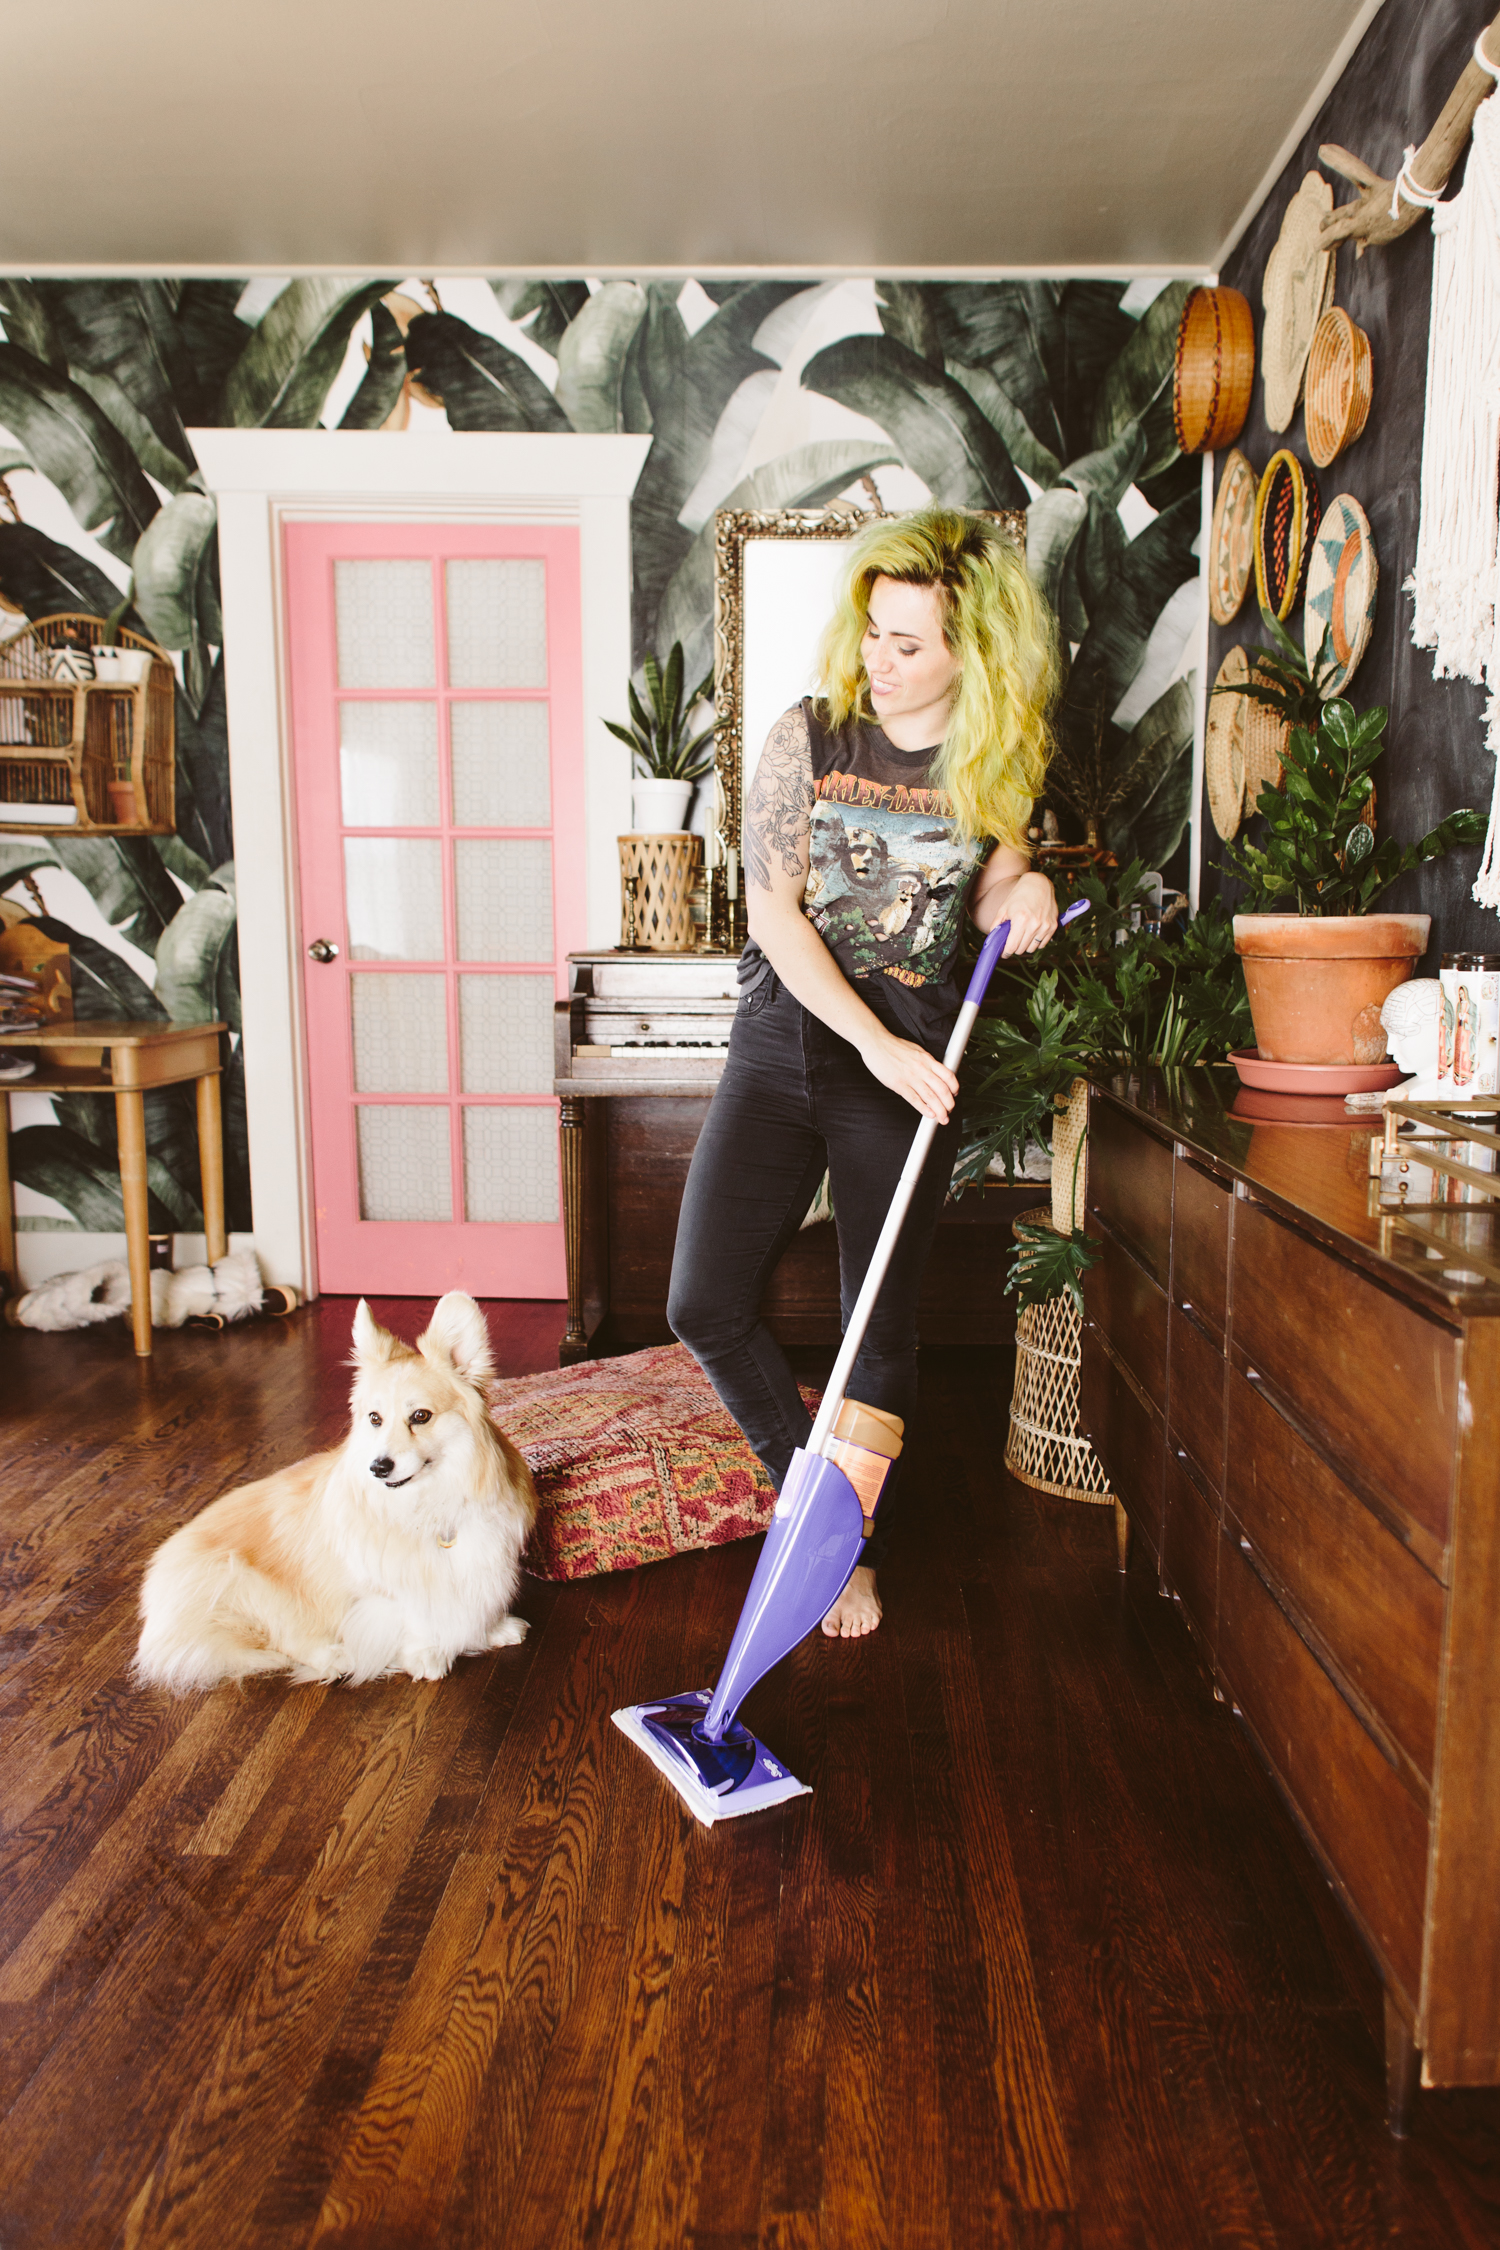
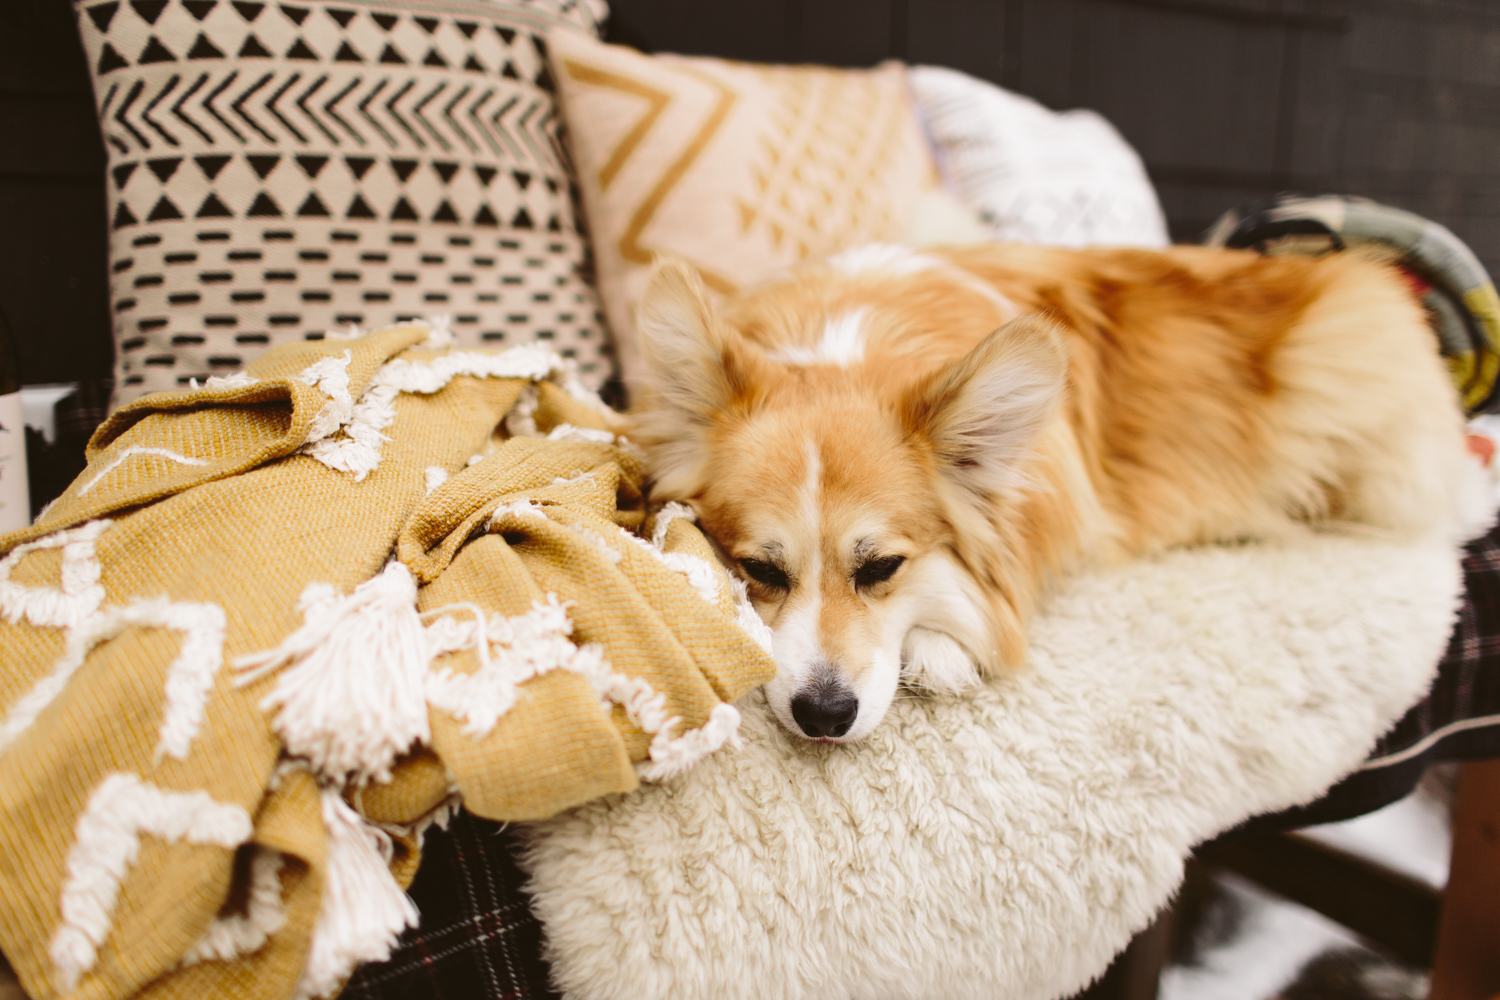
I partnered up with Swiffer to try out their WetJet Wood Starter Kit, which was perfect because we already use the Swiffer Sweeper (which I use to attempt to keep on top of all the dust and Dusty fur that accumulates at an alarmingly rapid pace in my house. She’s acting all cute in these photos but she’s the reason I have to clean my house on a weekly basis or drown in dog fur). Truth be told I never really actually looked into how best to clean my wood floors, so having something that is quick and easy to use that I feel safe using on my 100-year-old craftsman hardwoods takes the brainpower and time out of worrying about floor care.  

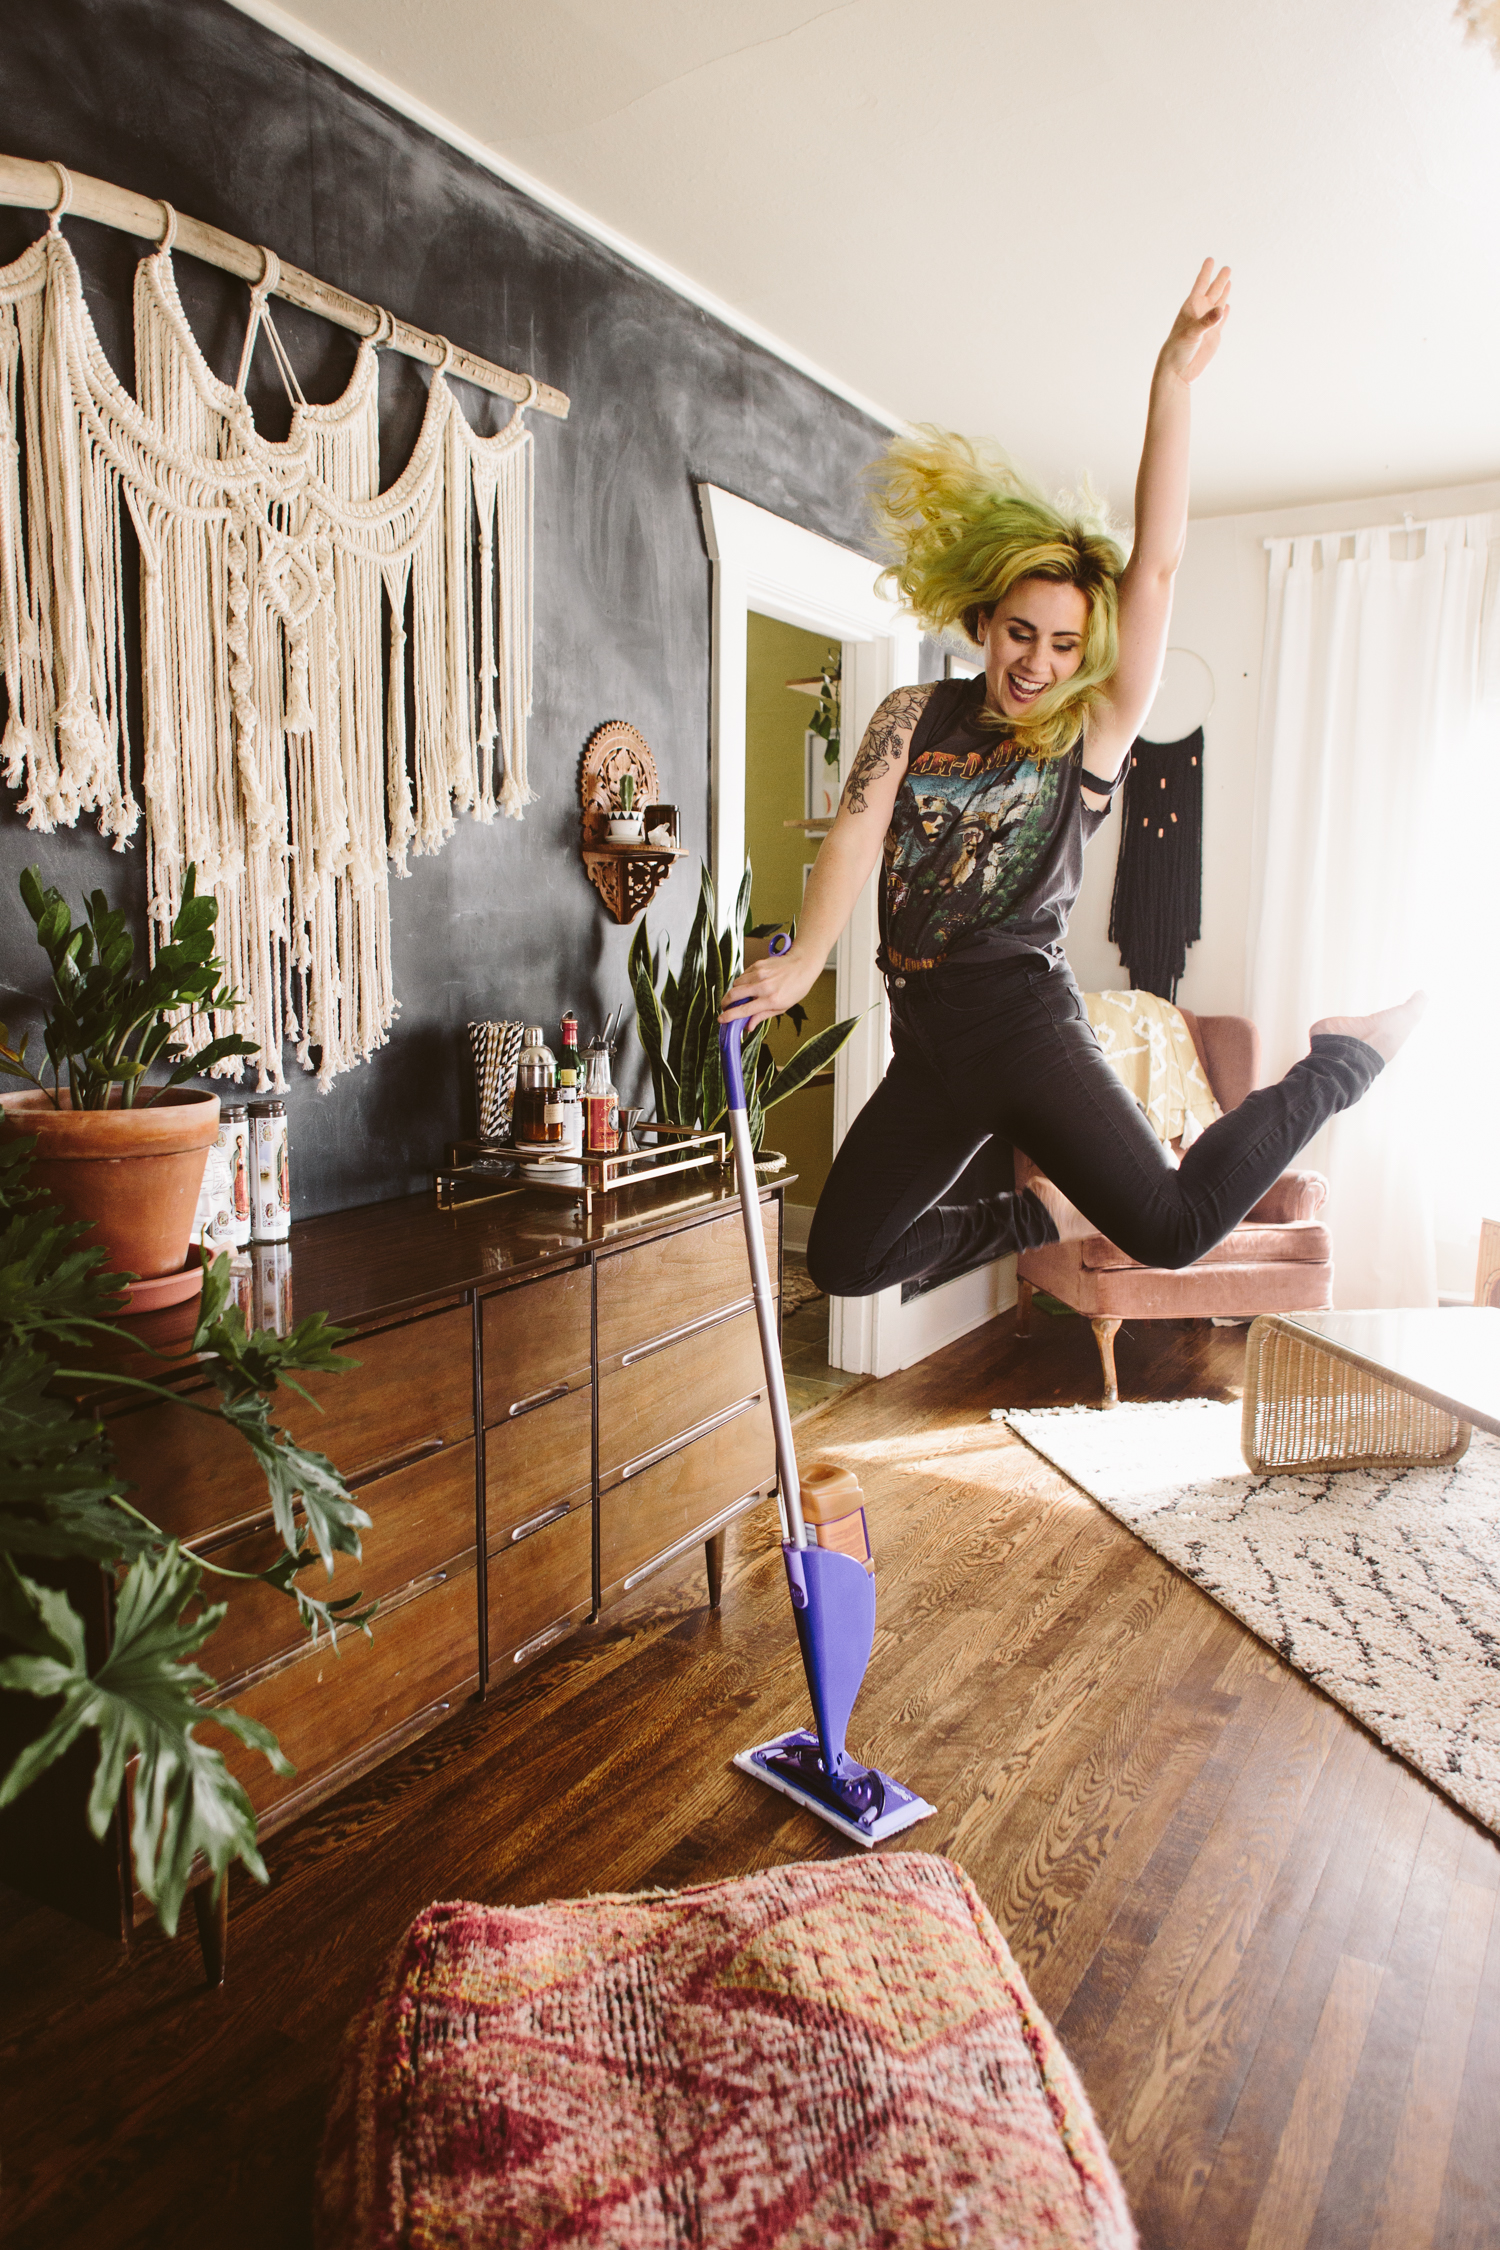
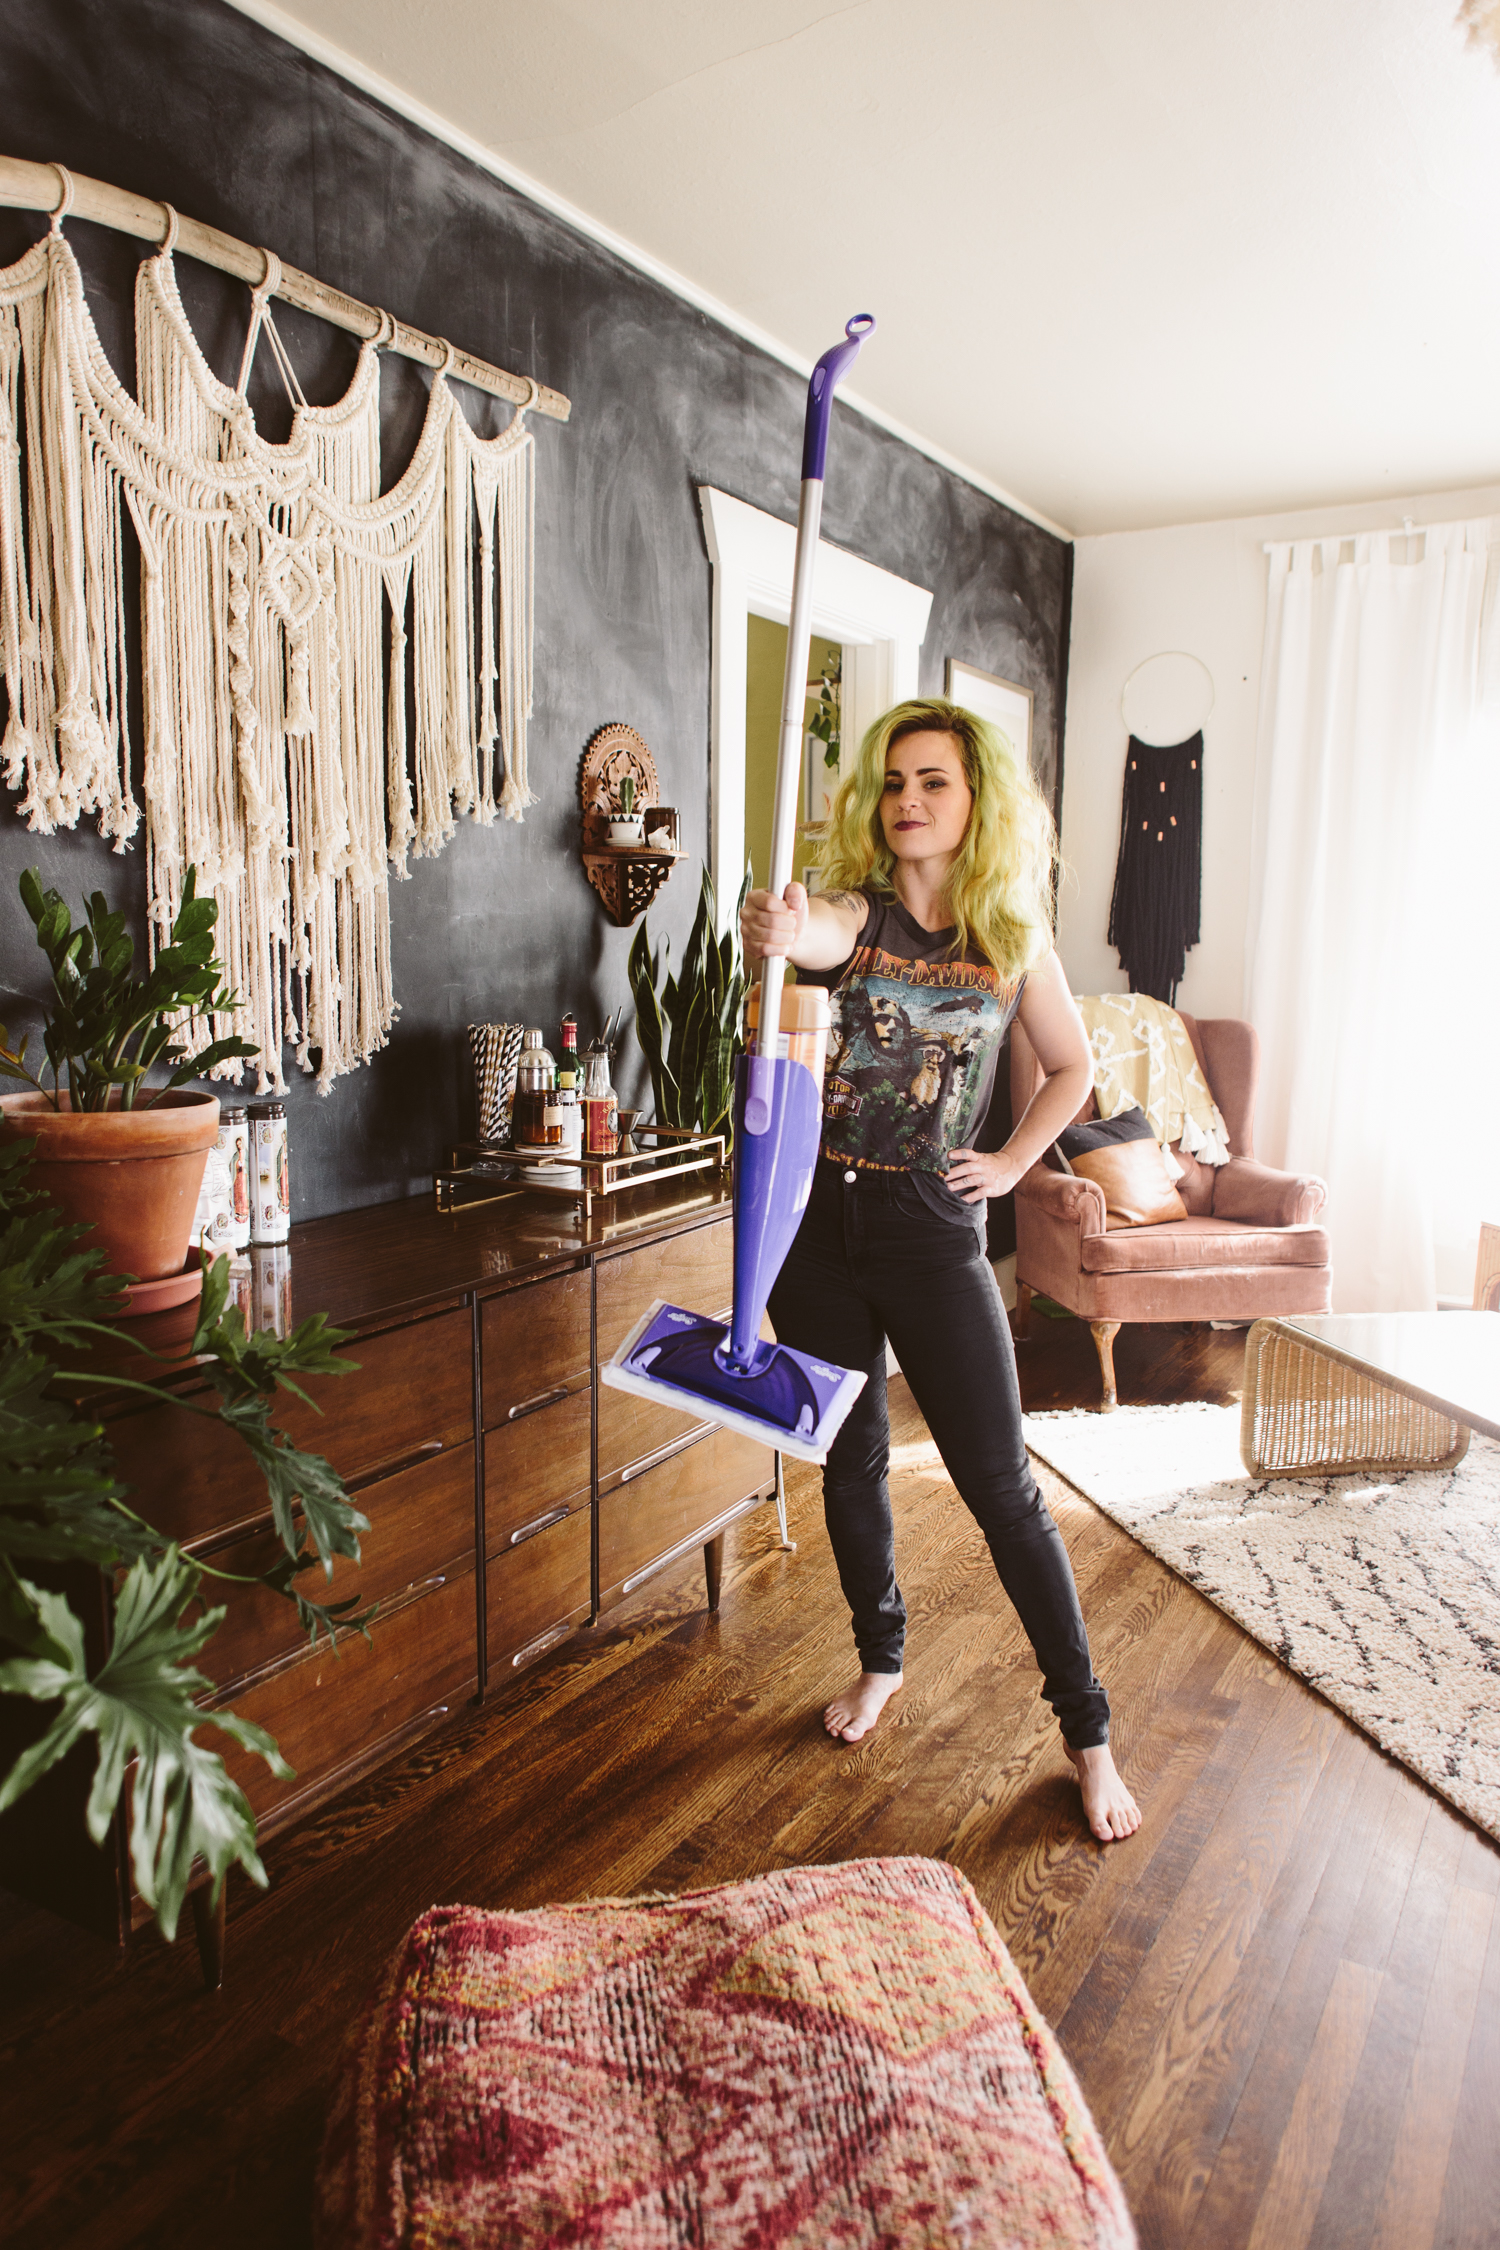
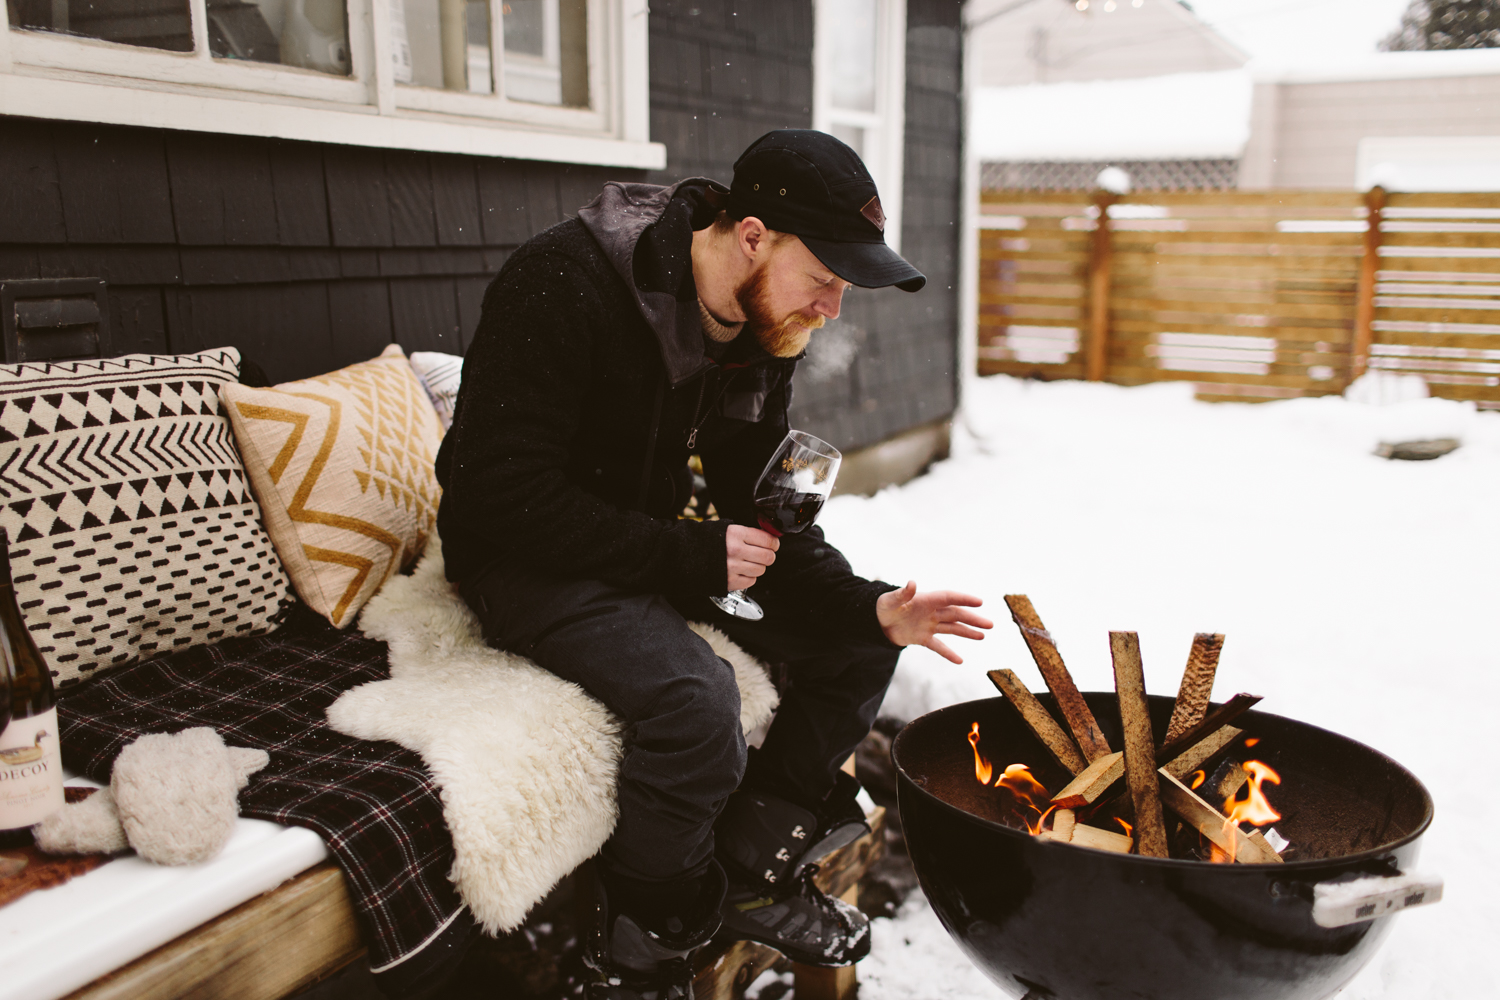
Shout out to this slick little thang for making me a little less annoyed when my husband trudges his worksite construction dude work boots in the house and leaves boot prints everywhere.  JK… but seriously. Now all I have to do is whip this thing out, squirt some fancy Swiffer wood solution on the floor, rub it around real good and wham bam thank you ma’am, my work here is done.  

Also, if you are wondering how many very-not-cute outtakes of the jumping-while-holding-a-Swiffer shot there are… it’s several.  And I’m definitely sharing them on my Instagram stories, so pop over there for a nice laugh. Get your own WetJet Wood Starter Kit on Amazon!

10 tips for taking beautiful photos of your home

How to take beautiful photos of your home

If you’re an interior designer, proud homeowner wanting to showcase your decor, or just wanting to improve your interior images for instagram, here are a few of my tips for snapping the best shots of your interiors! A couple of these tips will relate specifically to DSLR shooters, but most are applicable to anyone— even those of you using your phone camera to capture your images!

01/ SHOOT STRAIGHT-ON TO WALLS

So basically: when you’re shooting, shoot directly at a wall, not diagonally towards a corner. This isn’t a rule, I shoot into corners all the time, but I do love the clean, straight lines of a straight-on shot. If you scroll through these photos you’ll notice almost all of them are directly facing a wall. There’s just something aesthetically pleasing about the perspective lines of a straight-on photo. Again, this can be a personal preference thing, but I notice that many of the photos I like and that are popular on Instagram or in magazines follow this guideline.

02/ ADD A HUMAN ELEMENT

These photos in this post in particular don’t do the best at showcasing this tip, but it is one thing I like to do, and find that I enjoy in other people’s photos. Put people (or pets) in your photos! My Corgi makes it into a lot of the photos I take of my space and I love how she adds a little bit of realness to the photo. I also enjoy putting myself in the photo (standing at the counter cutting fruit, making the bed, playing with my son) just to give a lived-in feel to my images. We do, after all, actually live here! It can be harder to set up, and getting a toddler to cooperate for photos might be more of pain than it’s worth sometimes, but I try to do it when I can.

Even if you can’t get an actual person in your image, you can at least give some kind of staging that alludes to people’s existence, haha. Maybe have an orange sliced up on a cutting board with a knife laid beside it when you take photos of your kitchen. Or a book cracked open with a cup of coffee and a scone on your coffee table when shooting your living room. Just little evidences of human life peeking through your photo.

03/ USE NATURAL LIGHT

Most of our indoor lights have a very warm, orangey tone, so when lights are on they can tend to tint everything orange. I prefer my images to look as natural as possible in order to get an accurate depiction of paint colors/upholstery etc, so I’ll turn off all the lights and use only window light. If you are a whiz at off-camera lighting and feel comfortable lighting your space that way, by all means!


Because turning the lights off in your home will often mean your space is a lot more dim than usual, you’ll probably have to put your camera on a tripod so you can use a long exposure in order to get the correct exposure in your image.

You can also open doors that aren’t in the photo in order to let light in from other rooms or outdoors. I’ll often open my front door when taking photos of my living room because it lets in way more light BUT! I have to put a white sheet over my door because it’s painted orange, so that orange color gets cast onto my space unless I throw a sheet over it. Light can do funny things like that, so just keep an eye out for funky shadows or weird colors getting cast onto your space.

04/ CLEAN UP CLUTTER

This one is kind of a personal preference depending on how “real” you want your images to be, but I do like to take photos of a space that has odds and ends and clutter tucked away. It helps put the focus on the design elements on the room and draws the eye to the areas you want. For example, my kitchen counters house waaay more stuff in my daily life than is shown in these photos, but I wanted to show the concrete counters and backsplash tile. With coffee makers and dish drying racks all over the counter, it’d be harder for the viewer to focus on those design elements. This can also apply to stuff like cords and remotes. Just tuck ‘em away for the shoot!

05/ MOVE STUFF AROUND

This might be considered “cheating” but I do it a lot. Move design elements from room to room! I definitely do this most with plants. I don’t have as many plants as I’d like in every room of my house, so I’ll usually do a little bit of plant musical chairs, adding plants to the room I’m shooting. You can also do this with stuff like throw pillows, blankets, etc. Since you’re not showing your entire house in one image, you can fudge a little by borrowing stuff from rooms not shown in the photo you’re taking. Tricksy!

06/ USE A WIDER ANGLED LENS

I don’t like to get too crazy, if you have too wide of a lens it can distort things and start to look fish-eyed. The widest I’ll use is a 24mm lens, which seems to be a good lens, especially for shooting smaller spaces. I like to use a 50mm for shooting details, and a 35mm is a happy medium between 50 and 24mm.

07/ SHOOT THE BIG PICTURE

I’m all about a nice vignette (I mean, c’mon, I spent a while styling that shelf!) but people like to see the big picture. If you have a small space, it might mean you have to step into the doorway of the neighboring room in order to get far enough back to fit your room in frame. See that pink door in my living room? In order to get a full shot of my entire living room I have to use my 24mm lens and then be standing about a foot into that doorway to get the shot. In order to shoot my tiny bathroom, I’ve climbed into the very back corner of my shower in order to get the shot. Whatever works!

08/ DIFFUSED LIGHT IS YOUR FRIEND

I do enjoy the occasional harsh sun, shadowed photo, but in general, it’s best to shoot at a time of day when the sun isn’t beaming directly into your windows and casting a bunch of really harsh light. A partially cloudy day makes for really wonderful light (though here in the PNW we can get too many clouds and it’s almost too dim to shoot some days)

09/ MOVE STUFF OUT OF YOUR WAY

Sometimes you want to get just the right shot, but the arm of a chair is getting in the shot. Don’t be afraid to scoot things out of your shot. When you’re shooting, look at the image you just took on the camera’s screen and make sure there’s nothing peeking into the shot that’s distracting the eye.

10/ SHOOT RAW

This one is a little more technical, and you might not have the right photo editing software to edit raw images, but shooting in raw (instead of jpeg) makes it way easier to correct things like over or underexposure. Most DSLR cameras have the option to shoot raw, you just have to scroll through your settings to select the raw option. Again, this one is a little more techy, so if you’re not super comfortable with your camera or if you don’t have software that can work with raw image files, don’t worry about it!

For editing, I like to use Lightroom for my “big camera” images. When it comes to phone images, I always edit using A Color Story app. They’ve got lots of filters, and you can combine, tweak and save your filters too so you don’t have to repeat all the steps you take every time to achieve a cohesive look on your photos. Another app I’ve used in the past for photo editing is Afterlight.

snowmageddon in style

Thank you Decoy for sponsoring this post.

Apres Ski-10.jpg

Seems like a lot of the US is experience some kind of winter snow right now and the Pacific Northwest is no different! We’re apparently experiencing the biggest snow event since 1996, though as a girl who grew up in Alaska, this just feels like any average winter growing up! I love the PNW, but I’ve always missed snowy winters, so getting a little (well, some might say big) dose of snow this week has been super fun! Even with all the roads being a mess and the stores being sold out of shovels and road salt and sleds, nothing makes me more happy than a snowy winter.

We lived on a large hill that sloped down to a lake when I was growing up, so we had countless days of sledding and ice skating during the long (well, short actually) Alaskan winter days. I remember getting super excited during the winter olympics and forcing my parents to time us while we sledded down our “bobsled” hill, and every once in a while we had enough people to do a little 3 on 3 hockey game on the lake. My birthday was always smack dab in the middle of winter so I’d have sledding parties and then everyone would pile indoors, shed all their snow gear, and fill up on cake and ice cream. So yeah, you could sayI kind of like the snow, haha.

Here in the Seattle area we have to hit up the mountains and the ski slopes for any kind of snow fun, but Dan and I bundled up for a little backyard après-ski fun, while Dusty zoomed around enjoying the flurry of flakes. Luckly I had some Decoy wine on hand to unwind with, so we sipped on some Pinot Noir and Cabernet Sauvignon while keeping warm by the fire. Some wine, my sweet love, a snow day, and a fire to warm up by, I think I found my perfect wine pairing right there.

You can unwind with Decoy, find your perfect pairing, and pick up a bottle of your own by checking out the Decoy Wine Finder here!

Tacoma isn’t used to the snow, so on Saturday we ended up down at Wright Park where someone had created a facebook event for the “ultimate snowball fight” and holy cow, it felt like we were in a Christmas movie or something! Hundreds of people gathered and then all at once, the crowd roared and a huge snowball fight broke out! People were sledding everywhere, snowmen were popping up here and there, and the vibe of the entire city felt like it was buzzing with excitement and childlike glee. Of course by Monday it looked like most people were over the snow, based on all the exasperated social media posts, but we bundled up and walked to a coffee shop to enjoy what might be the last of the pretty snow before it warms up and starts raining, turning the city into a brown slushy mess.

Desert Queen

IMG_2884.jpg

Switching things up here for a sec. These photos are actually from September 2017, but I never posted them here, and I just recently found them again on an old hard drive and was reminded how much I liked this shoot. The dress was a 70’s wedding dress I found at Goodwill, the belt borrowed from my mom, and the hat borrowed from a local vintage/secondhand shop, Urban X Change. I needed some new images for my wedding photography portfolio (and just wanted to stretch my legs a bit creatively), so I pulled over along the side of the road near a perfect Joshua Tree grove and spent an hour drinking in the delicious evening light and playing around in a fancy dress in the desert.

Making messes and memories

Thank you Vanity Fair® Napkins for sponsoring this post. Take on everyday messes with Vanity Fair® Extra Absorbent Napkins!

IMG_9092.jpg

Growing up, on special occasions like a birthday, my Dad would make “Daddy’s Special Pancakes” or DSP’s.  They were always Swedish Crepes, and he would fling them to us from the pan, across the island, and we’d try to catch them on our plates. I still love making DSP’s (though I guess if I make them, they’re MSP’s right?), but for Jack’s little birthday morning we just went with the old classic stack of fluffy buttermilk pancakes. I haven’t yet introduced him to the joys of chocolate chip pancakes, we’ll save that for a later birthday. The amount of sugar he got in the syrup alone was more than enough for a boy of only two.  But oooh boy, you’re gonna be excited about chocolate chip pancakes one day. And blueberry ones too (or booburies as he calls them right now).

Jack was a huge fan of pancakes, and he kept asking me to do “mo’ snow, mama!” with the powdered sugar.  Making a pancake breakfast with a toddler, though, holy cow, talk about a sticky mess. I think I used like ten Vanity Fair® Extra Absorbent Napkins just to clean up spilled syrup and pancake batter by the time the morning was over. Normal napkins die a horrible death at the hands of a toddler, so the paper-towel thickness and toughness of the Vanity Fair® Extra Absorbent Napkins is perfect for our mealtimes, and a welcome break from having to wash a bajillion dish towels a day.

Vanity Fair® Extra Absorbent Napkins  are “made for life’s unexpected mealtime surprises” but really, with a two year old, mealtime surprises and messes are anything but unexpected.  Even if my kid doesn’t eat his food, it’s still all over the place.  

Trying to avoid a messy life with a kid is a fool’s errand, and the antithesis to learning and fun in my opinion. Having lots of clean-up is the name of the game, but the memories and the joy will be the lasting impression, at least for them. I’ll probably remember all the cleaning up I did, though I’m sure the giggles will overshadow the cleaning when I look back on days like this.

I can’t believe my little baby is such a kid now.  He’s chattering up a storm all the time, loves reading books, and will sit and play creatively with legos while I drink my morning coffee now, which is a godsend.  Just watching him sit on the counter and nom on pancakes like a grown up boy was such a surprising moment. It’s so weird how the time flies by and also moves slower than molasses.  The first 18 months were the hardest of my life, but now that he’s playing and talking, I’ve found my groove in the mother role. I know there are a lot more messes to be made, a lot more tears to cry, a lot more tantrums to be thrown, but I’m looking forward to this next year as he grows into a bigger kid.  And hopefully those sticky messes like this one will come along with fun, happy memories that make the hard days worth it.